How to Make Realistic DIY Tombstones & Cemetery Pillars from Foam
It’s that time of year, ghouls and ghosts! Are you tired of those flimsy, store-bought Halloween decorations that just don’t have any real impact? 😠
It’s frustrating when you have a vision for a truly epic graveyard scene, but all the tutorials out there seem too simple or cartoonish. You want something that stops trick-or-treaters in their tracks and makes your yard the talk of the town. ✨
Well, you’ve come to the right place! This isn’t just a simple craft; it’s a full-on construction guide. I’m going to walk you through every single step to build jaw-dropping, realistic tombstones and cemetery pillars that will last for years. 🛠️
- Difficulty Level 🦴: Intermediate
- Time to Complete ⏳: Approx. 15-20 hours (spread over several days)
- Estimated Cost 💰: Around $100-$150
- Prerequisites 🧠: Basic comfort with hand tools and a well-ventilated space to work!
Tools & Materials Needed 🛠️
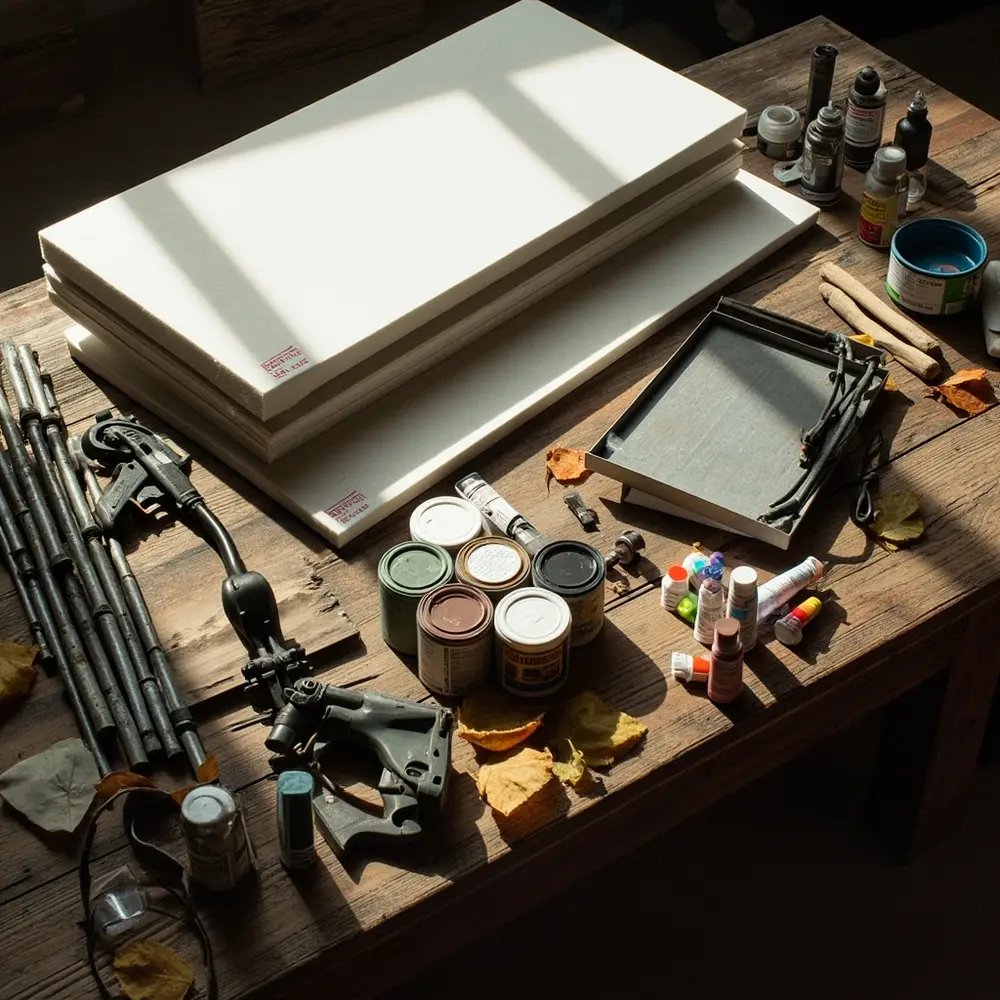
To get that super realistic and durable look, we need to use the right stuff. I’ve spent years figuring out what works best. Here is a full list of everything you’ll need to gather before we start building.
- Structural Materials:
- Rigid Foam Insulation Sheets (XPS): Get the 2-inch thick, 4’x8′ sheets. You’ll usually find them in pink or blue at stores like Home Depot or Lowe’s.
- PVC Pipe: One 10-foot length of 4-inch diameter pipe will be the core for your big pillars.
- Wood or Rebar Stakes: These are for safely securing your props in the yard.
- Tools:
- A Hot Wire Foam Cutter or Hot Knife is best for clean, shaped cuts.
- A Jigsaw or a long Serrated Knife works great for making the first rough cuts.
- A Dremel or Rotary Tool with different carving and sanding bits is key for details.
- Caulking Gun for your adhesive.
- Heat Gun for advanced texturing.
- Adhesives & Fillers:
- Foam-safe Construction Adhesive: You must use one that won’t melt the foam. I always use Loctite PL 300 Foamboard Adhesive.
- Wood Filler or Spackle: This helps smooth out seams and can add texture.
- Paints & Sealants:
- Water-based Primer: I highly recommend Drylok Extreme Masonry Waterproofer. It seals and textures the foam all at once.
- Latex Paint: Get flat exterior paint in grey, black, white, brown, and green.
- Craft Acrylic Paints: These are for smaller, detailed work.
- Clear Matte Sealant: Make sure it’s rated for exterior use to protect your work from rain.
- Safety Gear:
- Safety Glasses are a must.
- A good Respirator or Dust Mask is essential. Foam dust is no joke!
- Gloves to keep your hands clean.
My Initial Setup Advice
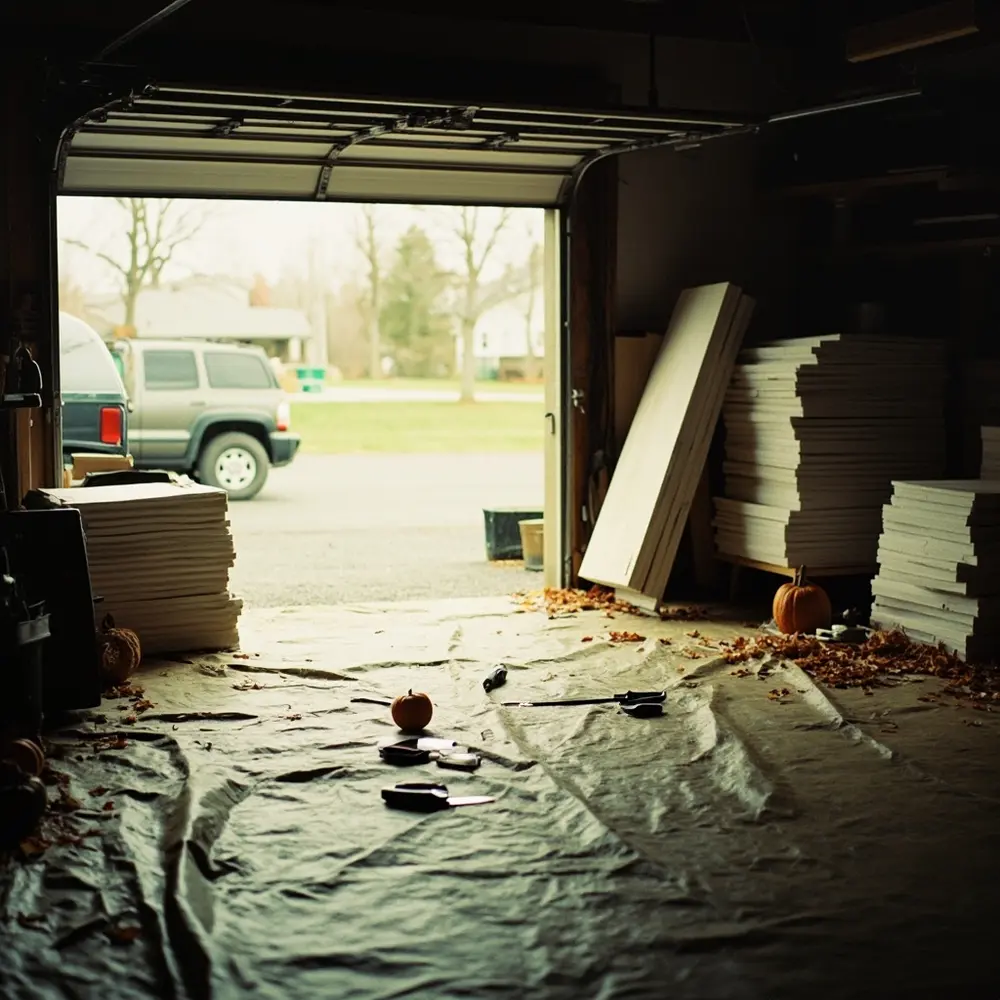
Before you even make a single cut, get your workspace ready. This project makes a lot of dust, so I always work in my garage with the door open or outside on the driveway.
Lay down a big tarp or drop cloth first. This makes cleanup about a million times easier. Then, get all your tools and materials organized so you can grab what you need without searching. It makes the whole process feel smoother!
“
⚠️ Warning: Seriously, foam dust is bad for your lungs. Please wear a quality respirator or an N95 mask anytime you are cutting, carving, or sanding the foam.
Step-by-Step Tutorial 🛠️
Step 1: Design, Plan, and Cut Your Core Shapes
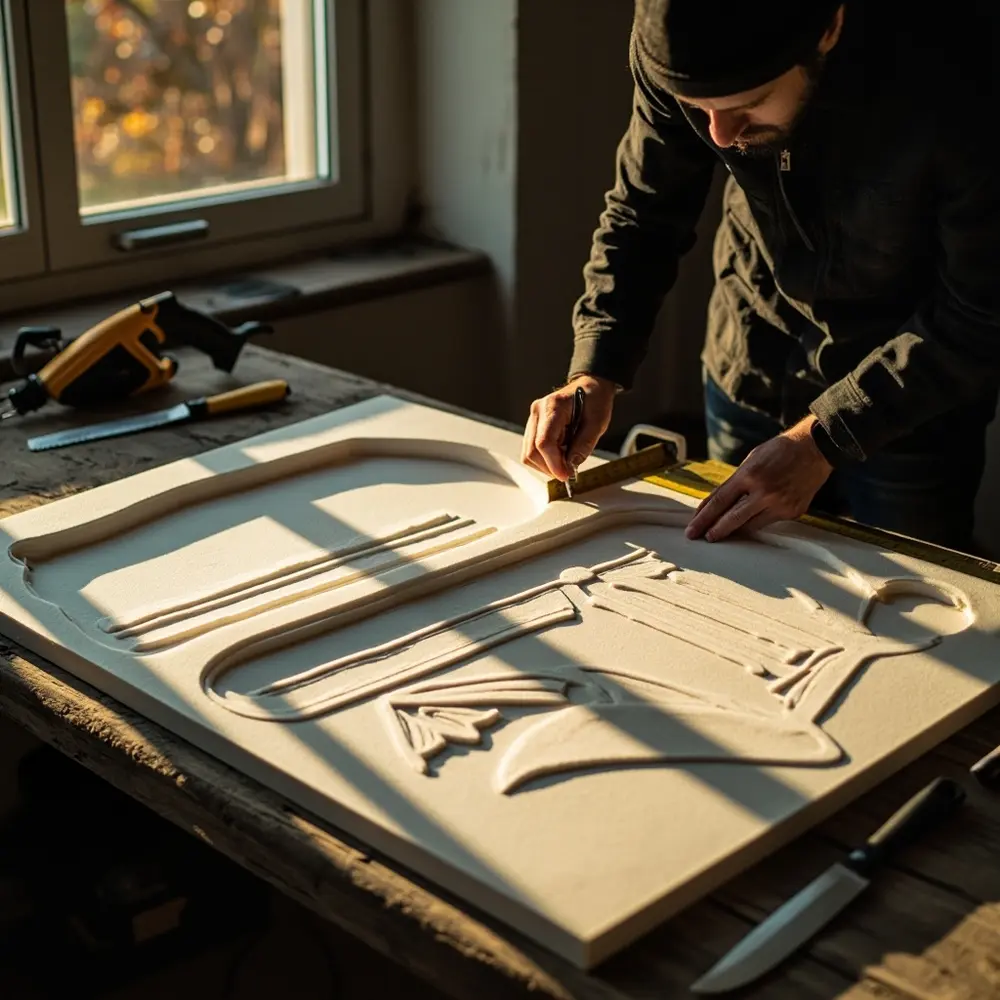
First, we need a plan! This is where you get to be creative. I like to start by sketching out a few different tombstone designs on paper. Think about different shapes like a classic curved top, a cross, or a tall obelisk.
- Sketch your tombstone and pillar designs. For pillars, you’ll need three parts: a base, a shaft (the middle part), and a capital (the top).
- Use a measuring tape and a marker to draw your designs directly onto the big foam sheets.
- Using a jigsaw or a long serrated knife, carefully cut out the basic shapes. Don’t worry about making the edges perfect right now. We’re just getting the main blocks cut out.
“
Step 2: Laminate Foam and Assemble Pillars
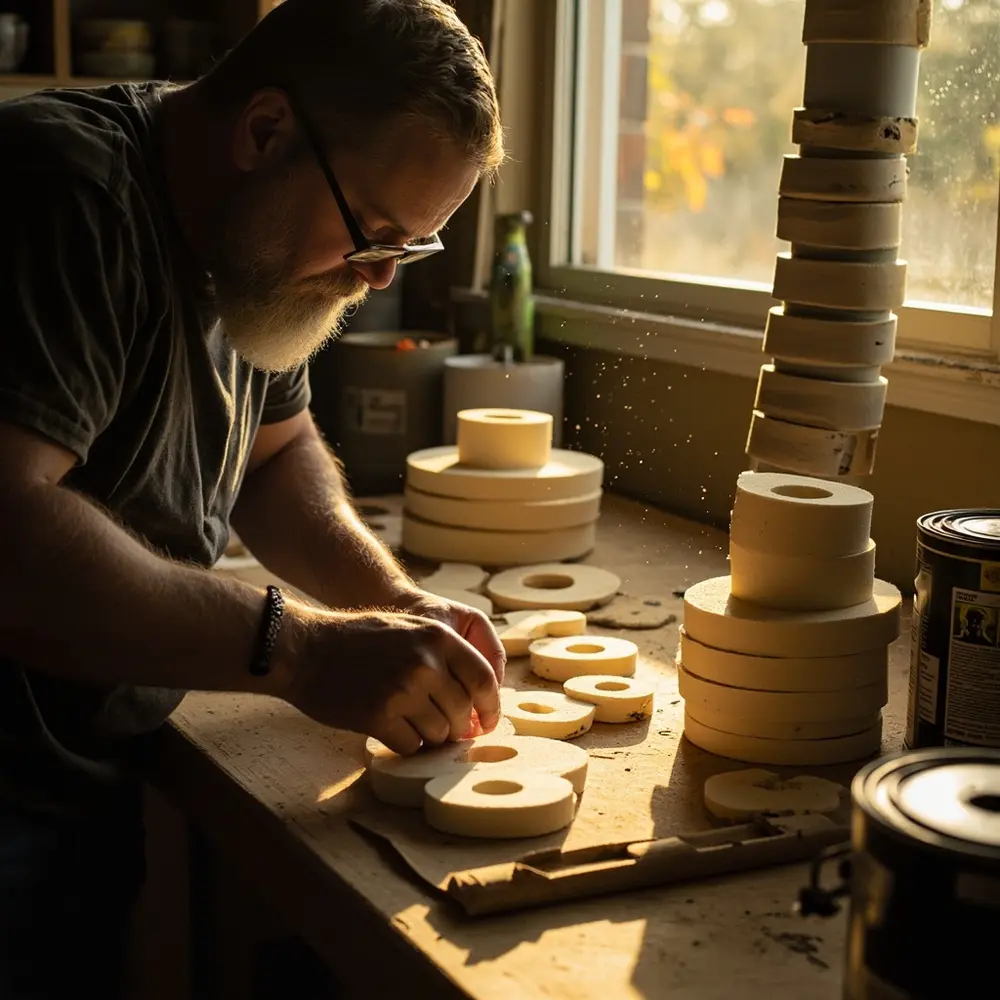
A single 2-inch sheet of foam can look a little thin. For tombstones that have real weight and presence, we’ll glue layers together. This is called laminating.
- For thicker tombstones, grab your foam-safe adhesive. Squeeze it in a curvy “S” pattern on one piece of foam, then press another identical foam shape right on top.
- Place some heavy objects like paint cans or bricks on top to press them together. Let this cure for a full 24 hours.
- For the pillars, cut your 4″ PVC pipe to the height you want. I find 4 or 5 feet looks really impressive.
- Cut several square foam pieces that have a 4″ hole in the middle. Slide these onto the PVC pipe, adding adhesive between each layer to build up the pillar’s shaft. Then, glue on your solid base and capital blocks.
“
Important Note: Be patient and make sure the adhesive is completely cured before you start carving. If you rush this part, your layers might shift and mess up your design.
Step 3: Carve Details and Epitaphs
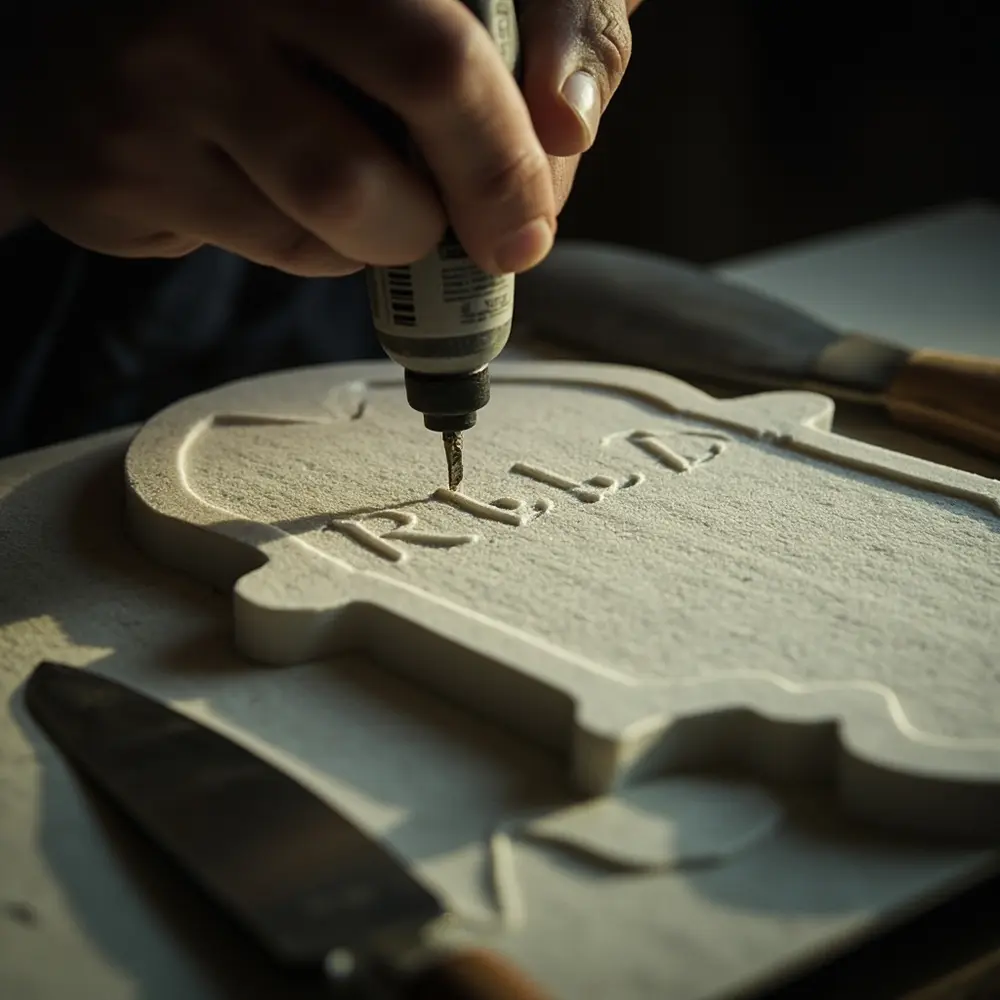
This is my favorite part! It’s where the foam blocks start to look like ancient stone.
- Use a hot knife to round the edges and create the main shape of your tombstones.
- Draw your epitaphs—like “R.I.P.”, names, or dates—onto the foam with a marker.
- With a Dremel tool and a pointed carving bit, carefully carve out the letters you drew. Take your time for clean lines.
- Now, add damage! Use your Dremel, a rock, or even a wire brush to carve in cracks, chips, and worn-down areas.
“
Step 4: Seal and Add Stone Texture
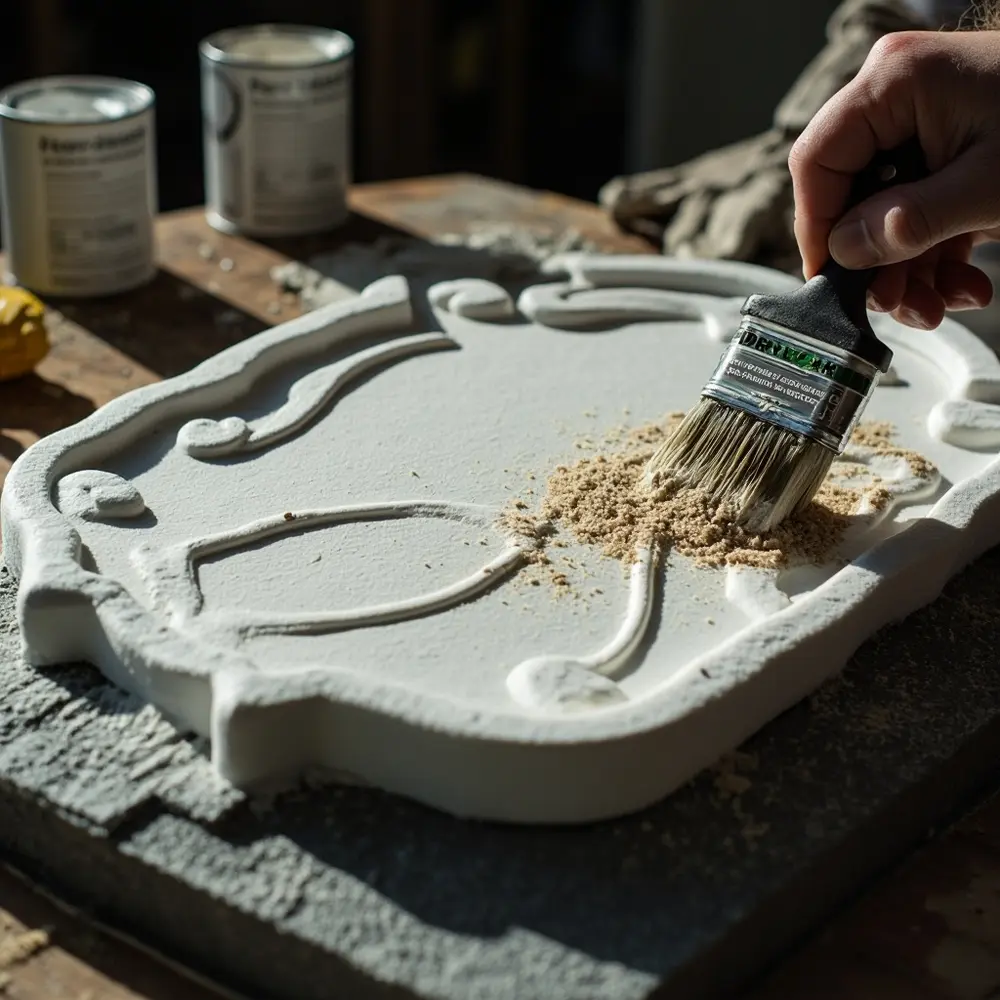
This step is super important. It protects the foam and gives it that gritty, realistic stone feel.
⚠️ Warning: Regular spray paint contains solvents that will literally melt your foam project into a goopy mess. You MUST seal it first with a water-based product.
- Take a cheap paintbrush and apply a thick coat of Drylok over the entire surface of your props.
- Really push the brush into all the cracks and letters to make sure everything is covered.
- For an even grittier texture, you can sprinkle some fine sand onto the wet Drylok or mix it right into your grey base paint for the next step. Let it dry completely.
“
Step 5: Apply the Base Coat and Color Wash
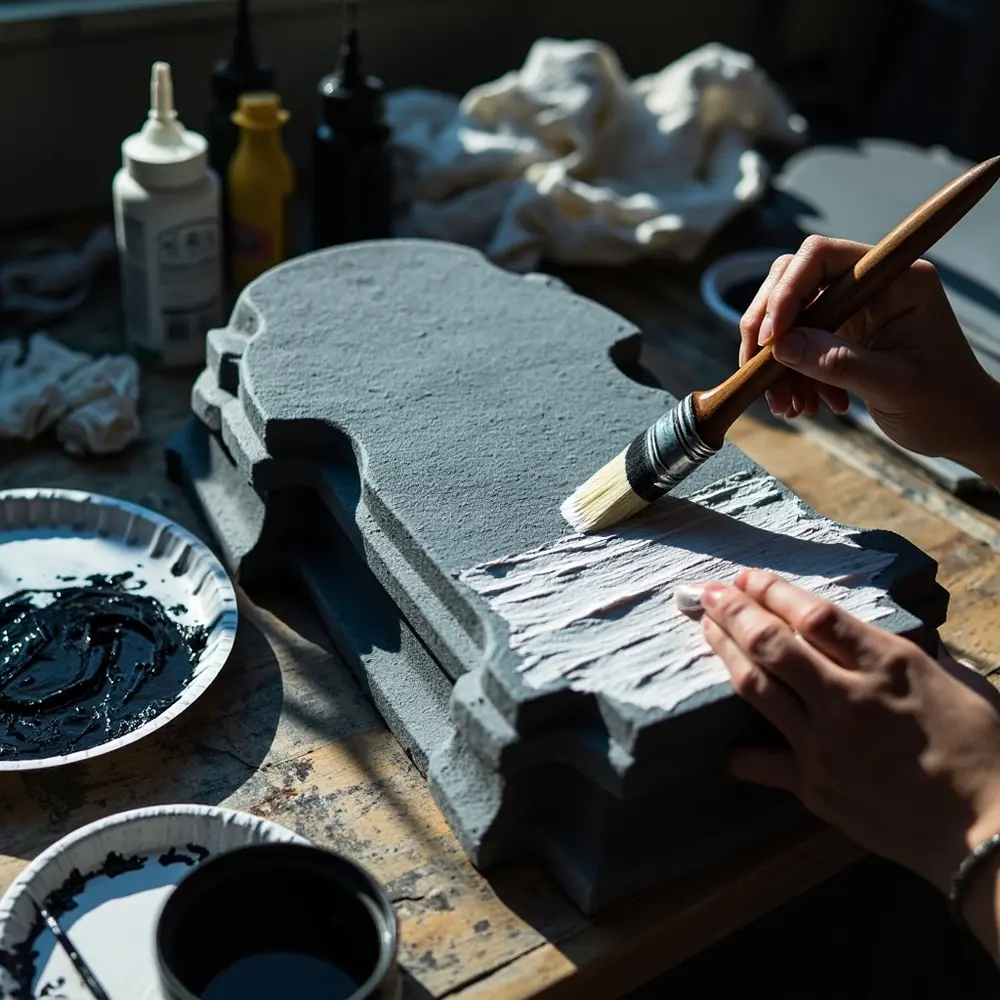
Now we bring them to life with paint. We’ll use a technique that creates instant depth and shadow.
- Paint the whole prop with a flat, medium-grey exterior latex paint. Let it dry fully.
- Next, make a “wash.” Mix black latex paint with water. I usually do about 1 part paint to 4 parts water.
- Brush this watery black paint all over a section of the tombstone. Make sure it gets down into all the cracks and carved letters.
- Before it dries, use a damp rag or paper towels to wipe the wash off the high surfaces. This leaves the dark paint in the low spots, creating amazing shadows and depth. It’s like magic!
“
Step 6: Dry-Brush for Highlights
This is the final painting trick that makes all the details pop. It simulates how stone naturally weathers over hundreds of years.
- Pour a tiny bit of white or very light grey paint onto a paper plate.
- Dip just the tips of a dry paintbrush into the paint. Then, wipe almost all of it off on a paper towel. The brush should look like it has no paint on it.
- Lightly drag your brush over the high points of the tombstone—the edges, the letters, and any texture. The paint will only catch on the raised surfaces, making them stand out. A very light touch is key!
“
Step 7: Final Touches and Installation
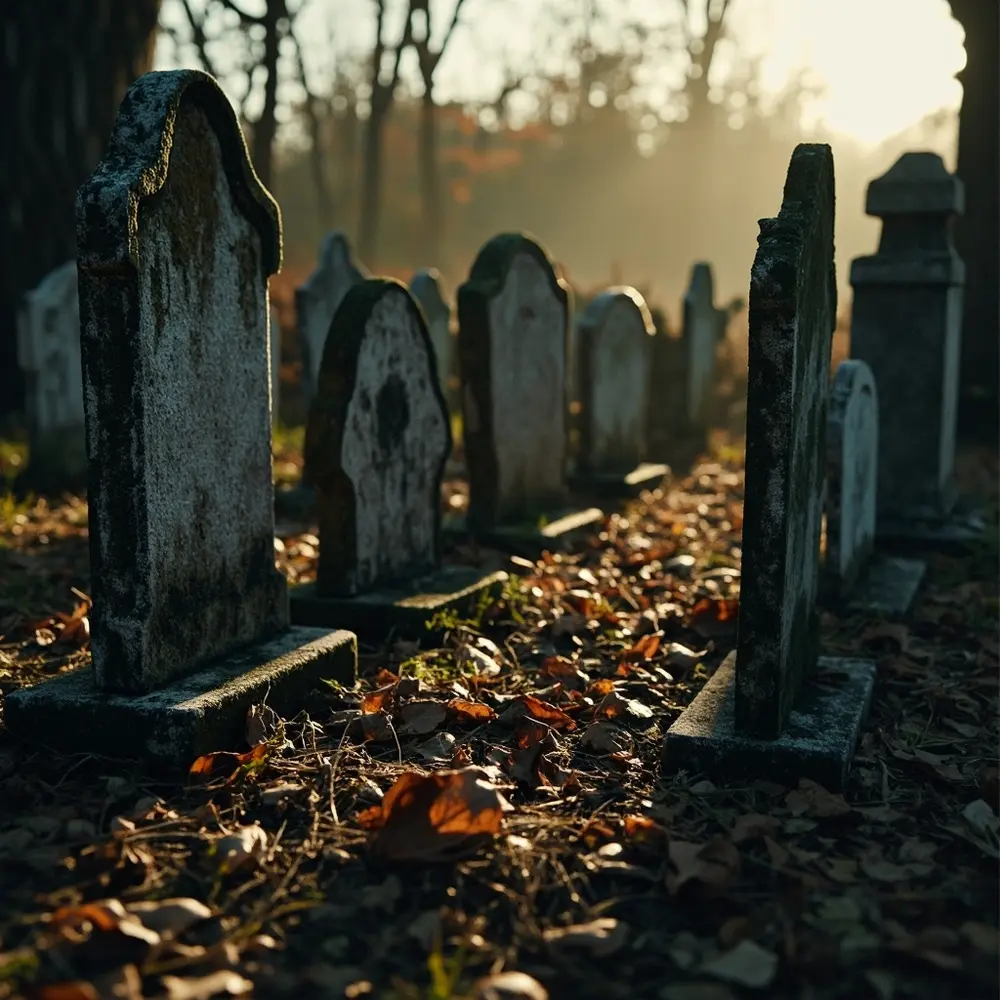
We’re on the home stretch! It’s time for final weathering and getting these set up in your yard.
- Add more weathering: I like to use very thin brown and green paint washes to add realistic dirt and moss stains. You can even drip some watered-down black paint from the top edges to look like water stains.
- Seal it up: Once everything is bone dry, spray the entire prop with a clear matte exterior sealant. This protects it from sun and rain.
- Installation: Hammer your rebar or wood stakes deep into the ground. Then, just slide your tombstones over them. The heavy pillars are super stable because the hollow PVC pipe slides right over a tall rebar stake.
Your props should now look like real, ancient stone, ready to scare and delight everyone in the neighborhood!
“
A Prop-Maker’s Guide: Achieving Hyper-Realism ✨
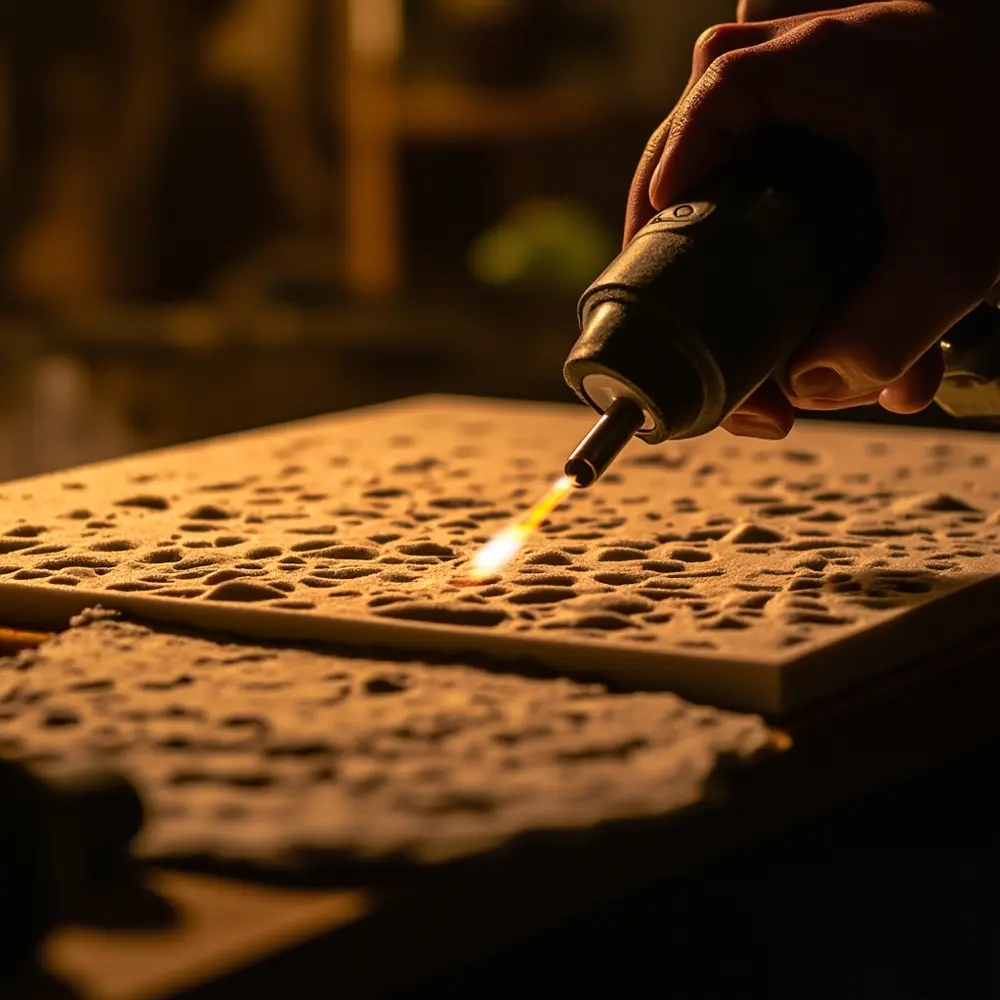
The steps above will give you an amazing result. But if you’re like me and you’re obsessed with the details, these advanced tricks will take your props to a professional level.
- Advanced Texturing: Before you seal the foam, try this. Use a heat gun on a low setting and hold it about 6-8 inches away from the foam. As you pass it over the surface, the foam’s cells will pop, creating a pitted, porous texture that looks exactly like real stone.
My Personal Tip: The first time I tried the heat gun trick was for a client’s haunted maze. I accidentally held it too close and melted a huge hole in a nearly-finished pillar! Always practice on a scrap piece of foam first to get a feel for the right distance and speed.
“
- Multi-Layered Color: Real stone is never just one color. After your black wash, make super-thin washes of other natural colors like ochre (a yellowish-brown) and dark green. Apply them in patches to create subtle color shifts before you do your final white dry-brushing.
Important Note: The key here is to be subtle. You want the color variations to be barely noticeable up close, but from a distance, they’ll add incredible realism and depth.
- Realistic Moss Effects: This is my secret weapon for ultimate aging. Dab a little bit of clear glue in the crevices where moss would naturally grow. Then, sprinkle on green flocking powder (the kind used for model train sets) or press on little bits of preserved craft moss. It adds a physical texture that paint just can’t match.
“
Troubleshooting & Common Questions ❓
Why is my paint melting the foam? What did I do wrong?
Ah, the classic foam-melting mistake! This almost always happens because you used a solvent-based paint, like most regular spray paints in a can. Those chemicals dissolve the polystyrene foam. You have to stick with water-based latex or acrylic paints. If you absolutely must use a spray can for something, you need to completely seal the foam first with two or three thick coats of Drylok.
How do I make my tombstones not blow away in the wind?
I live in a windy area, so I’ve perfected this! The secret is a deep, strong stake. Don’t use a short, flimsy one. I use rebar that is at least 3 feet long. I hammer about half of it deep into the ground, which leaves plenty sticking up. Then I can just slide the tombstone right over it. For the heavy pillars, the PVC pipe core slides over the rebar, making it incredibly sturdy.
My carved letters look messy. Any tips?
Yes! Getting clean letters takes practice. My best tip is to first design your text on a computer. Print it out, and use carbon paper to trace the letters perfectly onto the foam. This gives you a flawless guide to follow. When you’re carving with the Dremel, use a pointed engraving bit on a medium-high speed. Don’t push hard—let the speed of the tool do the work and just guide it slowly.
Next Steps & Further Optimization 🚀
You’ve built an incredible graveyard! But why stop there? Now you can focus on building out the scene.
- What to Do Next: The fastest way to upgrade your scene is with dramatic lighting. I use cheap outdoor spotlights (green and blue look amazing) and place them on the ground, aiming up at the pillars and tombstones. It casts spooky shadows and highlights all that texture you created.
- Optimization Tips: To really define your space, build a matching cemetery fence. You can use the same painting techniques on cheap PVC pipes and add some plastic fence finials to the tops.
My Personal Tip: When I first launched my “Spooky Sharma” YouTube channel, one of my most popular videos was showing how to build a cheap but effective spooky fence. Viewers loved it because it was a simple project that made their whole display look more complete and professional. It’s a great next step!
- Advanced Applications: Feeling really ambitious? Try building a simple “peeper” prop. You can rig a skeleton torso to slowly rise up from behind a tombstone using a cheap deer motor or a wiper motor. It’s a guaranteed screamer!
Conclusion (My Final Thoughts) 👻
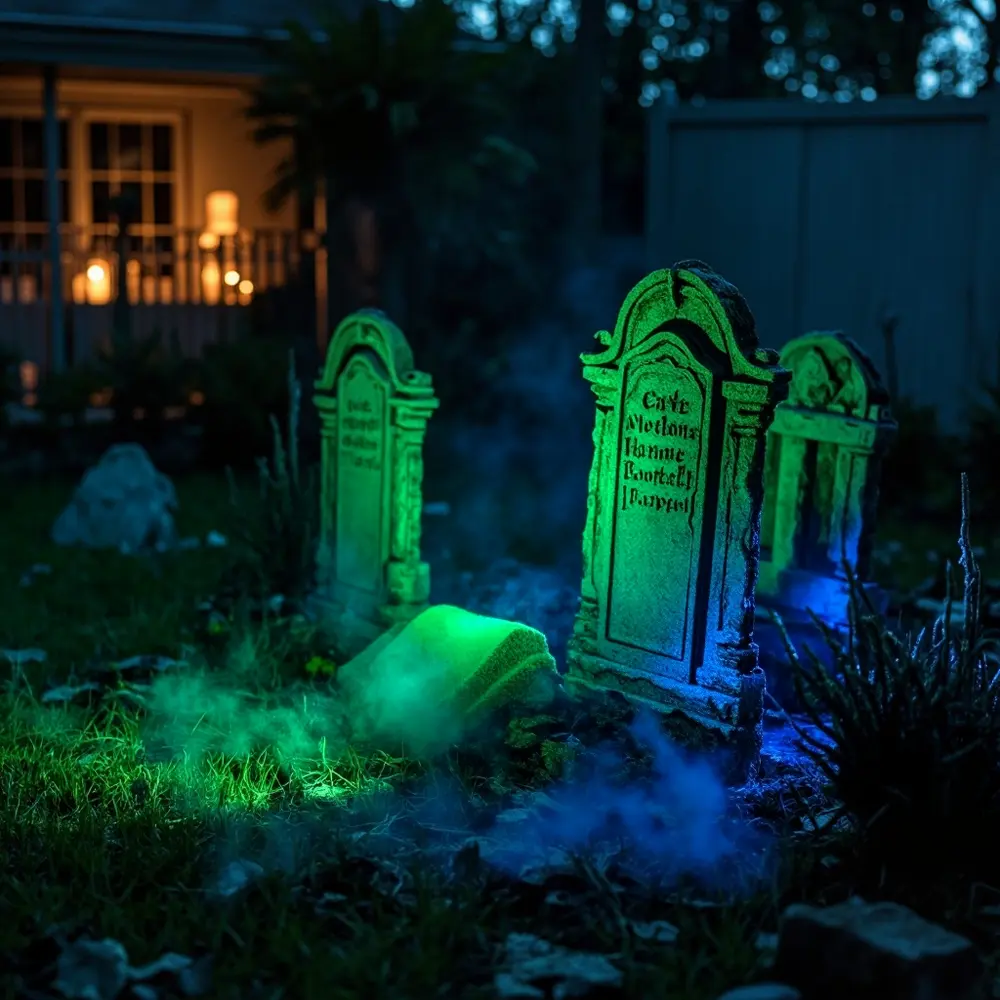
Go ahead, step back and give yourself a pat on the back. You didn’t just follow a craft tutorial; you engineered and built a professional-quality set piece that looks incredible and is built to last. You learned real prop-making skills that you can use on all kinds of future projects.
Your yard is now officially a Halloween destination. You’ve created the heart of an epic graveyard scene that you can add to year after year. I’m so proud of what you’ve accomplished!
I would absolutely love to see your finished graveyard. What was the most challenging or fun part of the build for you? Let me know in the comments below!
