The $10 Dollar Store Craft Challenge: Who Can Make the Best Decoration?
It’s that time of year again, ghouls and goblins! The air is getting crisp, pumpkin spice is flowing, and my inner Halloween fanatic is ready to burst out. 🎃
Are you tired of the same old Halloween party routine? Looking for a way to get the whole family or your group of friends to unplug, laugh, and create something truly unique without spending a fortune? I’ve planned dozens of Halloween events for families, and I know the struggle is real. 🎉
Well, get ready to solve all your spooky season party problems! I’m Roshan Sharma, your friendly neighborhood Halloween fanatic, and I’m here to introduce you to the ultimate budget-friendly activity: The $10 Dollar Store Craft Challenge! 👻
Activity At-a-Glance
- Best For 👨👩👧👦: Family game night, Halloween party activity, friend get-togethers, classroom activities, or small group team-building.
- Time Required ⏳: Approx. 2-3 hours (1 hour for shopping, 1-2 hours for crafting & judging).
- Budget Level 💸: Low-Cost (max $10 per participant/team).
- Spookiness Level 💀: Low to Medium (depending on your chosen craft themes).
What You’ll Need for Your Dollar Store Craft Challenge 📋
- A set budget (e.g., $10) per participant or team 💵
- Access to a Dollar Store or similar discount store 🛒
- Basic communal craft tools: scissors, glue (hot glue guns optional with supervision), tape, and rulers ✂️
- Worksurface protectors (e.g., newspaper or plastic tablecloths from the dollar store) 🗞️
- A timer (your phone or a kitchen timer works great) ⏱️
- Pens/Pencils ✏️
- Judging slips or scorecards (you can easily make your own!) 📝
- Optional: Small prizes for winners (can also be dollar store items like candy or spooky socks) 🏆
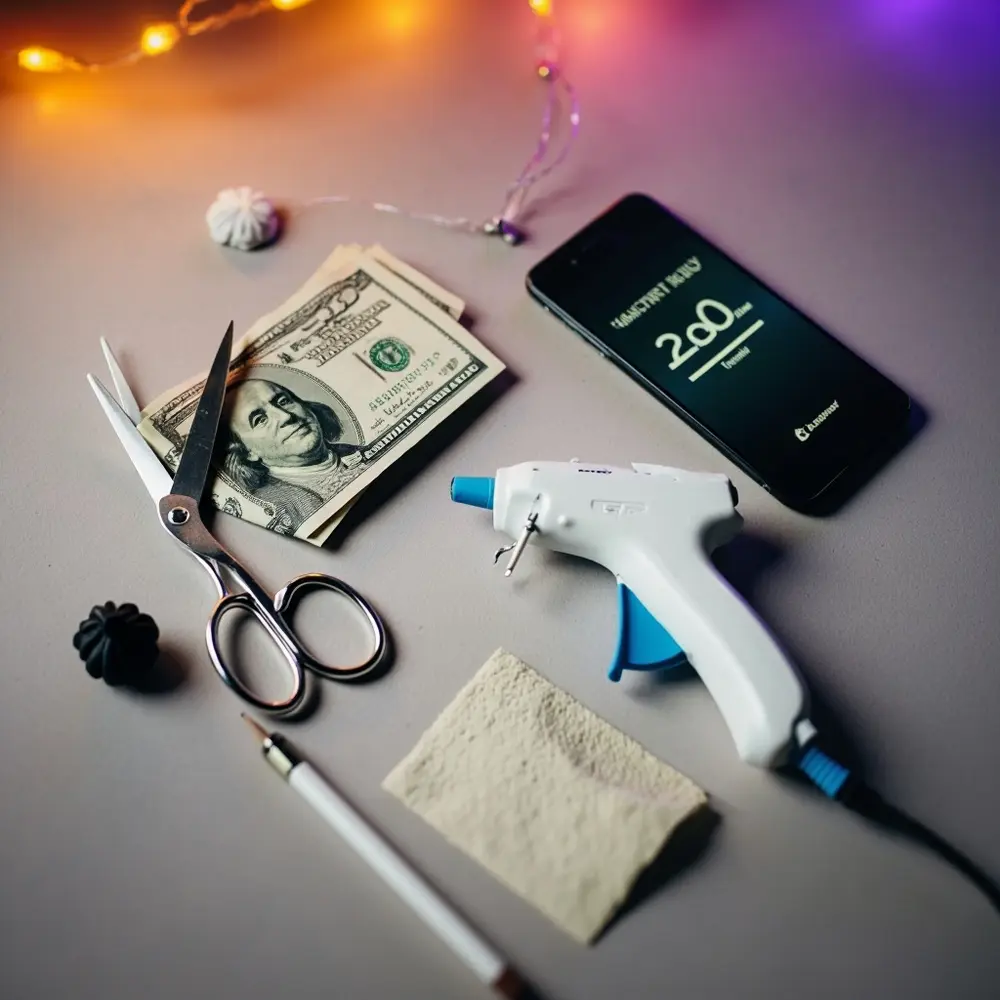
Image-1: A flat-lay photo showing the essential supplies: a ten-dollar bill, a pair of scissors, a glue gun, a timer on a phone, and a simple scorecard.
Preparation & Setup: Creating the Spooky Scene 👻
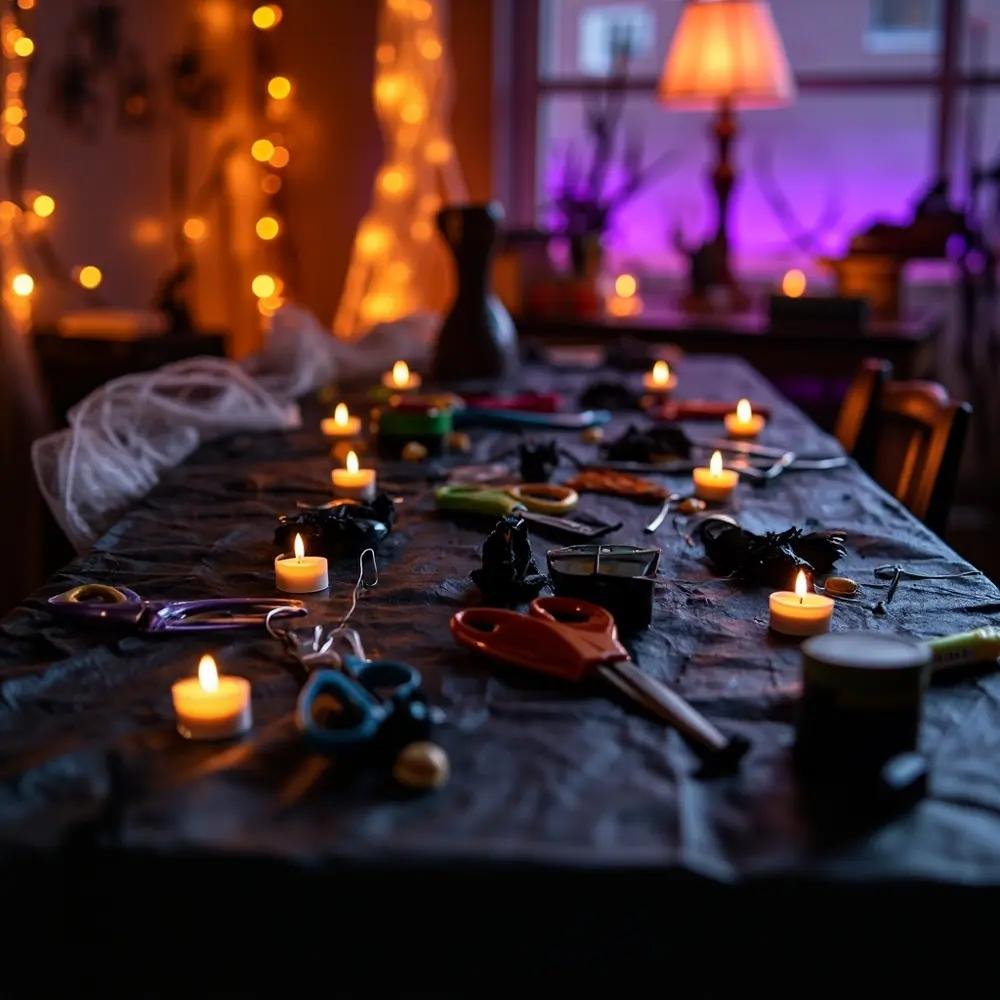
Before the creative chaos begins, you need to set the stage! I always find that a little atmosphere goes a long way. Clear a large table or a few smaller ones to create dedicated workstations for each person or team. Good lighting is key, so make sure the room is well-lit. To really get everyone in the spirit, I love putting on a Halloween-themed playlist—think “Monster Mash” and spooky movie soundtracks.
Pro Tip 💡: For instant spooky vibes, grab a few bags of stretchy spiderwebs and some battery-operated LED tea lights from the dollar store. Drape the webs over lamps and furniture and scatter the tea lights around the crafting area. It’s a five-minute setup that makes a huge impact!
Image-2: A well-lit crafting area with tables covered in black plastic tablecloths, each with a small pile of communal scissors and glue sticks. In the background, orange and purple string lights are visible.
How to Lead the Dollar Store Craft Challenge: Step-by-Step Guide 🚀
I’ve run this challenge over a dozen times, and following these steps ensures everything goes off without a hitch!
Step 1: Laying Down the Law (Rules & Budget Briefing)
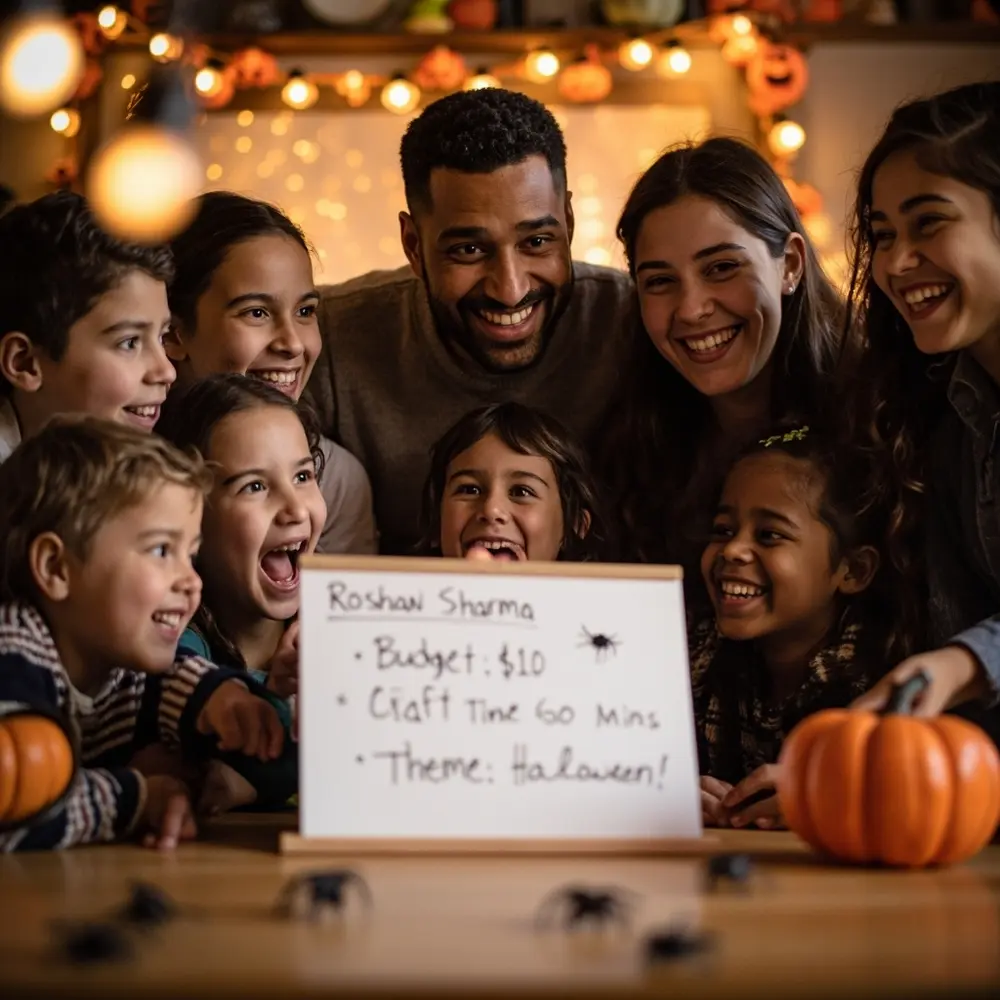
First things first: gather your creative crew! Before anyone touches a craft supply, clearly explain the rules. State the budget ($10 is the magic number!), the time limit for shopping, and the time limit for crafting. The objective is simple: use your dollar store haul to create the best, spookiest, or most creative Halloween decoration. Emphasize that this is all about fun and fair play!
Image-3: A photo of a group of smiling participants (a mix of kids and adults) gathered around a small whiteboard where the rules are written: “Budget: $10,” “Craft Time: 60 Mins,” “Theme: Halloween!”
Step 2: The Thrill of the Dollar Store Haul
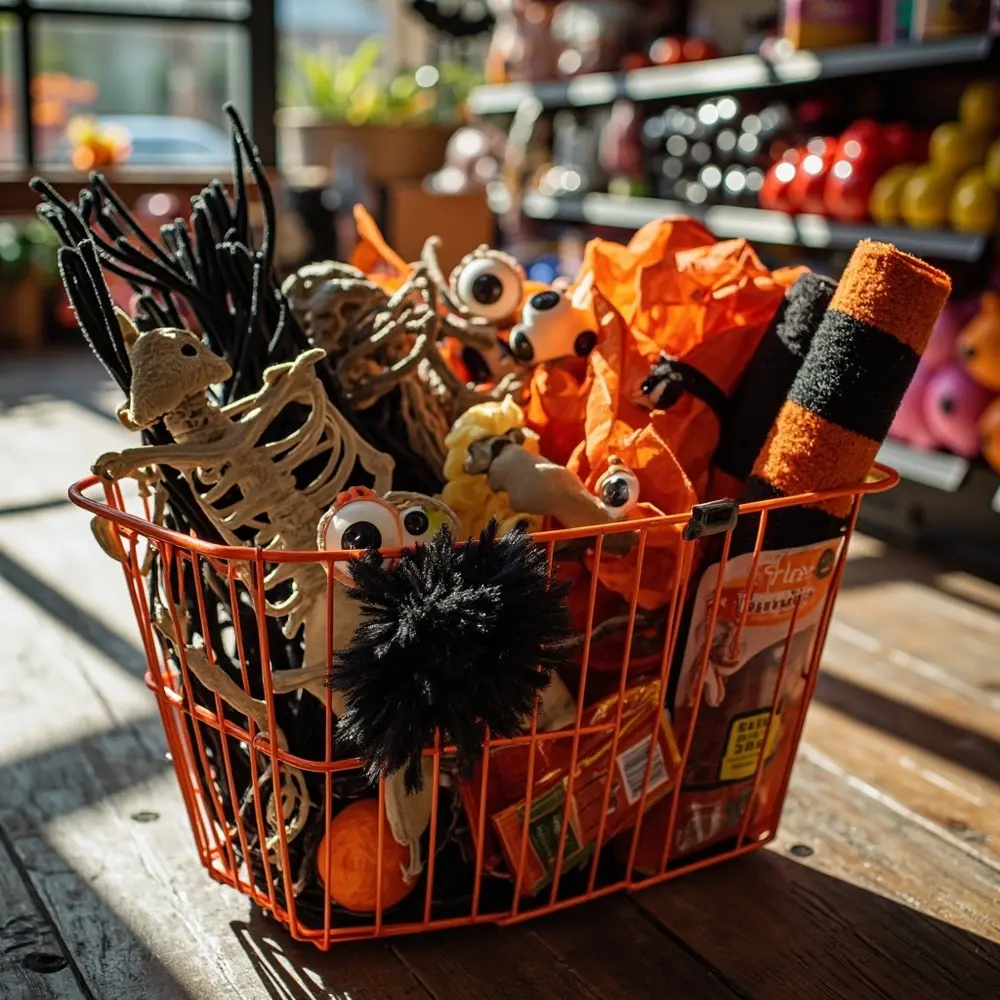
This is where the fun really starts! Unleash the participants (or teams) on the dollar store. Set a timer for the shopping portion—I find 30-45 minutes is plenty. Encourage them to think outside the box. That spooky-looking plastic bowl? It could be a monster’s head! Those weird fuzzy socks? Perfect for a creature’s body! This is a treasure hunt for creative potential.
Safety First ⚠️: To keep the challenge fair and fun, make sure everyone sticks to the budget and the time limit. Appoint a “receipt checker” to playfully verify the totals before crafting begins.
Image-4: A close-up shot of a shopping basket overflowing with a quirky mix of dollar store items: plastic skeletons, googly eyes, orange crepe paper, black pipe cleaners, and a pack of foam pumpkins.
Step 3: Crafting Chaos: Let the Creativity Unfold
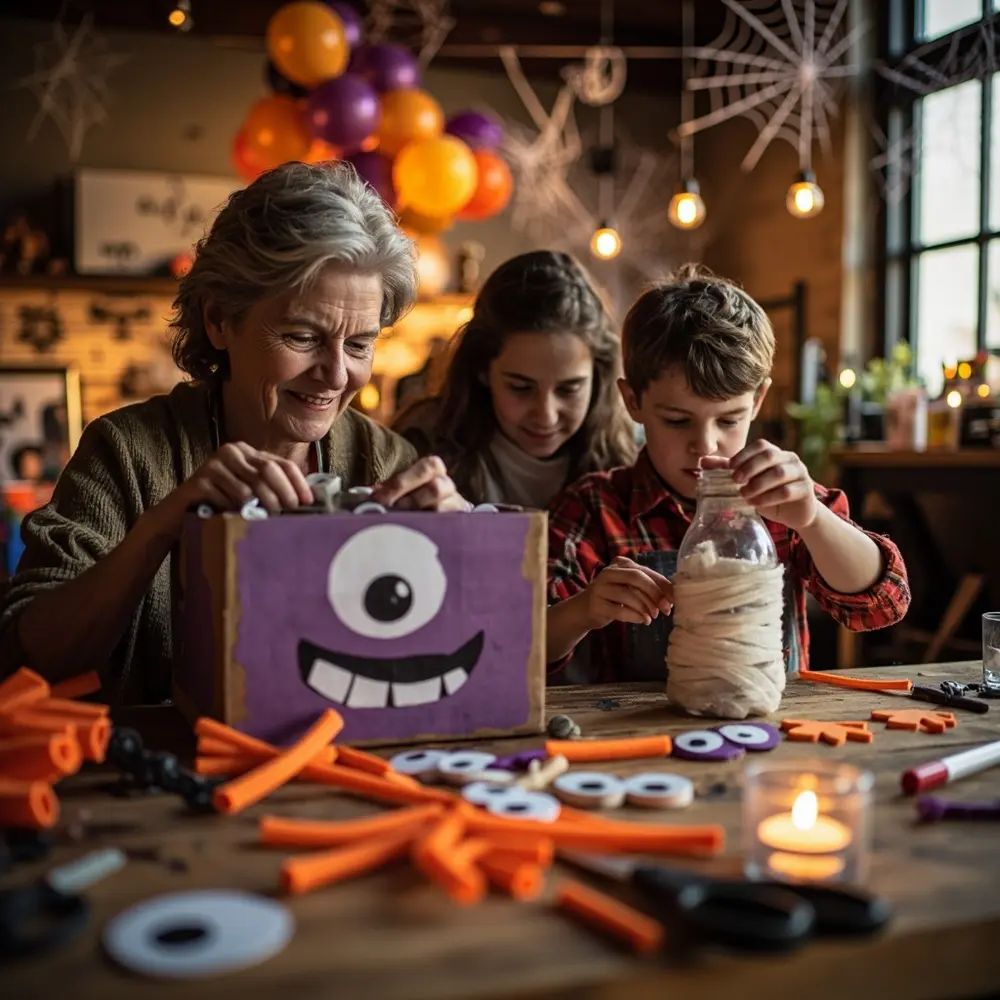
Once everyone is back with their treasures, it’s time to craft! Set the timer for the main event (I recommend 60-90 minutes). Announce “GO!” and watch the creativity explode. Remind everyone that they can only use the items they purchased, plus the communal tools (glue, scissors, etc.). The energy in the room during this phase is my favorite part—pure, chaotic fun.
Safety First ⚠️: If you’re using hot glue guns or craft knives, make sure there’s adult supervision, especially with younger kids. Keep a small first-aid kit handy just in case of minor cuts or burns.
Image-5: An action shot of several people at a table, deeply focused on their crafts. One person is gluing googly eyes onto a painted box, while another is wrapping a bottle in gauze to look like a mummy.
Step 4: The Grand Reveal & Spooky Judging
Time’s up! Pencils down, glue guns off. Have each participant or team place their finished creation on a designated display table. This is the “art gallery” moment. Give each creator a minute to present their masterpiece and share their “artist’s statement”—what they made and how they did it. Then, it’s time to judge!
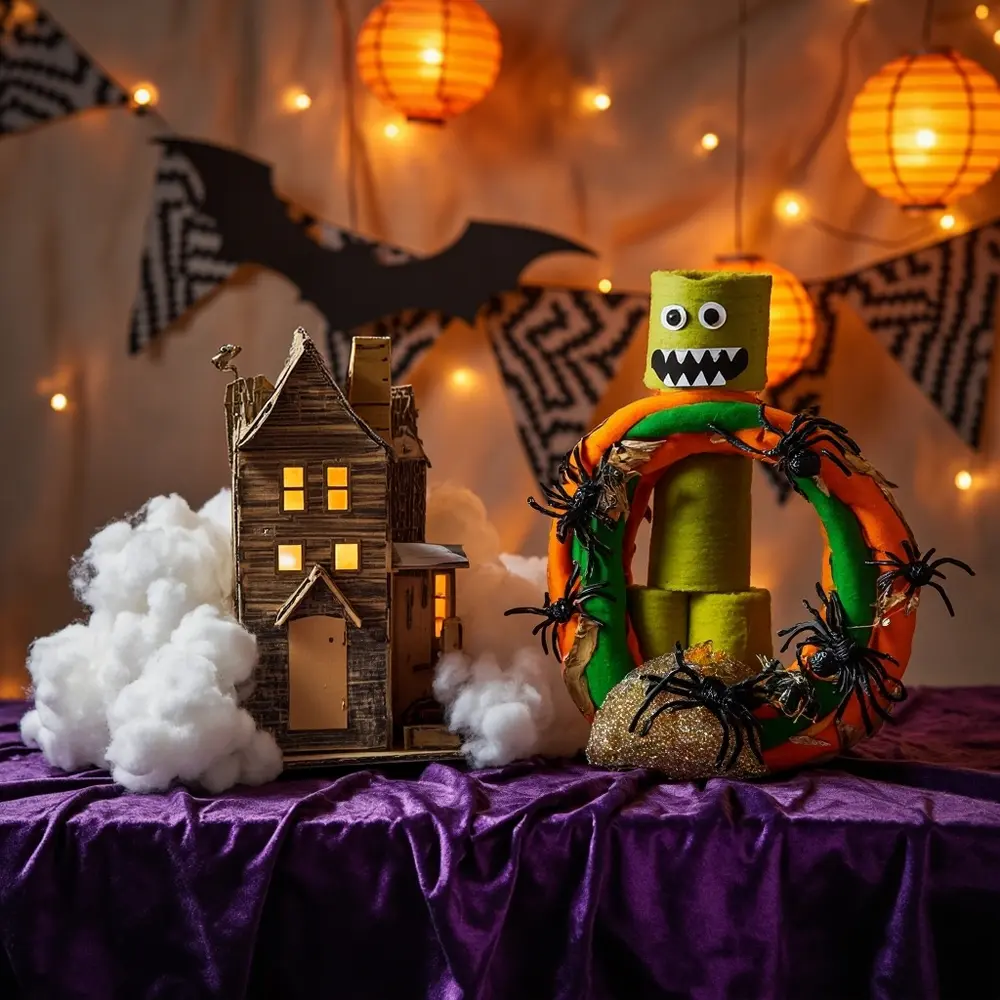
Image-6: A lineup of finished, wildly different Halloween decorations on a table. Examples include a haunted house made from cardboard and cotton balls, a monster created from pool noodles, and a spooky wreath made of plastic spiders and ribbons.
Step 5: Crowning the Craft King (or Queen)! 👑
Tally the scores from your judging slips and get ready for the grand announcement! I love to have a few fun categories like “Most Creative,” “Spookiest Creation,” and, of course, the grand prize winner for “Best Overall Decoration.” Announce the winners with a little fanfare. But remember to end by celebrating everyone’s hard work. The real prize is the fun and the hilarious, spooky memories you all made together.
Image-7: A photo of the winner, a young girl, proudly holding up her winning craft (a diorama of a graveyard scene) while her family applauds and cheers in the background.

Mastering Your Dollar Store Challenge: The Judging & Fairness Guide ⚖️
“Best” is subjective, right? So how do you judge fairly? I’ve found the key is to have clear criteria. Before the challenge begins, tell everyone they’ll be judged on a few key things.
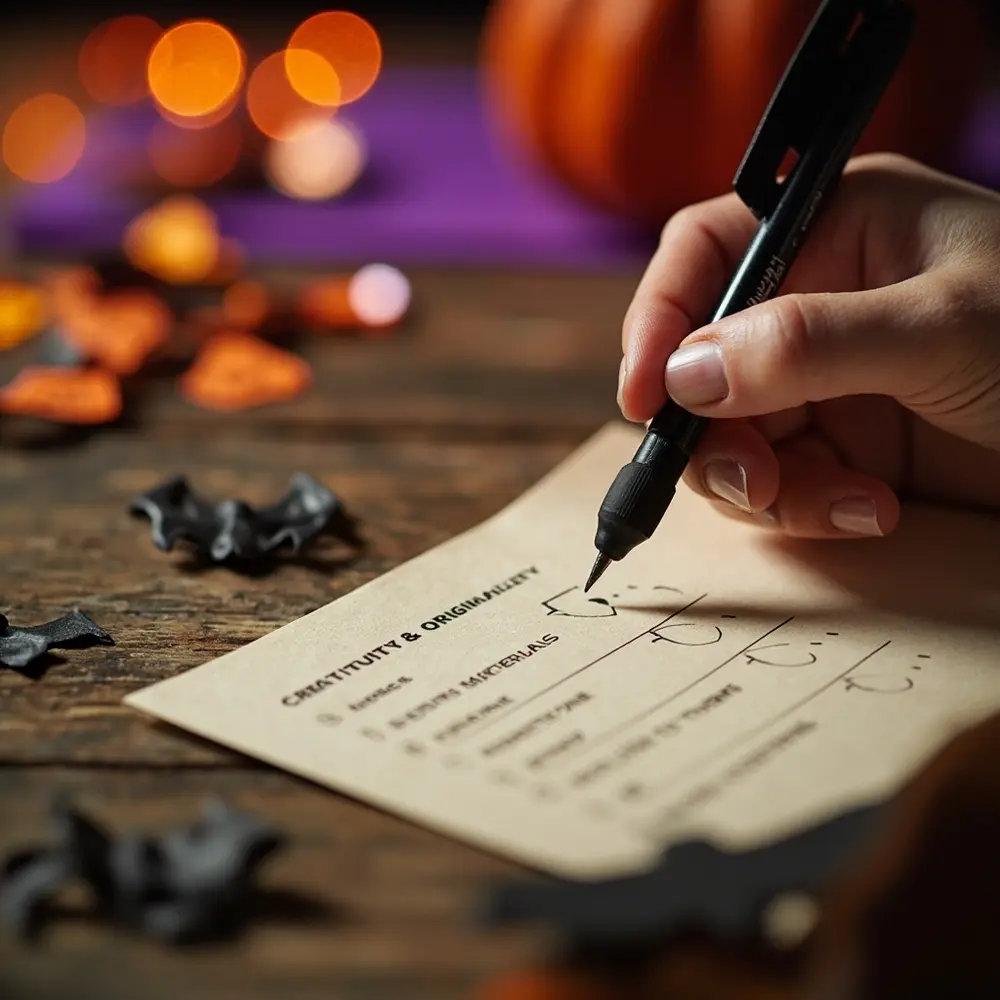
Here’s a simple scorecard system you can use (rate each from 1-5):
- Creativity & Originality: How unique is the idea? Did they transform their items in a surprising way?
- Use of Materials: How effectively did they use their $10 haul? Did anything go to waste?
- Adherence to Theme: How well does it scream “Halloween”?
- Execution & Neatness: How well is it put together? (Be lenient with kids on this one!)
To ensure fairness, have everyone (except the creator) score each piece, or designate a small panel of impartial judges. Tally the scores, and the highest total wins! If there’s a tie, a simple “audience applause” vote can be a fun tie-breaker.
Image-8: A close-up shot of a hand filling out a simple, handmade judging scorecard with the criteria listed.
Variations & Customizations to Haunt Your House 🦇
Want to mix things up? This challenge is endlessly adaptable!
- Age-Specific Adaptation: For little goblins, you can pre-buy bags of supplies to make it less overwhelming. For teens and adults, try adding bonus challenges like “must be wearable” or “must light up.”
- Themed Challenges: Go beyond general Halloween! Try a specific theme like “Spooky Monsters,” “Haunted House Miniatures,” or even something silly like “Alien Invasion Halloween.”
- Team vs. Individual: For parties, team-based challenges are amazing for collaboration. My niece and her cousins once made an epic three-foot-tall spider together!
- Material Limitation: Add an extra twist, like “You can only use 5 items” or “Your craft must incorporate something from the garden section.”
- Time Crunch Challenge: For a high-energy version, slash the crafting time to just 30 minutes!
Theme Twist 👻: Instead of just decorations, challenge participants to create a functional Halloween prop. This could be a custom trick-or-treat bag, a wearable costume accessory (like a mask or a magic wand), or even a piece for a spooky tabletop game.
Halloween Activity FAQs ❓
Q1: How do we ensure fair judging in a creative challenge where “best” is subjective?
My best advice is to use a scorecard with set criteria (like creativity, theme, etc.) that everyone knows beforehand. This shifts the focus from a vague “I like this one best” to a more structured scoring system. Having multiple judges also helps balance out individual preferences!
Q2: What if a participant goes over budget or time during the shopping or crafting phases?
Keep it lighthearted! For going over budget, you could have a funny, minor “penalty,” like they have to forfeit one of their items. For going over the crafting time, I usually give a 1-minute warning and then playfully declare “TOOLS DOWN!” Sticking to the rules is part of the challenge’s fun.
Q3: Can this Dollar Store Craft Challenge be adapted for a virtual setting with participants crafting from different locations?
Absolutely! Set the same budget and theme for everyone. Have them do their shopping individually, then hop on a video call for the crafting session. It’s a fantastic way to connect with friends and family who live far away. The “Grand Reveal” over video chat is always a highlight!
Image-9: A screenshot of a mock video call, with four different people in their own homes, each holding up a finished craft to their webcam and smiling.

Conclusion
There you have it—a complete guide to hosting one of the most fun, memorable, and ridiculously affordable Halloween activities ever. The Dollar Store Craft Challenge isn’t just about making spooky decor; it’s about making memories. It’s about the laughter that erupts when someone’s googly-eyed monster falls apart, the shared pride in the final “art gallery,” and the joy of creating something together. I’ve seen this activity bring families and friends closer, spark incredible creativity in kids, and become a yearly tradition.
So go on, give it a try this Halloween season! I promise you won’t regret it.
What’s the most creative thing you think you could make with $10 from the dollar store? Let me know in the comments—I’m always looking for new ideas! 🎃
