How to Turn Dollar Store Finds into High-End Halloween Decor
Do you ever walk through the Dollar Store’s Halloween aisle, see all that potential, but then worry the final result will just look… well, cheap? 😟 You’re not alone! Those bright orange plastics and flimsy decorations can feel miles away from the moody, high-end decor you see in designer catalogs. It can be so frustrating when your vision doesn’t match your budget.
But what if you could unlock the secret to transforming those $1.25 finds into stunning, sophisticated pieces? I’m talking about decor that has your friends and family asking, “Where did you that?” a question I absolutely love hearing. This is for the budget-savvy creator who wants a champagne look on a beer budget. 🥂
We’re going way beyond a simple craft project today. I’m going to teach you my core techniques—what I call the ‘High-End Formula’—that designers use to create an expensive aesthetic. Follow these steps, and you’ll be able to turn any pile of cheap trinkets into chic, envy-inducing Halloween decor. 🎃
Let’s get crafting!
- Difficulty Level 🦴: Beginner
- Time to Complete ⏳: Approx. 1-2 hours per item (plus paint drying time)
- Estimated Cost 💰: Under $25
- Prerequisites 🧠: A desire for spooky, chic decor on a budget!
Tools & Materials Needed 🛠️
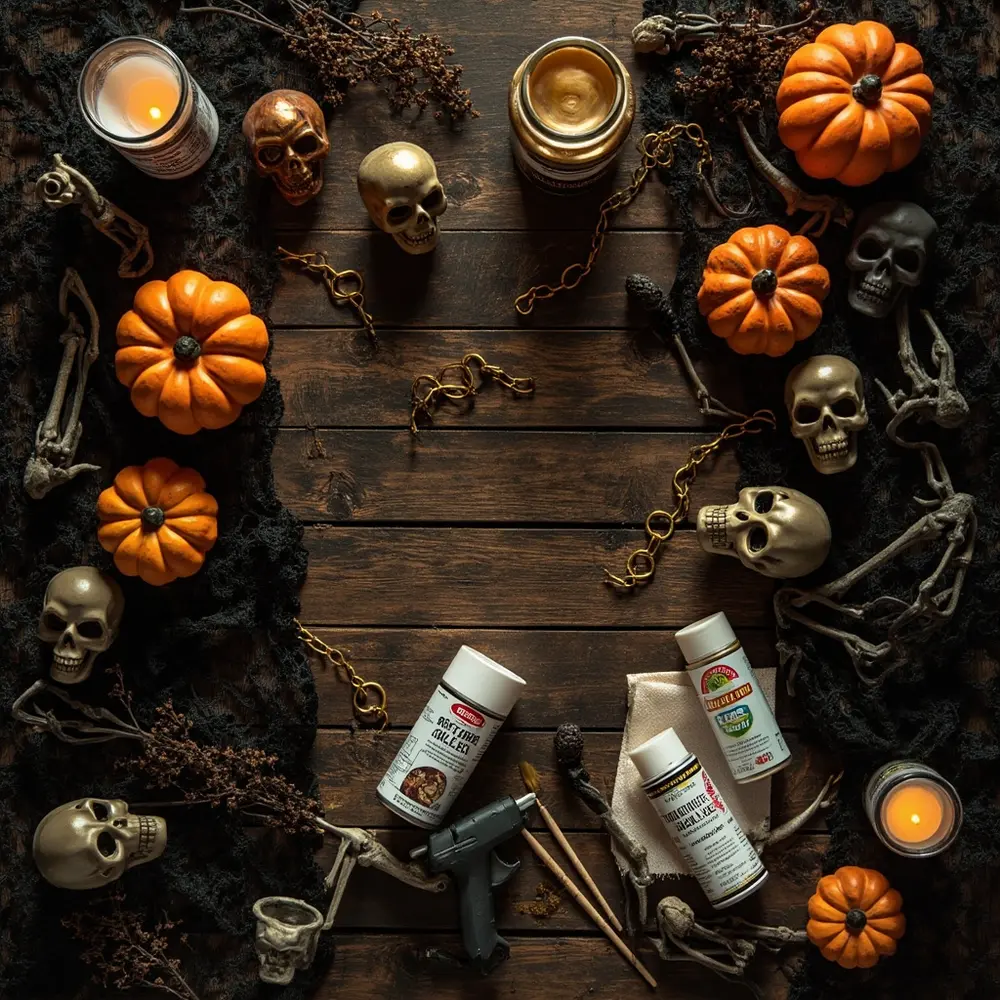
Before we begin our spooky alchemy, you’ll need to gather your base materials and the “magic” supplies that will transform them. This is your master shopping list for creating an arsenal of elevated decor. Think of this as your Halloween spellbook ingredients!
- The “Bones” (Your Dollar Store Items):
- Plastic pumpkins, skulls, skeletons, or spiders
- Plastic serving trays or chargers
- Faux floral stems (I always look for dark colors)
- Glass candle holders or vases
- Plastic chain links or fencing
- The “Magic” (Your Transformation Supplies):
- Matte Black Spray Paint: This is my non-negotiable secret weapon. It instantly makes plastic look high-end.
- Metallic Accents: Your choice of Gold, Brass, or Copper. I personally love gold.
- Option A: Metallic Craft Paint
- Option B (Advanced): Rub ‘n Buff in Gold Leaf for a truly authentic metallic sheen.
- Antiquing & Texturizing Mediums (Optional but I recommend them!):
- Antiquing Wax or Dark Brown Craft Paint
- Baking Soda or fine sand (to mix with paint for texture)
- Adhesives & Tools:
- Hot Glue Gun
- E6000 or a similar strong craft glue
- An assortment of small craft paintbrushes
- Paper towels or old rags
Initial Setup
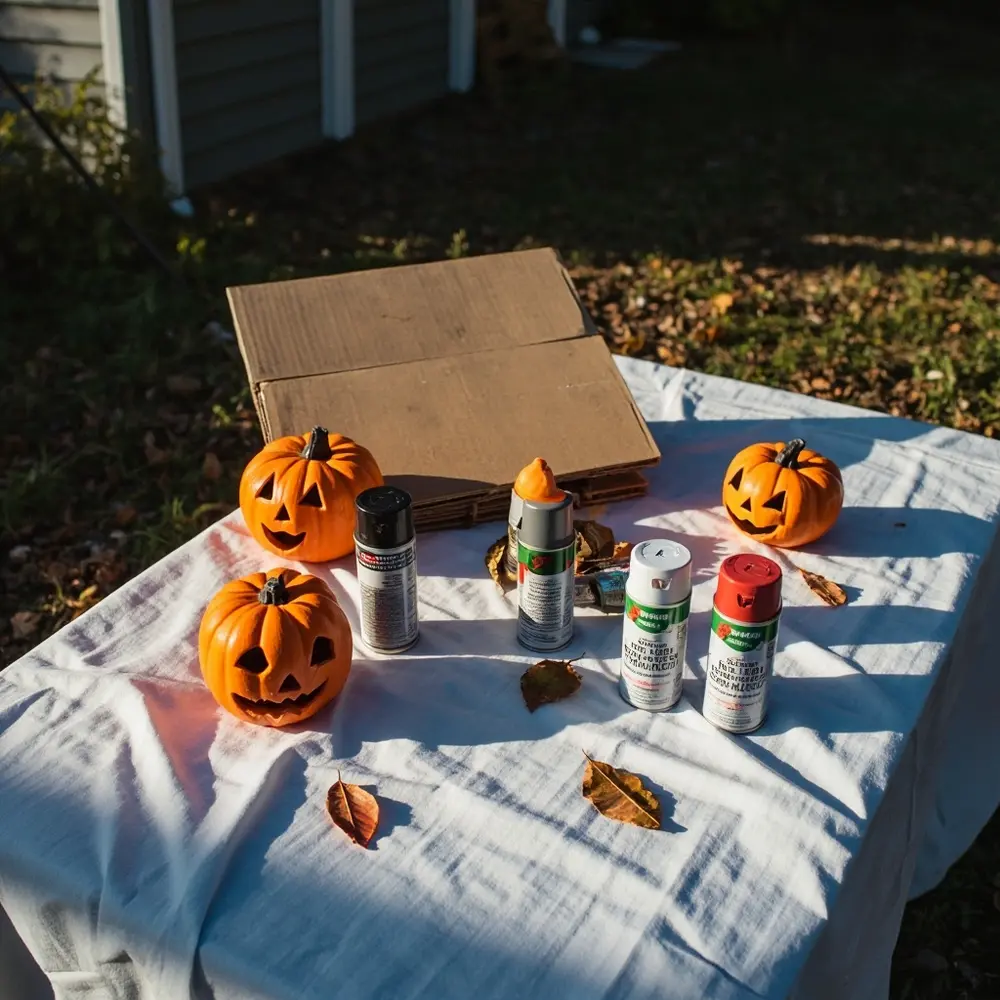
First things first, set up a well-ventilated workspace for your spray painting. I always do this outdoors or in my garage with the door wide open. Lay down a drop cloth or some old cardboard to protect the surface.
⚠️ Warning: Spray paint fumes are strong and can be flammable. Please always work in a well-ventilated area. I also suggest wearing a mask if you are sensitive to fumes.
Step-by-Step Tutorial 🛠️
This is my universal formula. You can apply these five steps to almost any plastic or ceramic item from the dollar store to give it an instant, expensive-looking upgrade.
Step 1 – The Prep & Prime Foundation
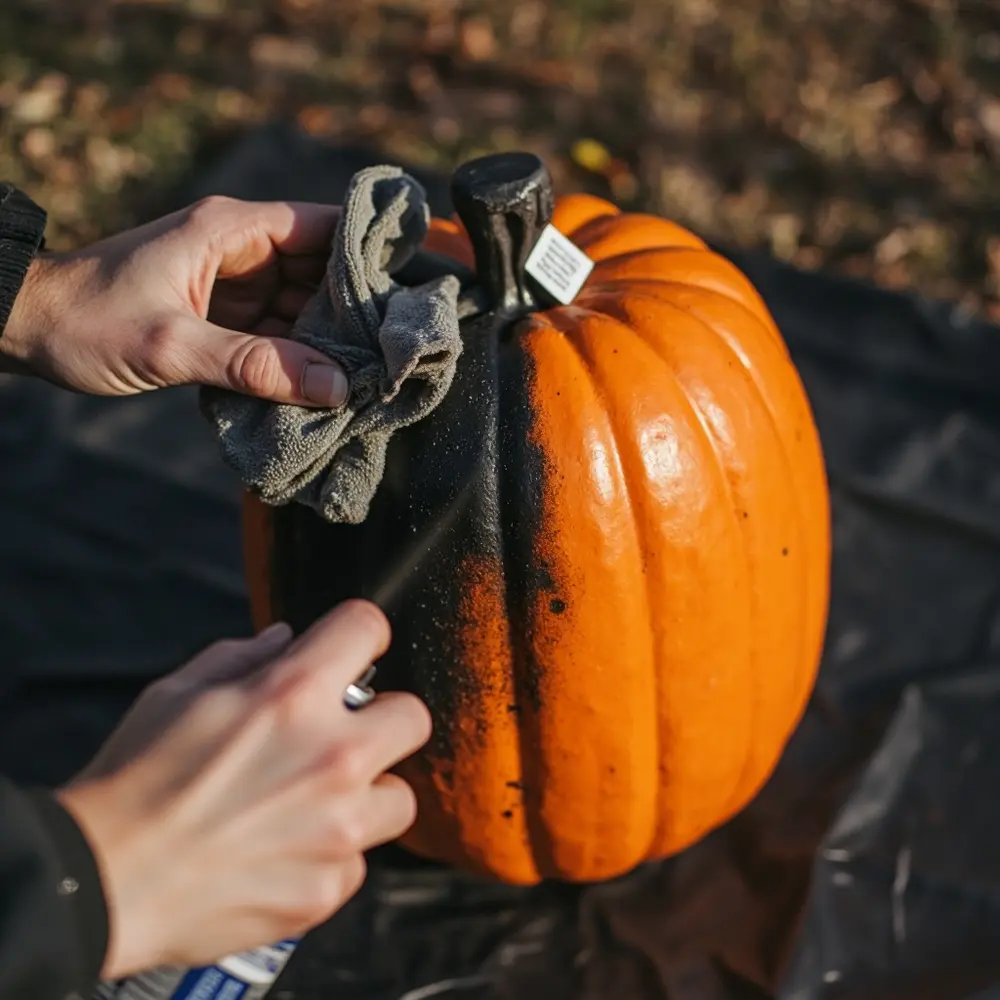
Your goal here is to prepare the cheap plastic surface. We need to apply a base coat that completely erases the item’s “dollar store” look and feel.
- First, peel off any price tags, glitter, or flimsy attachments from your dollar store item.
- Wipe the item down with a slightly damp cloth to get rid of any dust or greasy residue. Let it dry completely.
- In your ventilated area, apply a thin, even coat of Matte Black Spray Paint. The real key here is to use light, sweeping motions rather than one heavy spray. This helps you avoid drips.
- Let the first coat dry for at least 20-30 minutes. Then, apply a second coat to make sure you have full, opaque coverage.
Important Note: Don’t spray too close! I’ve learned that holding the can about 8-10 inches away from the object is the sweet spot. This prevents drips and gives you a perfect, even finish.
Step 2 – Adding Moody Texture (Optional)
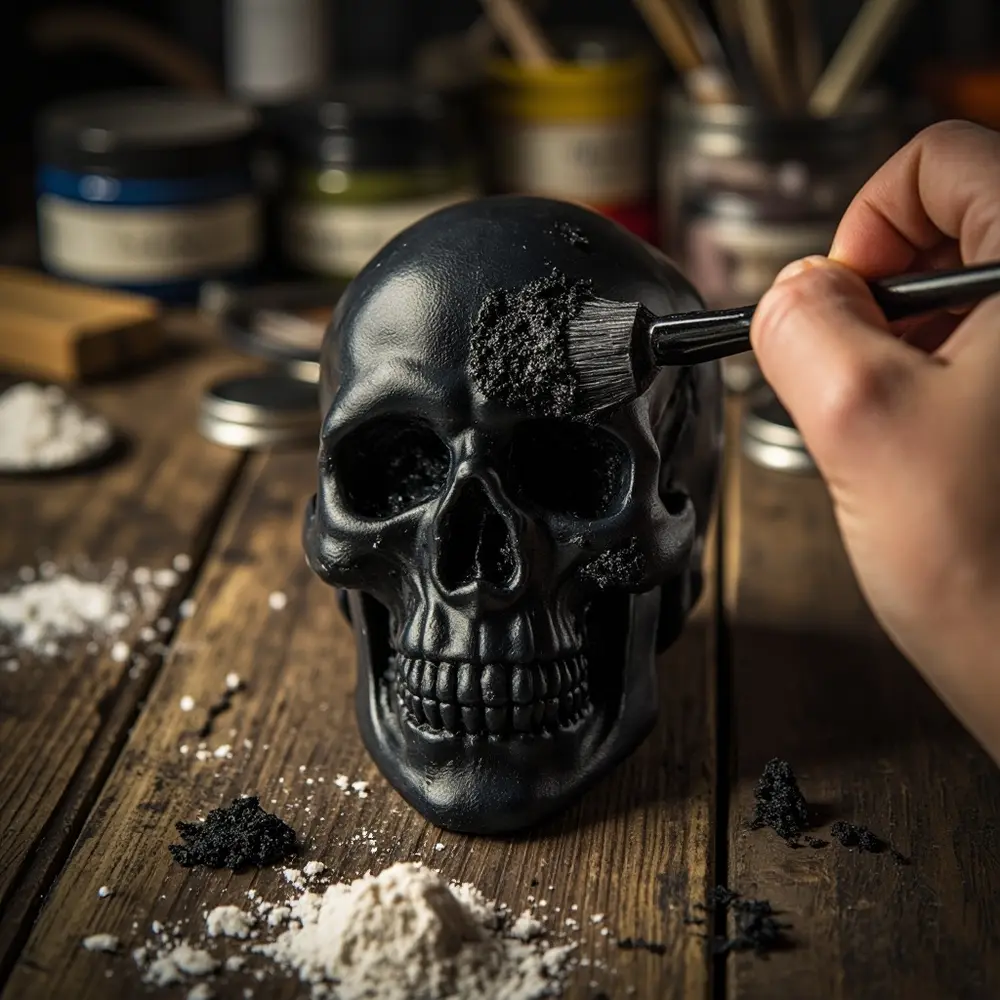
This step gives flat, lifeless plastic a more organic, stone-like, or aged texture. I love this part because it really makes things look authentic.
- In a disposable cup, mix a small amount of black or dark grey craft paint with a spoonful of baking soda.
- Stir it until you have a thick, slightly gritty paste. It should feel a little like cake frosting.
- Using a stiff paintbrush, dab and stipple this mixture onto your item. I like to focus on crevices and areas where it would naturally look older.
- Let it dry completely. The result should be a rough, almost stone-like texture that looks amazing.
Step 3 – Introducing Gilded & Metallic Accents
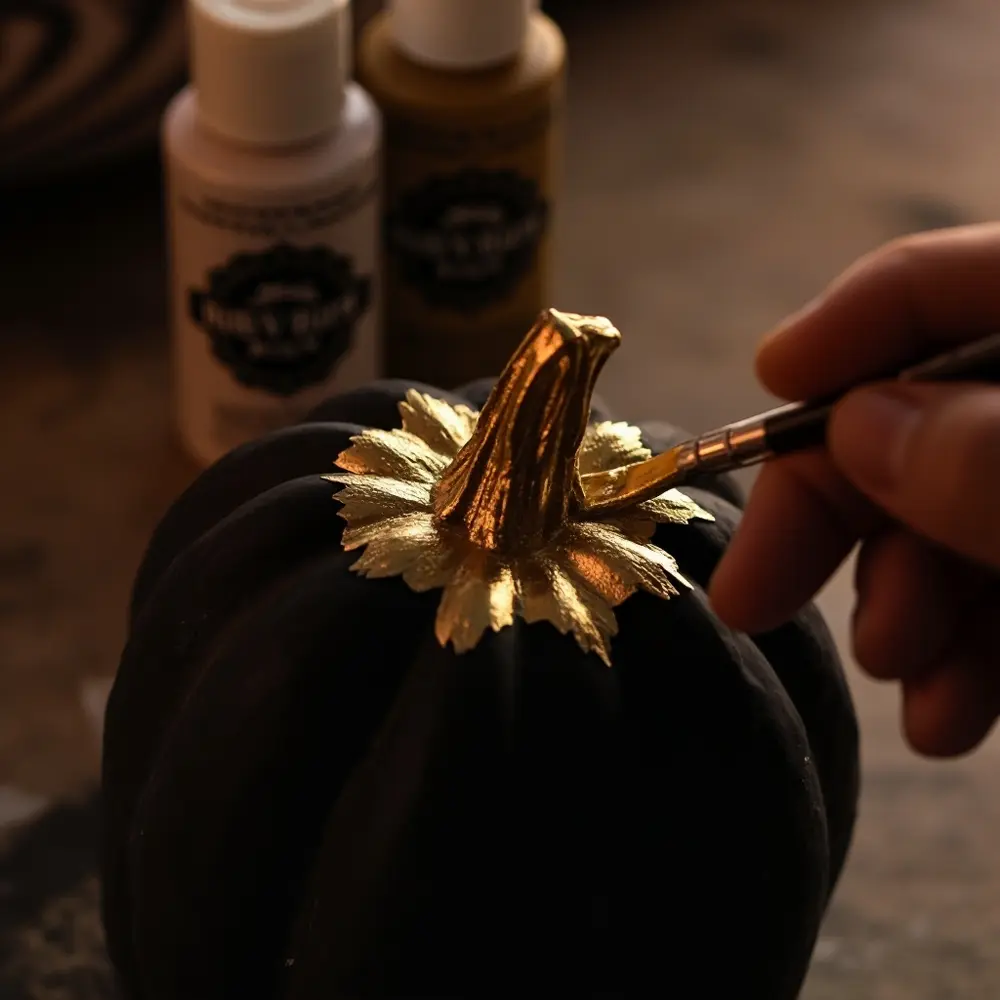
Now for the magic! The goal is to add a touch of luxury with strategic metallic details. This is what truly sells the “expensive” look.
- Decide where you want your metallic accents. Good choices are the stem of a pumpkin, the cheekbones of a skull, or the raised edges of a tray.
- Using a small, dry paintbrush, lightly dip it into your metallic craft paint. Or, put a tiny amount of Rub ‘n Buff on your fingertip.
- Gently brush or rub the metallic accent onto the raised areas of your object. You don’t want to cover it completely. The goal is just to “kiss” the high points with a bit of metal.
- Build the color up slowly. It’s always easier to add more than it is to take it away!
My Personal Tip: When I first launched my “Spooky Sharma” YouTube channel, my first viral video was a simple skull transformation. The real secret was using Rub ‘n Buff with my finger instead of a brush. It gives a much more authentic, worn-in metallic look that a brush just can’t replicate.
Step 4 – The Final Aging & Sealing
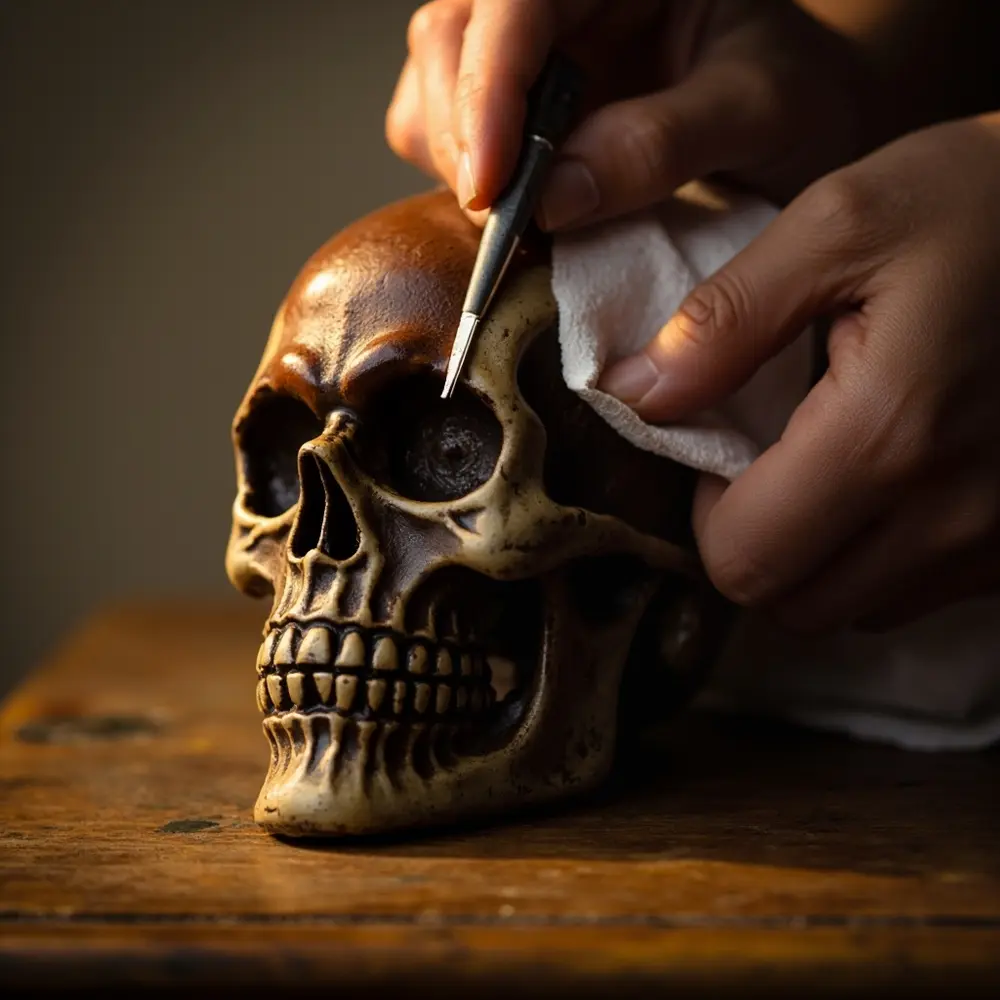
This last touch is all about deepening the shadows. It makes your metallic accents look naturally aged, not like they were just painted on.
- For a more “antique” look, take a clean rag and dab a tiny amount of Antiquing Wax or dark brown paint into the crevices of your object.
- Immediately wipe away the excess with a clean part of the rag. This leaves the dark wax only in the deepest parts, which adds depth and makes the details pop.
- If your item will be handled a lot or placed outdoors, I recommend applying a coat of Matte Clear Coat Sealer to protect your beautiful finish.
Step 5 – Staging Your High-End Creation

You’re done with the project, but this step is just as important! Your goal is to display your finished piece in a way that enhances its sophisticated new look.
- Group your transformed items together. A cluster of three matte black pumpkins always looks more impactful than just one.
- Place them on a stack of old books, a wooden tray, or next to some brass candlesticks.
- Mix in natural elements like moss, dried branches, or even some white baby boo pumpkins to complete the scene.
Important Note: A great final product can look cheap if it’s poorly displayed. Context is everything! I always tell my clients to create a “scene” or a little story for their decor.
The ‘High-End Look’ Formula: Why This Method Works 🧙
Other tutorials might show you a craft, but I want you to understand the . What we just did was deconstruct the visual language of expensive decor. It’s simpler than you think!
High-end items often rely on a simple formula: a limited color palette, quality materials with texture, and subtle, elegant details. Our process just mimics this. The matte black paint unifies the cheap plastic and gives it a heavy, almost ceramic or stone-like look. The single metallic accent adds that touch of luxury without being tacky. And the antiquing adds a sense of history and realness.
You’ve just learned to speak the language of high-end design. Now you can apply it to anything!
Troubleshooting & Common Questions ❓
Why does my spray paint look streaky and have drips?
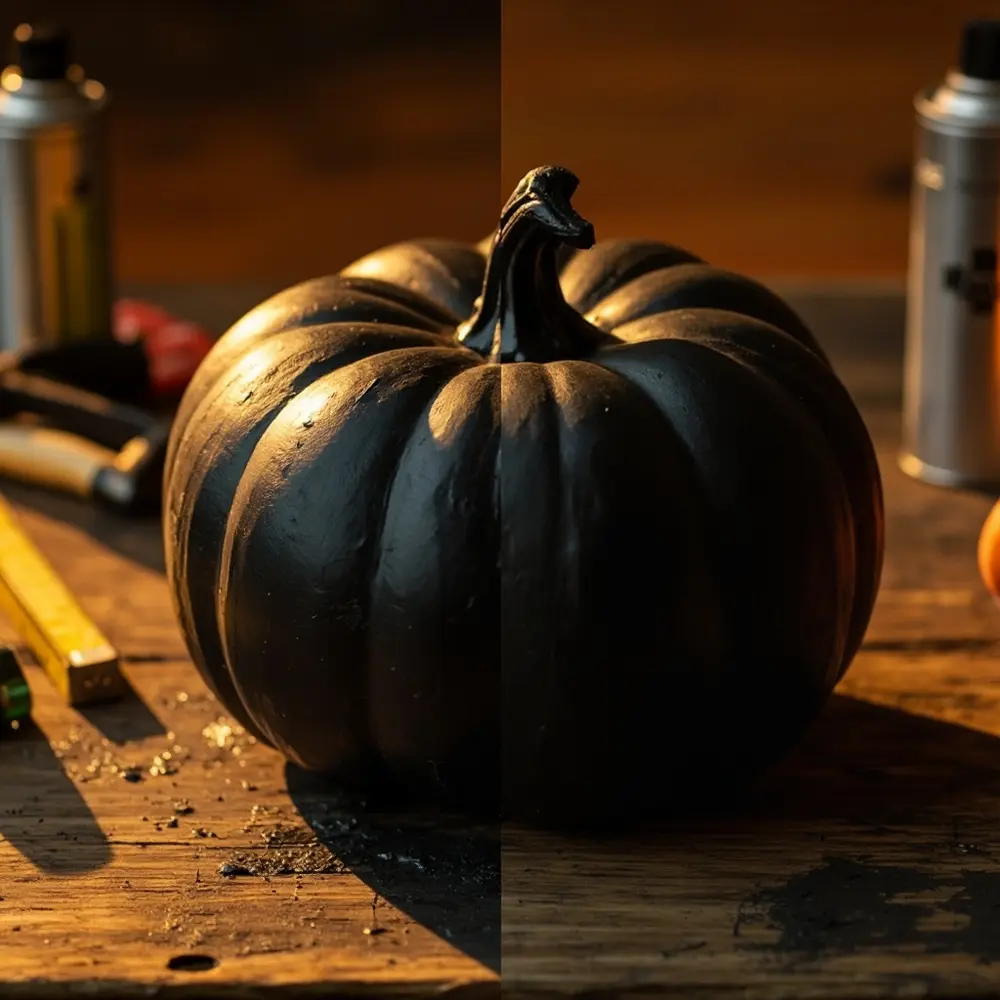
Ah, the most common issue! Trust me, I’ve made this mistake more times than I can count when rushing a prop for a client. You’re likely spraying too close to the object or applying too much paint at once. Hold the can about 8-10 inches away and use light, sweeping motions. It’s always better to apply three very light coats than one heavy, drippy one.
What do I do if my craft paint won’t stick to the base coat?
Patience is key here! You need to make sure your spray paint base coat is cured, not just dry to the touch. This can sometimes take a full 24 hours. If you’re still having trouble, you can very gently scuff the area you want to paint with some fine-grit sandpaper. This gives the new paint something to grab onto.
Do I have to use matte black for this project?
Absolutely not! The principle is about creating a sophisticated, monochromatic base. A matte white, a deep charcoal gray, or even a rich navy blue would also look beautiful with gold, silver, or copper accents. The main trick is just to avoid glossy, bright colors that can sometimes scream “plastic.”
Next Steps & More Spooky Projects 💀
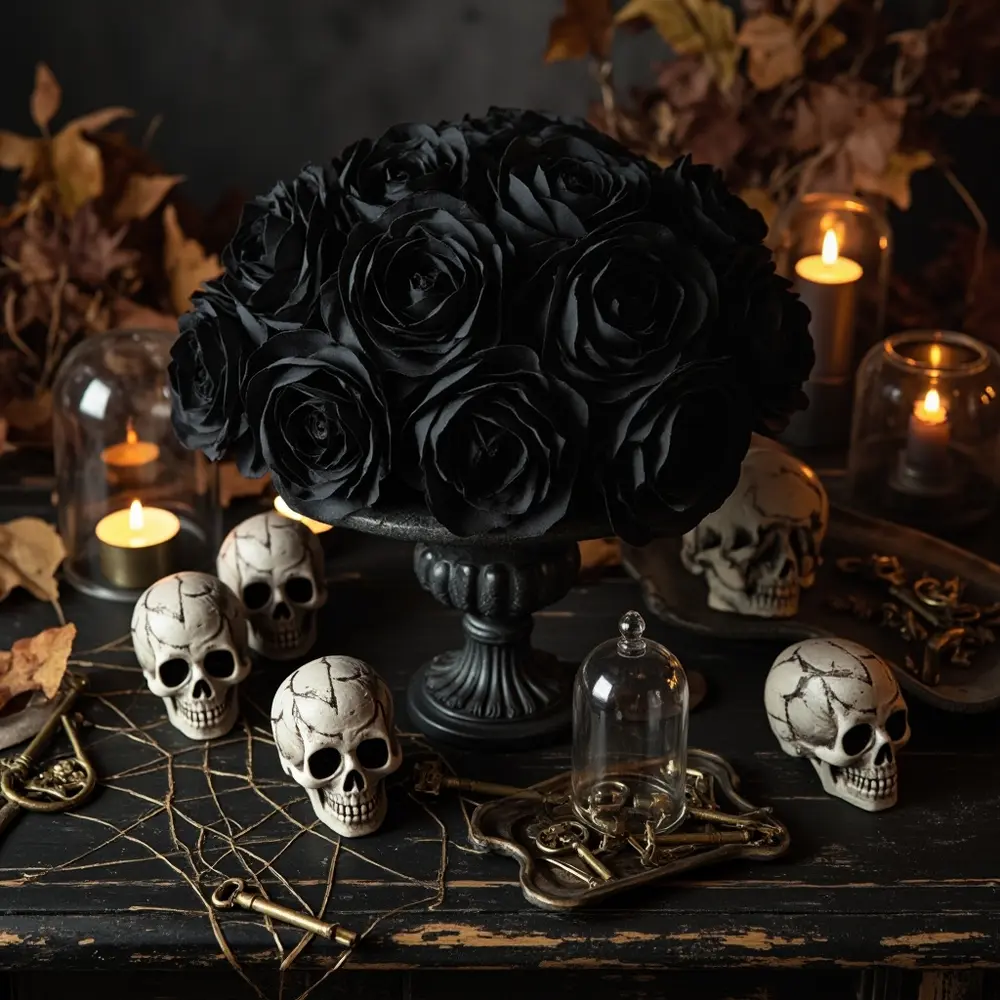
Congratulations! You’ve mastered the art of the high-end flip. Now that you have my formula, the entire dollar store is your new playground. Seriously, you’ll never look at that aisle the same way again.
- What to Do Next: Go on a “treasure hunt” at your local dollar store. I want you to look at items not for what they are, but for their . A silly ghost figurine can become a chic sculpture. A plastic serving tray can become a gothic centerpiece for your next party.
- Project Ideas to Try Next:
- Aged Stone Skulls: Use the baking soda texture technique on a bag of plastic skulls and display them in a glass cloche.
- Gilded Spider Web Tray: Transform a plastic spider web serving dish into a chic catch-all tray for your keys or jewelry.
- Gothic Floral Arrangement: Spray paint cheap, faux flowers and leafy stems matte black and arrange them in one of your newly transformed vases.
- Ready for a Specific Project? Put your new skills to the test with my detailed tutorials:
- How to Make Aged Terracotta Pumpkins
- DIY Gothic Glam Candlesticks
Conclusion (My Final Thoughts) 👻

You did it! You took a handful of dollar store finds and, with a little bit of my ‘High-End Formula’, transformed them into decor that looks like it belongs in a fancy boutique. How amazing is that?
You haven’t just made a craft; you’ve learned a valuable new skill. You can now see the hidden potential in everyday objects and understand the design tricks that create a look of luxury and elegance. Your home is officially ready for a sophisticated and spooky season, and you have the satisfaction of knowing you created it yourself on a dime.
I’d love to see what you make! What dollar store item are you most excited to transform using this method? Share your ideas in the comments below!
