“20 Amazing Dollar Tree Thanksgiving Crafts (Beautiful Decor on a Budget)”
Are you staring at those gorgeous, expensive Thanksgiving decorations in stores and feeling a little pinch in your wallet? 😫 I’ve been there!
You want your home to feel warm, festive, and beautiful, but you keep wondering, “How can I get that high-end look without the high-end price tag? Do dollar store crafts have to look… cheap?”
Well, get ready to be amazed! ✨ I’m sharing my absolute favorite hacks for transforming simple Dollar Tree finds into stunning, elegant decor that will have your guests asking which boutique you shopped at. Let’s create something beautiful together!
🛒 My Must-Have High-End Hack Supplies
Matte Chalk Paint Set
Metallic Gold Spray Paint
Jute Twine
Hot Glue Gun
E6000 Adhesive
✨ Click each item to explore affordable options for your Thanksgiving setup!
My Top 3 Favorite Crafts
Before we dive into the full list, I have to share my personal top picks! These are the projects I come back to year after year.
- Easiest to Make: Framed Fall Printables. This is the definition of instant elegance. You can create beautiful, custom art for your home in less than 10 minutes!
- Most Unique Idea: Elegant Beaded Corn Craft. I love how this project uses simple split peas to create something so textured and surprisingly sophisticated. It’s always a conversation starter.
- Biggest ‘Wow’ Factor: Faux Mercury Glass Votives. This technique is pure magic! It transforms plain glass holders into what looks like treasured antique decor, and the warm glow is simply breathtaking.
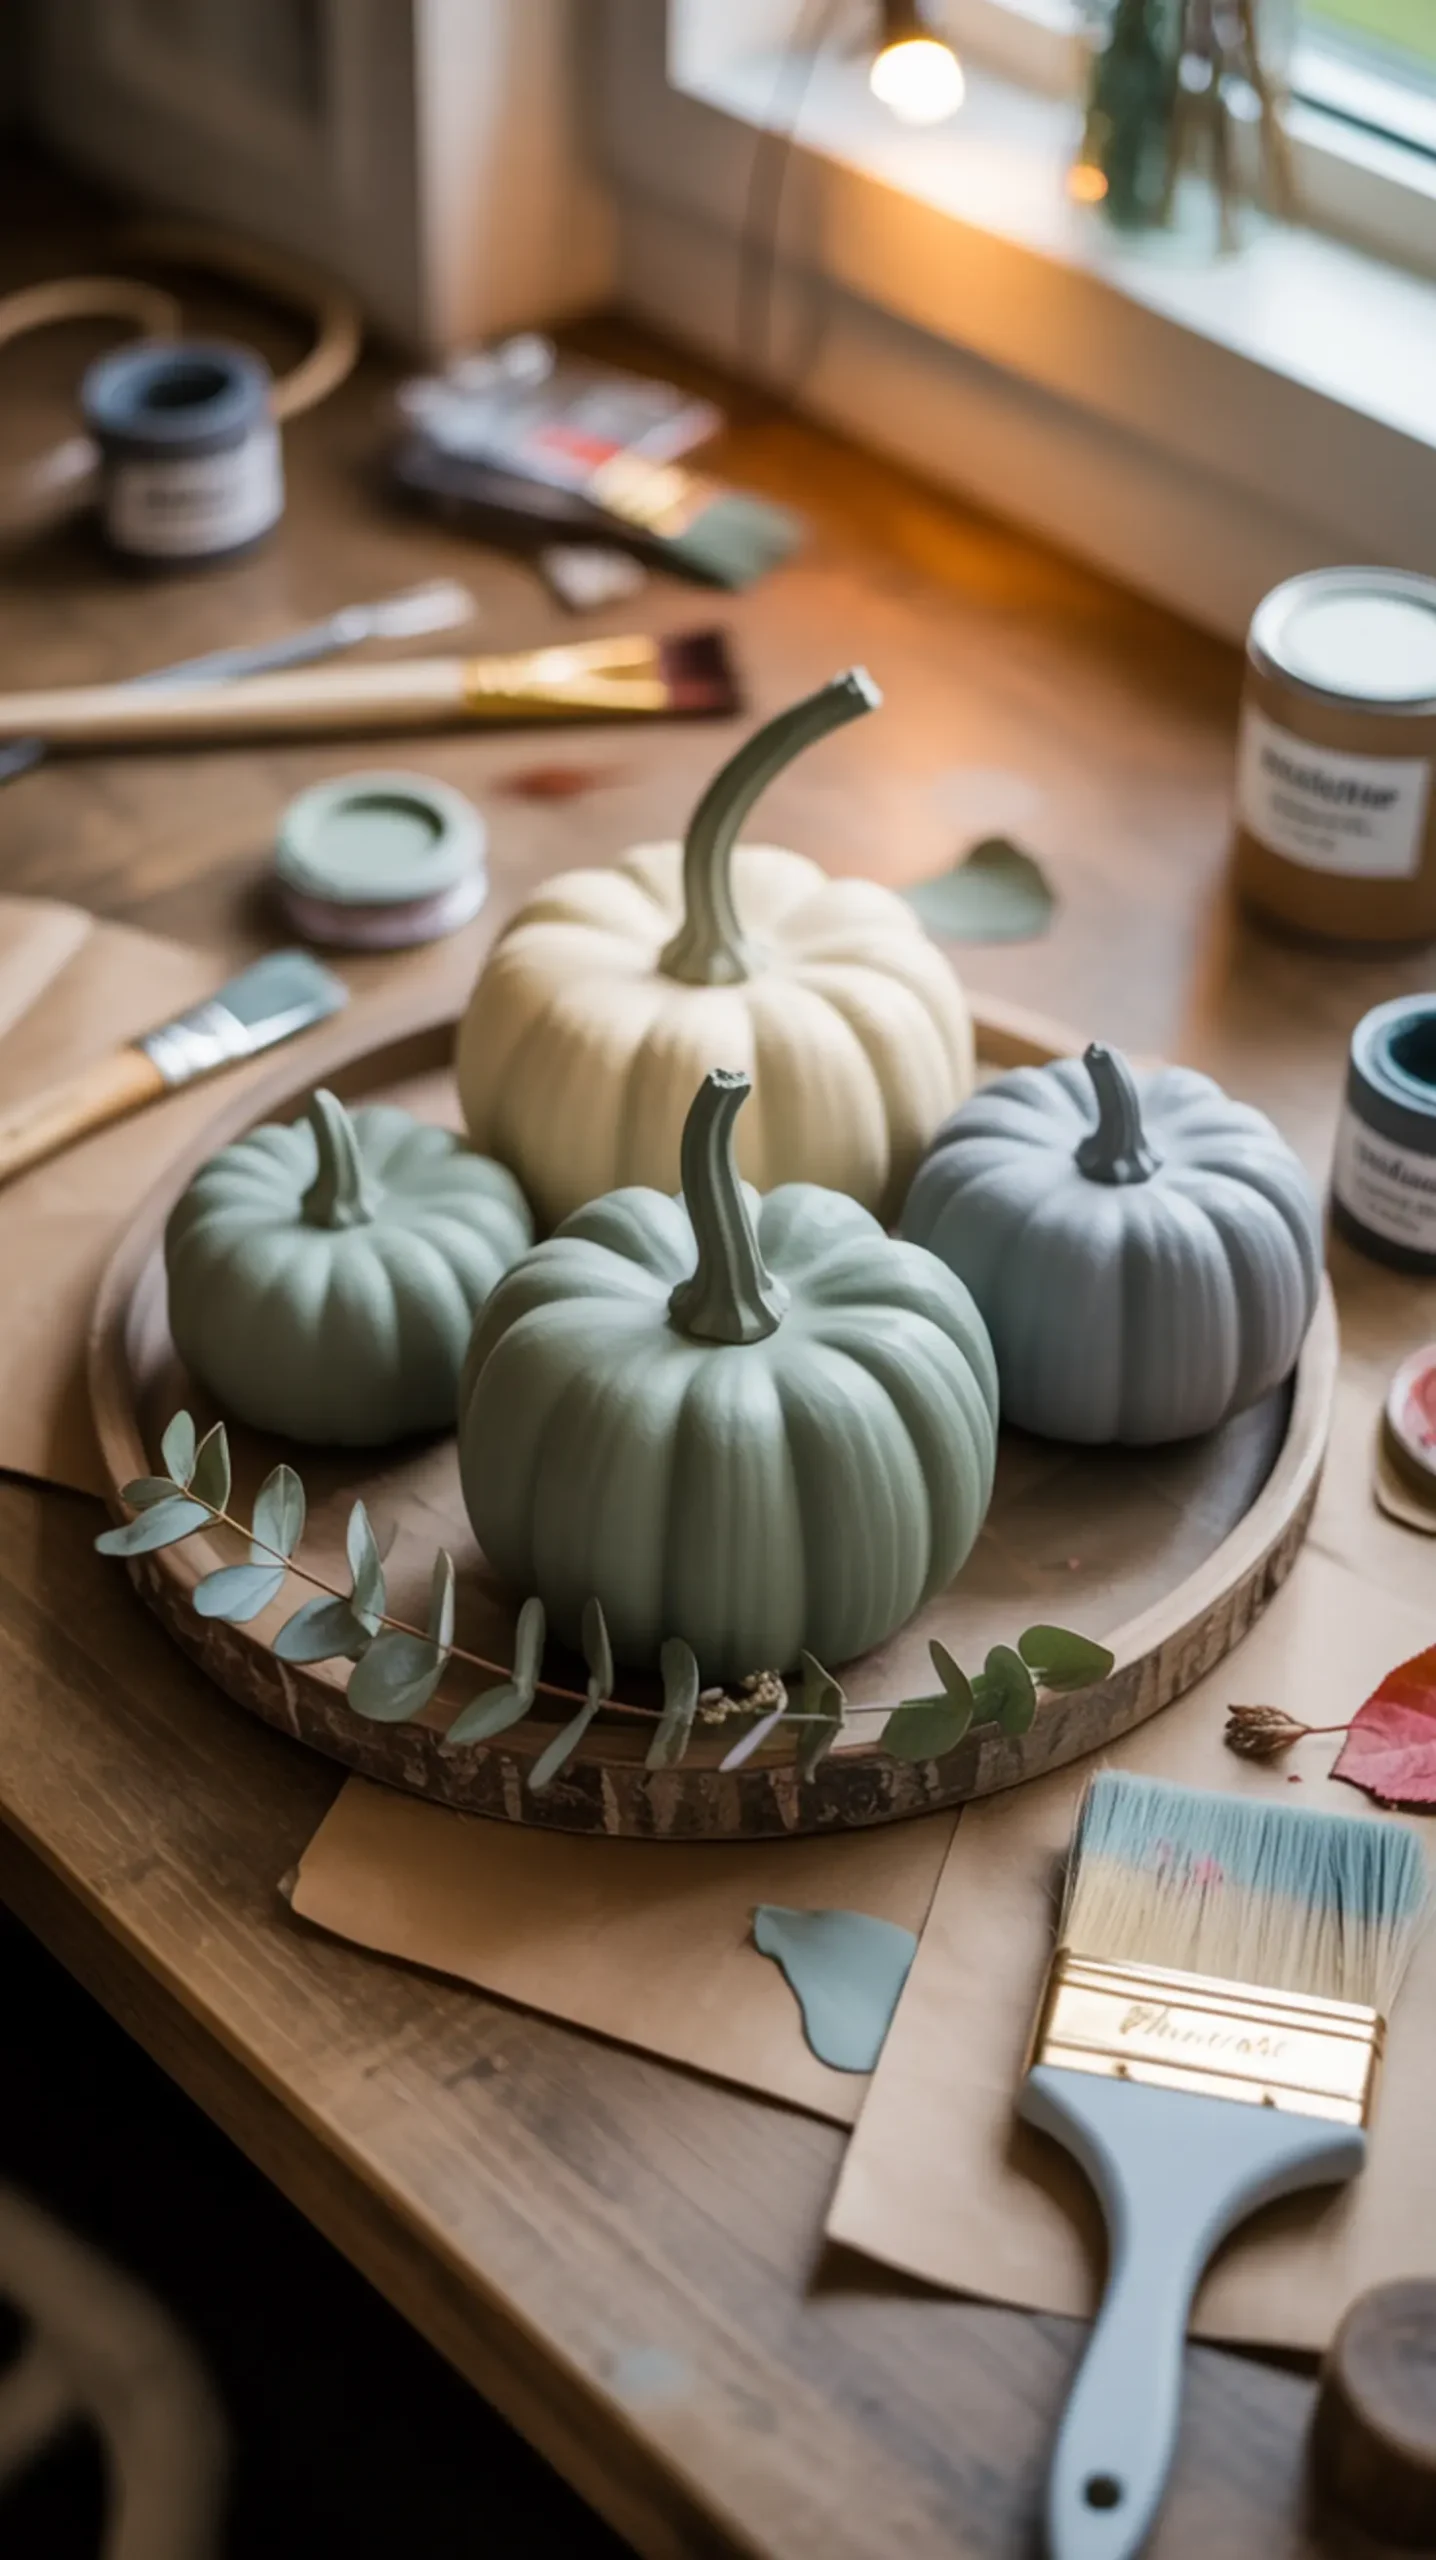
1. Elegant Chalk Painted Pumpkins 🦃
I absolutely adore this transformation because it takes those bright orange foam pumpkins and turns them into something so chic and timeless. A little chalk paint in muted tones like sage green, cream, or gray gives them a beautiful matte finish that looks incredibly high-end. They are a staple in my home every single fall!
Craft Snapshot: Difficulty: Easy | Active Time: 20 mins (plus dry time) | Mess Level: Low | Learning Focus: Painting Technique
🎯 Best For: Creating a modern farmhouse look or a sophisticated centerpiece.
Image-1: A trio of chalk-painted foam pumpkins in muted sage, cream, and gray, styled on a rustic wooden tray with a sprig of eucalyptus.
2. Gilded Leaf Garland Makeover 🦃
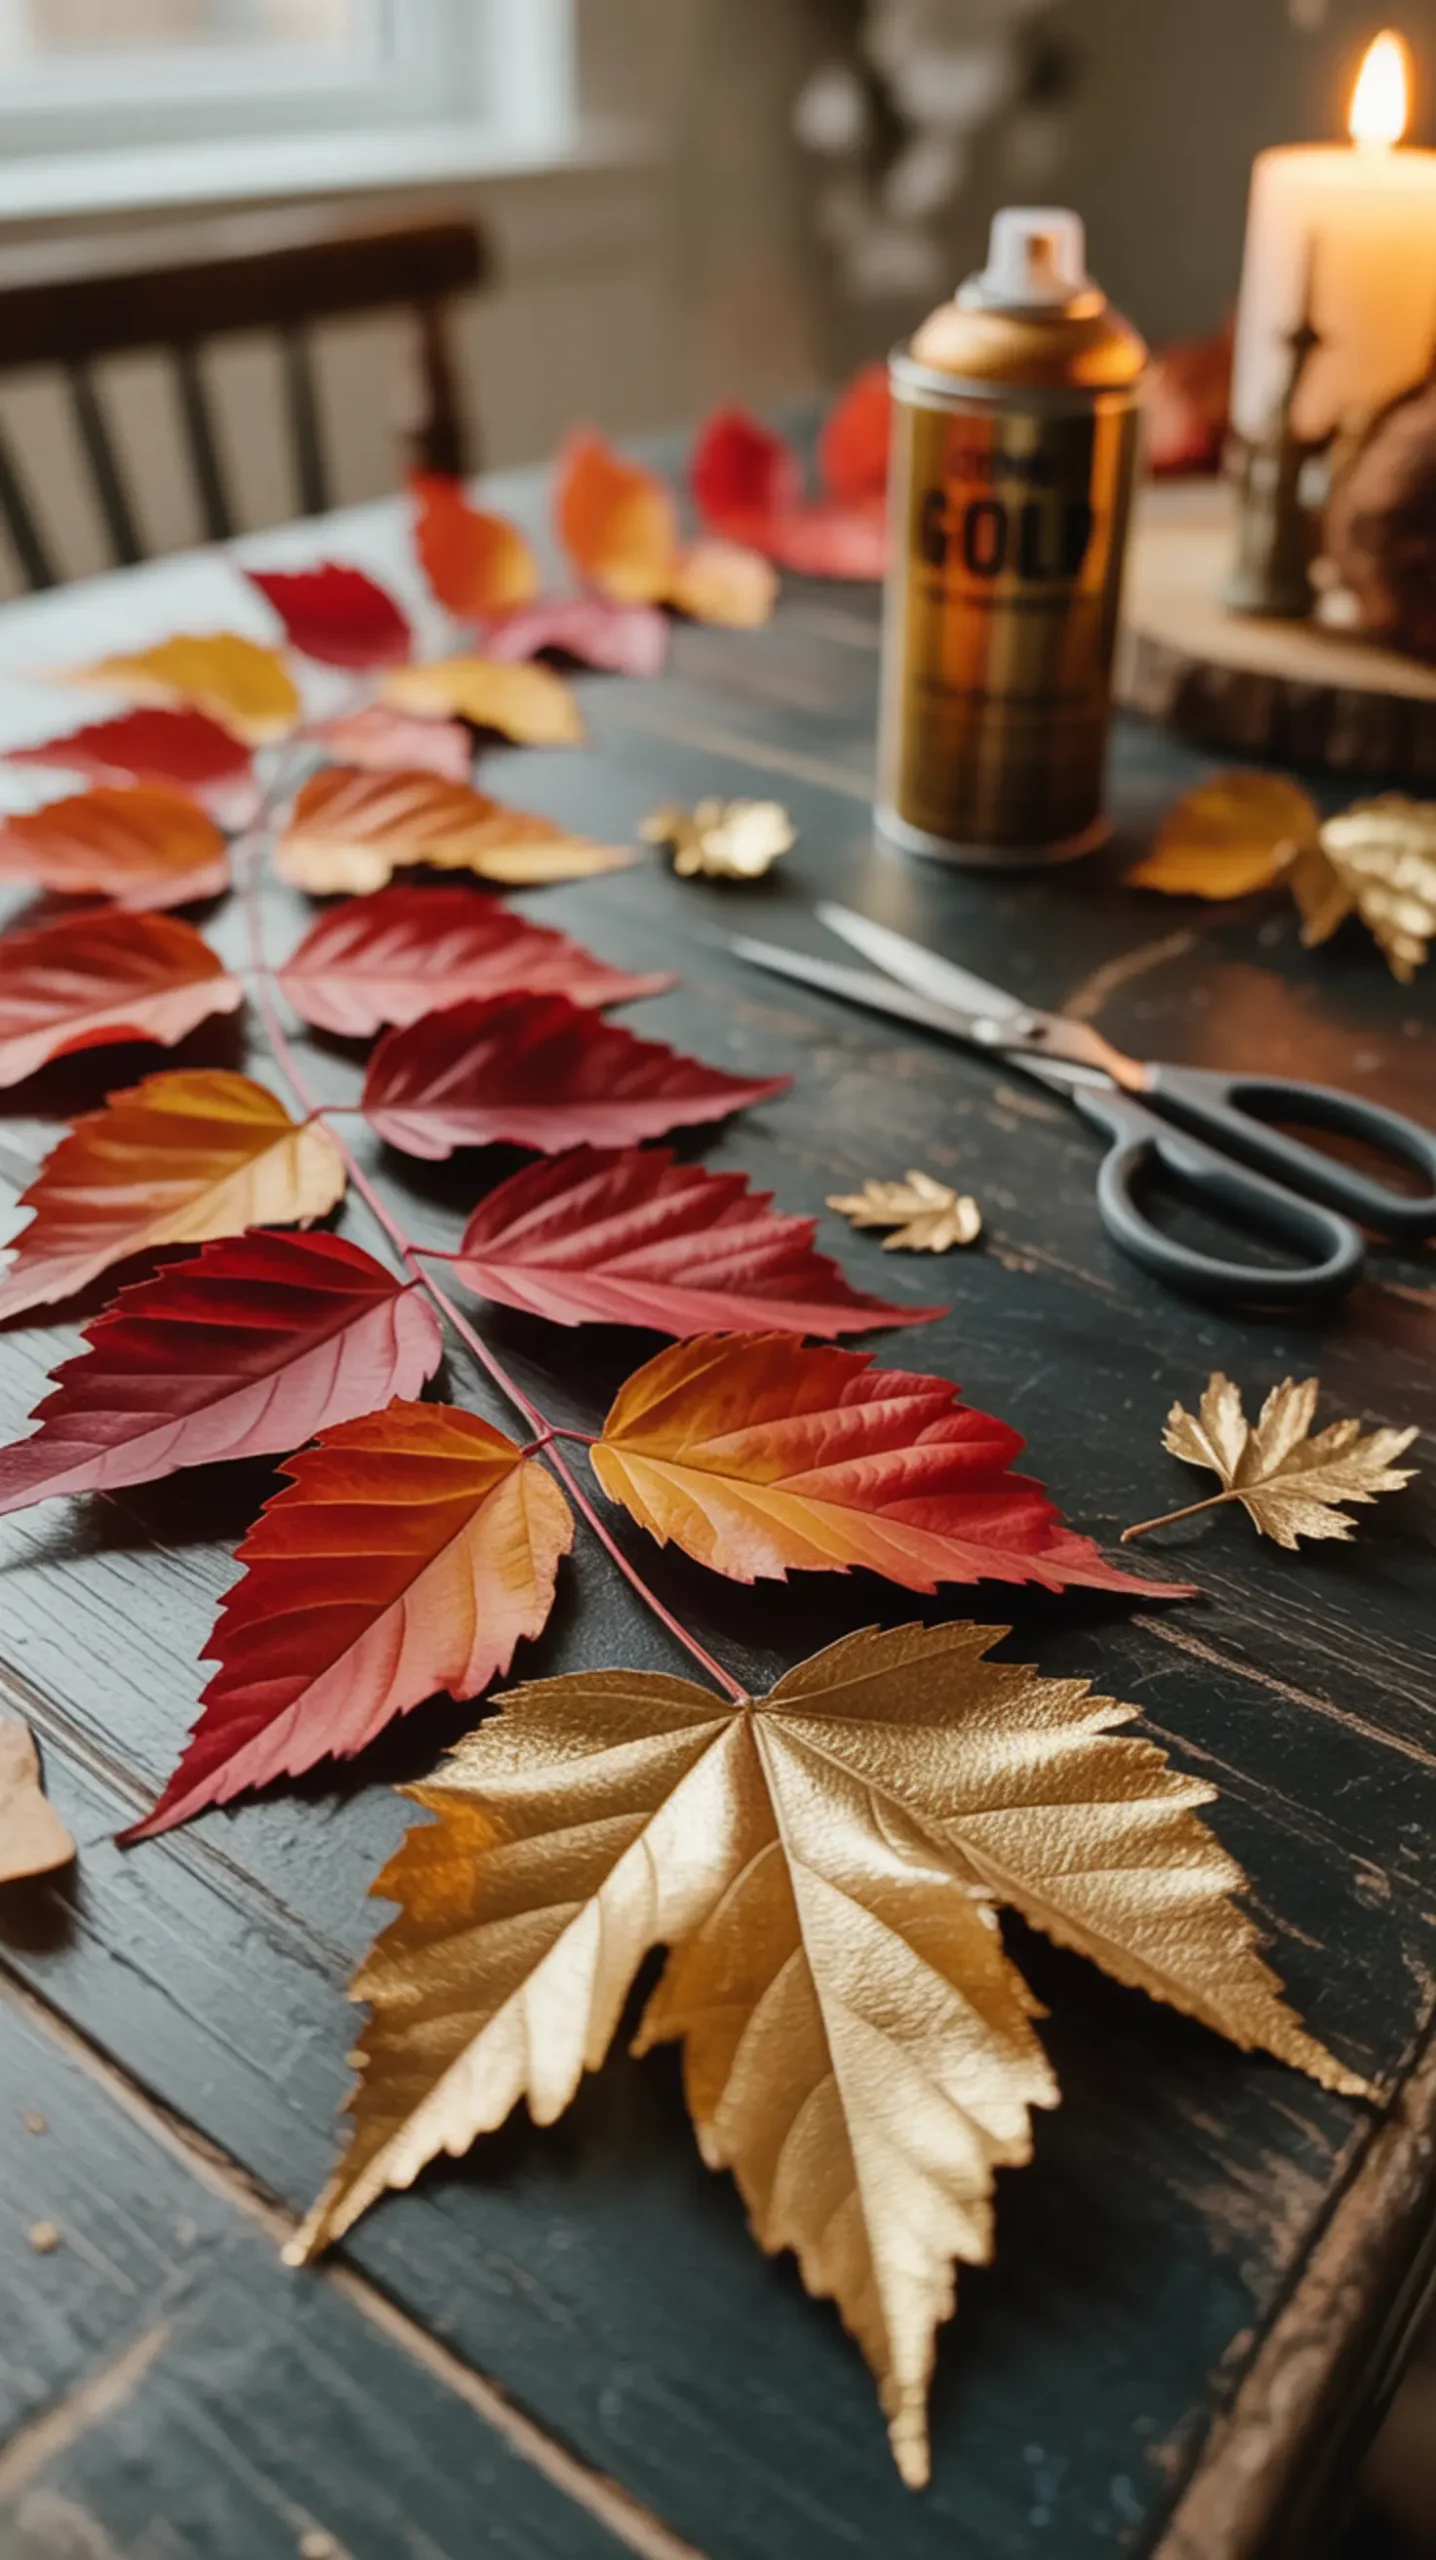
This is one of the simplest yet most impactful upgrades you can do. That standard fall leaf garland from Dollar Tree can look a bit flimsy, but a quick coat of metallic gold or copper spray paint completely changes the game. It gives the leaves a beautiful weight and shimmer that catches the light so wonderfully.
Craft Snapshot: Difficulty: Easy | Active Time: 15 mins (plus dry time) | Mess Level: Medium (spray paint) | Learning Focus: Upcycling
🎯 Best For: Adding a touch of glam to a mantel, doorway, or tablescape.
Image-2: A close-up of a fall leaf garland with half the leaves in their original red and orange, and the other half transformed with a shimmering metallic gold finish.
3. Faux Mercury Glass Votives 🦃
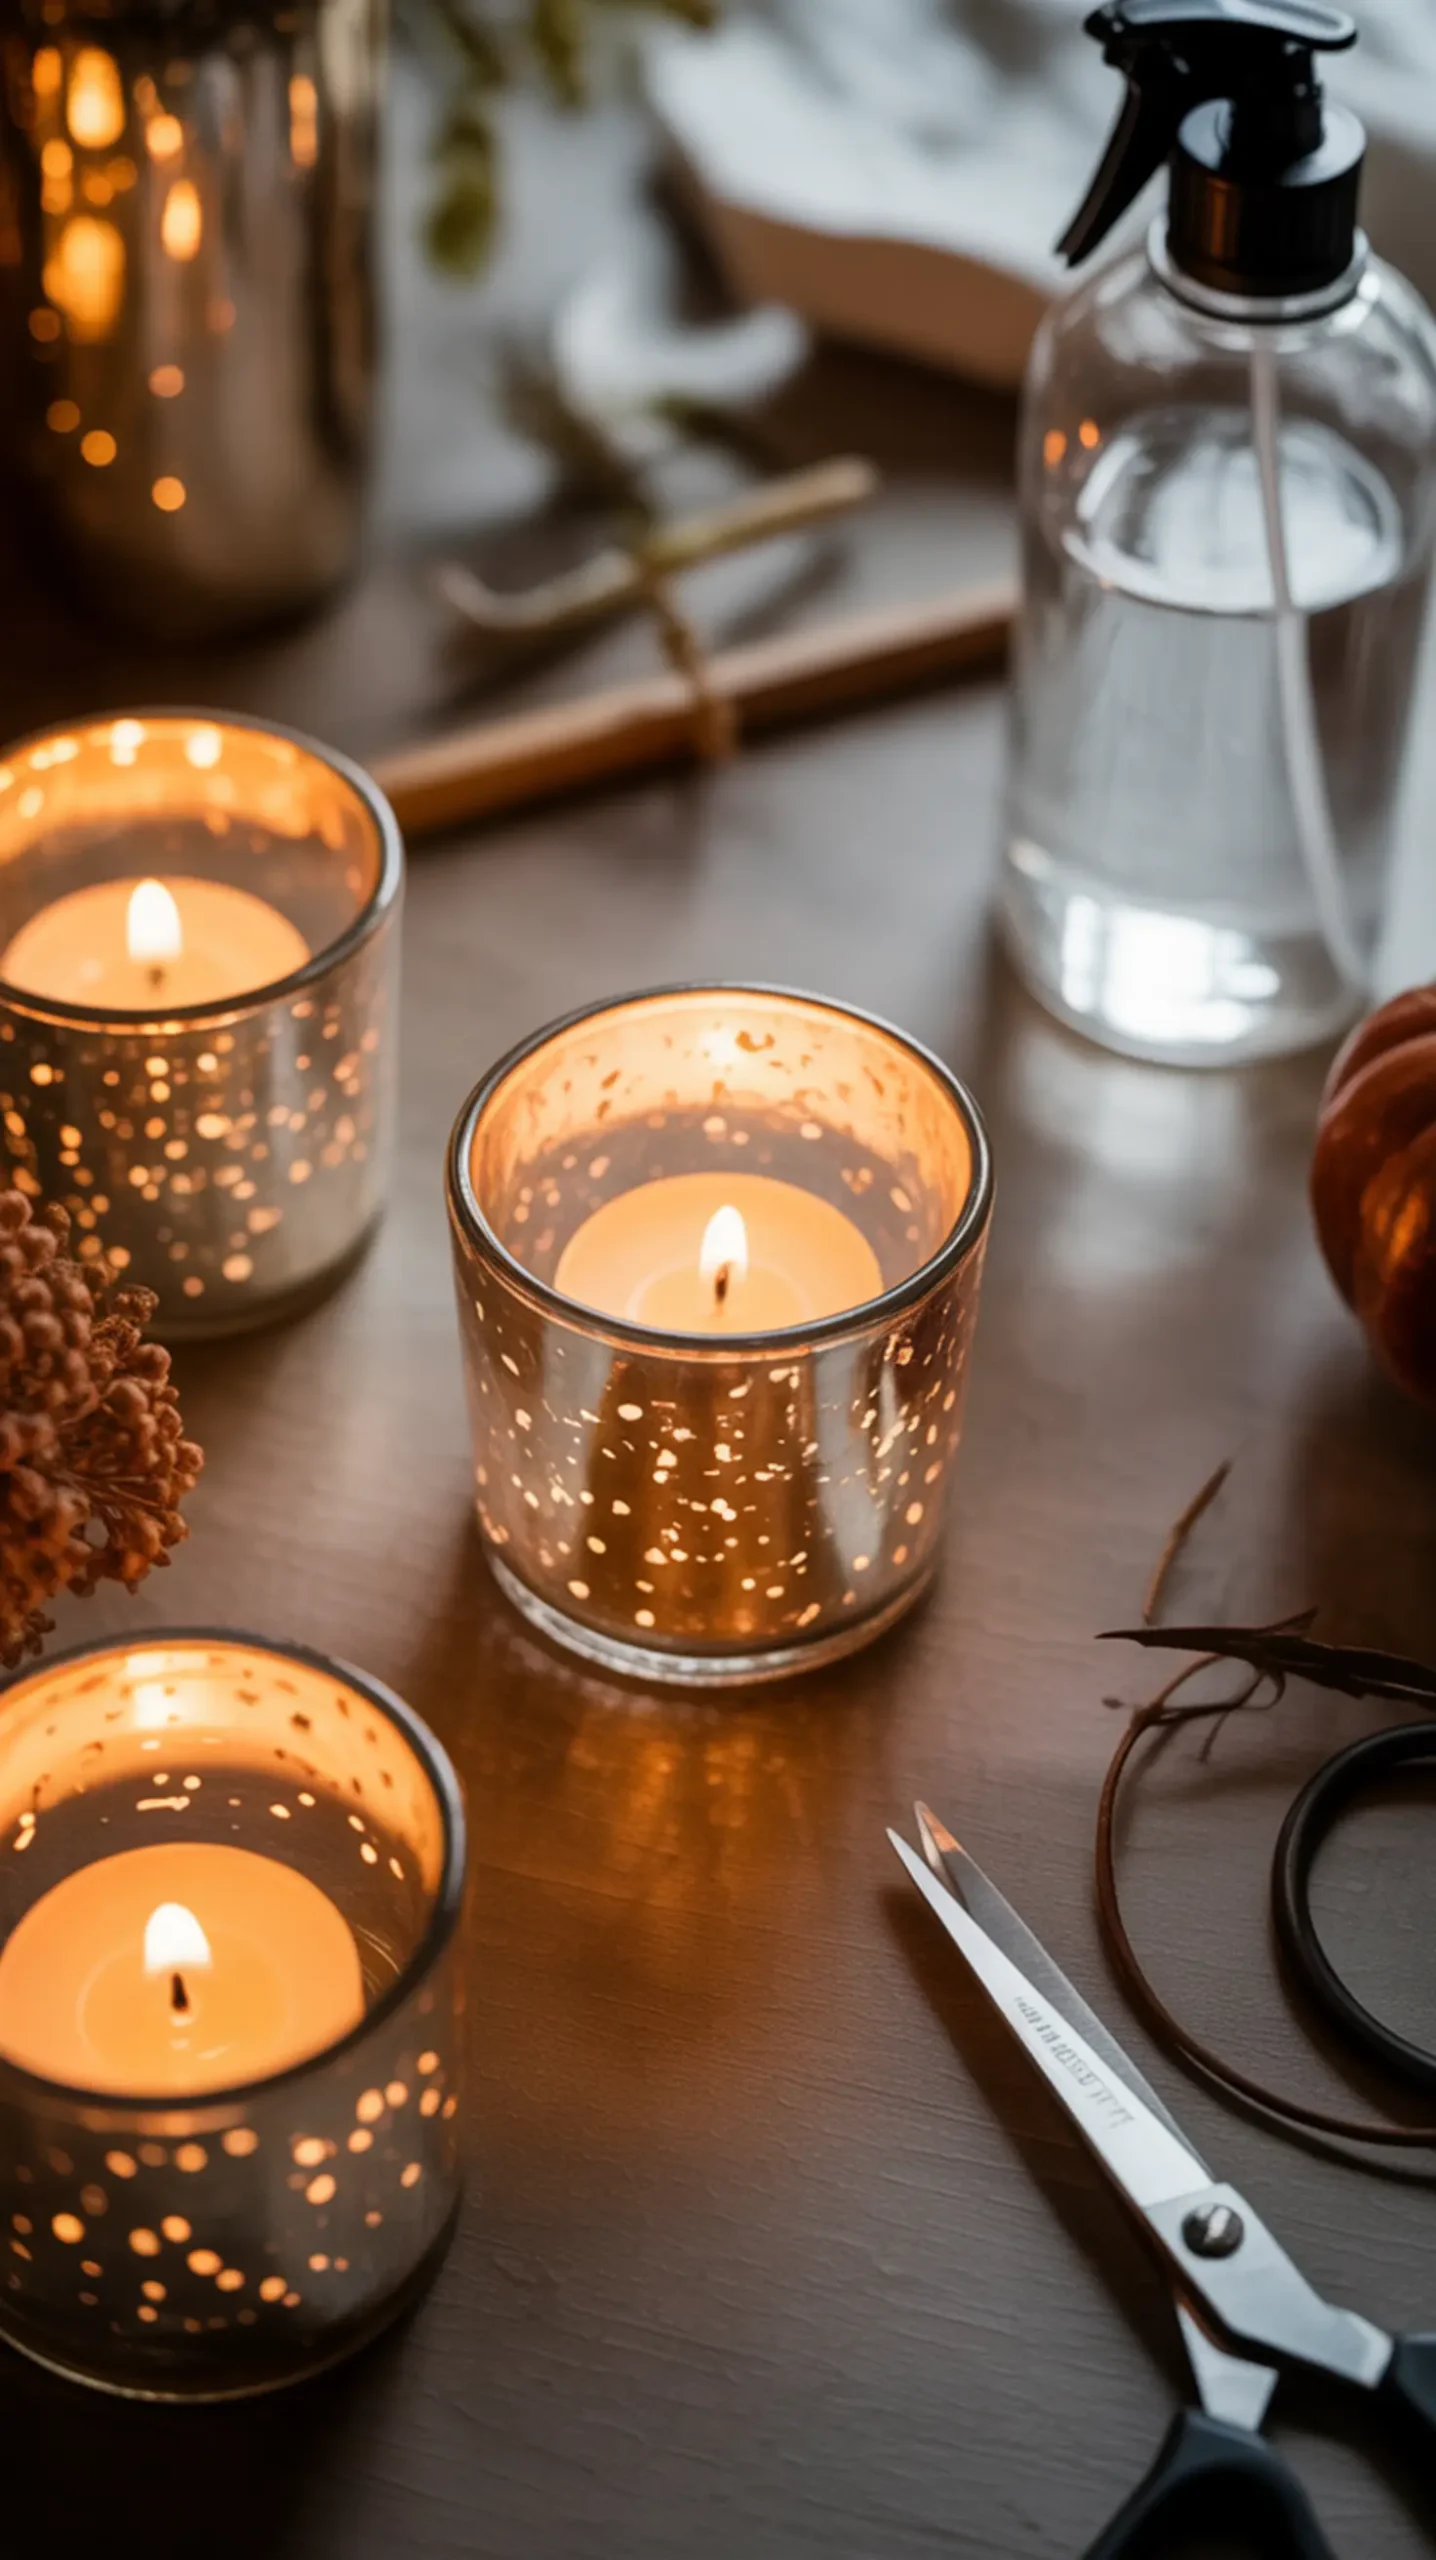
Get ready for your new favorite craft! This technique looks so complicated and expensive, but it’s surprisingly easy to do. Using just a spritz of water and some metallic spray paint on simple glass candle holders creates this gorgeous, antiqued mercury glass effect. The way they flicker with a candle inside is pure magic for a cozy Thanksgiving evening.
Craft Snapshot: Difficulty: Medium | Active Time: 25 mins (plus dry time) | Mess Level: Medium | Learning Focus: Specialty Paint Effect
🎯 Best For: Crafting an elegant, warm ambiance for the dinner table.
Image-3: A trio of faux mercury glass votives with flickering tea lights inside, casting a warm, speckled glow on a dark wood surface.
4. Jute-Wrapped Vases & Candle Holders 🦃
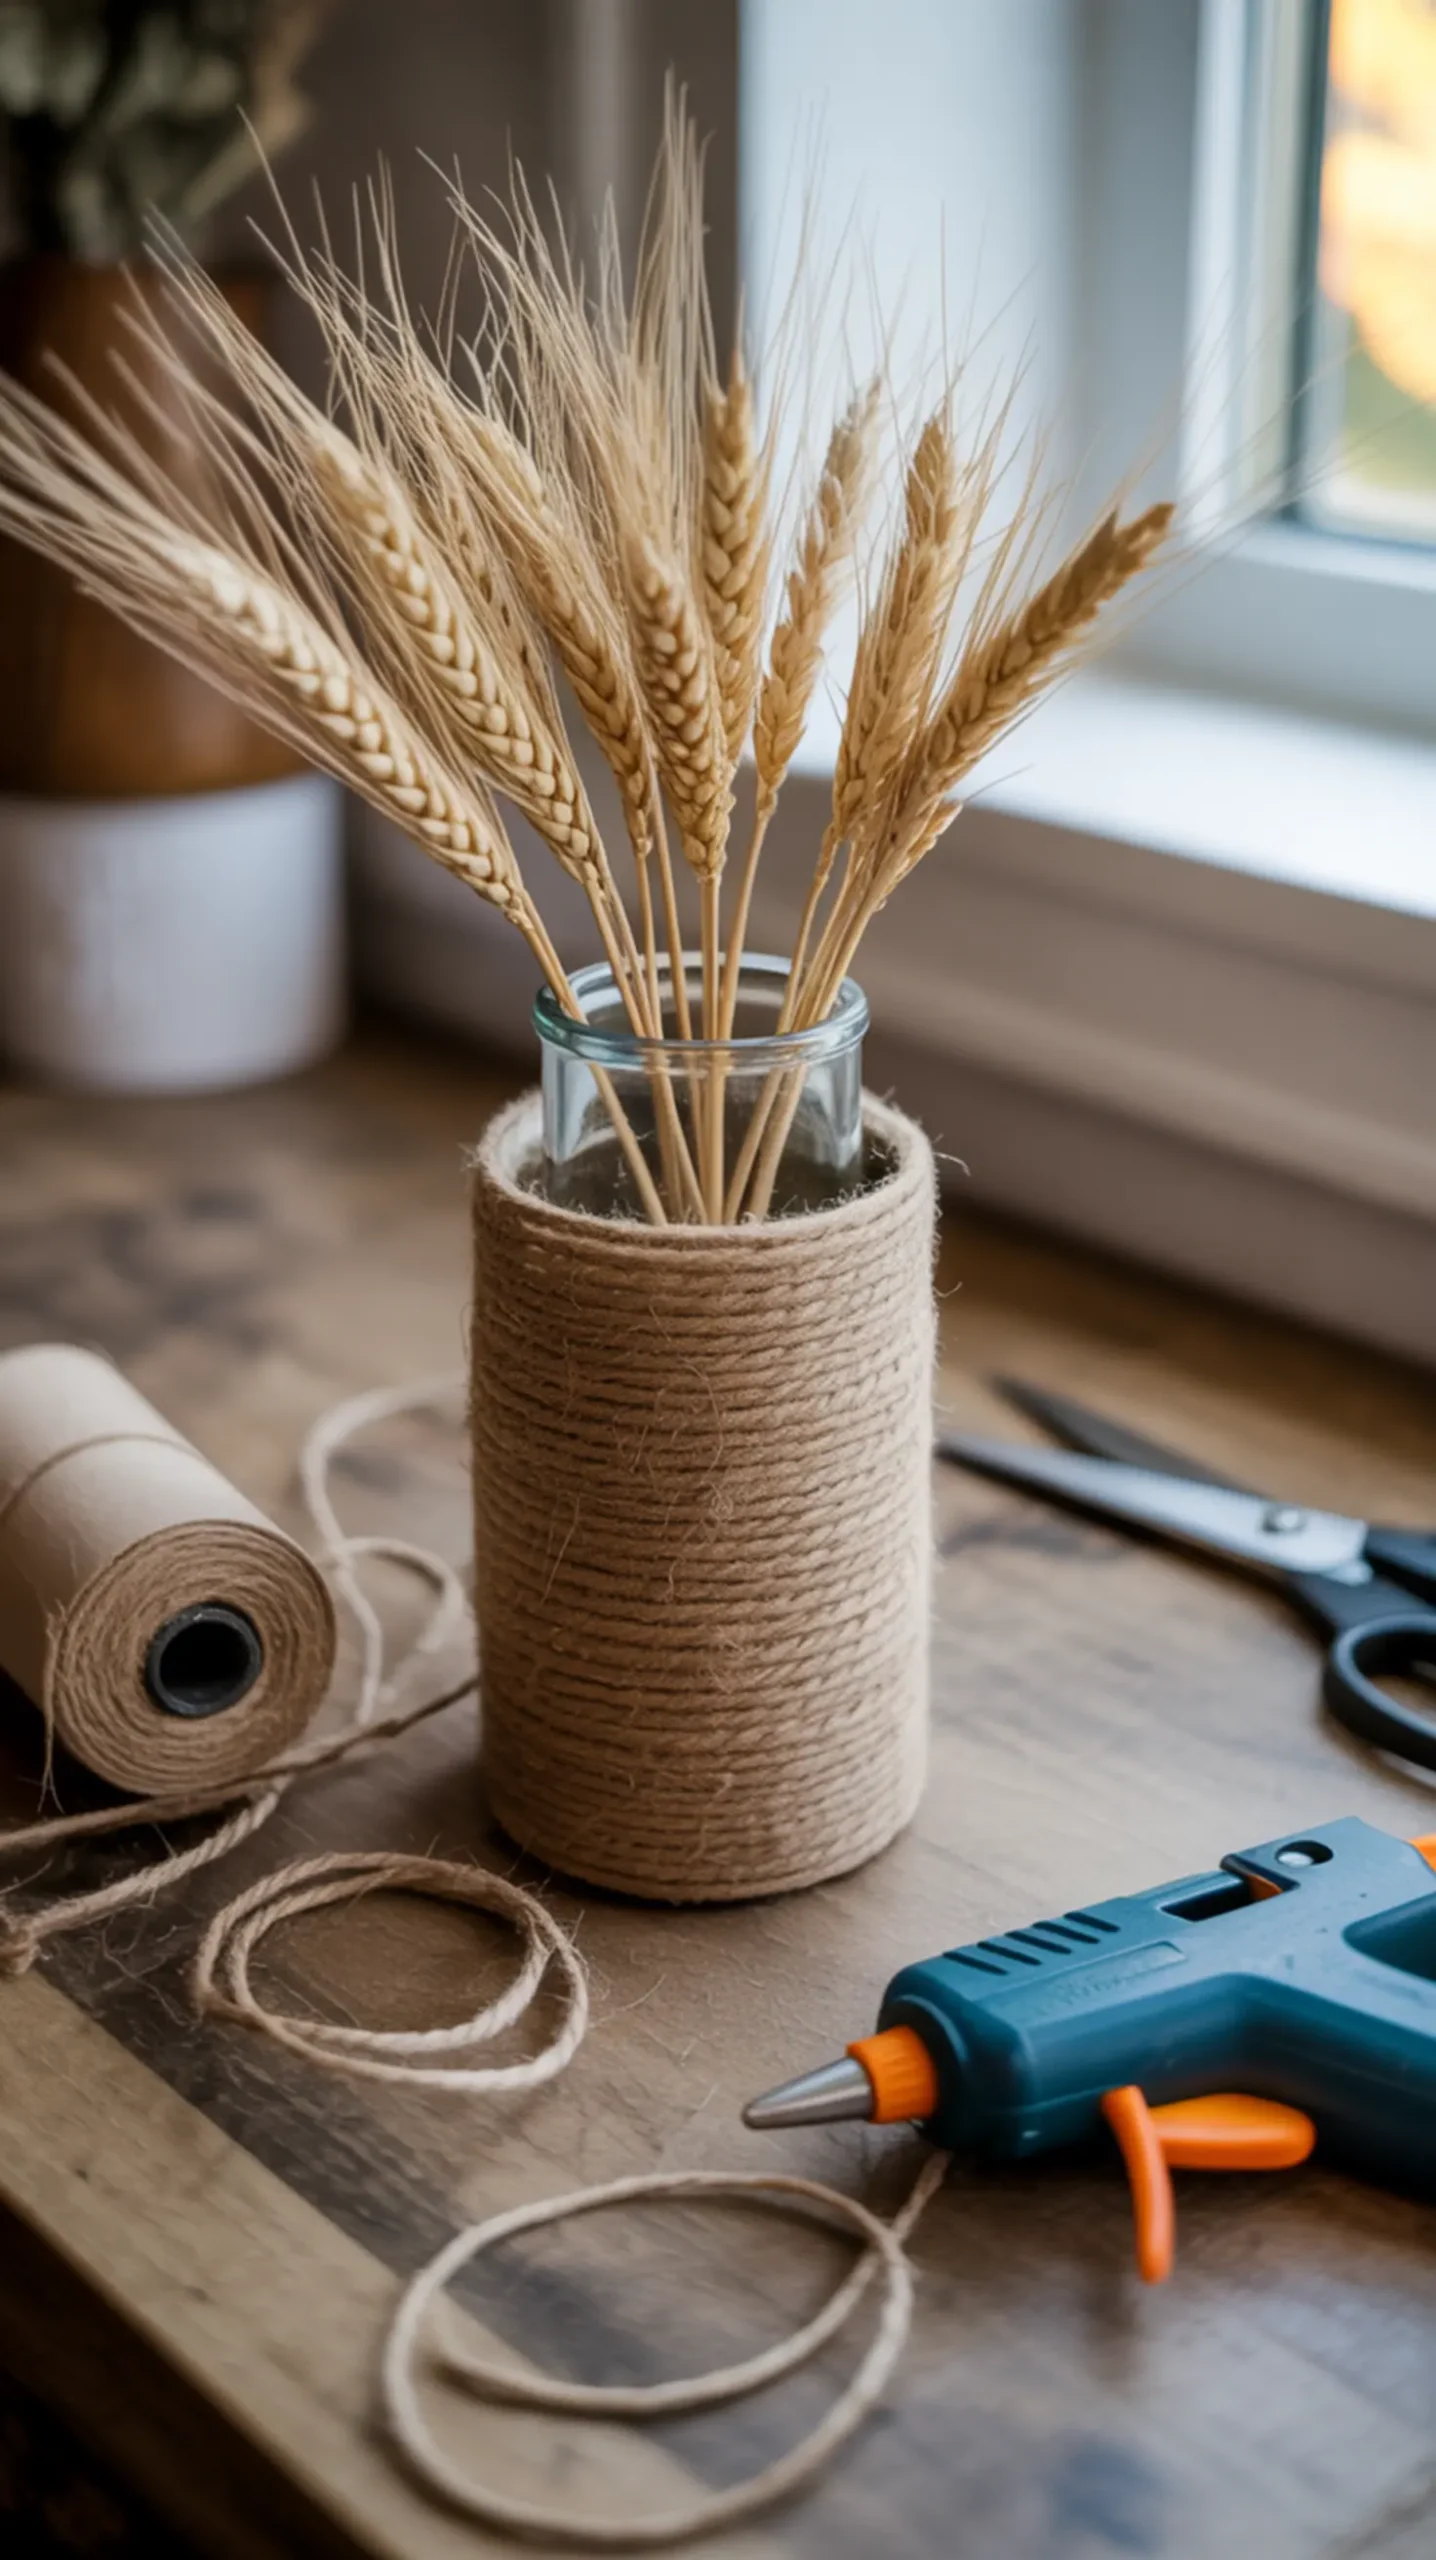
If you want to add instant rustic warmth to your decor, this is the project for you. Wrapping plain glass vases or candle holders in jute twine completely hides the fact that they came from a dollar store. It gives them a lovely texture and a cozy, Pottery Barn-inspired feel that is perfect for the season.
Craft Snapshot: Difficulty: Easy | Active Time: 30 mins | Mess Level: Low | Learning Focus: Texturing
🎯 Best For: Adding a cozy, rustic-chic element to any shelf or table.
Image-4: A simple glass cylinder vase from Dollar Tree being wrapped tightly with natural jute twine, with the finished product standing beside it holding faux wheat stalks.
5. DIY Wooden Bead Garland 🦃
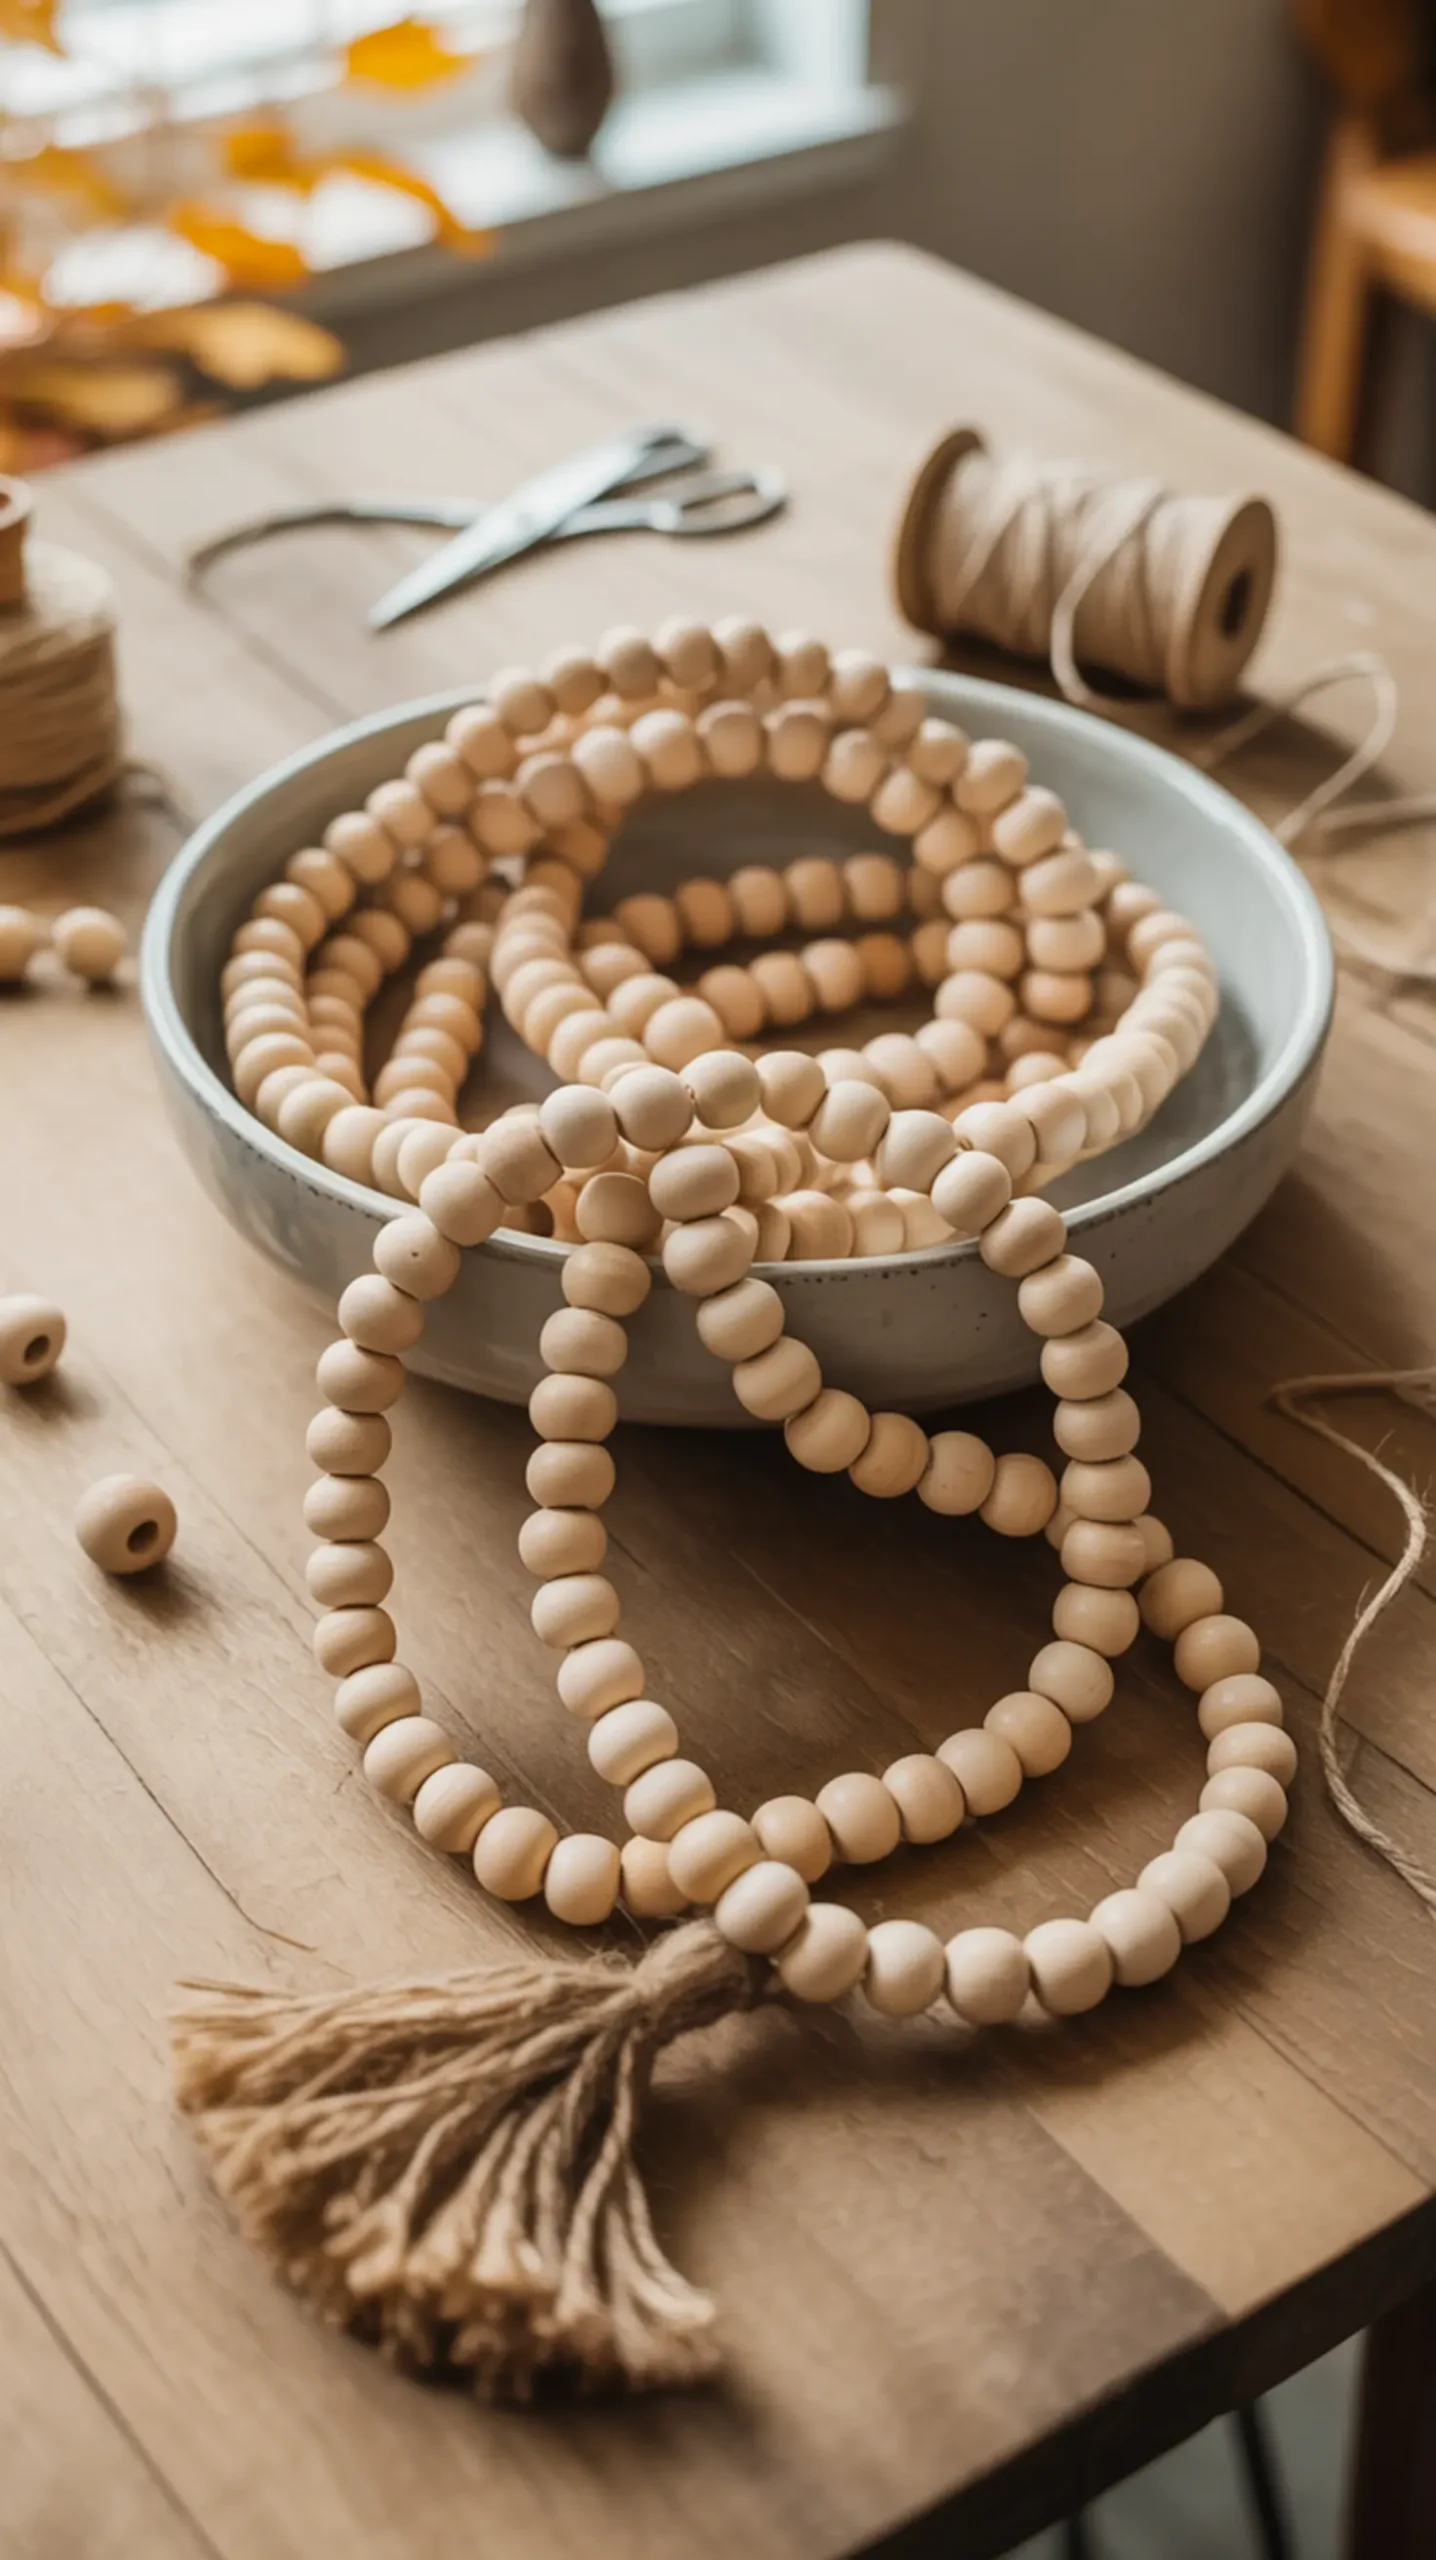
I am such a huge fan of the farmhouse bead garland trend, but they can be pricey in stores. You can make your own for just a few dollars using wooden beads from the craft aisle! String them up and add a simple twine tassel to the end for a perfect accent piece for your tiered tray, mantel, or wrapped around a vase.
Craft Snapshot: Difficulty: Easy | Active Time: 20 mins | Mess Level: Low | Learning Focus: Assembly
🎯 Best For: A trendy farmhouse accent for mantels, shelves, or tiered trays.
Image-5: A coiled strand of natural wooden bead garland with a fluffy jute tassel at the end, resting in a white ceramic bowl.
💬 Quick Question!
Of the crafts we’ve covered so far, which one are you most excited to try? Let me know in the comments below!
6. Upgraded Fall Berry Wreath 🦃
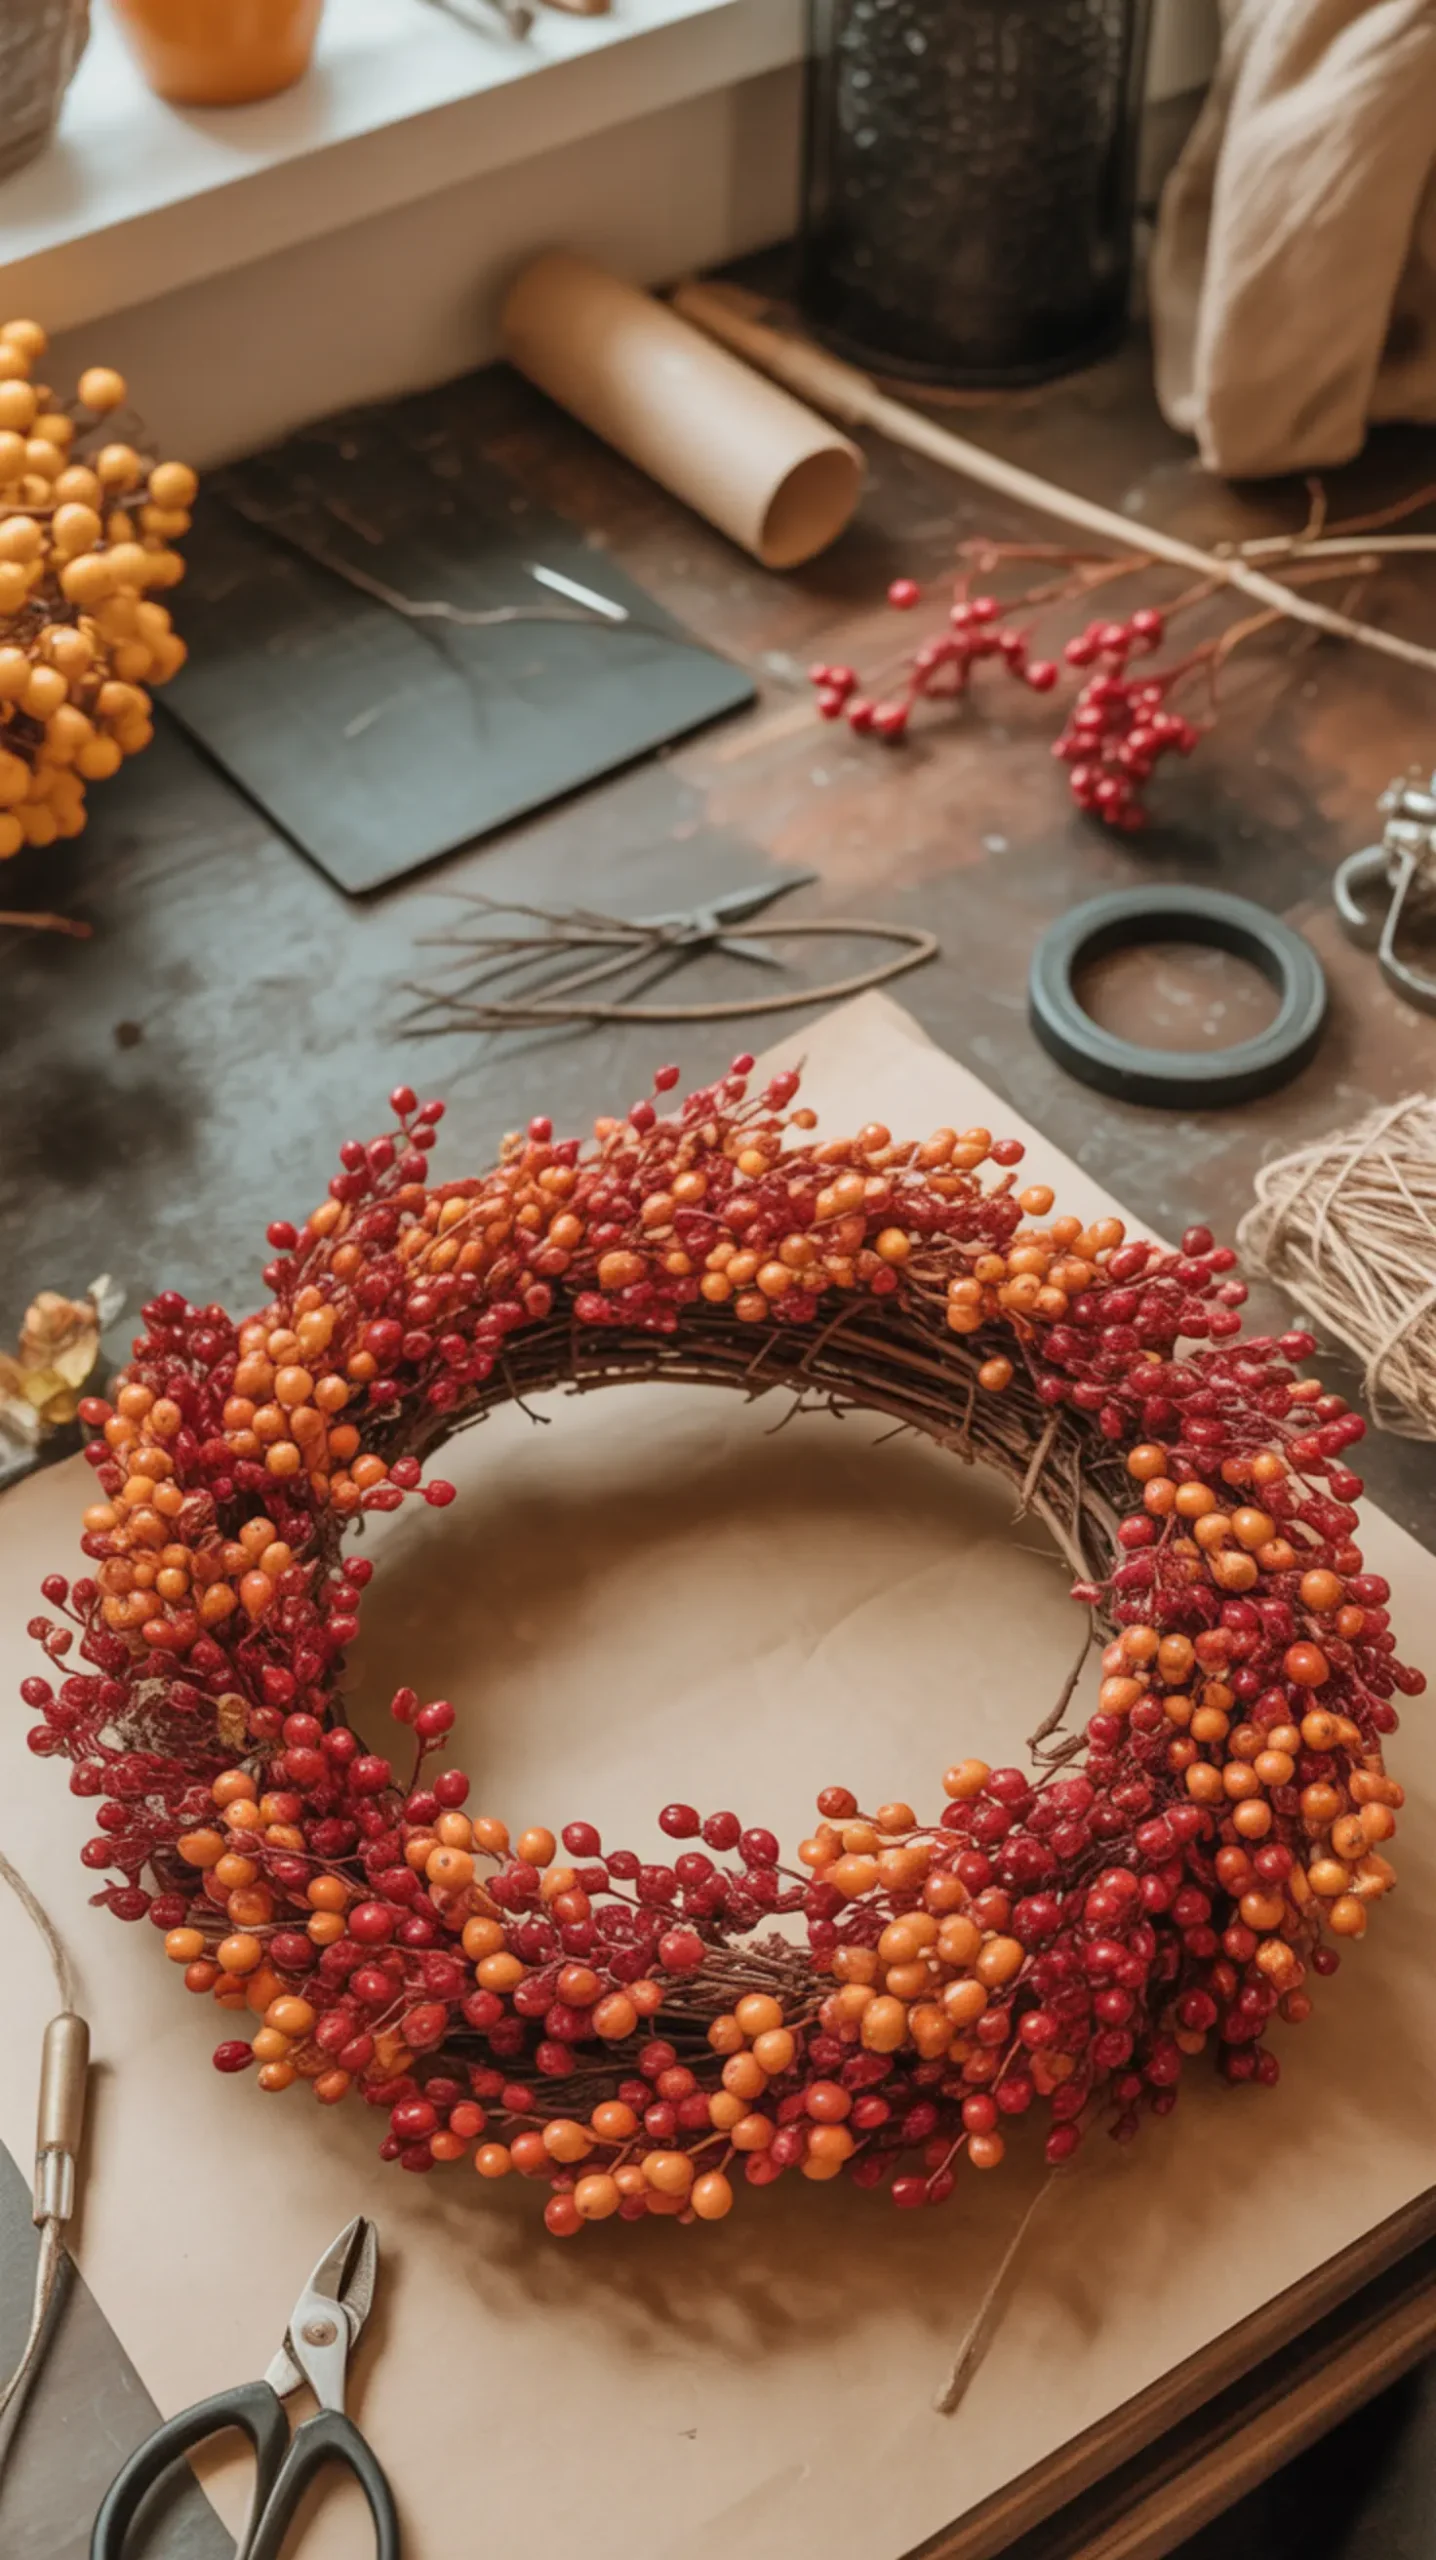
The secret to a lush, expensive-looking wreath is fullness! By themselves, the berry picks from Dollar Tree can look a little sparse. But when you buy several and combine them onto a simple grapevine wreath form, you create something so dense and beautiful. No one will ever guess it wasn’t from a high-end decor store.
Craft Snapshot: Difficulty: Medium | Active Time: 45 mins | Mess Level: Low | Learning Focus: Floral Arranging
🎯 Best For: Creating a welcoming and impressive front door display.
Image-6: A full, vibrant fall berry wreath hanging on a dark wooden door, showcasing a dense arrangement of red and orange berries.
7. DIY Tiered Tray Centerpiece 🦃
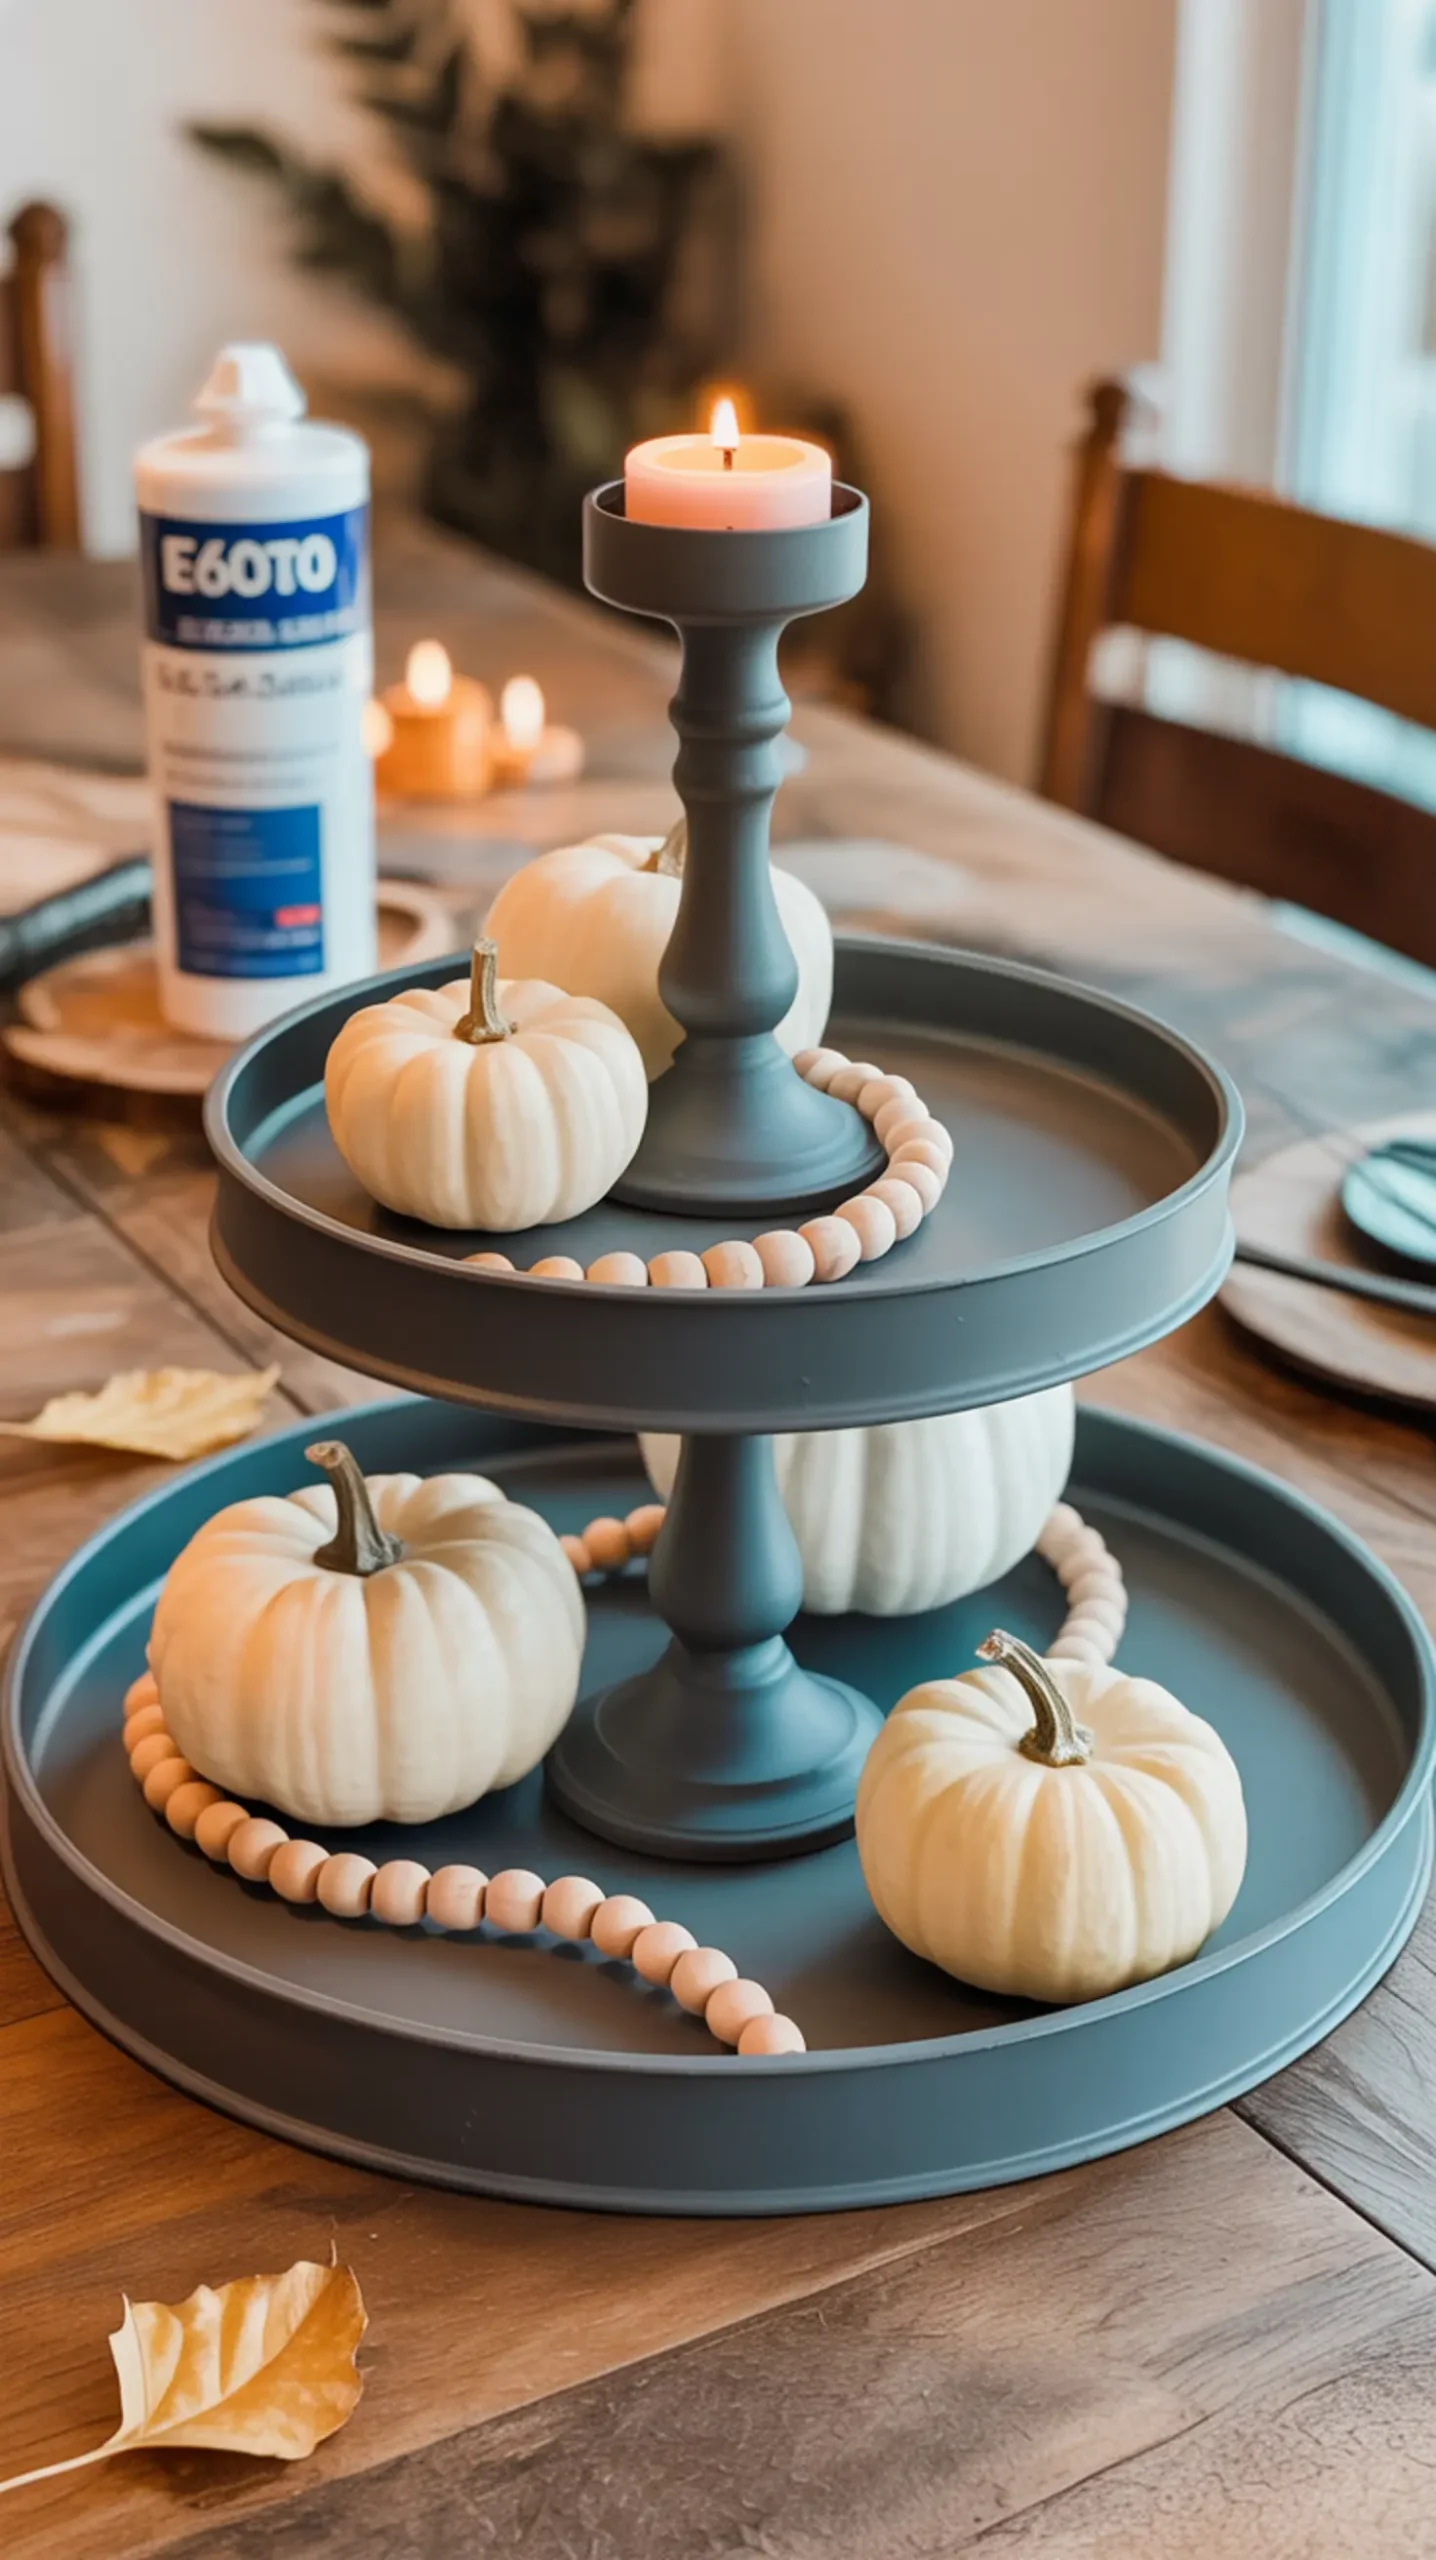
This is such a clever construction hack! You can create a super stylish tiered tray using two pizza pans and a glass candlestick, all from Dollar Tree. The key is to glue them together securely and then spray paint the entire piece in a single, cohesive color like matte black or oil-rubbed bronze for a flawless finish.
Craft Snapshot: Difficulty: Medium | Active Time: 20 mins (plus dry time) | Mess Level: Medium | Learning Focus: Construction
🎯 Best For: A versatile centerpiece base for displaying smaller decor items.
Image-7: A completed two-tiered tray, spray-painted matte black, styled with mini white pumpkins, a small candle, and the DIY wooden bead garland.
8. Elegant Beaded Corn Craft 🦃
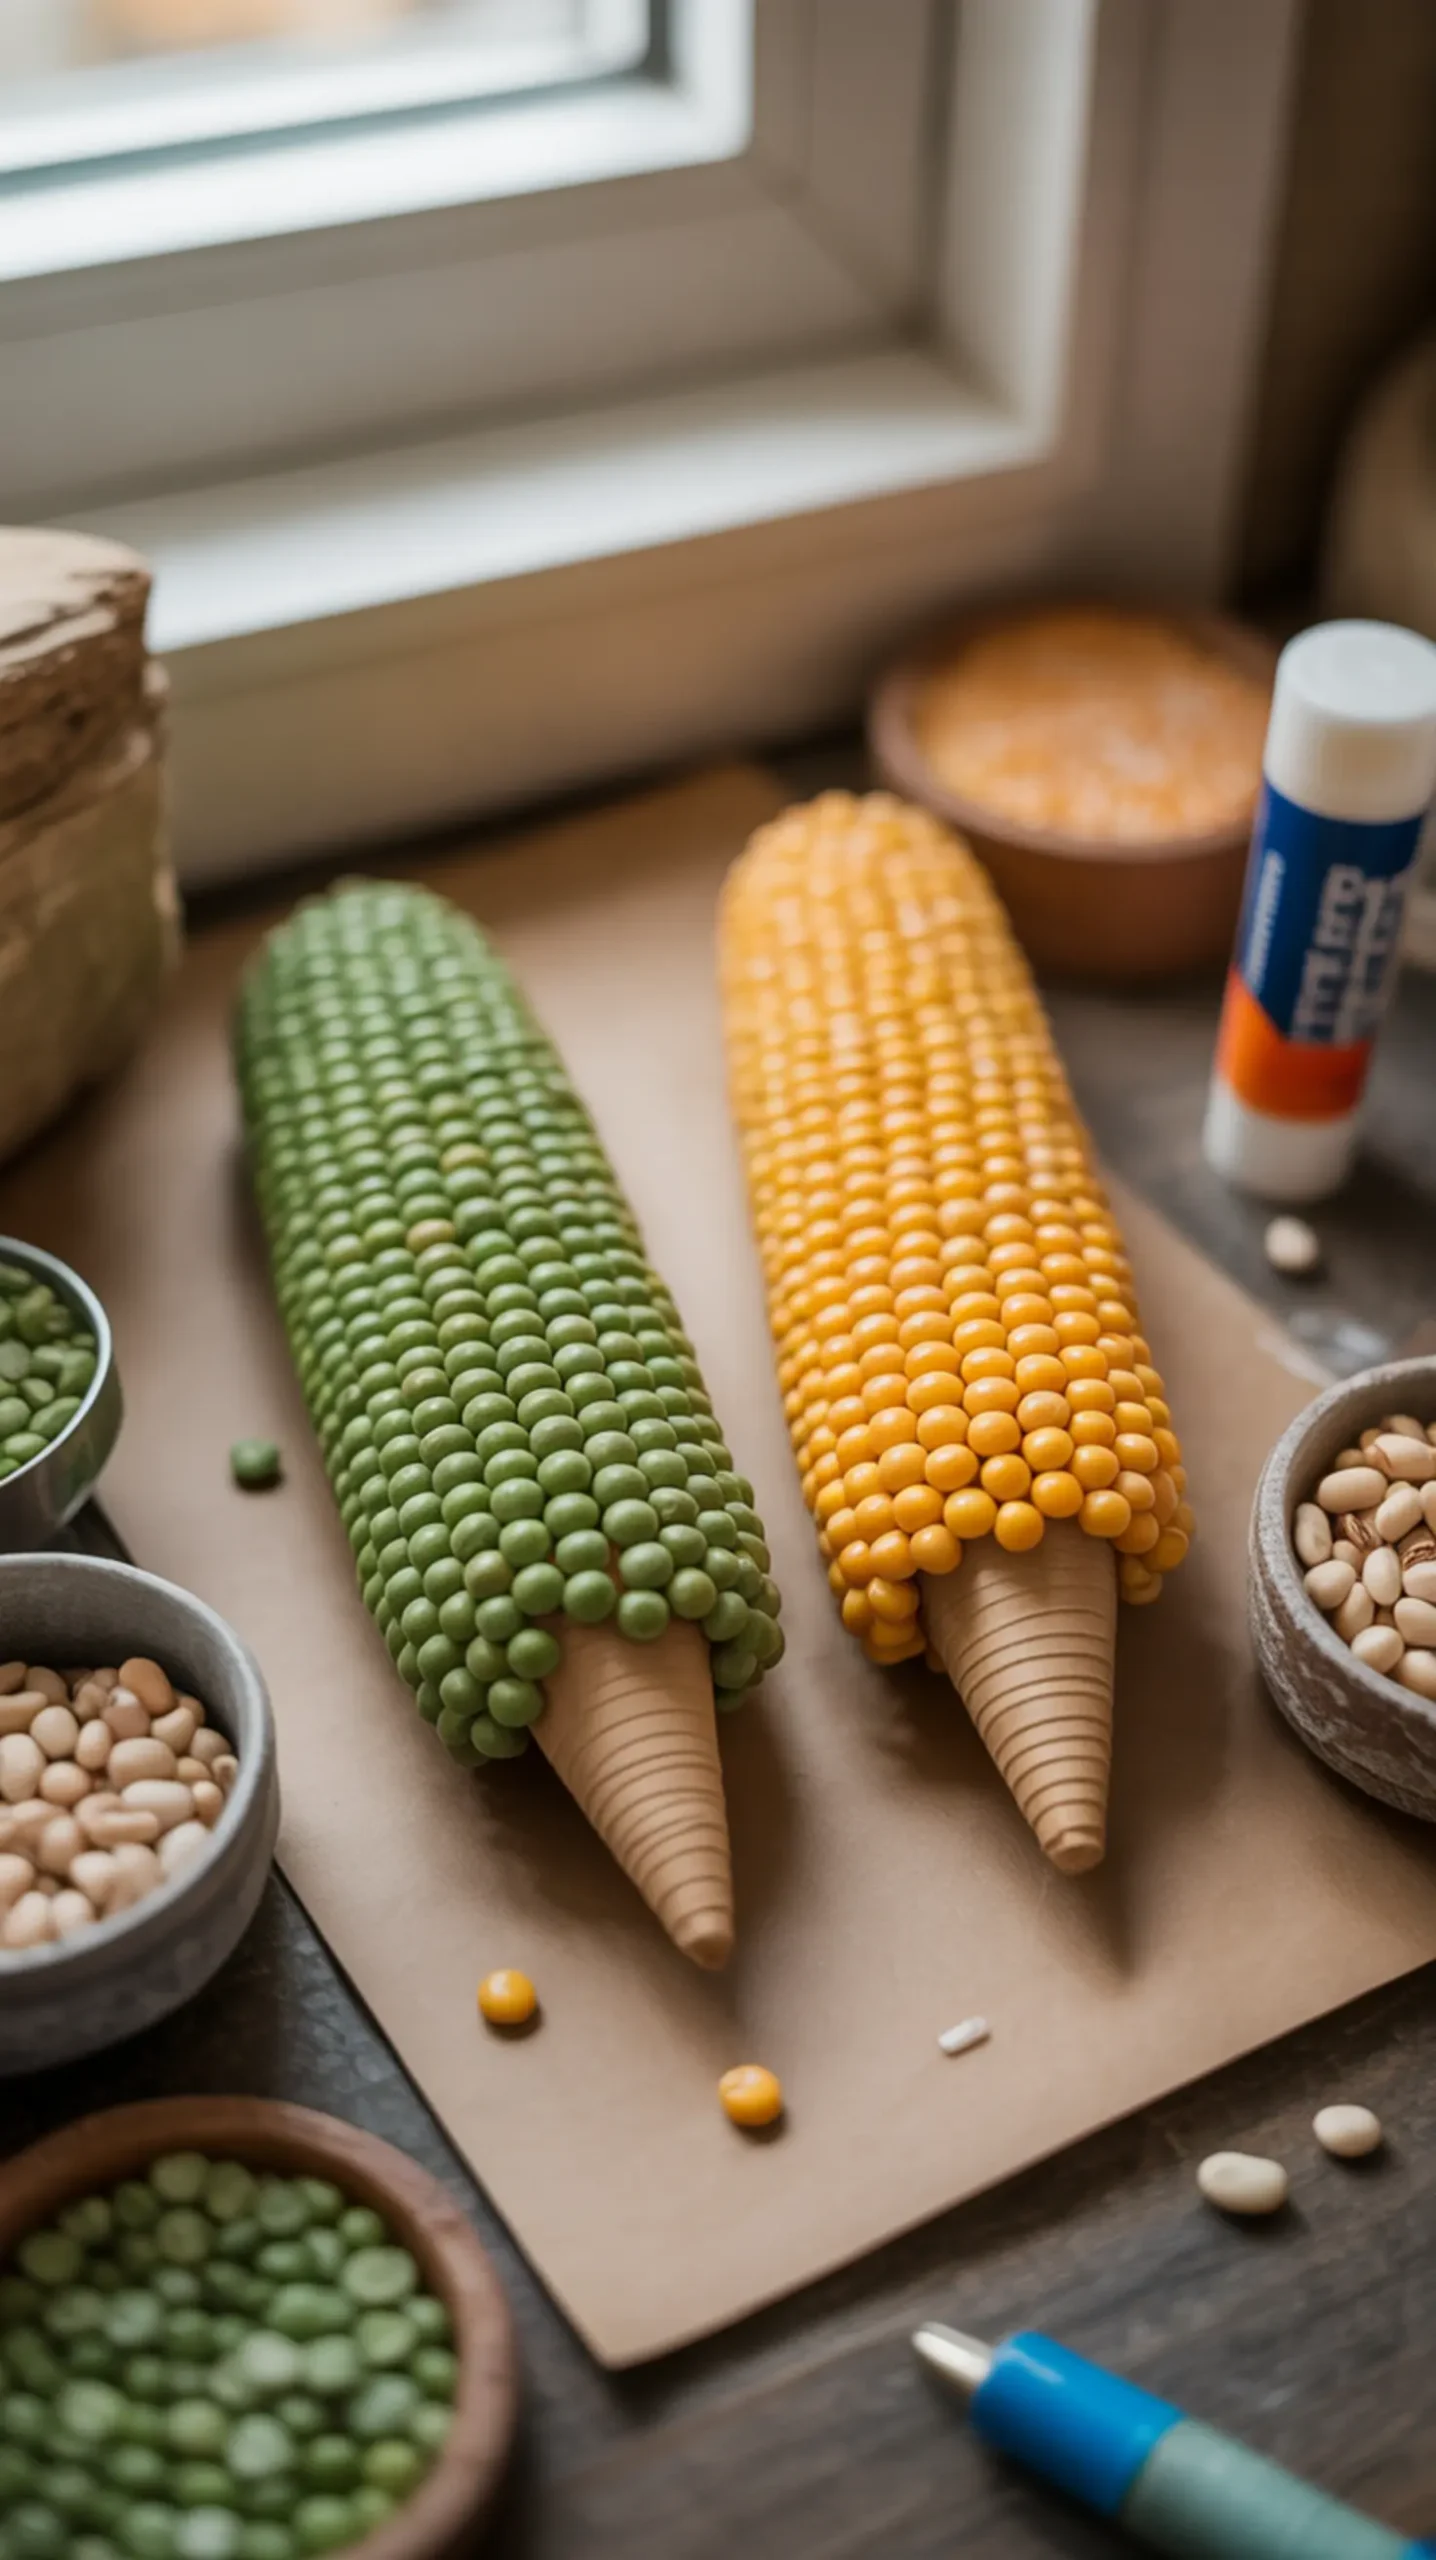
I was so amazed when I first saw this idea! It’s a truly unique and creative way to add natural texture to your decor. By patiently gluing neutral-colored split peas or small white beans onto a foam cone, you can create the look of decorative beaded corn. It’s a calming project that results in a wonderfully sophisticated piece.
Craft Snapshot: Difficulty: Medium | Active Time: 1 hour | Mess Level: Low | Learning Focus: Mosaics/Detailing
🎯 Best For: A unique, textured decor item for a shelf or centerpiece.
Image-8: Two finished “beaded corn” cones, one made with light green split peas and the other with small white beans, standing next to each other.
9. Faux Concrete Pumpkin Stand 🦃
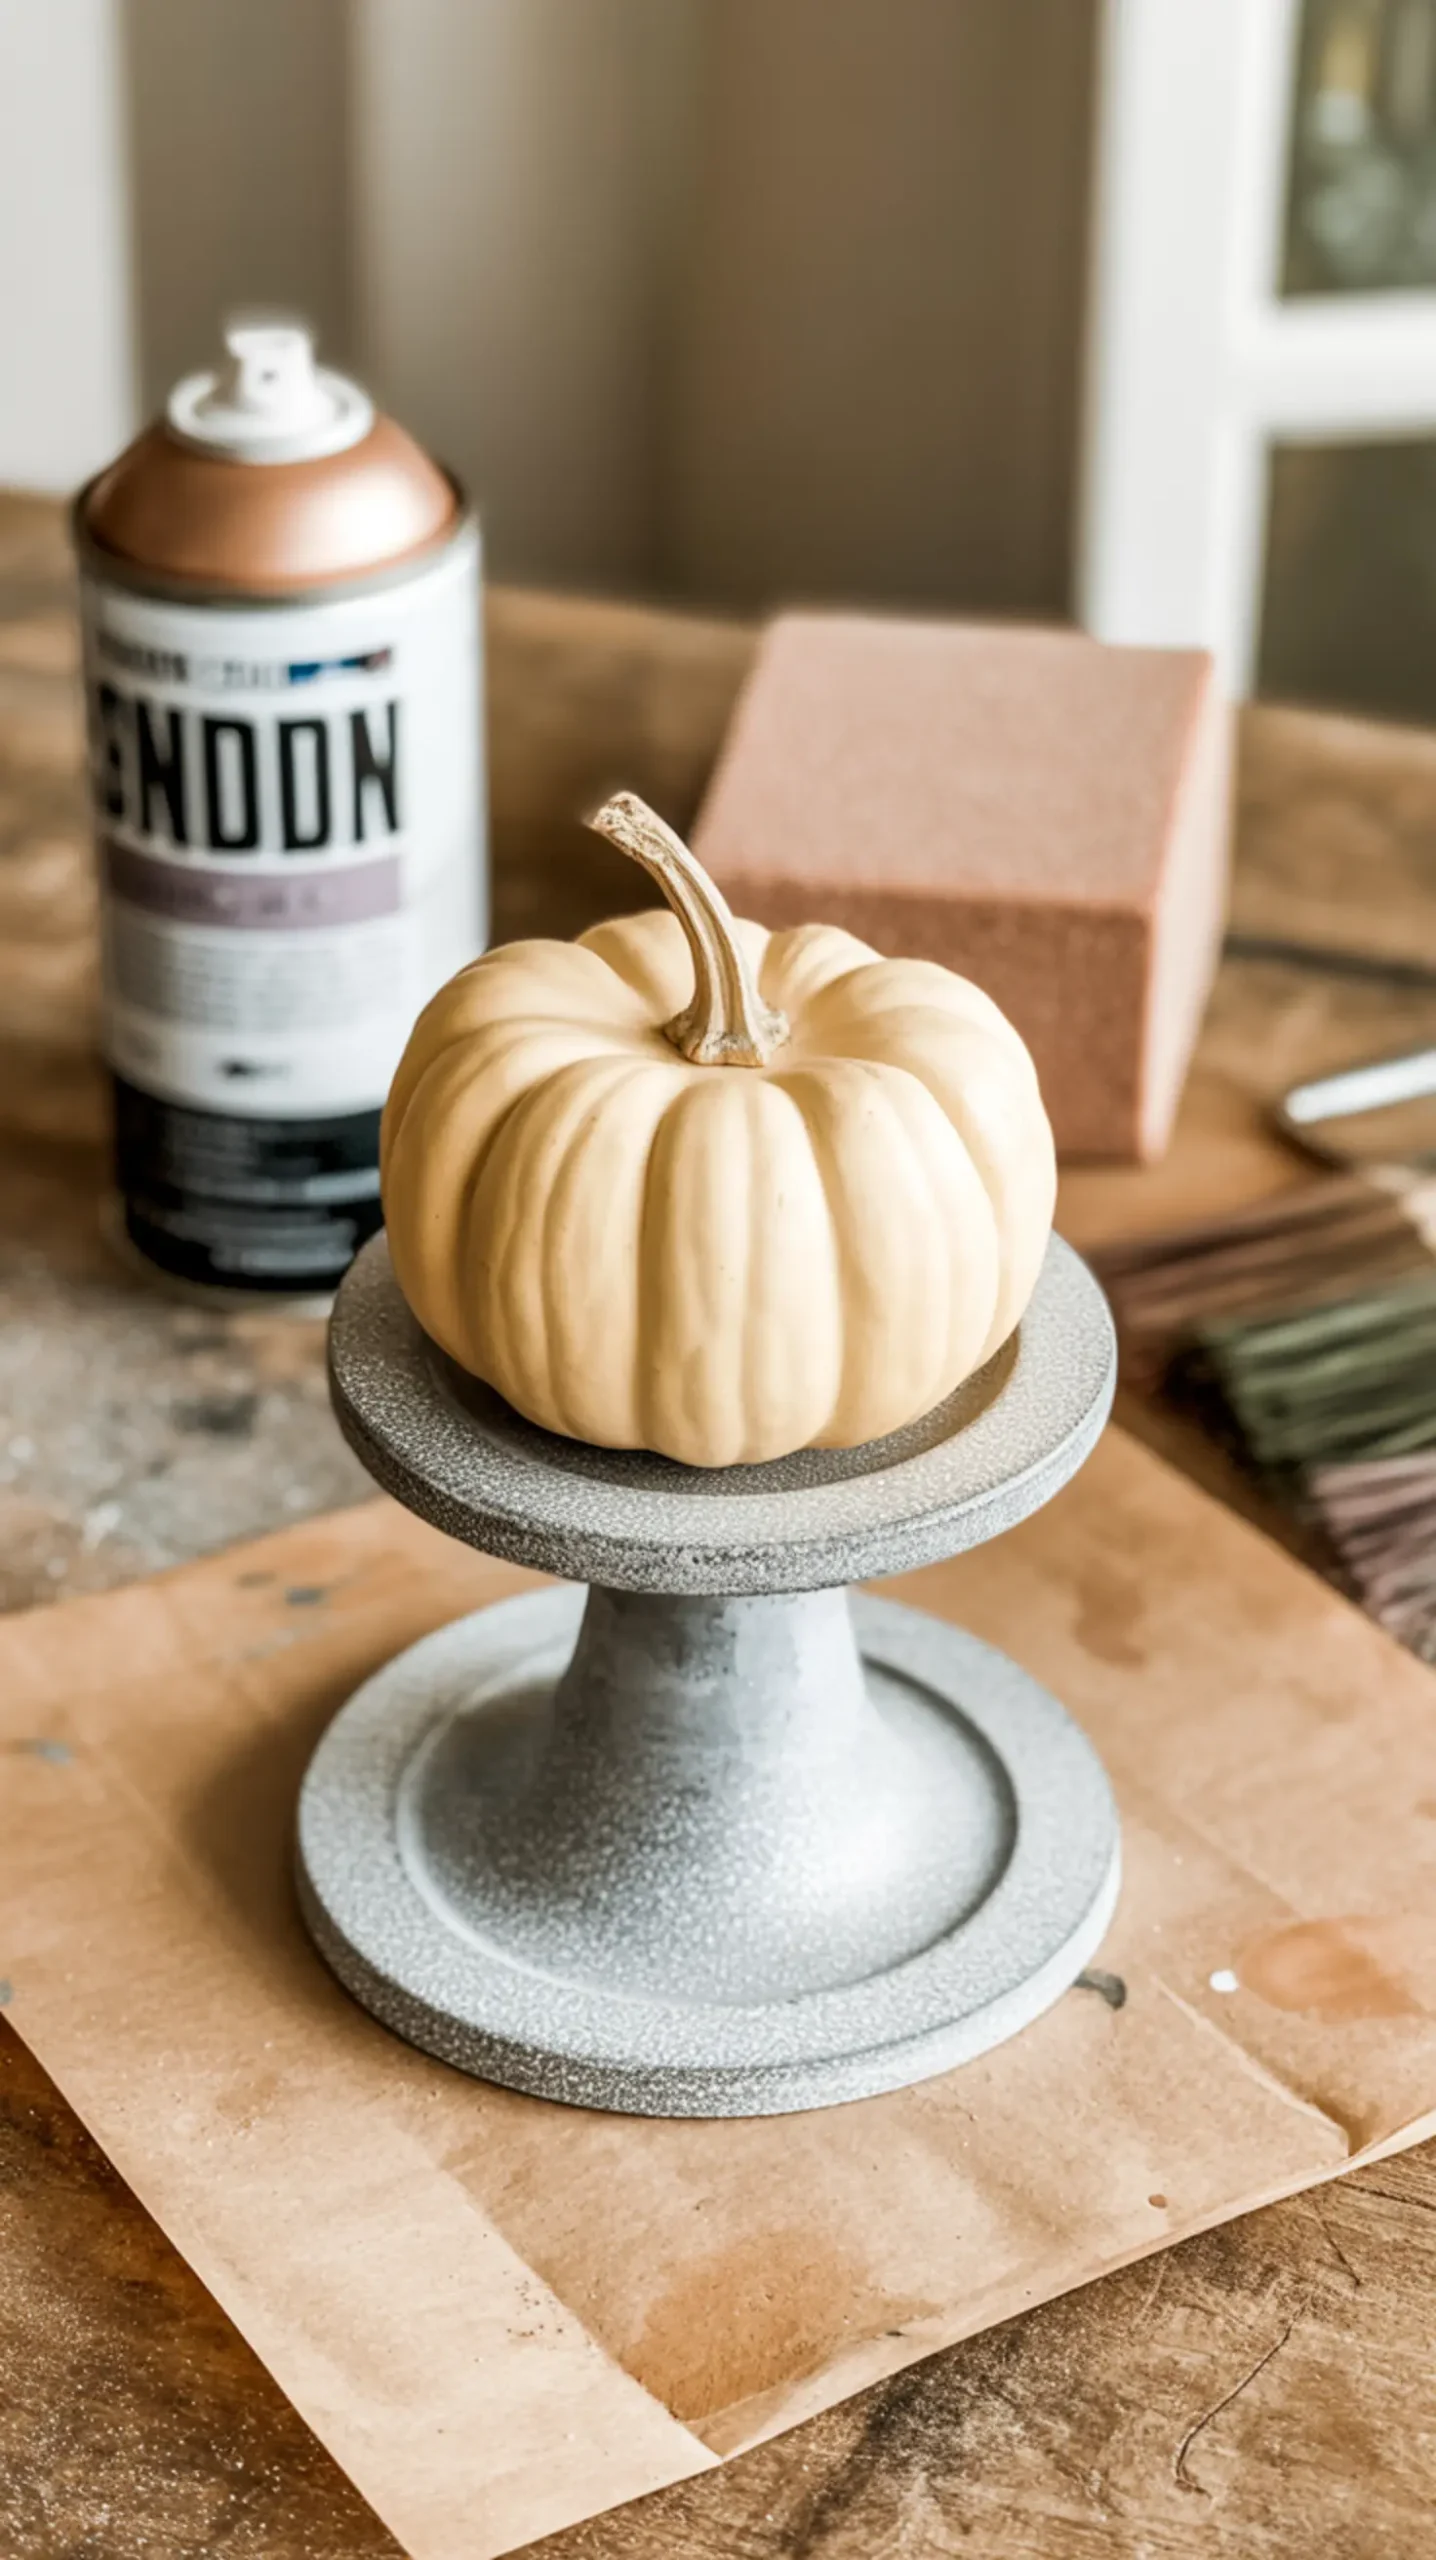
Sometimes the smallest details make the biggest difference. A simple glass taper candle holder can be instantly transformed into a chic, industrial-style pedestal with a coat of textured stone-effect spray paint. It’s the perfect way to elevate one of your small, chalk-painted pumpkins and give it a real presence.
Craft Snapshot: Difficulty: Easy | Active Time: 10 mins (plus dry time) | Mess Level: Medium | Learning Focus: Faux Finishes
🎯 Best For: Elevating small pumpkins or decor items with an industrial-chic touch.
Image-9: A small, cream-colored pumpkin sitting atop a gray, textured faux concrete stand made from a glass candle holder.
10. Burlap & Lace Table Runner 🦃
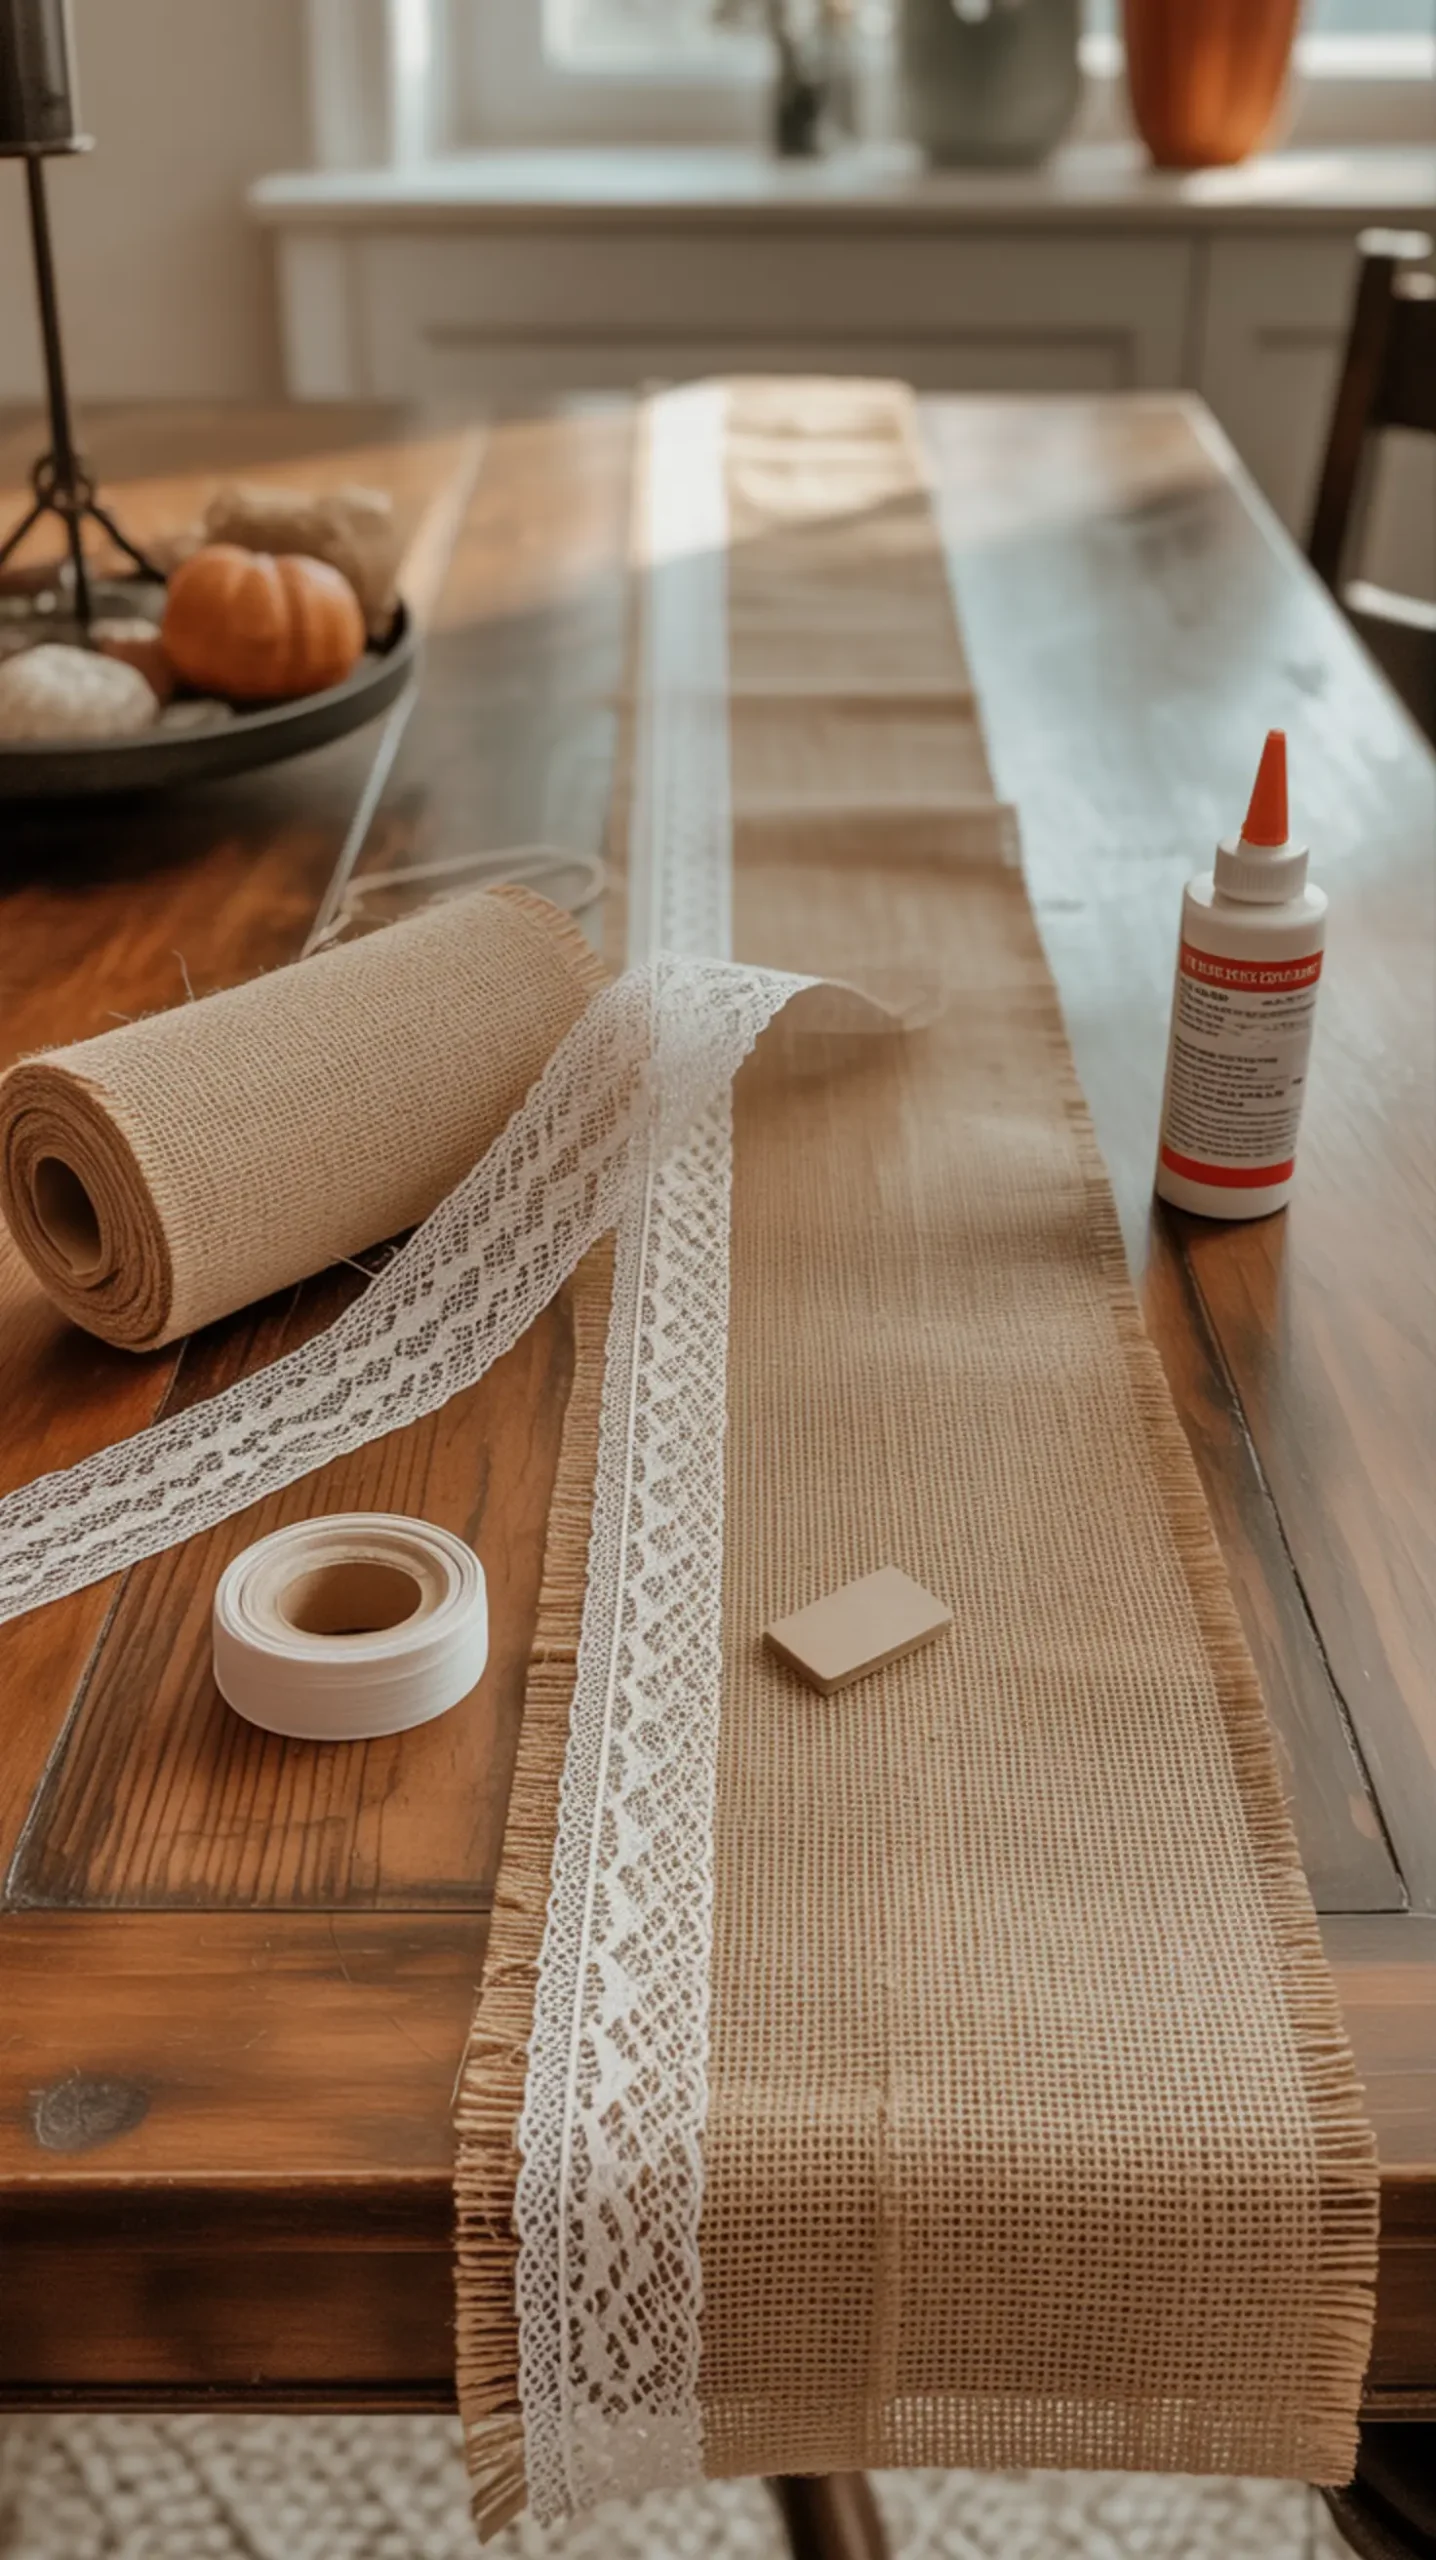
You don’t need a sewing machine to create a stunning table runner! This project is all about layering textures. Simply place a strip of delicate lace ribbon down the center of a wider burlap ribbon and secure it with a thin line of fabric glue. It creates a beautiful rustic-yet-elegant look in minutes.
Craft Snapshot: Difficulty: Easy | Active Time: 15 mins | Mess Level: Low | Learning Focus: Layering Materials
🎯 Best For: A quick and easy way to dress up your Thanksgiving table.
Image-10: A no-sew burlap and lace table runner stretched down the center of a rustic dining table, with place settings on either side.
11. Mini Pumpkin Place Card Holders 🦃
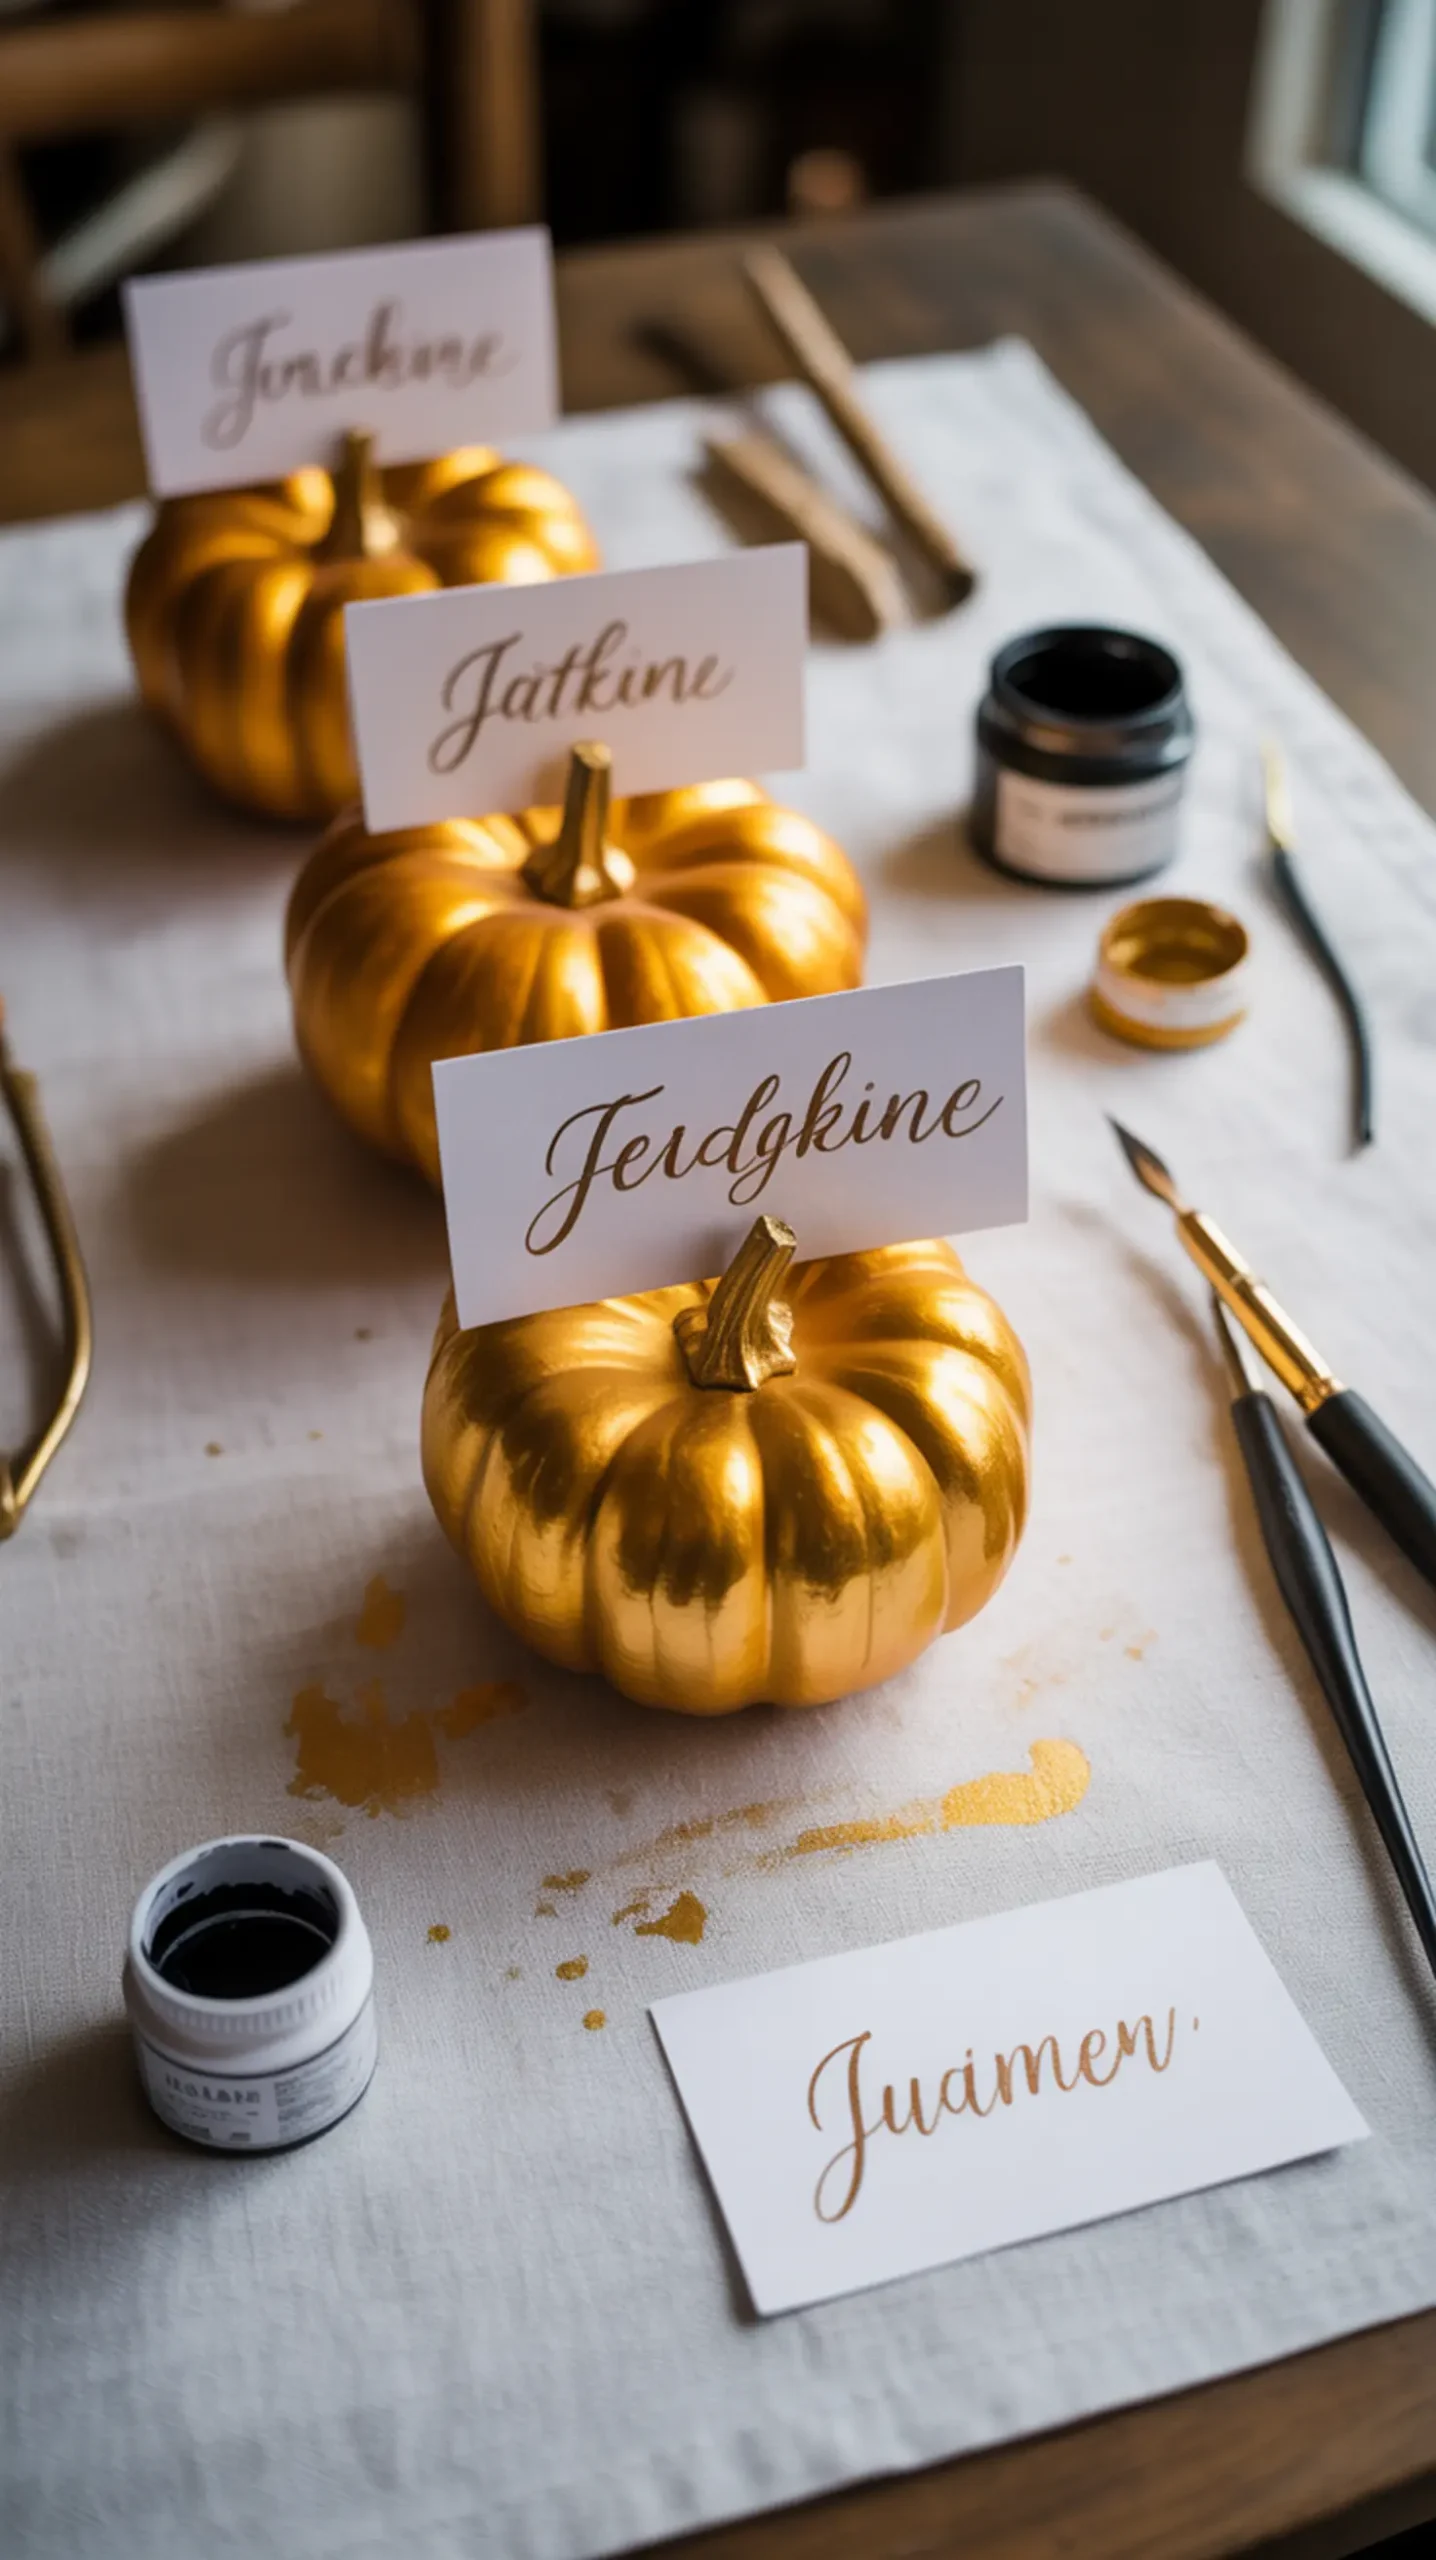
This is such a charming and personal touch for your Thanksgiving dinner table. A quick coat of gold or silver spray paint makes those little plastic pumpkins look like weighted metal. Once they’re dry, just cut a tiny slit in the stem to hold a name card for each of your guests. It’s so simple but feels so special.
Craft Snapshot: Difficulty: Easy | Active Time: 20 mins (plus dry time) | Mess Level: Medium | Learning Focus: Tablescaping
🎯 Best For: An elegant and personalized touch for your holiday place settings.
Image-11: A row of three miniature gold-painted pumpkins on a white tablecloth, each holding a small white place card with a name written in calligraphy.
12. “Thankful” Banner with Upgraded Letters 🦃
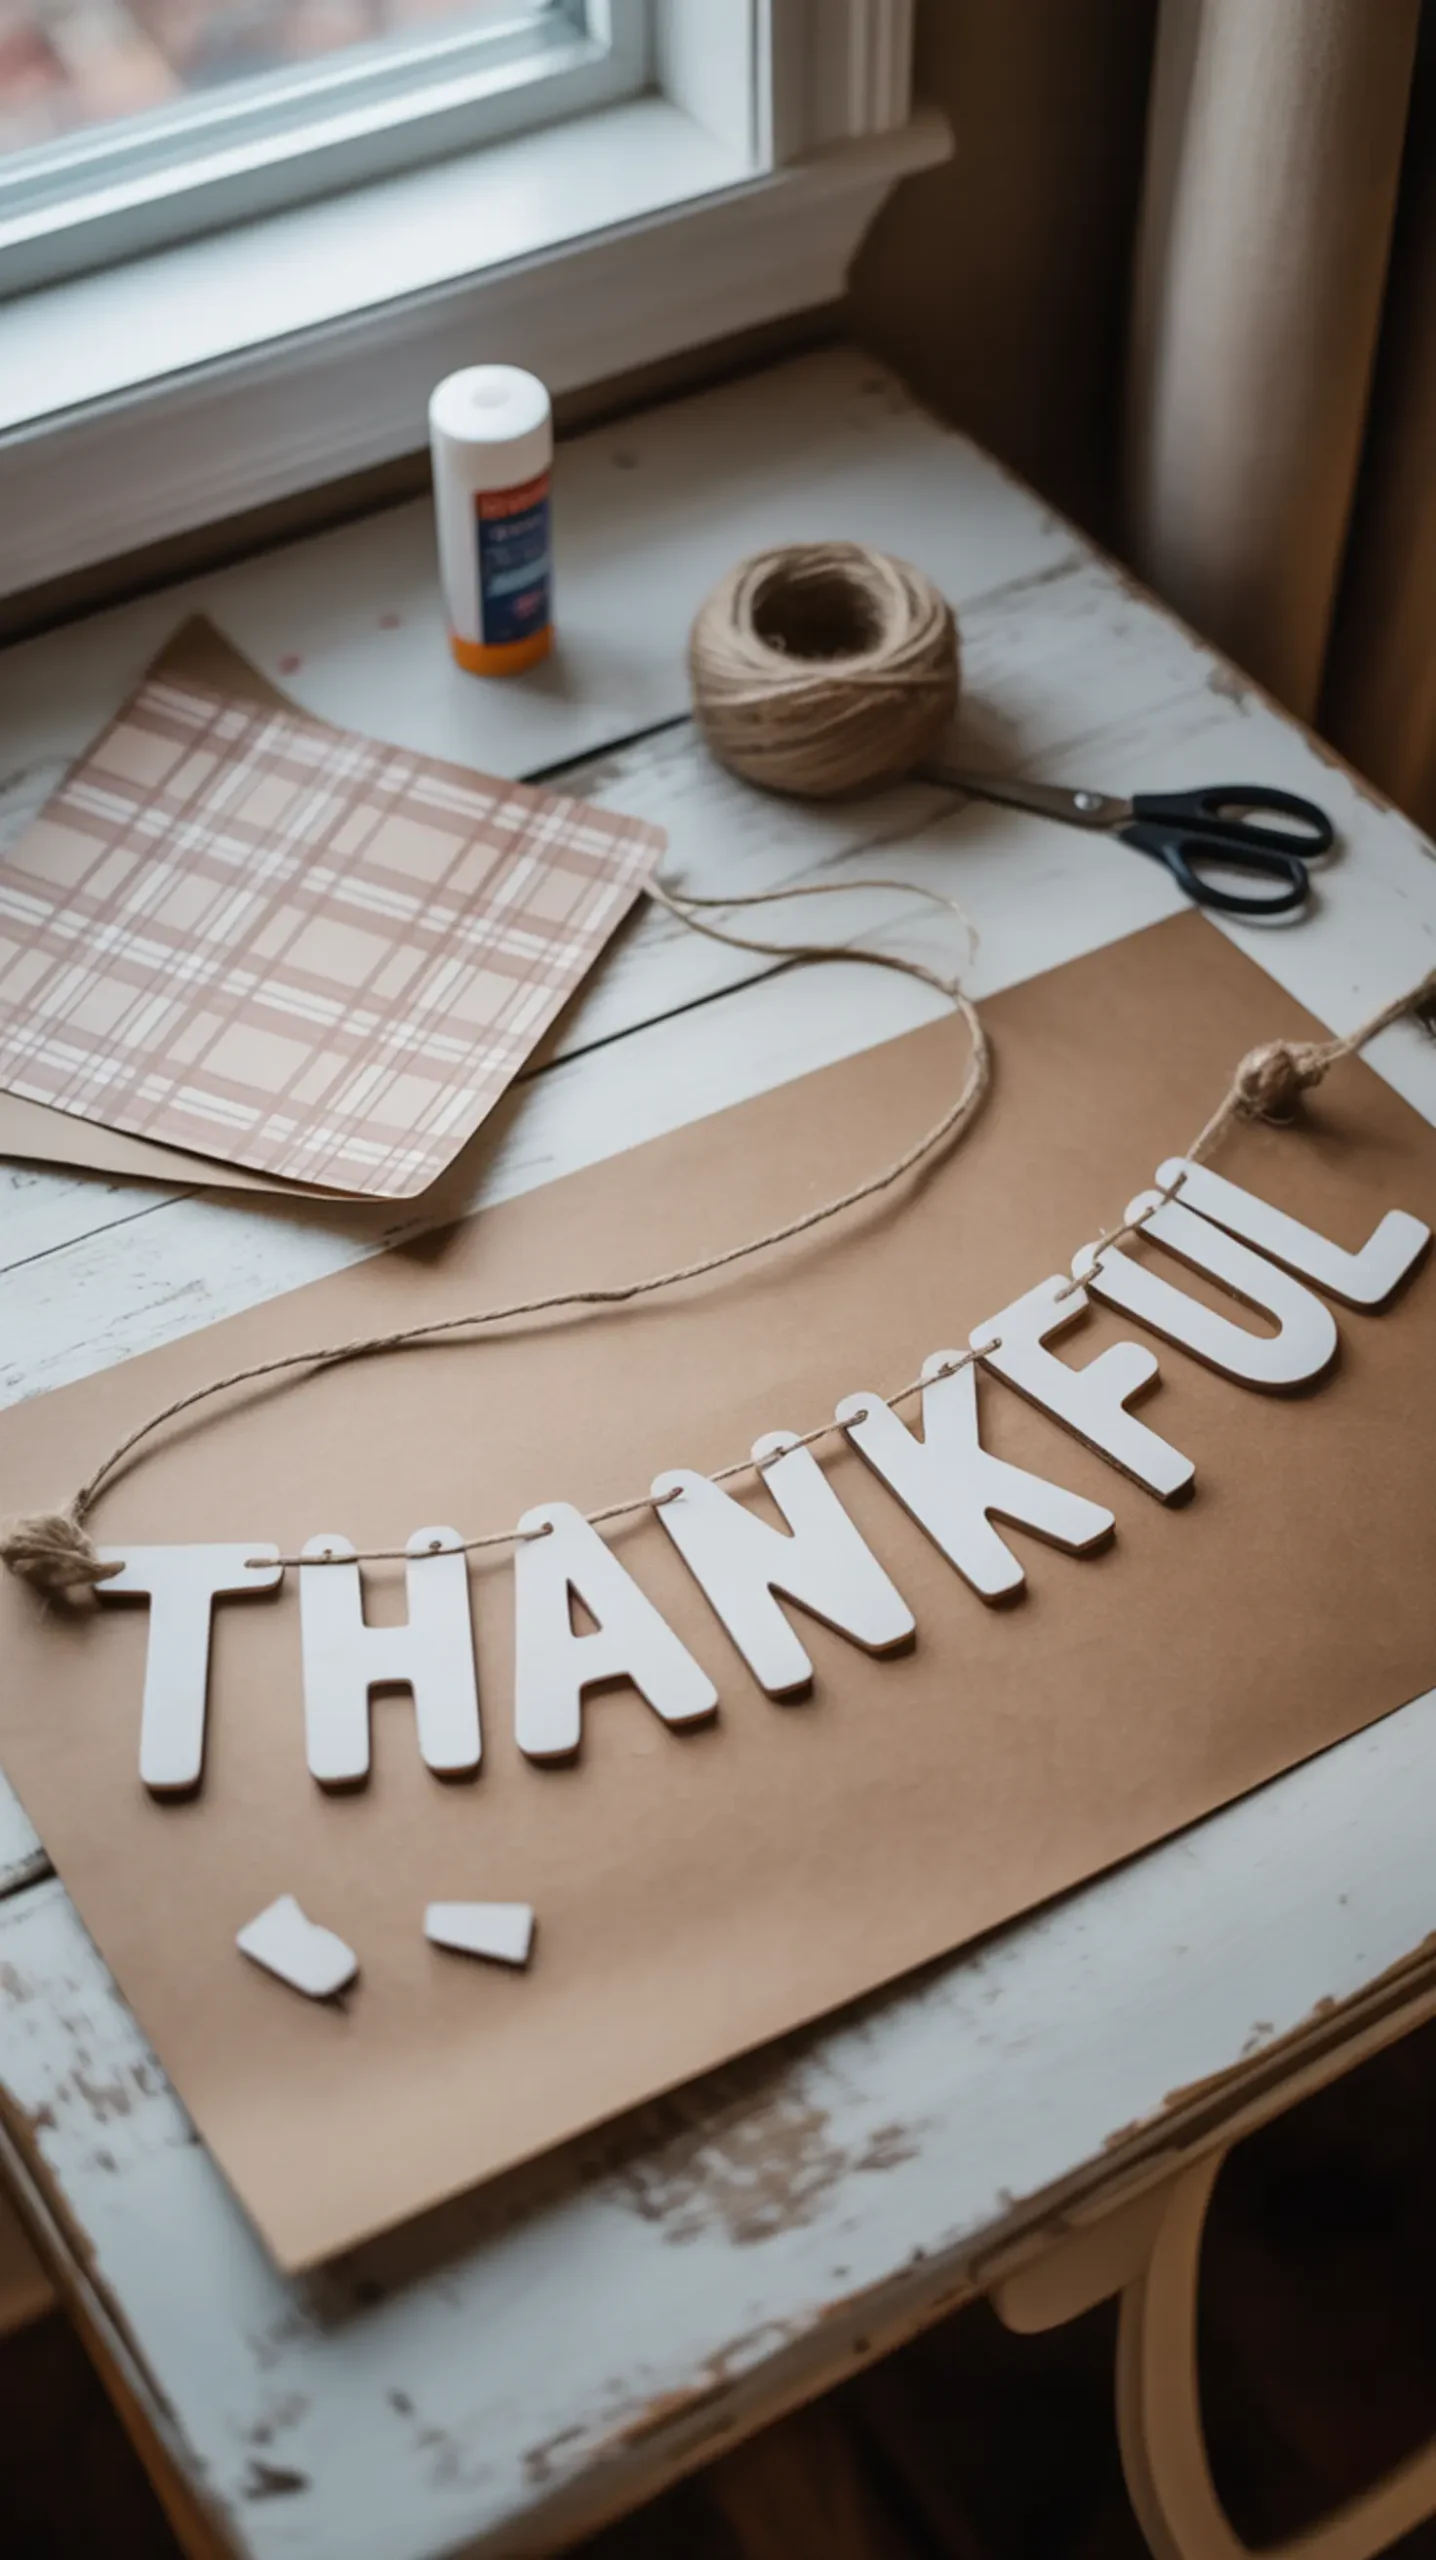
A “Thankful” banner is a classic for a reason, and you can easily elevate the simple wooden letters from Dollar Tree. Instead of leaving them plain, try painting them a rich metallic copper or covering them with a subtle patterned scrapbook paper. String them onto some rustic twine for a banner that feels custom-made.
Craft Snapshot: Difficulty: Easy | Active Time: 30 mins | Mess Level: Low | Learning Focus: Decoupage/Painting
🎯 Best For: A heartfelt decoration for a mantel, wall, or entryway.
Image-12: A “Thankful” banner with letters covered in a subtle plaid scrapbook paper, strung across a white fireplace mantel.
13. Sweater-Wrapped Cozy Pumpkins 🦃
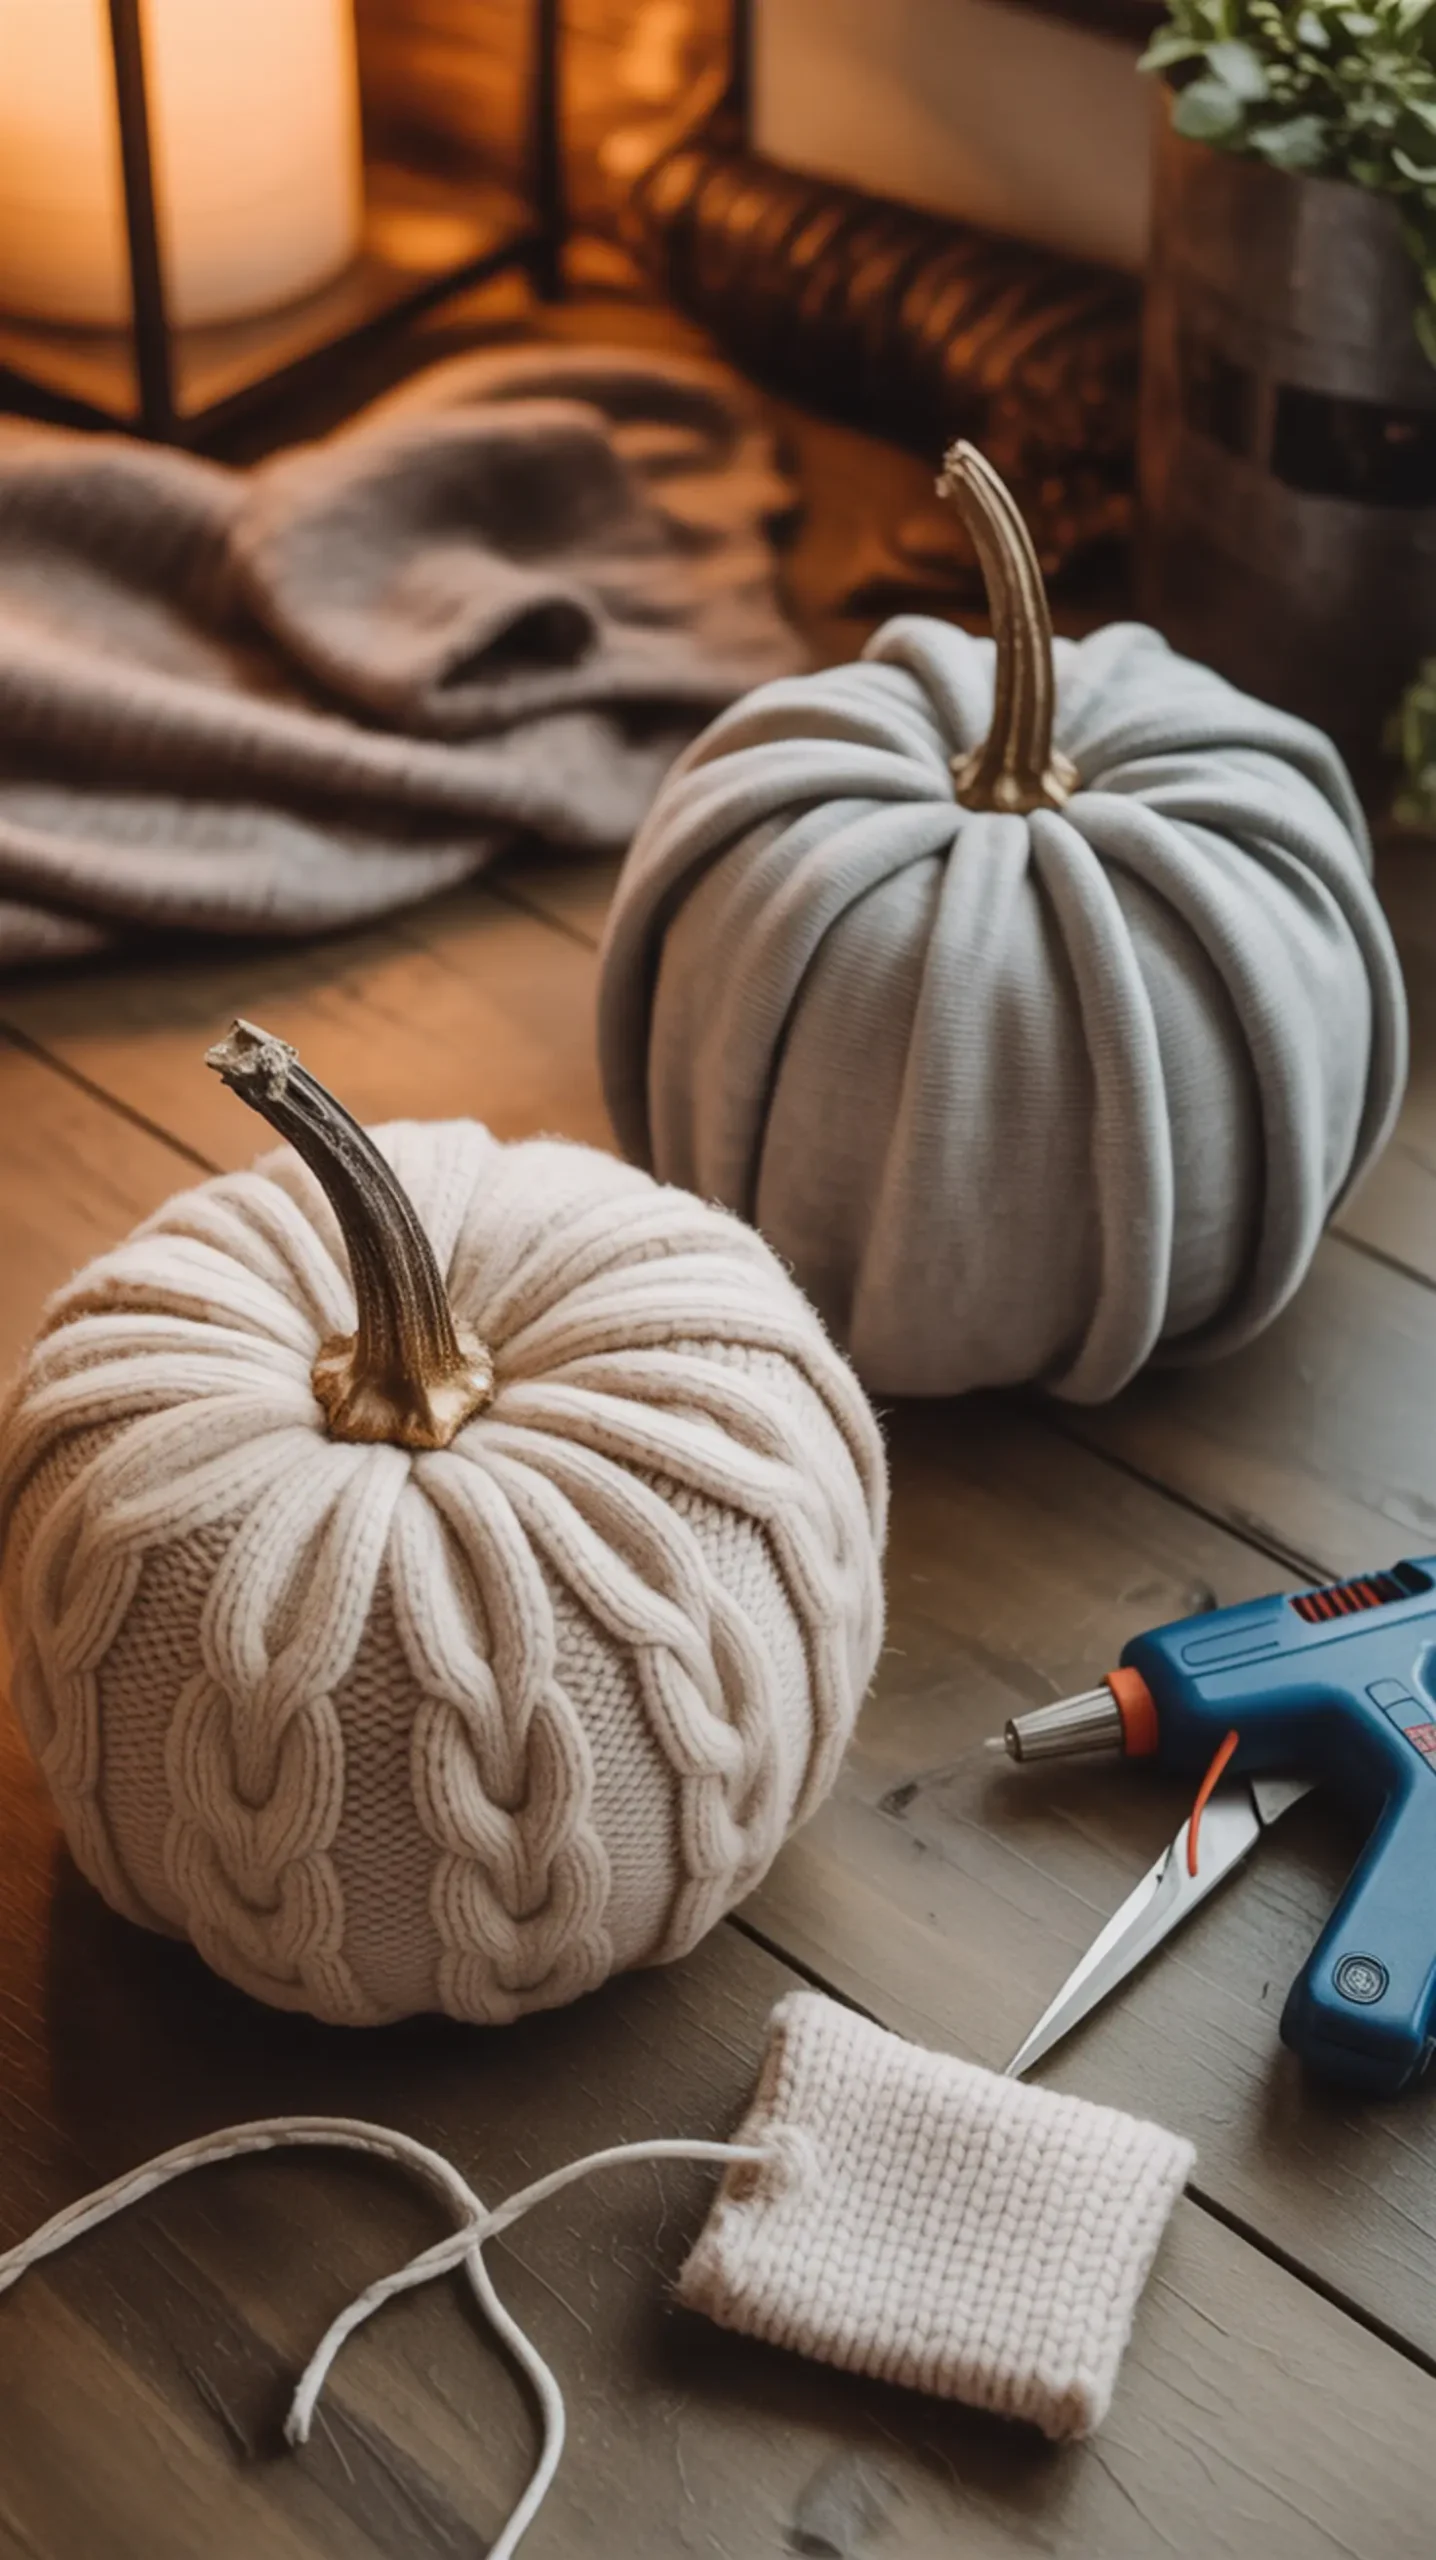
This might be the coziest craft on the list! Give a foam pumpkin an incredibly warm and textured look by wrapping it in the sleeve of an old sweater or a cable-knit sock. I love using a real stick from the yard as a stem to complete the rustic, snuggly vibe. They look so charming grouped together.
Craft Snapshot: Difficulty: Easy | Active Time: 15 mins | Mess Level: Low | Learning Focus: Upcycling Fabric
🎯 Best For: Adding cozy, hygge-inspired texture to your fall decor.
Image-13: Two pumpkins, one wrapped in a cream cable-knit sweater material and the other in gray, sitting side-by-side.
14. Framed Fall Printables 🦃
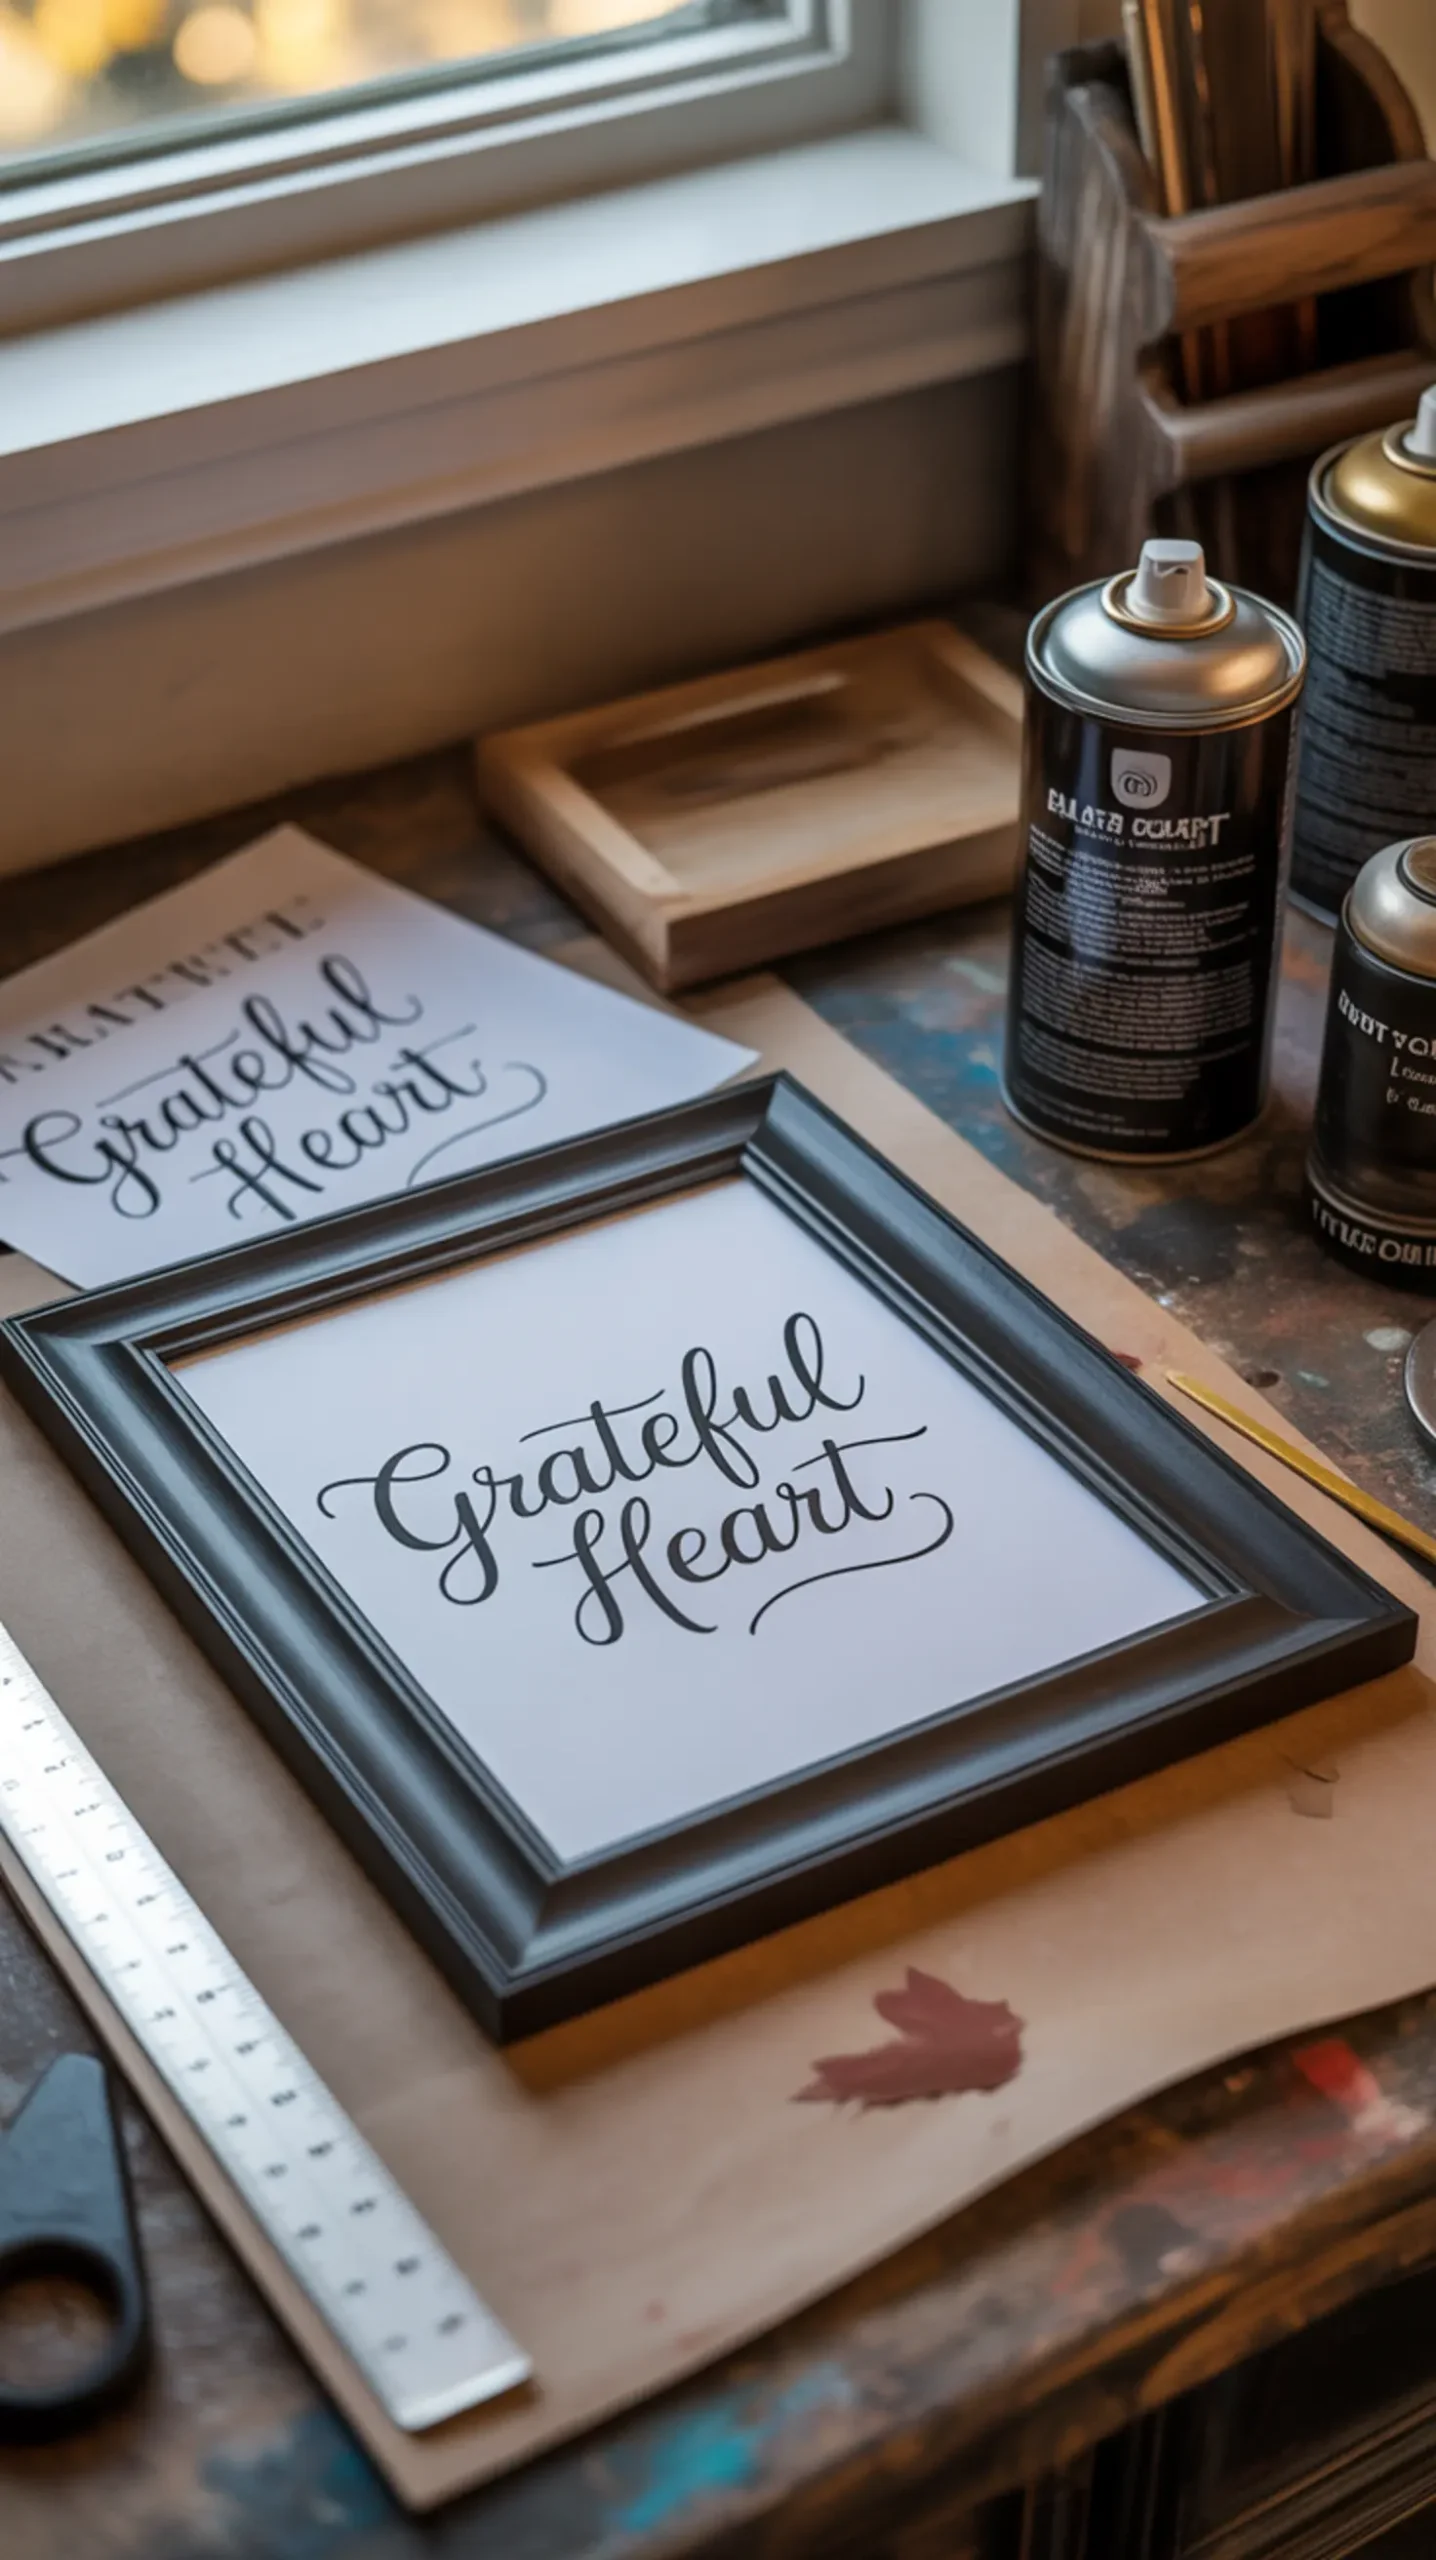
This is my go-to hack for fast, cheap, and classy art. Find a beautiful, minimalist Thanksgiving printable online (there are tons of free ones!) and pop it into a simple Dollar Tree frame. The trick is to spray paint the frame matte black or gold first to make it look much more substantial and expensive.
Craft Snapshot: Difficulty: Easy | Active Time: 10 mins | Mess Level: Low | Learning Focus: Curating Decor
🎯 Best For: Quick, elegant, and easily customizable wall or shelf art.
Image-14: A simple black frame holding a printable that says “Grateful Heart” in elegant script, leaning against a wall on a shelf.
15. Buffalo Check Splatter Screen Wreath 🦃
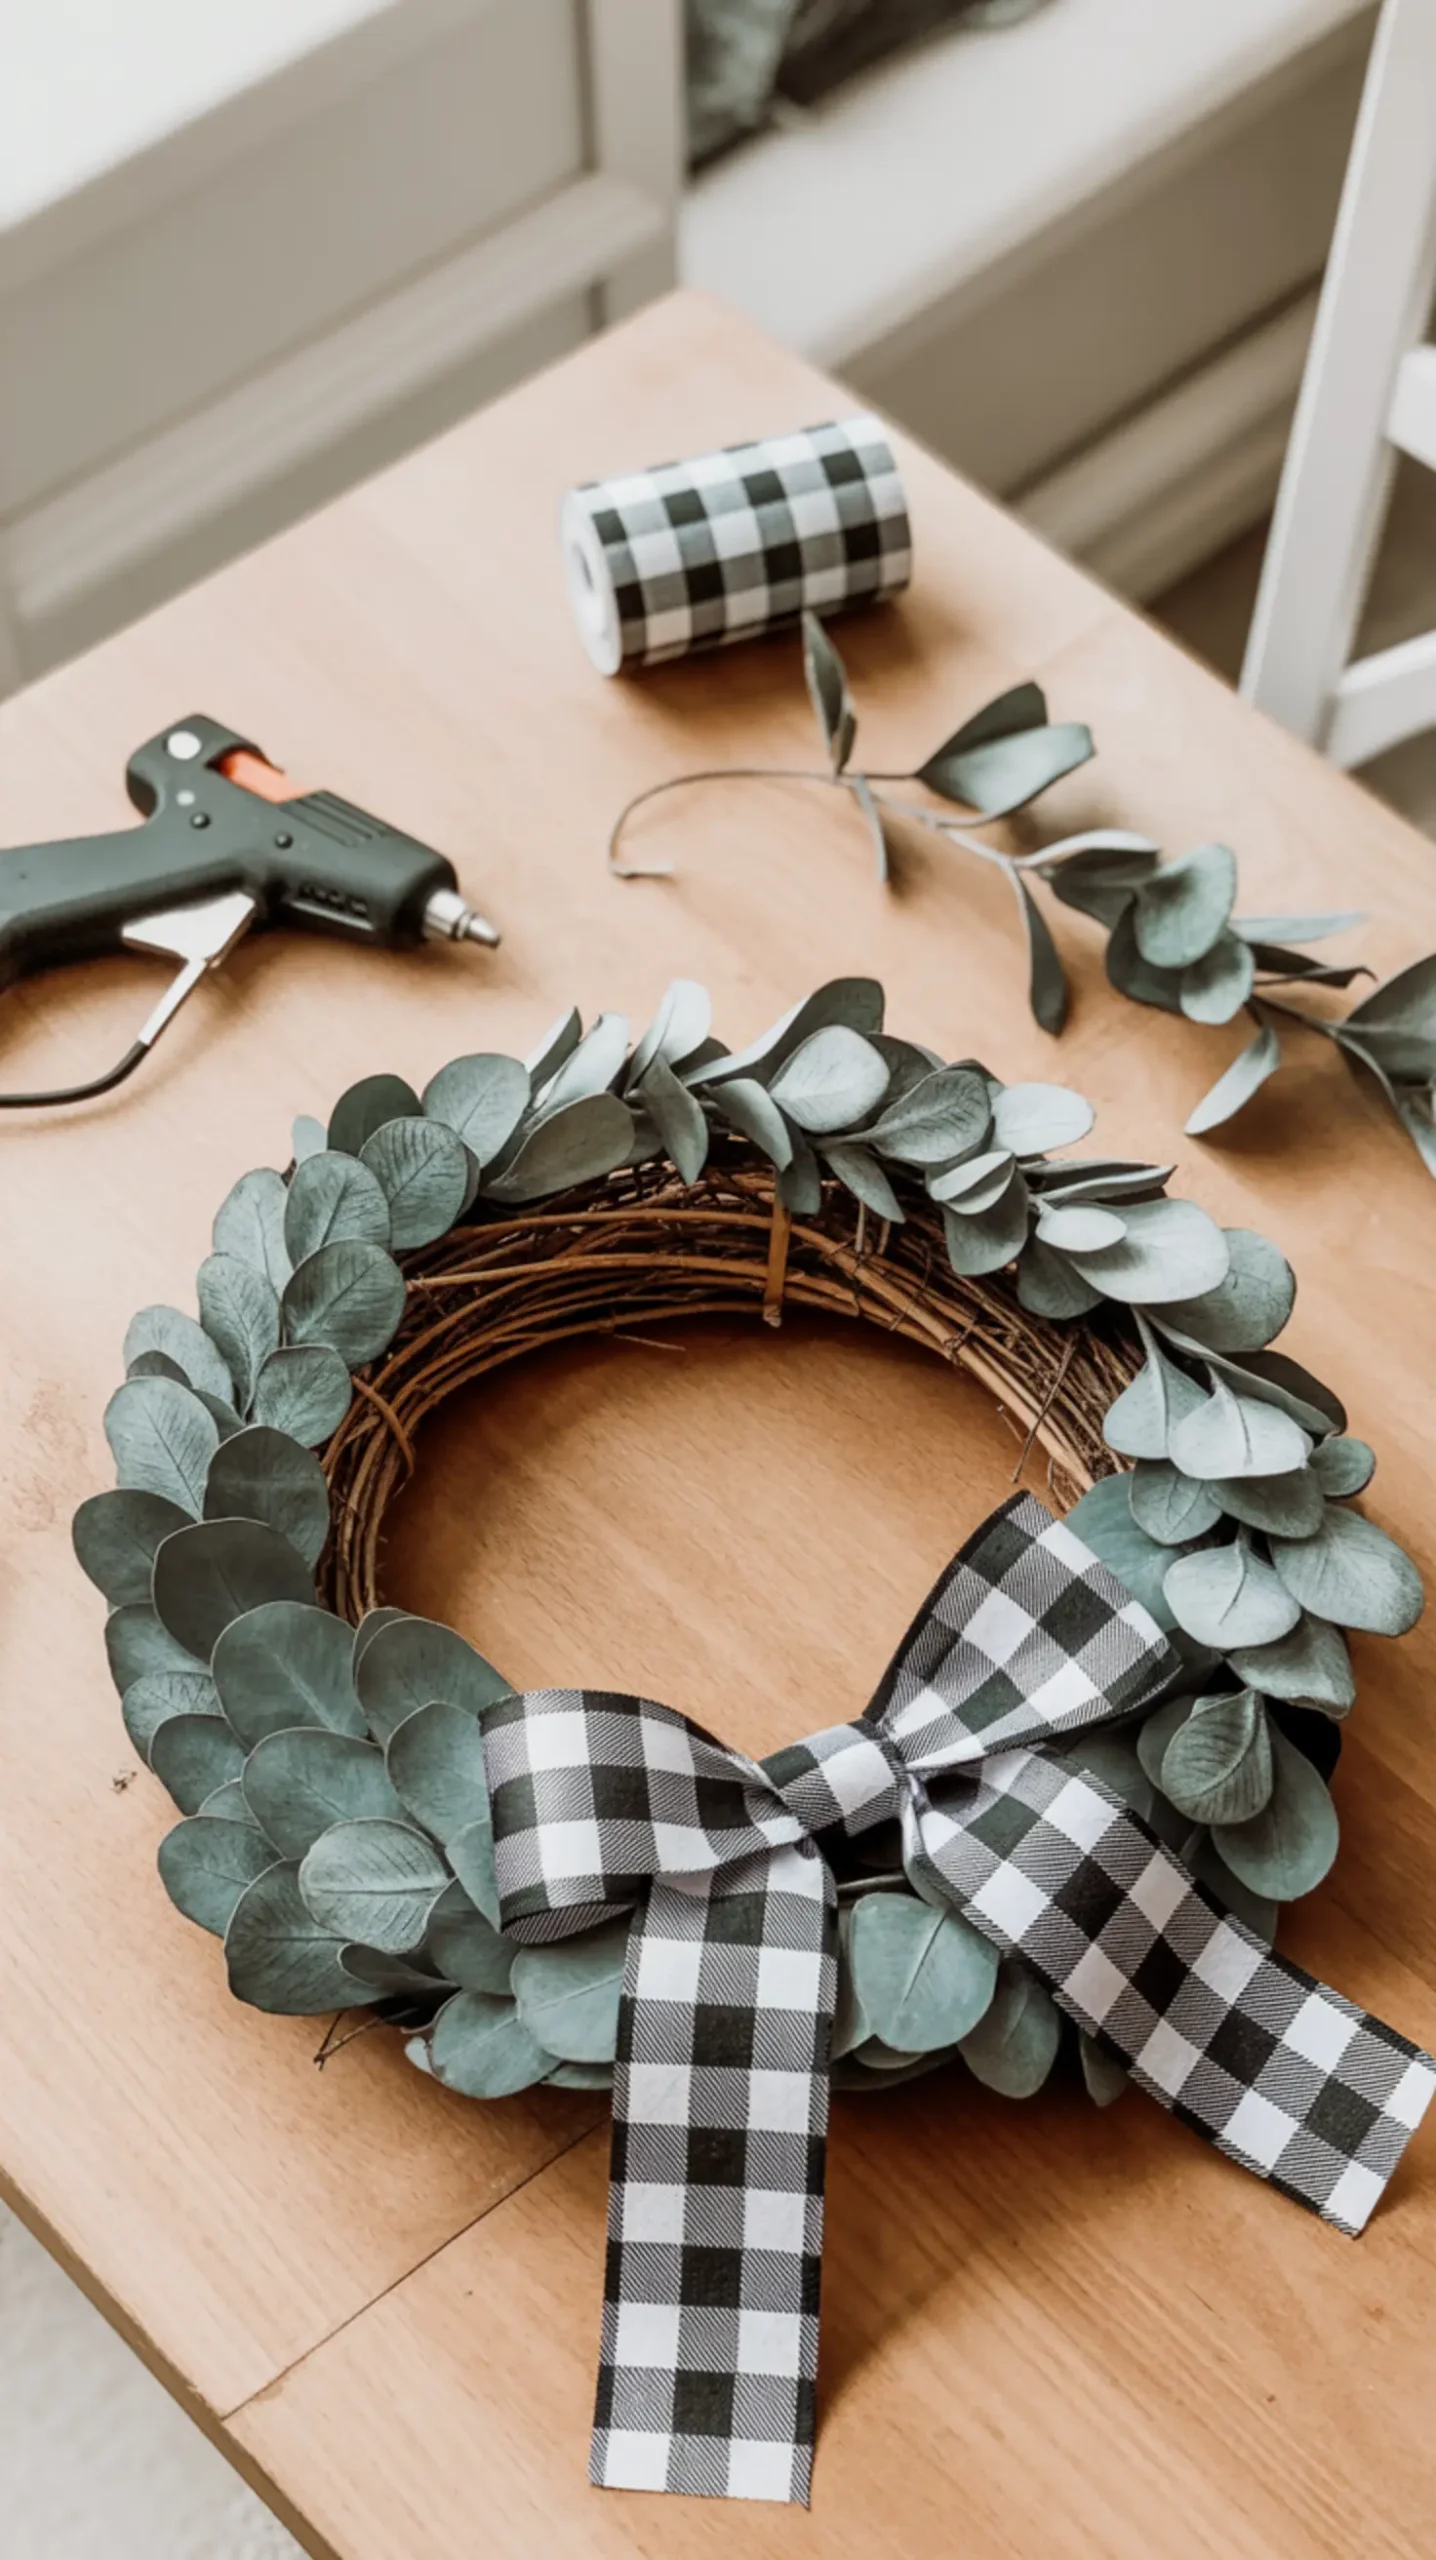
Who would have thought a kitchen splatter screen could become a wreath? This is modern farmhouse creativity at its best! Just remove the handle, use your hot glue gun to attach a ring of faux eucalyptus or lambs ear, and finish it off with a classic buffalo check bow. It’s simple, airy, and so stylish.
Craft Snapshot: Difficulty: Easy | Active Time: 20 mins | Mess Level: Low | Learning Focus: Creative Repurposing
🎯 Best For: A simple, modern farmhouse-style wreath for an interior door or wall.
Image-15: A finished splatter screen wreath with a green eucalyptus ring and a black-and-white buffalo check bow, hanging on a pantry door.
16. Mirrored Tray Centerpiece Base 🦃
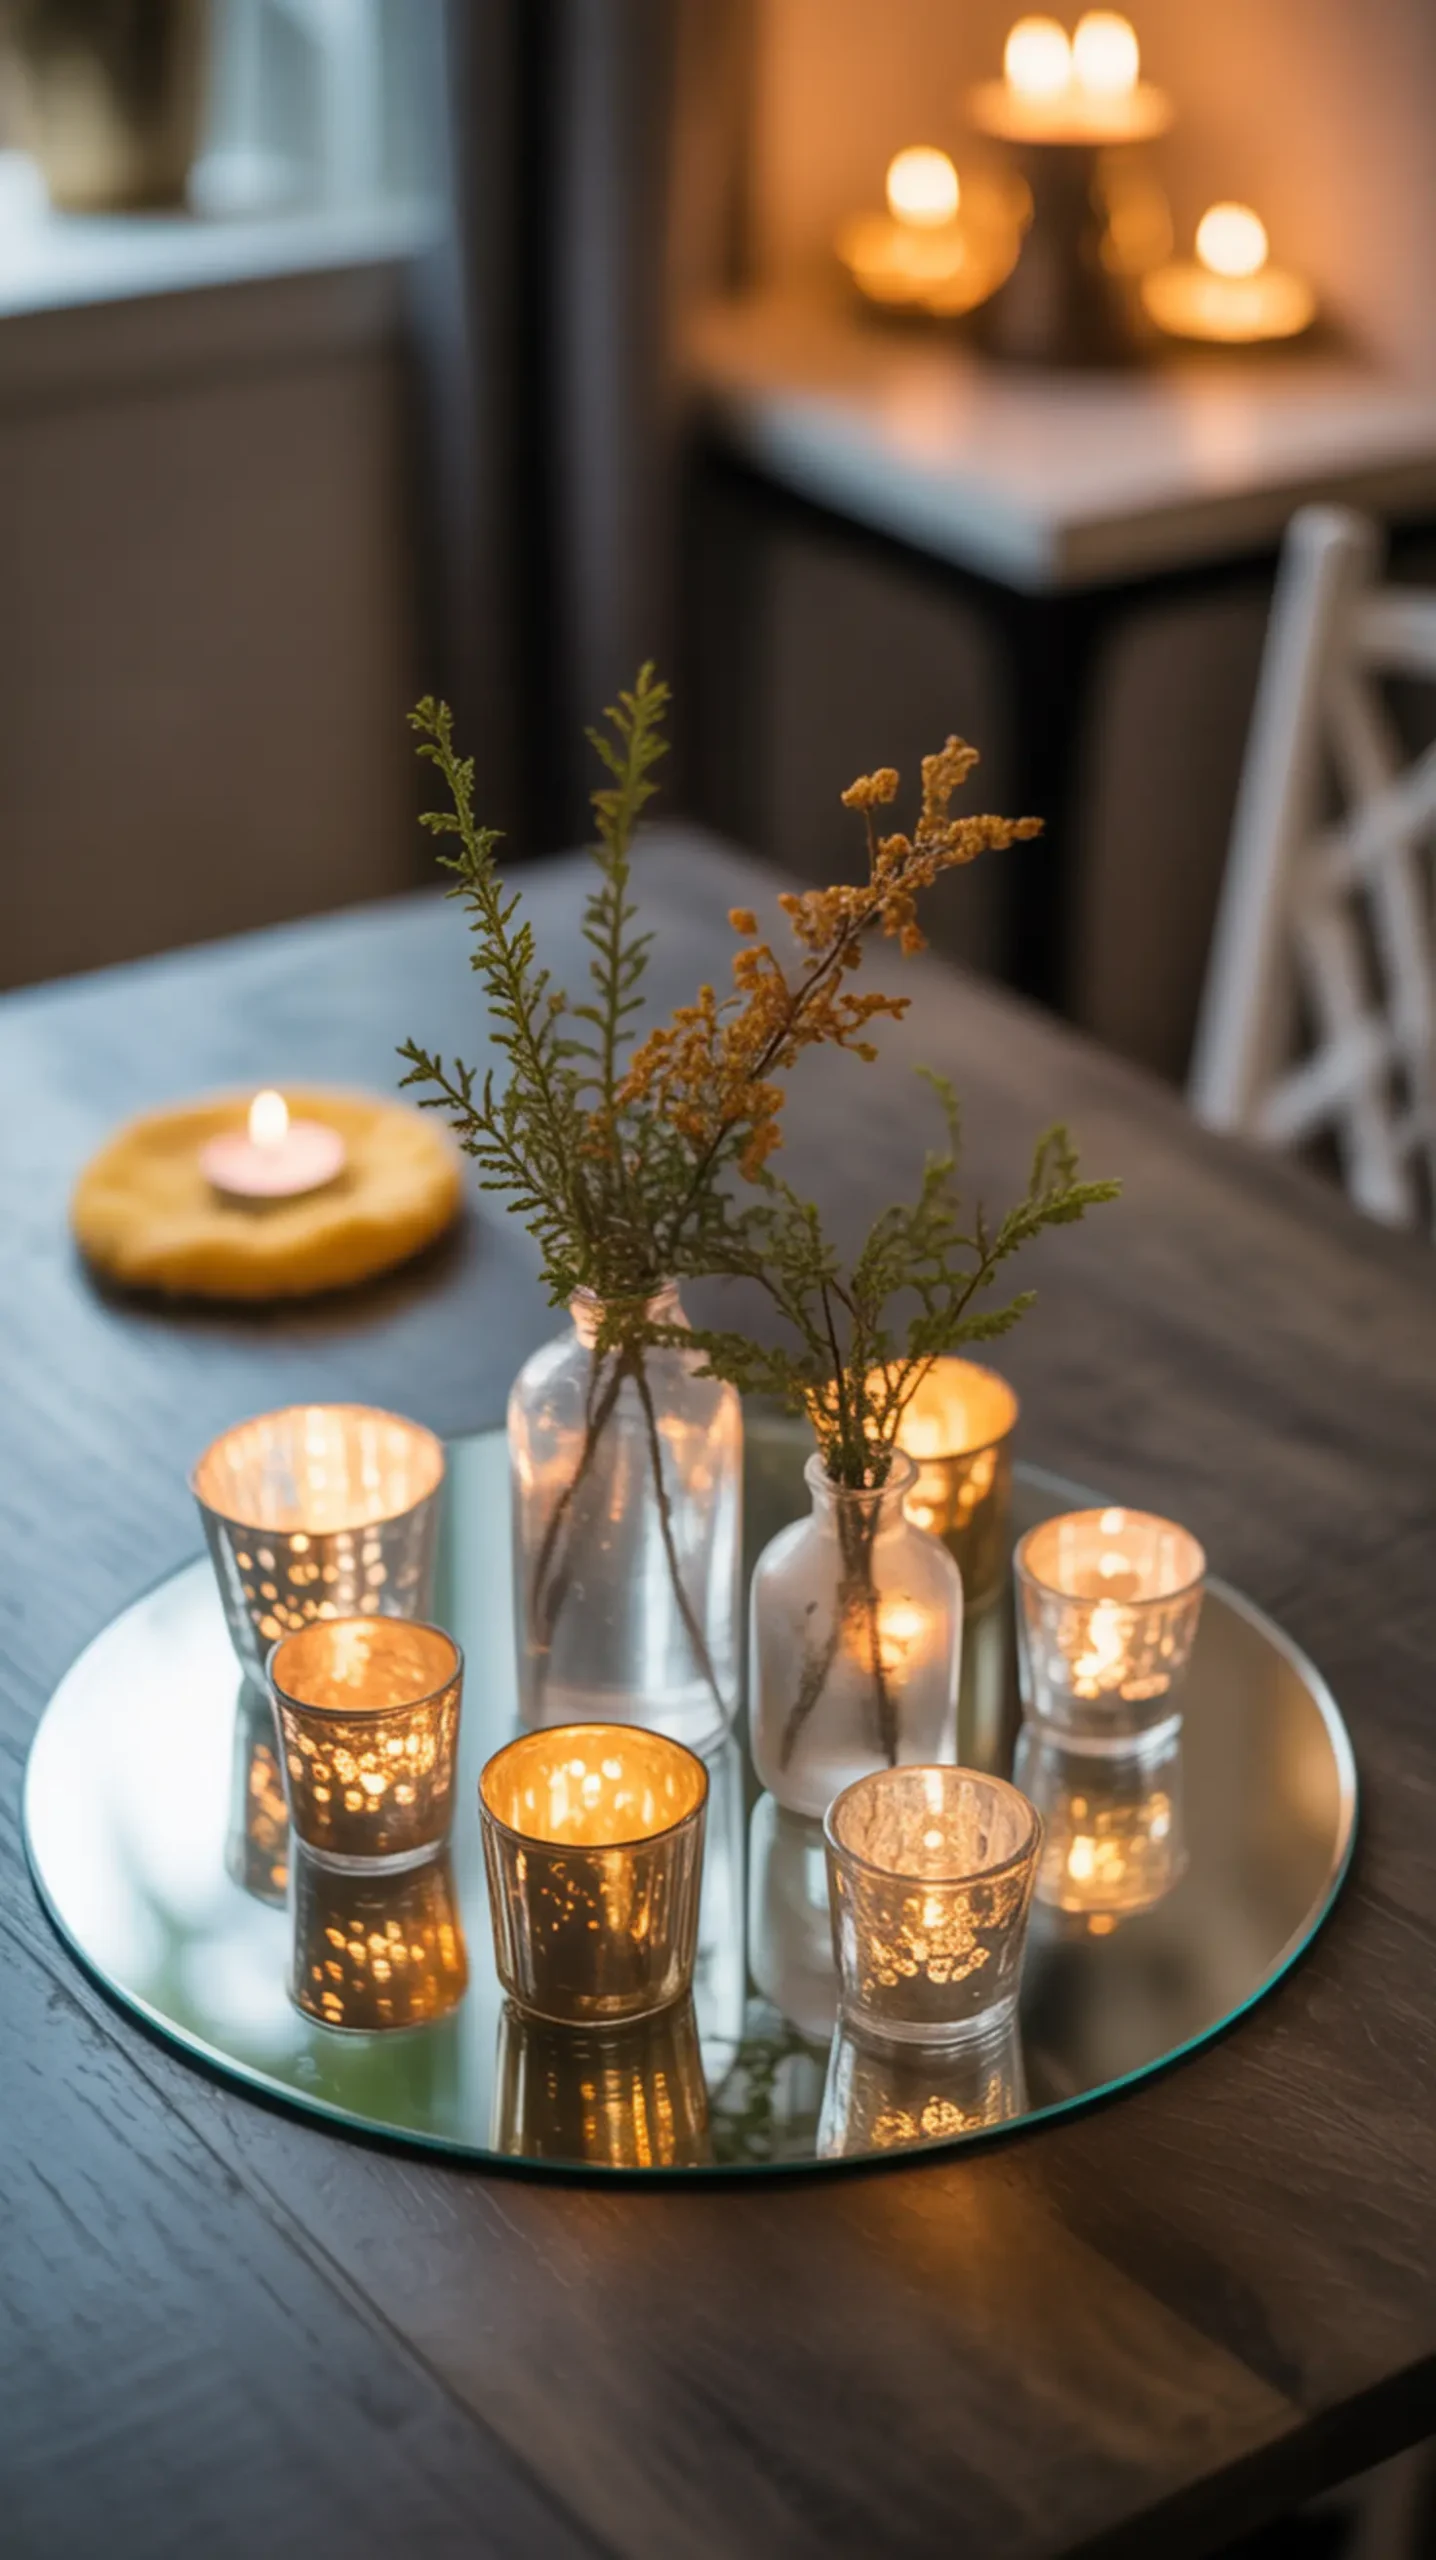
Here’s a stylist’s secret for you! Using a simple, round mirror from Dollar Tree as the base for your centerpiece is a game-changer. It reflects candlelight beautifully, makes your arrangement look twice as full, and adds a layer of glamour and light to your table. It’s the easiest hack with the biggest impact.
Craft Snapshot: Difficulty: Easy | Active Time: 5 mins | Mess Level: Low | Learning Focus: Styling
🎯 Best For: Instantly elevating any table centerpiece and maximizing candlelight.
Image-16: A collection of small vases and the faux mercury glass votives arranged on a round mirror in the center of a dining table.
17. Neutral-Toned Potpourri Bowl 🦃
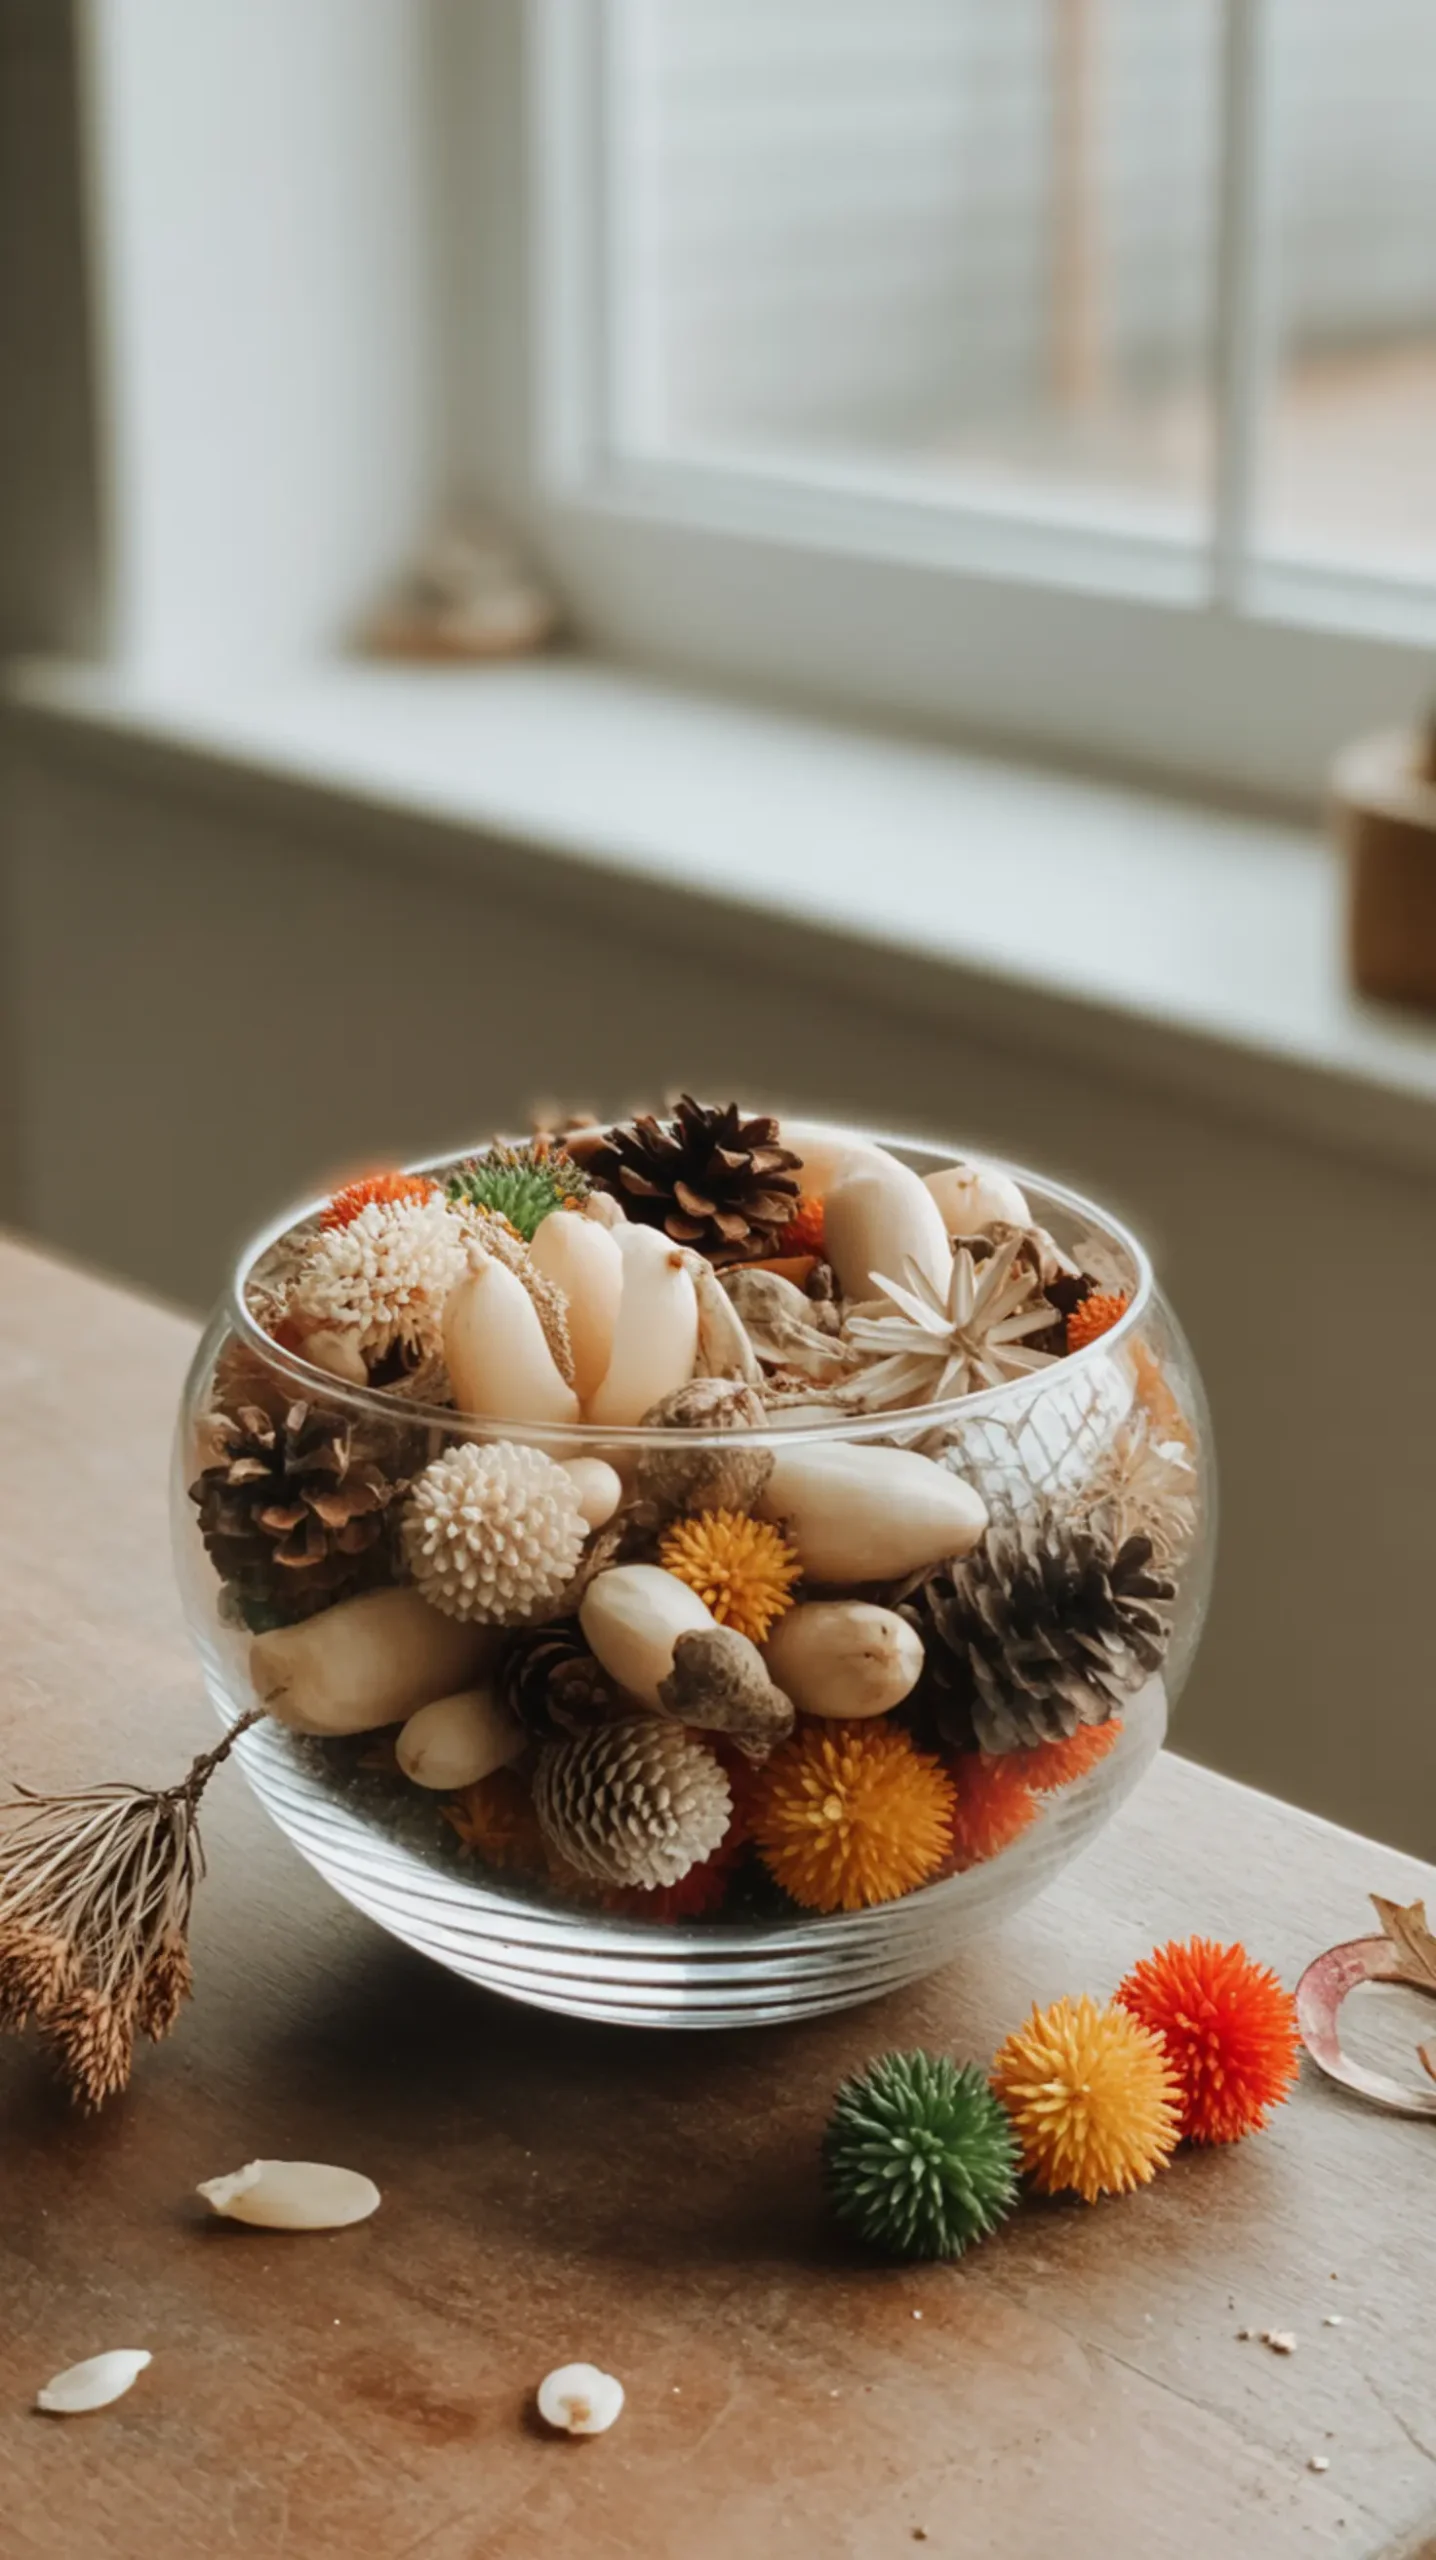
Sometimes, the best DIY is about what you take away. A bag of fall potpourri can have some brightly colored, unnatural pieces. The trick is to pour it into a bowl and simply pick out those garish items, leaving behind a curated mix of pinecones, pods, and muted botanicals for a much more organic and high-end look.
Craft Snapshot: Difficulty: Easy | Active Time: 10 mins | Mess Level: Low | Learning Focus: Editing & Curating
🎯 Best For: Creating a simple, organic, and fragrant decor accent.
Image-17: A clear glass bowl filled with a curated, neutral-toned potpourri mix of pinecones, dried pods, and cream-colored botanicals.
18. Faux Aged Terracotta Pots 🦃
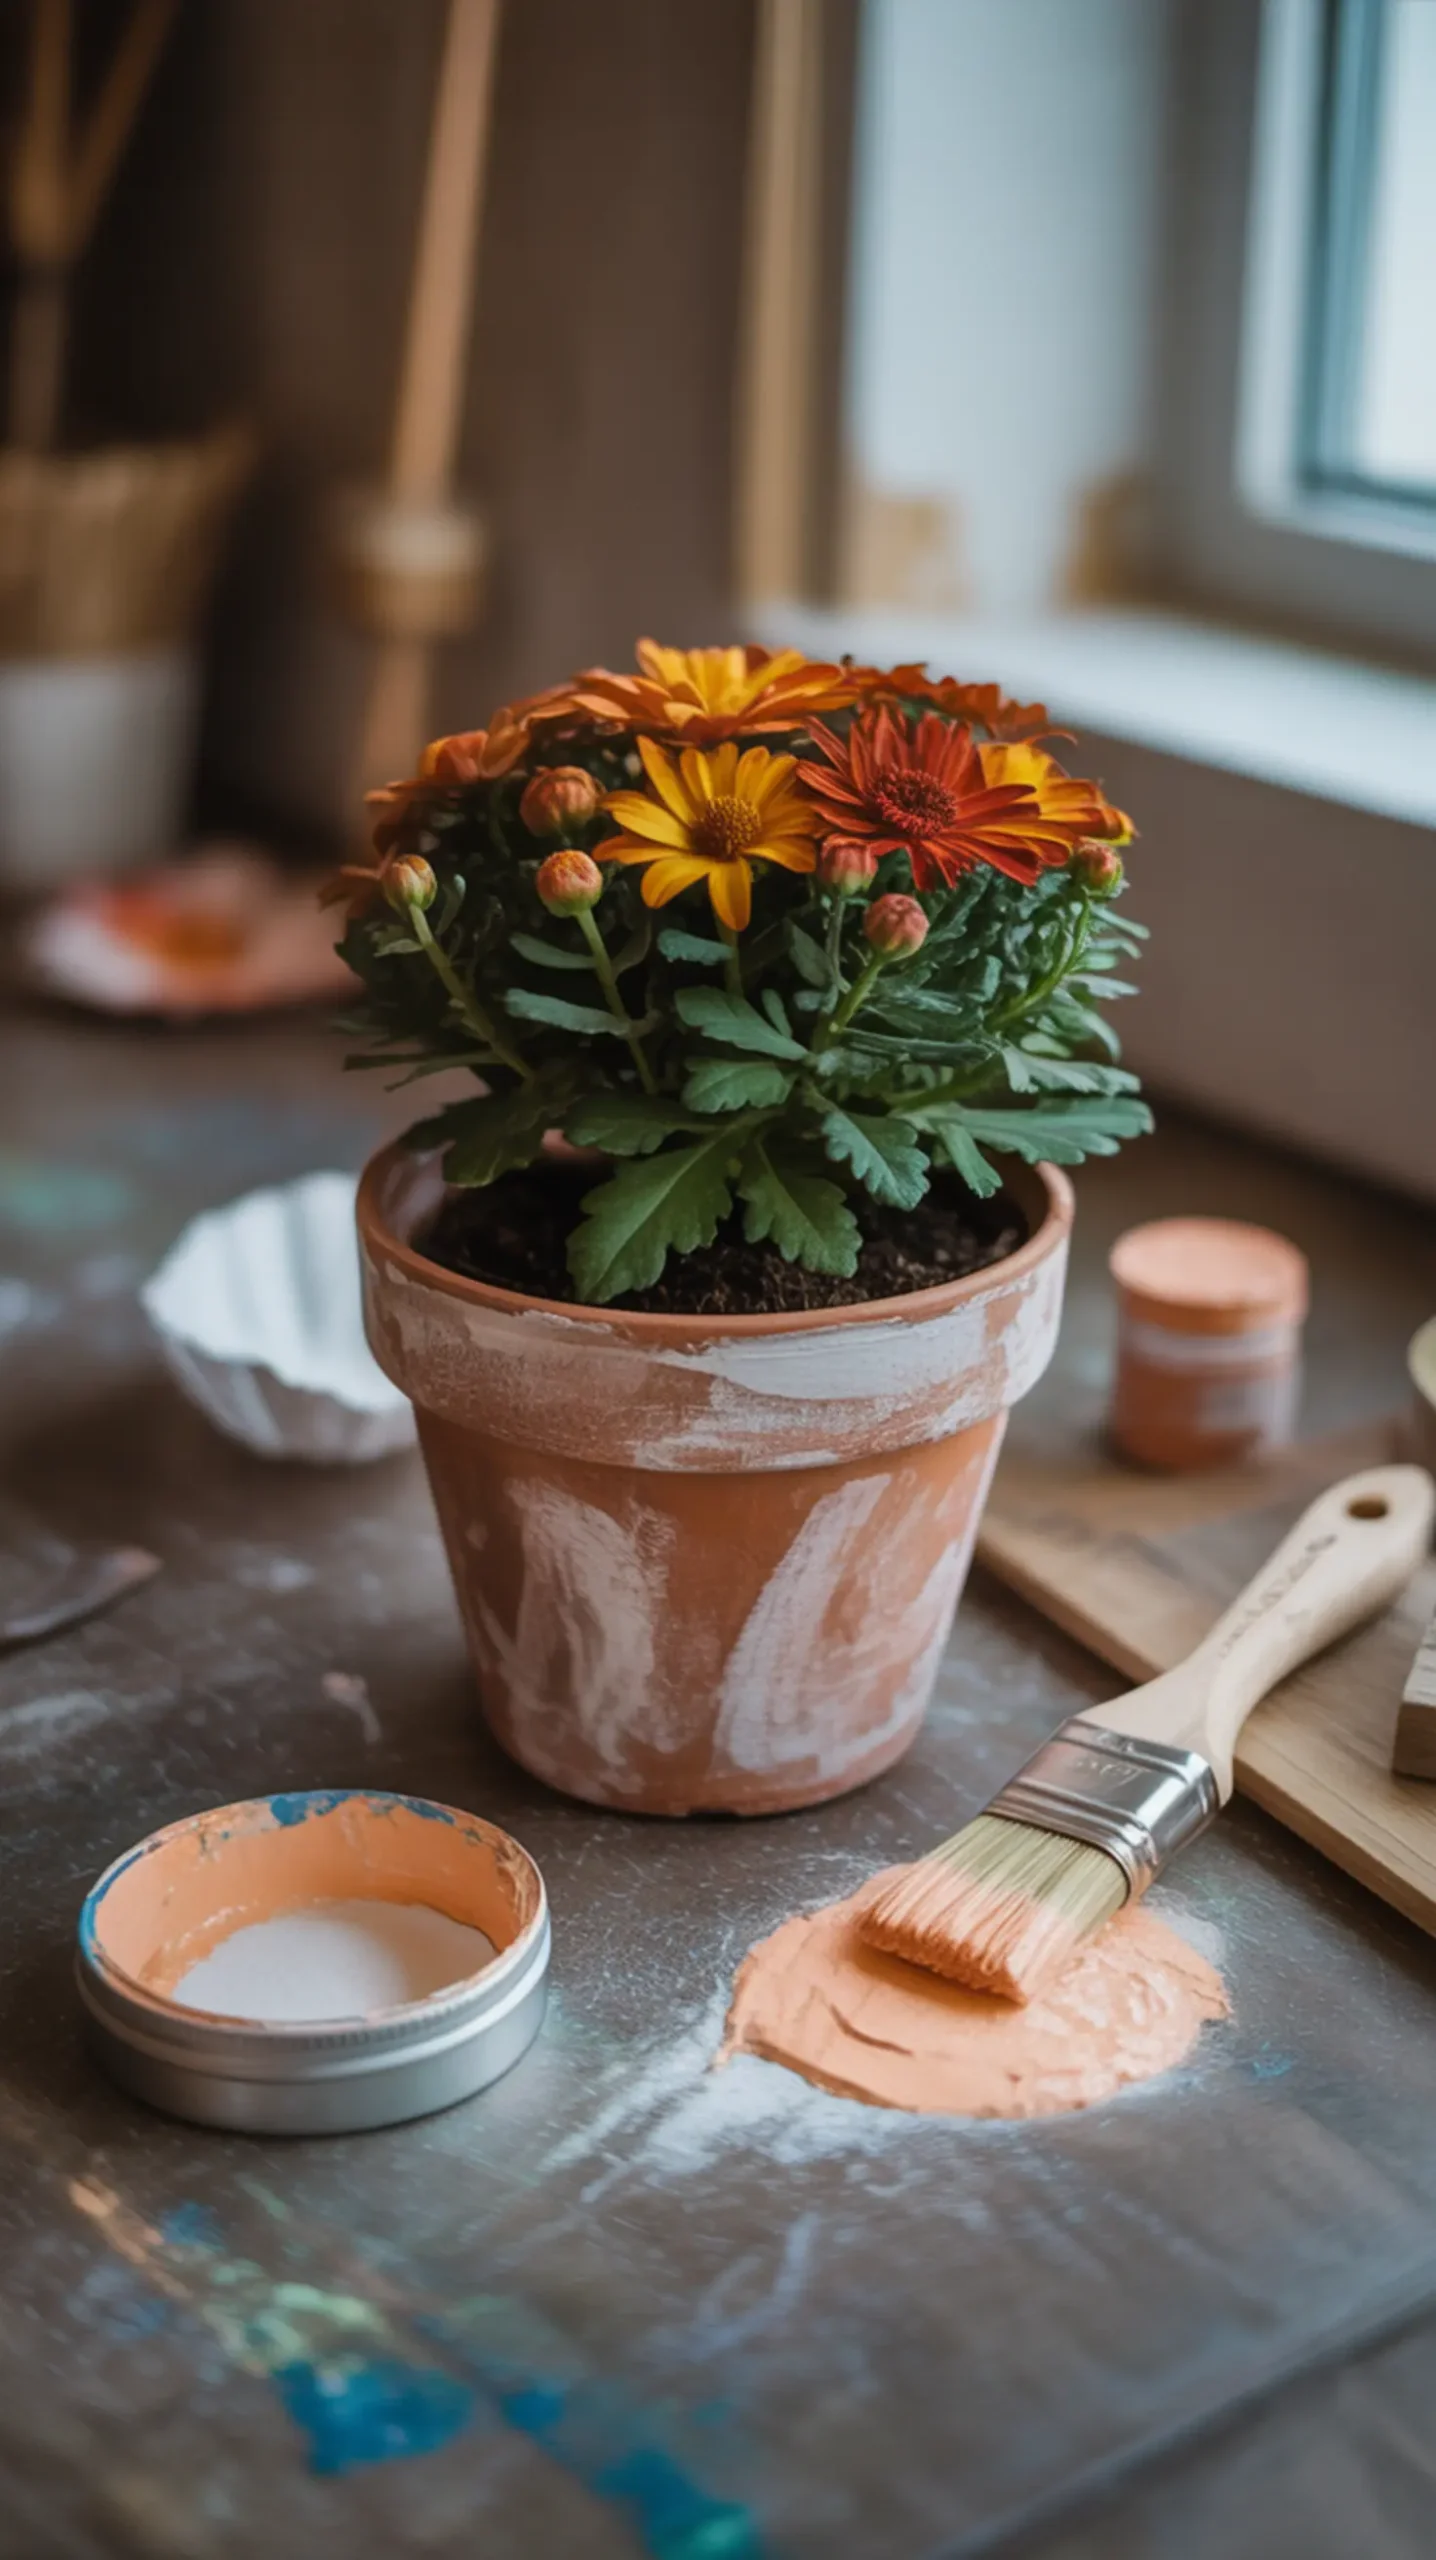
I love the look of old, weathered terracotta, and you can get that look on cheap plastic pots with this awesome paint trick. Just mix a little baking soda into your acrylic craft paint to create a thick, chalky texture. Dabbing it onto the pot gives it a wonderfully aged, matte finish that looks so authentic.
Craft Snapshot: Difficulty: Medium | Active Time: 25 mins (plus dry time) | Mess Level: Medium | Learning Focus: Faux Painting
🎯 Best For: Giving cheap pots an authentic, aged, and rustic look for fall plants.
Image-18: A plastic pot with a textured, chalky, faux aged terracotta finish, holding a small mum.
19. DIY Corn Husk Votives 🦃
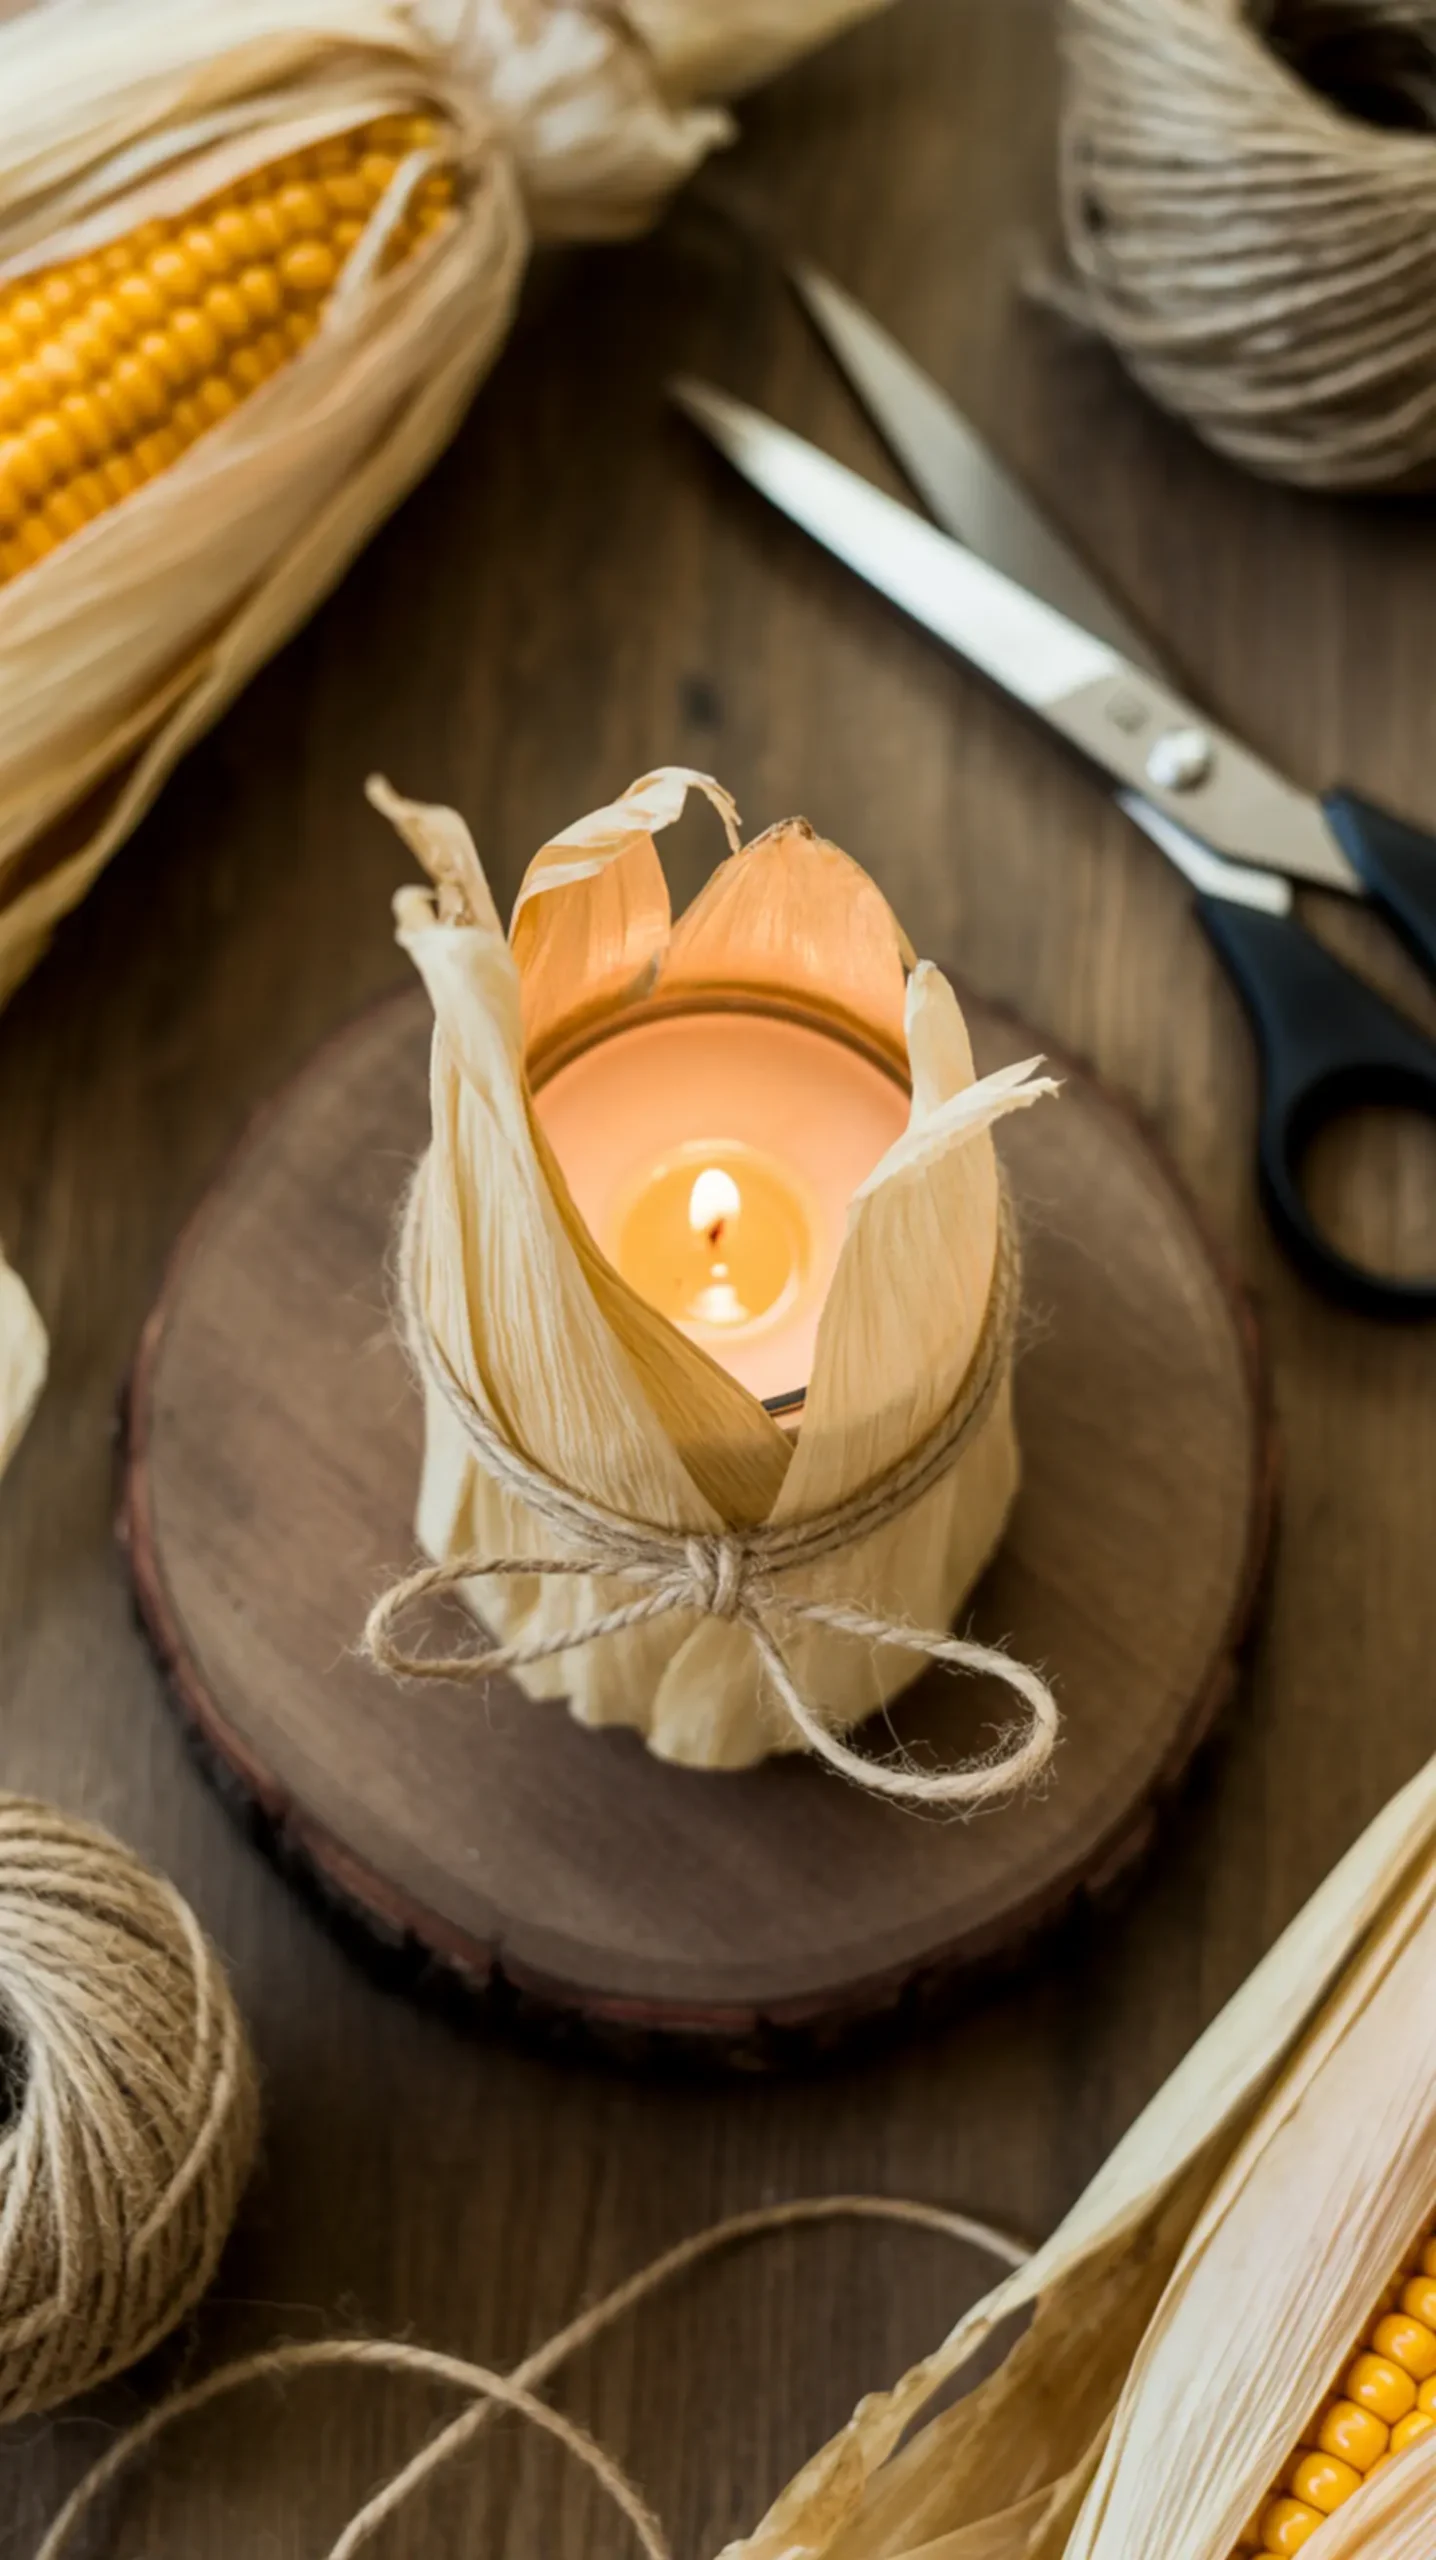
Bring a touch of the harvest right to your table! Using dried corn husks (you can find them in the food aisle) to wrap around a simple glass votive holder is a beautiful way to add natural texture. Secure them with a bit of twine, and the warm candlelight will create the most wonderful, rustic glow.
Craft Snapshot: Difficulty: Easy | Active Time: 15 mins | Mess Level: Low | Learning Focus: Natural Materials
🎯 Best For: A rustic, natural, and warm lighting accent for your table.
Image-19: A glass votive holder wrapped in dried corn husks and tied with twine, with a lit candle glowing softly from within.
20. Simple Wheat Bundle Decor 🦃
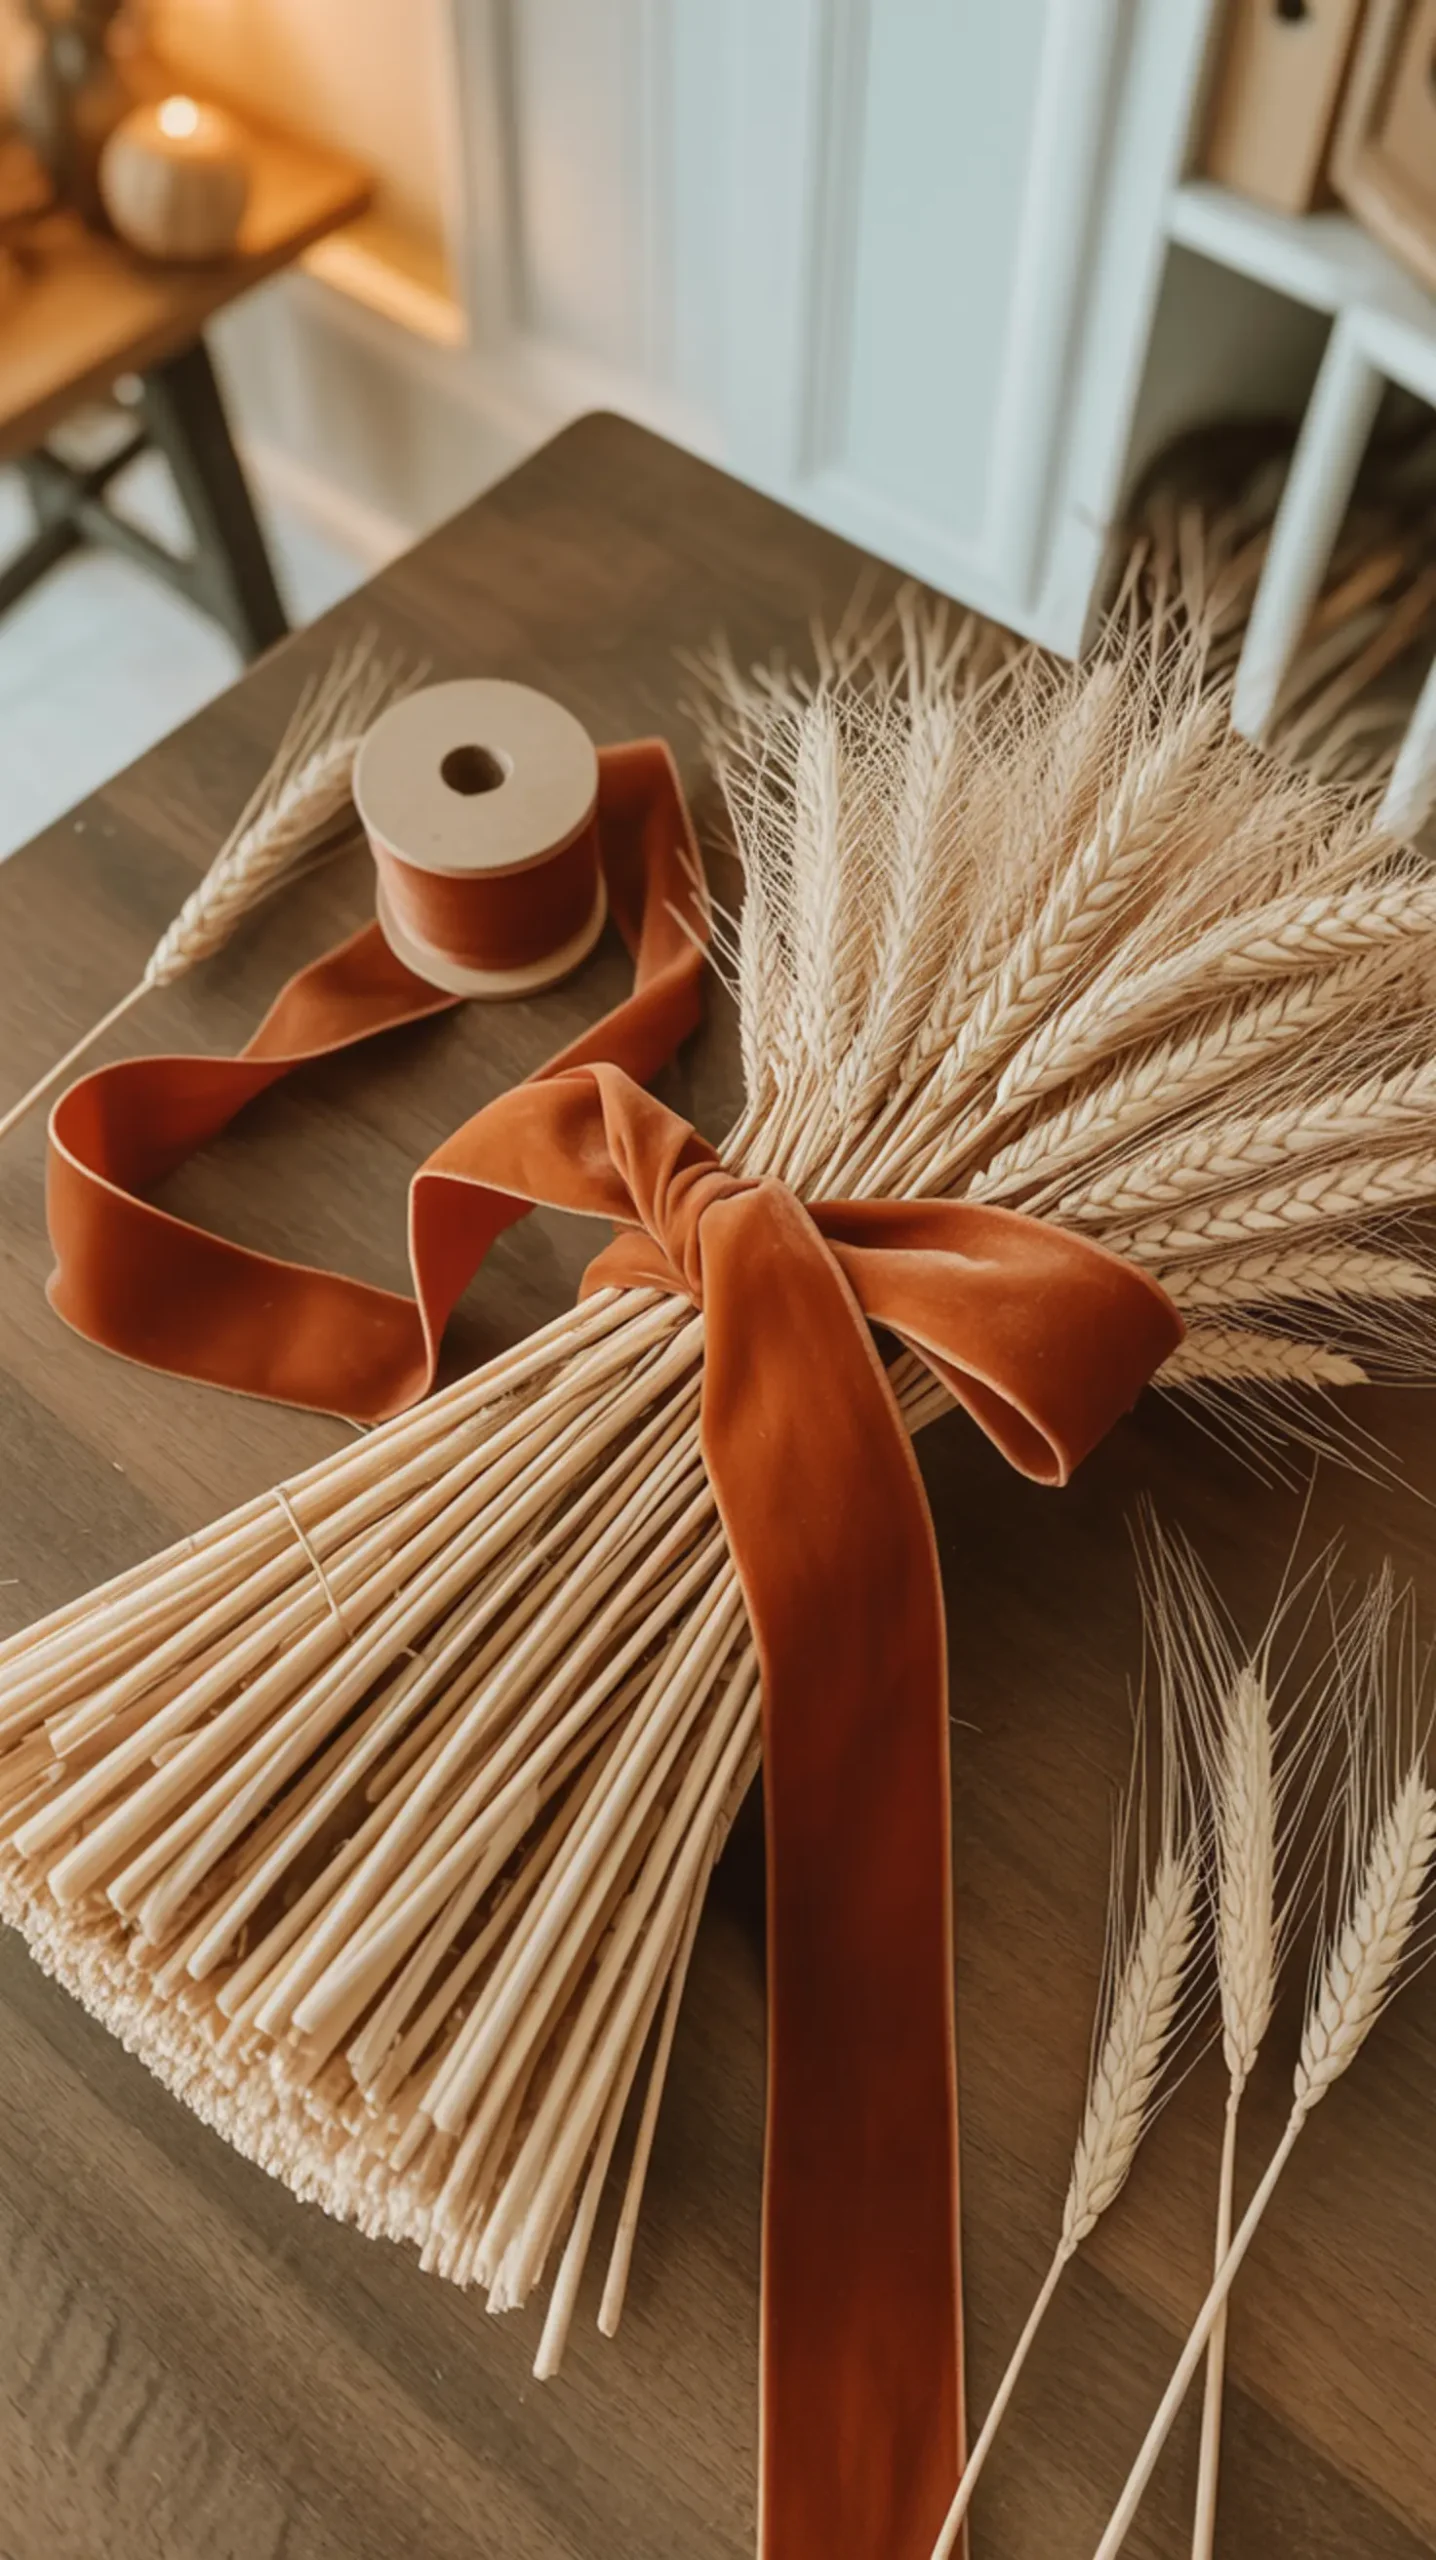
Sometimes, the most elegant decor is the most simple. Instead of fussing with an arrangement, grab a few bunches of faux wheat from the floral section and tie them together into one large, generous bundle. Use a beautiful piece of velvet or burlap ribbon and simply lay the bundle on its side on your mantel or entryway table for effortless charm.
Craft Snapshot: Difficulty: Easy | Active Time: 5 mins | Mess Level: Low | Learning Focus: Simple Styling
🎯 Best For: An effortlessly chic and simple harvest accent for a flat surface.
Image-20: A large bundle of faux wheat tied with a wide, rust-colored velvet ribbon, laying horizontally on a dark wood mantel.
🍂 Turning Frugal Finds into Festive Treasures
Creating a home that feels warm, festive, and beautiful for Thanksgiving doesn’t have to come with a high price tag. As you can see, a trip to the dollar store and a little bit of creativity are all you need! These projects are more than just decorations; they are a chance to slow down, create with your hands, and fill your home with pieces that truly reflect a heart of gratitude.
Which of these Dollar Tree transformations surprised you the most? Share your favorite high-end hack in the comments below
