Eco-Friendly Fun: Creating Upcycled Halloween Decor from Cans and Jars
It’s that time of year again, ghouls and goblins! The air is getting crisp, pumpkin spice is in everything (no regrets here!), and the urge to make your home the spookiest on the block is taking over. 🎃
But are you tired of the same old expensive, plastic decorations that end up in a landfill? Do you wish you could create something truly unique and charming without breaking the bank? I know the feeling, which is why I’m here, Roshan Sharma, your friendly neighborhood Halloween fanatic, to share one of my favorite projects. 🎉
We’re about to dive into your recycling bin and transform boring old cans and jars into a ghoulishly delightful army of monsters, ghosts, and mummies. It’s the perfect way to get creative, save money, and have a more sustainable Halloween. Let’s turn that trash into treasure! ♻️
Activity At-a-Glance
- Best For 👨👩👧👦: Family crafting session, individual DIY project, pre-Halloween decoration party, eco-conscious homes
- Time Required ⏳: Approx. 1-2 hours (plus drying time)
- Budget Level 💰: Low-Cost (potentially Free if materials are on hand)
- Spookiness Level 👻: Low to Medium (customizable)
What You’ll Need for Your Upcycled Halloween Decor 📋
- Clean, empty tin cans (various sizes)
- Clean, empty glass jars (various sizes, labels removed) 🥫
- Acrylic paints (black, white, orange, green, purple) 🎨
- Paintbrushes (various sizes)
- Googly eyes 👀
- Black permanent markers
- Glue gun and glue sticks (or strong craft glue)
- Scissors ✂️
- Felt, construction paper, or fabric scraps (black, orange, white)
- Twine, yarn, or ribbon
- Optional: LED tea lights or battery-operated fairy lights (for jar luminaries) 💡
- Optional: Glitter, pipe cleaners, cotton balls, buttons, craft foam
Preparation & Setup: Creating the Spooky Scene
Before we unleash our creative monsters, let’s set the stage! A little prep makes the whole process smoother and way more fun. First, find a good crafting space—the kitchen table or a spot on the floor works great. Cover your surface to protect it from paint spills and glue drips.
Gather all your supplies and lay them out so everything is within easy reach. I love to crank up a spooky Halloween playlist and dim the lights a little to really get in the creative spirit. It turns a simple craft session into a full-blown Halloween event!
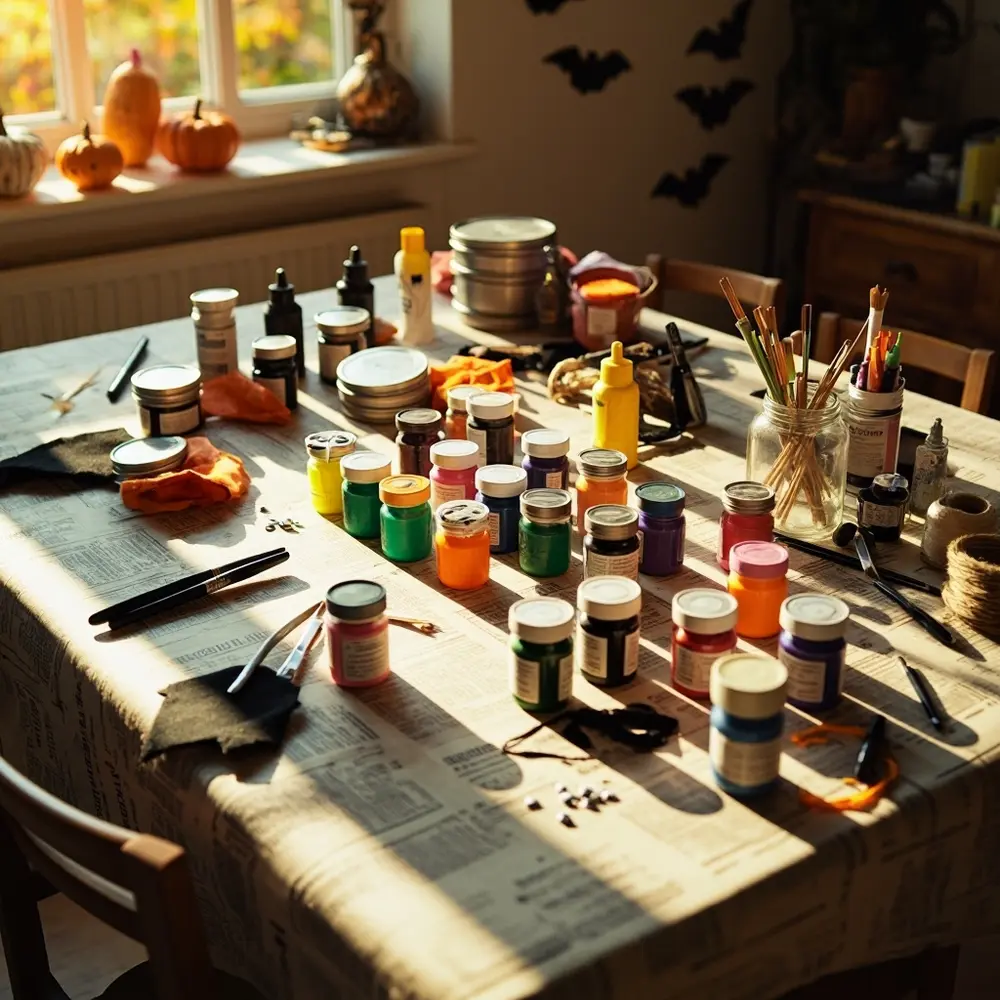
Pro Tip 💡: Use old newspaper as your tablecloth! It’s fantastic for catching messes, and when you’re done, you can crumple it up into a “messy monster” and toss it right into the recycling bin for super easy cleanup.
Image-1: A well-organized crafting table covered with newspaper, showing neat piles of clean cans, jars, paints, brushes, and other supplies.
How to Lead the Upcycled Decor: Step-by-Step Guide 🚀
Step 1: Cleaning & Preparing Your Recycled Canvas
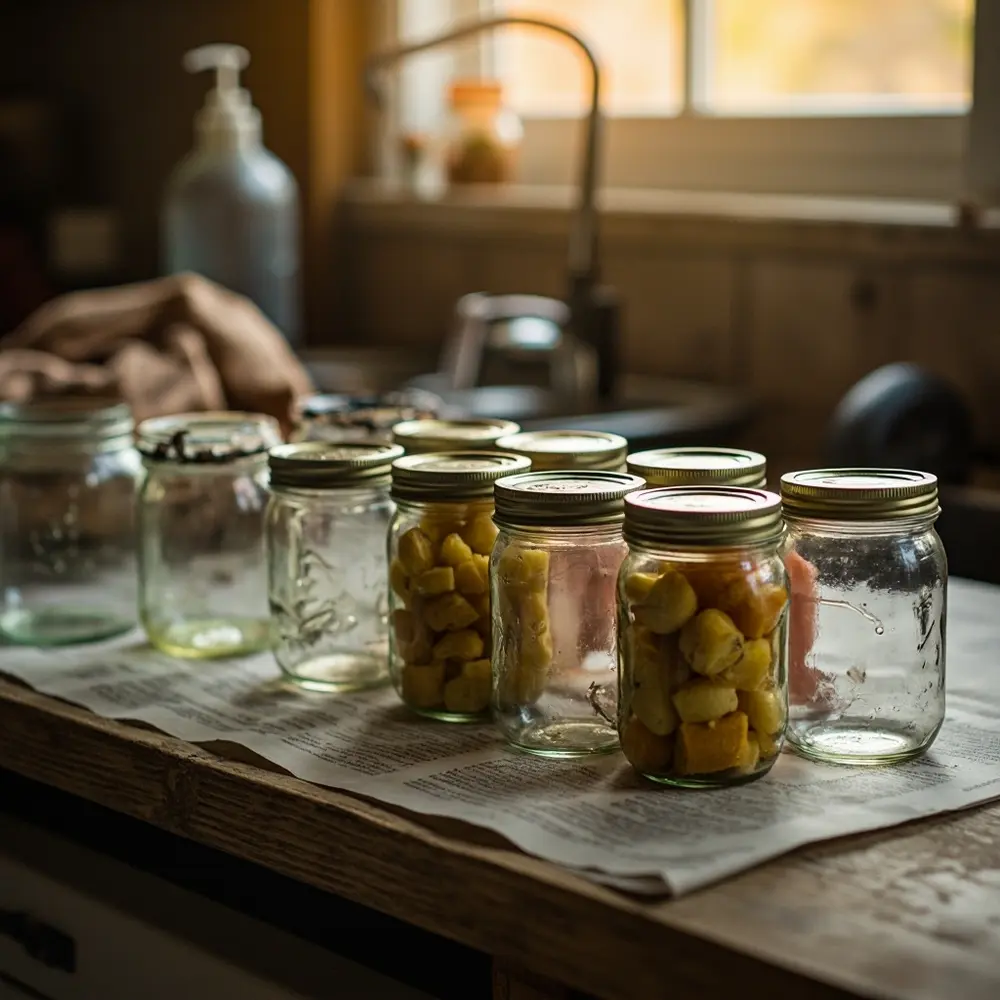
First things first, we need a clean slate. Give your cans and jars a thorough wash with soap and warm water to get rid of any leftover food bits or stickiness. The biggest challenge can be removing stubborn labels from jars. A good soak in hot, soapy water usually does the trick!
For tin cans, please be careful. Check the inside rim for any sharp edges. If you find any, an adult can gently file them down with a metal file to make them safe for handling. Once clean, let everything dry completely before you move on.
Image-2: A collection of sparkling clean and dry tin cans and glass jars of various sizes, lined up and ready for their spooky transformation. A sponge and soap bottle are visible in the background.
Step 2: Base Painting for Spooky Silhouettes
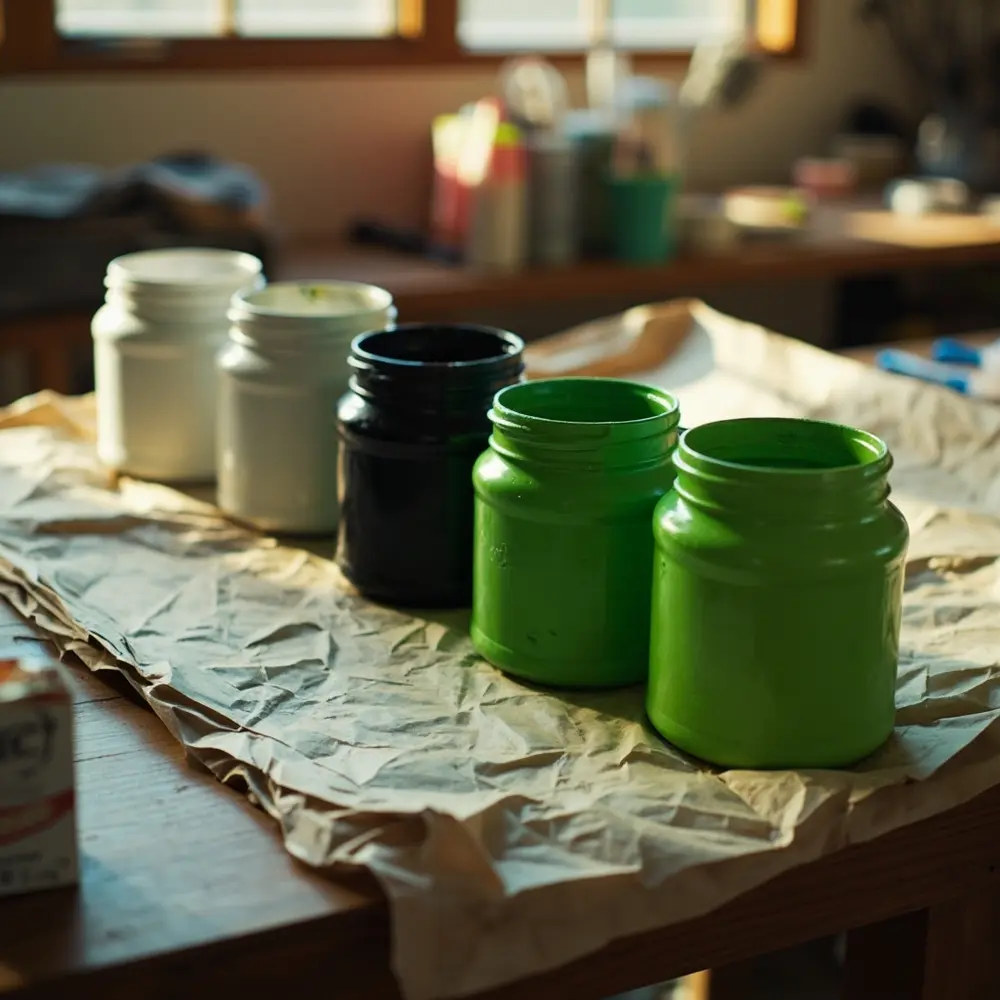
Now for the fun part—adding color! Decide what characters you want to make. Are you thinking of ghostly white jars, monstrous green cans, or maybe classic black cat silhouettes? Apply a solid base coat of acrylic paint to your cans and jars. You might need two coats for full, even coverage.
Let your creations dry completely between coats. I know waiting is the hardest part, but trust me, it prevents smudges!
Caution ⚠️: If you’re crafting with little monsters (I mean, kids!), an adult should always supervise when handling the cans. Also, make sure you’re in a well-ventilated area when painting to keep those spooky fumes at bay.
Image-3: A close-up shot of a hand holding a paintbrush and applying a smooth, even coat of black paint to a tin can.
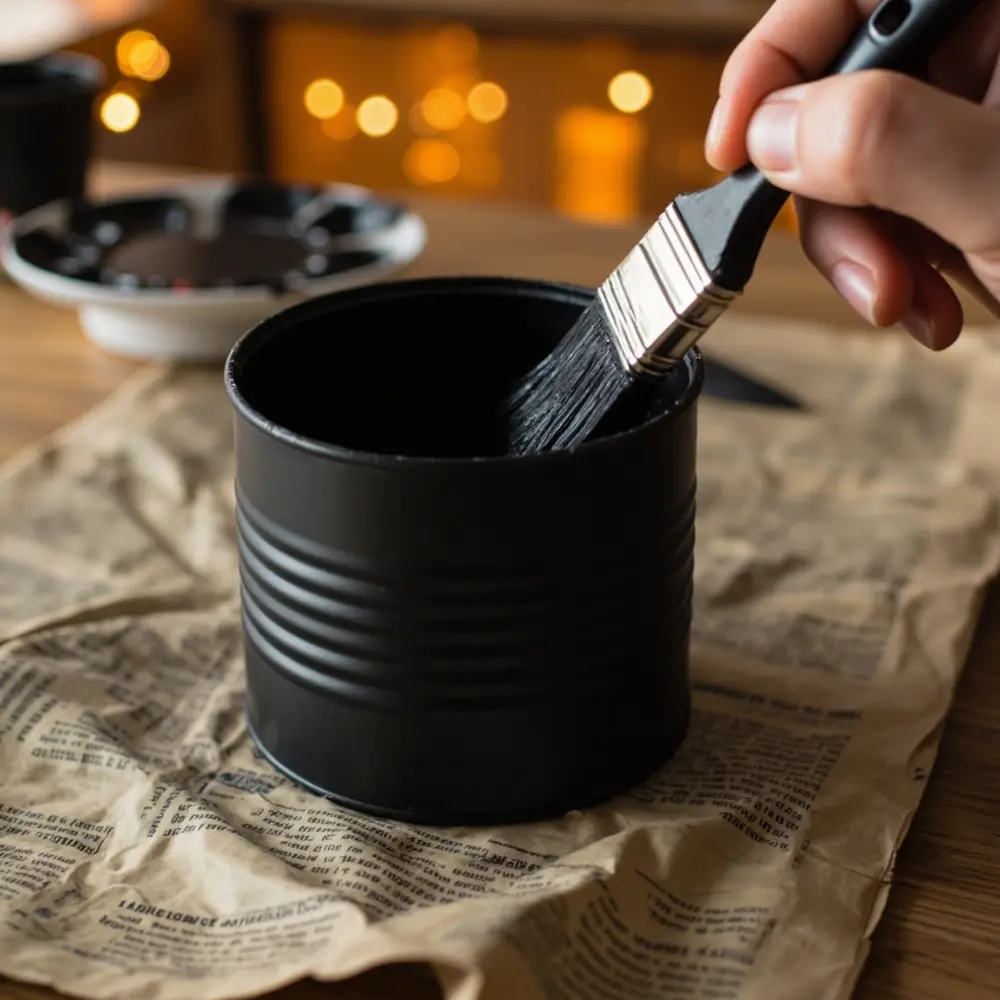
Image-4: A lineup of several cans and jars on the newspaper, painted in solid white, black, and green, shown in the process of drying.
Step 3: Bringing Monsters and Ghosts to Life
Once your base coat is dry, it’s time to give your creations some personality! This is where they really start to come alive.
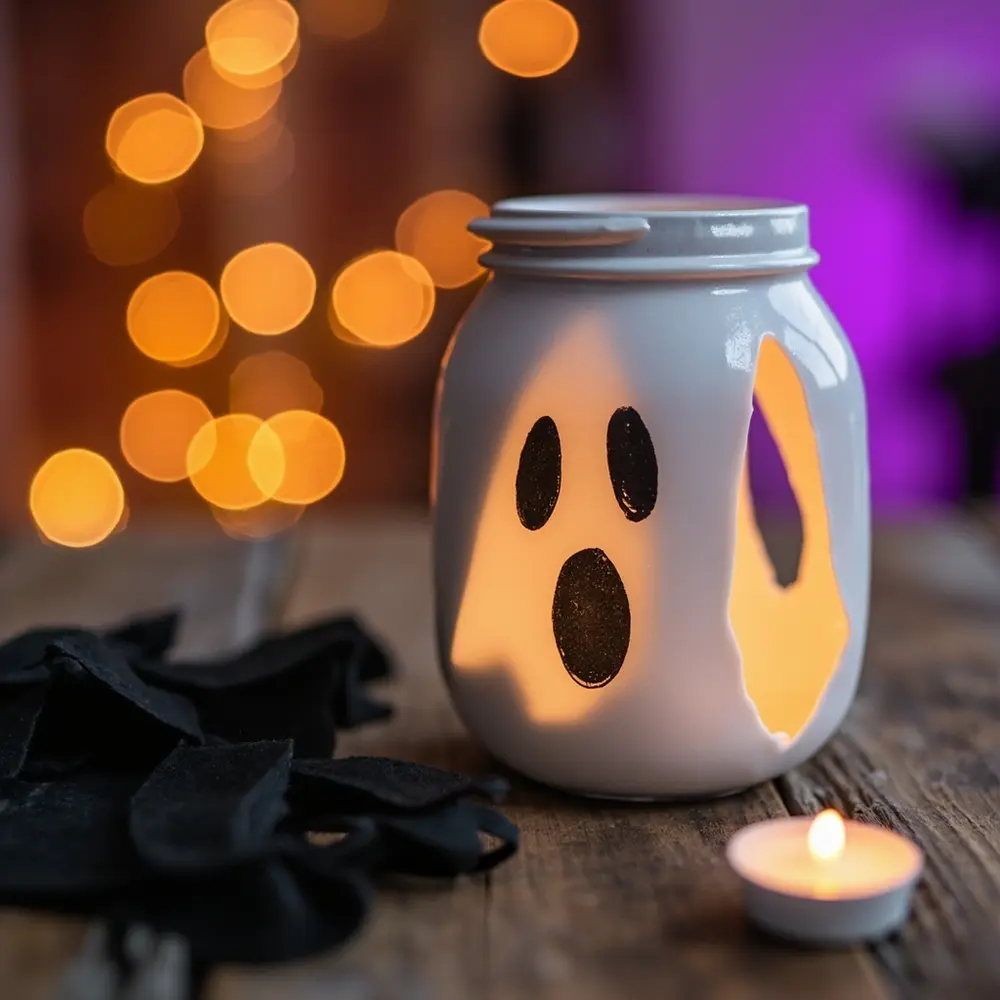
Use your black permanent marker to draw on spooky ghost faces, creepy smiles, or Frankenstein-style stitches. Glue on googly eyes for a silly, monstrous look. You can also cut out shapes from felt or construction paper—think vampire fangs, ghost mouths, or mummy bandages—and glue them on. I taught this at a kids’ workshop once, and the googly-eyed monsters were the biggest hit!
Image-5: A green-painted tin can being decorated. One hand is gluing on a large googly eye while the other holds a black marker, having already drawn a stitched mouth.
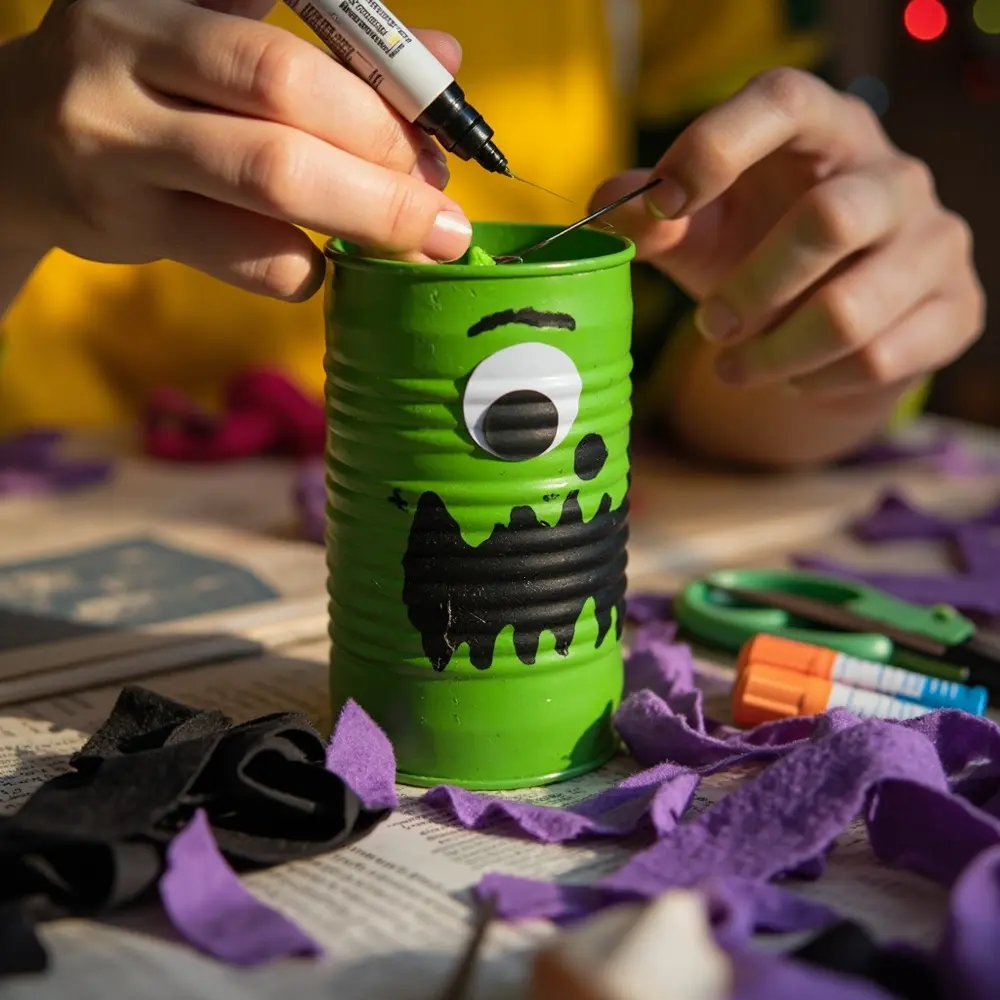
Image-6: A close-up of a white-painted jar with a classic ghost face (two oval eyes, one open mouth) being drawn on with a black permanent marker.
Step 4: Adding Details and Embellishments
Let’s take these ghouls to the next level with some finishing touches. This is where you can get really creative!
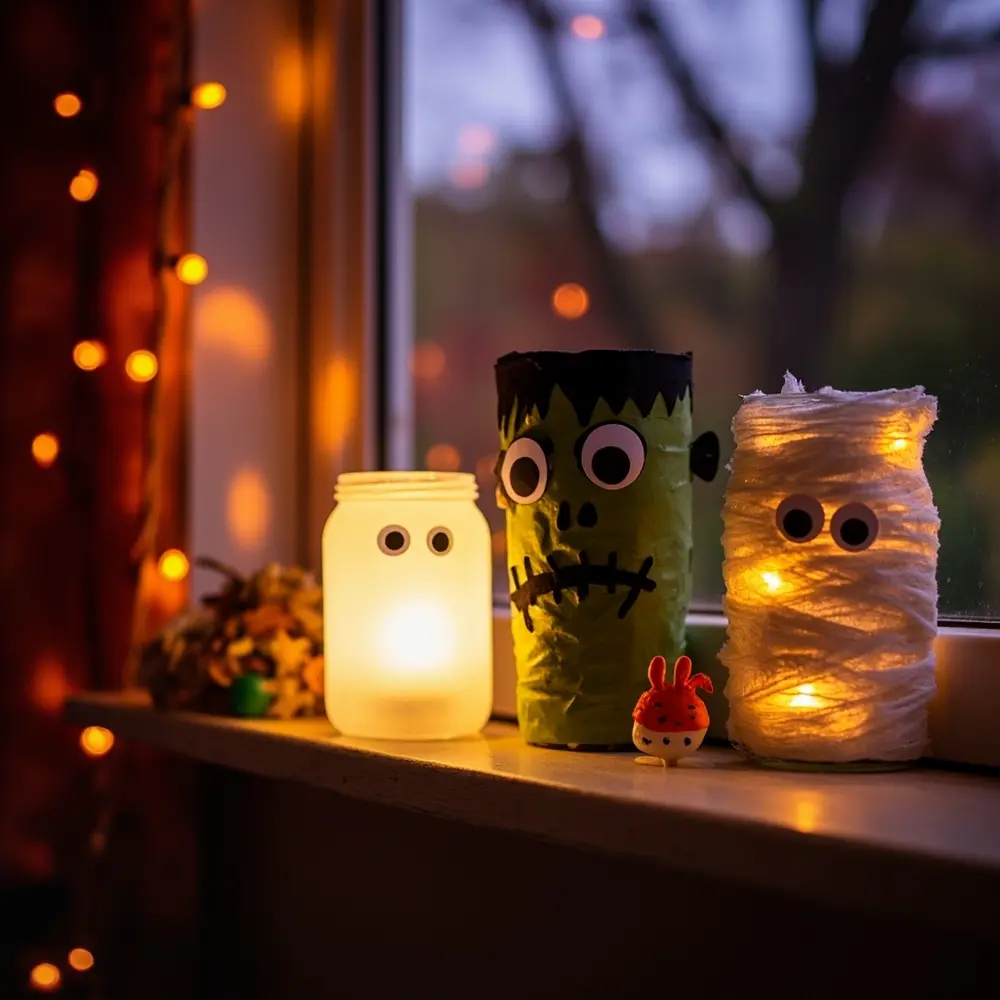
Glue on some wacky yarn for monster hair, attach a small felt cape to your vampire can, or wrap a jar in gauze strips to make a mummy. For your ghost and monster jars, pop an LED tea light inside to turn them into awesome, glowing luminaries. They look fantastic lining a walkway or glowing on a windowsill!
Caution ⚠️: A glue gun is hot! An adult should always handle it, or you can opt for strong, non-toxic craft glue as a safer alternative for younger crafters.
Image-7: A hand using a hot glue gun to attach strands of purple yarn to the top of a green monster can to create “hair.”
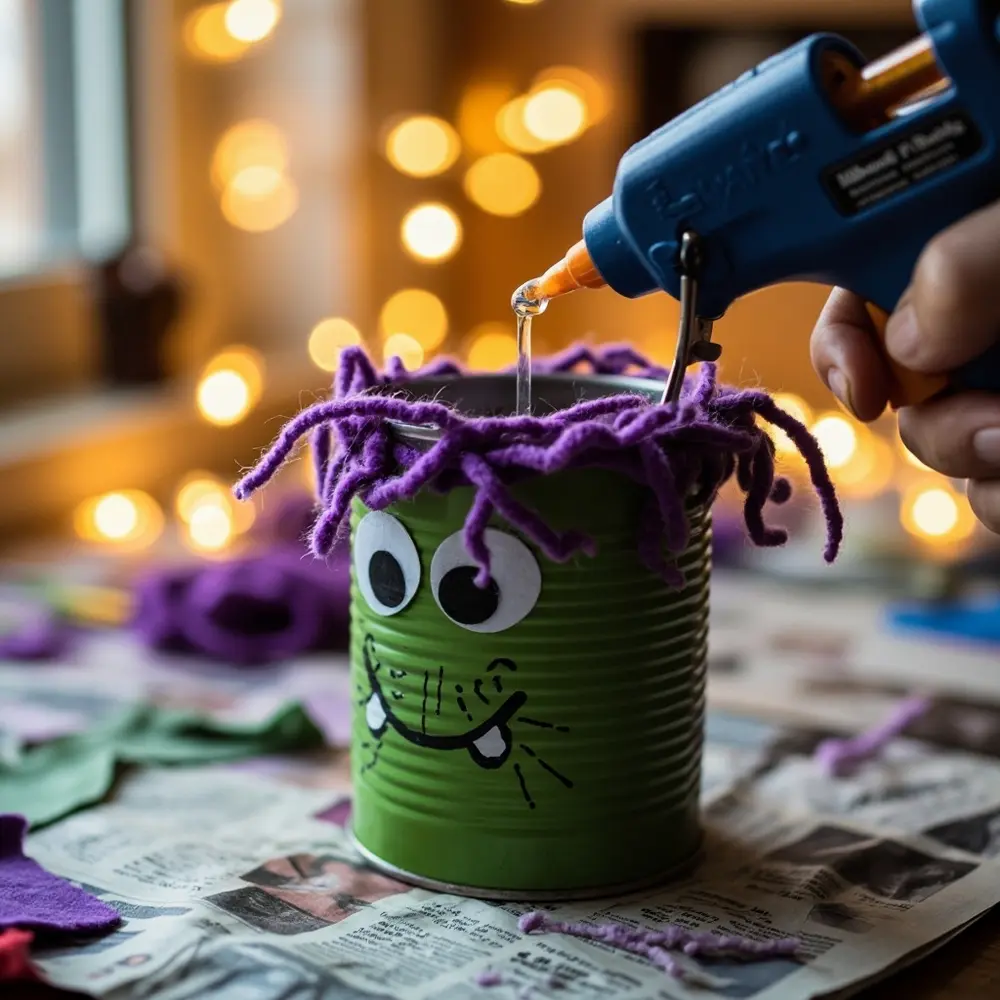
Image-8: A final “family photo” of the finished decorations: a glowing ghost luminary jar, a googly-eyed Frankenstein can, and a mummy jar wrapped in gauze, all displayed together.
Sustainable Spooky Crafting Tips
One of the best parts of this project is its eco-friendly heart. To make it even greener, here are a few of my go-to tips:
- Pick Your Canvas Wisely: Think about the final look! Tall, narrow jars are perfect for spooky figures like ghosts or mummies. Wide, stout tin cans make for hilarious monster faces. Soup cans are my favorite for creating candy corn stacks!
- Eco-Friendly Paints: Look for water-based, non-toxic acrylic paints. For cleanup, wipe your brushes on the newspaper instead of washing wet paint down the drain. Let the paint on the paper dry completely before recycling it.
- Embrace Imperfection: The beauty of upcycled, handmade decor is in its unique character. A crooked smile or a lopsided eye just makes your monster spookier and more lovable! Don’t aim for perfection; aim for fun.
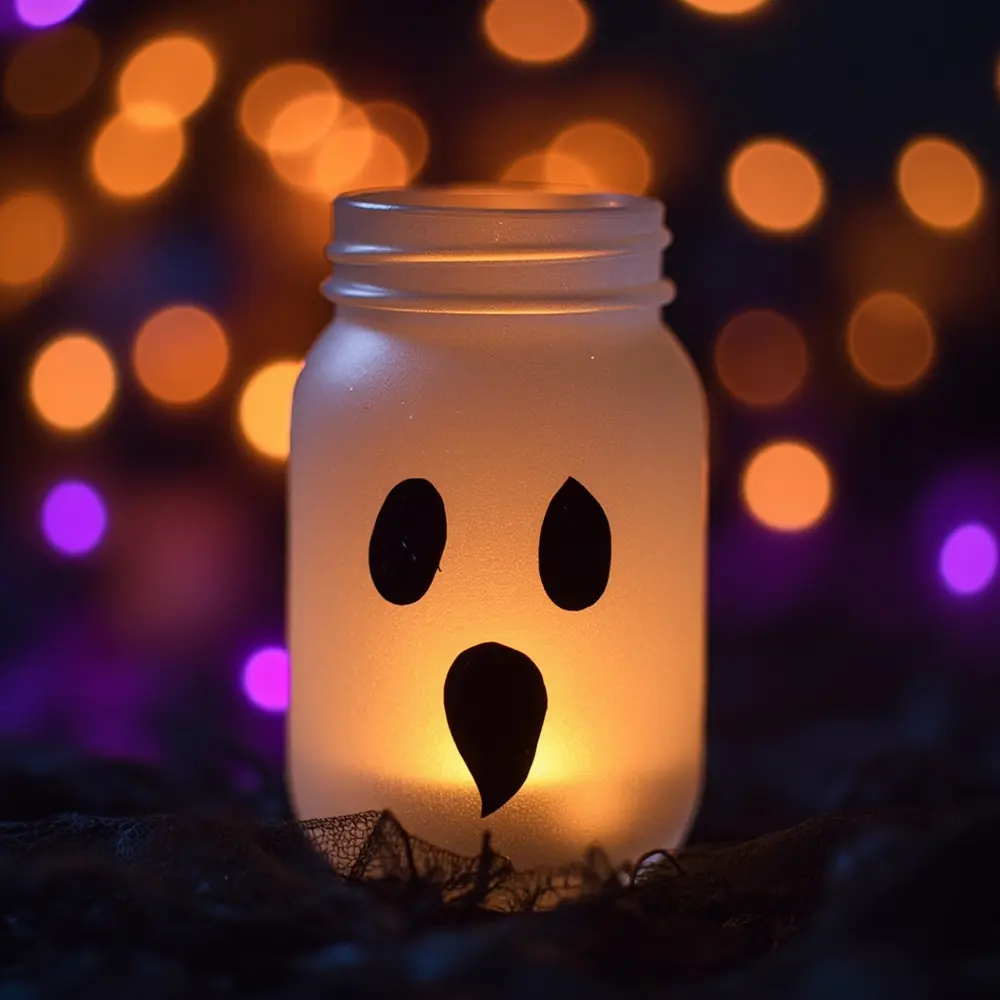
Image-9: A close-up shot of a finished white ghost jar, with a battery-operated LED tea light inside, casting a spooky, flickering glow.
Variations & Customizations to Haunt Your House
The possibilities are endless! Here are a few ideas to get your imagination bubbling:
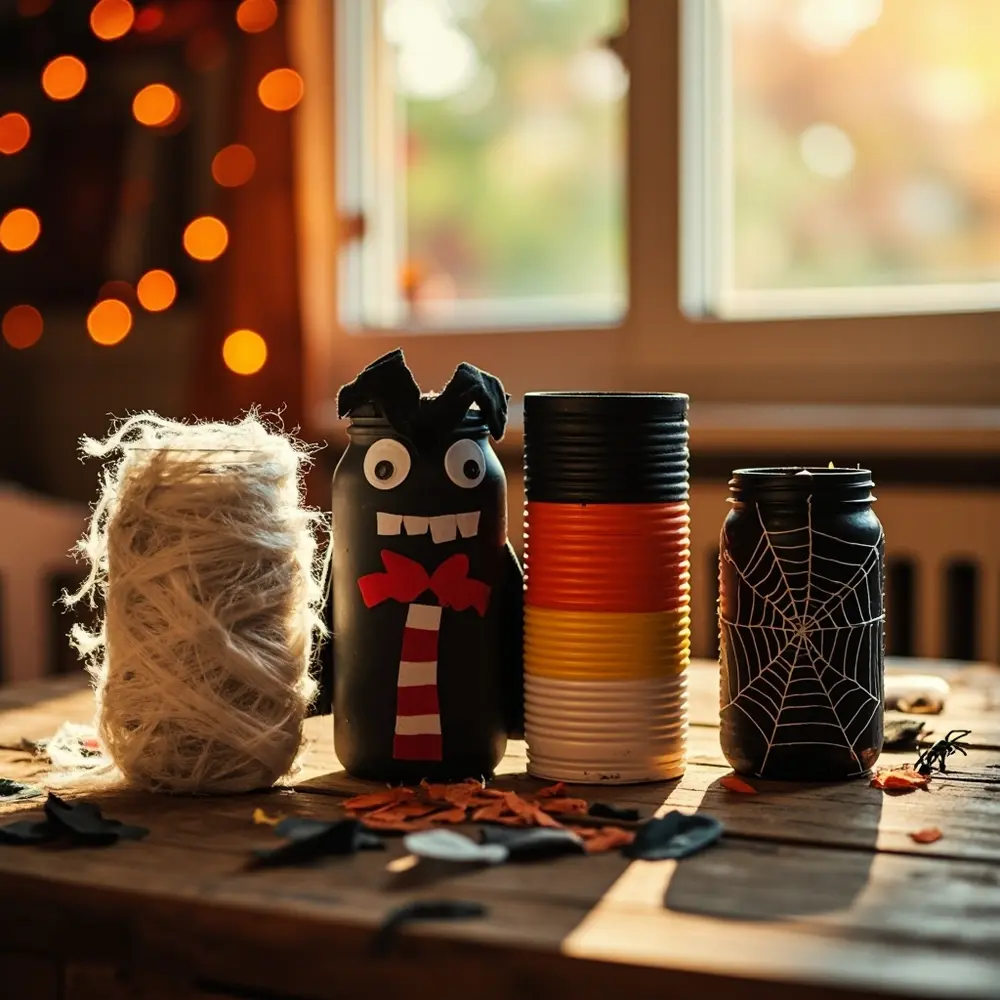
- Mummy Jars/Cans 🤕: Wrap your container with white fabric strips or gauze, secure with glue, and add a pair of googly eyes peeking out.
- Vampire Canister 🧛: Paint it black, add red felt fangs, and googly eyes. Attach a small black felt cape for a dramatic flair.
- Ghost Luminaries 👻: Paint jars white, draw on spooky ghost faces, and place an LED tea light inside for a haunting glow.
- Frankenstein Monster Jars 🧟: Paint your jars a monstrous green, add black marker stitches, and glue on some gray felt “bolts” on the sides.
- Spider Web Jars 🕸️: Paint a jar black, then use a thin white paint pen or white yarn to create a spider web pattern. Glue on a plastic spider for extra creepiness!
- Candy Corn Cans 🍬: Paint cans in horizontal stripes of yellow, orange, and white to look like the classic Halloween treat.
- Witch Hat Cans 🧙♀️: Paint a can green or purple and top it with a mini witch hat made from a black paper cone and circle.
Theme Twist 🧪: Create a “Mad Scientist Lab” display! Paint your jars and cans in dark colors, then use a white paint pen to label them with creepy ingredients like “Spider Venom,” “Eye of Newt,” and “Toad Warts.”
Image-10: A creative lineup showcasing all the variations: a mummy jar, a vampire can with a cape, a candy corn can, and a spider web jar, all sitting together.
Halloween Activity FAQs ❓
Q1: What kind of paint works best for cans and jars?
Acrylic craft paint is your best friend here! It sticks well to both metal and glass. For an even better hold on the slick surfaces, you can lightly sand the can or apply a coat of multi-surface primer first, but it’s not strictly necessary for a fun, rustic look.
Q2: How do I get labels off jars and cans easily?
My secret weapon is a good long soak in hot, soapy water. After about an hour, most labels peel right off. For any stubborn, sticky residue that remains, a little bit of cooking oil or a dedicated goo-remover on a paper towel works like magic.
Q3: Are these decorations suitable for outdoor use?
They can be, with a little extra work! If you want to place your spooky crew on a covered porch, I recommend sealing them with a coat of clear, waterproof acrylic sealer spray. This will protect the paint from moisture and keep them looking great. However, I’d still bring them inside during heavy rain to be safe.
Conclusion
There you have it! With just a few items from your recycling bin and a dash of creativity, you’ve created a whole crew of one-of-a-kind Halloween decorations. You’ve saved money, helped the planet, and most importantly, you’ve made some spooky, fun memories. Last year, my niece and I made a whole family of monster cans, and they’re still our favorite decorations to put out.
I absolutely love seeing how these projects turn out, so please share your ghoulishly green creations! It’s this kind of creative, sustainable spirit that makes Halloween the best season of the year.
What’s your favorite upcycled craft for Halloween? Let me know in the comments—I’m always looking for new ideas! Happy haunting! 🎃
