– How to Style a Farmhouse Halloween Porch with Cozy, Rustic Charm
Tired of the same old plastic skeletons and bright orange pumpkins that just don’t match your home’s vibe? 😫
You want your porch to scream “Halloween,” but in a classy, cozy way that feels like a warm autumn hug, not a cheap jump scare. It can be frustrating when all the store-bought decor feels a bit… tacky. 🍂
Well, you’ve come to the right place! I’m Roshan, and I’m obsessed with creating stylishly spooky scenes. I’m going to show you exactly how to style a farmhouse Halloween porch that is dripping with rustic charm and personality. 🎃
- Difficulty Level 🦴: Beginner
- Time to Complete ⏳: Approx. 1 – 2 hours
- Estimated Cost 💰: $50 – $200 (depending on what you already own)
- Prerequisites 🧠: A clean porch and a love for cozy autumn style!
Prerequisites: What You’ll Need Before You Start 🛠️
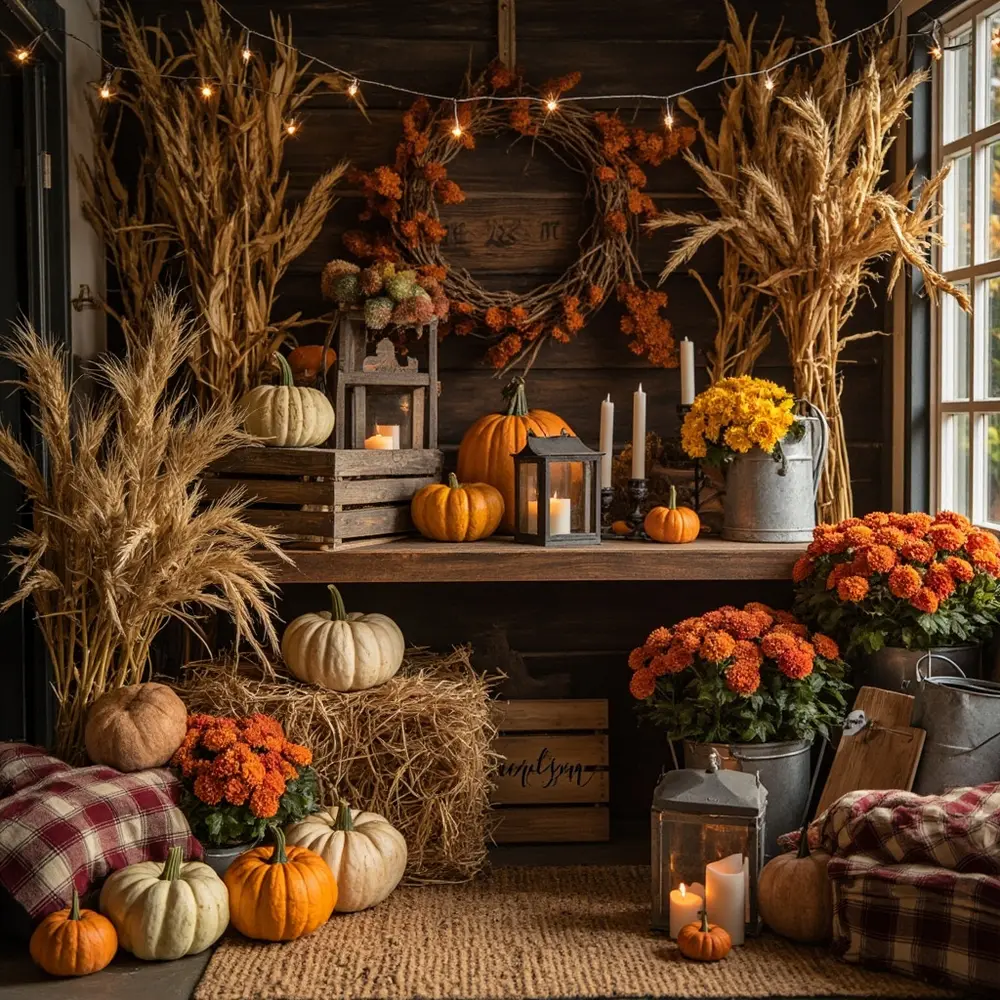
Before we start creating our masterpiece, let’s gather our supplies. The secret to a genuine farmhouse look is mixing natural textures with muted, warm colors. Think harvest, not horror movie!
- Foundation Elements: One or two hay bales, a bundle of corn stalks, or a rustic wooden bench or crates.
- Natural Fillers: A good variety of pumpkins and gourds. I absolutely love using heirloom types like Fairytale or Cinderella pumpkins. You can see some beautiful examples here for inspiration.
- Greenery/Florals: Potted mums in fall colors like rust, cream, or deep yellow, along with some dried wheat bundles.
- Rustic Accents: A few galvanized metal buckets or an old watering can, a simple woven doormat, and a natural fall wreath (grapevine is my favorite!).
- Cozy Lighting: Outdoor-safe lanterns with battery-operated flameless candles. Warm white string lights are a great optional touch.
- Textiles: A plaid or buffalo check throw blanket or some outdoor-safe pillows.
- Signage: A simple wooden sign with a fall or subtle Halloween message like “Welcome to our Patch” or “Happy Fall, Y’all.”
Initial Setup:
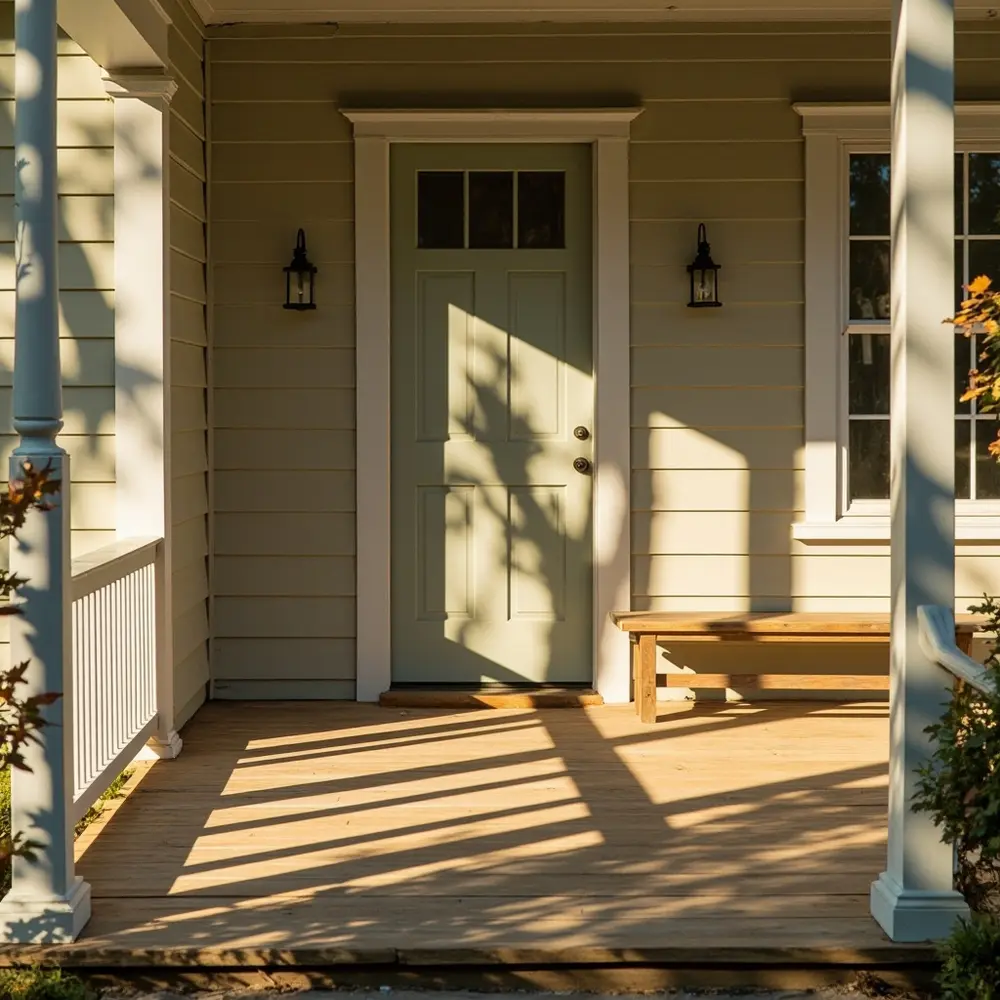
- Clear the Canvas: First things first, give your porch a good sweep. You need a totally clean slate to build your vision.
- Plan Your Layout: Take a second to picture where your biggest items will go. Think about your main walkway and make sure your front door can open easily! It’s all about being both beautiful and practical.
⚠️ Warning: If you’re using real hay or corn stalks, please be mindful that they can be flammable. Keep them a safe distance from any open flames, electrical outlets, or hot light fixtures.
Step-by-Step Tutorial 🛠️
Step 1 – Build Your Foundation with Anchor Pieces
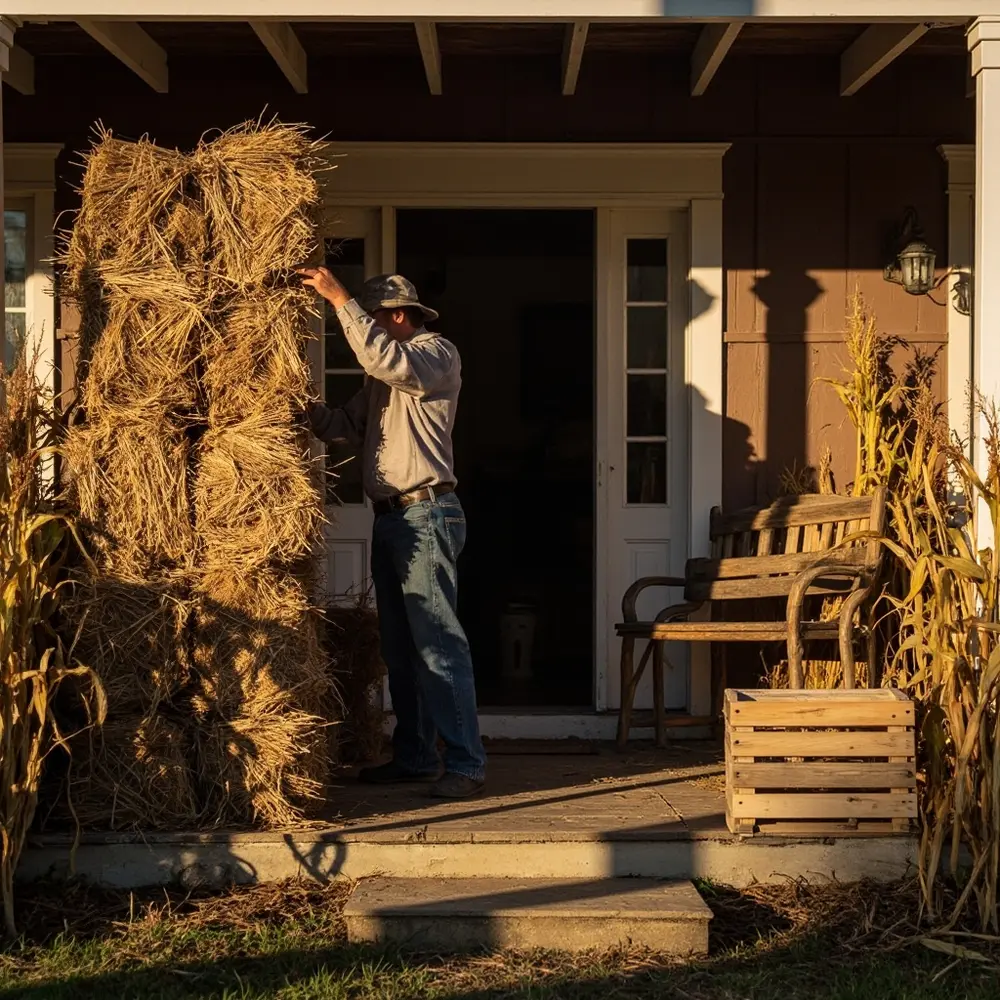
Our first goal is to create the main shape and height for our display. We do this by placing our biggest and heaviest items first.
- Start by placing your anchor items, like hay bales. I like to place them asymmetrically, maybe one big one and one small one on one side of the door. It creates more visual interest than a perfectly symmetrical setup.
- If you’re using corn stalks, stand them up in the corners behind the hay bales or secure them to any porch columns you have.
- A wooden bench or crates can be placed now to act as a sturdy platform for smaller decorations later on.
My Personal Tip: I learned this from setting up displays for local fall festivals—always start with your biggest items! It feels counterintuitive, but it saves you a massive headache. It creates “pockets” that you can easily fill in, instead of trying to squeeze big things in at the end.
Step 3 – Layer in the Pumpkins and Mums
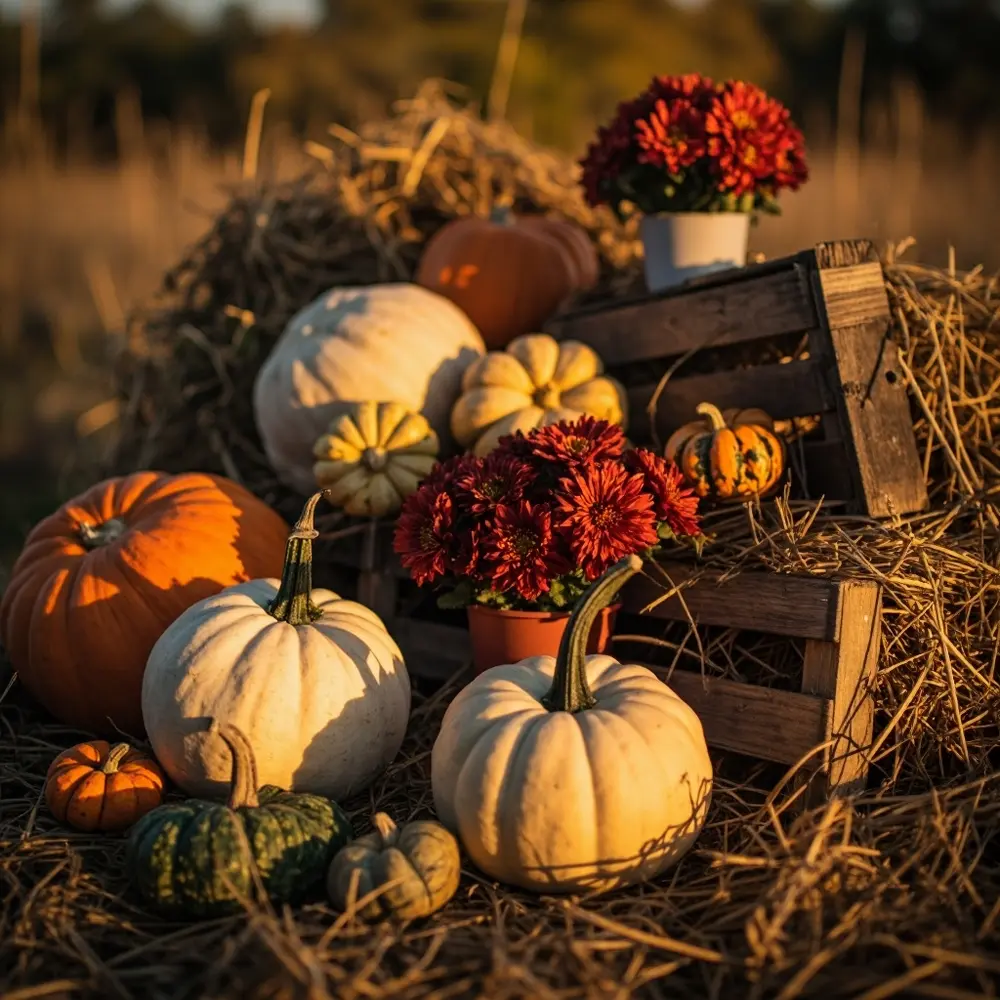
Now for the fun part! It’s time to add the color, life, and classic harvest feel to our porch.
- Begin with your largest pumpkins. Nestle them right on and around the hay bales or bench you just placed.
- Create what I call “pumpkin clusters.” Grouping 3 or 5 pumpkins of different sizes and colors together always looks better than scattering them around one by one.
- Now, add your potted mums. Use them to fill any big, awkward gaps and to add a nice pop of color. Don’t be afraid to put a smaller pot right on top of a hay bale to add some height!
- Finally, tuck your smallest gourds and mini pumpkins into any little nooks and crannies that are left.
Step 3 – Weave in Rustic Accents & Details
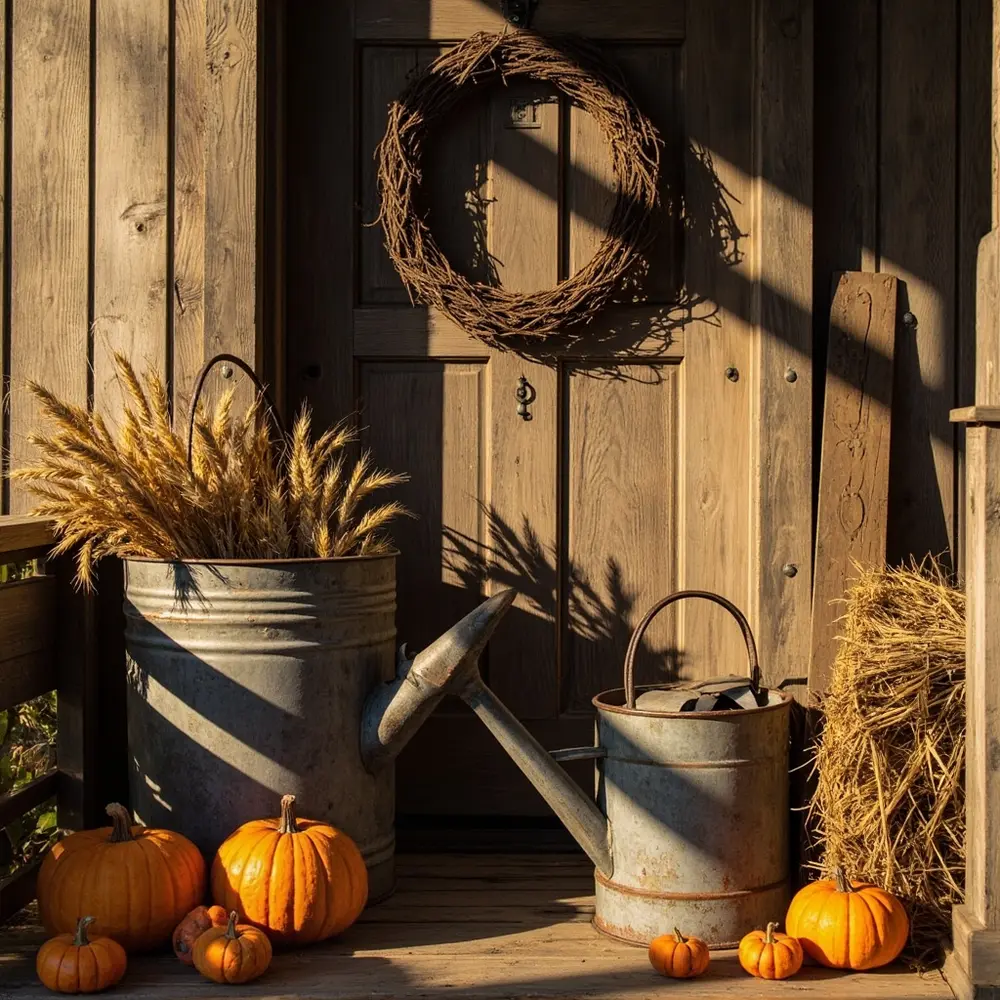
This is where we add the personality and really drive home that charming farmhouse theme.
- Place your wooden sign. You can lean it against a hay bale or hang it on the wall beside your door.
- Use your galvanized buckets or watering can as a rustic planter for a mum or to hold a bundle of dried wheat. This small touch makes a huge difference.
- Hang your wreath on the front door. This becomes the central focal point that ties the whole look together.
Step 4 – Introduce a Warm, Cozy Glow
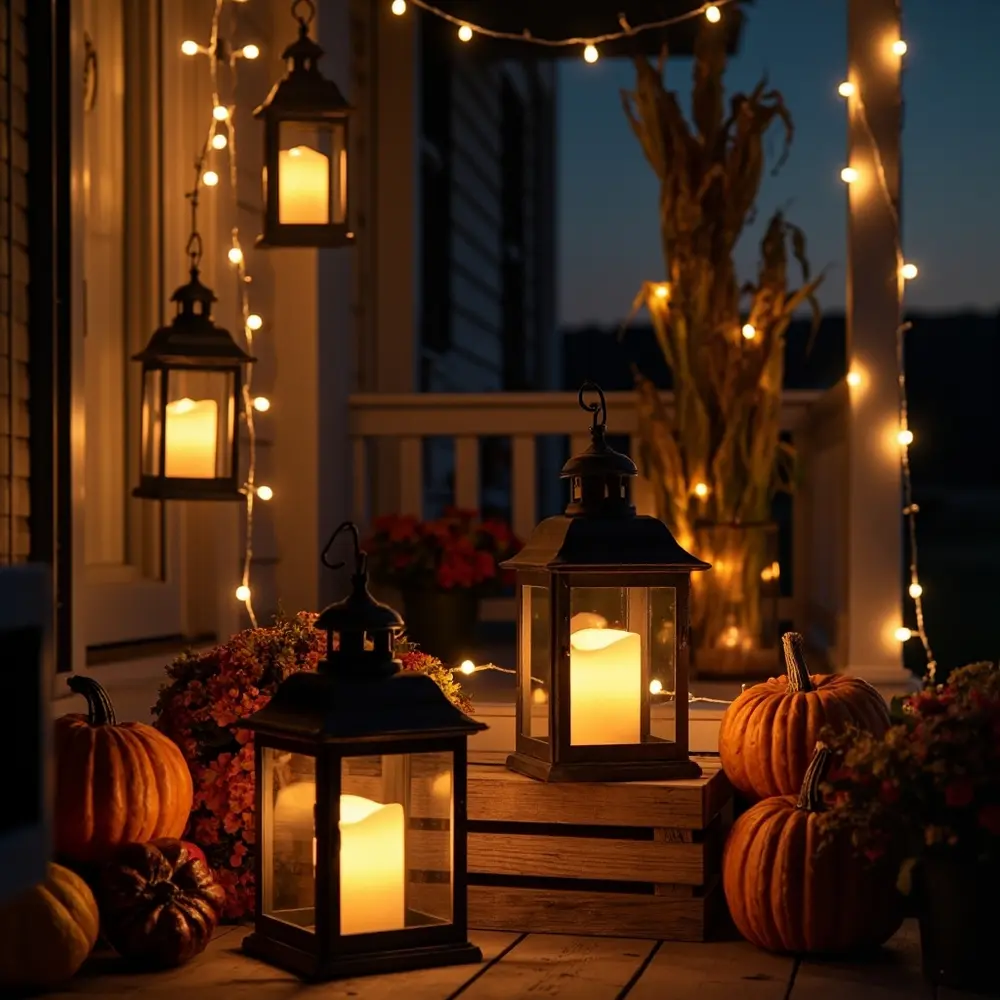
A little light is the secret ingredient to creating a truly warm and inviting ambiance, especially as the sun goes down.
- Place 2-3 lanterns at different heights. I like to put a big one on the porch floor and a smaller one up on a hay bale or crate.
- Put your battery-operated flameless candles inside the lanterns. If they have a timer function, set it so they automatically turn on every evening. It’s a game-changer!
- For an extra bit of magic, you can gently weave a single strand of warm white string lights around the corn stalks or behind your pumpkin clusters.
⚠️ Warning: Please, only use battery-operated candles for this project. With dry materials like hay, real candles are a serious fire risk. It’s just not worth it!
Step 5 – Add Final Touches and Test Your Design
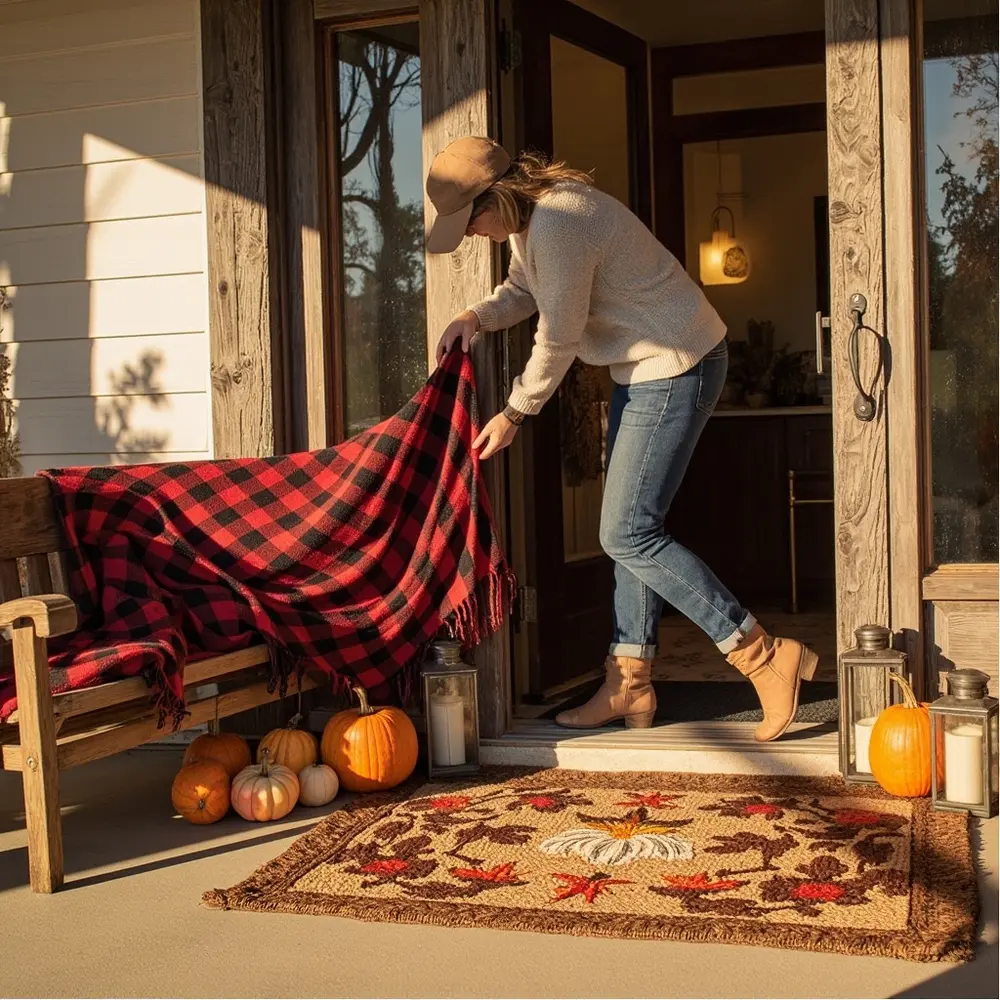
We’re almost there! This last step is all about adding those final cozy textures and making sure everything looks just right.
- Lay down your new themed doormat.
- Casually drape a plaid throw blanket over the corner of your bench or a hay bale. It adds instant coziness.
- The final, most important part: step back! Walk down to your driveway or the sidewalk and look at your porch from a distance. See any weird gaps? Now is the time to nudge a small pumpkin or adjust a lantern.
Your expected result is a beautifully layered and inviting porch that looks full, charming, and professionally styled!
The Secret to a Cozy Farmhouse Vibe (Not Just Spooky) 🤫
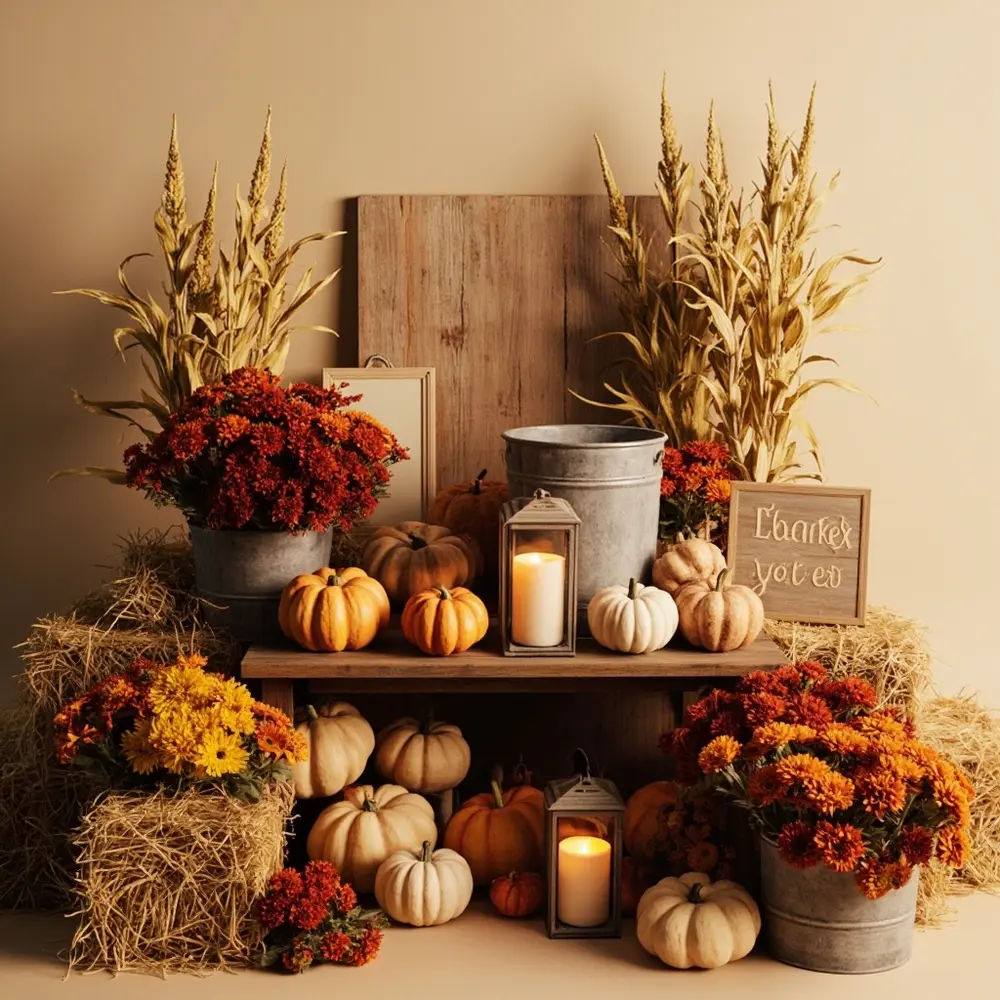
So many tutorials just give you a list of items. But the real magic of the farmhouse style comes from creating a cohesive feeling, not just a collection of stuff.
The key is thoughtful layering and mixing textures. I always think of it like putting together a great fall outfit.
- The Base Layer (Your “Jeans”): These are your foundation pieces—the hay bales, bench, and corn stalks. They provide the structure for everything else.
- The Mid-Layer (Your “Sweater”): This is your color and bulk—the pumpkins and mums. They create visual weight and interest. Sticking to a tight color palette of creams, muted oranges, and deep reds keeps it looking chic.
- The Accessories (Your “Scarf & Boots”): These are your final accents—the lanterns, metal buckets, and wooden signs. The mix of metal, wood, and woven textures is what truly sells the “farmhouse” look.
Important Note: A common mistake I see is spreading items out too evenly across the whole porch. For a more professional, magazine-worthy look, create dense, appealing clusters on one or both sides of your door.
Troubleshooting & Common Questions ❓
How can I adapt this for a very small porch?
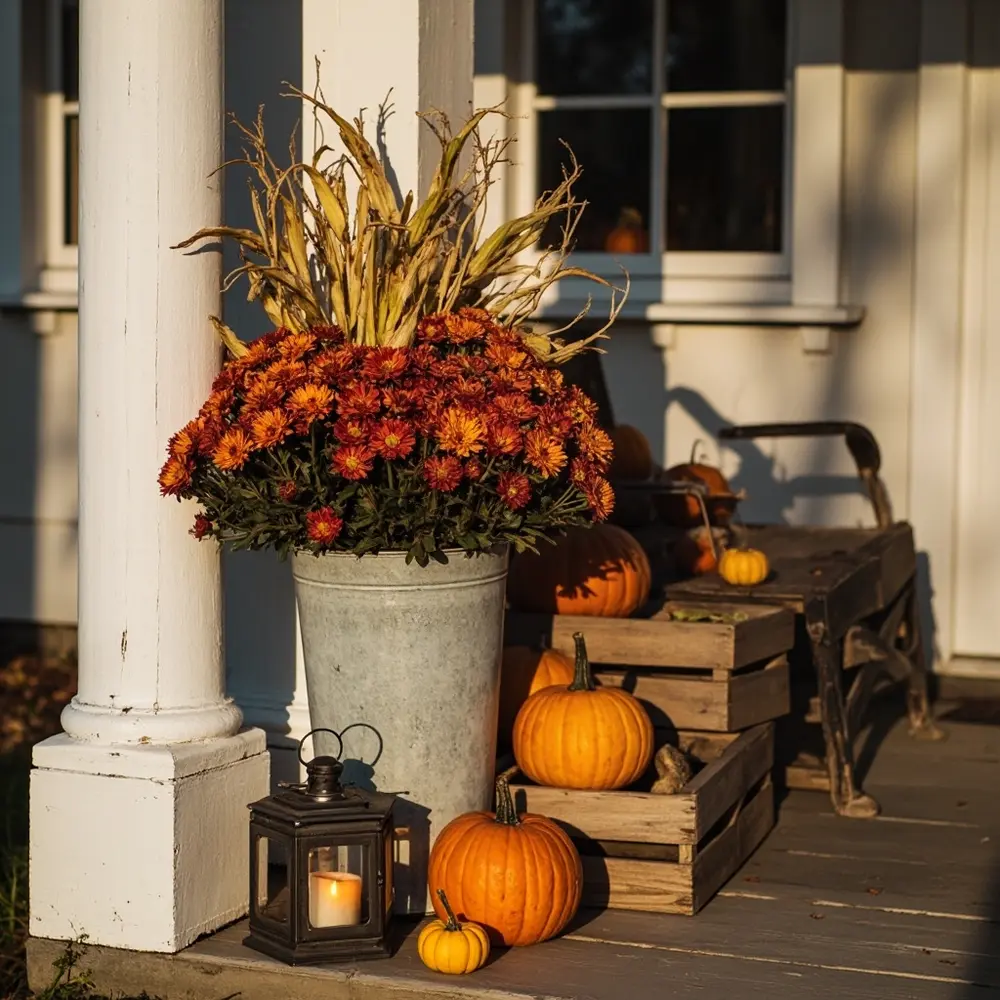
For a small space, think vertical! Use a single tall planter, hang corn stalks, and use a tiered plant stand or a simple stack of two crates to build your design upwards instead of outwards. A single, beautifully arranged cluster by your door with one mum, a few pumpkins, and one lantern can still have a huge impact.
How do I keep my real pumpkins from rotting before Halloween?
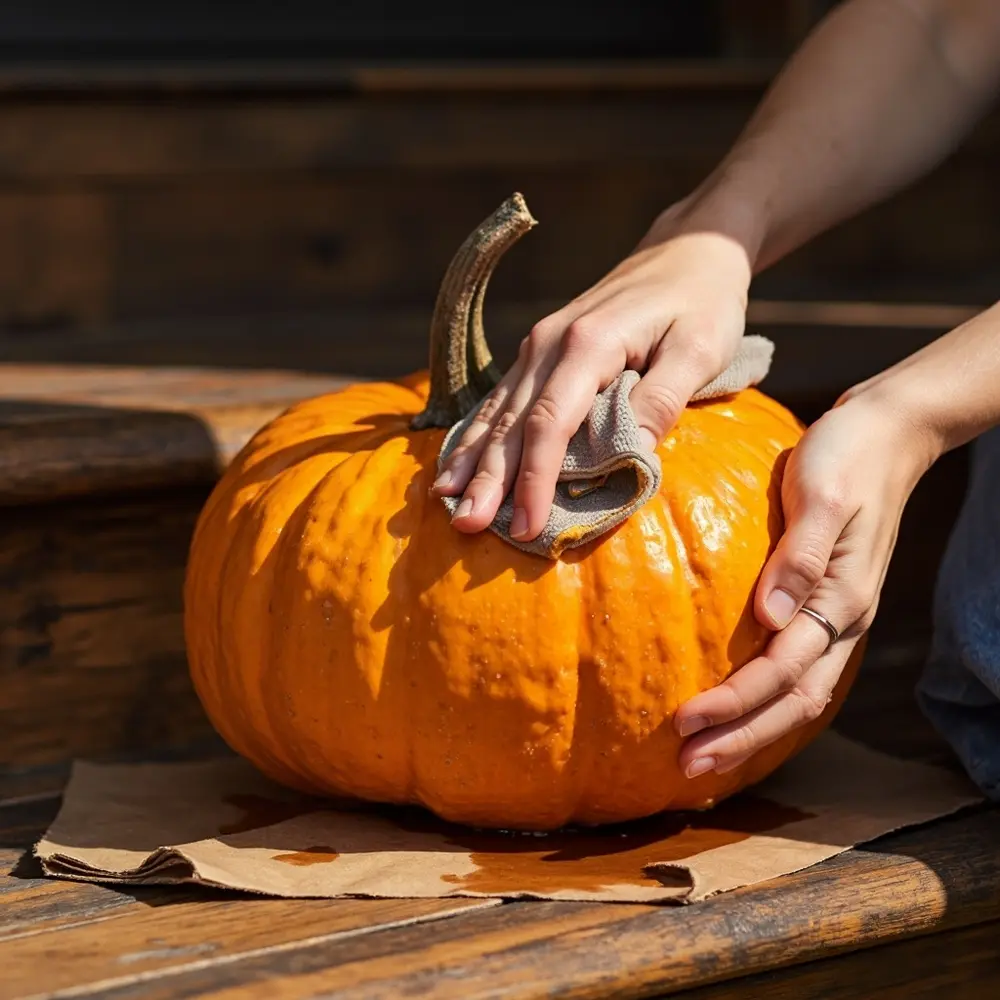
Ah, the classic question! I’ve learned a few tricks over the years. First, pick pumpkins that are very firm with no soft spots. To make them last, I give them a quick wipe-down with a diluted bleach solution (about 1 part bleach to 10 parts water) to kill any surface bacteria. Placing them on a piece of cardboard instead of directly on damp concrete also helps a ton!
This looks great for fall, but how do I make it feel more like “Halloween”?
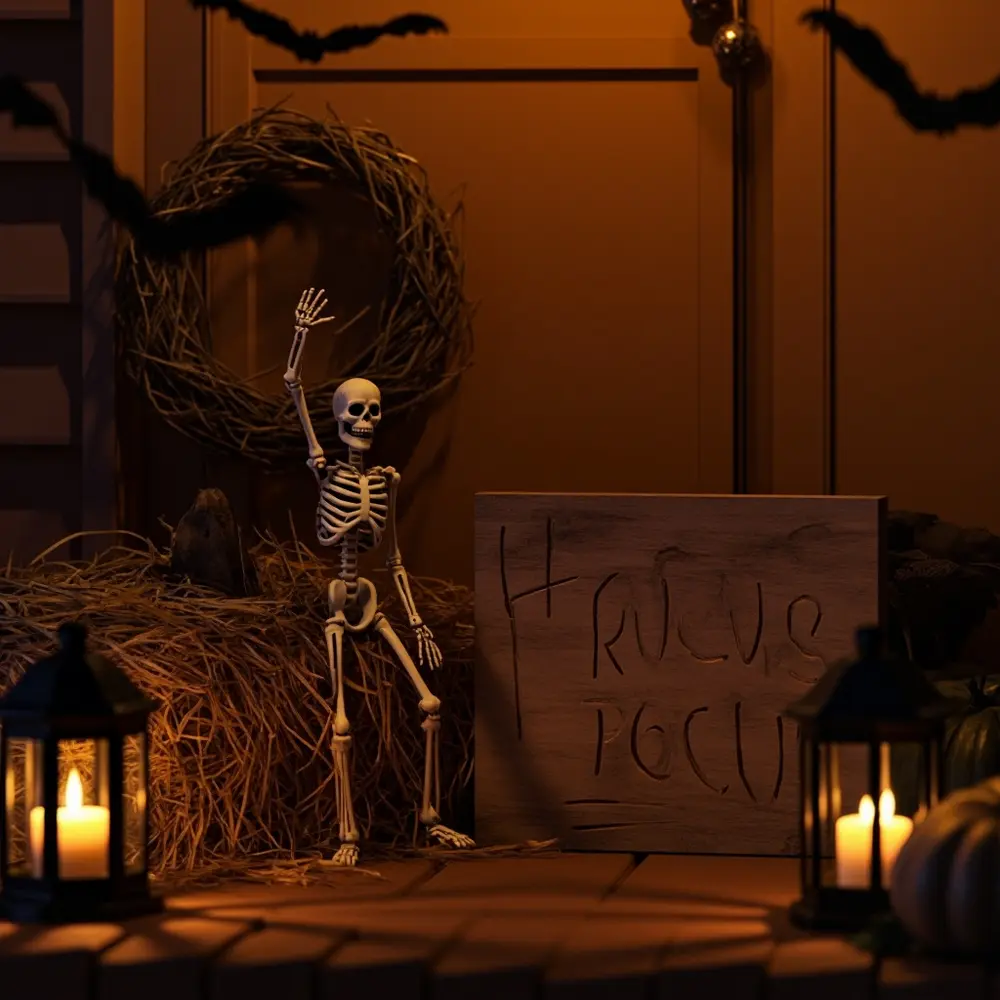
It’s all about the subtle swaps! Switch out a “Happy Fall” sign for one that says “Hocus Pocus” or “Trick or Treat” in a rustic font. You could also add a few little faux black bats to your wreath or even have a small, friendly-looking skeleton sitting on the hay bale, waving to guests. The goal is charming Halloween, not a terrifying haunted house.
Next Steps & Further Optimization 🚀
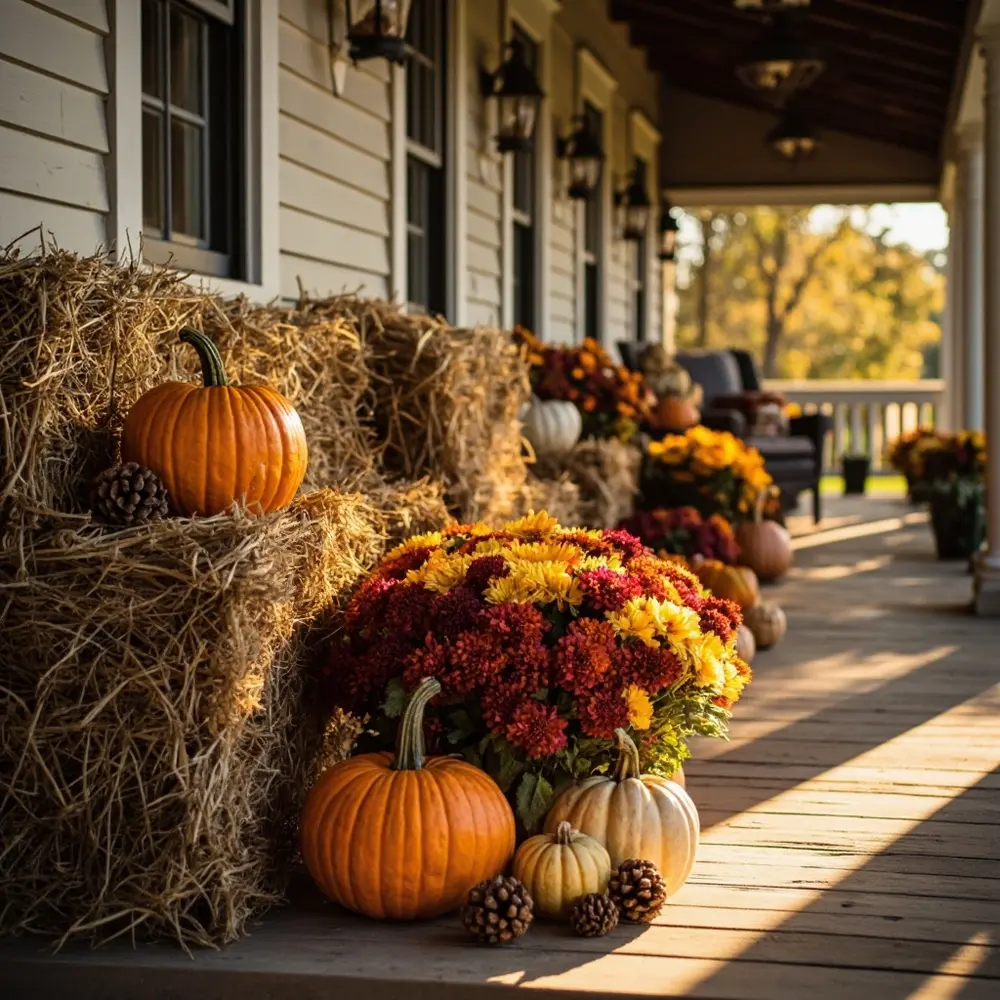
You did it! You created a stunning farmhouse porch. Here’s how to make it last and build on your new skills.
- What to Do Next: After Halloween, you can easily transition this to a Thanksgiving porch! Just remove any explicitly Halloween items (like bats or skeletons). The beautiful base of pumpkins, mums, and hay is perfect all the way through November.
- Budget-Friendly Tip: Use craft pumpkins from a hobby store instead of real ones. It’s a bigger investment upfront, but you can reuse them year after year, which saves a lot of money in the long run.
- Add Fragrance: For a final touch, tuck a few cinnamon-scented pinecones or a cinnamon broom into your display. The welcoming scent of autumn is unbeatable.
- Advanced Project: Feeling confident? Next year, try a DIY project! I once built my own rustic wooden crates from old pallet wood for a client’s display, and it was so rewarding. You could also try hand-painting your own custom sign.
Conclusion (My Final Thoughts) 👻
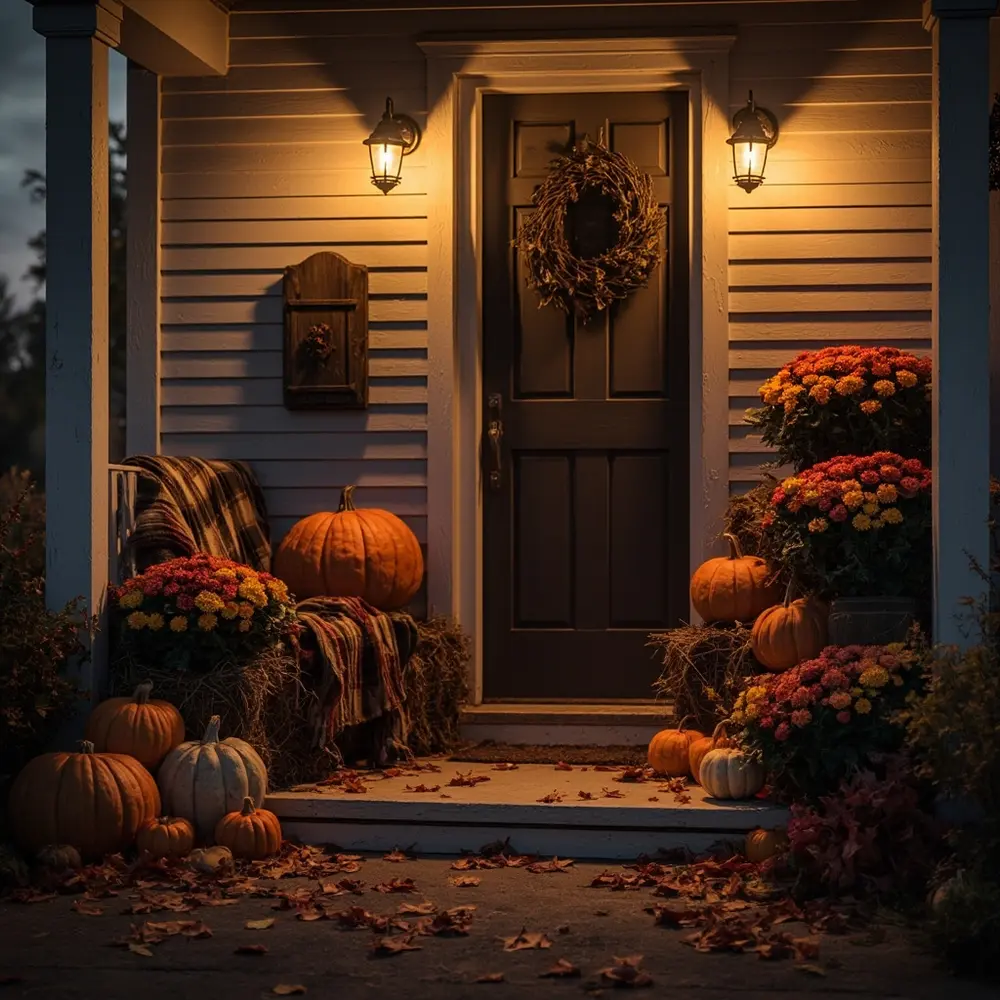
Congratulations! You’ve officially transformed your front porch from a simple entryway into a gorgeous showcase of cozy, rustic style. By focusing on natural textures, smart layering, and a warm, inviting glow, you created a look that truly captures the heart of the modern farmhouse aesthetic.
This is so much more than just decoration; it’s a warm welcome for your family, friends, and every single trick-or-treater who rings your doorbell. You now have the design blueprint to create a beautiful seasonal display you can be proud of for years to come.
I’d absolutely love to see your work! How did you put your own unique spin on your farmhouse Halloween porch? Share your creations or any questions in the comments below!
