Spooktacular DIY: Frankenstein & Witch Birthday Hats Tutorial
✨ After countless hours covered in glitter and wrestling with hot glue guns, I’ve mastered the art of turning simple dollar-store finds into Halloween magic. I’ve tested, failed, and discovered the solutions that actually work for creating memorable kids’ craft ideas.
😅 But I know the struggle. How do you find Halloween party hats that are cute, affordable, and something the kids will actually be excited to make and wear? I’ve been there, trying to whip up last-minute party decorations that don’t break the bank.
👑 That’s why in this post, I’ll show you exactly how to solve these challenges with my tested, step-by-step tutorial. Stick with me, and you’ll learn how to create adorable Frankenstein and Witch birthday hats while creating magical memories with your loved ones! 🎃
Tutorial At-a-Glance
Time Required: Approx. 1-2 hours (depending on number of hats)
Budget Level: Low-Cost
Skill Level: Beginner / Paper Crafts
What You’ll Need for Your Spooky Birthday Hats 🎃
- ✅ Plain party hats (cone-shaped, various colors)
- ✅ Construction paper or cardstock (black, green, purple, white, yellow)
- ✅ Scissors
- ✅ Craft glue or hot glue gun (👑 Nancy’s Pick: A low-temp hot glue gun is perfect for quick adhesion on paper crafts, just be mindful of little fingers and always supervise children!)
- ✅ Markers (black, various colors)
- ✅ Optional: Glitter, googly eyes, pipe cleaners, ribbon, stickers (for extra flair)
- ✅ Dollar store finds: Plastic spiders, small plastic bats, decorative mesh/tulle (for witch hats)
Crafting Your Frankenstein Birthday Hat: Step-by-Step 🧟
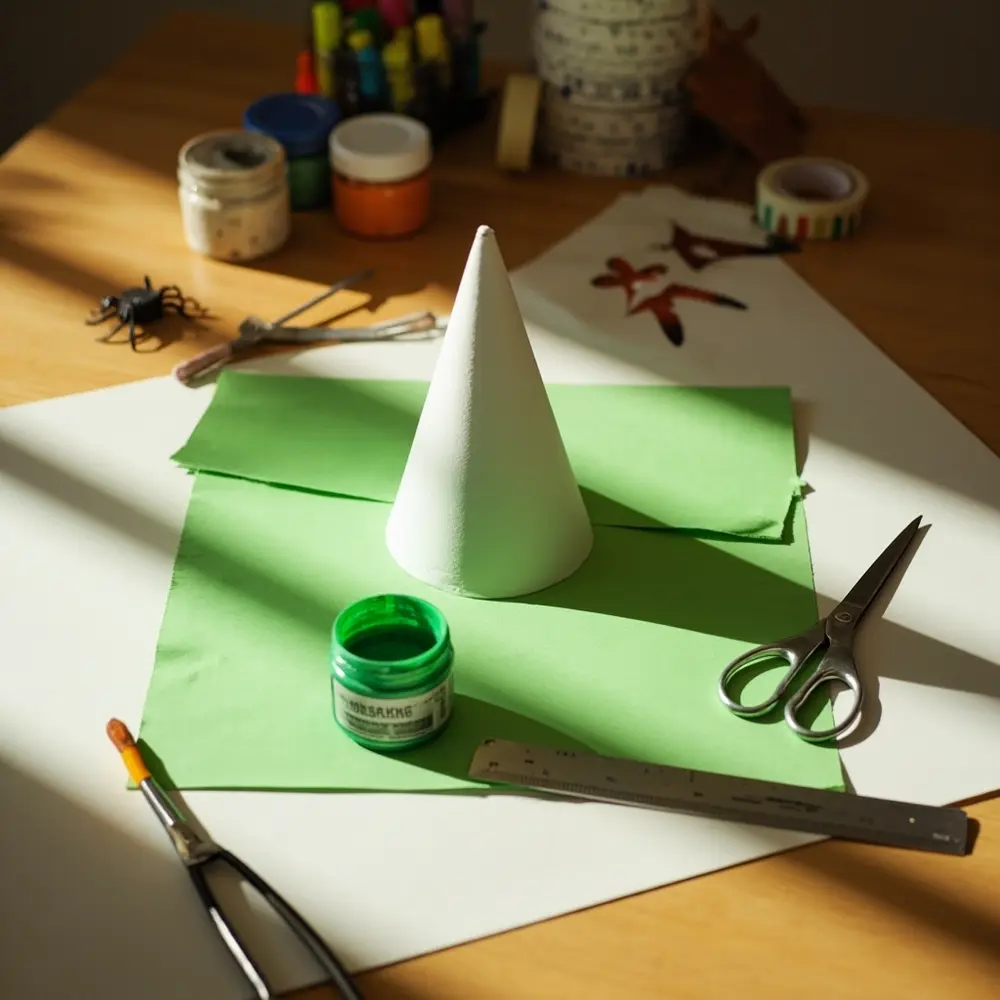
As a crafting expert focused on budget-friendly solutions, I believe the best projects come from creativity, not a high price tag. This Frankenstein hat is a perfect example of how you can transform simple dollar store Halloween crafts into the star of the party. My go-to trick for this is starting with a solid, colorful base.
Step 1: Prepare the Base Hat
First, you need to create Frankenstein’s signature green skin. You can either cover a plain party hat by wrapping it carefully with green construction paper and gluing it down, or you can simply paint a plain white hat with green craft paint. The goal is to get a smooth, even green cone to work with.
image-1: Plain party hat next to green paper/paint and a ruler, showing preparation.
Step 2: Create Frankenstein’s Face
Now for the fun part! Using your black construction paper, cut out a jagged, rectangular shape for his classic flat-top hair and glue it to the top of the cone. Next, cut two small white circles for eyes and use a black marker to draw in the pupils. Finally, cut a thin black strip for the mouth and add smaller white or black strips across it to create his iconic stitches. Glue all the pieces onto the hat.
⚠️ Safety First: When little ones are helping, always use safety scissors. For more intricate shapes, it’s best for an adult to do the cutting.
image-2: Close-up shot of hands gluing paper facial features onto the green hat.
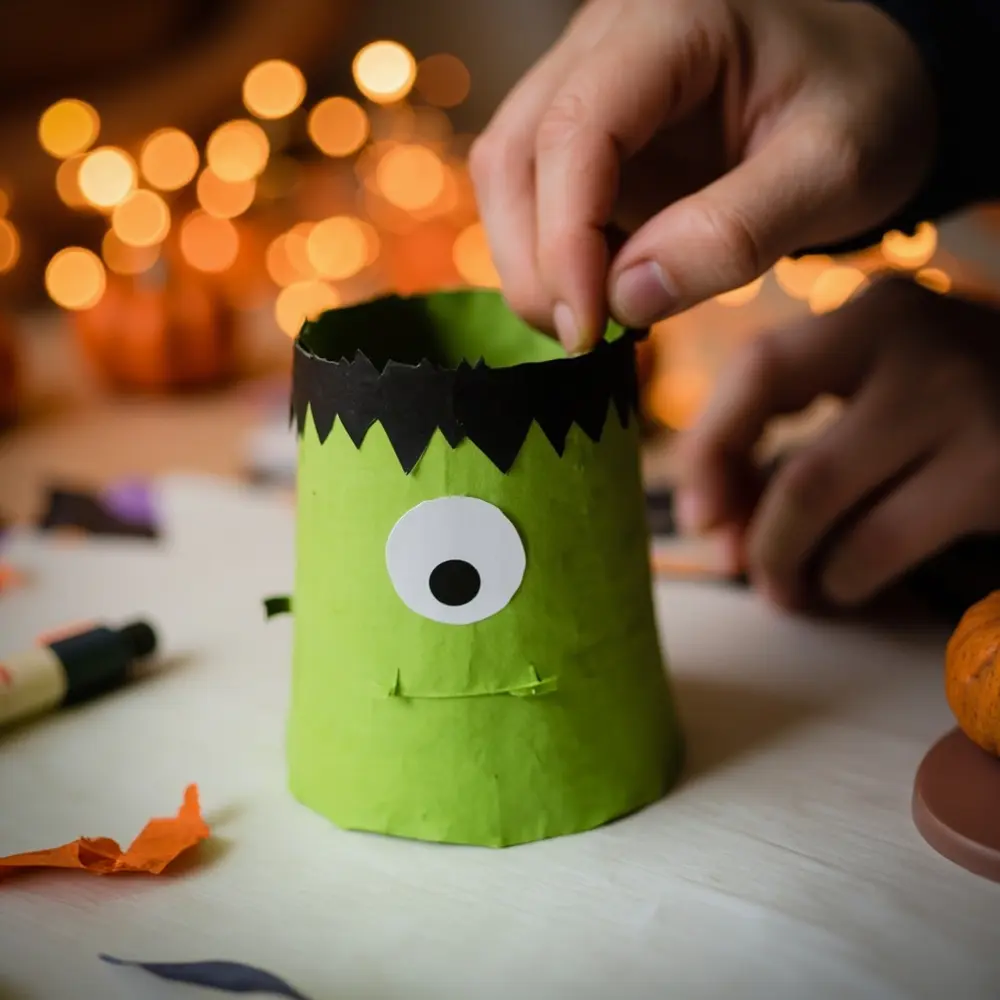
Step 3: Add the Bolts and Details
No Frankenstein monster is complete without his neck bolts! Cut two small rectangles from grey, black, or even silver paper. Fold a tiny tab at the end of each one, add a dot of glue to the tab, and attach them to the lower sides of the hat so they stick out. Use your black marker to draw more stitches around the face or near the hairline for that extra spooky touch.
💡 Pro-Tip: To make the bolts extra sturdy, glue a tiny piece of scrap cardboard to the inside of the hat right where you attach the bolt. This reinforces the paper and prevents them from flopping over during party time!
image-3: A photo showing the finished Frankenstein hat, highlighting all the details and stitches.
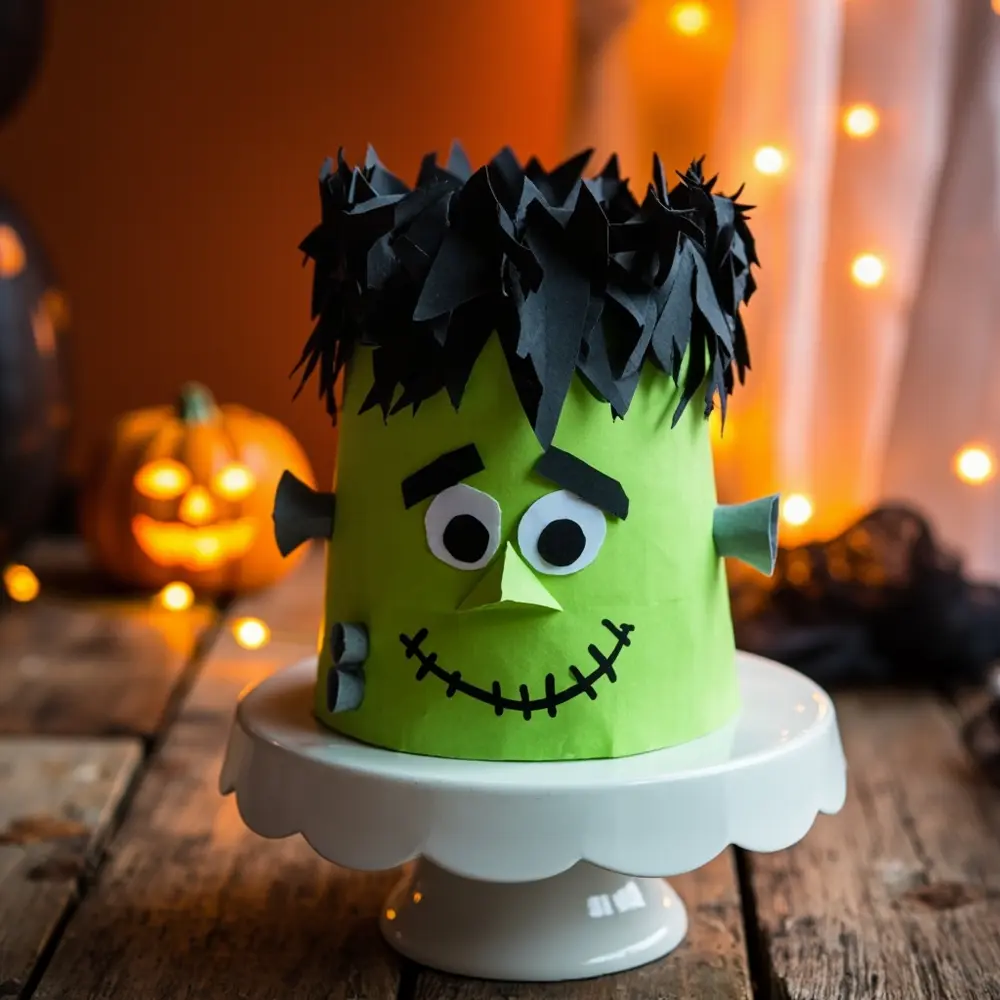
Conjuring Your Witch Birthday Hat: Step-by-Step 🧙♀️
A question I get all the time from my community is how to make a classic witch hat that doesn’t look flimsy. The secret is starting with a sturdy base made from cardstock. After testing dozens of paper types, I can tell you that cardstock holds its shape far better than regular construction paper for this project.
Step 1: Form the Cone and Brim
Take a large piece of black cardstock and roll it into a cone shape, adjusting until you get the height and pointiness you want. Secure the seam with a line of hot glue or strong tape on the inside. For the brim, trace a large circle (a dinner plate works great!) onto another piece of black cardstock. Then, trace a smaller circle in the center (just big enough for a head to fit through) and cut both out to create a donut shape.
image-4: Components of the witch hat (cone and brim) laid out before assembly.
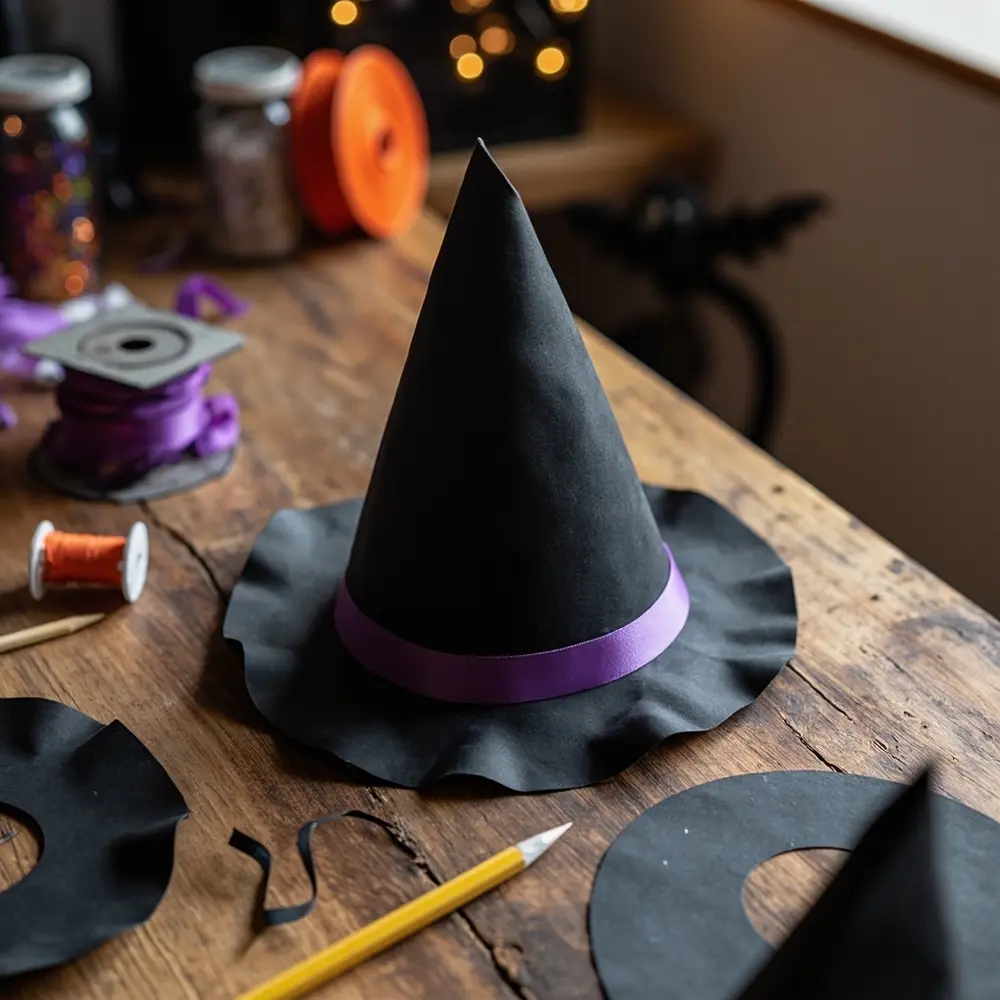
Step 2: Attach and Secure
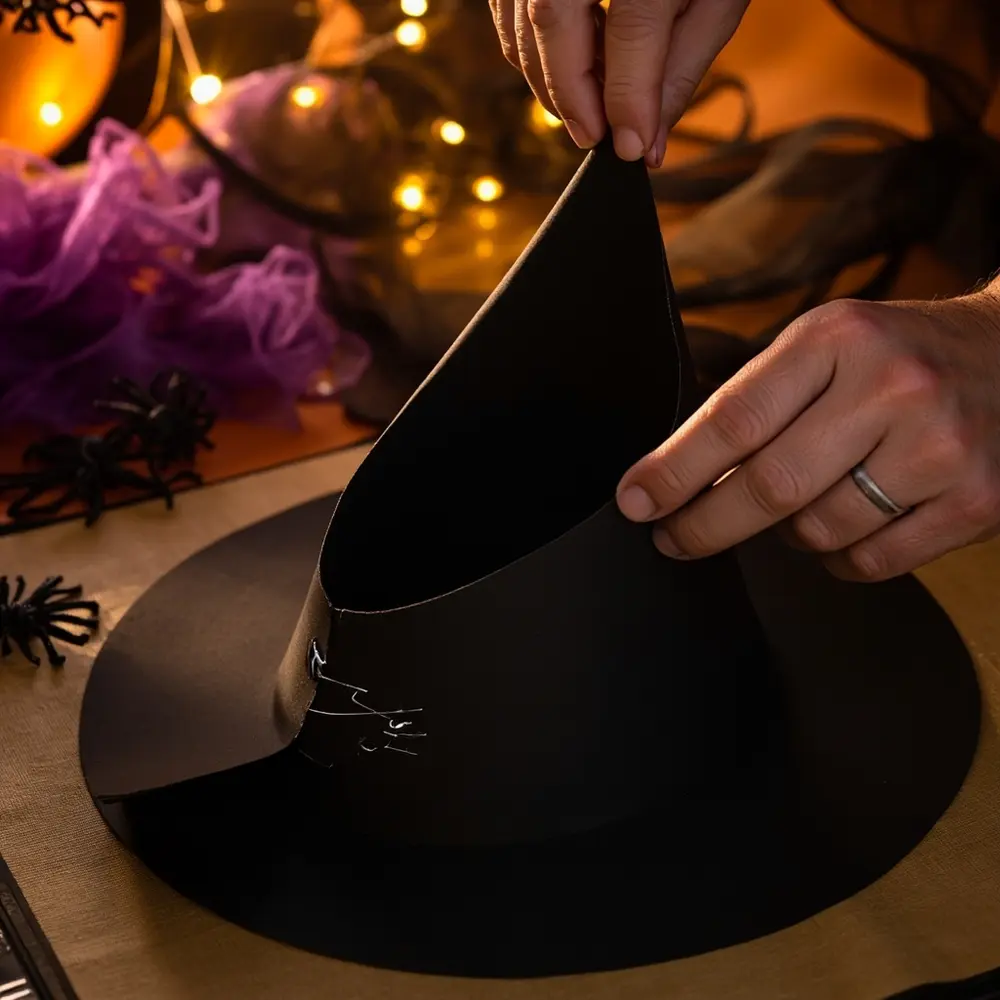
This step is crucial for a hat that lasts. Run a generous bead of hot glue around the bottom edge of your cone. Carefully place the cone in the center of the brim and press down firmly. For extra security, you can add small, folded paper tabs on the inside where the cone meets the brim, gluing them in place to act as brackets.
image-5: Hands gluing the cone to the brim of the witch hat, showing the attachment process.
Step 3: Decorate Your Witch Hat
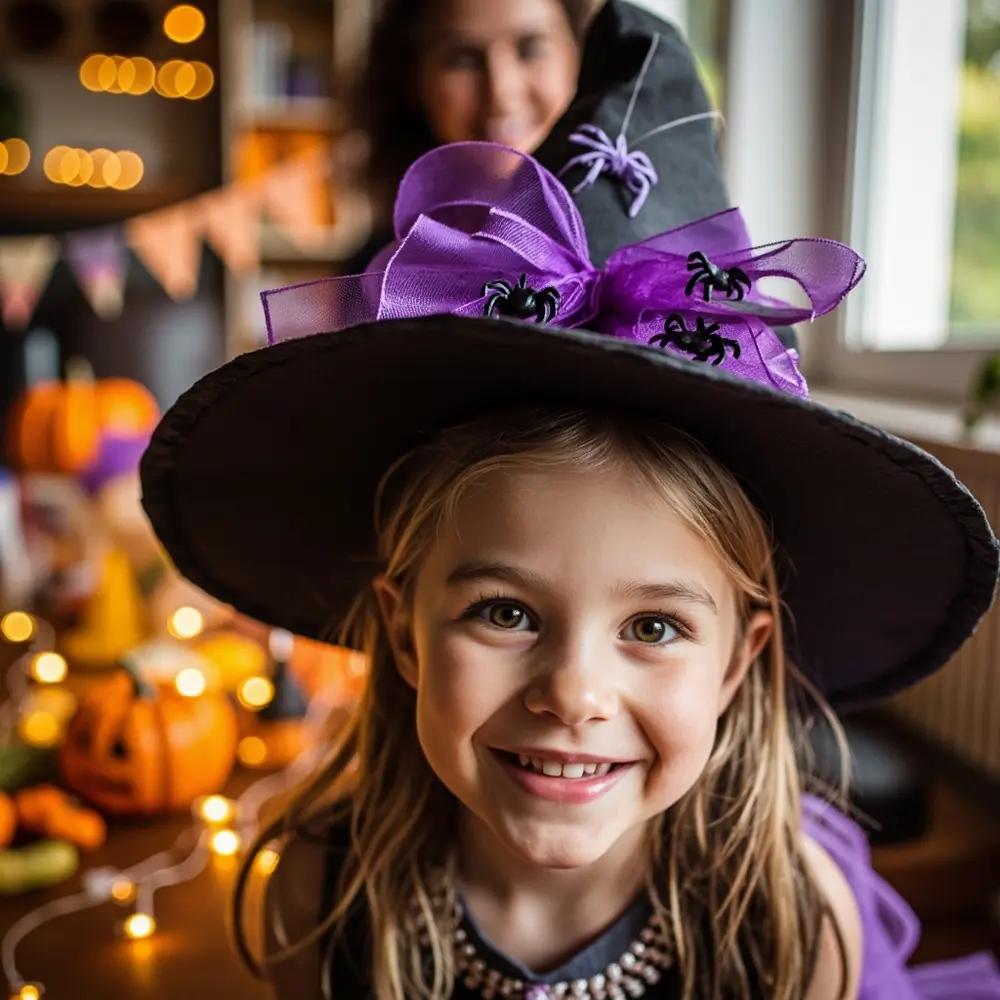
Let your creativity fly! This is where your dollar-store finds come in handy. Wrap a purple or orange ribbon around the base of the cone and tie a bow. Glue on plastic spiders, tiny bats, or sprinkle some glitter for a magical shimmer. For a truly enchanting effect, glue a piece of decorative black or purple tulle to the tip of the hat so it flows down the back.
image-6: A finished witch hat with various decorations, perhaps on a child’s head or a display stand.
Complete the Look: Easy Witch Makeup
During my time as a professional makeup artist, I learned that a few simple touches can complete a whole costume. To finish your witchy transformation, here are some easy, non-toxic makeup ideas:
- Green Sheen: Use a fluffy brush to dust a bit of shimmery green eyeshadow on the cheeks as a spooky “blush.”
- Spider Web: With a non-toxic black face paint crayon or eyeliner, draw a simple spider web at the corner of one eye. Start with three lines coming out from the eye, then connect them with curved lines.
- Glittery Lips: Apply a clear lip balm or gloss, then gently pat on some purple or black cosmetic-grade glitter for a magical pout.
Variations & Customizations 👻
- Make mini versions of these hats to use as cupcake toppers or party favor decorations.
- Experiment with different color schemes, like a pastel Frankenstein or a vibrant, rainbow witch hat.
- Incorporate glow-in-the-dark paint or stickers for a spooky effect at evening parties.
Spooky Hat FAQs 🤔
Q1: How can I make these hats more durable for active kids or multiple uses?
My best trick is to reinforce the inside. For the Frankenstein hat, you can line the inside rim with a layer of clear packing tape. For the witch hat, using cardstock instead of construction paper is the biggest game-changer for durability.
Q2: What if I don’t have a hot glue gun? Are there good alternatives for securing the paper?
Absolutely! A strong craft glue or a double-sided adhesive tape will work well. Craft glue will take longer to dry, so you may need to hold the pieces in place for a minute. For the witch hat brim, a stapler can also work in a pinch to secure the cone.
Q3: Can these hats be made in advance and stored without getting damaged?
Yes! The key is proper storage. I recommend stacking the cone-shaped Frankenstein hats gently inside one another. For the witch hats, store them upright in a box with enough room so the brims don’t get bent. Placing tissue paper inside the cones can also help them keep their shape.
These DIY monster hats are more than just a craft; they’re a way to make birthday and Halloween celebrations feel extra special and personal.
What other spooky creatures would you love to see turned into a party hat? Let me know in the comments below
