How to Add Frightfully Fun Decor to Your Bathroom
It’s that time of year, ghouls and ghosts! 🎃
Are you tired of the bathroom being the most boring room in the house during Halloween? It’s a real problem when you’ve decked out your whole home, but the one room every guest will visit is completely forgotten. It can make your amazing decorations feel incomplete! 👻
Well, I’m here to solve that. I’m going to show you how to turn your boring bathroom into a frightfully fun experience that will have your friends and family shrieking with delight. Let’s make every corner of your home part of the spooky celebration! 🦇
- Difficulty Level 🦴: Beginner
- Time to Complete ⏳: Approx. 30-45 minutes
- Estimated Cost 💰: Varies based on your chosen decor
- Prerequisites 🧠: A bathroom and a love for all things spooky!
Prerequisites: What You’ll Need Before You Start 🛠️
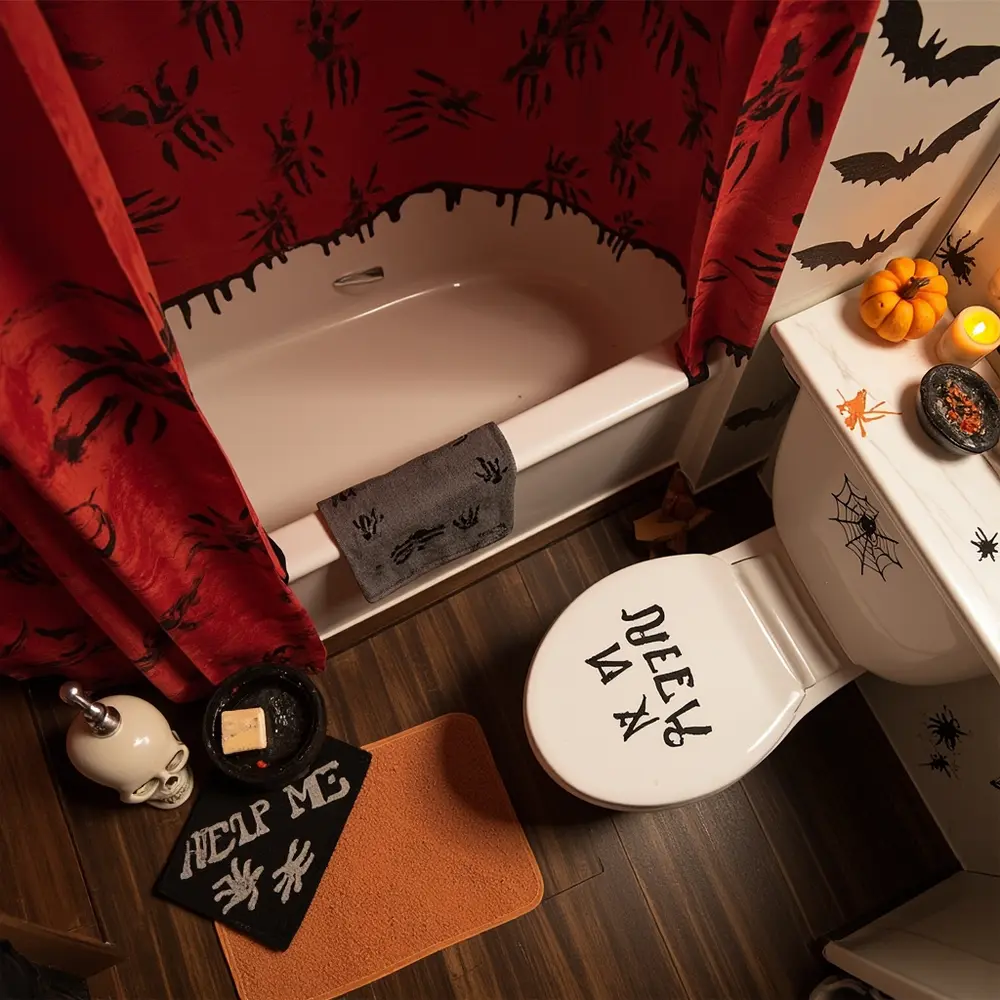
Before we can start haunting your house, you need to gather your supplies. Think of it like a scavenger hunt for scares!
A clean space is super important because it helps all your spooky stickers and decor pop. I learned this the hard way one year when my wall bats kept falling off because of dust!
Decor Shopping Checklist:
- The Main Attraction: A novelty shower curtain is a must! I personally love the ones with bloody hands or giant spiders.
- Countertop Creepies: Grab a themed soap dispenser (skulls are my favorite), a spooky soap dish, and a Halloween hand towel.
- Floor Frights: Find a fun bath mat. The “Help Me” ones always get a good jump scare.
- Wall & Mirror Haunts: You’ll want some removable vinyl decals, like spiders, bats, or creepy words for the mirror.
- Toilet Terrors (Optional): A toilet lid decal is a fun, cheap way to add another surprise.
- Final Flourishes: Think about small details like themed guest soaps, a pumpkin spice candle, or some fake cobwebs for the corners.
Initial Setup: Prepping Your Lair
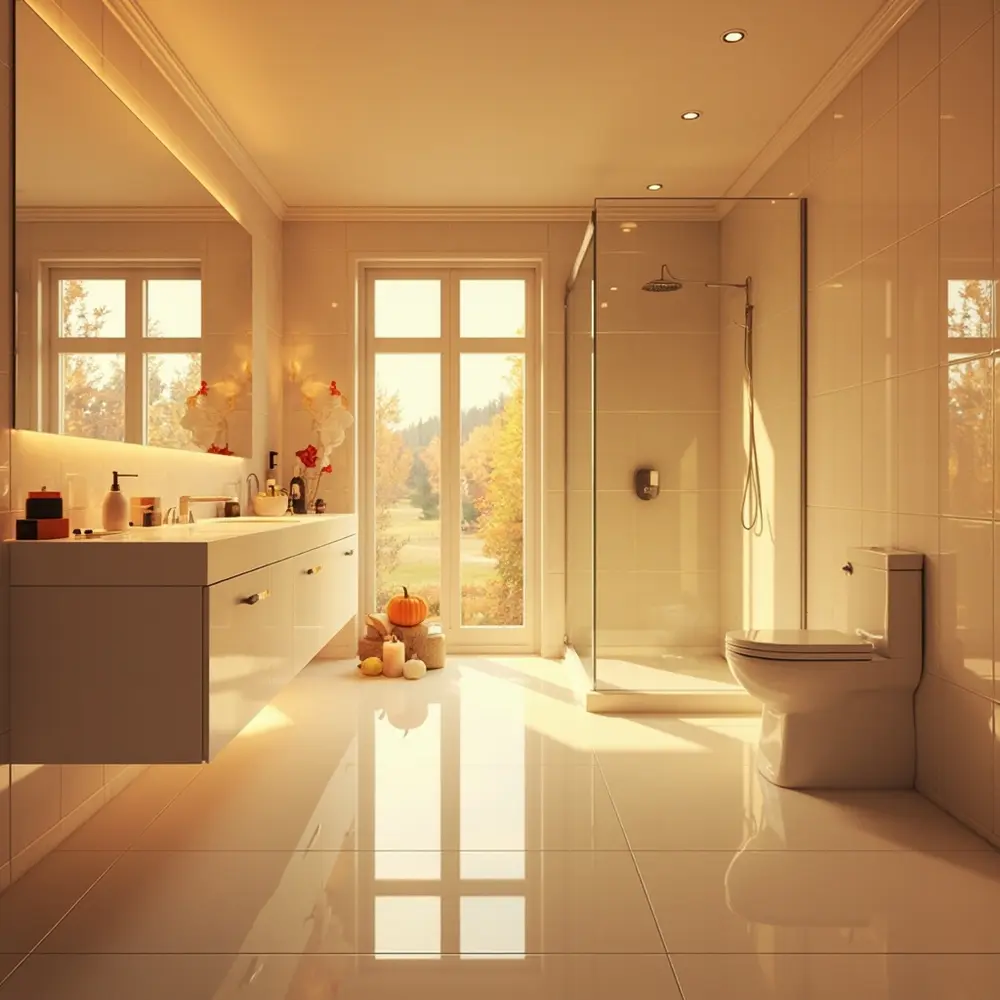
- Clear everything off your counters, floor, and out of the shower. A fresh start is key.
- Give everything a good wipe-down: the shower exterior, countertops, mirror, walls, and toilet. Make sure every surface is completely dry. This is the secret to making decals stick perfectly.
⚠️ Warning: Be careful with your cleaning products! Always check that they won’t damage your surfaces, especially if you have fancy stuff like natural stone or special finishes.
Step-by-Step Tutorial 👻
Step 1 – Set a Dramatic Scene with a Spooky Shower Curtain
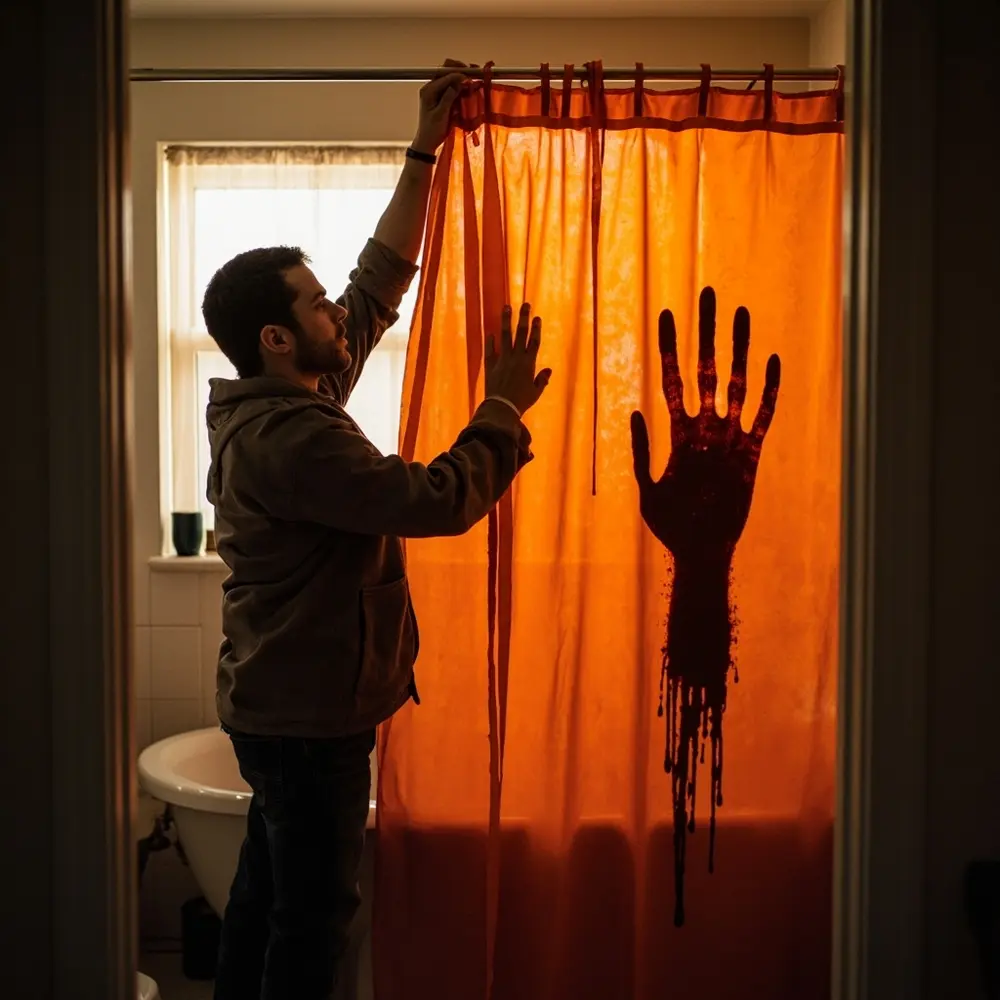
Your shower curtain is the biggest decoration in the room. It’s the backdrop for everything else, so we’ll start here!
Simply take down your old shower curtain and liner. If your liner is looking a little grimy, now is the perfect time to replace it. Hang your new, spooky curtain and make sure the design is front and center. It’s amazing how this one change instantly transforms the whole bathroom.
Step 2 – Create a Creepy Countertop Vignette
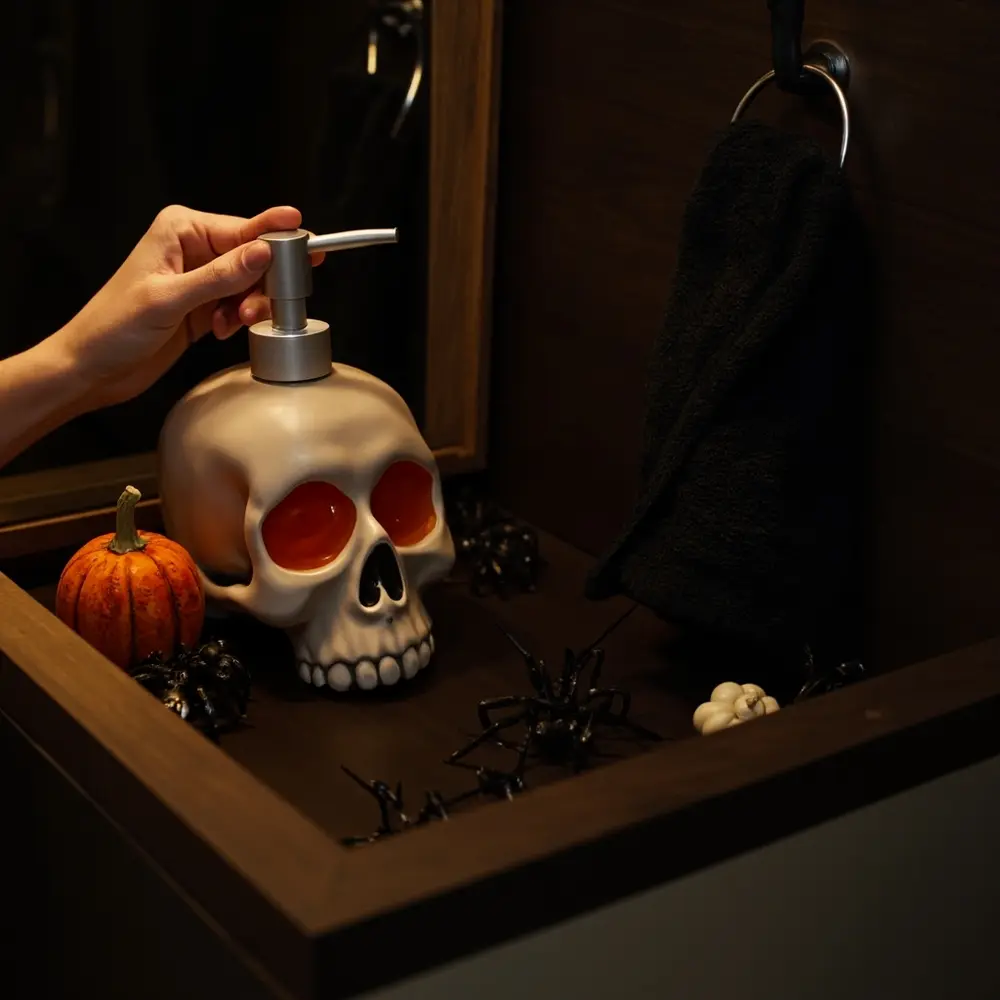
The sink is where your guests will spend time, so let’s make it extra creepy. This is where the small details really shine.
Place your themed soap dispenser by the sink. For a little extra flair, I like to fill mine with orange or black hand soap. Fold your Halloween hand towel and hang it up. Then, arrange your other little items, like a soap dish or a few fake spiders, to create a mini spooky scene.
Important Note: If you use dark-colored hand soap, do a little test first. You want to make sure it won’t leave any colorful stains on your sink or your guests’ hands!
Step 3 – Add a Frightful Floor Surprise
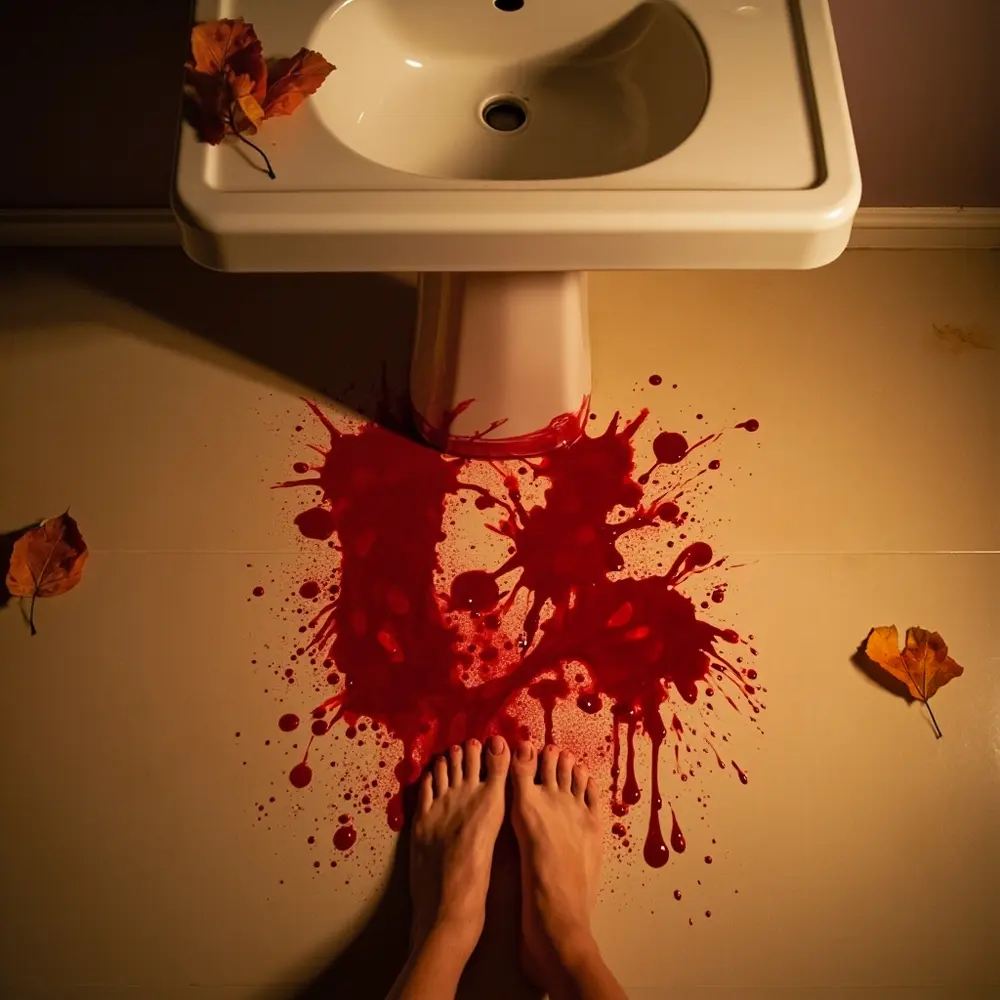
This step is all about the element of surprise. Nobody expects to look down and see something spooky on the floor!
Just swap your regular bath mat for your Halloween one. I recommend placing it right in front of the sink or the shower, where it’s guaranteed to be seen (and stepped on!).
Step 4 – Make the Mirror & Walls Come Alive
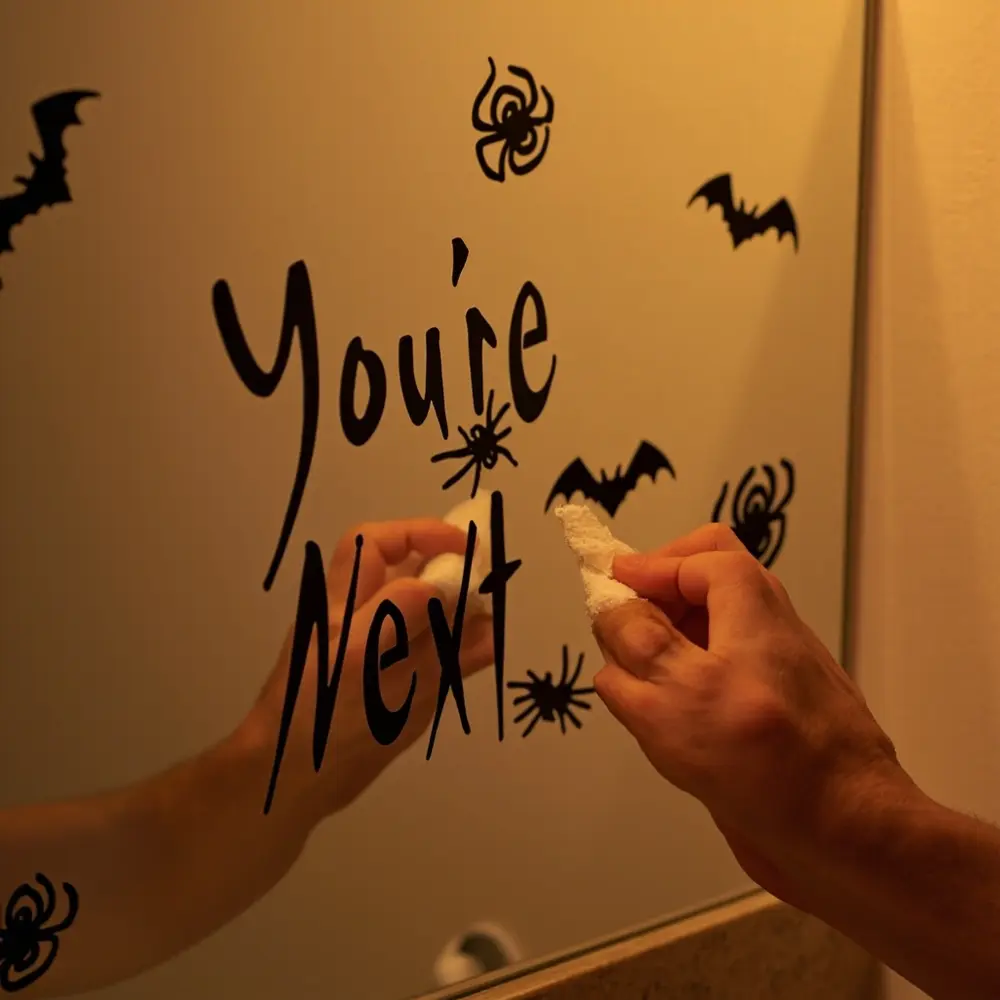
Now it’s time to use that empty wall space. This is how we tie the whole room together and add a few more jump-scares.
Carefully apply your removable decals. A creepy message like “BEHIND YOU” in the corner of the mirror is a classic for a reason! I like to make a trail of bat or spider decals leading from the door toward the sink. It draws the eye and makes the room feel like it’s been taken over.
Important Note: To apply decals like a pro, go slowly. Use something flat like a credit card to smooth out any air bubbles as you go. It makes a huge difference.
Step 5 – Test Your Terrifying Transformation
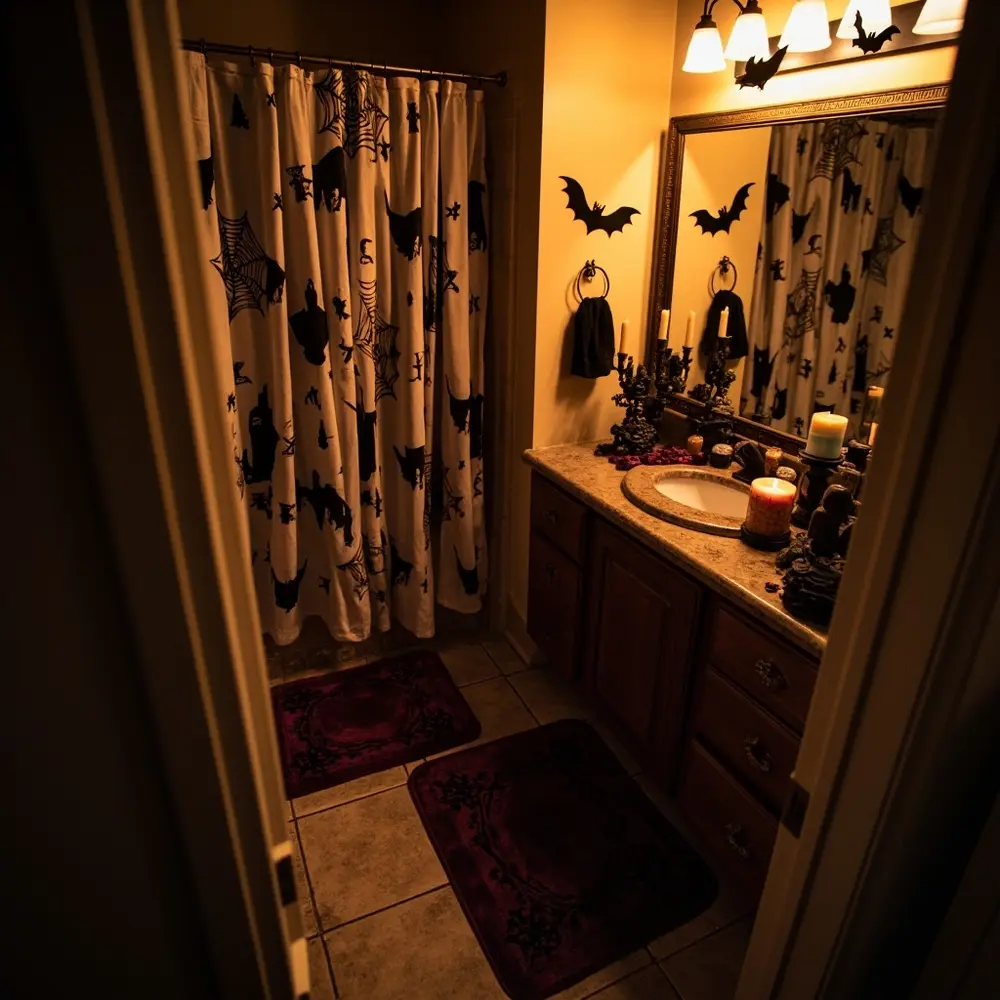
The final and most fun step! It’s time to step back and admire your ghoulishly good work.
Stand in the doorway and look at the bathroom like a guest would. Does it look good? Do you need to move a spider or two? Try turning the lights on and off to see how it looks. For the final touch, light that spooky-scented candle. Your goal is a fun, spooky bathroom where everything looks like it belongs.
Secrets to a Spook-tacular Surprise: Beyond the Basics 🤫
Okay, a pumpkin soap dispenser is cute. But the real fun of Halloween is catching people off guard! On my blog, “Spooky Sharma,” I always say that a good scare is a memorable one. Here’s how I take my decor to the next level.
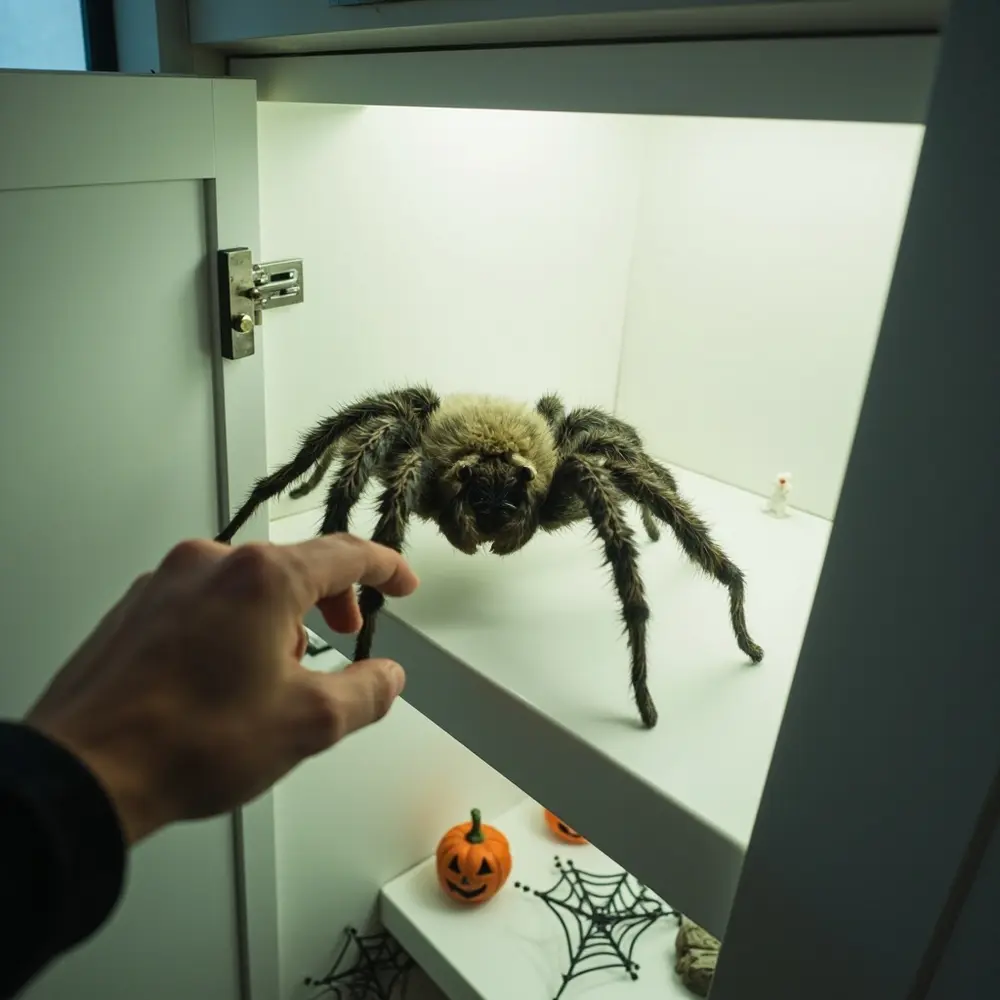
- The Medicine Cabinet Scare: You know your guests are going to peek inside your medicine cabinet. I always leave a little surprise for them! Place a small plastic skeleton or a big, hairy fake spider on a shelf. The shriek is so worth it.
- The Toilet Tank Trick: This is one of my favorite gags. Use waterproof tape to attach a small, lightweight monster head to the underside of the tank lid (not in the bowl!). When someone jiggles the handle or gets curious, they’ll get a real shock.
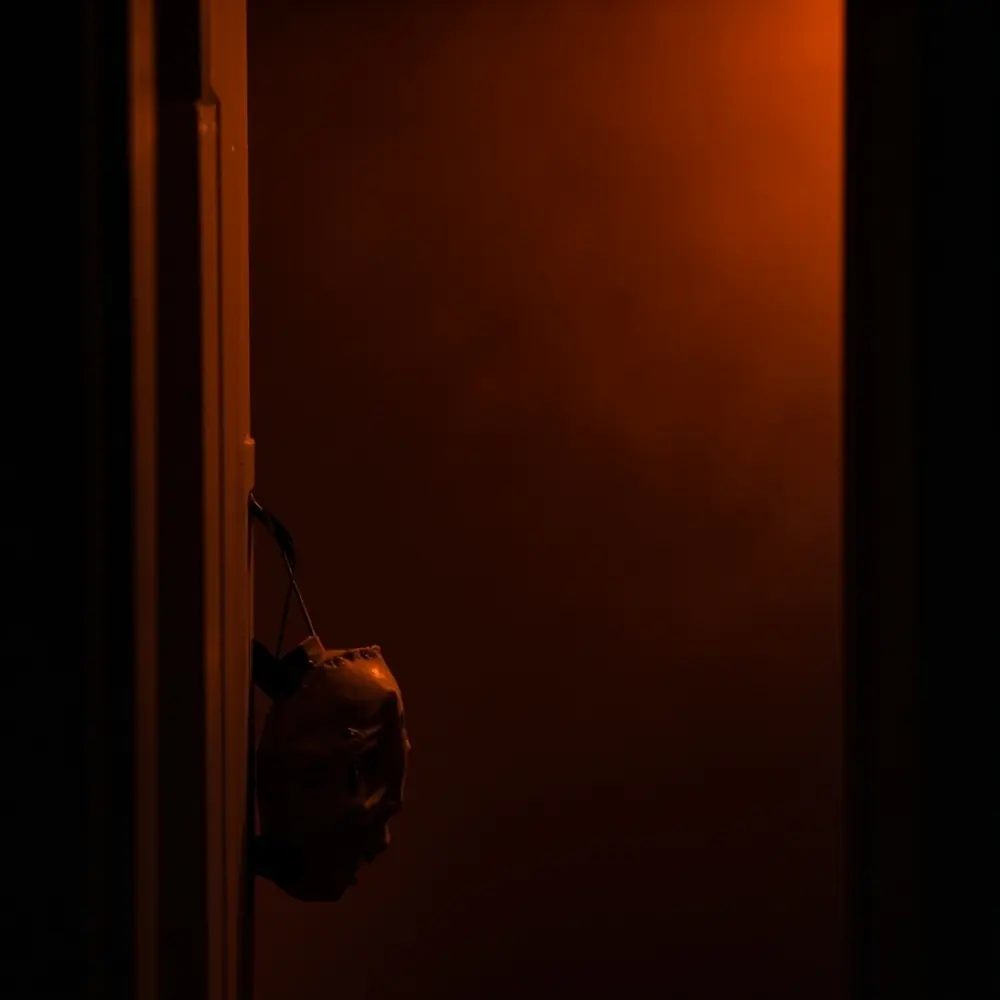
- The “Look Behind You” Gag: This one is devious. Use a removable hook on the back of the bathroom door to hang a lightweight scary mask. It’s completely hidden when the door is open. Once your guest closes the door, they’ll turn around and see it staring at them!
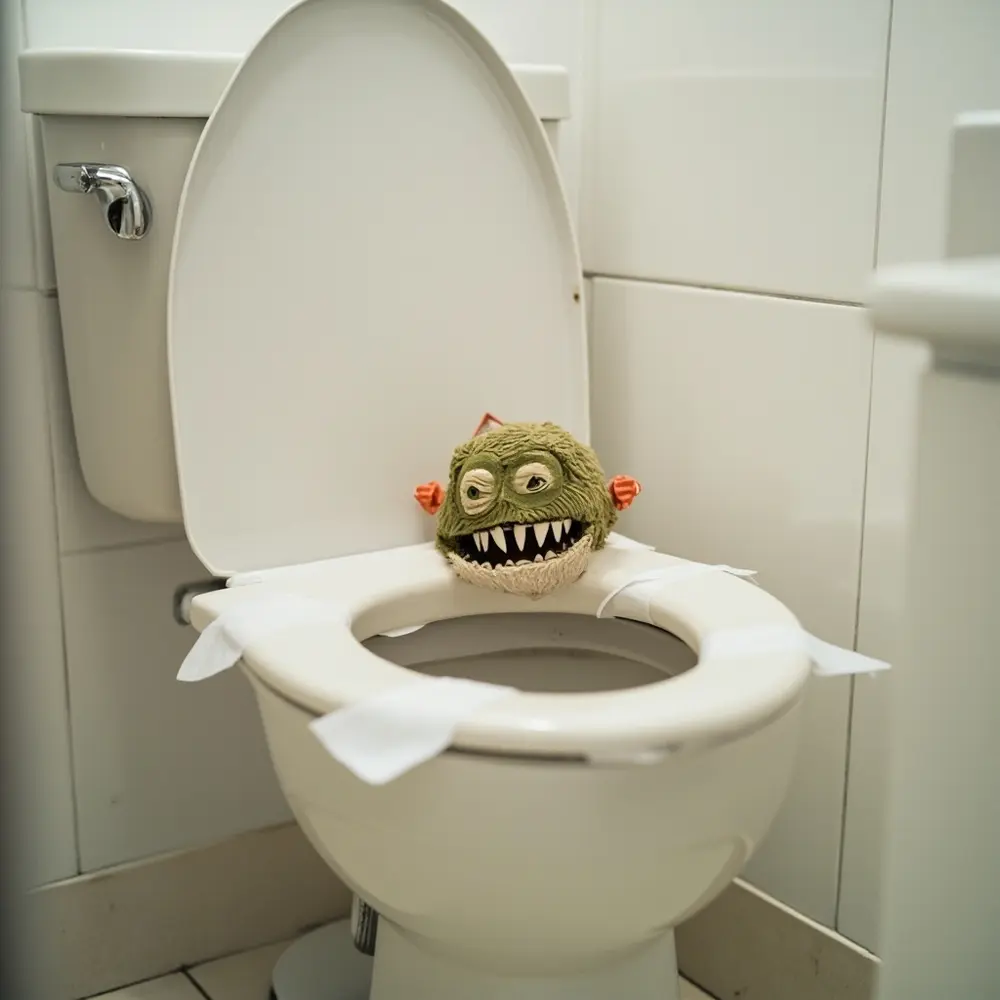
Important Note: Make sure whatever you put in there is attached securely! You don’t want it falling in and messing with the flushing system.
Troubleshooting & Common Questions ❓
How do I remove vinyl decals without damaging my walls or mirror?
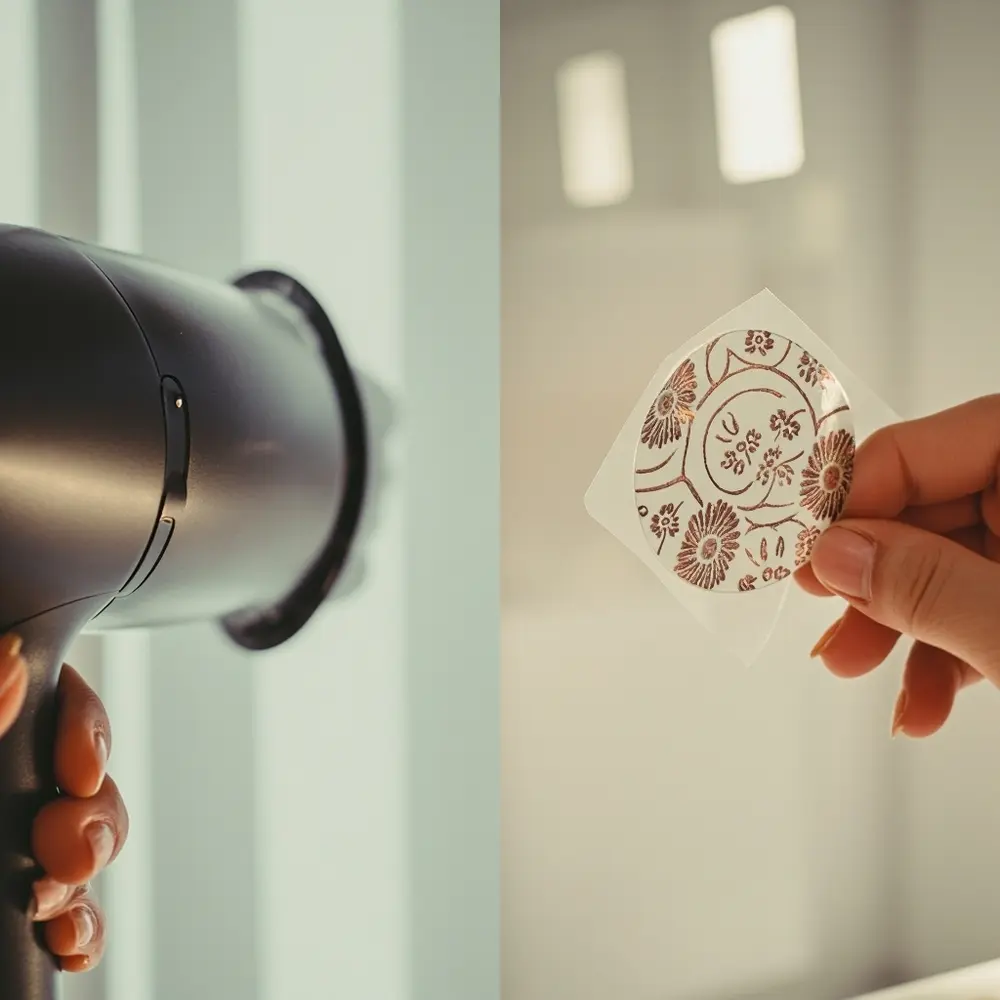
This is a great question! I’ve had to remove hundreds of decals over the years. The easiest way is to gently heat the decal with a hairdryer on a low setting for about 15 seconds. This softens the glue. Then, you can usually just peel it off with your fingernail. If any sticky stuff is left behind, a little rubbing alcohol on a cotton ball usually does the trick. Just test it on a small, hidden spot first!
My bathroom is very small. How can I decorate without making it feel cluttered?
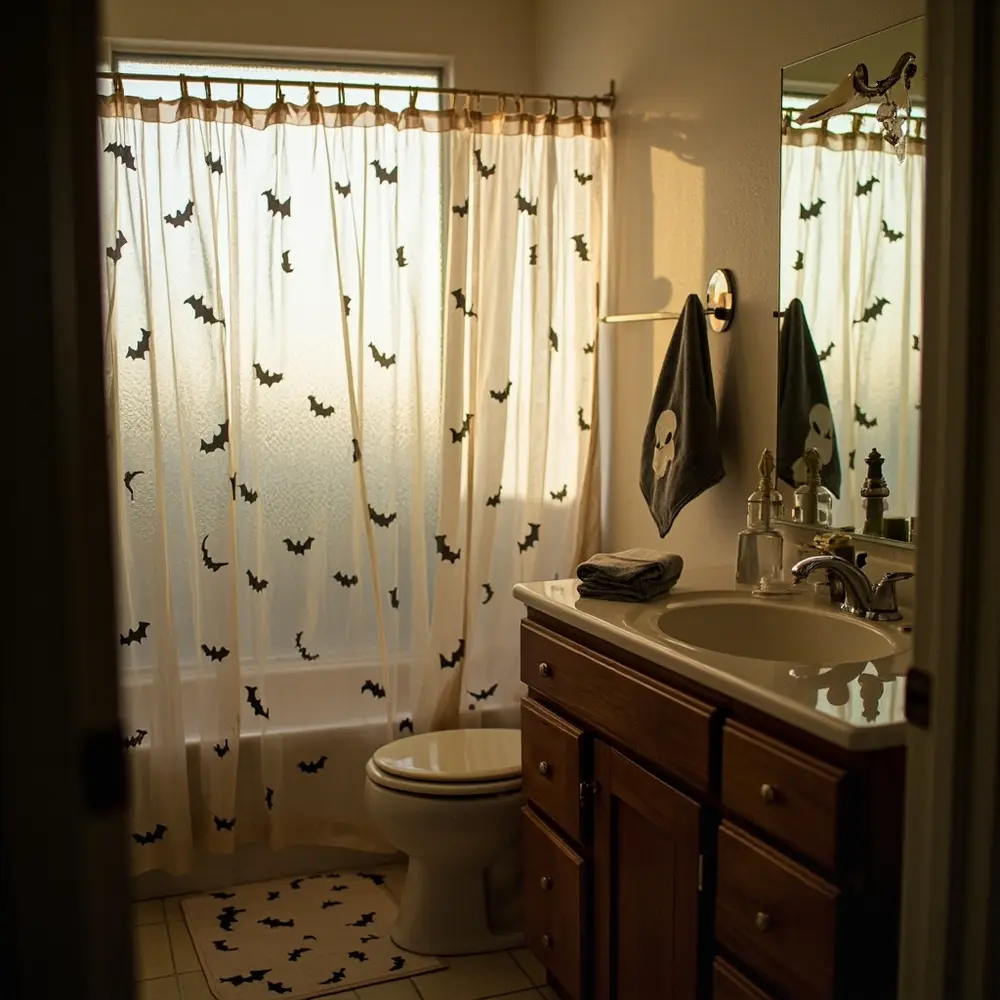
I totally get this. My first apartment had a tiny bathroom! The key is to focus on “flat” decor. A shower curtain, bath mat, hand towel, and mirror decals give you a massive Halloween impact without taking up any extra space. You can skip the countertop items and still have a super spooky room.
All the good stuff is sold out. Any cheap DIY ideas?
Absolutely! This happens to me all the time. Don’t worry, you can get creative. One thing I teach in my local workshops is to just print a spooky vintage photo from the internet and pop it into a frame you already own. You can also use black or orange ribbon to tie little bows on your towel rack or toilet paper holder. It’s simple, cheap, and still looks great!
Taking It to the Next Level 🚀
You’ve officially mastered the haunted washroom! But if you want to get really extra, here are a few more ideas I’ve used for my own parties.
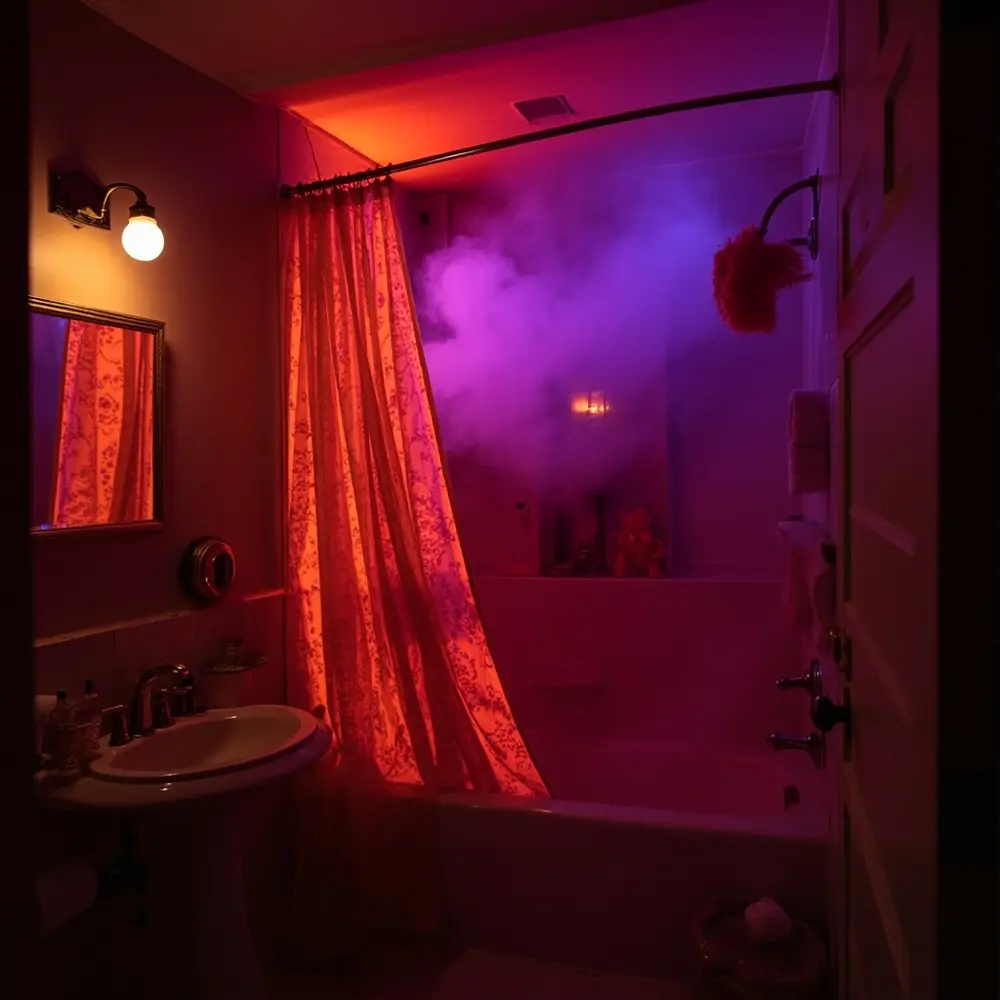
- Spooky Lighting: This is a game-changer. Swap your regular lightbulb for a low-wattage orange, purple, or green bulb. It casts an eerie glow over everything and instantly boosts the spooky mood.
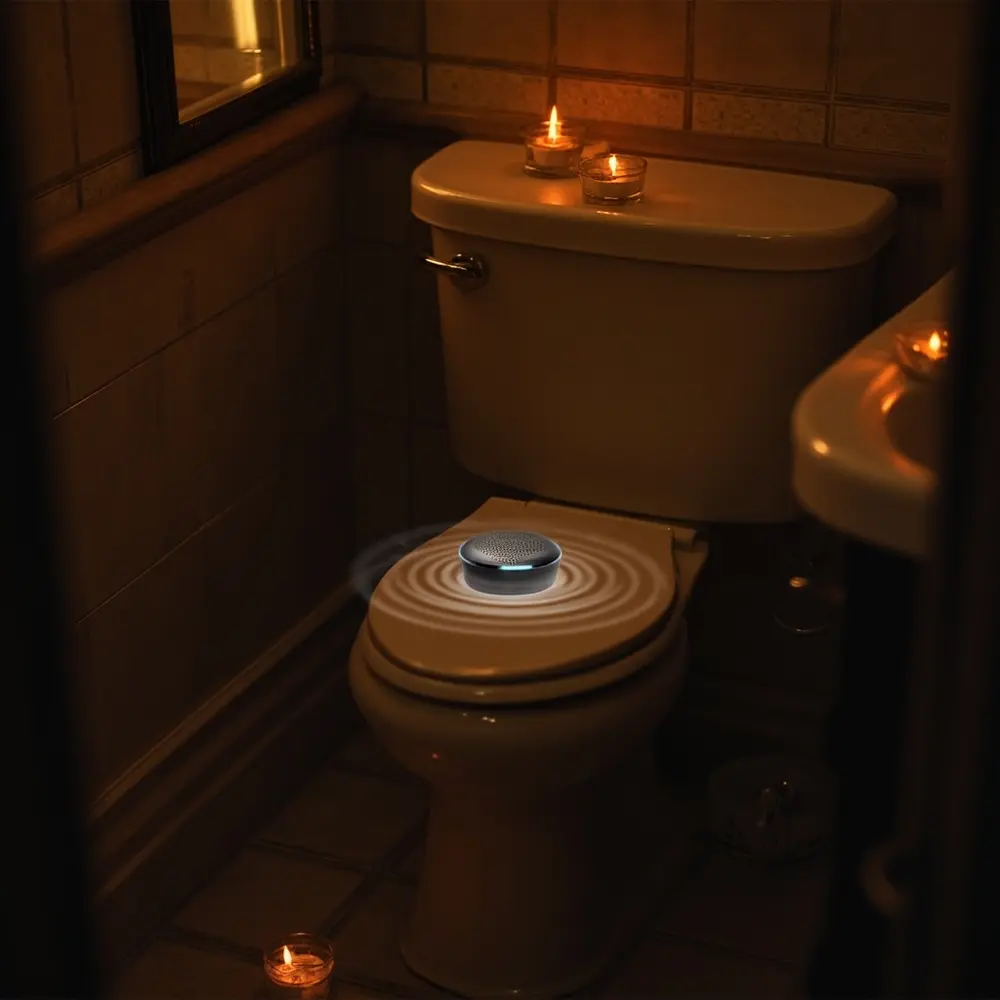
- Add a Soundtrack: Hide a small Bluetooth speaker somewhere in the bathroom (behind the toilet or in a cabinet works well). Play a “spooky ambient sounds” playlist on a very low loop. The subtle creaks and whispers will freak everyone out.
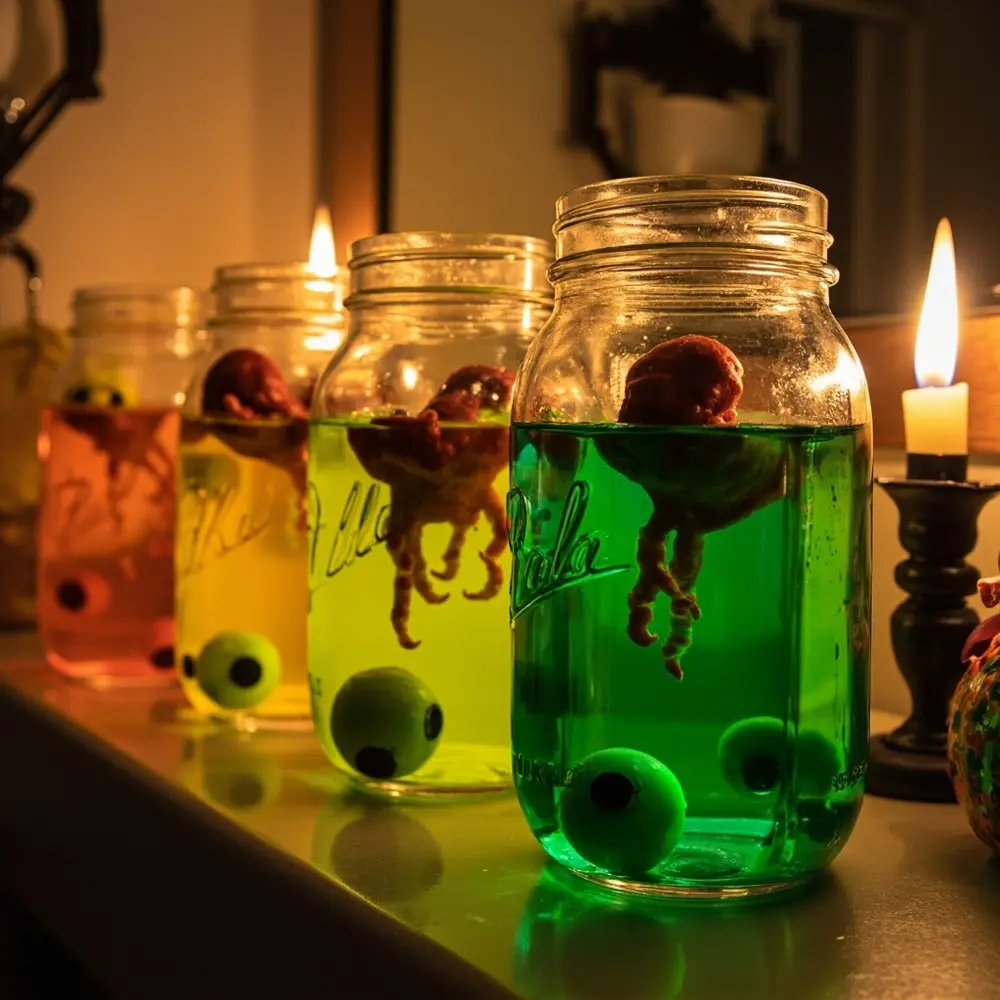
- DIY Specimen Jars: This is a fun DIY I feature on my YouTube channel. Put creepy rubber toys (like eyeballs or fake fingers) into mason jars. Fill the jars with water and a few drops of green or yellow food coloring. They look disgustingly cool on the counter!
My Final Thoughts 👻
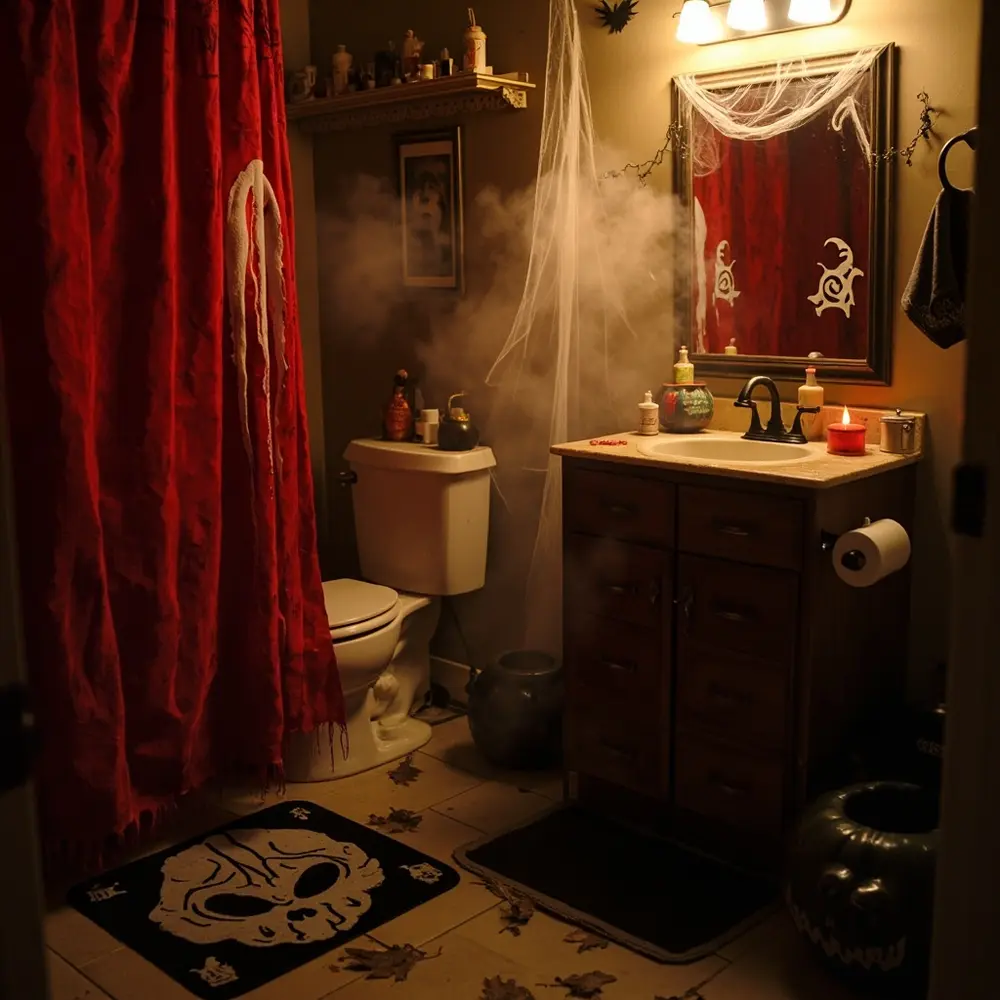
Congratulations! You did it. You took a normal, everyday room and turned it into a memorable Halloween masterpiece. You didn’t just hang up decorations; you created an entire experience that shows off your fun and creative side.
The best part is that you now know how to find these hidden opportunities for fun all over your home. It proves that the clever, unexpected details are what people remember most. From my own experience planning parties for clients, it’s these little bathroom scares that get the biggest laughs.
Your haunted bathroom is officially ready for its first victim… I mean, guest! Now that it’s all done, I have to ask: which spooky surprise are you most excited for your friends to discover?
