How to Safely Use Fake Candles and String Lights in Your Halloween Decor
It’s that time of year, ghouls and ghosts! The air is getting crisp, and the urge to cover your home in spooky, glowing decorations is taking over. 🎃
But with all those plugs and wires, a little worry can creep in. Are my lights a fire hazard? Am I overloading my circuits? I’ve been there, and it’s a valid concern that can suck the fun right out of decorating. 👻
Don’t you worry! I’m here to walk you through every single step of setting up a dazzling—and incredibly safe—Halloween display. You’ll get all the spooky ambiance with none of the scary risks. ✨
- Difficulty Level 🦴: Beginner
- Time to Complete ⏳: Approx. 30-60 minutes
- Estimated Cost 💰: Varies based on decorations
- Prerequisites 🧠: A love for Halloween and a desire to decorate safely!
Tools & Materials Needed 🛠️
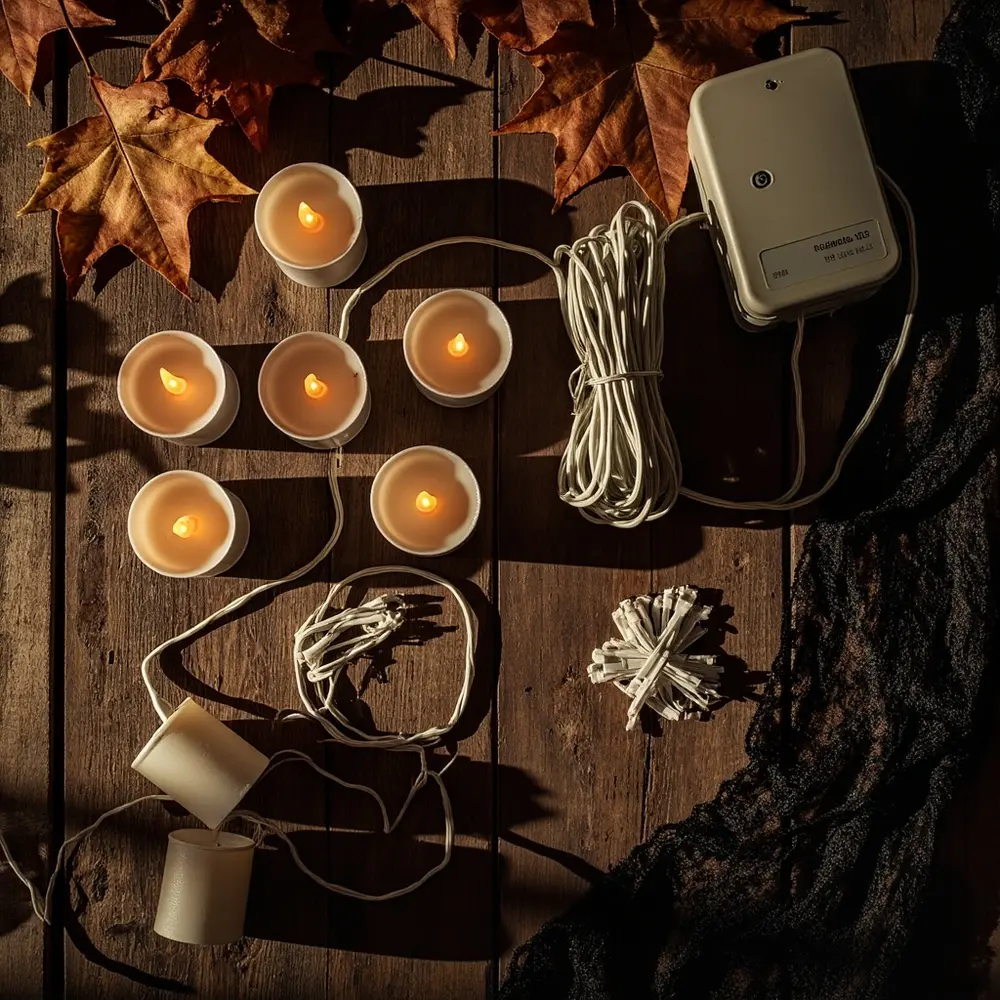
Before you even think about plugging something in, we need to do a “gear check.” Gathering the right, safety-certified equipment is the most important part of this whole process. It’s the foundation of a worry-free Halloween.
- Flameless, Battery-Operated Candles: I always recommend looking for LED candles. They give a great flicker effect without any heat.
- Halloween String Lights: Your lights must have an Underwriter Laboratories (UL) or equivalent (ETL/CSA) safety certification tag right on the cord.
- Extension Cords: These also must be UL-rated and clearly marked for “Outdoor Use” if any part of the cord will be outside your home. For longer runs or more lights, use a thicker cord, like a 12 or 14-gauge.
- Hanging Supplies: Grab some plastic clips or insulated zip ties. You’ll thank me later!
- Outdoor Outlet Covers: If you’re plugging in outside, you need what’s called a “while-in-use” or “bubble” cover to protect the plug from rain.
Your first move is to unbox any new lights and completely untangle them. Then, go grab your bin of old decorations so we can inspect everything together in the next step.
⚠️ Warning: Never, ever use decorations or cords with frayed wires, cracked plastic, or exposed metal bits. The risk of fire or a nasty shock is just too high. If you find any, throw them out and replace them immediately.
Step-by-Step Tutorial 🛠️
Step 1 – Inspect All Your Electrical Decorations (New and Old)
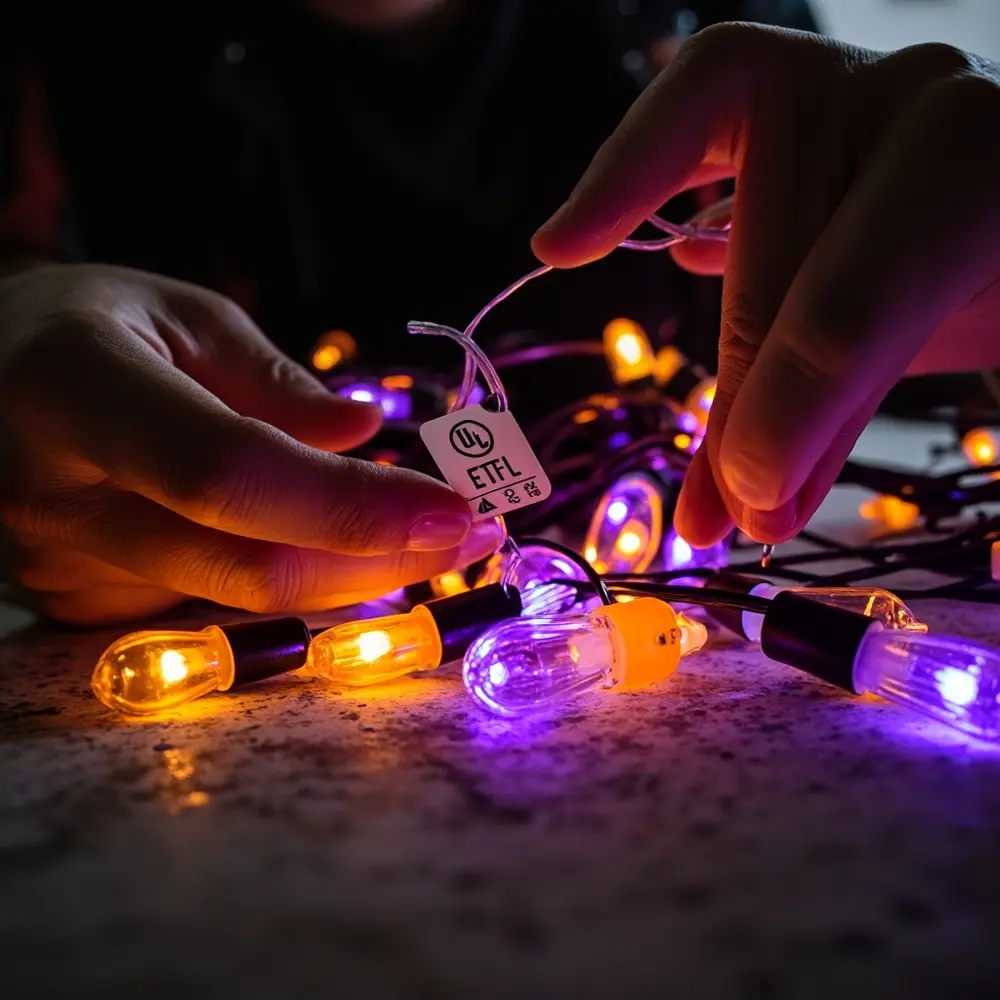
The goal here is simple: find and get rid of any potential hazards before they’re even plugged in. This is my non-negotiable first step for every holiday.
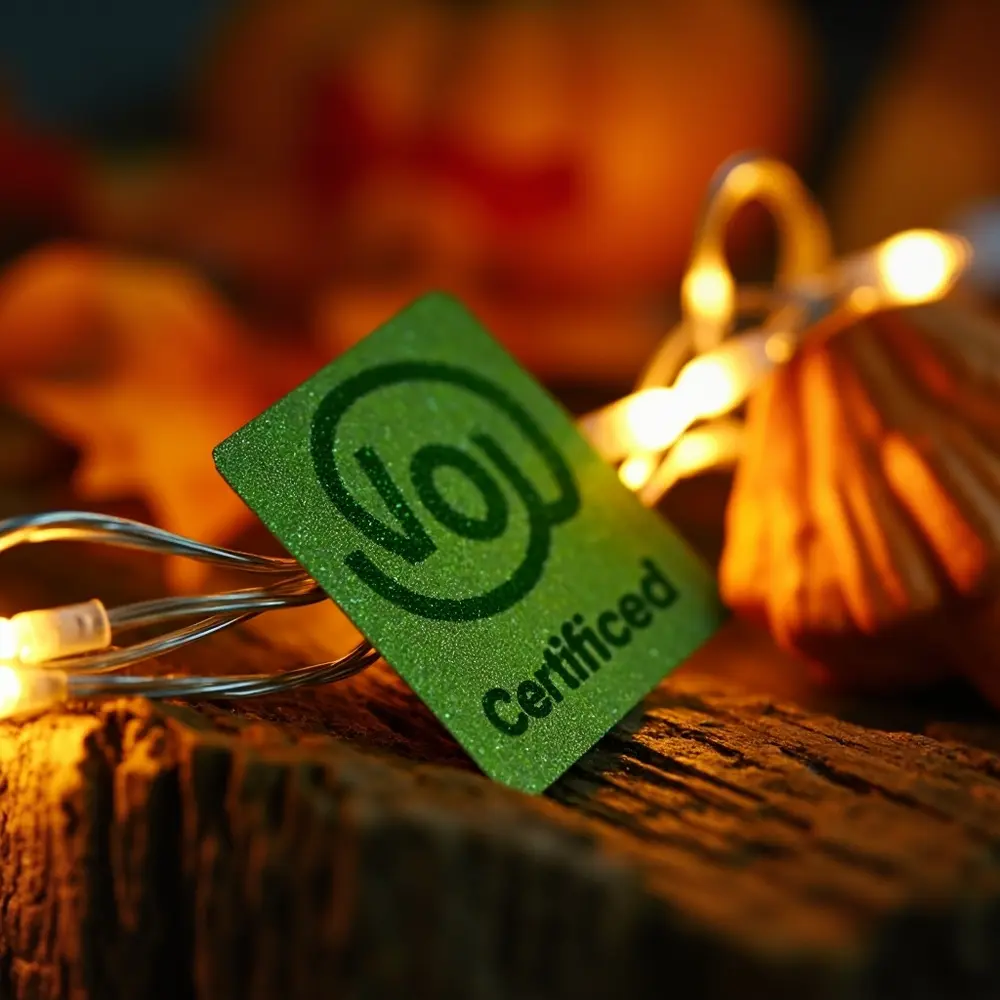
- Look for the Tag: For every single light string and extension cord, hunt for the UL, ETL, or CSA certification mark. It’s usually a small tag attached to the wire. This is your proof that it passed independent safety tests.
- Inspect Old Cords: Take any lights you’ve used before and run the cord through your hands. Gently bend it to see if the plastic insulation is brittle or has any cracks. Check that each bulb socket is solid and not broken.
- Do a Test Run: Plug your old lights in for about 15 minutes somewhere safe, like on a concrete floor in the garage. Afterwards, unplug them and feel the cord. If it feels excessively hot, it’s time to retire that string.
Important Note: The UL tag needs to be on the light string itself, not just on the box it came in! A red UL mark means it’s for indoor use only. A green UL mark means it’s safe for both indoor and outdoor use.
Step 2 – Plan Your Power Layout
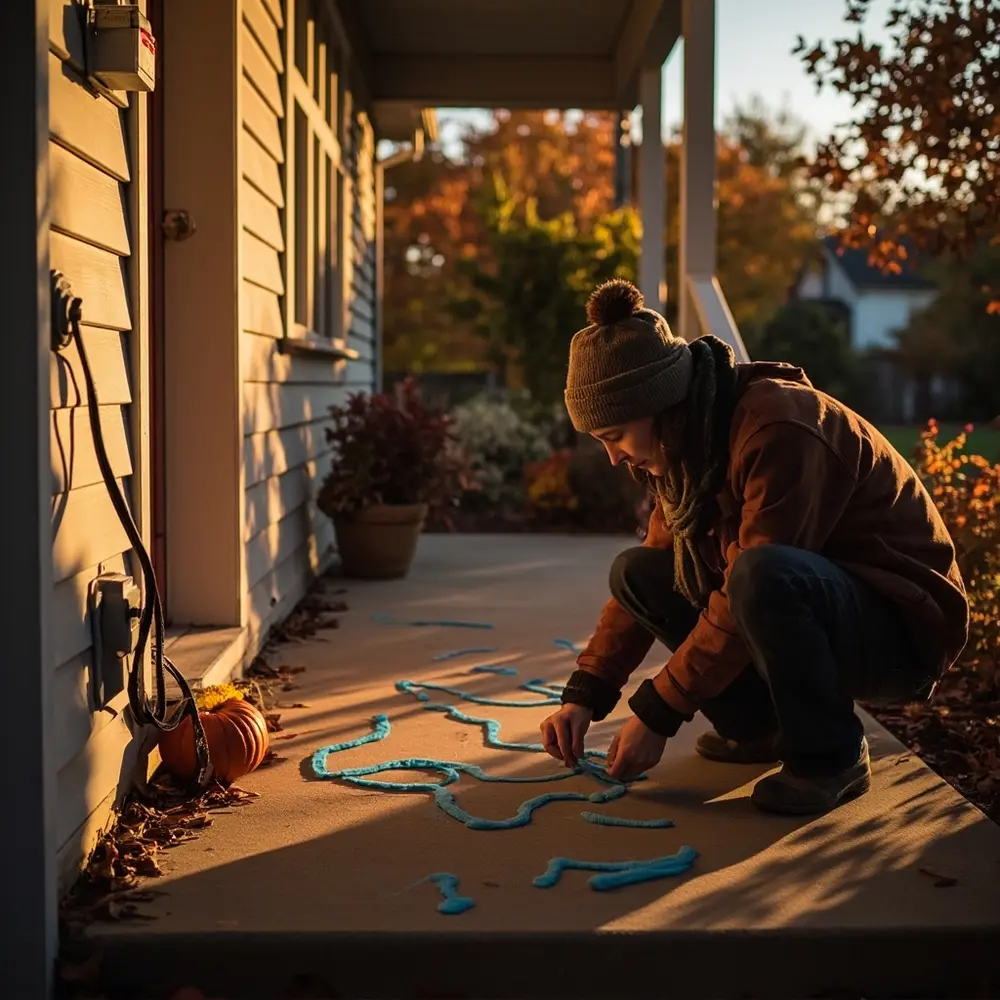
Your objective is to figure out where your decorations will go and how to get power to them without creating a mess of dangerous, trip-hazard cords.
- Find a GFCI Outlet: For any outdoor lights, you absolutely should plug them into a GFCI (ground fault circuit interrupter) outlet. This is a special, smart outlet that will instantly shut off the power if it senses any moisture, preventing a dangerous shock. Most modern homes have them on exterior walls and in garages.
- Map Your Cord Paths: Before you run any cords, trace the path with your eyes. Make sure they stay away from where people walk, and out of any puddles or low spots where water might collect.
- Avoid Pinch Points: Never, ever run an extension cord through a doorway or a window that you plan to close. Shutting a door or window on a cord will crush it and can easily lead to a fire.
Step 3 – Safely Install String Lights
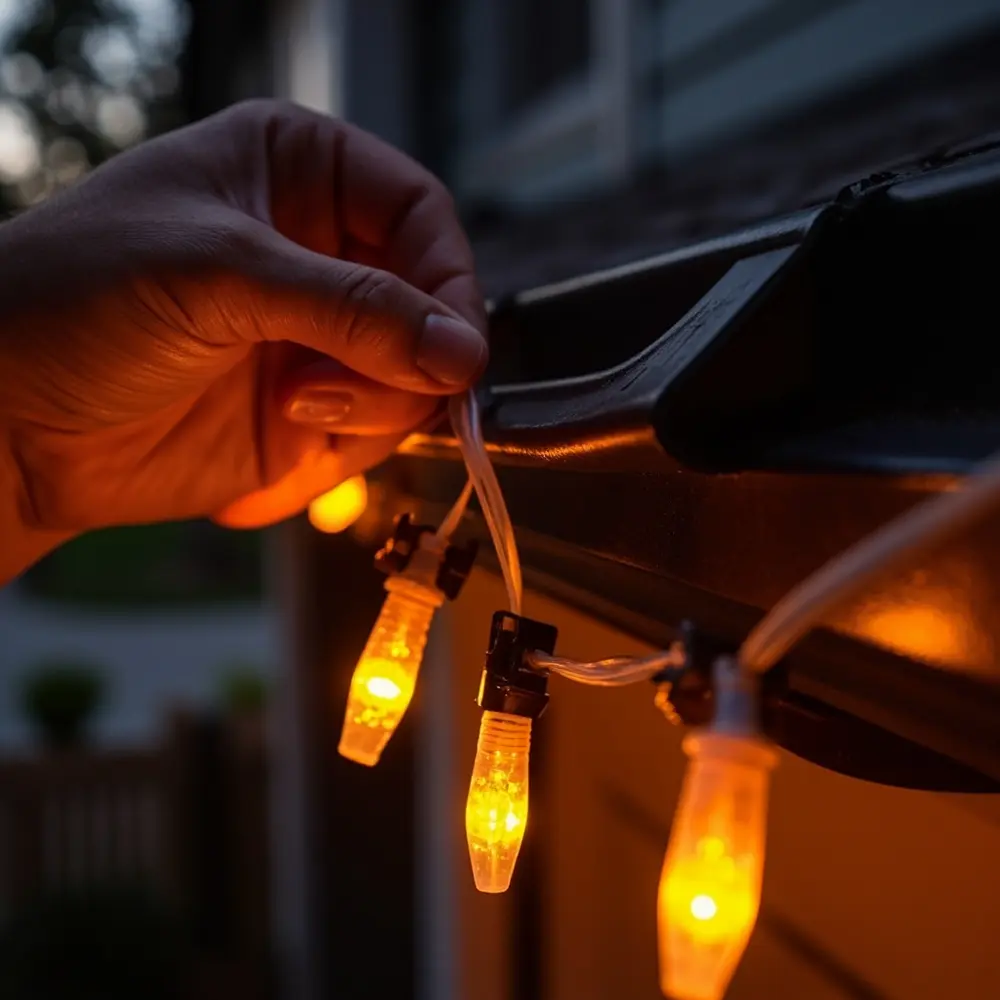
Now for the fun part! Let’s get these lights hung up securely without damaging any of the important wiring.
- Use the Right Fasteners: Use plastic clips or insulated zip ties to attach your light strings to things like porch railings, gutters, or tree branches.
- No Metal!: Do not use metal nails, screws, tacks, or staples to hang your lights. It is so easy to accidentally pierce the wire’s insulation, which creates a huge fire or shock risk.
- Protect Your Connections: Make sure any connections—where one string plugs into another, or into an extension cord—are tight. If they are outside, I like to wrap the connection point with a bit of electrical tape to give it an extra layer of protection from rain and dew.
⚠️ Warning: Do not connect more light strings together than the manufacturer says you can! This critical info is usually printed right on that UL tag. Overloading the string is one of the most common causes of holiday decoration fires.
Step 4 – Strategically Place Flameless Candles
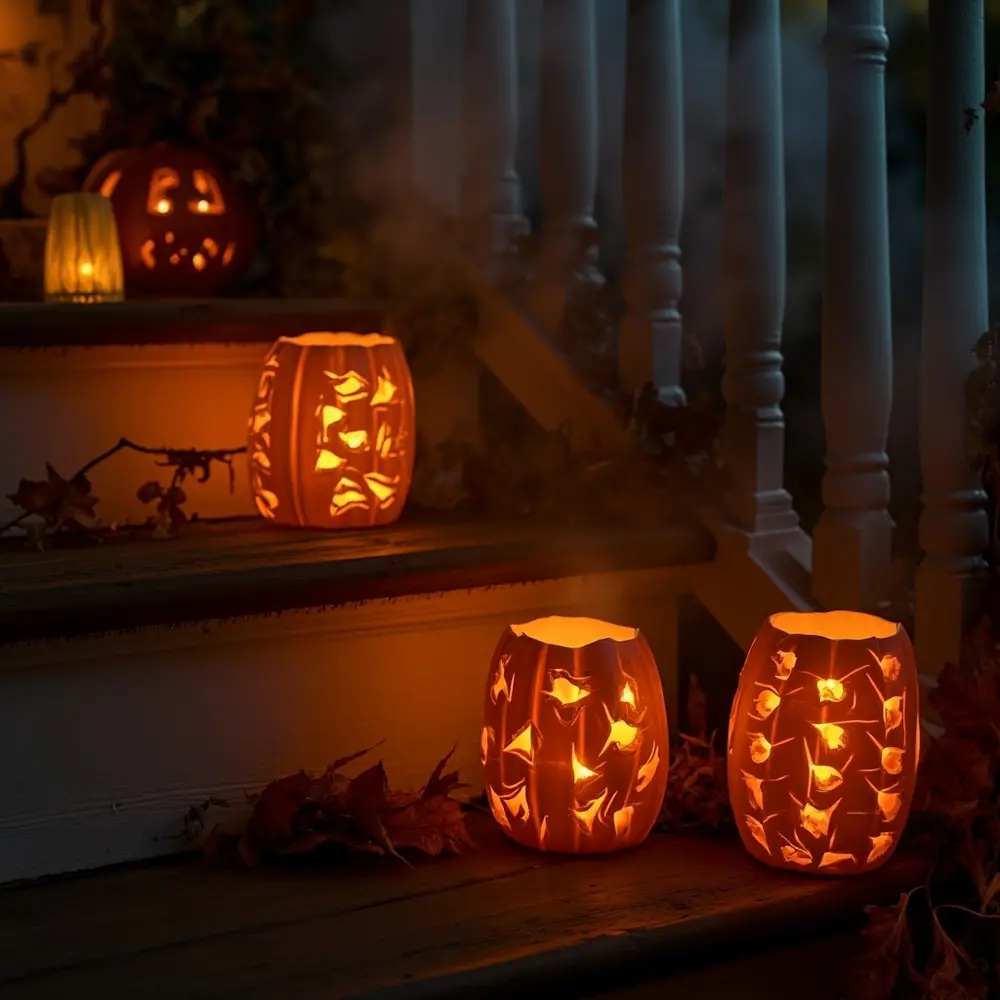
The goal here is to use your awesome battery-operated candles for maximum spooky effect without creating any new problems.
- Keep Them Stable: Even though they are flameless, you don’t want them getting knocked over and rolling down the stairs. Place your flameless candles somewhere stable, away from the edges of steps or railings.
- Avoid Flammables: Keep the candles away from super flammable decorations like dry decorative leaves, hay bales, or crepe paper streamers. While the fire risk is super low, a battery could short circuit and create a little heat. Better safe than sorry!
- Check the Batteries: Before you put them out, just pop open the battery compartments to make sure they’re clean and have no old, crusty corrosion inside.
Step 5 – Testing Your Setup
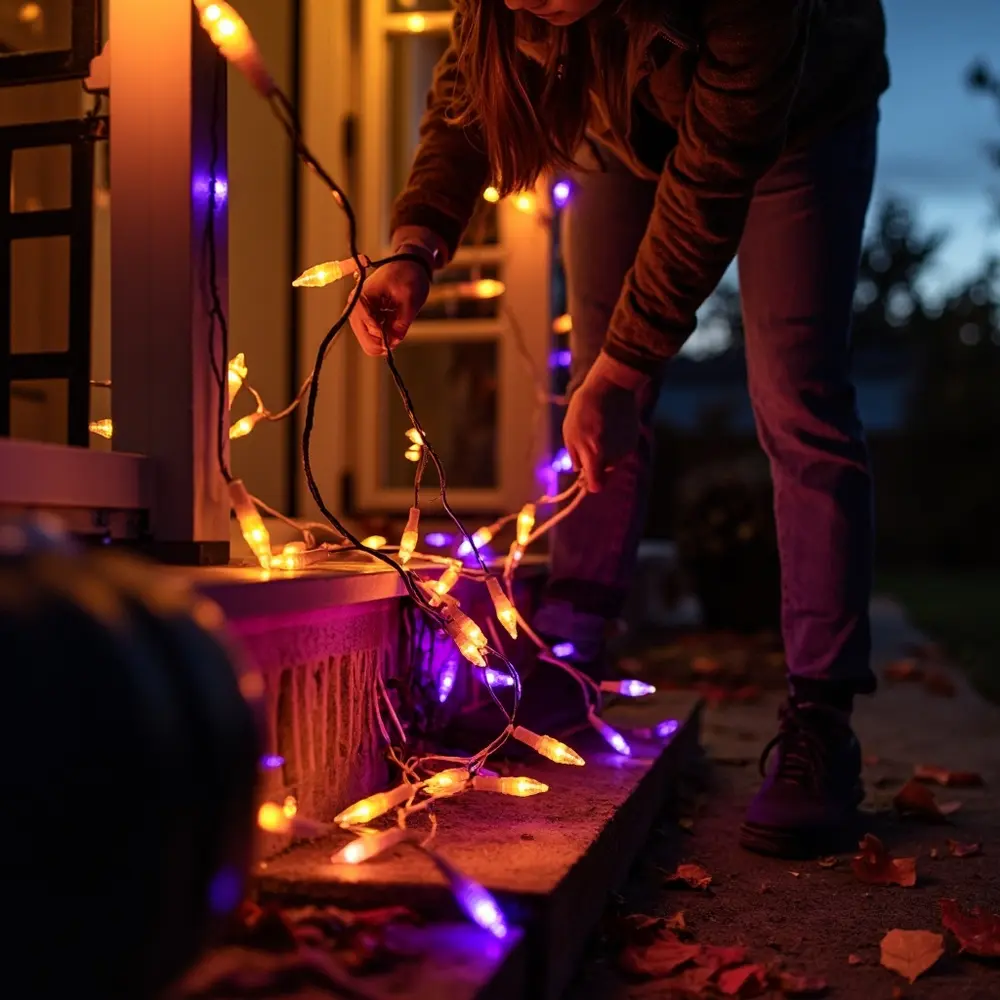
This is your final safety check. Let’s make sure everything is working perfectly and is 100% safe.
- Power On!: Plug everything in and turn on your display.
- Do a Walk-Through: Walk the entire path of your decorations. Carefully touch each connection point where cords meet. They should be cool. If a connection feels warm, unplug it immediately.
- Look and Listen: Observe your lights. Are they all shining brightly? Any weird flickering could mean a loose bulb or a bad connection that needs attention.
The expected result is a beautifully spooky home, with all lights shining bright, all cords cool and tucked safely away from walkways and water. Now you can relax and enjoy it!
A Closer Look: Decoding Electrical Safety for Decorators 🤓
A lot of guides just tell you the rules, but I think it’s important to know why they exist. Understanding these concepts is the real key to keeping your home safe year after year.
- What “UL-Rated” Actually Means: Underwriter Laboratories (UL) is a company that acts like a safety referee for electronics. When a product has a UL mark, it means it has been tested to make sure its design and materials won’t easily catch fire or cause an electric shock during normal use. It is the single most important safety feature to look for.
- The Danger of Overloading: Think of a circuit in your house like a small pipe. It can only handle so much water (or in this case, electricity) flowing through it at once. Your light string’s tag will tell you the maximum number of strings you can plug into each other. If you go over that limit, you’re trying to force too much power through that first cord, which can cause it to get dangerously hot and even melt.
My Personal Tip: Believe me, I learned about overloading the hard way when I first started my big yard haunts. I tried to connect about seven old incandescent light strings together for a spider web effect, and the main cord got so hot it almost melted to my lawn! It was a quick scare that taught me a lesson I’ve never forgotten.
- Why “Indoor” vs. “Outdoor” Matters: Outdoor-rated lights and cords are built tougher. They have thicker, more durable insulation that can handle rain, moisture, and the sun’s UV rays without cracking. Using an indoor cord outside is a recipe for disaster. The thin insulation will break down, exposing live wires to the elements.
Troubleshooting & Common Questions ❓
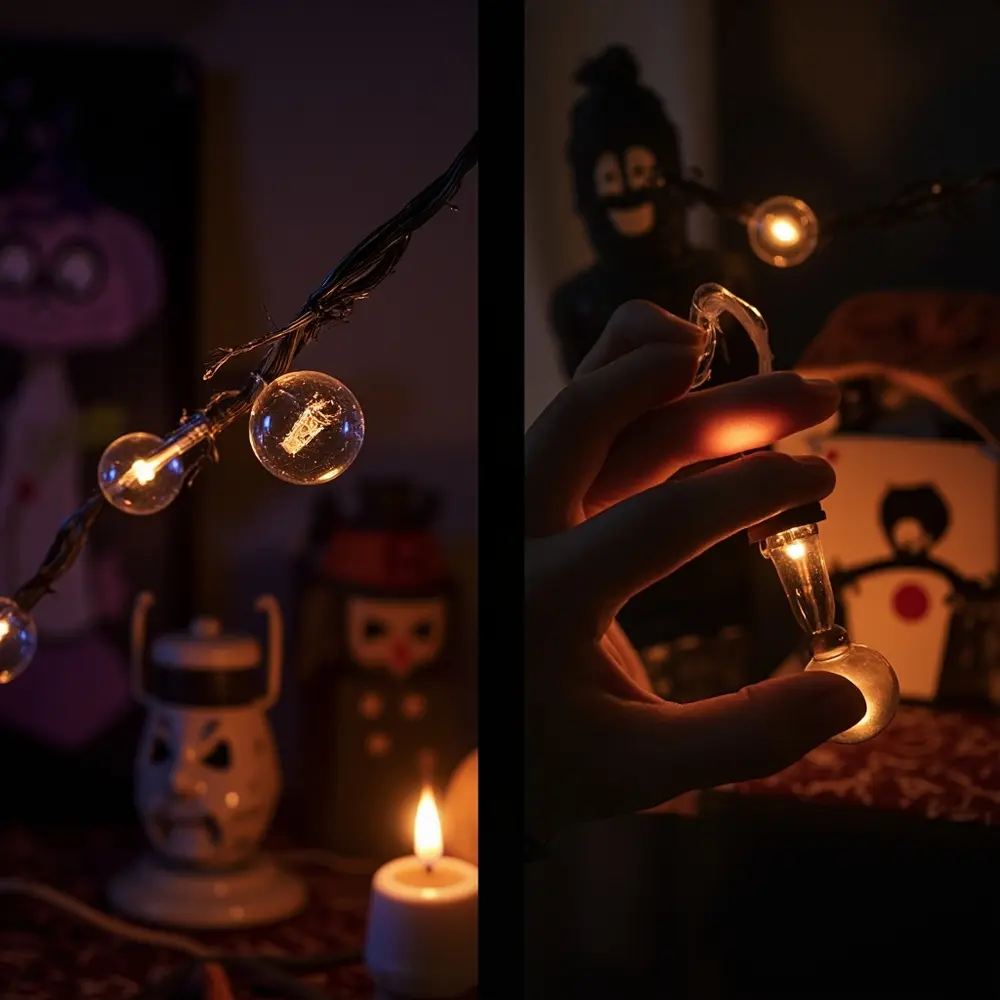
A section of my string lights is out, but the rest are on. What do I do?
This is a classic! It’s almost always caused by one single loose or burnt-out bulb in that section. First, unplug the string! Then, gently push on each bulb in the dead section to make sure it’s snug in its socket. If that doesn’t fix it, use one of the replacement bulbs that came with the set and swap out each bulb in that section, one by one, until they light back up.
Can I plug my lights into a timer or a smart plug?
Absolutely! I actually recommend this. Using a timer is a great safety habit because it ensures your lights turn off automatically, so you never have to worry about forgetting. Just make sure that the timer or smart plug itself is rated for outdoor use if it’s going to be plugged in outside.
Are battery-operated candles a fire risk at all?
The risk is extremely, extremely low compared to a real flame, but it’s not zero. A faulty device or leaky batteries could theoretically short circuit and generate enough heat to smolder or ignite something very flammable if it’s placed right on top of it, like super-fine craft store tinsel or crepe paper. My rule is to just keep them clear of other flammable decor, just to be on the safe side.
Next Steps & Further Optimization 🚀
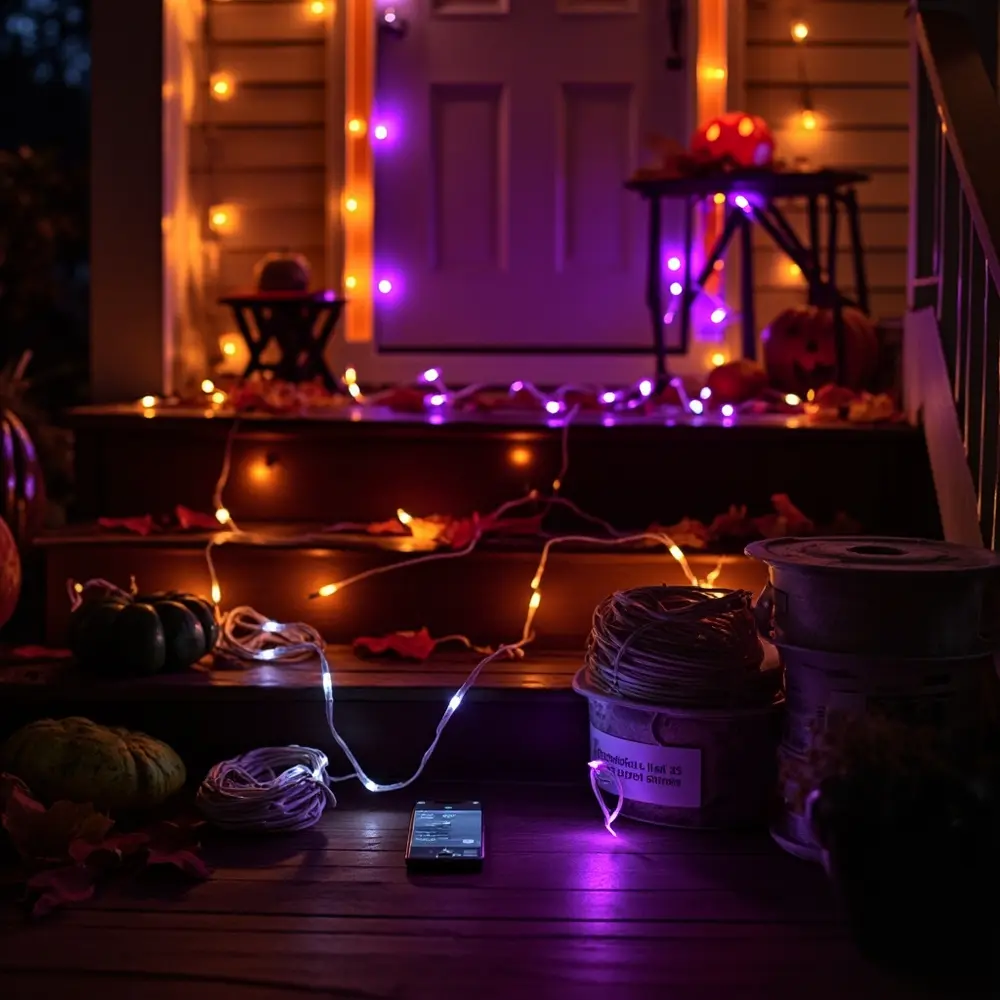
You did it! Your decorations are up, they look amazing, and they’re safe. Here’s how to keep them that way and even level up your game for next year.
- What to Do Next: Set a nightly reminder on your phone to turn off all your decorations before you go to bed or leave the house. The only exception is if you have them on a reliable timer you trust.
- Optimization Tips:
- Switch to LEDs: If you’re still using old-school incandescent bulbs, think about switching to LEDs next year. They use way less energy, they run much cooler to the touch, and you can safely connect many more strings together.
- Use Smart Plugs: I love using outdoor-rated smart plugs to control my whole display from an app on my phone. You can set schedules and turn them on and off from anywhere.
- Advanced Applications: When it’s time to take everything down, make it easy on your future self. As you take down each string, wrap it around a flat piece of cardboard or a special cord reel. Store everything in a sealed plastic tub to keep it dry and tangle-free for next year.
Conclusion (My Final Thoughts) 👻
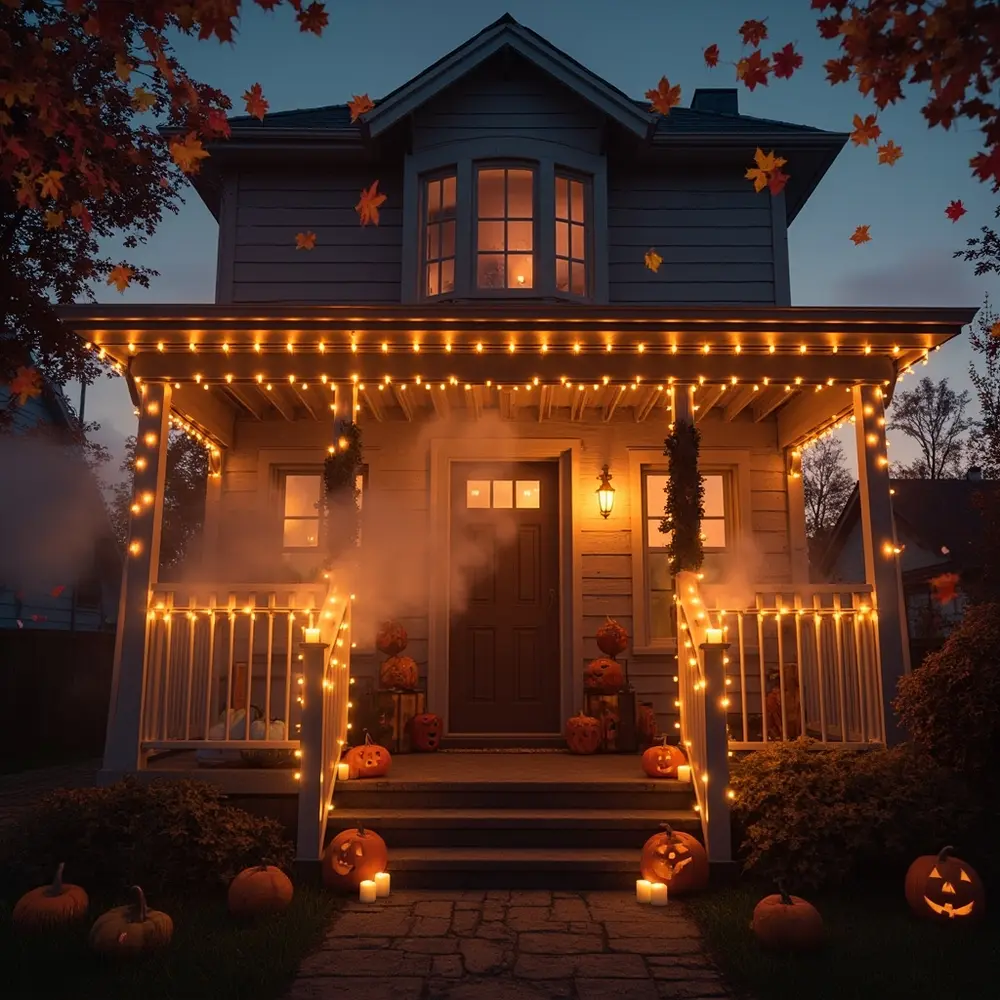
Congratulations! You’ve successfully turned your home into a Halloween masterpiece while also being a safety superstar. By taking a little extra time to inspect your gear, plan your layout, and use the right installation techniques, you’ve taken control and eliminated the most common risks.
You now have the knowledge not just to follow safety rules, but to understand why they are so important. Go enjoy the spooky season with the awesome peace of mind that comes from a job done right!
How did you use these tips for your Halloween display? I’d love to hear about your spooky and safe creations in the comments below!
