30+ Spooky & Chic Halloween Nail Art Ideas to Try in 2025
Ready to trade your tricks for some treats this year? Your Halloween costume might be the main event, but a killer manicure is the detail that takes your entire look from good to ghoulishly glamorous. 🎃
Forget about those generic peel-and-stick decals and say hello to chic, spooky, and totally unique nail art that you can actually do yourself. I’ve seen it all, and trust me, a little effort here goes a long way. 💅
Whether you’re a total beginner just looking for a simple touch of spirit or a seasoned DIYer ready for a dramatic design, this is your ultimate lookbook. I’ve curated over 30 of my favorite Halloween nail art ideas and included easy-to-follow tutorials for the best ones. Get ready to create a manicure that’s a guaranteed scream! 👻
- Difficulty Level 🦴: Beginner to Advanced
- Time to Complete ⏳: 5-45 minutes per design
- Estimated Cost 💰: Under $30 for basic supplies
- Prerequisites 🧠: Basic nail painting skills, a little patience!
Prerequisites: Your Essential Halloween Nail Art Toolkit 🛠️
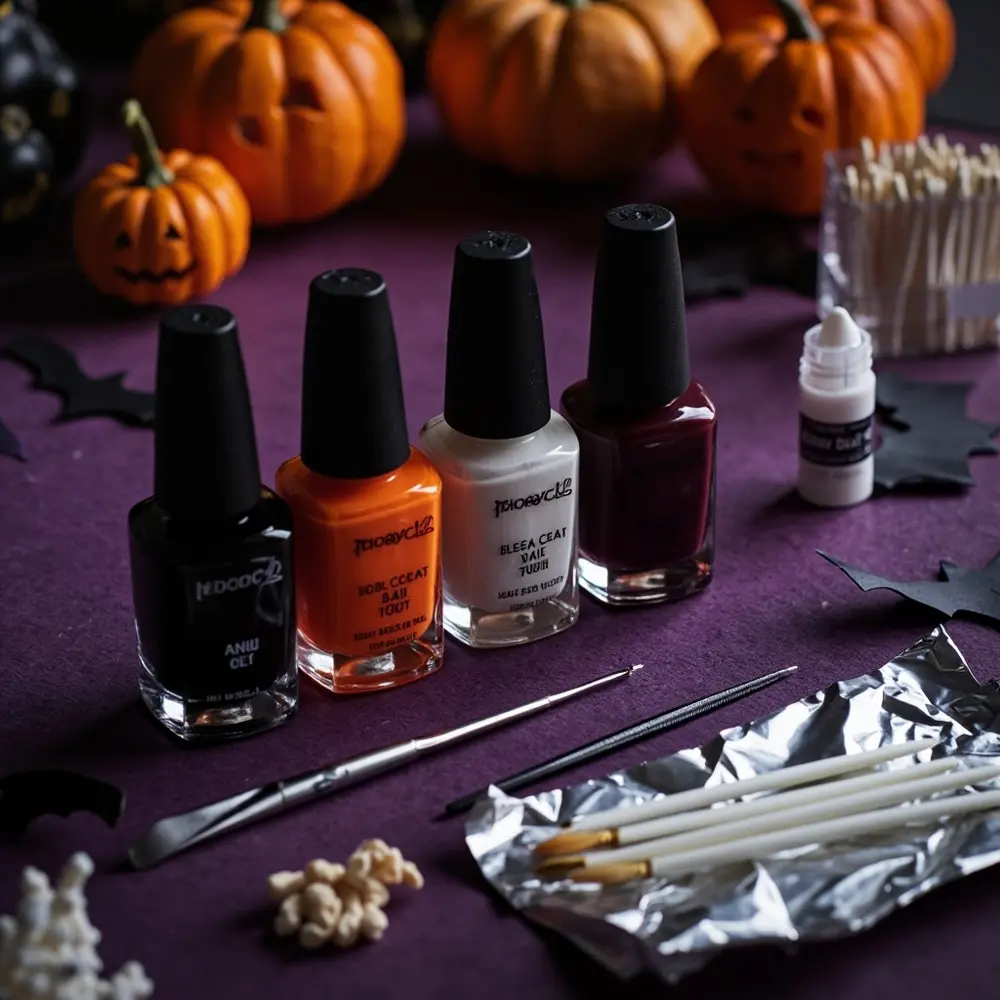
Before you conjure up your masterpiece, let’s gather your supplies. From my experience, having the right tools makes all the difference between a frustrating mess and a flawless design. Here’s what I recommend for most of the looks below.
- Nail Polish: You’ll want Black, White, Orange, and a deep Red or Burgundy. Optional but fun additions are a Nude/Beige, Silver/Gold Metallic, or even a Glow-in-the-dark polish.
- Base Coat: This is non-negotiable! It protects your nails and creates a smooth canvas for the color.
- Top Coat: A quick-dry, high-shine version is my personal favorite for sealing in designs. A matte top coat can also create a super cool, modern effect for many of these looks.
- Detailing Tools: A thin striping brush is perfect for fine lines like spiderwebs, while a dotting tool gives you perfect circles for eyes or blood drips.
My Personal Tip: No dotting tool? No problem! When I first started out, I used the head of a bobby pin for larger dots and the tip of a toothpick for smaller ones. They work surprisingly well in a pinch!
- Nail Polish Remover & a Small Cleanup Brush/Q-tip: For fixing any little mistakes along the way.
For your initial setup, start with clean, dry nails. After shaping them with a file, apply one thin layer of your base coat to all nails and let it dry completely, which usually takes about 2 minutes.
⚠️ Warning: Always remember to work in a well-ventilated area. Those nail polish fumes can get pretty strong, especially when you’re focused on your art!
Easy Mini-Tutorials for Spooky-Simple Nails 👻
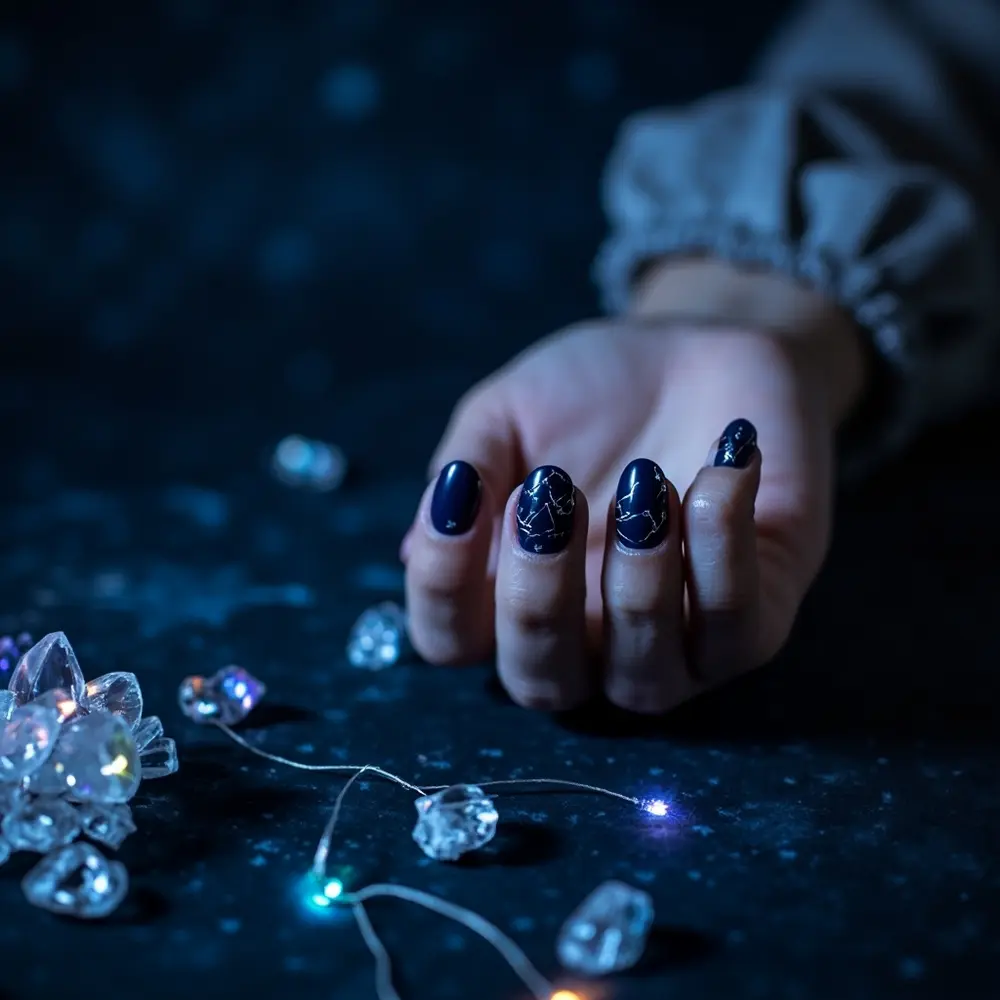
Let’s start with a couple of my favorite designs that are super easy but have a big impact. These are perfect if you’re just getting started with nail art.
Tutorial 1 – The Classic Ghost Face Accent
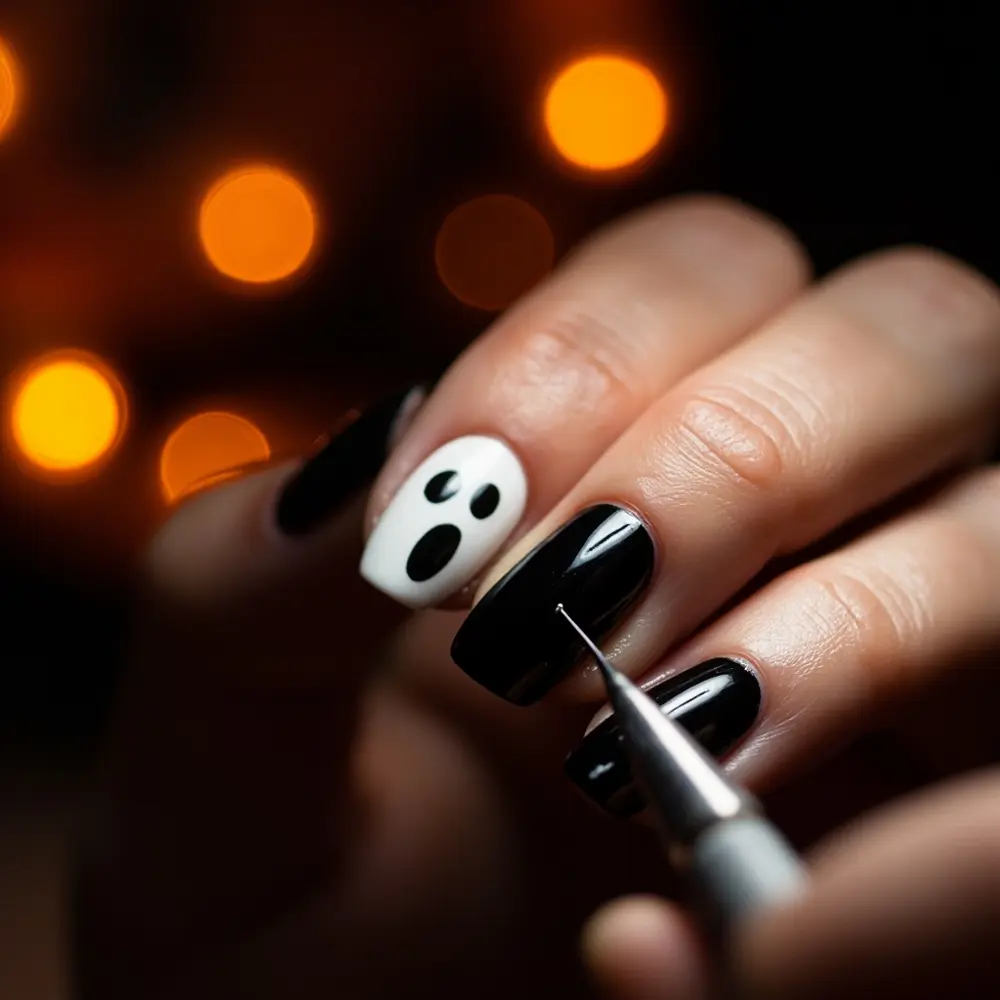
This cute little ghost is perfect for an accent nail on your ring finger. It’s my go-to when I want something festive but fast!
- Apply two coats of your chosen base color (like black or orange) on all nails except your accent nail. On that one nail, apply two coats of white polish. Let everything dry completely.
- Dip your largest dotting tool into black polish. Gently place two dots near the top half of the white nail to create the eyes.
- Using a smaller dotting tool or the tip of a toothpick, create a slightly larger, oval-shaped dot below the eyes for a spooky, open mouth.
- Let the design dry for at least 5-10 minutes. Then, apply a generous layer of a high-shine top coat to seal it all in and make it pop.
Important Note: Remember to wipe your dotting tool clean on a paper towel between dots. This prevents smudging and keeps you from accidentally applying a huge glob of polish on the nail.
Tutorial 2 – Minimalist Blood Drip Tips
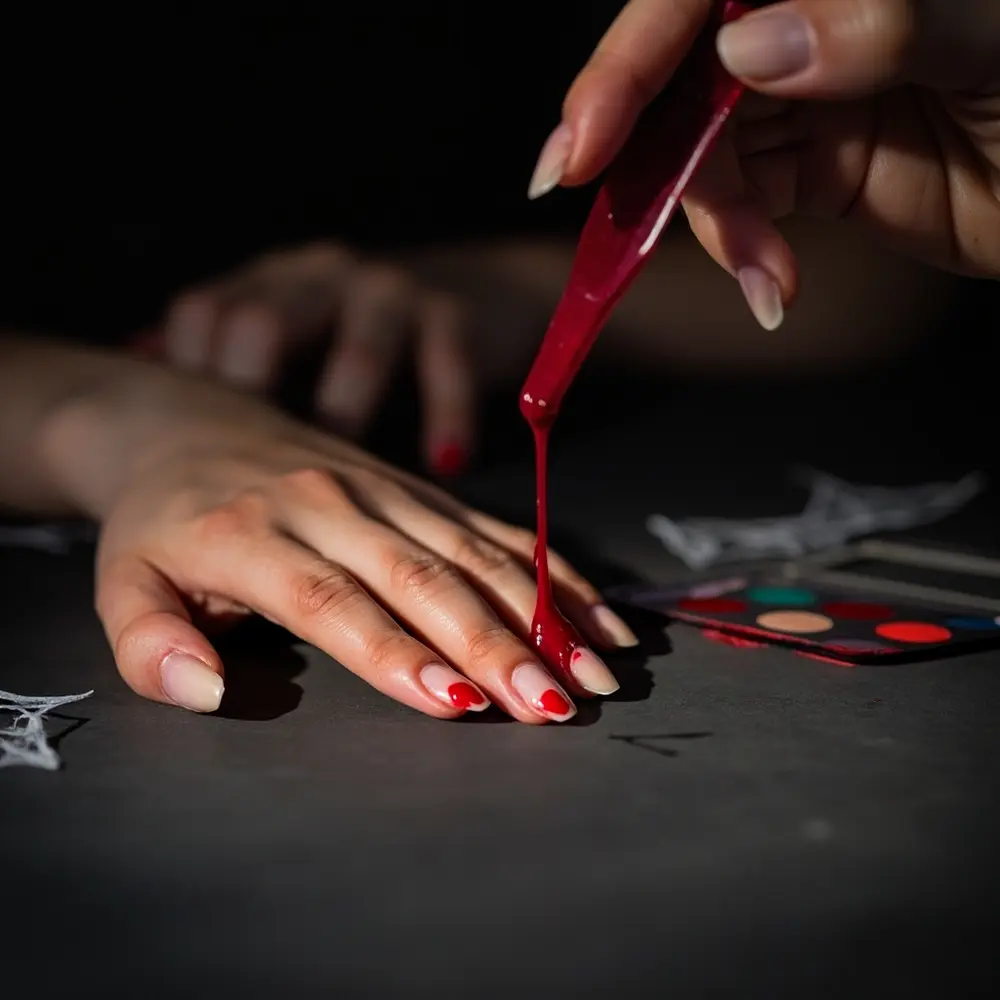
This design looks so chic and spooky, especially over a simple nude or clear base. It’s a modern take on a gory classic.
- Apply a nude or clear base coat to all your nails and let it dry fully.
- Pour a small drop of red polish onto a piece of foil or wax paper. Using your dotting tool, place 2-3 dots of varying sizes near the tip of your nail.
- Before those dots can dry, take a thin brush or a toothpick and gently drag a thin line down from each dot toward your cuticle. Make some lines longer than others to create a realistic “drip” effect.
- Finally, connect the drips by painting a simple line across the very tip of your nail, kind of like a French manicure. Let it dry, and then seal your spooky work with a top coat!
A Closer Look at an Intermediate Design: The Spiderweb Accent Nail 🕸️
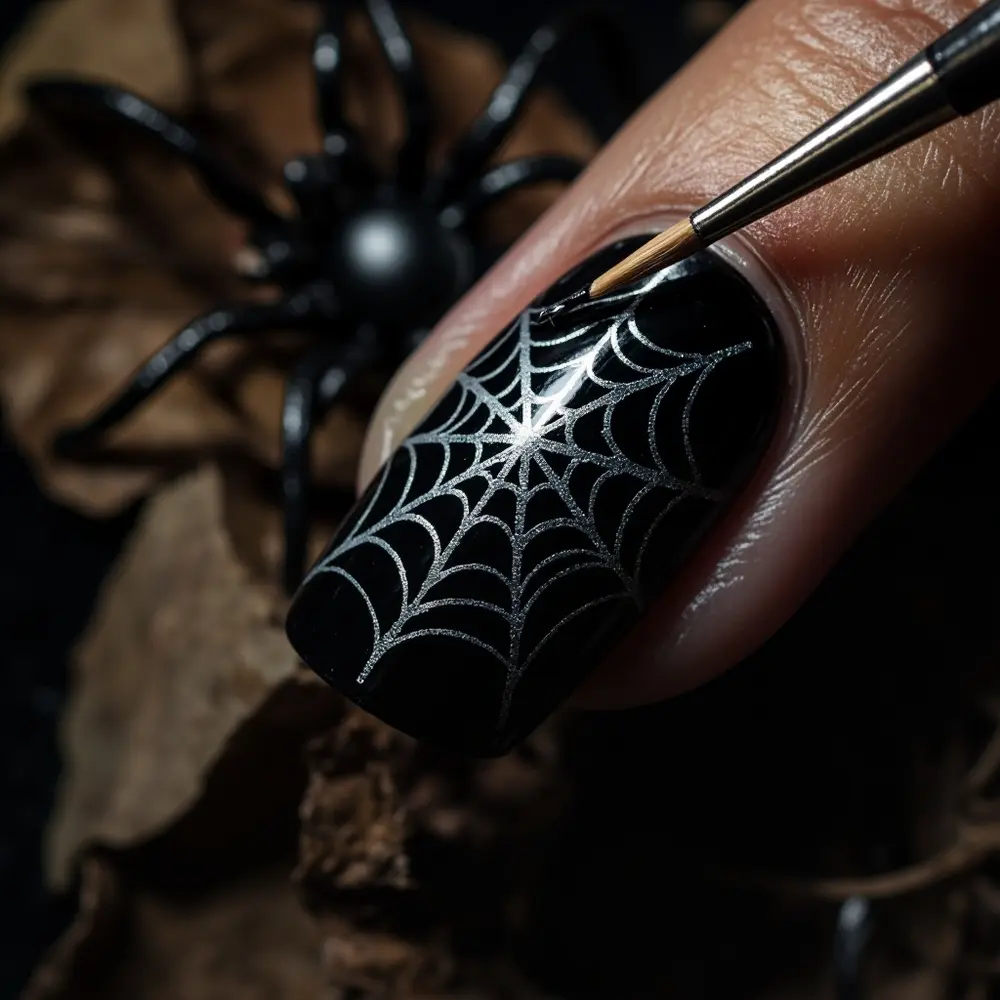
Creating a clean spiderweb can feel intimidating. I remember trying to build a giant spider prop for a client’s party once—it was a disaster of tangled wires! I learned then that the secret to complex designs is breaking them down into simple, manageable steps. The same is true for your nails!
- Step 1: Create the “Spokes”. Start with your base color (I think black, dark purple, or orange looks amazing). Once it’s dry, use a thin striping brush and white or silver polish to draw three lines that intersect at one point, just like an asterisk (*). This point is the anchor of your web.
Important Note: Don’t start from the very center of your nail. I find that placing the web’s anchor point off to a side or in a corner looks much more natural and dynamic.
- Step 2: Connect the Spokes. Starting near the center point, use your brush to draw small, slightly curved lines (like a smiley face) that connect one spoke to the next. Work your way all the way around the center.
- Step 3: Build Outward. Move a little further out along the spokes and draw another, larger set of curved lines connecting them. Repeat this 2 or 3 times until the web is the size you want. Let it dry completely before you add that all-important top coat to protect your work.
The Ultimate Halloween Nail Art Lookbook (25+ More Ideas) GALLERY
Here is your ultimate gallery of inspiration, from subtle to show-stopping. Mix and match these to create your own unique Halloween manicure!
Cute & Kitschy Ideas 🎃
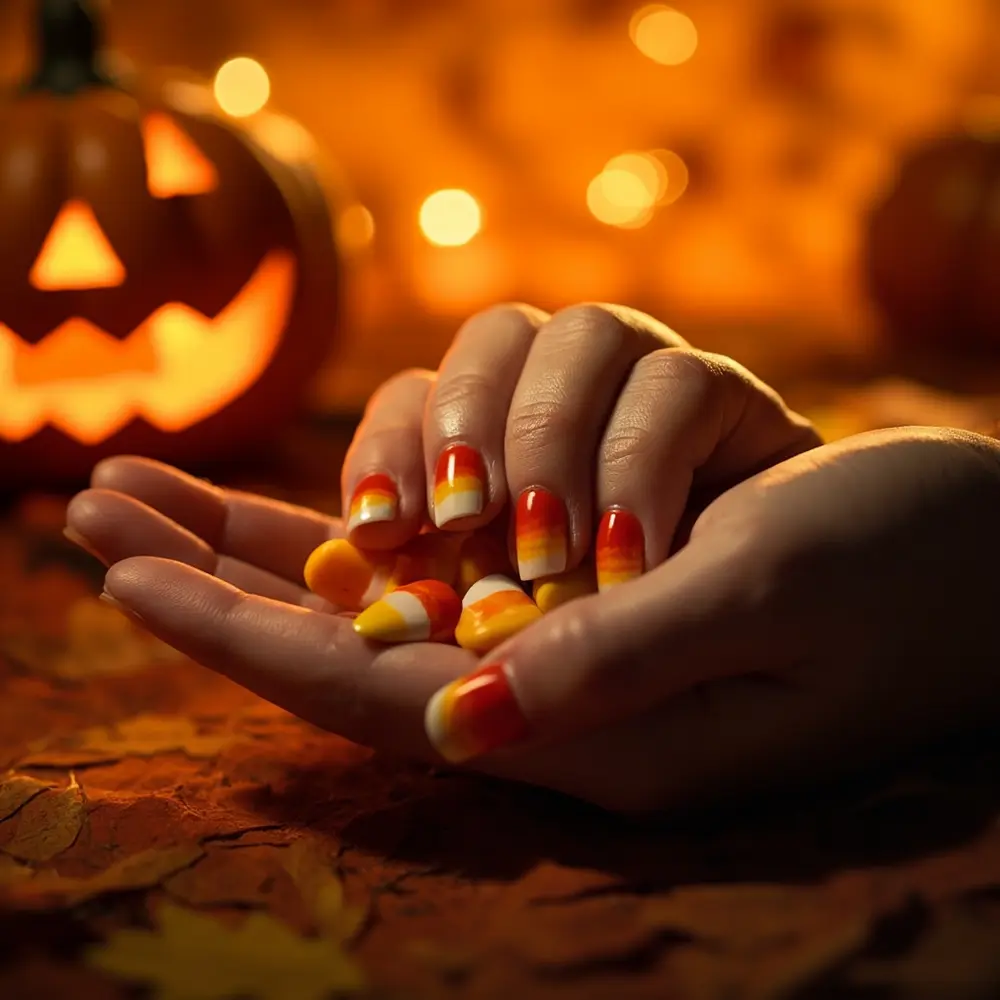
- Idea: Candy Corn Ombre. A smooth gradient from yellow at the base, to orange in the middle, to white at the tip. You can create this easily with a makeup sponge!
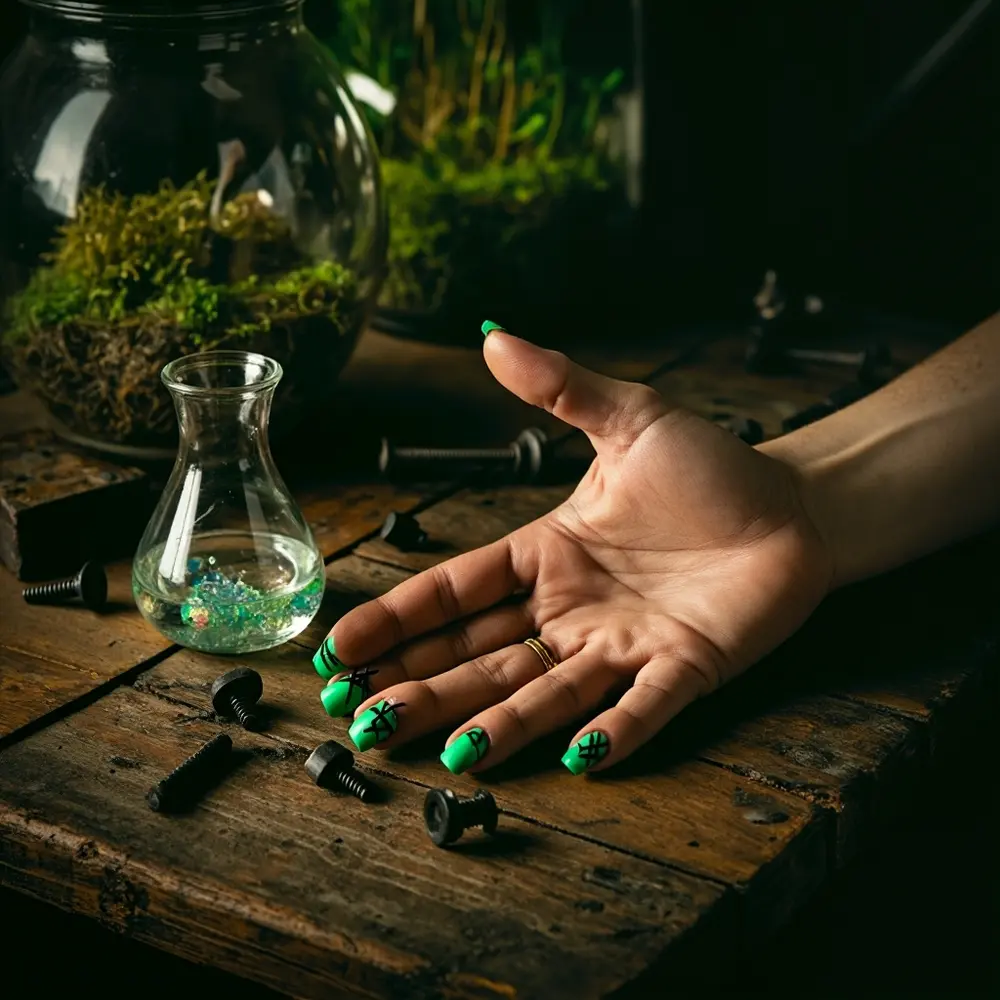
- Idea: Friendly Frankenstein. A bright green nail with black “stitch” marks drawn across it and a simple black line for hair at the cuticle.
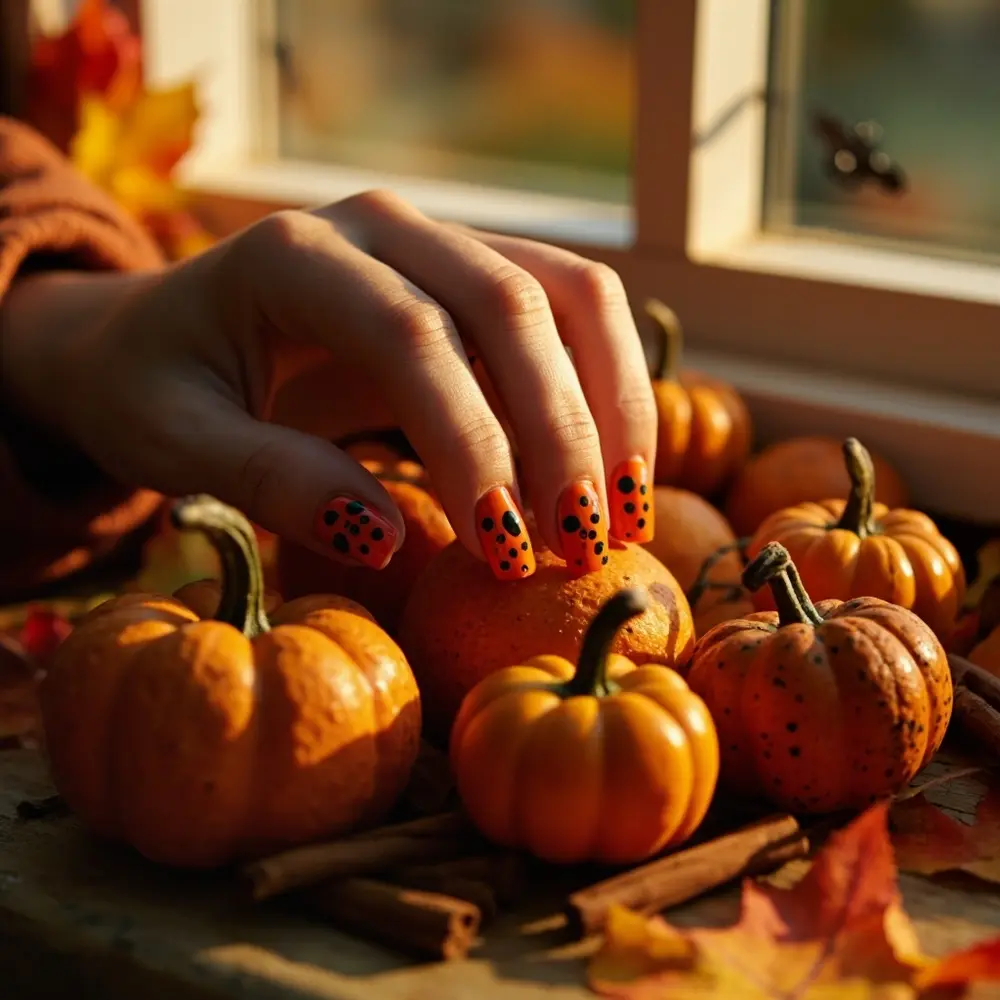
- Idea: Polka Dot Pumpkins. A classic orange nail spruced up with black and green polka dots.
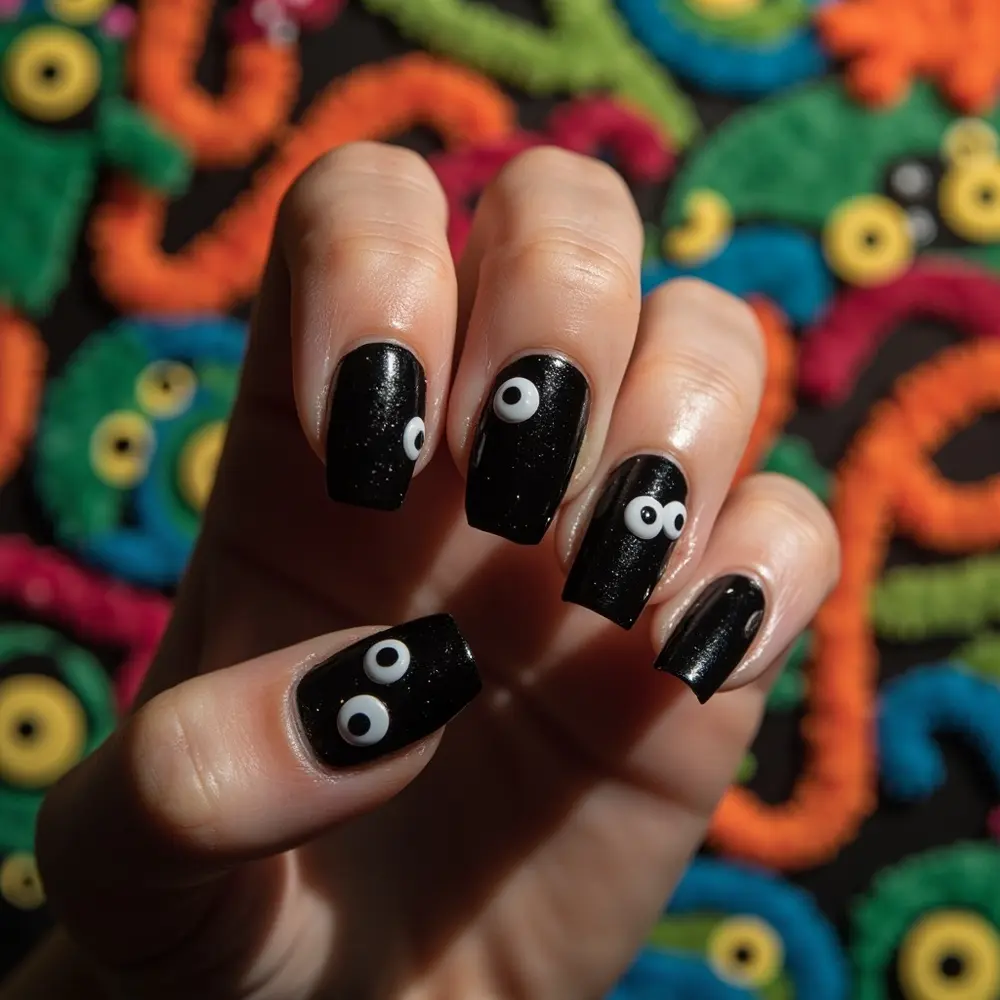
- Idea: Googly Eye Manicure. This one is so fun and easy! Just paint your nails black and use nail glue to attach tiny googly eyes from a craft store.
Chic & Subtle Ideas ✨
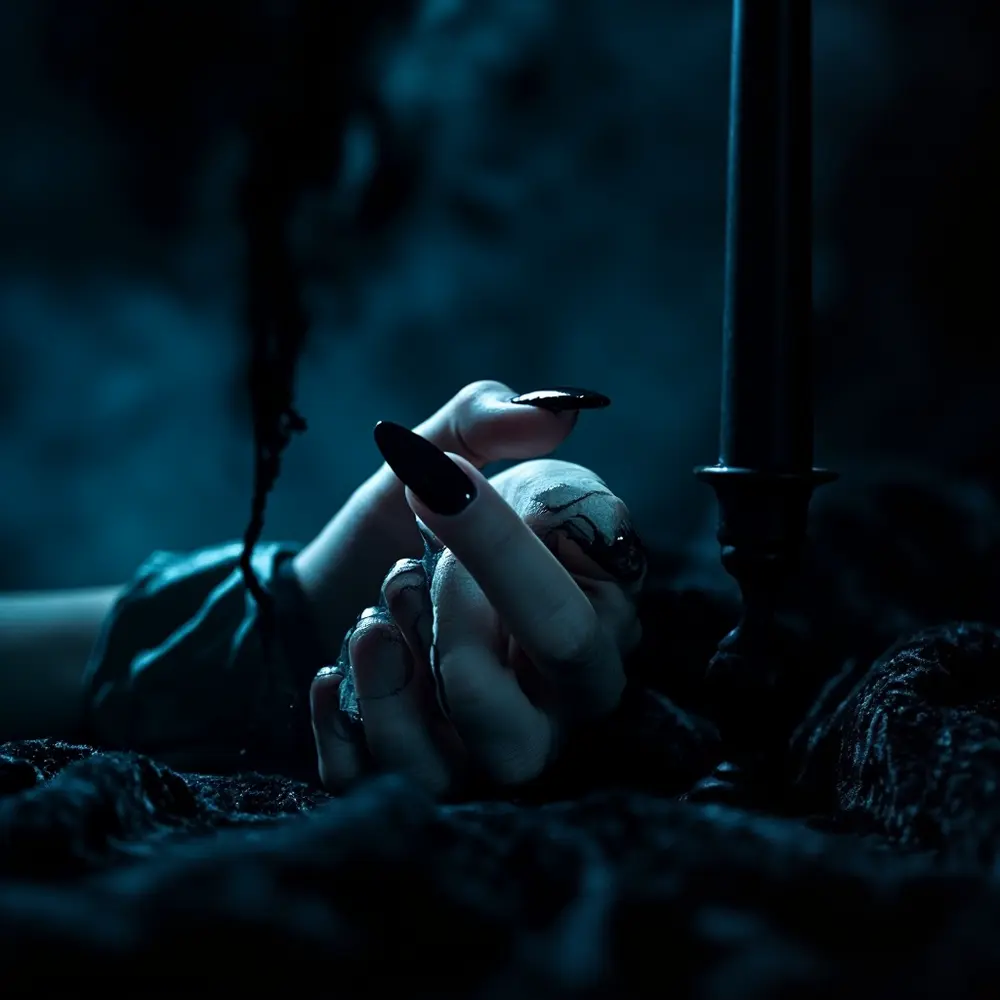
- Idea: Black Matte with a Glossy Tip. Super sophisticated. Just paint your nails with a matte black polish and then add a thin, high-gloss line right at the tip.
- Idea: Constellation Nails. A dark navy or black nail with tiny silver dots connected by thin lines to look like star constellations. So magical!
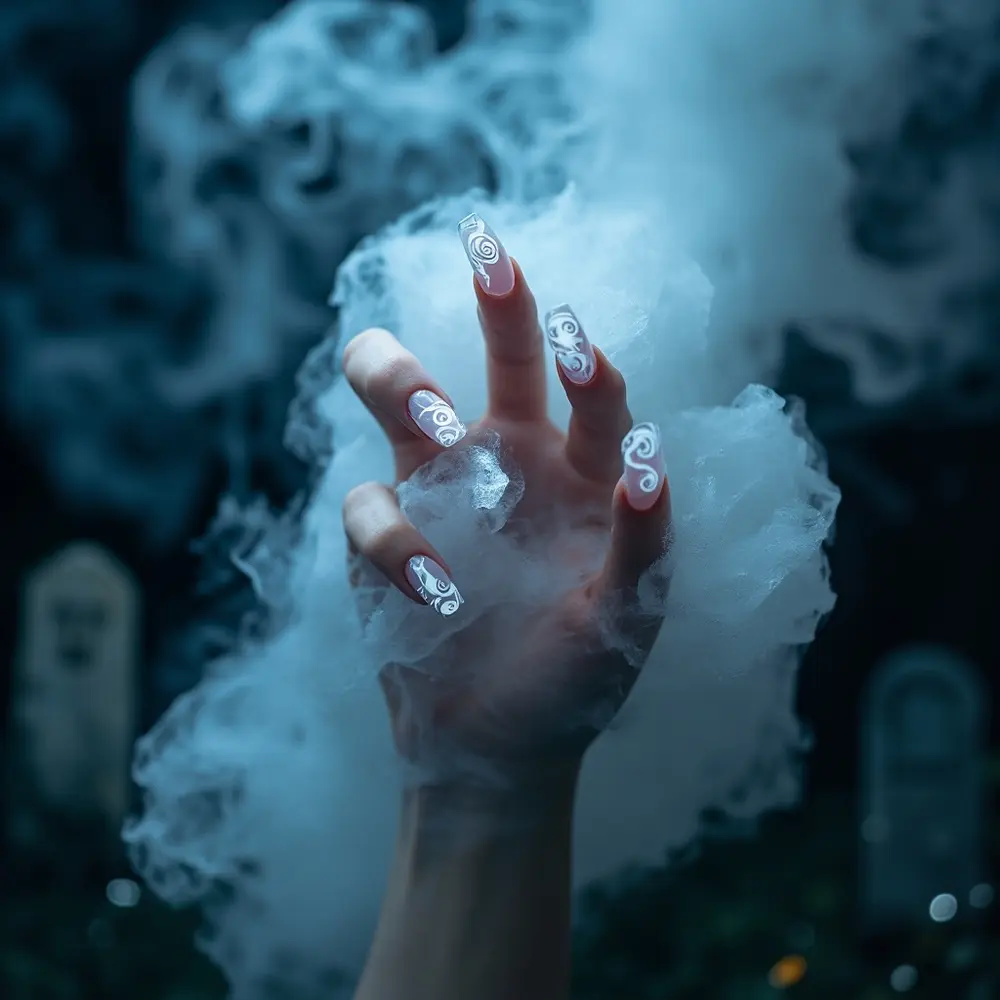
- Idea: Smoky Ghost Wisps. A nude nail with an ethereal, wispy white design. You can get this look by swirling a tiny bit of white polish into a still-wet top coat.
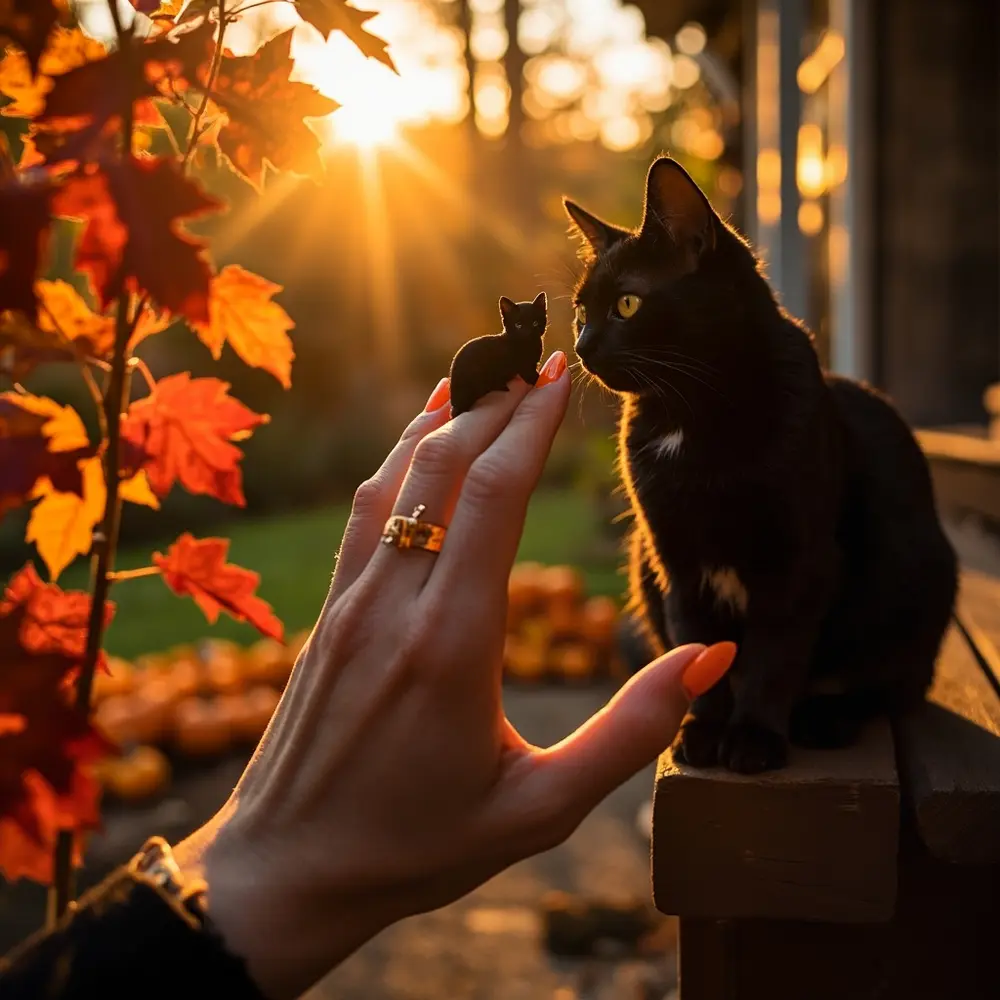
- Idea: Single Black Cat Silhouette. A full set of orange or nude nails with one accent nail featuring a tiny black cat silhouette painted at the base.
Glam & Gory Ideas 🩸
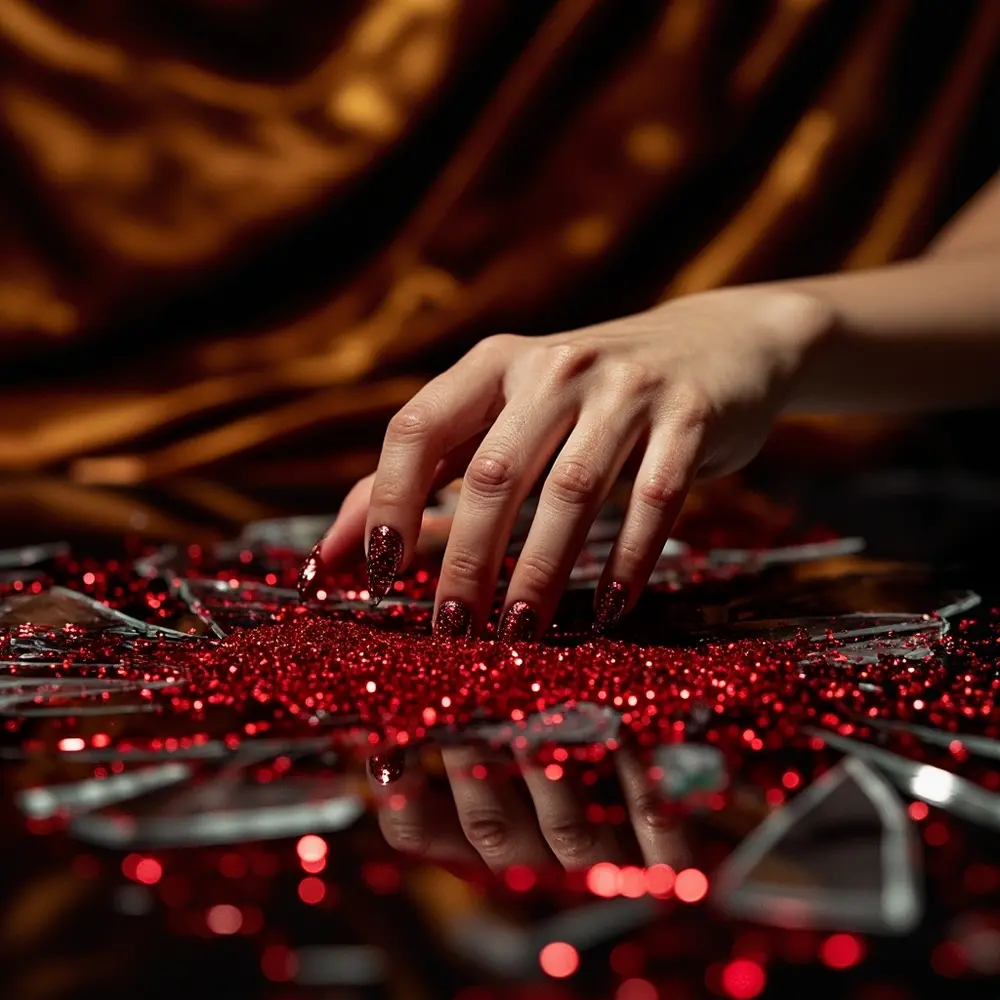
- Idea: Glittery Blood Drips. The same blood drip technique from the tutorial, but made with a chunky red glitter polish for a glam-gory vibe.
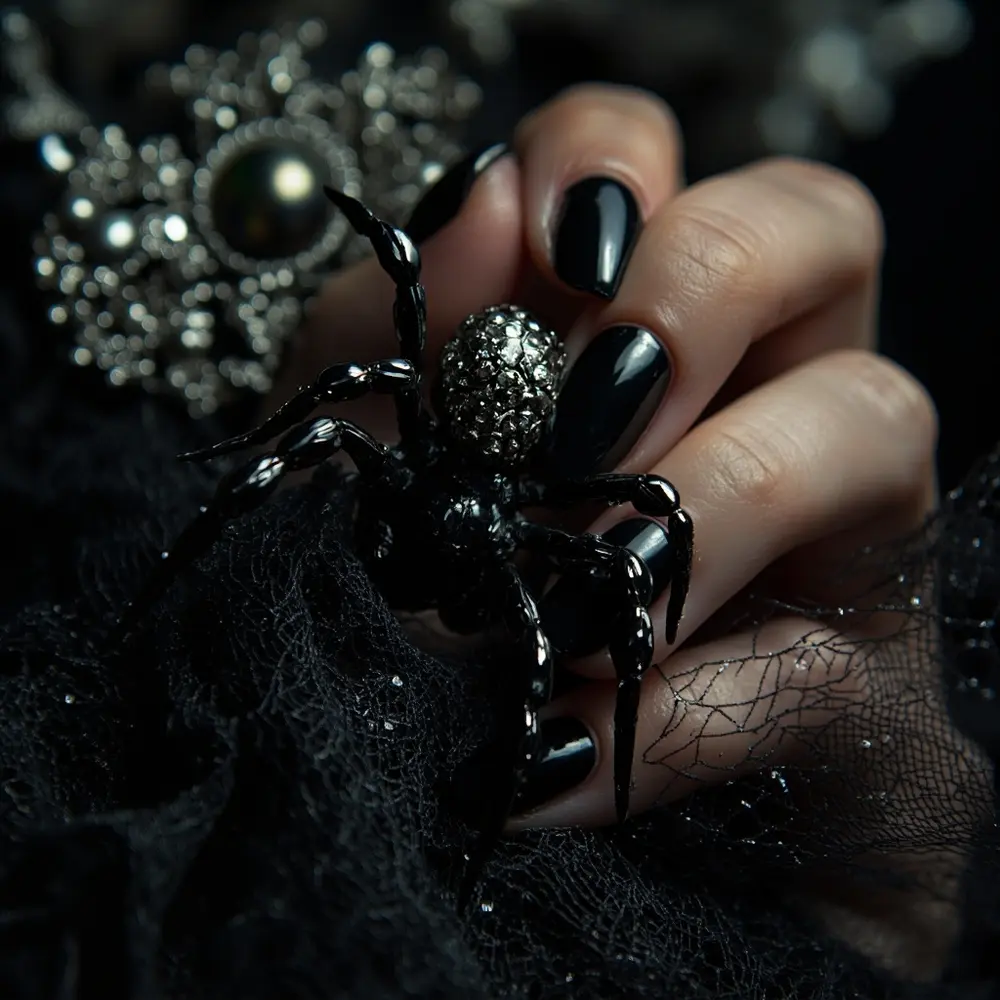
- Idea: Jeweled Spider. A black nail with a spider made from a large black rhinestone for the body and a smaller one for the head, with thin legs painted on.
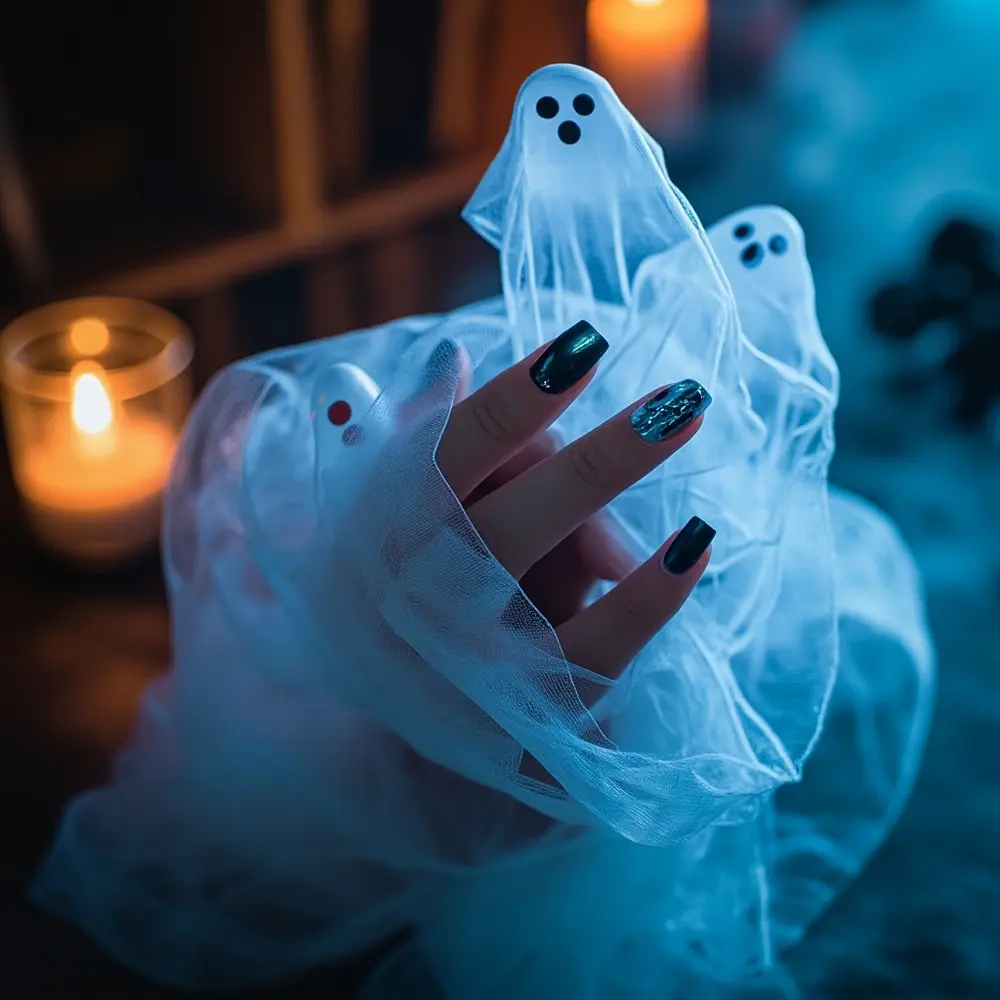
- Idea: Vellum Ghost Nails. Use a sheer or “jelly” white polish and layer it to look like a floating, transparent ghost. It’s spooky and so high-fashion.
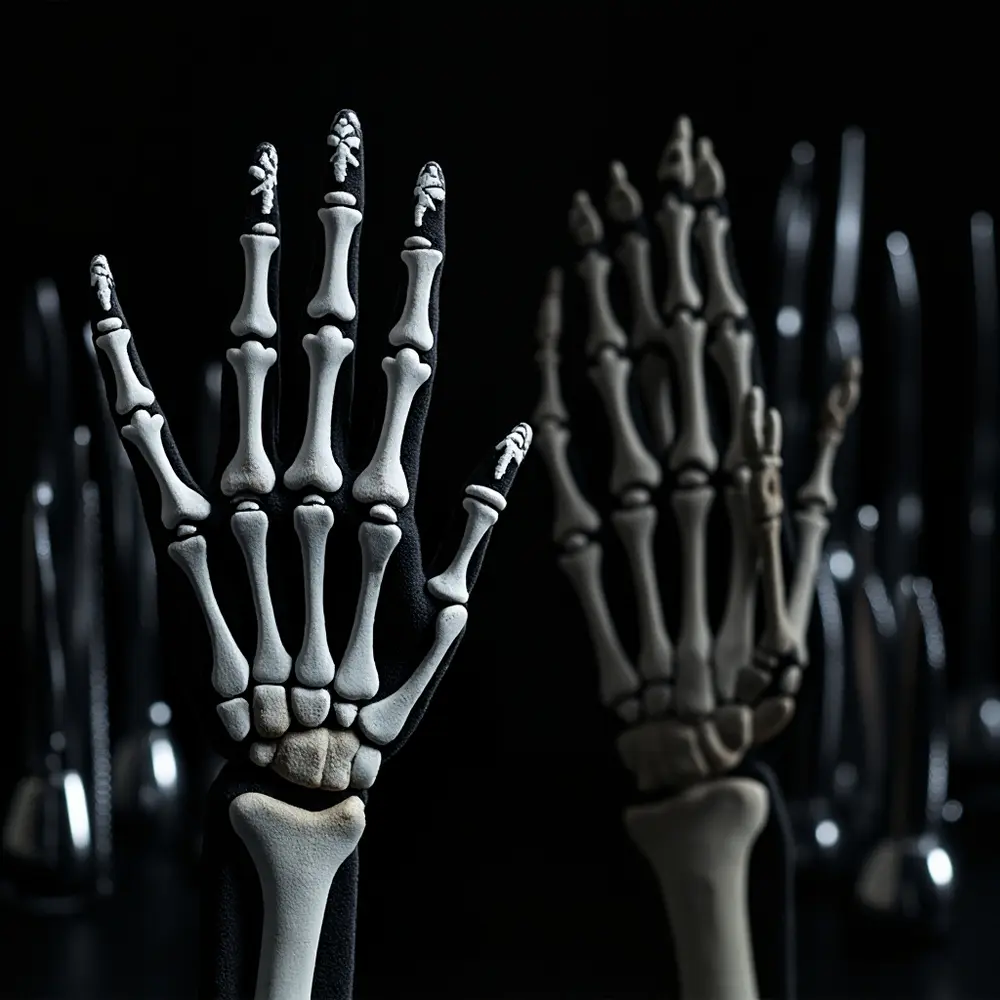
- Idea: Skeleton Hand. This is a commitment, but it looks incredible! Paint your nails black, then paint white bones on each finger so it looks like a full skeleton hand when you hold it out.
Troubleshooting & Common Questions ❓
Q: My lines are wobbly and thick. What am I doing wrong?
A: This is such a common issue, so don’t worry! This used to happen to me all the time. First, make sure you’re using a very thin striping brush. Second, pour a tiny bit of polish onto a piece of foil and dip your brush in that instead of the bottle. This gives you way more control. Finally, anchor your non-painting hand on a table, and rest the pinky of your painting hand on it for extra stability. It’s a game-changer!
Q: My polish keeps smudging before I can even finish the design! How do I prevent this?
A: The simple but hard answer is patience! When I’m filming tutorials for my “Spooky Sharma” channel, I have to force myself to slow down. Apply thin coats of polish and allow at least 2-3 minutes of drying time between each layer. For detailed designs, wait a full 5-10 minutes before adding your top coat. A good quick-dry top coat can also be your best friend here.
Q: Can I do these designs with gel polish?
A: Absolutely! The steps are all the same, but the process is different. You will need to cure the gel polish under a UV/LED lamp after every single step—that means after the base coat, each color coat, each little design element, and the final top coat. It takes longer, but it’s a fantastic option for a super durable manicure that will last you through all of your Halloween parties.
Next Steps & Further Optimization 🚀
So what’s next? Pick your favorite design from the lookbook and just give it a try! Don’t be afraid to mix and match ideas—a spiderweb on one nail and blood drips on another can look seriously cool.
- Play with Finishes: Try a matte top coat over a glittery design. The contrast is stunning and looks really professional.
- Add 3D Embellishments: Tiny rhinestones, metal studs, or the googly eyes I mentioned can add a fun, professional pop to almost any design.
- Glow Up: This is my favorite trick! Add a glow-in-the-dark top coat over your ghosts or skeletons for a spooky surprise when the lights go out.
My Personal Tip: If you get really into this, you might want to try nail stamping plates. They’re amazing for creating perfectly uniform and intricate patterns like tiny skulls, bats, or haunted houses. It’s a great next step for an aspiring nail artist!
Conclusion (My Final Thoughts) 👻
You’re now equipped with over 30 ideas to make your Halloween manicure the absolute talk of the town. You’ve seen how easy it is to create simple ghosts and even how to tackle a more complex spiderweb with just a few smart steps.
Nail art is all about having fun and expressing your personal style, and Halloween is the best excuse to get creative and a little bit weird with it. Congratulations on taking the first step to becoming your own nail artist! Remember, every brush stroke is just part of the fun, and practice really does make perfect.
Now that you’re full of inspiration, I’d love to know: which spooky and chic design are you going to try first for Halloween 2025?
