How to Create a Spooky Halloween Terrarium in a Jar
It’s that time of year again, ghouls and goblins! The air is getting crisp, pumpkin spice is in everything (no regrets here!), and the urge to make everything just a little bit spookier is taking over. 🎉
You want to add a unique, handmade touch to your Halloween decor, but big projects can be messy, and who has the space for a full-size haunted mansion? You need a decoration that’s perfect for your desk, a bookshelf, or a small centerpiece that screams Halloween without the hassle. ✨
Well, you’ve come to the right place! I’m Roshan Sharma, your friendly neighborhood Halloween fanatic, and I’m here to show you how to capture a whole haunted world inside a simple glass jar. This project is a blast to create, looks amazing, and is the perfect way to express your spooky creativity. 👻
Activity At-a-Glance
- Best For 👨👩👧👦: Individual crafting, family activity, unique desk/centerpiece decoration, creative gift
- Time Required ⏳: Approx. 1-2 hours (including material gathering and setup)
- Budget Level 💵: Low-Cost / Moderate (depending on decor choices)
- Spookiness Level 💀: Medium
What You’ll Need for Your Spooky Halloween Terrarium 📋
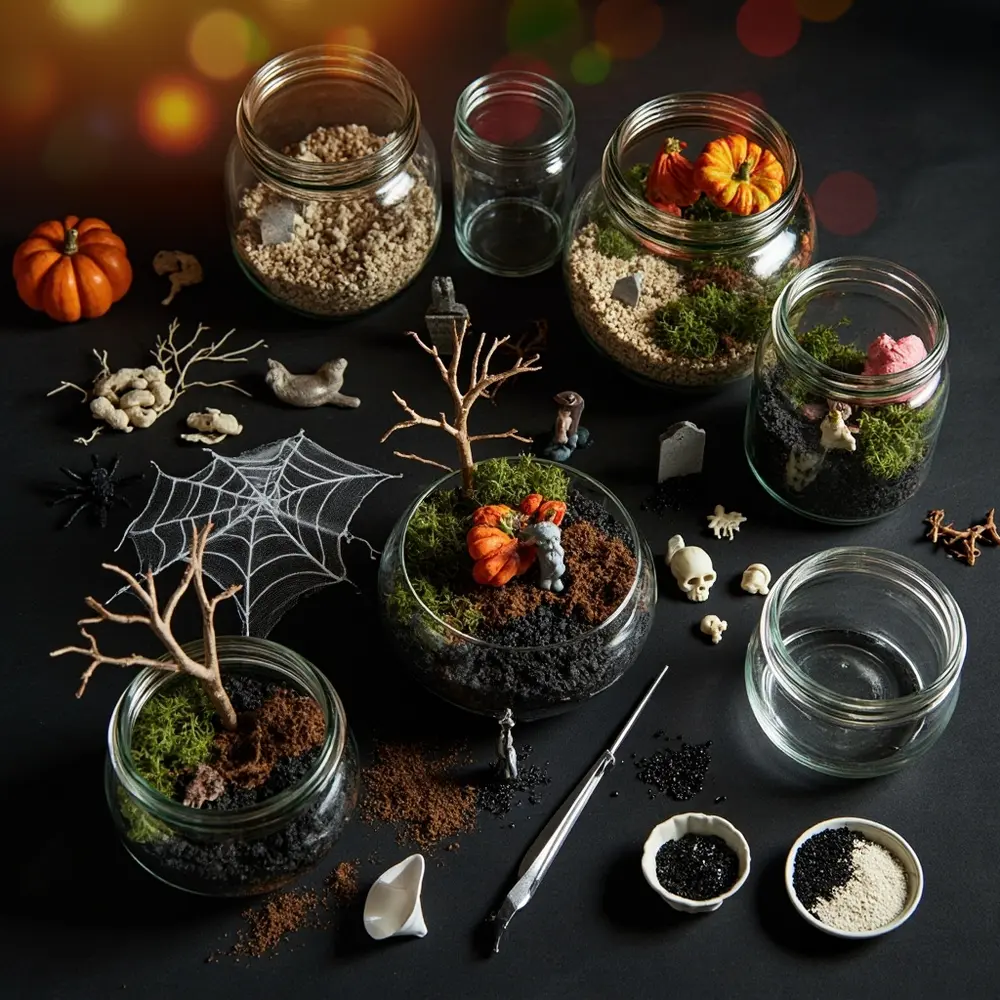
Here’s the shopping list for your miniature world of frights. I’ve found most of these at craft stores, dollar stores, or even in my own Halloween collection!
- The Vessel: A clear glass jar with a lid (mason jars, apothecary jars, or any cool-shaped jar will do!) 🏺
- Base Materials:
- Small gravel or pebbles
- Activated charcoal (optional, but great for looks and keeping things fresh)
- Potting mix, sand, or dirt (black sand looks extra spooky!)
- Dried moss (green or brown)
- Spooky Decor:
- Miniature gravestones or crosses 🪦
- Tiny plastic spiders and faux cobwebs 🕸️
- Miniature pumpkins or gourds
- Spooky figurines (ghosts, witches, zombies, black cats) 🐈⬛
- Miniature skulls or bones 💀
- Tiny bare-branch twigs from your yard (to look like creepy trees)
- Black glitter for a touch of dark magic ✨
- Tools:
- Long tweezers or crafting tongs
- A small funnel or a rolled-up piece of paper
- Craft glue dots or a hot glue gun
Image-1: A flat-lay photo showcasing all the necessary materials neatly arranged on a dark surface, ready for crafting.
Preparation & Setup: Creating the Spooky Scene 👻
Before we dive into building our haunted world, let’s set the stage. I always find that getting organized first makes the creative part so much more fun. Lay down some newspaper or a craft mat to protect your table from any rogue soil or glitter. Then, arrange all your supplies so you can easily see what you have. I like to turn on a spooky Halloween playlist and maybe some subtle orange lighting to really get in the zone!
Pro Tip 💡: Organize all your chosen miniature decorations by type (e.g., figures, landscape elements, tiny details) in small bowls or on a tray before you start. This streamlines the assembly process and helps you visualize the scene you want to create.
How to Lead the Spooky Halloween Terrarium Activity: Step-by-Step 🚀
Alright, let’s get our hands dirty and build this thing!
Step 1: Selecting & Prepping Your Jar
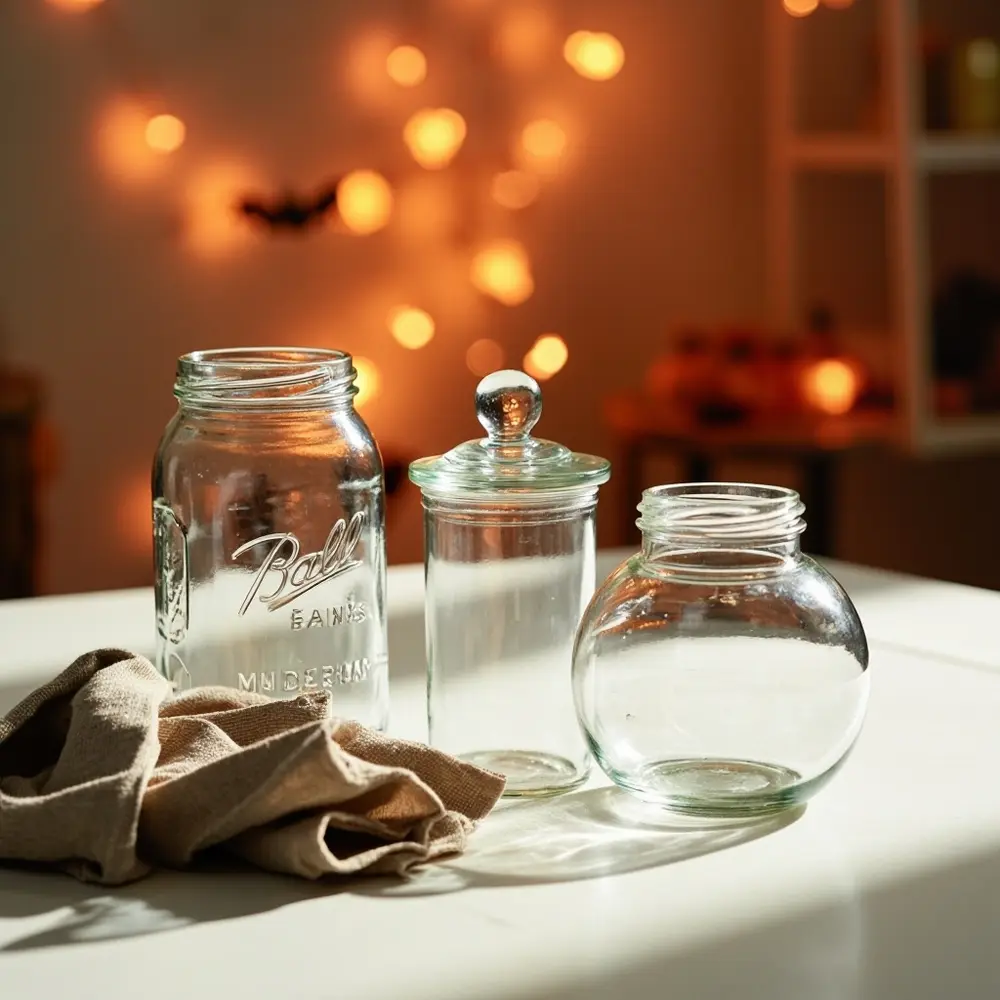
First things first, choose your jar. The size and shape will define your miniature world. A tall, skinny jar might be perfect for a creepy tower scene, while a wide mason jar gives you more room for a graveyard. Whatever you choose, make sure it’s sparkling clean and completely dry on the inside. A clean canvas is essential for creating a crisp, clear view of your haunted world.
Image-2: A photo showing a few different types of clean, empty glass jars (a mason jar, an apothecary jar, a round jar) ready for selection. A microfiber cloth is resting nearby.
Step 2: Laying the Foundation for Your Haunted Scene
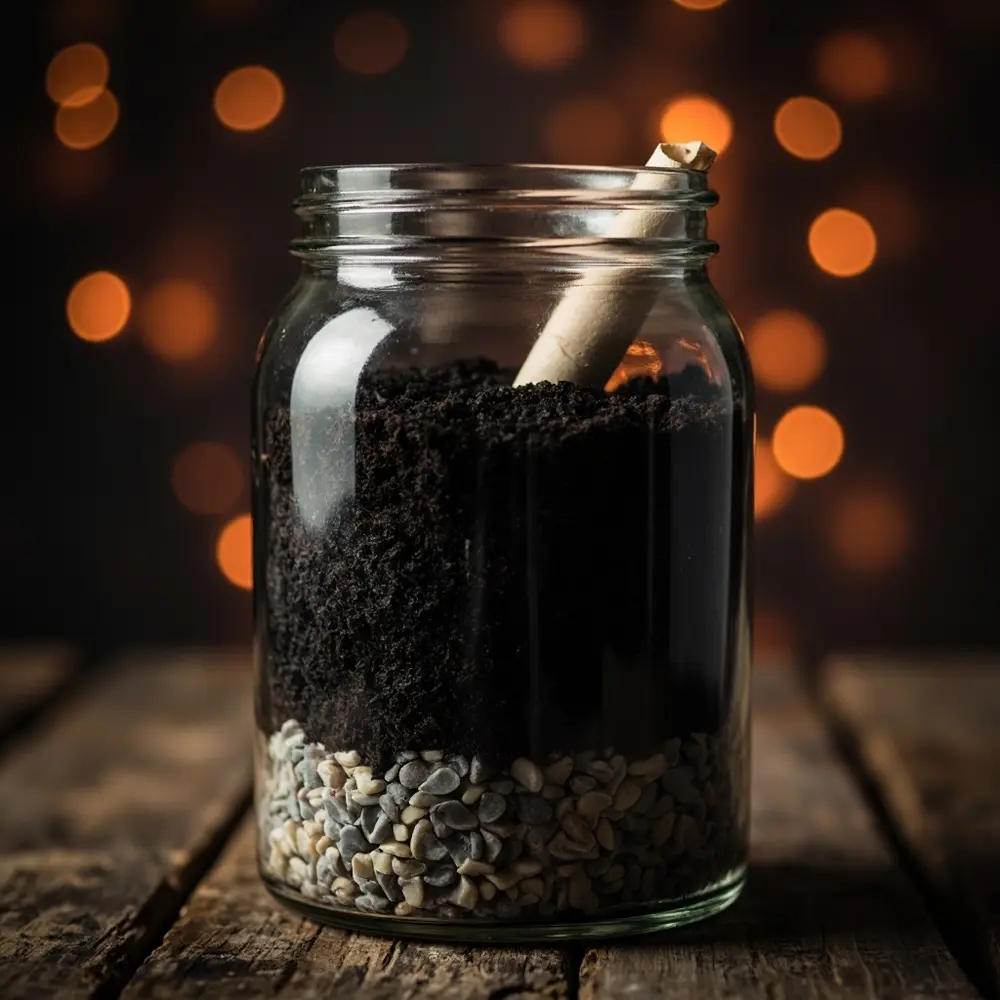
Now, let’s build the ground floor of our terrarium. Using your funnel, add the layers one by one:
- 1. Start with a half-inch layer of gravel or pebbles at the bottom for drainage (and a cool, rocky look).
- 2. Add a thin layer of activated charcoal. This is optional but adds a great dark layer and helps absorb any potential moisture or odors.
- 3. Finally, add your main base layer—about 1-2 inches of potting mix, sand, or moss. This is what your spooky decorations will sit in.
Caution ⚠️: Activated charcoal can be dusty! It’s not harmful, but it can be messy. Consider wearing gloves if you want to keep your hands clean. Try to make each layer relatively even to give your decorations a stable base.
Image-3: A close-up shot of a jar being filled, clearly showing the distinct layers of gravel, charcoal, and dark soil being added with a small funnel.
Step 3: Placing Your Landscape & Larger Decor
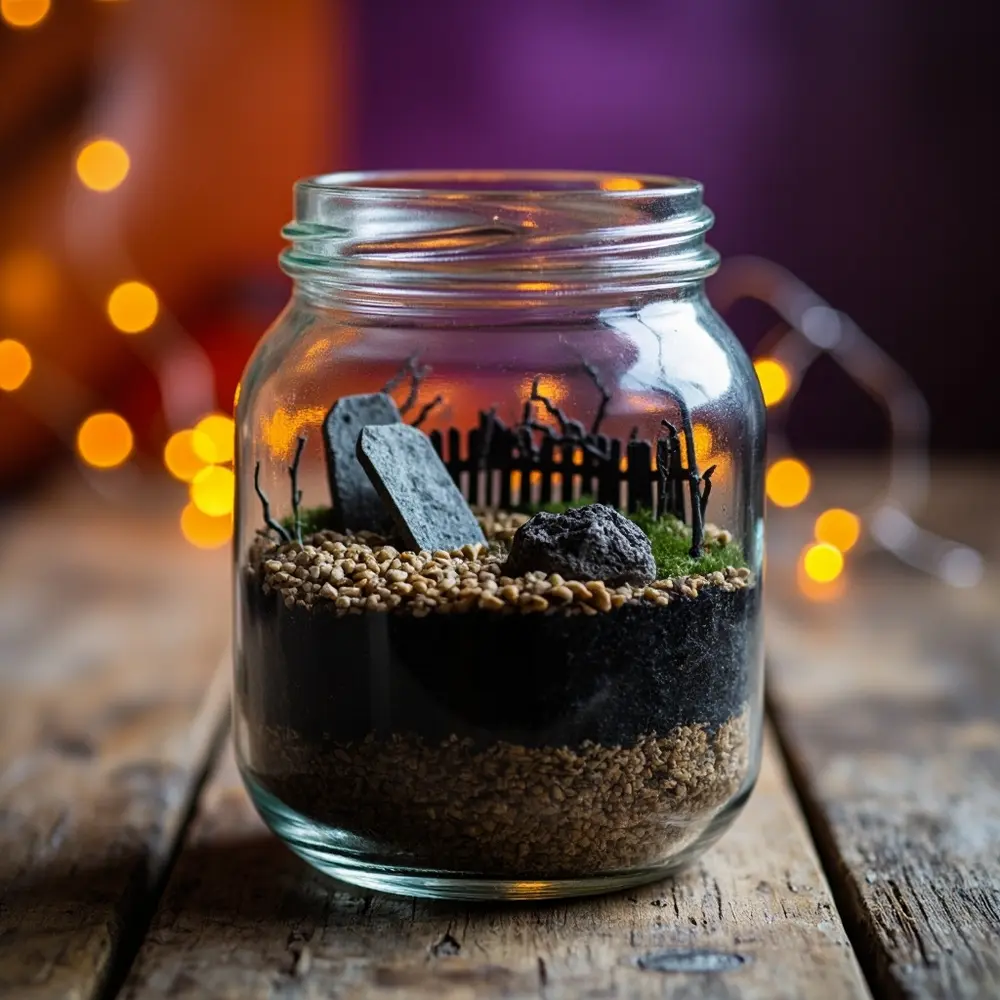
This is where your scene starts taking shape! Begin by placing your larger “landscape” elements. Gently press miniature gravestones into the soil. Create a creepy boundary with a tiny fence. Add a few gnarled twigs to serve as dead trees. Position these items to create a sense of depth—some in the back, some closer to the front.
Image-4: A photo showing the jar with the base layers complete. A hand is carefully placing a miniature tombstone into the soil, with a small twig “tree” already in place.
Step 4: Introducing Your Haunting Figures
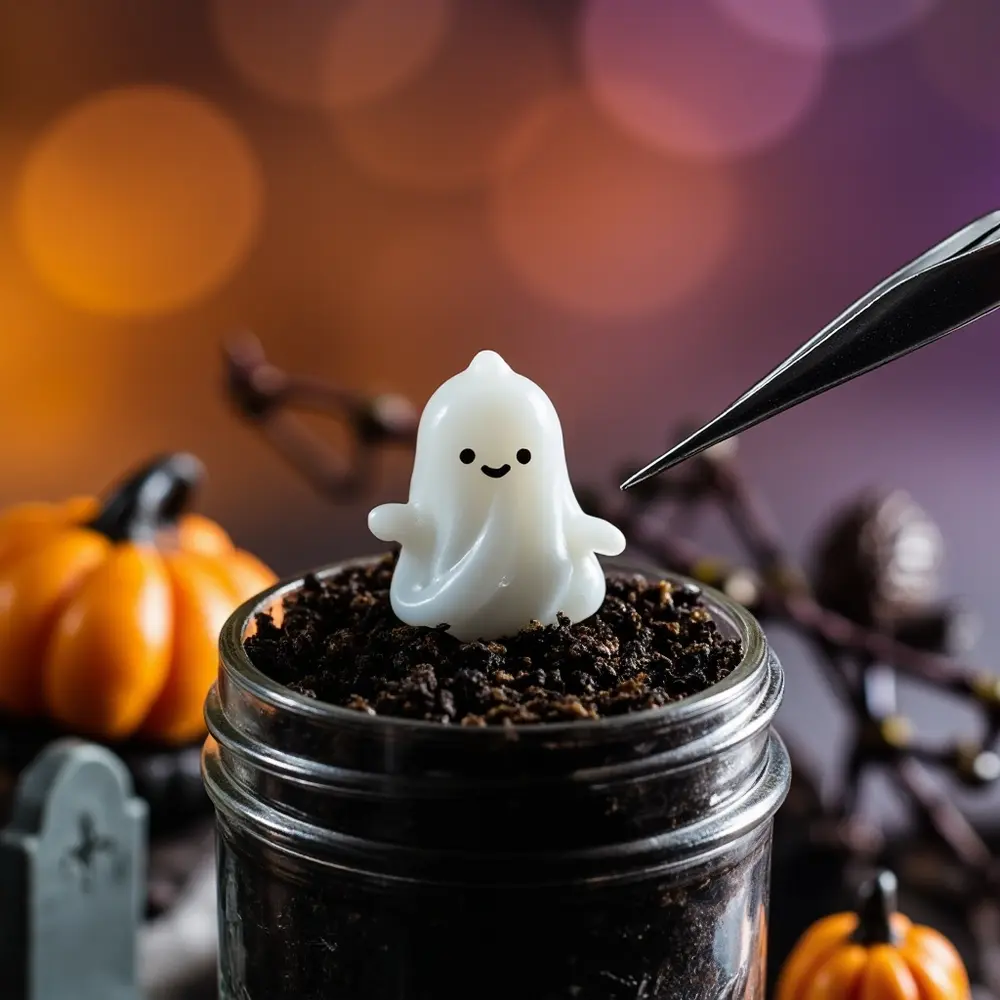
It’s time for the main event! Carefully place your chosen spooky characters into the scene. Maybe a tiny ghost is peeking out from behind a gravestone, or a witch is standing over a “cauldron” (a black bead works great!). If your jar has a narrow opening, long tweezers or tongs are your best friend here. They’ll let you place your figures precisely without knocking everything else over.
Image-5: A close-up action shot showing a pair of long tweezers carefully lowering a miniature ghost figurine into the terrarium.
Step 5: The Eerie Finishing Touches
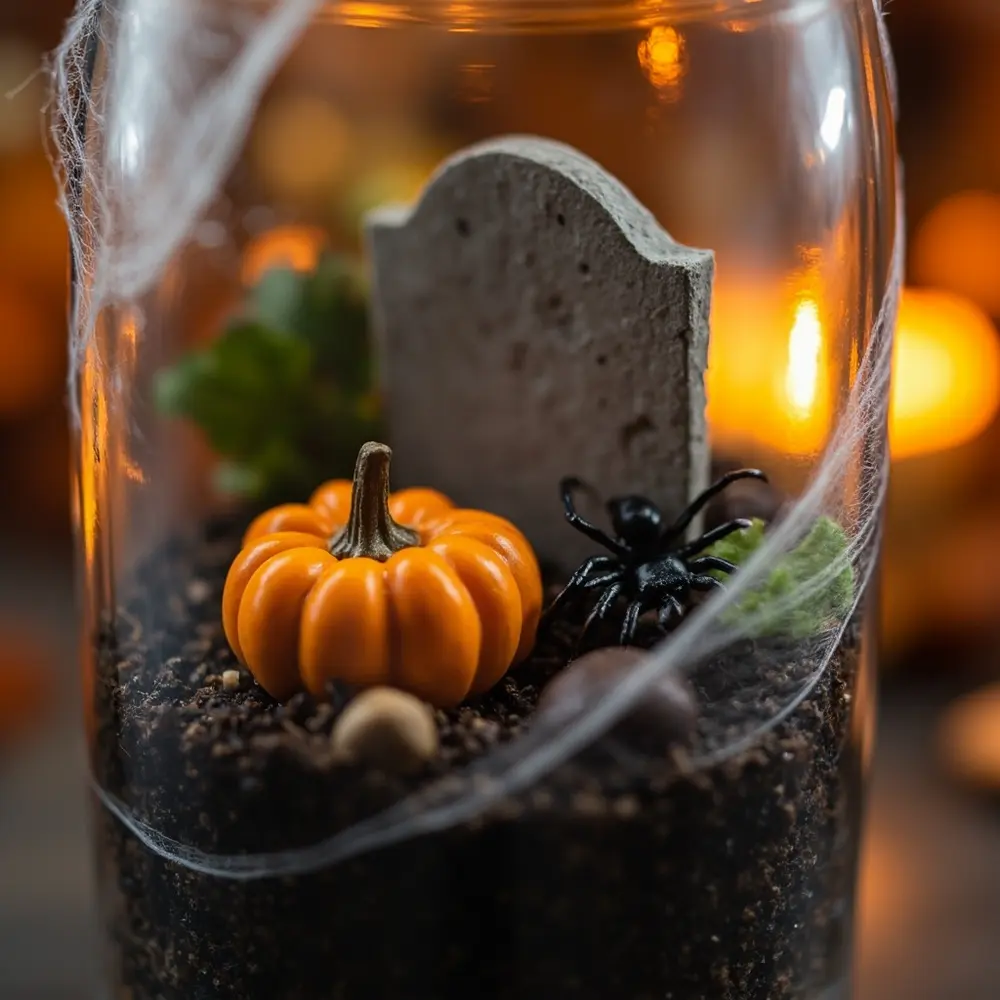
The devil is in the details, and this step is all about adding that extra layer of spookiness. Gently stretch out a tiny piece of faux cobweb and drape it over a twig tree. Scatter a few tiny plastic spiders around. Place a miniature pumpkin next to a gravestone. A pinch of black glitter can add a magical, mysterious shimmer.
Pro Tip 💡: For tiny or top-heavy items that won’t stand up on their own, use a small craft glue dot or a dab of hot glue on the bottom to secure them in place.
Image-6: A detailed photo showing the terrarium almost finished, with a hand adding a final detail like a tiny spider or a wisp of cobweb.
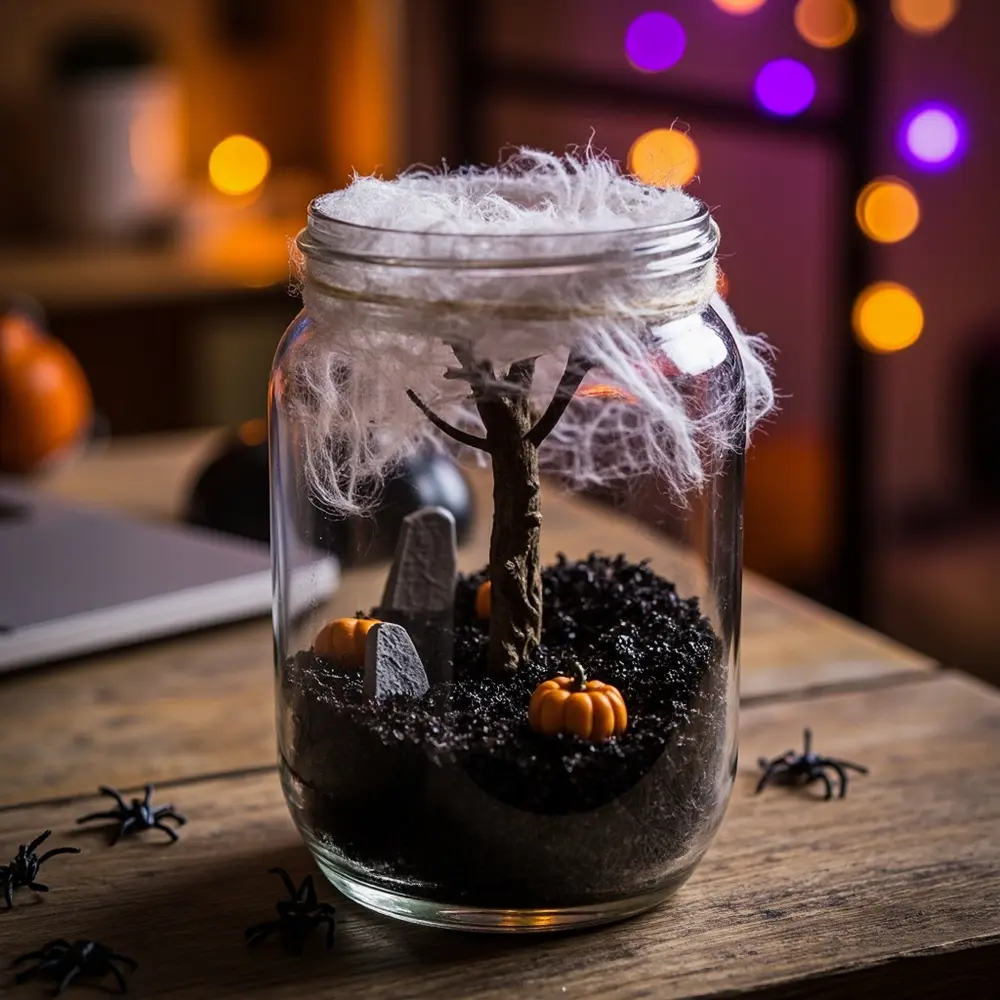
Image-7: A shot focusing on a specific detail, like a tiny pumpkin sitting next to a gravestone, to highlight the miniature scale.
Step 6: Displaying Your Spooky Masterpiece
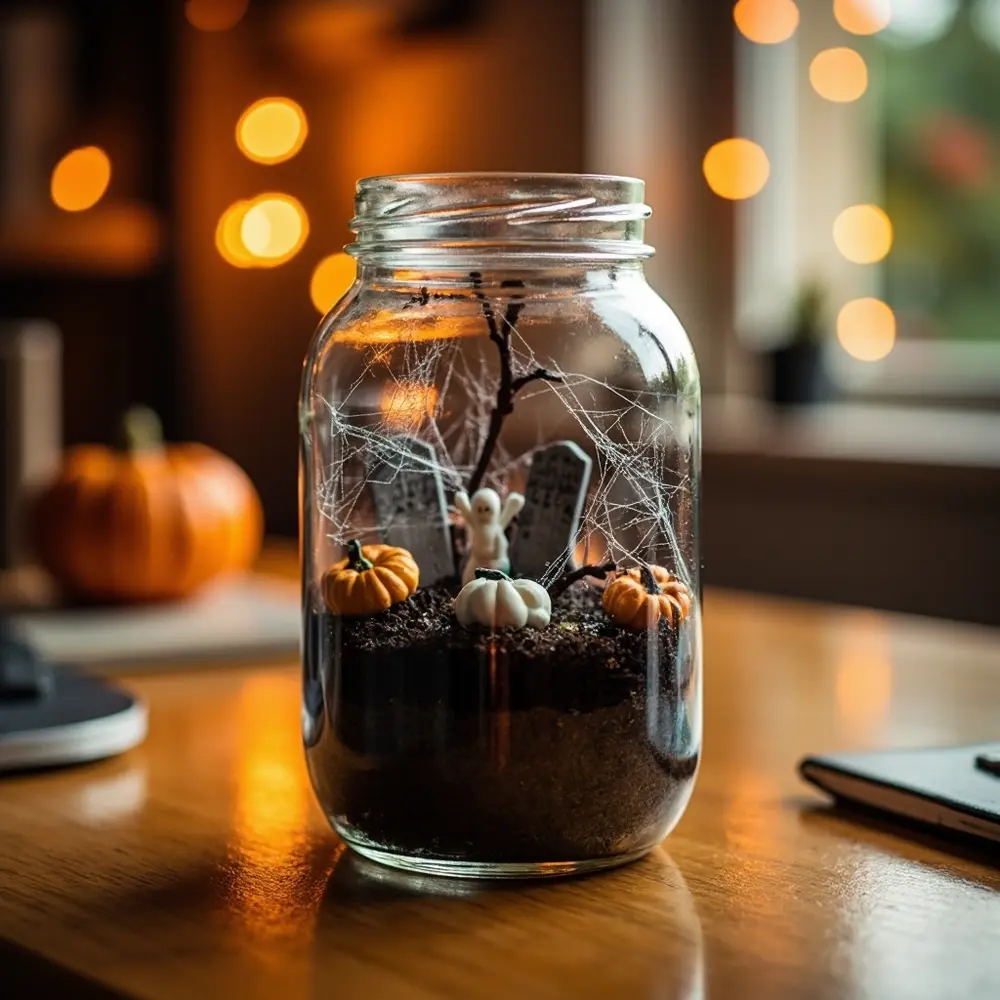
You did it! Now, decide if you want to seal the jar with its lid. This is great for keeping dust out and making it a truly self-contained world. Find the perfect spot to show off your creation—a desk at work, the living room mantel, or as the centerpiece for your Halloween dinner table. Since all the elements are artificial, you don’t need to worry about sunlight.
Image-8: A beautifully styled photo of the completed Halloween terrarium sitting on a wooden desk next to a book and a mug of coffee.
Troubleshooting Your Spooky Terrarium: Common Crafter Solutions 🛠️
I’ve made dozens of these, and trust me, sometimes things go a little sideways. Here’s how to fix common issues:
- Problem: My decorations are too big to fit through the jar opening!
- Solution: This is where long tweezers or tongs become essential! If an item truly won’t fit, it’s time to pivot. Use smaller decorations or try angling the item differently as you guide it in.
- Problem: My figures keep falling over!
- Solution: The easiest fix is to use a dab of hot glue or a clear glue dot on the base of the figure. You can also try burying the base of the decoration a little deeper into the soil or sand for better stability.
- Problem: I smudged the inside of the glass, and now it looks foggy!
- Solution: Don’t panic! Dip a cotton swab in a little rubbing alcohol, secure it to the end of your tweezers or a stick, and carefully wipe the inside of the glass clean. Let it air dry for a minute before sealing.
Variations & Customizations to Haunt Your House 🧟
The best part about this project is making it your own! Here are a few ideas I’ve tried:
- Theme Variations: Don’t just stop at a generic spooky scene! Try a miniature abandoned graveyard, a witch’s potion lab (with tiny bottles and glitter), a zombie apocalypse scene, or even a creepy alien crash site.
- Jar Sizes & Shapes: Go tiny with a spice jar for a super-mini scene, or go big with a large cookie jar to create an entire haunted village.
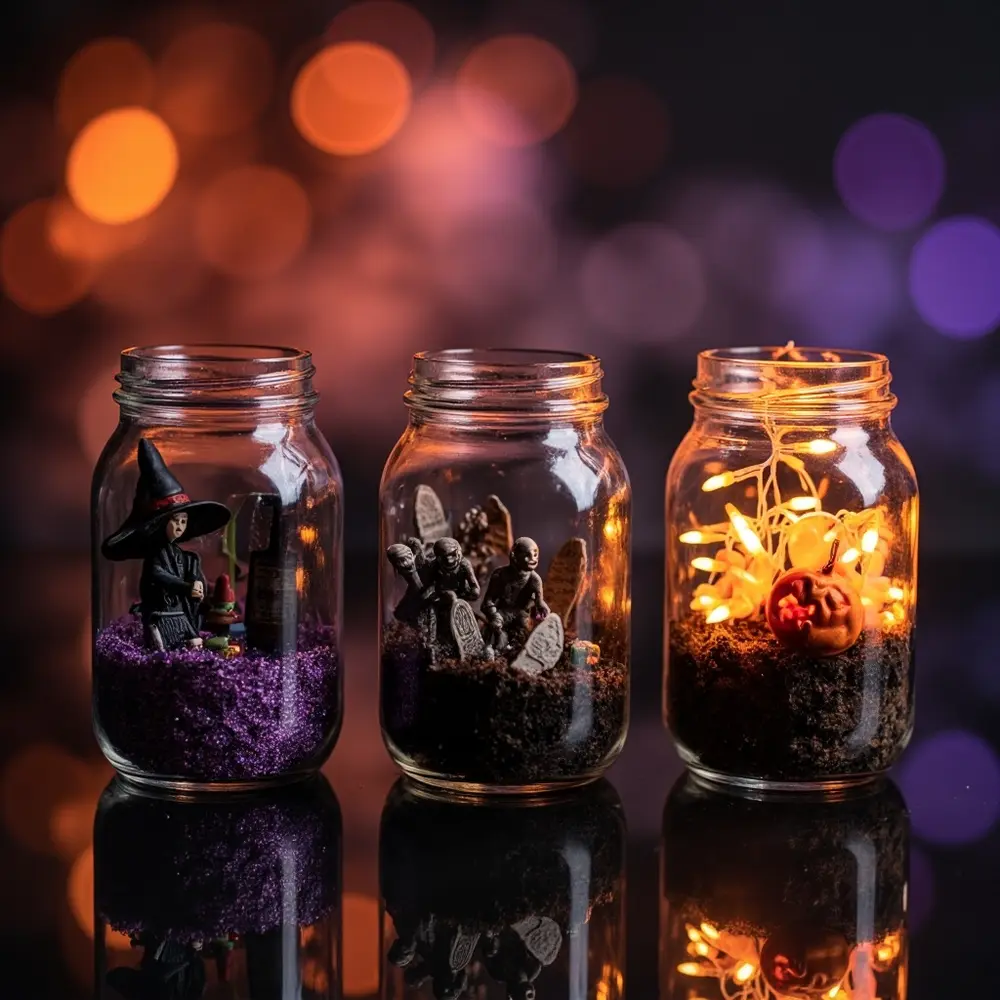
- Lighting Effects 💡: For a truly magical touch, carefully wind a string of battery-operated micro LED “fairy lights” (in orange, purple, or white) inside the jar before adding the final touches. You can also use glow-in-the-dark paint on your ghosts or gravestones!
- Seasonal Adaptations: Use this same concept for other holidays! Create a winter wonderland for Christmas, a blooming garden for spring, or a beach scene for summer.
- Kid-Friendly Adaptations: For younger crafters, use larger, less fragile figures and skip the tiny, loose parts. Pre-sorting materials into little kits can make it a super fun and manageable family activity.
Theme Twist 👻: Create a ‘diorama within a diorama’ by finding a tiny, hollow miniature house. Paint it to look haunted, place a single flickering LED tealight inside, and set it as the centerpiece of your terrarium for a truly epic haunted mansion scene!
Image-9: A gallery-style image showing three different terrariums side-by-side: one with a witch theme, one with a zombie theme, and one lit up with orange fairy lights.
Halloween Activity FAQs ❓
Q1: Can I use real plants in my Halloween terrarium, and how would I care for them?
You absolutely can! If you use real plants (like moss, ferns, or succulents), you’ll need a proper terrarium setup with drainage and appropriate soil. It would become a “living” terrarium, requiring specific light and occasional watering. For a low-maintenance, purely decorative piece, I stick with artificial elements.
Q2: What are the best places to find unique miniature spooky decorations?
Craft stores are your first stop, especially in the dollhouse and seasonal sections. I also love searching online marketplaces like Etsy for unique, handmade miniatures. And don’t forget the cake decorating aisle—you can find some amazing spooky sprinkles and toppers!
Q3: How can I prevent the inside of the jar from getting dusty or smudged during assembly?
Work slowly and use your long tweezers! Try to touch the inside of the glass as little as possible. Wiping it down with a clean, dry cloth right before you start helps. If you do get a smudge, the cotton swab with rubbing alcohol trick works wonders.
Share Your Spooky Creation!
Congratulations on creating your very own haunted masterpiece! I absolutely love how a few simple materials can be transformed into such a unique and personal decoration. There’s a special kind of Halloween magic in building a tiny world with your own two hands, and I hope you had as much fun making it as I always do.
Now, put that spooky terrarium somewhere you can admire it all season long! I’d be thrilled to see what you came up with. Share a photo of your haunted miniature world on social media and tag it with #SpookyJarWorlds so we can all see your amazing work!
What spooky characters did you put in your terrarium? Let me know in the comments! 🎃

