Spooktacular & Sweet: DIY Kid-Friendly Halloween Charcuterie Board Tutorial
✨ From haunted party planning spreadsheets to countless hours testing spooky treats, I’ve mastered the art of creating Halloween magic—testing, fixing fails, and discovering solutions that actually work.
😅 But I know the struggle: How do I make a Halloween snack board that kids will actually eat without loading it with candy? How can I make healthy Halloween snacks look fun and exciting? I’ve been there, trying to balance the festive spirit with something a little more wholesome.
👑 That’s why in this post, I’ll show you exactly how to solve these challenges with tips I’ve tested myself. Stick with me, and you’ll learn how to create a show-stopping Halloween snack board that delights kids and adults alike while creating magical memories with your loved ones! 🎃
Tutorial At-a-Glance
Time Required: Approx. 45-60 minutes
Budget Level: Mid-Range
Skill Level: Beginner / No-Cook
What You’ll Need for Your Kid-Friendly Halloween Charcuterie Board 🎃
✅ Large serving board or platter
✅ Small bowls or ramekins for dips/smaller items
✅ Cookie cutters (Halloween shapes like bats, ghosts, pumpkins)
✅ Skewers or toothpicks (👑 Nancy’s Pick: Opt for bamboo skewers with blunt ends for kid safety and an eco-friendly touch.)
✅ Assorted cheeses (cheddar, mozzarella sticks, Colby Jack)
✅ Variety of fruits (grapes, melon, berries, orange slices, apple slices)
✅ Veggies (carrot sticks, cucumber slices, bell pepper strips)
✅ Dips (hummus, ranch, yogurt dip)
✅ Crackers and pretzels (various shapes)
✅ Small sandwiches or wraps (cut into shapes)
✅ Mini muffins or small cookies (optional, low-sugar)
✅ Edible googly eyes (for decoration)
Crafting Your Spooky Snack Board: Step-by-Step Guide 👻
A question I get all the time from my community is how to make holiday food prep less stressful and more fun. My secret is always to get the kids involved! This DIY Halloween food board is the perfect project. Letting them press cookie cutters into cheese or arrange the fruit kabobs not only helps you out but also makes them way more excited to eat everything on the board.
Step 1: Prepare Your Board & Base
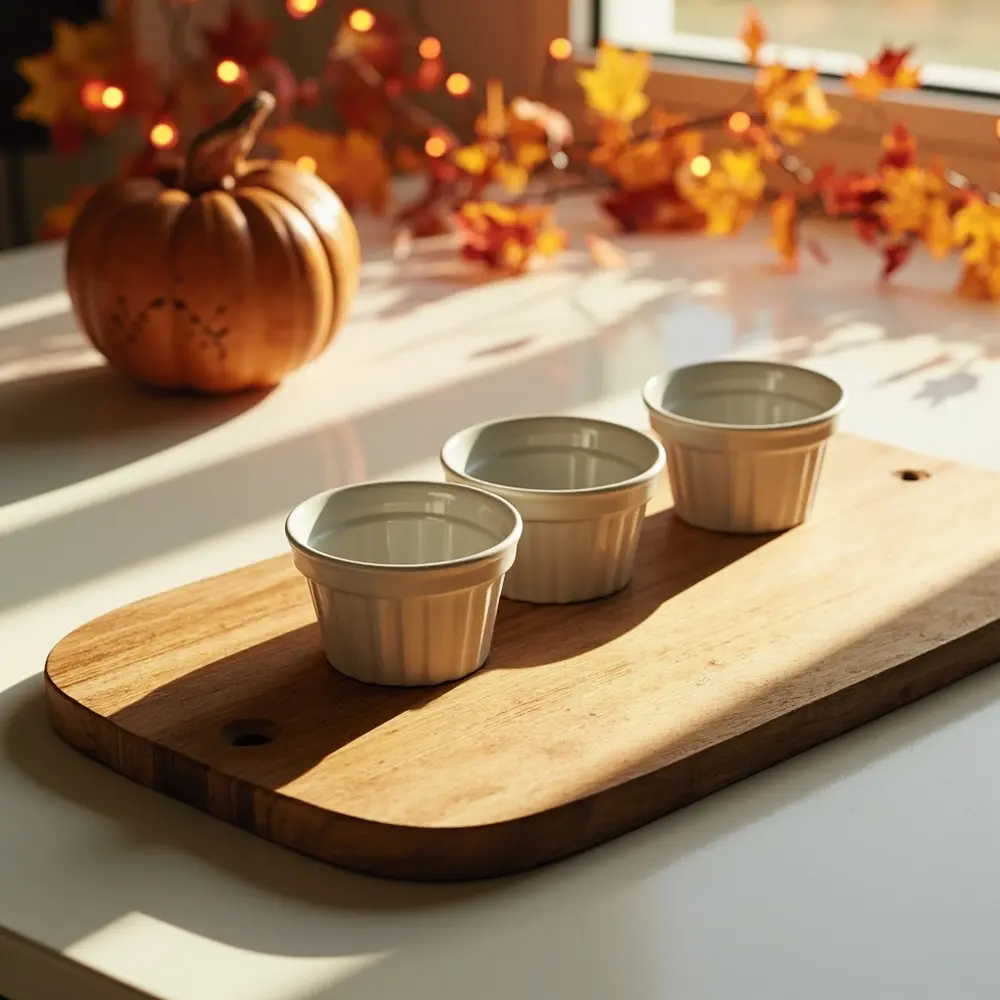
First things first, choose your canvas. A large wooden board, a slate platter, or even a clean baking sheet will work perfectly. Give it a good wipe-down. My go-to trick for a balanced design is to place your small bowls or ramekins on the board before adding any food. This creates anchors and helps you visualize the final layout.
[image-1: A clean, empty charcuterie board with a few small, empty ramekins or bowls placed strategically.]

Step 2: Create Your Savory Spooky Shapes
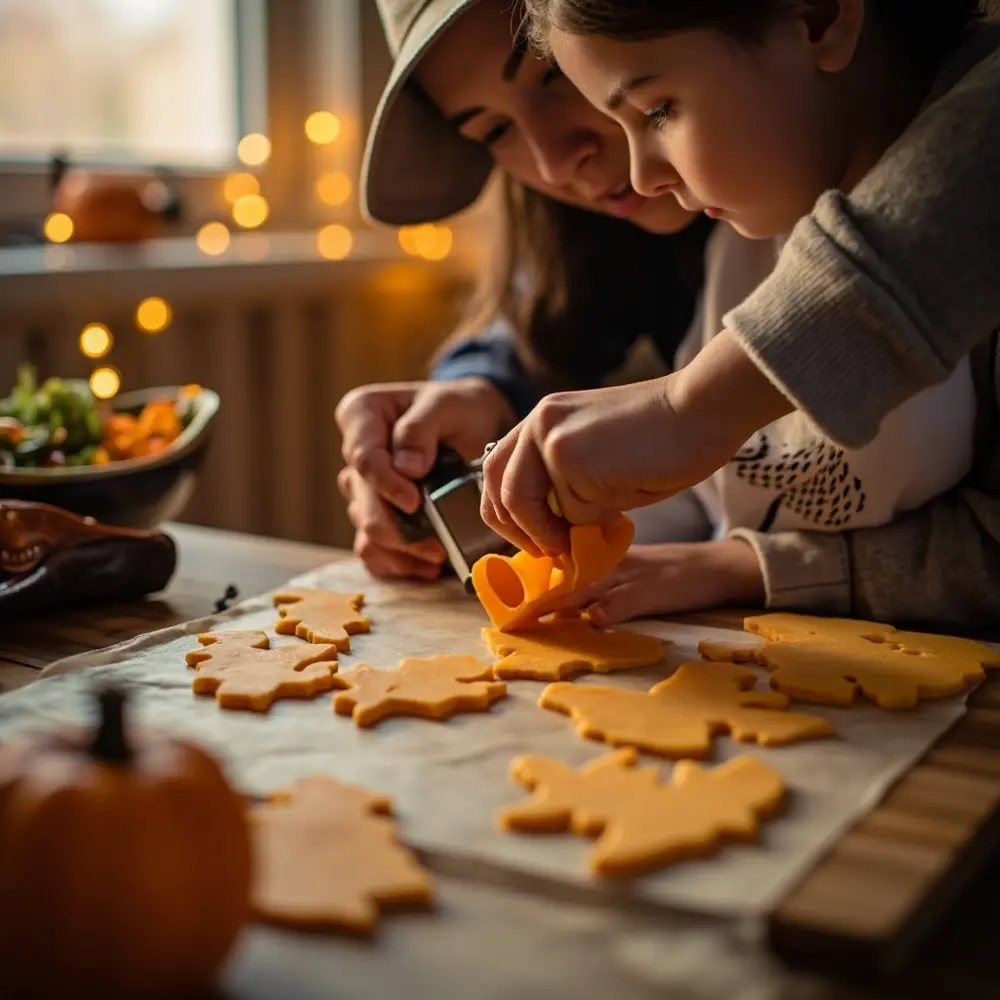
This is where the magic begins! Take your slices of cheddar or Colby Jack and press your Halloween-themed cookie cutters firmly into them to create little bats, ghosts, and pumpkins. For mozzarella sticks, you can cut little notches to make them look like “fingers” or slice them into rounds. Arrange these fun cheese shapes around the bowls you placed in the first step.
⚠️ Safety First: If little hands are helping, please supervise them closely when using cookie cutters. While most aren’t sharp, it’s always best to be careful.
[image-2: Close-up shot of hands using a bat-shaped cookie cutter on a slice of cheddar cheese, with other cut cheese shapes already on the board.]

Step 3: Assemble Fruity Frights & Veggie Visions
Now, let’s add some vibrant color! Thread grapes, melon balls, and berries onto your skewers to create easy-to-grab fruit kabobs. Arrange clusters of carrot sticks, cucumber slices, and bell pepper strips to create rivers of color flowing across the board. This is a great way to build a healthy Halloween snack board that still feels like a treat.
💡 Pro-Tip: To keep apple slices from browning, give them a quick 5-minute soak in a bowl of cold water with a squeeze of lemon juice. Pat them dry before adding them to the board, and they’ll stay fresh and bright for hours!
[image-3: A section of the board featuring colorful fruit kabobs and neatly arranged vegetable sticks.]

Step 4: Fill in with Crackers, Pretzels & Dips
Your board is starting to look full! Now it’s time to fill in any remaining gaps. A mistake I always see is leaving too much empty space. Artfully fan out crackers, pile up pretzels, and tuck in any small, shaped sandwiches. This adds texture and ensures there’s something for everyone. Finally, pour your hummus, ranch, or yogurt dip into the bowls you placed earlier.
[image-4: A wider shot of the board, mostly assembled, with crackers, pretzels, and dips added, showing good coverage.]

Step 5: Add the Finishing Spooky Touches
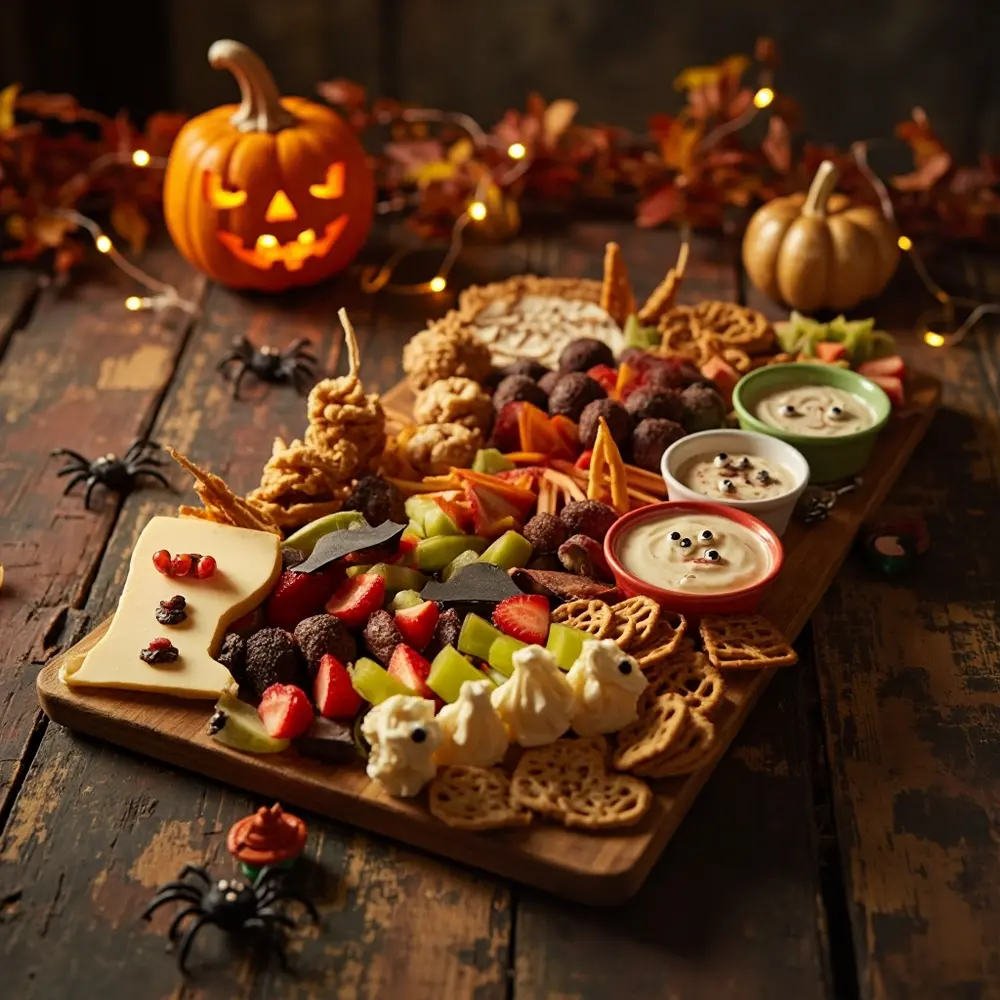
The final step is all about personality! Use a tiny dab of dip or cream cheese to “glue” edible googly eyes onto your cheese bats, fruit slices, or even the dip bowls. For extra flair, you can add a few clean, non-edible plastic spiders or rings, but make sure they are clearly decorations and placed away from the food items that might be mistaken for them.
[image-5: The fully assembled Kid-Friendly Halloween Charcuterie Board, vibrant and complete with all spooky details.]

Spooky Shapes & Sweet Treats: Kid-Friendly Food Ideas 🎨
As a culinary creator who loves making food fun, my favorite challenge is turning simple ingredients into something magical. You don’t need a ton of candy to make a board that wows the kids. After testing dozens of ideas, these are my foolproof, low-sugar favorites for any kids’ party food spread:
- Cheese Bats & Ghosts: Use small Halloween cookie cutters on various cheese slices. For ghosts, a simple round cutter can be pinched at the bottom to create a tail.
- Fruit Monster Mouths: Slice apples, spread a thin layer of peanut butter (or sunbutter for allergies), and place mini marshmallows or sunflower seeds as “teeth.”
- Veggie Skeleton: Arrange cucumber slices, carrot sticks, and bell pepper strips on a platter to form a skeleton shape, using a small bowl of dip for the head.
- Spider Web Dip: Drizzle sour cream or a light-colored dip with balsamic glaze or sriracha in concentric circles, then drag a toothpick from the center outwards to create a web effect.
Variations & Customizations 👻
After styling dozens of these boards for parties, I’ve learned that the best ones are tailored to the crowd! Here are a few ways to customize your spooky treats:
- Allergy-Friendly Board: Offer gluten-free crackers, nut-free spreads like sunbutter, and dairy-free cheese alternatives.
- “Gross-Out” Theme: If your kids love the silly-scary stuff, incorporate “worm” gummy candies (if allowing some candy), “eyeball” grapes (peeled with a blueberry tucked inside), or “brain” cauliflower florets in a red-colored dip.
- Breakfast Board: Adapt this for a Halloween morning treat with mini pancakes, fruit, yogurt, and small breakfast sausages.
- Color Theme: Focus on specific Halloween colors like orange and black (carrots, cheese, black olives, dark grapes) or green and purple (green grapes, kiwi, blackberries).
Kid-Friendly Halloween Charcuterie Board FAQs 🤔
Q1: How far in advance can I prepare my Halloween charcuterie board?
You can do most of the prep 1-2 days ahead! Wash and chop your veggies (store them in an airtight container), make your dips, and cut the cheese shapes. I recommend assembling the board just a few hours before serving and adding crackers and apple slices at the very last minute to keep them crisp and fresh.
Q2: What are some good candy-free alternatives for a truly healthy board?
Focus on natural sweetness! Yogurt-covered pretzels, a small bowl of dark chocolate chips for dipping fruit, clementine “pumpkins” (with a small piece of celery for a stem), and naturally sweet dips made from fruit puree are all fantastic options that feel like a treat.
Q3: My kids are picky eaters; how can I encourage them to try new items on the board?
My number one tip is to get them involved in making it! When kids help create the food, they have a sense of ownership and are more likely to try it. Also, include at least one or two “safe” items you know they love, like their favorite crackers or fruit. Pairing a new veggie with a familiar dip they enjoy can also work wonders.
Now you have all the secrets to creating a spooktacular and healthy Halloween snack board that will be the star of the party!
What spooky shape are you most excited to create? Let me know in the comments below
