How to Create an Instagram-Worthy Haunted Snack Board
It’s that time of year again, ghouls and goblins! The air is getting crisp, the leaves are turning, and my pumpkin spice coffee intake is reaching alarming levels. 🎃 Are you tired of the same old bowl of candy and chips at every Halloween party? 🎉
You want your gathering to be the one everyone talks about, with a centerpiece that’s both delicious and delightfully spooky. But creating something that looks like it jumped right off a Pinterest board can feel a little intimidating. 👻
Well, you’ve come to the right place! My name is Roshan Sharma, your friendly neighborhood Halloween fanatic, and I’ve planned more spooky parties than I can count. I’m going to walk you through creating a haunted snack board that will have your guests snapping pictures before they even take a bite! 📸
Activity At-a-Glance
- Best For: Halloween parties, spooky gatherings, festive entertaining 👨👩👧👦
- Time Required: Approx. 1.5 – 2 hours (depending on food prep) ⏳
- Budget Level: Moderate 💸
- Spookiness Level: Medium 💀
What You’ll Need for Your Haunted Snack Board 📋
- The Base: A large serving board or platter (wood, slate, or marble works best!) 🪵
- Tools of the Trade: Small bowls for dips/nuts, parchment paper, Halloween-themed cookie cutters (ghosts 👻, bats 🦇), food coloring, and skewers.
- Cheesy Delights: A mix of hard and soft cheeses. Think sharp cheddar, creamy brie, goat cheese, and maybe some smoked gouda. 🧀
- Meaty Morsels: Cured meats like salami, prosciutto, and soppressata.
- Crackers & Carbs: An assortment of crackers, breadsticks, and pretzel sticks.
- Fruits & Veggies: Grapes (purple and green), blackberries, figs, sliced apples, carrot sticks, cucumber slices, and mini bell peppers. 🍇🥕
- Spooky Themed Foods:
- Mini hot dogs and puff pastry for “Mummy Dogs.”
- Pretzel sticks and melted white chocolate for “Bone Pretzels.”
- Mozzarella balls and sliced black olives for “Eyeballs.” 👀
- Guacamole or another dip for a “Spiderweb Dip.” 🕸️
- Dark chocolate for melting and piping.
Image-1: A flat-lay photo showcasing all the necessary ingredients and tools neatly arranged on a dark tabletop, ready for the project.
Preparation & Setup: Creating the Spooky Scene 🕯️
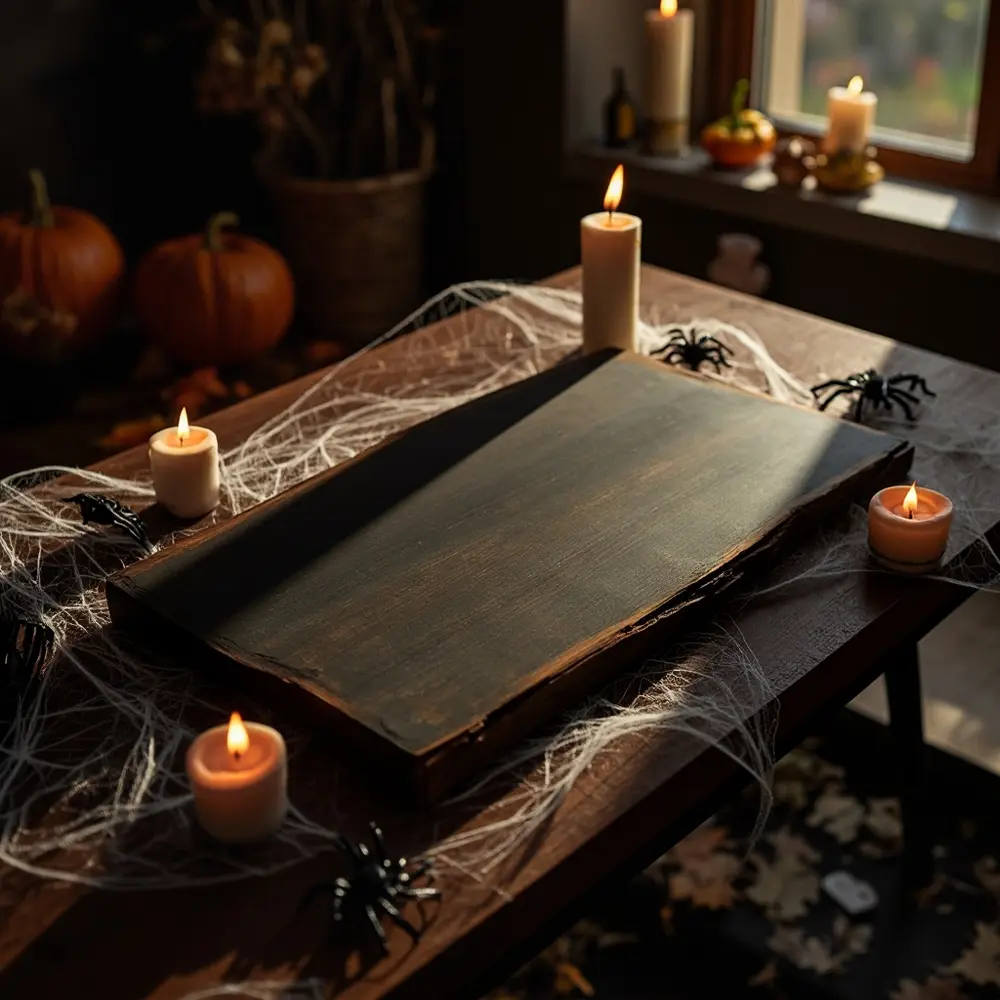
Before we even touch the food, let’s set the mood! I always say that presentation starts before the platter. Dim the lights and use some flickering LED candles to cast eerie shadows. Drape some faux cobwebs in the corners of the room and scatter a few plastic spiders near your serving area. I love putting on a “spooky ambient” playlist on low volume—it makes the whole experience more fun. Lay out your serving board, making sure it’s clean and ready for its ghoulish transformation.
Pro Tip 💡: Use a dark-colored or rustic wooden board as your base! It enhances the spooky aesthetic and makes colorful foods like orange cheddar and red berries really pop.
Image-2: A photo of the “staging area,” showing a dark wooden board on a table with a few cobwebs and LED candles scattered around it to set the scene.
How to Assemble Your Haunted Snack Board: Step-by-Step 🚀
Step 1: Prep Your Spooky Components
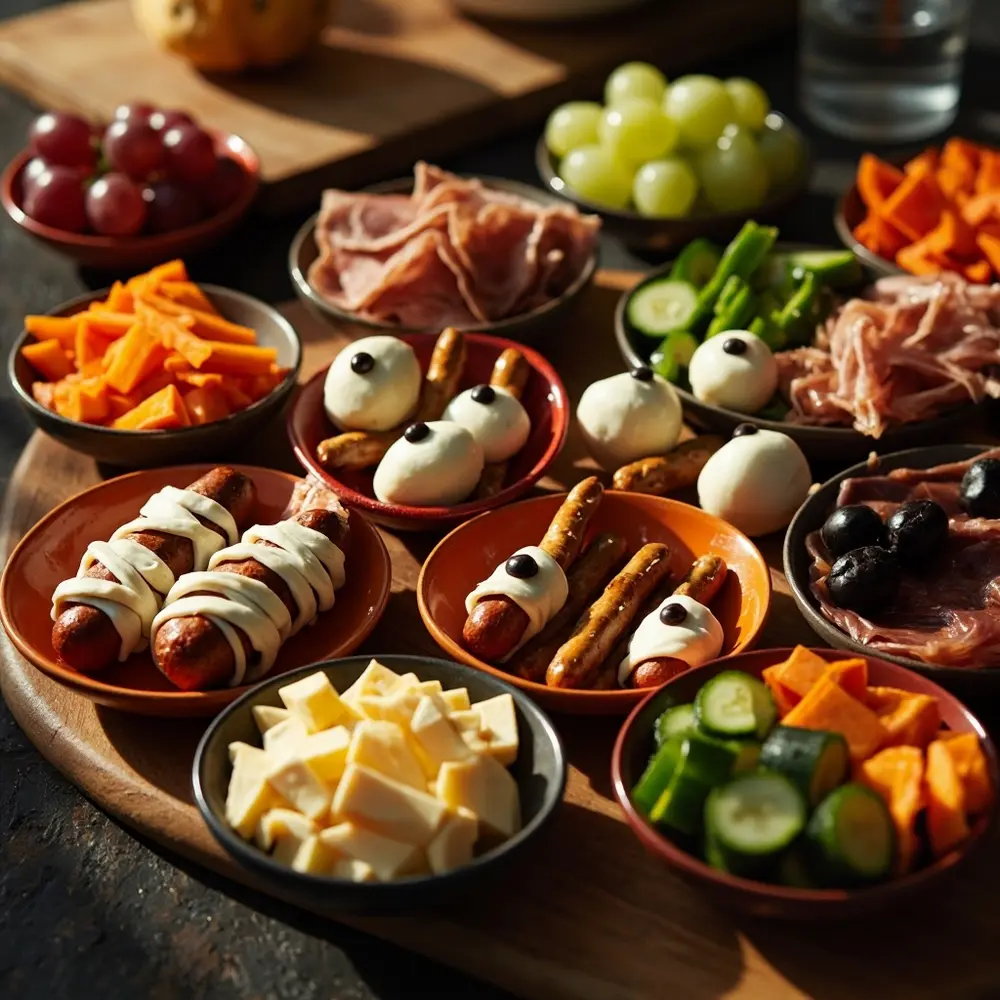
First things first, let’s get all our creepy components ready for their grand debut. Wash and chop your fruits and veggies. Now for the fun part: prepare your themed foods! Wrap your mini hot dogs in thin strips of puff pastry to create little mummies. Skewer the mozzarella balls and place a small piece of a sliced black olive in the center to make them look like eyeballs. Melt some white chocolate and dip your pretzel sticks, arranging them to look like bones. Having everything prepped and ready in separate bowls makes the assembly process a breeze.
Image-3: A photo showing all the prepared food components neatly arranged in separate small bowls or on prep plates. The main serving board is visible in the background, ready for assembly.
Step 2: Anchor the Board with Large Elements
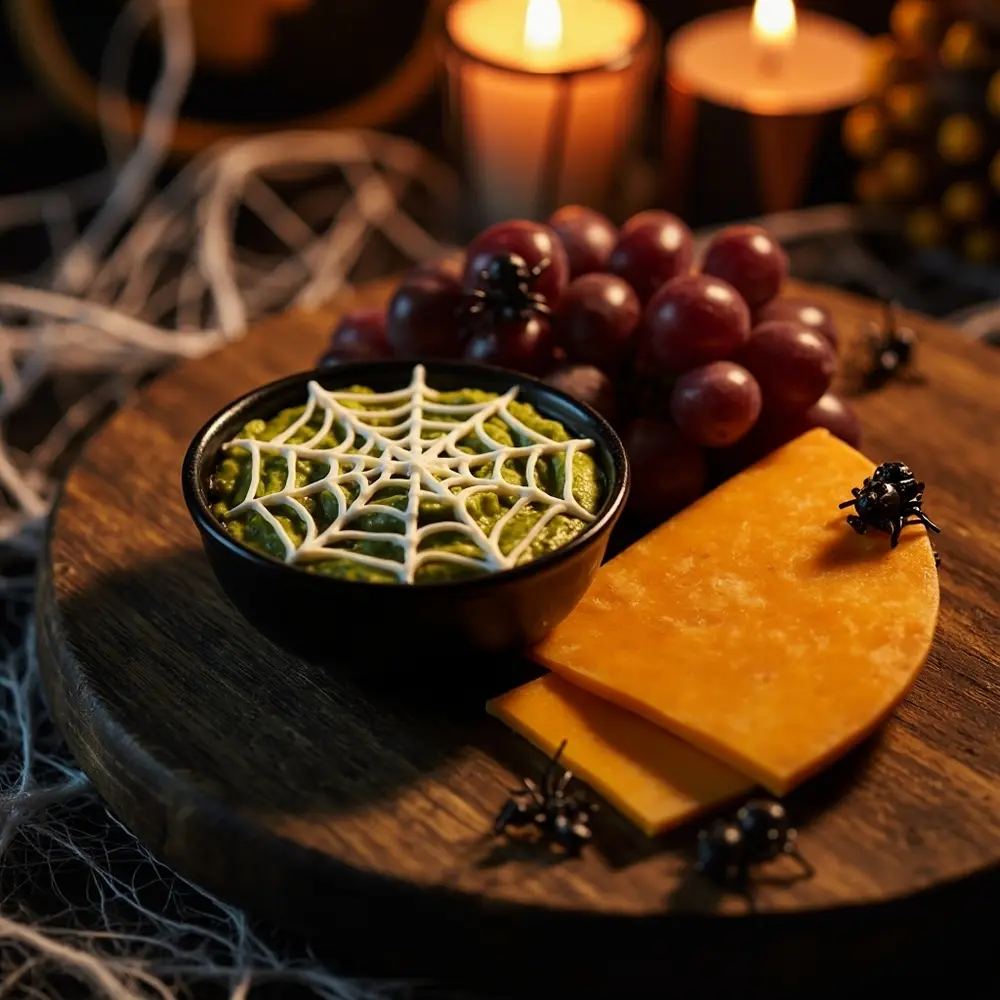
Think of this step as laying the foundation for your haunted house. Place your largest items on the board first. This means your bowls of dip, any large cheese blocks, or a big, beautiful bunch of dark grapes. I like to place them in a triangle or “S” shape to create a natural flow. These are your visual anchors that the rest of the board will be built around.
Caution ⚠️: Be extra careful when using sharp knives to cut cheese or harder fruits! If you have little ghouls helping you, make sure an adult handles all the sharp tools.
Image-4: A close-up shot of the serving board with just the main anchor items placed: a small bowl of guacamole with a sour cream “spiderweb” design, a large wedge of orange cheddar, and a cluster of purple grapes.
Step 3: Weave in Themed & Textured Treats
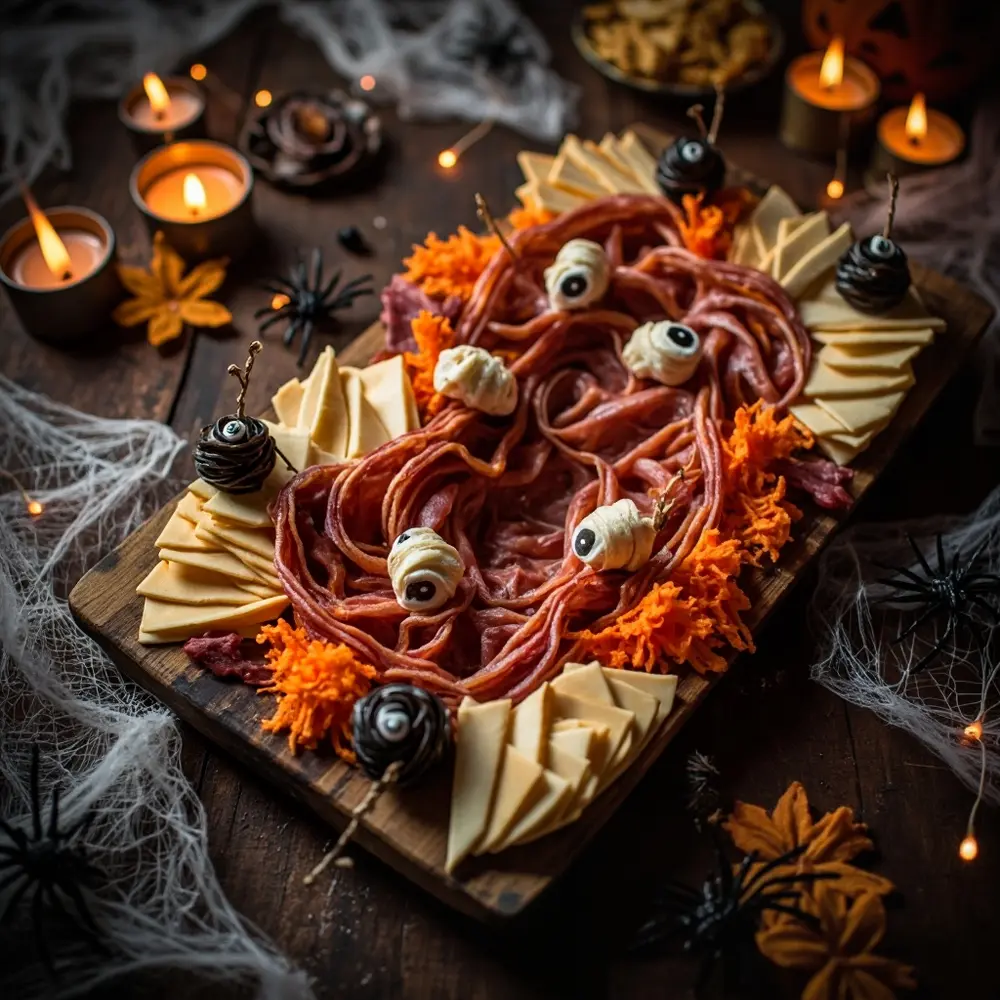
Now, let’s start bringing the story to life! Arrange your Halloween-themed items around the anchors. Place your “mummy dogs” peeking out from behind a cheese block or have your “eyeball” skewers sticking out of a dip. Next, start weaving in your crackers and cured meats. I love making a “salami river” that flows between the anchor points. Alternate textures and shapes—place crunchy breadsticks next to soft prosciutto roses to keep things visually interesting. Don’t be afraid to separate colors to create contrast!
Image-5: A photo of the board about halfway complete. The “salami river” is visible, and themed snacks like mummy dogs and mozzarella eyeballs are tucked in around the anchor items.
Step 4: Add Color, Contrast, and Volume
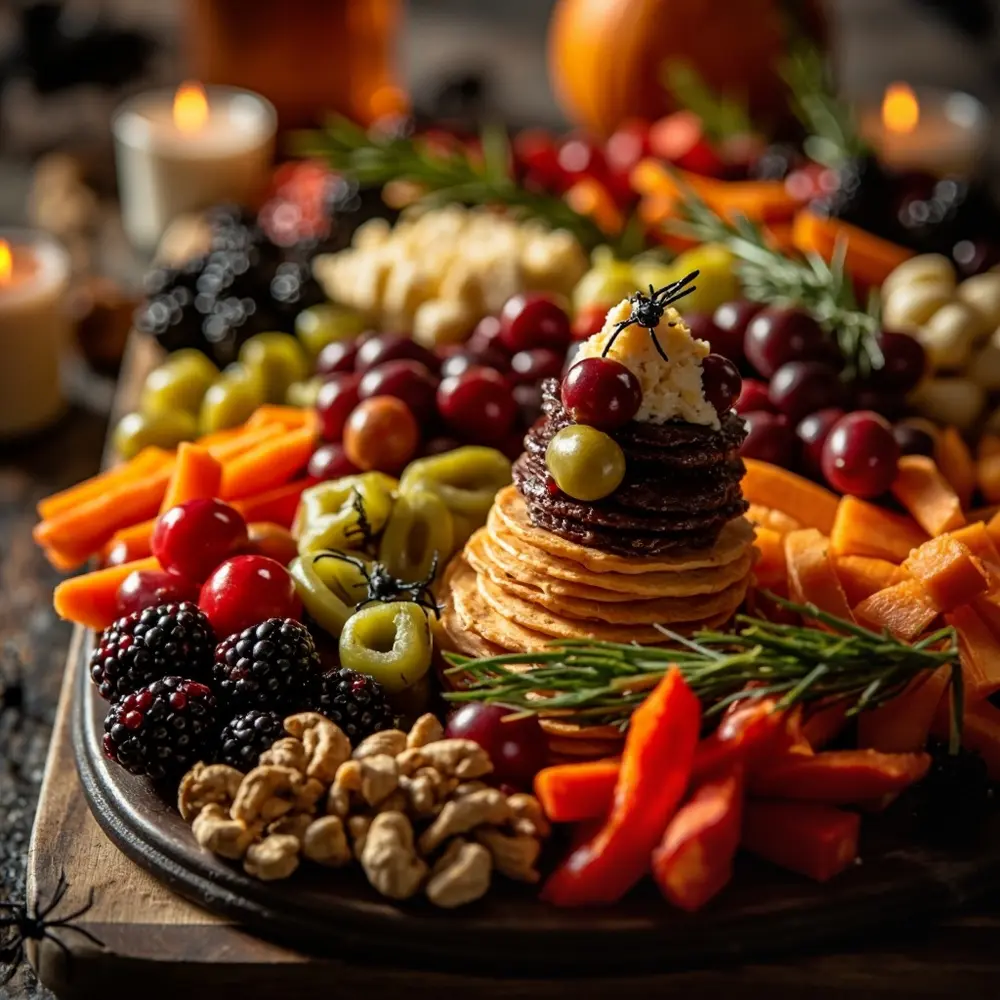
Your board is looking spooky, but now we need to make it POP! This is where you fill in all the remaining gaps with your most vibrant items. Use handfuls of blackberries, bright orange carrot sticks, and red bell pepper slices to add bursts of color. Don’t lay everything flat! Create little piles of nuts or stack some crackers to build height and volume. This makes the board look abundant and exciting. I once made a little tower of cheese cubes that my niece thought was the coolest (and tastiest) castle.
Image-6: A photo showing colorful items like berries, carrot sticks, and green olives being used to fill the gaps on the board, highlighting the contrast between dark and bright colors.
Step 5: Garnish for Ghastly Grandeur
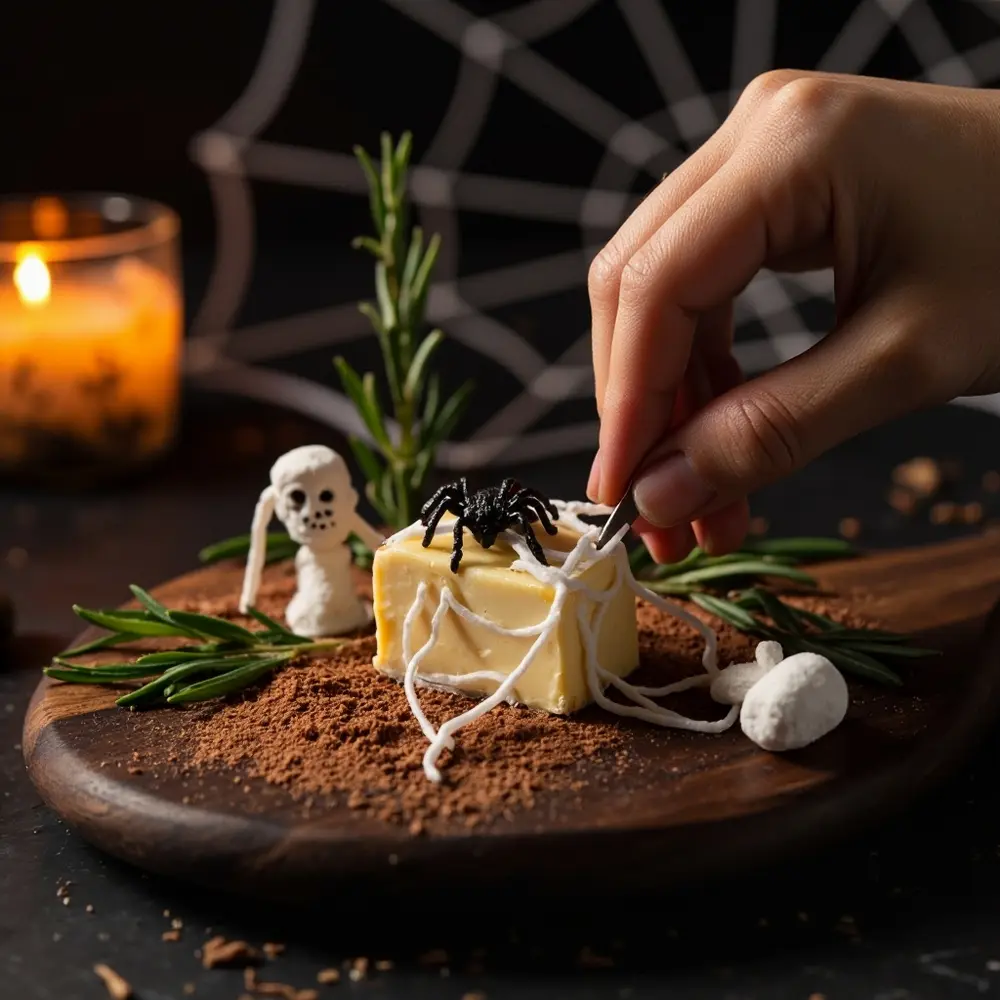
This is the final touch—the secret spell that makes your board truly Instagram-worthy. It’s all in the details! Carefully place a few plastic spiders on cheese cubes. Drape some edible cobwebs (made from melted marshmallows) over a corner. Tuck in a few sprigs of rosemary to look like creepy little trees from a haunted forest. A little dusting of cocoa powder on a block of brie can also add a spooky, aged effect. These tiny details are what elevate your board from a simple snack platter to a work of art.
Image-7: A detailed close-up photo showing a hand carefully placing a small plastic spider on a cube of cheese, with other garnishes like a sprig of rosemary visible in the background.
Styling Secrets for an Instagram-Worthy Board ✨
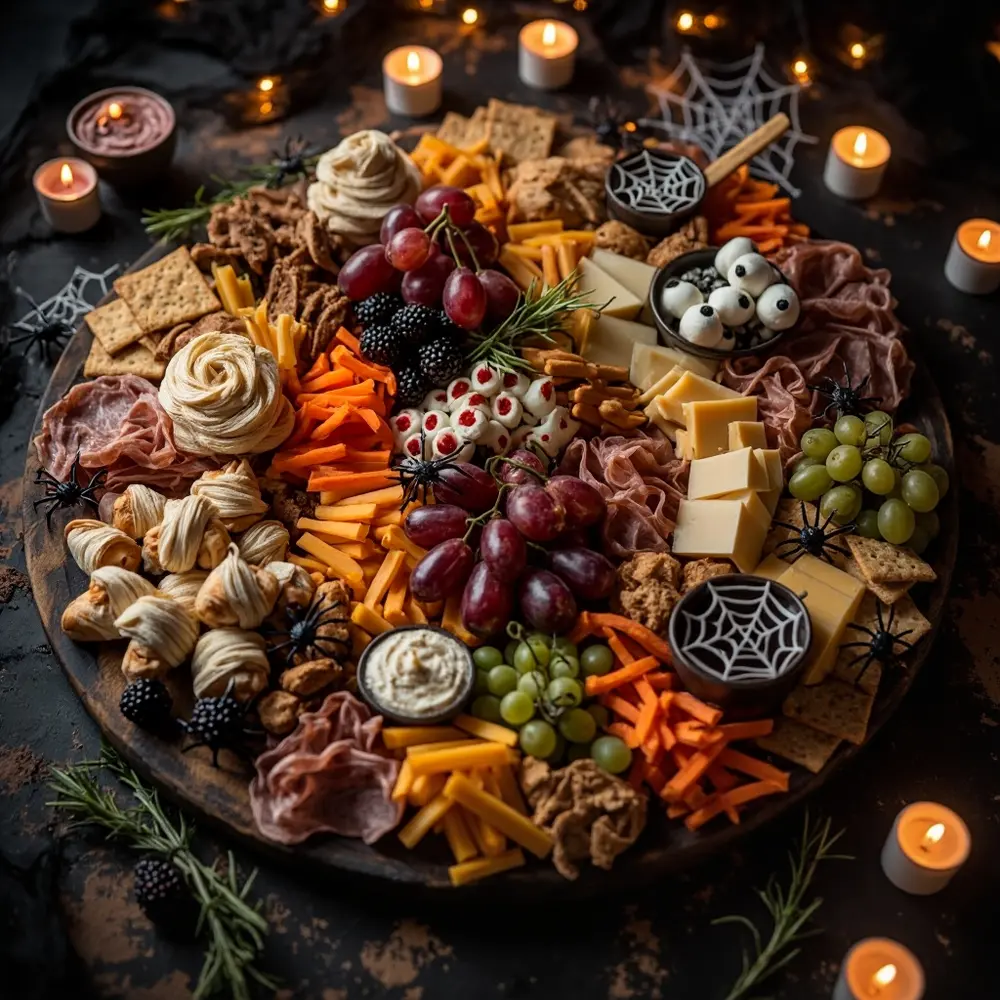
Want to know the real magic behind a shareable snack board? It’s not just the ingredients, but how you put them together. Here are my go-to secrets:
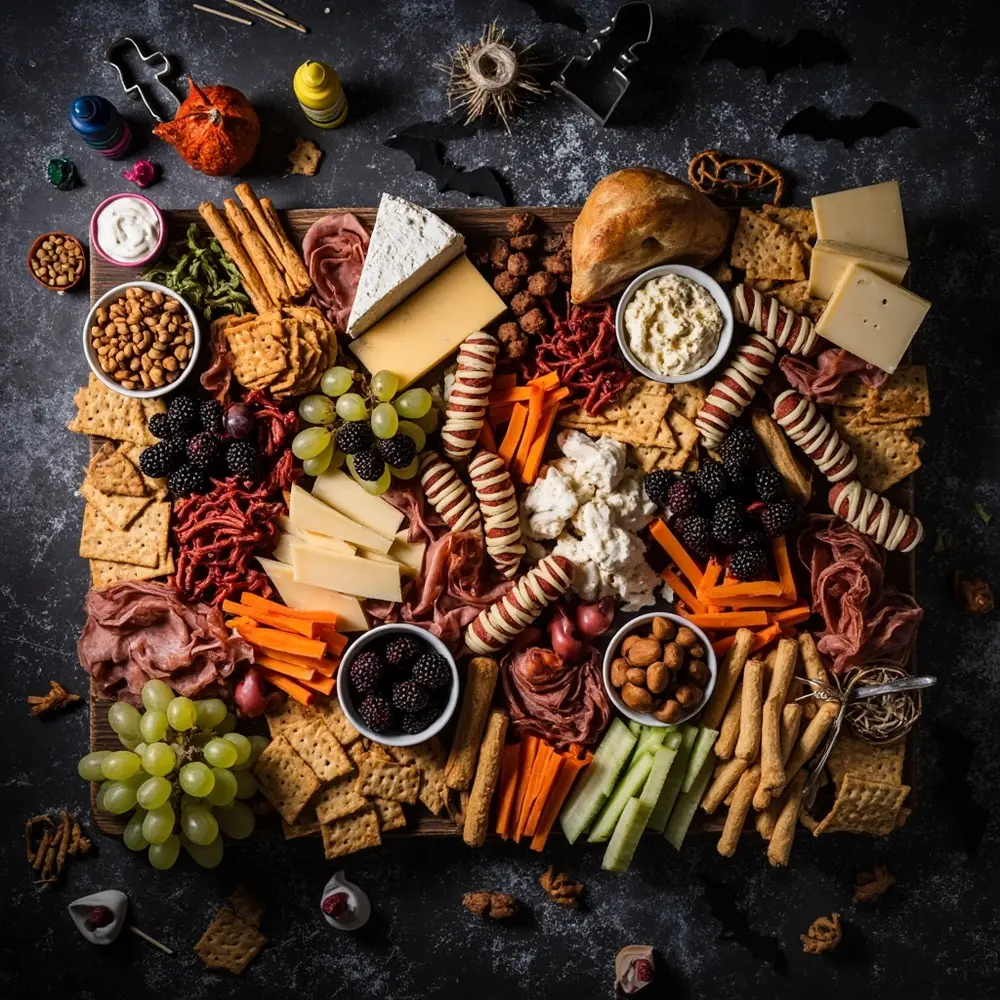
- Play with Height: Don’t let everything be flat. Use your small bowls and stack crackers or cheese cubes to create different levels. This adds dimension and makes the board look more dynamic in photos.
- Create “Rivers” and “Pathways”: Arrange crackers, nuts, or meats in winding lines that flow across the board. This guides the eye and makes the layout feel intentional and artistic. A “river” of salami is a classic for a reason!
- Contrast is Key: Place dark items next to light items. Think black grapes next to pale brie, or bright orange carrots next to dark prosciutto. This makes every element stand out. Same goes for texture—smooth cheese next to crunchy crackers.
- Embrace (a little) Negative Space: While you want your board to look full, leaving tiny slivers of the board visible can actually make it look more organized and less chaotic. Don’t just dump everything on!
- Props on the Platter: The best boards incorporate the theme directly. Those little plastic spiders, candy bones, or a well-placed sprig of rosemary make all the difference.
Image-8: A stunning overhead shot of the completely finished and styled haunted snack board, perfectly lit and ready for Instagram.
Variations & Customizations to Haunt Your House 🧟
One of the best things about a snack board is how easy it is to customize! Here are a few ideas to get your creative cauldron bubbling:
- Dietary Needs:
- Vegetarian: Ditch the cured meats and add more cheeses, a spooky veggie dip (like black bean hummus), and some roasted chickpeas.
- Vegan: Use vegan cheeses, hummus, lots of fruits and veggies, and “ants on a log” (celery with peanut butter and raisins).
- Gluten-Free: Simply swap out the regular crackers and pretzels for their gluten-free counterparts!
- Presentation Styles:
- Individual Boards: Create mini haunted snack boards on small plates for each guest.
- Tiered Terror: Use a tiered dessert stand for a vertical display that saves table space.
- Theme Twist 🧪: Go all out with a specific theme!
- Mad Scientist’s Lab: Create a “bubbling” dip by placing a tiny piece of dry ice in a smaller bowl of water hidden inside your main dip bowl (use tongs and be careful!). Use food coloring to make green and purple foods, and serve drinks in beakers.
- Vampire’s Feast: Focus on deep reds and blacks. Think blackberries, red grapes, fig jam, dark cherries, and blood orange slices. You can even add some roasted garlic cloves as a “vampire repellent.”
Halloween Snack Board FAQs ❓
#### Q1: How far in advance can I prepare components for my haunted snack board?
You can do a lot of prep the day before! Wash and chop all your hard veggies (carrots, peppers), make your dips, and mix your cheeses. I’d wait to slice fruits like apples until right before serving to prevent browning. You can assemble the full board up to 2-3 hours ahead of time and keep it covered in the fridge.
#### Q2: What are some good budget-friendly “haunted” food ideas?
Absolutely! “Bone” breadsticks are super cheap—just shape regular breadstick dough into bone shapes before baking. “Witches’ finger” pretzels (dipped in green candy melts with a sliced almond for a nail) are also very affordable. And you can never go wrong with a simple dip with a sour cream spiderweb on top!
#### Q3: How can I keep my snack board fresh throughout a party?
For longer parties, I have a little trick. I keep refills of the most popular items (crackers, meats, pre-sliced cheese) on a tray in the fridge. When the board starts looking a little sparse, I can quickly restock it. For cheese and meats, try not to let them sit at room temperature for more than two hours.
And there you have it! Creating this haunted snack board is more than just making food—it’s an activity that kicks off the Halloween fun and results in a spooky masterpiece. The “wow” factor when you bring this out is absolutely priceless. I promise your guests will be talking about it long after the last “eyeball” mozzarella ball is gone.
Have fun creating your own ghostly grub! Be sure to snap a picture and share it on social media with the hashtag #HauntedSnackBoard* so I can see your amazing work!
What’s your go-to spooky snack for Halloween? Let me know in the comments—I’m always looking for new ideas! 🎃
