It’s that time of year again, ghouls and goblins! The air is getting crisp, pumpkin spice is flowing, and my mind is already racing with a million spooky ideas. But let’s be real, a good costume can get lost in the dark on Halloween night, and those store-bought light-up gadgets just don’t have that unique, homemade magic. 🎃
You want your costume to pop, to have that extra wow factor that makes people stop and stare. But diving into electronics can feel super intimidating, right? Wires, circuits, batteries… it sounds like you need an engineering degree just to get started! 👻
Well, you’ve come to the right haunted house! I’m Roshan Sharma, your friendly neighborhood Halloween fanatic, and I’m here to show you that creating your own glowing accessories is not only possible but also incredibly fun. This guide will walk you through making a pair of awesome light-up gloves, fostering creativity and giving you a fantastic DIY project that will make your costume unforgettable. Let’s get glowing! ✨
Activity At-a-Glance
- Best For 👨👩👧👦: Costume creation, DIY electronics learning, creative crafting session, family project.
- Time Required ⏳: Approx. 1.5 – 2 hours
- Budget Level 💵: Moderate
- Spookiness Level 🕷️: Low (enhances spooky costumes rather than being spooky itself)
What You’ll Need for Your Light-Up Gloves 📋
Here’s the shopping list for our electrifying little project. You can find most of these items at craft stores or online electronics shops.
- 🧤 A pair of plain gloves (fabric works best, thin cotton or fleece)
- 💡 Small LEDs (3-5mm, any color, 4-8 per glove recommended)
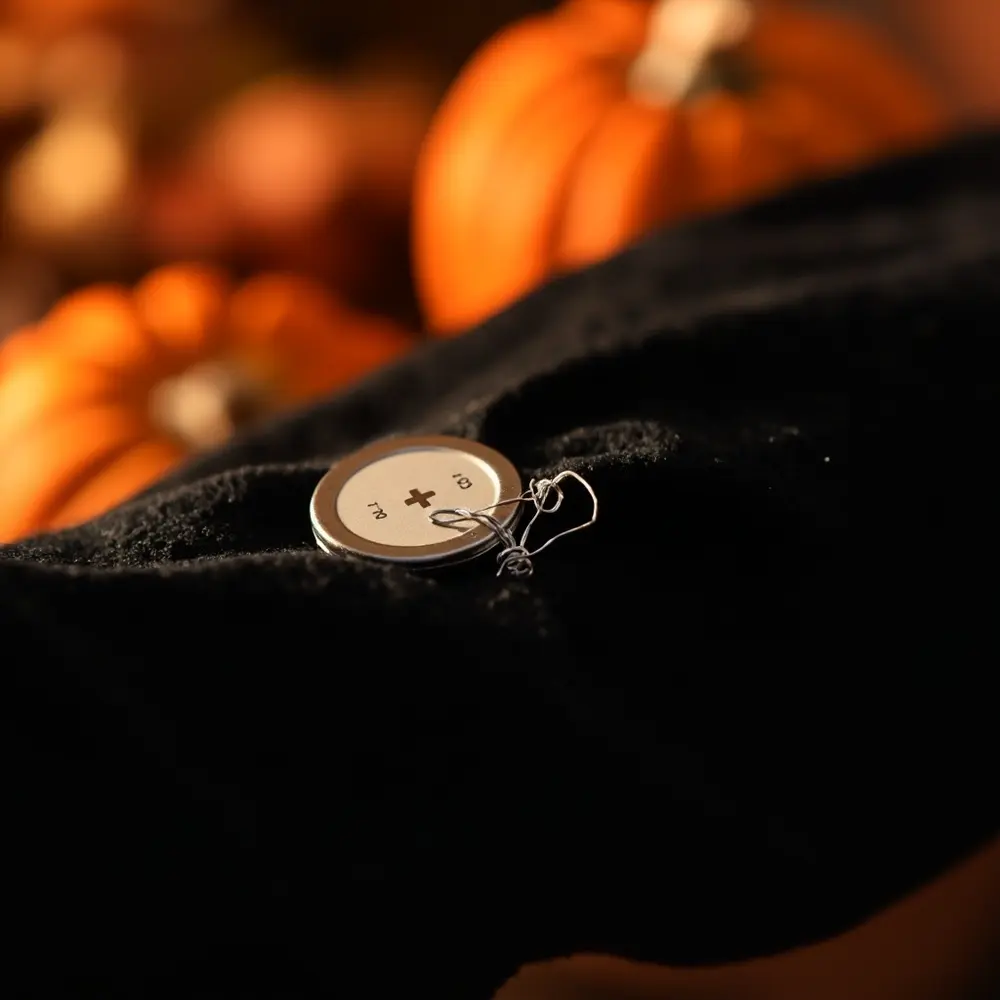
- 🔋 Coin cell batteries (e.g., CR2032, one per glove)
- 🔌 Coin cell battery holders (optional, but highly recommended for beginners!)
- 🧵 Conductive thread or conductive fabric tape
- 🪡 Sewing needle (if you’re using conductive thread)
- ✂️ Scissors
- 🛠️ Small pliers or tweezers (super helpful for handling tiny parts)
- ✍️ Optional: Fabric marker or chalk for planning, hot glue gun (for securing components)
Preparation & Setup: Creating the Spooky Scene
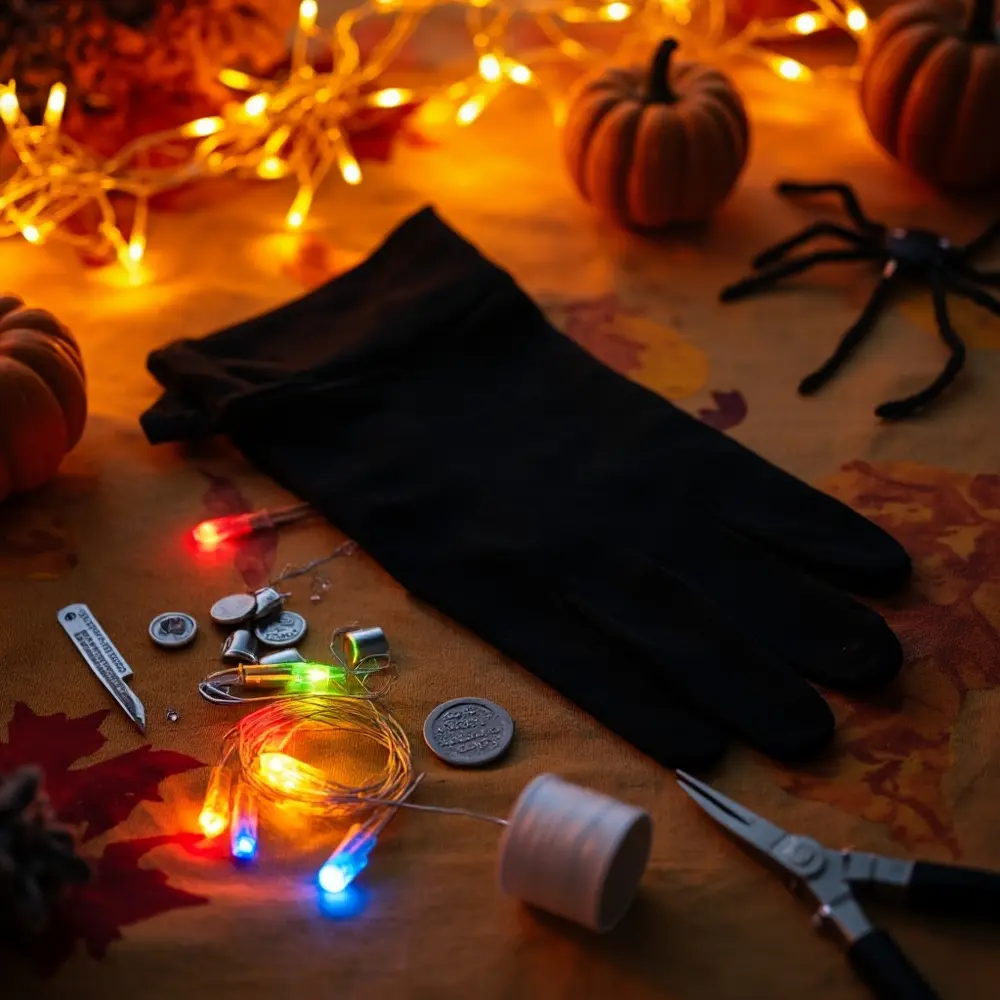
Before we dive into the mad science, let’s set up our laboratory! Find a clean, well-lit workspace where you won’t be disturbed. I usually put on a spooky Halloween playlist to get in the mood. Lay out all your materials on a table so you can see everything at a glance. Good lighting is key here, since we’ll be working with some tiny components.
Pro Tip 💡: Last year, I spent ten minutes on my hands and knees looking for a runaway LED. Trust me on this one! Organize all your small components—LEDs, batteries, holders—into small dishes or a tackle box. It keeps everything sorted and prevents your precious parts from vanishing into another dimension.
Image-1: A bright, top-down shot of a clean craft table with all the necessary materials neatly arranged: a pair of black gloves, a small pile of colored LEDs, coin cell batteries, battery holders, a spool of conductive thread, a needle, and scissors.
How to Make Your Light-Up Gloves: Step-by-Step 🚀
Alright, let’s bring these gloves to life! Follow along, and you’ll have a glowing masterpiece in no time.
Step 1: Gather Your Materials & Plan Your Design
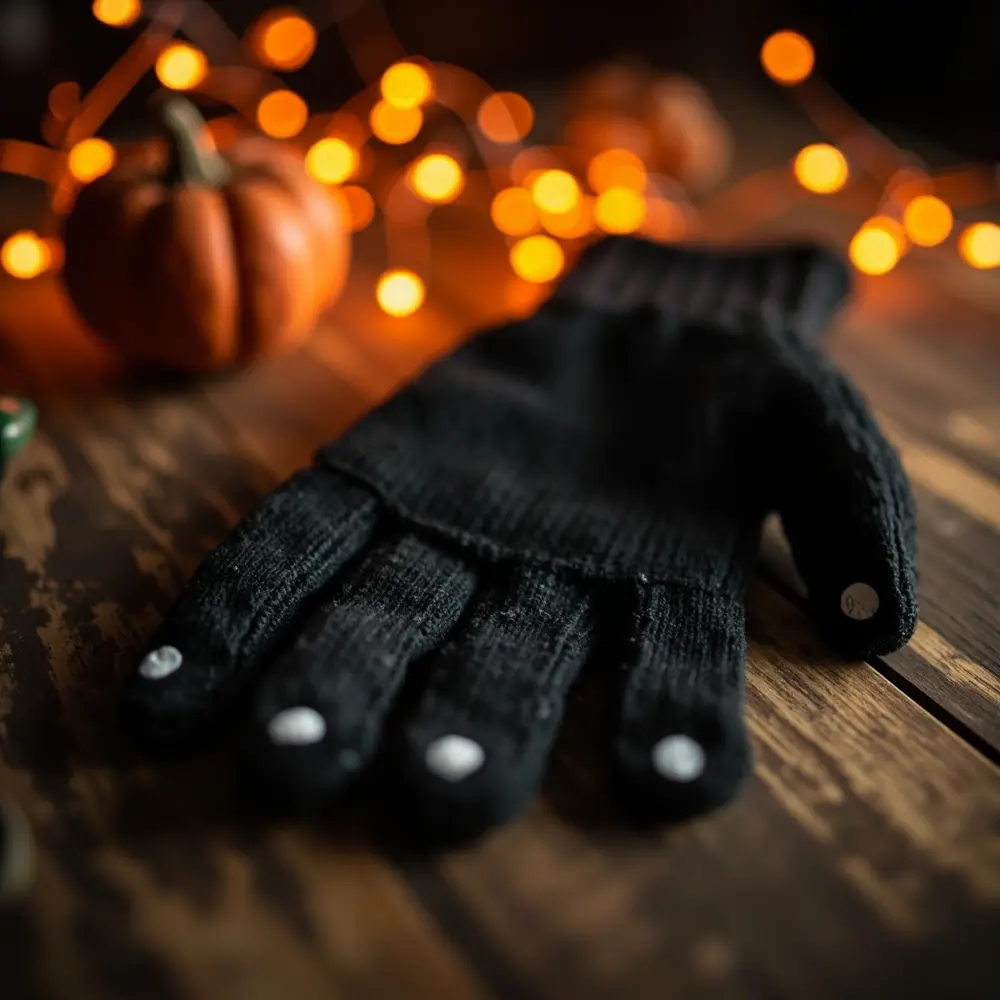
With everything laid out, take a moment to be the architect of your creation. Decide where you want each LED to go. On the fingertips? Across the knuckles? In a cool pattern? Use a fabric marker or chalk to make little dots on your gloves where each light will live. This is also a great time to understand our goal: we’re building a simple circuit. Think of it like a loop: power flows from the battery, through a path (our thread), through the light, and back to the battery, completing the circle and making the LED shine!
Image-2: A close-up shot of a black glove spread flat, with small white chalk marks on the tip of each finger, indicating where the LEDs will be placed.
Step 2: Understand LED Polarity & Basic Circuits
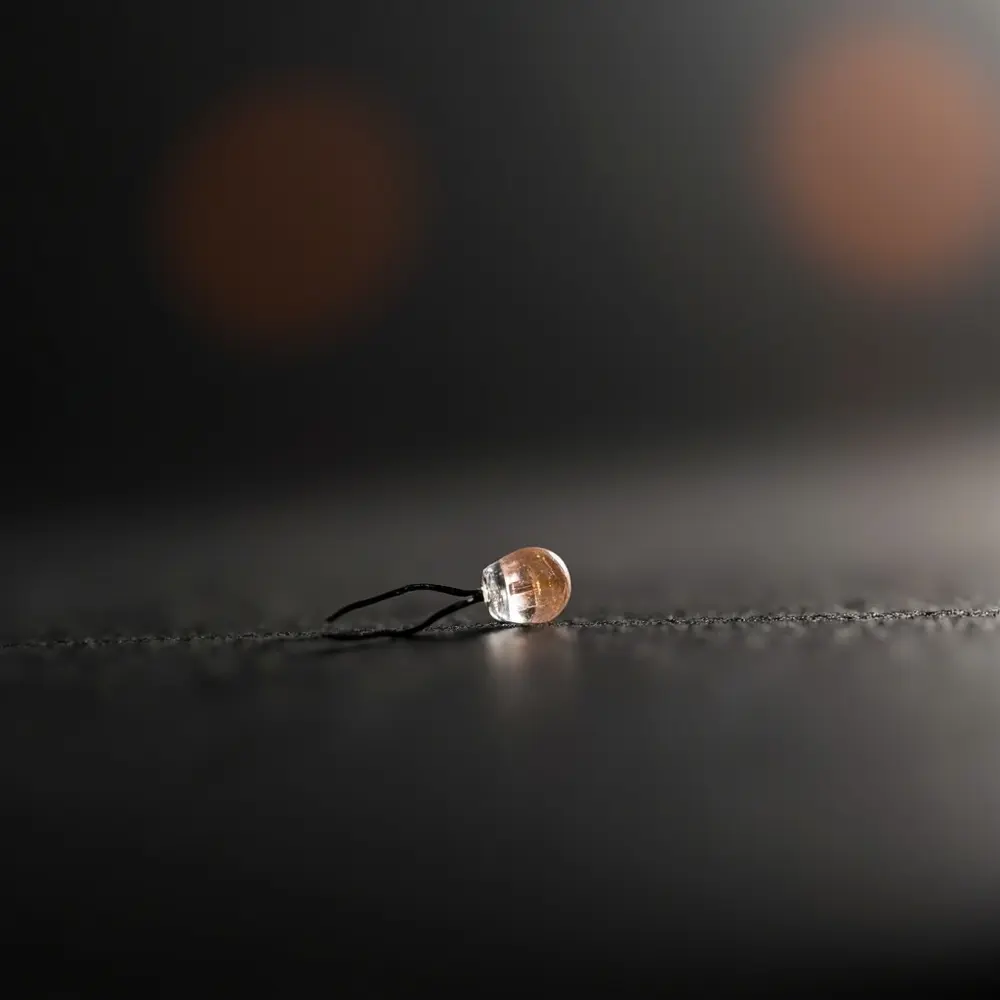
This is the most important part of any electronics project, so listen up! Every LED has two legs: a long one and a short one. The long leg is positive (+) and the short leg is negative (-). For the LED to work, the positive leg must connect to the positive side of the battery, and the negative leg must connect to the negative side. If you mix them up, it just won’t light up. Simple as that! We’ll be connecting all the positive legs together in one path and all the negative legs together in another.
Caution ⚠️: Be super careful that your positive and negative connections never touch each other directly! This is called a “short circuit,” and it can drain your battery in seconds and sometimes even make it warm to the touch.
Image-3: A macro photo showing a single 3mm LED. The longer positive leg and the shorter negative leg are clearly visible and labeled with small “+” and “-” symbols for clarity.
Step 3: Attach the LEDs to Your Gloves
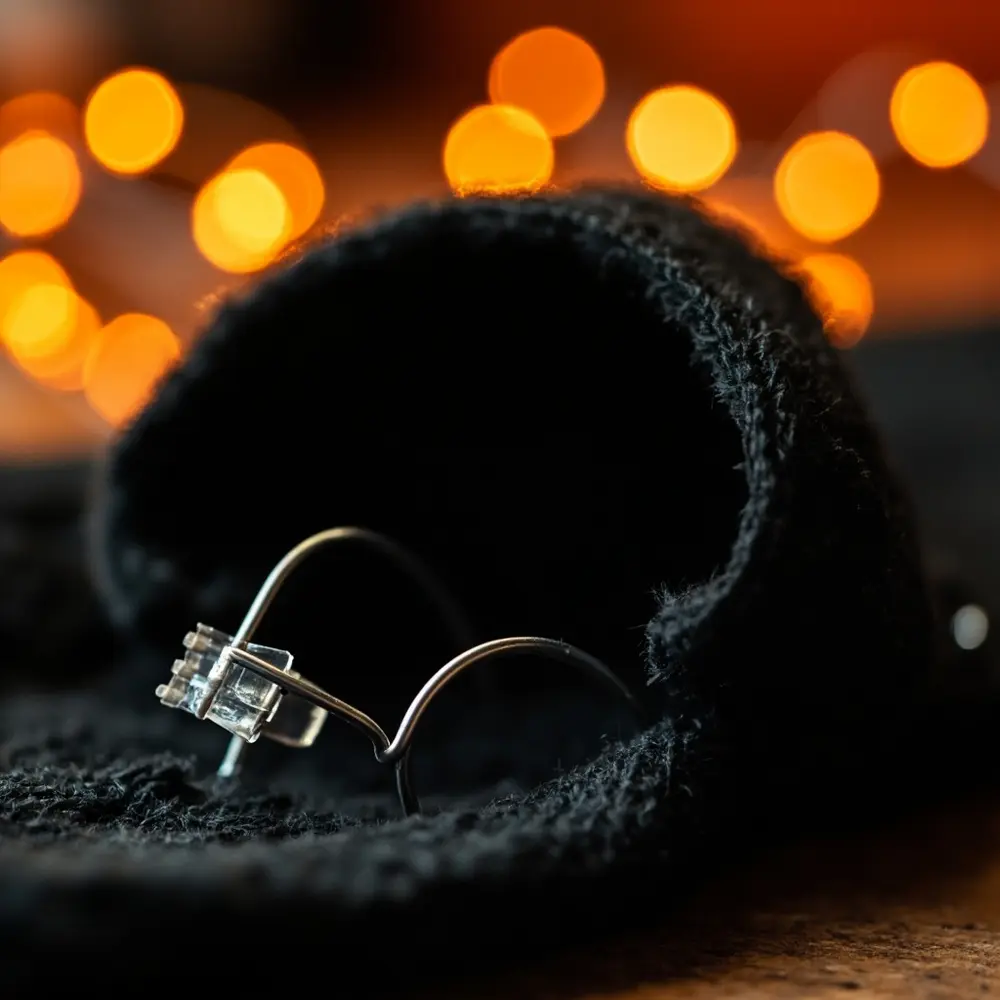
Time to start assembling! Using your needle and regular thread (or a dab of hot glue), securely attach your LEDs to the spots you marked. Poke the metal legs of the LED through the fabric to the inside of the glove. I like to use pliers to bend the legs flat against the fabric inside, making sure to bend them in opposite directions to keep the positive and negative sides separate. If you’re using sewable LEDs, they’ll have little loops you can stitch through.
Image-4: A detailed, close-up view from inside the glove, showing an LED’s two metal legs poked through the fabric. One leg is bent to the left and the other to the right, lying flat against the material.
Step 4: Stitch Your Circuit Path (Positive Side)
Let the magic stitching begin! Thread your needle with the conductive thread. Tie a good, strong knot on the inside of the glove where your battery holder will be (usually on the wrist). Now, stitch a path that connects the positive (+) side of the battery holder to the positive (long) leg of your first LED. Wrap the thread around the leg 3-4 times to ensure a solid connection. From there, continue stitching to the positive leg of the next LED, and so on, until all positive legs are linked in one continuous line of thread.
Image-5: An in-progress shot of the inside of the glove. Conductive thread is visibly stitched in a neat line, connecting the positive legs of two LEDs on adjacent fingers.
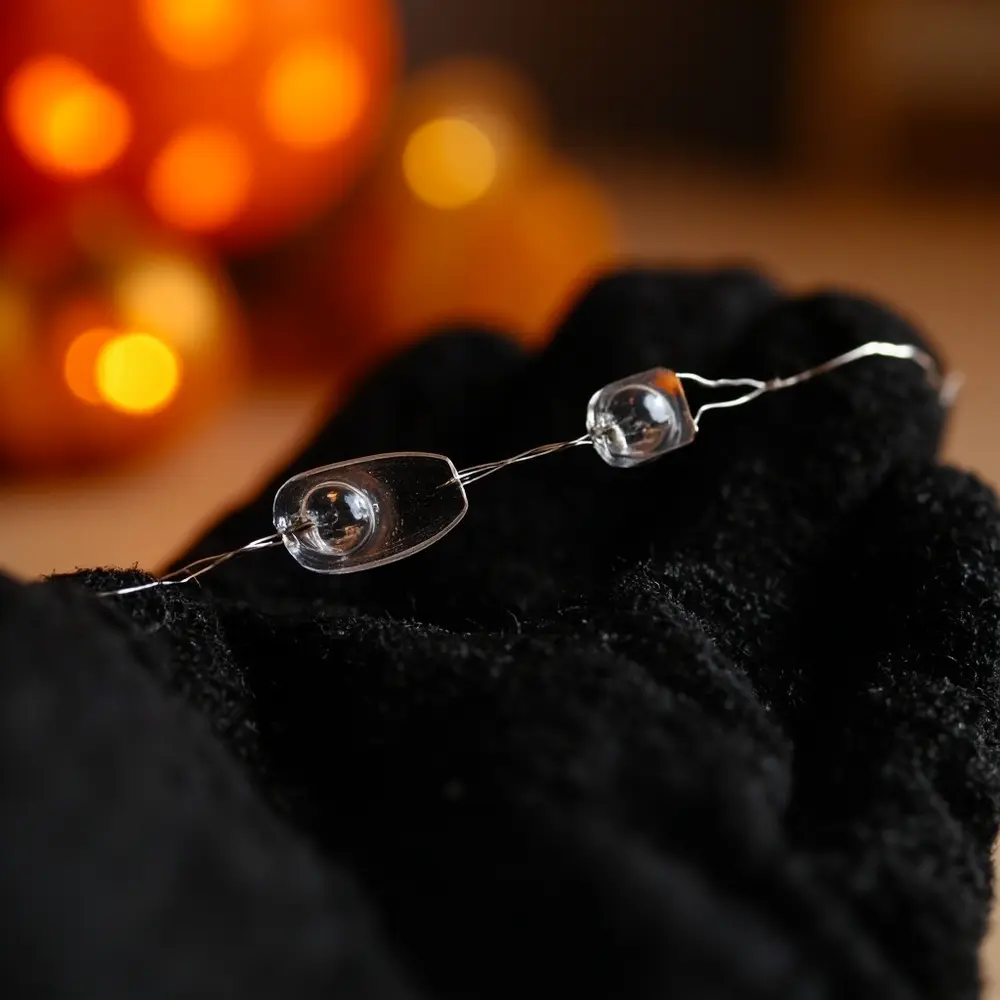
Image-6: A close-up shot focusing on the coin cell battery holder attached to the wrist area of the glove. The conductive thread from the positive circuit path is shown being tightly wrapped and knotted around the holder’s positive (+) terminal.
Step 5: Stitch Your Circuit Path (Negative Side) & Add the Battery
You’re almost there! Cut the first thread and grab a new piece of conductive thread. Just like before, tie a knot at the negative (-) side of the battery holder. Now, stitch a completely separate path connecting the negative terminal to the negative (short) leg of each LED. Again, make sure you wrap the thread securely around each leg. Remember to keep this negative path from ever touching your positive path! Once both paths are complete, you can pop the coin cell battery into the holder (positive side up!).
Caution ⚠️: Double-check your work before inserting the battery! Make sure there are no stray threads crossing between the positive and negative paths. A quick inspection now saves you a headache later.
Image-7: A clear view of the entire inside of the glove, showing two distinct, parallel paths of conductive thread. One path connects all the positive LED legs, and the other connects all the negative legs, with both paths leading back to the empty battery holder.
Step 6: Test Your Light-Up Gloves & Refine
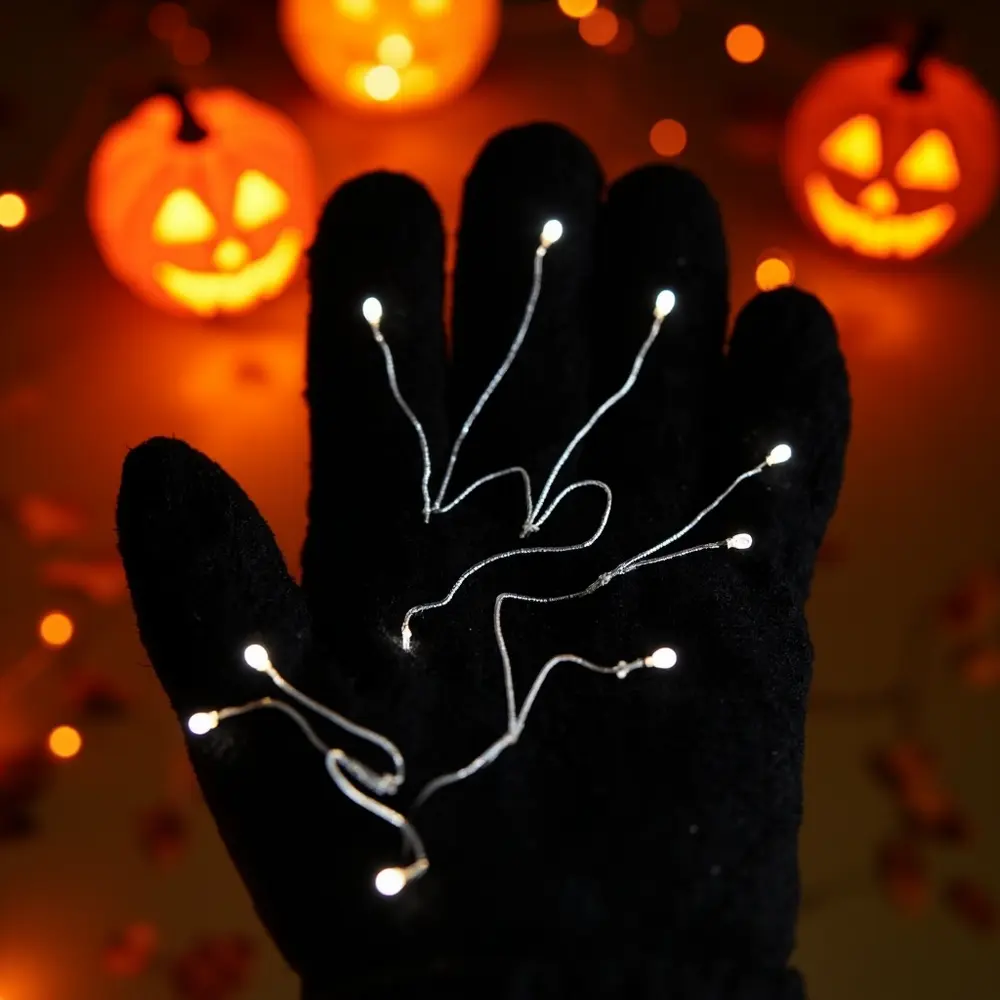
This is the moment of truth! Flip the switch on your battery holder or ensure the battery is seated correctly. Your glove should light up! If some LEDs are out, don’t worry. Gently wiggle the thread around the leg of the non-working LED to make sure the connection is tight. You might also have the polarity reversed on that one, so double-check your long and short legs. Once everything is glowing, you’re officially a wearable electronics wizard!
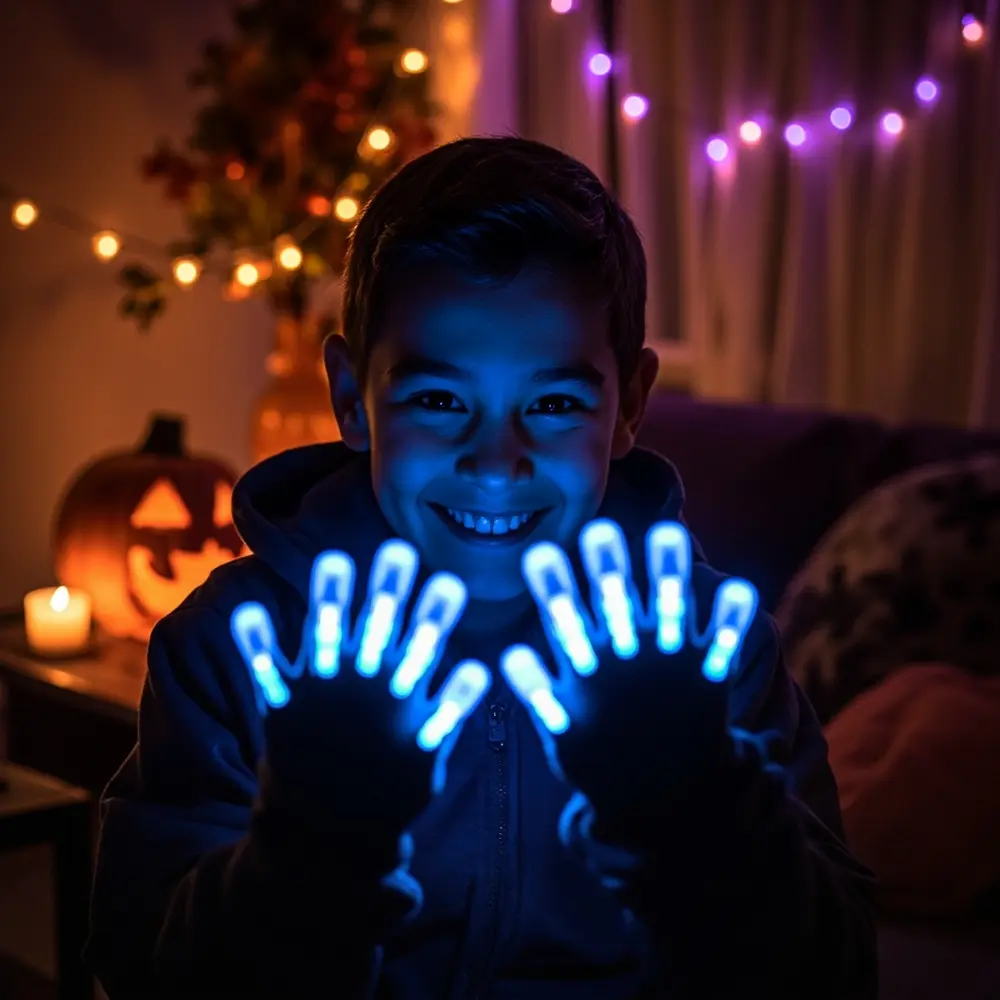
Image-8: A beautiful, slightly zoomed-out shot of a person wearing the finished, glowing gloves in a dimly lit room. The bright blue LEDs on the fingertips create a stunning, spooky effect, showcasing the complete project in all its glory.
Troubleshooting Your Wearable Circuit & Common Hurdles
Ran into a glitch in the matrix? Don’t panic! Here are some common issues and how to fix them.
- None of the LEDs light up: Check your battery. Is it inserted correctly (+ side up)? Is it a fresh battery? Also, check the connection at the battery holder—are your knots tight?
- Only some LEDs light up: This is usually a connection issue. Find the first LED in the chain that isn’t working and check its connections. The thread might be loose. A few extra stitches should do the trick! You might have also accidentally reversed the polarity on that specific LED.
- The lights flicker: A flickering light means a loose connection. Go through your circuit and gently tug on the threads to find the weak spot. Reinforce it with a few more loops of conductive thread.
- The battery gets hot or dies quickly: You have a short circuit! This means your positive and negative threads are touching somewhere. Carefully inspect your entire circuit and separate any threads that are crossed. A dab of hot glue or clear nail polish can help insulate connections.
Variations & Customizations to Haunt Your House 🧛
Now that you’re a pro, why stop at gloves?
- Different LED Colors & Types 🌈: Use flickering LEDs for a creepy candle effect or color-changing LEDs for a mystical vibe.
- Integrating into Costumes 🎩: Add lights to hats, masks, capes, or even prop weapons to take your entire costume to the next level.
- Adding a Switch 🎚️: For easier control, you can stitch a small slide switch into your circuit.
- Glow-in-the-Dark Fabric 🌟: Use glow-in-the-dark gloves as your base for a double dose of luminosity!
- More Complex Designs 🧠: Feeling brave? Try creating parallel circuits to power even more LEDs for a truly dazzling display.
Theme Twist 🕸️: Create “Spider Web Gloves” by stitching a web pattern and placing LEDs where the threads intersect. Or, make “Skeleton Hands” by placing white LEDs at the finger joints for a spooky X-ray effect!
Halloween Activity FAQs ❓
Q1: What kind of thread is “conductive thread,” and why do I need it?
Conductive thread is a special thread spun with thin strands of metal, like stainless steel or silver. This allows it to carry electricity just like a wire, but it’s flexible and sewable! It’s the magic ingredient that makes wearable electronics possible.
Q2: My lights only work sometimes. What could be wrong with my connection?
This is almost always a sign of a loose connection. Since you’ll be moving your hands around, the thread can shift. The best fix is to go back to the connection points (where the thread wraps around the LED legs or the battery holder) and add a few more tight stitches to make them extra secure.
Q3: Can I wash these gloves after I’m done using them?
Unfortunately, no. Water and electronics don’t mix! These gloves are for special occasions only. You should remove the battery when you’re not using them and spot-clean the fabric carefully if needed, avoiding the electronic components entirely.
You did it! You’ve successfully merged crafting with technology to create something truly unique. I’m so proud of the amazing, glowing masterpiece you’ve made. Last year, my niece wore a pair of these with her witch costume, and she was the talk of the neighborhood! Wear your light-up gloves with pride this Halloween, whether you’re trick-or-treating or just having fun at a party. They’re proof that with a little creativity (and a spark of electricity), you can make anything happen.
What awesome costume will you pair with your new glowing gloves? Share your ideas and photos below—I can’t wait to see what you create! 🎃
