Create a Magical Apothecary Drink Station: A Step-by-Step Guide
✨ From haunted party planning spreadsheets to sourcing the perfect gothic glassware, I’ve mastered the art of creating immersive Halloween experiences. After years as an event planner, I’ve tested, failed, and discovered the secrets to a party feature that truly wows.
😅 But I know the struggle. How do you create a stunning potion bar that isn’t just for show? How do you make drinks that look magical and taste amazing without being a professional mixologist?
👑 That’s why in this post, I’ll show you exactly how to solve these challenges with tips I’ve tested myself. Stick with me, and you’ll learn how to build an enchanting apothecary drink station that will be the talk of your party while creating magical memories with your loved ones! 🎃
Tutorial At-a-Glance
Time Required: Approx. 2-3 hours (including shopping/prep)
Budget Level: Moderate (can be adapted to low-cost with thrifted items)
Skill Level: Beginner
What You’ll Need for Your Magical Apothecary Station 🎃
✅ Assorted Glass Jars & Bottles (various sizes and shapes)
✅ Drink Dispensers (at least one, preferably with a spigot)
✅ Small Glass Vials or Test Tubes (for individual “potions”)
✅ Labels or Tags (parchment paper, cardstock)
✅ Twine or Ribbon
✅ Funnels (for easy pouring)
✅ Ice Bucket & Tongs
✅ Serving Tray or Tablecloth (themed)
✅ Decorative Elements (faux spiderwebs, dried flowers, crystals, candles, skulls, etc.)
✅ Ingredients for “Potions” (see next section)
✅ Butterfly Pea Flower Tea (dried flowers or powder)
✅ Citrus Juice (lemon, lime)
✅ Sparkling Water or Club Soda
✅ Fruit Juices (cranberry, grape, apple)
✅ Fresh Fruit & Herbs (berries, mint, rosemary)
✅ Sweeteners (simple syrup, honey)
✅ Edible Glitter or Luster Dust (optional, 👑 Nancy’s Pick: I absolutely swear by Bakell’s Tinker Dust! It’s a super-fine, food-grade edible glitter that creates a mesmerizing pearly swirl in drinks without any gritty texture. It’s completely safe and the visual impact is pure magic.)
Setting Up Your Enchanting Apothecary Station: Step-by-Step Guide 🧪
A question I get all the time from my Instagram community is, “Nancy, how do you make your party setups look so professional and put-together?” The secret isn’t spending a ton of money; it’s all about thoughtful layering and creating a journey for the eyes. As an event planner, my go-to trick for any party beverage bar is to think like a storyteller. Let’s build your story step-by-step.
Step 1: Sourcing Your Magical Vessels (Jars, Bottles, Dispensers)
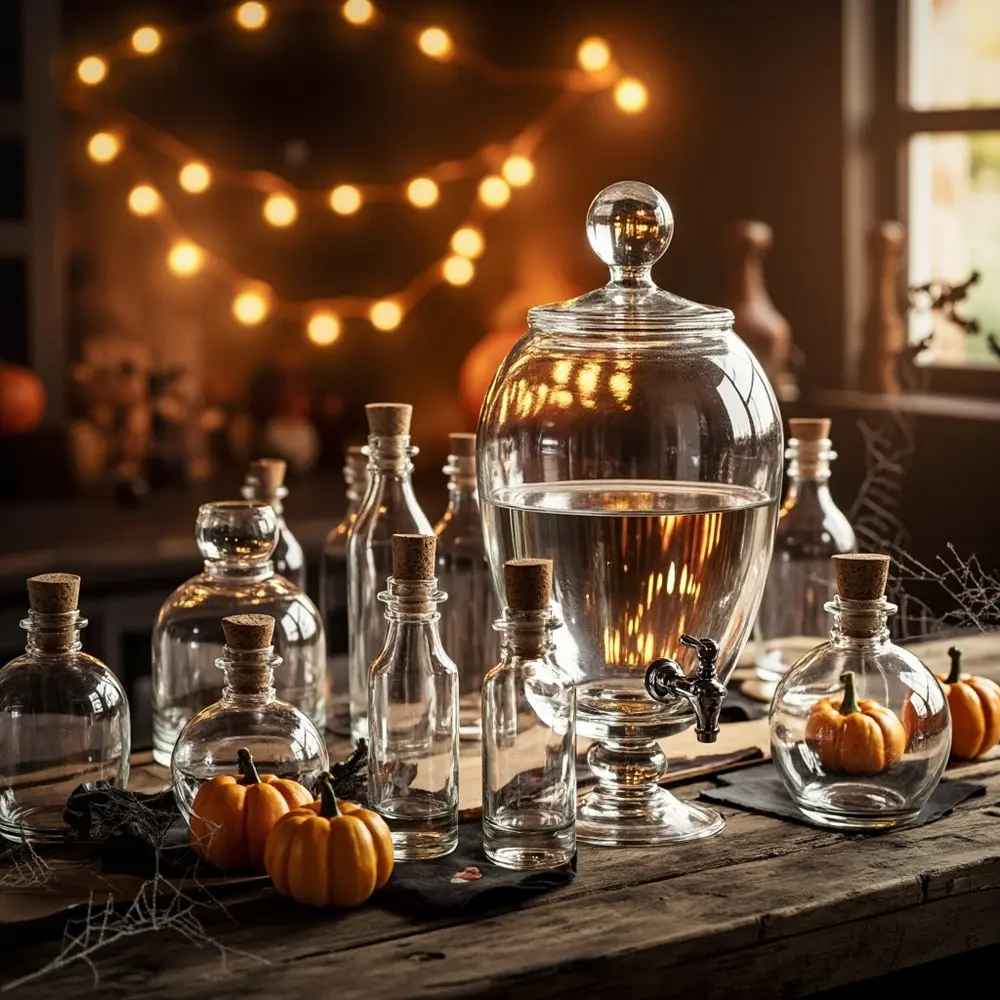
Your glassware is the foundation of the apothecary look. You want a collection that looks like it was gathered over time from a wizard’s travels. My favorite spots for this are thrift stores, antique shops, and craft stores. Look for interesting shapes, colored glass, and bottles with cork stoppers. Don’t forget a large drink dispenser for your main “brew.” Before using, make sure to wash and thoroughly sterilize everything.
[image-1: A collection of clean, empty, assorted glass jars, bottles, and a drink dispenser laid out on a table.]
Step 2: Arranging Your Altar (Layout & Decor)
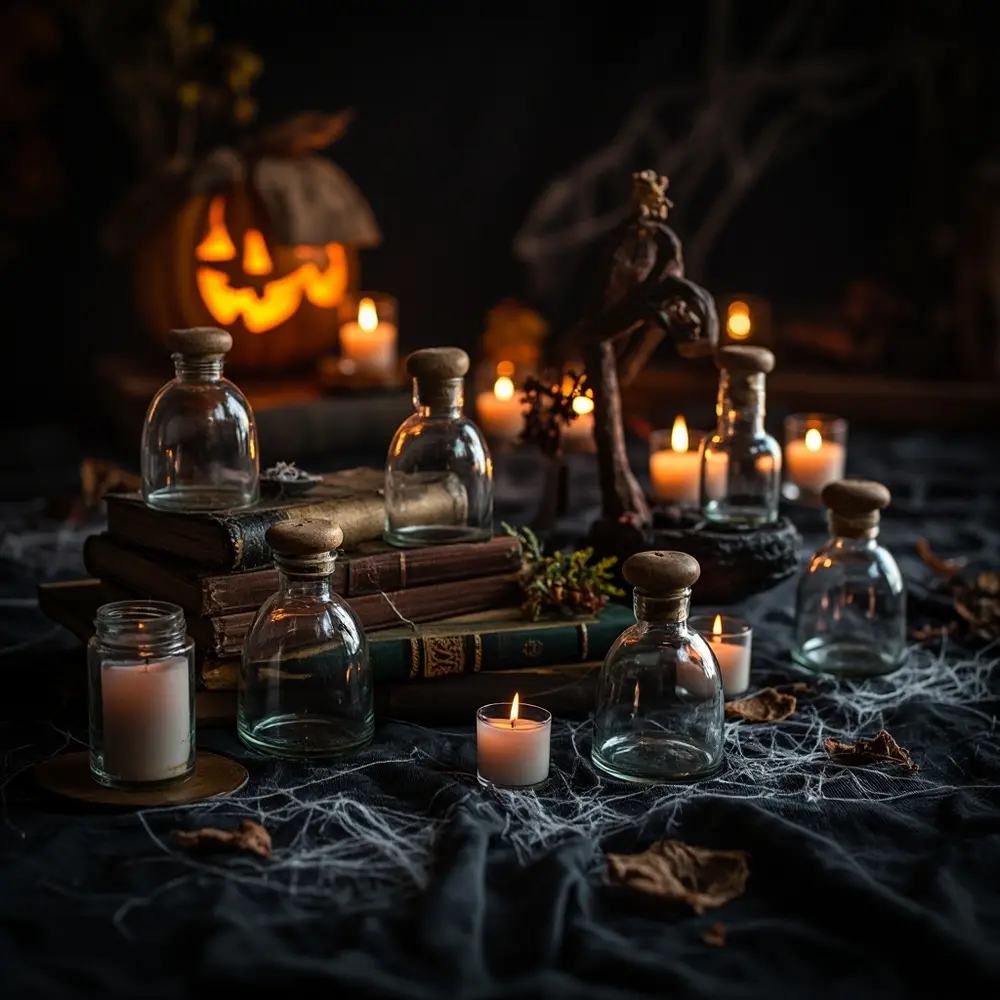
Now it’s time to set the stage. Drape your table with a dark tablecloth or a themed runner. My pro-tip is to create varying heights to make the display more dynamic. Use old books, small wooden crates, or cake stands to elevate some of your bottles. Group smaller items together and scatter your decorative elements—like faux spiderwebs, dried herbs, and candles—throughout the display. Think about the flow for your guests: place cups at one end, the main drink dispenser in the middle, and smaller “potion” ingredients nearby for mixing.
⚠️ Safety First: Ensure any heavy drink dispensers are placed on a stable, level surface away from the edge of the table, especially if little goblins and ghouls will be present. Use battery-operated candles to avoid any fire hazards.
[image-2: A partially set up apothecary station with empty jars arranged, some decorative elements, and a tablecloth.]
Step 3: Labeling Your Elixirs (Creative Signage)
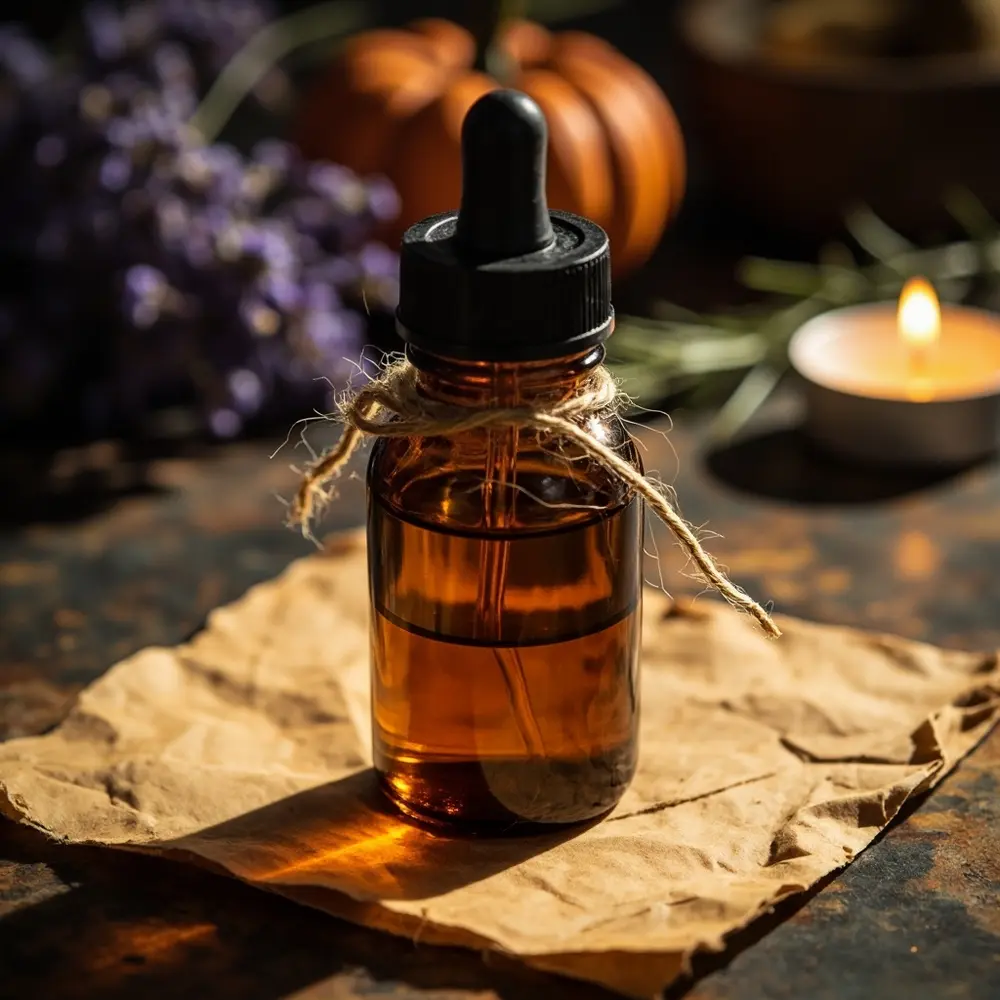
This is where the theme really comes to life! Give your drinks evocative names like “Dragon’s Breath,” “Fairy Dust Potion,” or “Witch’s Brew.” You can create labels by staining parchment paper with a damp tea bag for an aged look, then tying them to the bottles with twine. Alternatively, use adhesive labels or a chalk marker to write directly on the glass.
💡 Pro-Tip: You don’t need to be a calligraphy artist! Download a spooky, gothic, or script-style font online and print your labels directly onto cardstock or sticker paper for a polished, magical aesthetic.
[image-3: Close-up of a beautifully labeled jar or bottle on the station.]
Crafting Your Potions: Magical Drink Recipes 🎨
After styling hundreds of events, I’ve learned that the most memorable details are interactive. That’s why my favorite element of any potion bar ideas is a drink that does something magical right before your eyes. This brings us to my absolute favorite secret ingredient.
Ingredient Spotlight: Butterfly Pea Tea
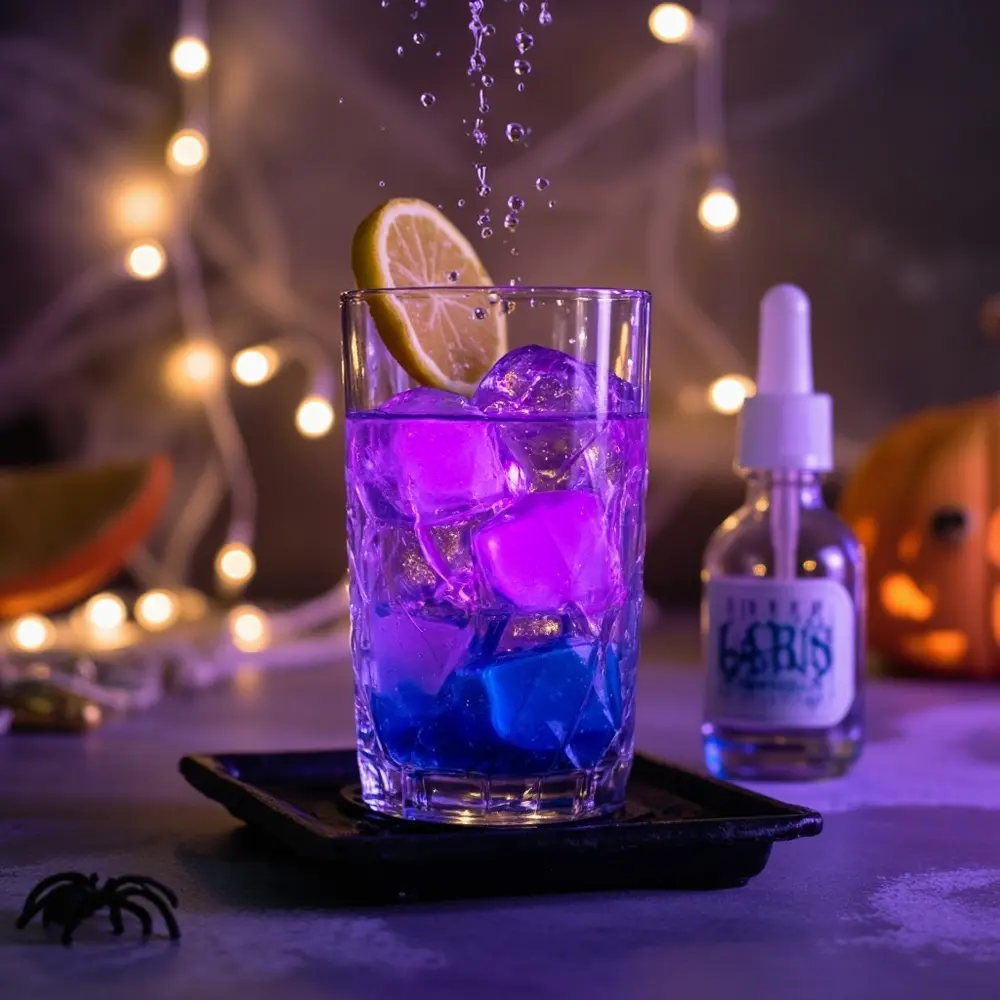
This incredible herbal tea, made from the flowers of the Clitoria ternatea plant, is the key to our showstopper potion. It brews a deep, enchanting indigo blue. But the real magic happens when you introduce an acid, like lemon or lime juice. The pH change instantly transforms the color from blue to a vibrant violet or fuchsia! It’s a simple science trick that feels like pure sorcery and will have your guests gasping.
The “Color-Changing Elixir” (Butterfly Pea Tea Potion)
This is the recipe that will make your station legendary. It’s a simple, refreshing mocktail with a stunning visual twist.
✅ Ingredients: Butterfly pea tea (brewed and chilled), lemon juice (in a small dropper bottle), simple syrup, sparkling water, ice.
✅ Steps:
- 1. Brew a strong batch of butterfly pea tea and let it cool completely in the fridge.
- 2. Fill a glass with ice.
- 3. Pour the chilled blue tea over the ice until the glass is about halfway full.
- 4. Top with sparkling water.
- 5. Let your guests add a few drops of “Truth Serum” (lemon juice) and watch the magic happen as the color instantly changes!
[image-4: A glass of the “Color-Changing Elixir” mid-transformation, showing the gradient of color from blue to purple.]
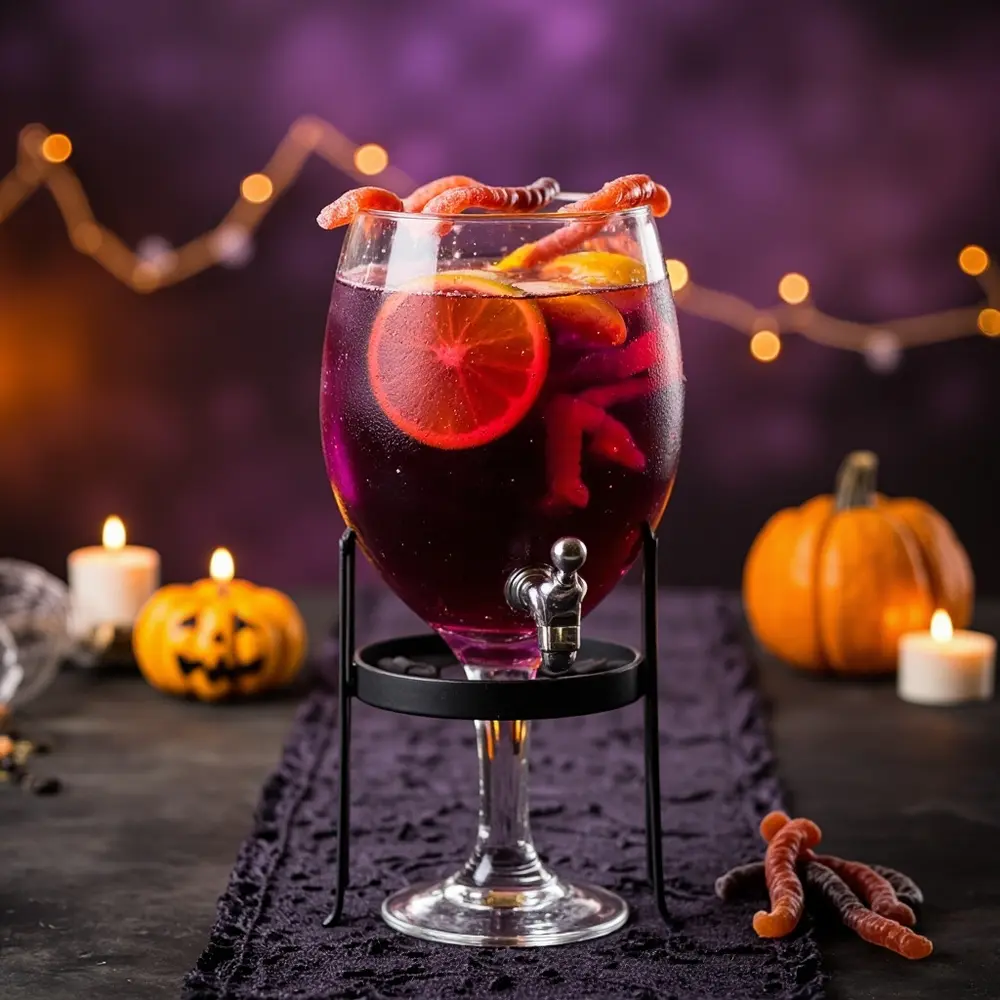
The “Sparkling Witch’s Brew” (Non-Alcoholic Punch)
A classic party punch is a must for any party beverage bar. This one is a crowd-pleaser that looks fantastic in a large dispenser.
✅ Ingredients: 1 part dark grape juice, 1 part cranberry juice, 2 parts ginger ale, sliced oranges, gummy worms (optional).
✅ Steps:
- 1. In your large drink dispenser, combine the chilled grape juice and cranberry juice.
- 2. Just before guests arrive, slowly pour in the chilled ginger ale.
- 3. Garnish with orange slices and let a few gummy worms hang over the side of the dispenser for a creepy touch.
[image-5: A large drink dispenser filled with the “Sparkling Witch’s Brew,” with fruit slices and gummy worms visible.]
The “Love Potion” (Fruity Mocktail)
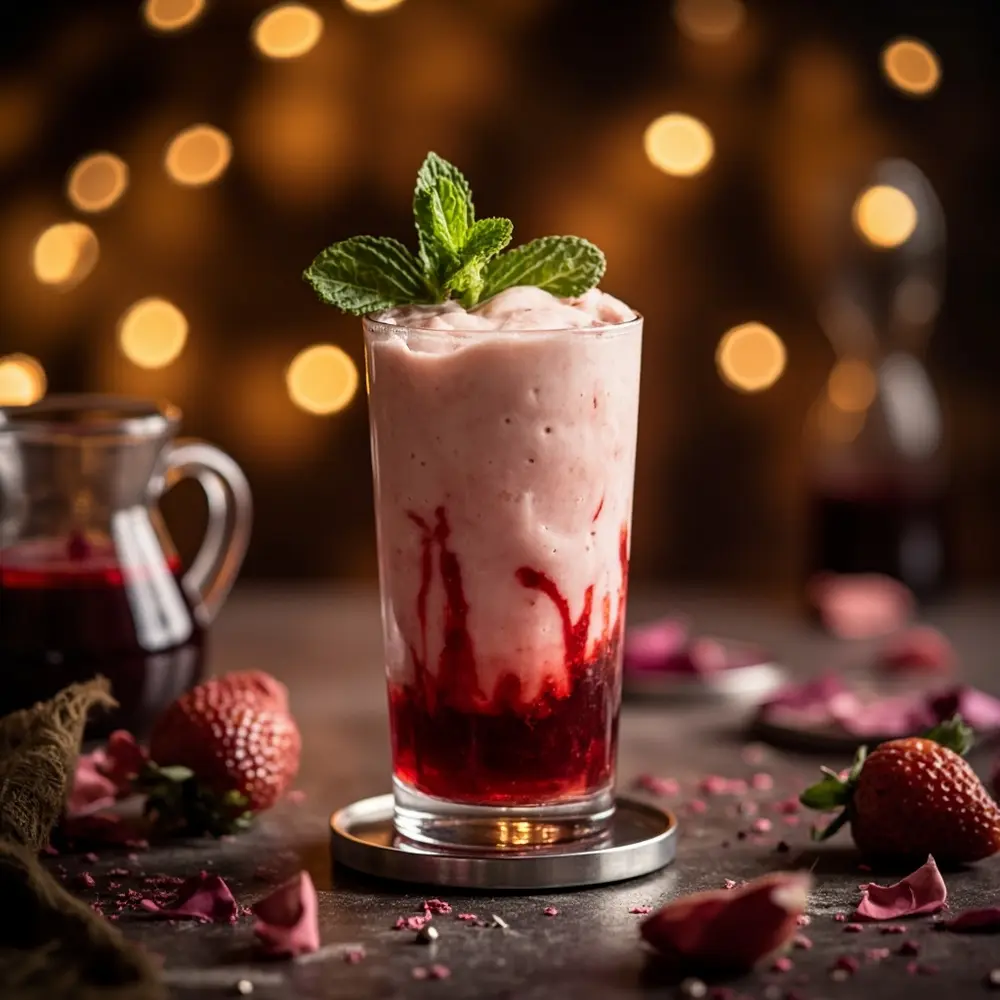
Every apothecary needs a love potion! This one is sweet, creamy, and a beautiful vibrant pink.
✅ Ingredients: Strawberry puree, pineapple juice, a splash of coconut cream, a dash of grenadine, fresh mint for garnish.
✅ Steps:
- 1. In a shaker with ice, combine the strawberry puree, pineapple juice, and coconut cream. Shake well.
- 2. Pour a tiny dash of grenadine into the bottom of each serving glass.
- 3. Gently strain the shaken mixture over the grenadine to create a layered look.
- 4. Garnish with a fresh sprig of mint.
[image-6: A close-up of a finished “Love Potion” mocktail in a fancy glass with a mint garnish.]
Variations & Customizations 👻
One of my favorite things to do for events is adapt a core idea for different themes. A great setup is endlessly versatile! After testing dozens of variations, here are a few of my favorites:
✅ Seasonal Themes: Adapt this for Christmas with “Winter Wonderland Elixirs” using cranberry and rosemary, for Valentine’s Day with more “Love Potions,” or for a specific fantasy theme like a Harry Potter potion bar.
✅ Adult-Friendly: For a grown-up party, offer suggestions for adding spirits. A high-quality gin is a fantastic addition to the Color-Changing Elixir, and a dark rum pairs beautifully with the Witch’s Brew.
✅ Budget-Friendly: You don’t need to spend a fortune. Use empty spaghetti sauce jars, print labels on regular paper and age them with tea, and forage for natural decor like interesting twigs or dried leaves.
✅ Kid-Focused: For a children’s party, use non-breakable containers, add extra fun garnishes like gummy eyeballs and rock candy stirrers, and stick to simpler, sweeter mocktail bar ideas.
Magical Apothecary Station FAQs 🤔
Q1: How can I keep the drinks cold throughout a long party without diluting them?
My go-to trick is to make oversized ice cubes by freezing water in silicone muffin tins or small Tupperware containers. They melt much slower than regular ice cubes. You can also freeze some of the fruit juice (like grape juice) into ice cubes to add to the punch, which adds flavor instead of watering it down as it melts.
Q2: What are some good alternatives if I can’t find butterfly pea tea?
If you can’t find butterfly pea tea, you can create a similar magical effect with hibiscus tea, which brews a deep red and will change to a brighter pink with citrus. For a different approach, use a clear base like white grape juice or sparkling lemonade and provide small dropper bottles of different colored food coloring for guests to mix their own “potions.”
Q3: My labels keep falling off due to condensation; what’s the best way to secure them?
This is a classic party-planning problem! The best solution is to skip adhesive labels on chilled dispensers. Instead, tie your aged paper tags on with twine or ribbon. For a more durable option, you can buy waterproof vinyl sticker paper to print your labels on, or simply use a permanent chalk marker to write directly on the glass.
I hope this guide helps you brew up some serious magic at your next gathering! Building a themed drink station is all about creativity and having fun with the details.
What magical potion name will you be creating for your station? Let me know in the comments below
