DIY Recycled Monster & Ghost Piñatas: A Spooktacular Step-by-Step Guide
✨ After hosting countless seasonal workshops teaching my favorite DIY Halloween hacks, I’ve mastered the art of turning everyday trash into spooky treasure. There’s nothing more satisfying than creating something amazing from scratch, and this eco-friendly party craft is one of my all-time favorites.
😅 But I know the struggle: How do you create a fun, memorable party activity without breaking the bank or buying tons of plastic? You want something unique and hands-on, but the thought of a complicated craft can feel overwhelming.
👑 That’s why in this post, I’ll show you exactly how to create an amazing monster or ghost piñata using materials you already have at home. Stick with me, and you’ll learn how to craft a show-stopping, sustainable decoration while creating magical memories with your loved ones! 🎃
Tutorial At-a-Glance
Time Required: Approx. 2-3 hours (plus drying time)
Budget Level: Low-Cost
Skill Level: Intermediate (requires patience for papier-mâché)
What You’ll Need for Your Spooky Piñata Project 🎃
✅ Recycled Cardboard (cereal boxes, shipping boxes, paper towel rolls)
✅ Newspaper or Junk Mail (for papier-mâché strips)
✅ Flour & Water (for papier-mâché paste)
✅ Scissors or Craft Knife (⚠️ Safety First: Adult supervision required for cutting cardboard and newspaper!)
✅ String or Rope (for hanging the piñata)
✅ Craft Glue or Hot Glue Gun (👑 Nancy’s Pick: A low-temp hot glue gun is ideal for quick assembly of cardboard shapes and securing decorations, but always use with caution and adult supervision.)
✅ Tissue Paper, Crepe Paper, or Paint (for decorating the piñata)
✅ Googly Eyes, Felt Scraps, Construction Paper, Markers (for monster/ghost features)
✅ Candy or Small Toys (for filling)
Crafting Your Recycled Piñata Base: The Papier-Mâché Magic ♻️
A question I get all the time from my community is how to make Halloween more sustainable. This project is my favorite answer! Using recycled materials for your piñata project aligns perfectly with a sustainability focus, making your celebration both fun and environmentally conscious. You’re not just making a party game; you’re giving old boxes and mail a second, spookier life.
Step 1: Design and Construct Your Piñata Shape
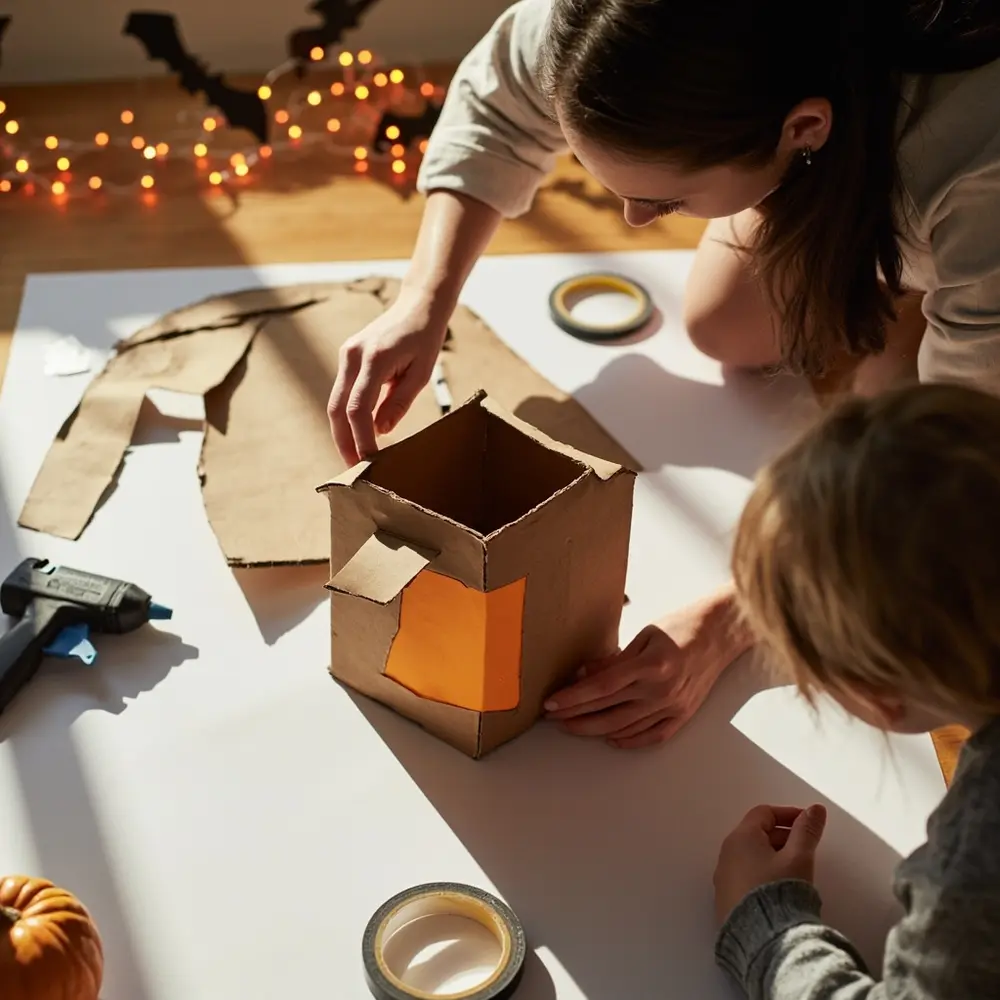
First, let’s build the skeleton of your creature. Cut your recycled cardboard and begin taping it together into your desired shape. For a monster, you can create a simple cube, a cylinder from an oatmeal container, or even a wacky, irregular blob. For a ghost, try shaping a rounded top that tapers down toward the bottom. The most important part of this step is to create a small flap or opening that you can seal later. This will be your secret door for filling it with treats!
[Image Placement Instruction: image-1: Various recycled cardboard pieces being cut and taped together to form a basic piñata shape (e.g., a cube for a monster, a rounded form for a ghost), showing the opening for candy.]
Step 2: Prepare Your Papier-Mâché Paste and Newspaper Strips
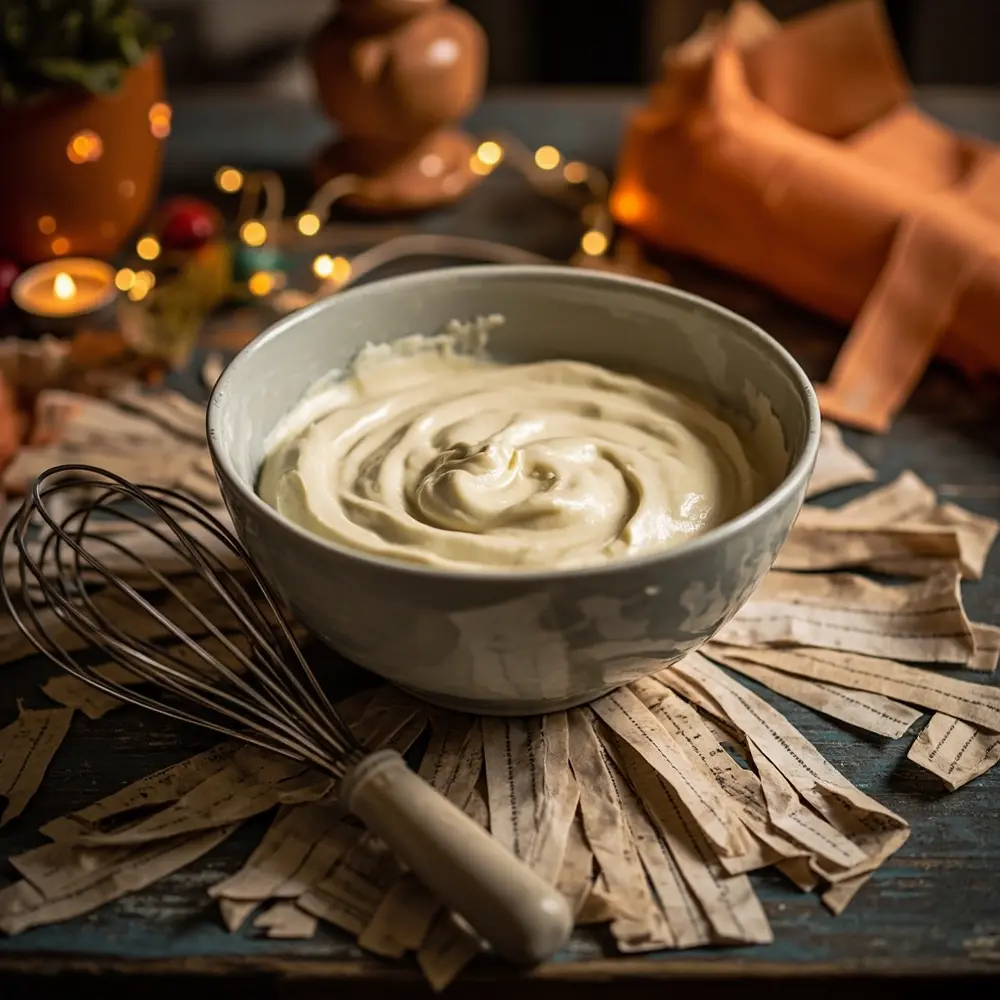
Now for the wonderfully messy part! In a bowl, mix one part flour with two parts water until you have a smooth, pancake-batter-like consistency. My go-to trick for a lump-free paste is to add the water slowly while whisking continuously. Next, tear your newspaper or junk mail into strips about one inch wide. Tearing instead of cutting gives the strips feathered edges, which blend together more smoothly.
[Image Placement Instruction: image-2: A bowl of smooth papier-mâché paste with a stack of torn newspaper strips ready for dipping.]
Step 3: Apply the Papier-Mâché Layers
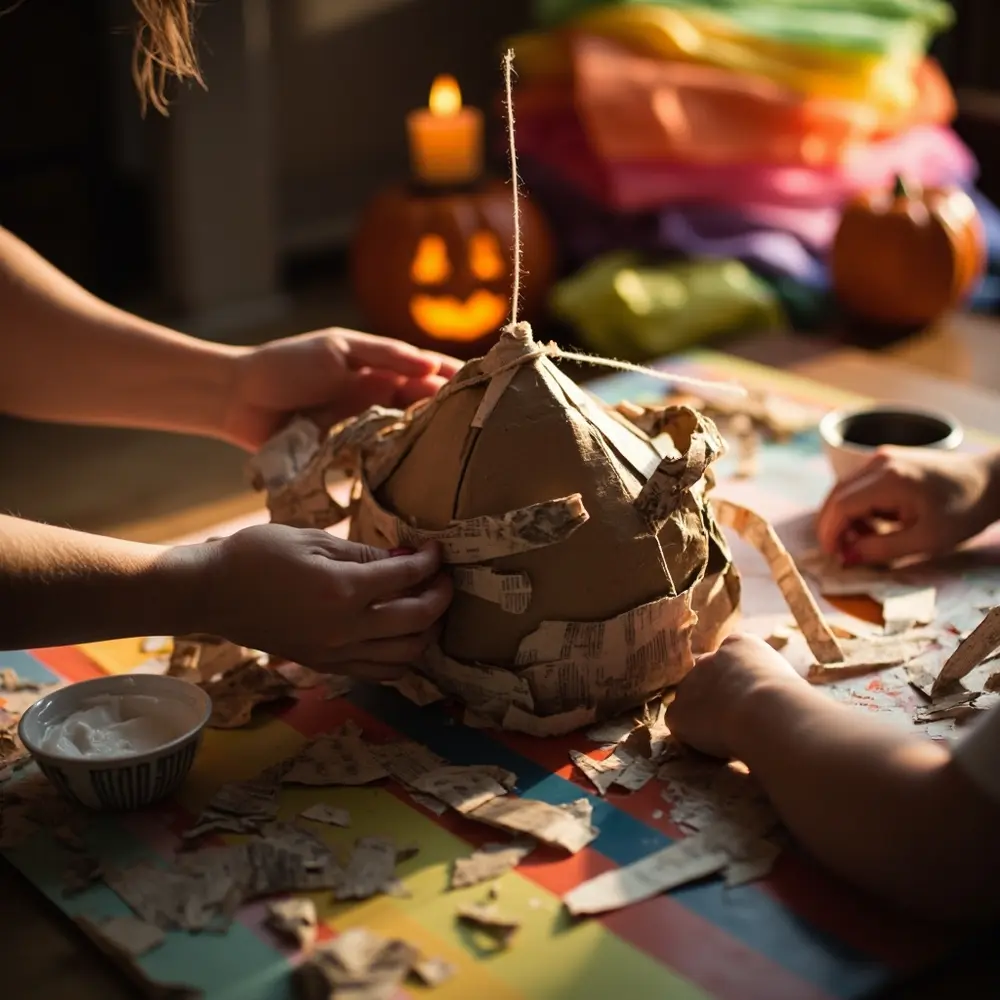
Dip a newspaper strip into the paste, run it between your fingers to wipe off the excess, and apply it smoothly onto your cardboard base. Overlap each strip slightly to create a strong, seamless shell. Cover the entire shape with one full layer. For a sturdy piñata that can withstand a few good whacks, you’ll need 2-3 layers, but be sure to let each layer dry completely before adding the next.
💡 Pro-Tip: To create a secure hanging point, embed a loop of strong string or rope between the first and second papier-mâché layers at the top of your piñata. Just lay the ends of the string flat and cover them with the next layer of strips. This is much stronger than trying to attach it later!
[Image Placement Instruction: image-3: Hands applying papier-mâché strips to a partially covered piñata base, showing the overlapping technique.]
Bringing Your Monster & Ghost to Life: Decorating Your Piñata 🎨
After testing dozens of decorating methods over the years, I’ve found that the key is to let the papier-mâché dry completely—I mean bone dry! If it’s even slightly damp, your paint will peel and your glue won’t stick. Patience here is everything.
Step 4: Paint or Cover Your Piñata Base
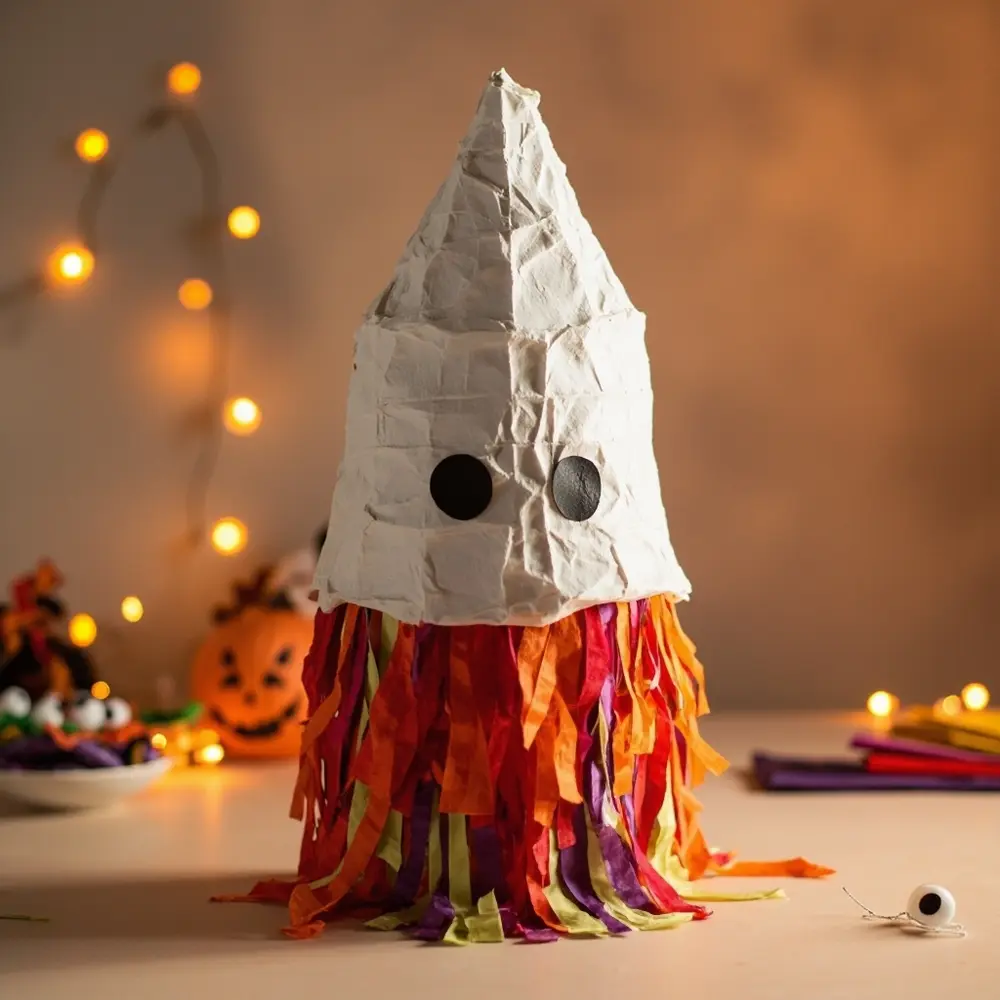
Once your piñata is hard and dry, it’s time to decorate. You can paint a solid base coat—like white for a ghost or a monstrous green or purple. Alternatively, for that classic piñata texture, cover it with fringed tissue or crepe paper. To do this, cut long strips of paper, fringe one edge with scissors, and glue them on in overlapping layers, starting from the bottom and working your way up.
[Image Placement Instruction: image-4: A fully papier-mâché-covered piñata base, either painted with a base color or with the first layer of fringed paper applied.]
Step 5: Add Spooky Features and Details
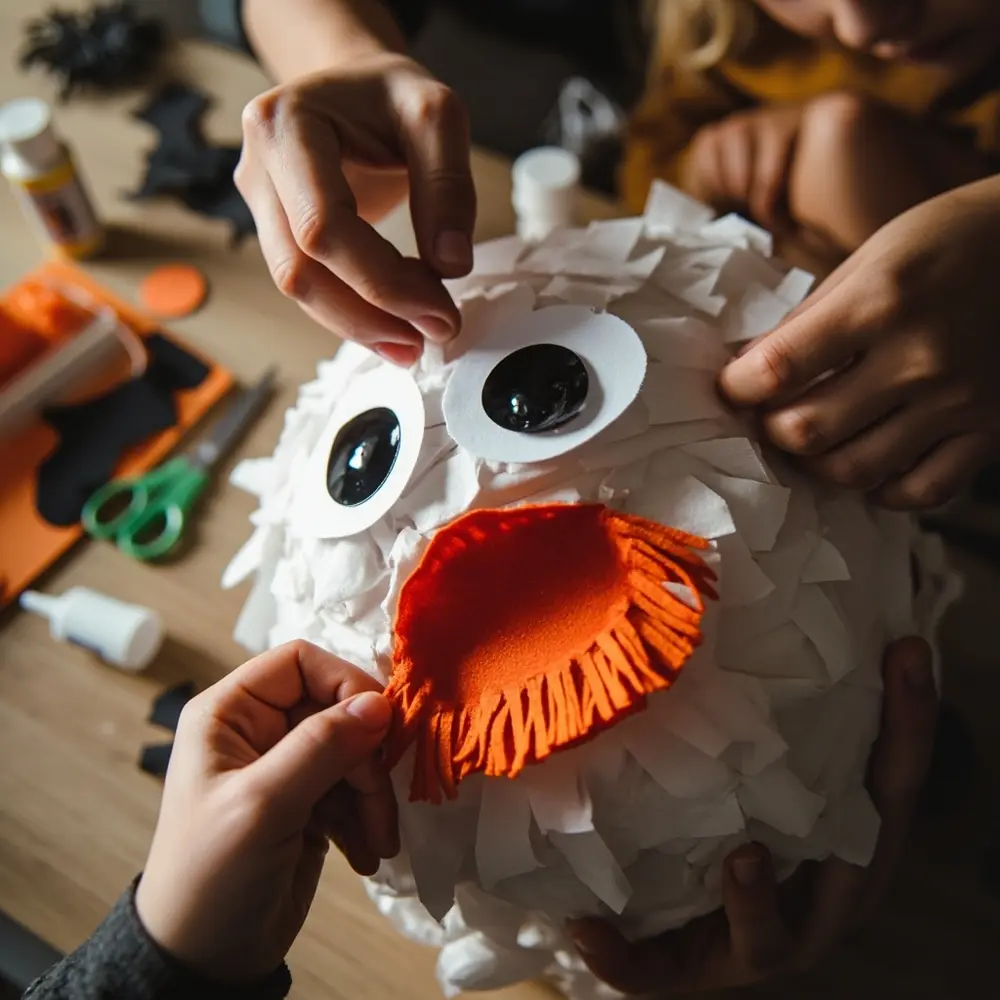
This is where your creature’s personality comes to life! For monsters, go wild with giant googly eyes, felt mouths with construction paper teeth, or cardboard horns. For a classic ghost, simple black felt ovals for eyes and a wavy mouth are perfectly spooky. Don’t be afraid to get creative—this is your unique creation!
[Image Placement Instruction: image-5: Close-up of hands attaching googly eyes and a felt mouth to a monster piñata, or black felt features to a ghost piñata, showing the details coming to life.]
Step 6: Fill with Treats and Seal the Opening
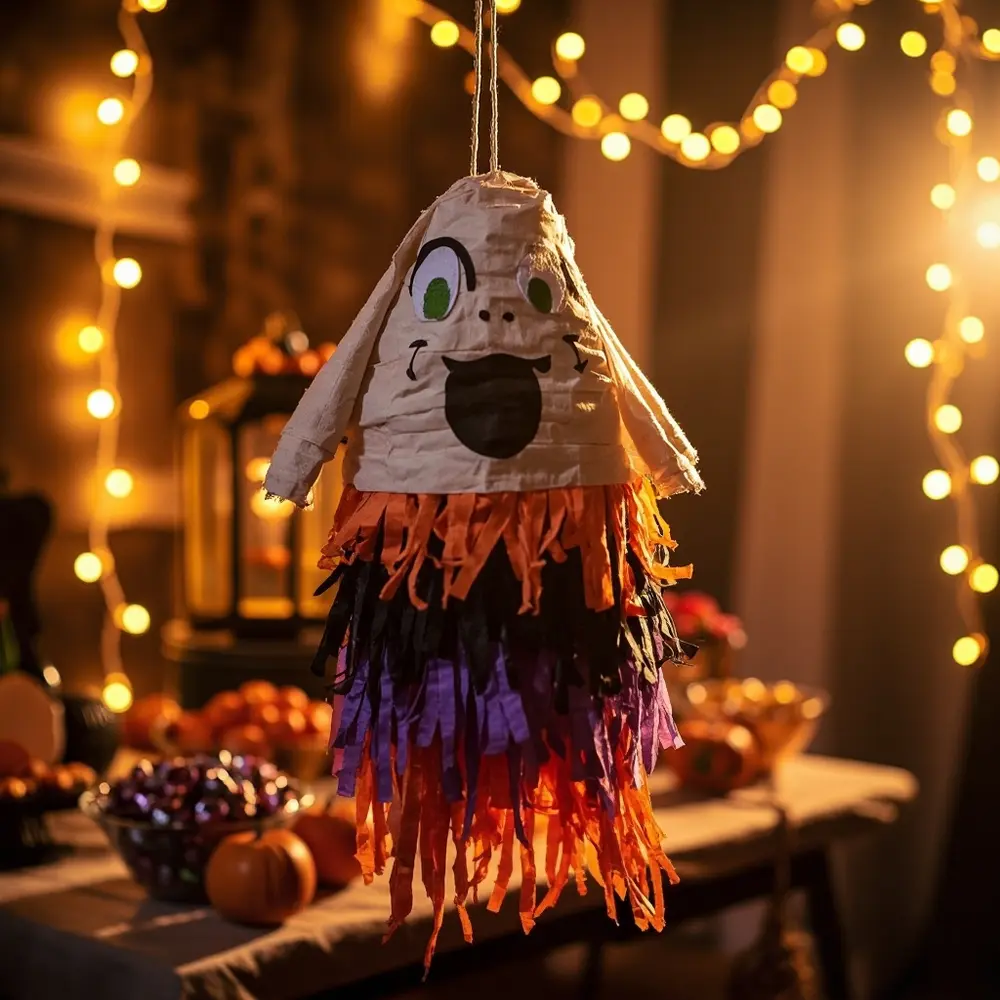
Carefully fill your piñata with candy, small toys, stickers, or other fun Halloween treats through the opening you created in Step 1. Once it’s full, securely seal the opening with a bit of tape or glue a final piece of decorated paper over it to camouflage the flap. Your spooky piñata is now ready to hang!
[Image Placement Instruction: image-6: A finished, decorated piñata hanging, filled with candy, ready for the party.]
Piñata Party Variations & Customizations 👻
- Different Monster Types: Adapt the base shape and decorations to create specific monsters like Frankenstein’s monster, a mummy, or a friendly vampire.
- Glow-in-the-Dark Ghosts: Use glow-in-the-dark paint or stick-on glow stars for an extra spooky effect, especially for evening parties.
- Mini Piñatas: Scale down the project to create small, individual piñata party favors for guests, using toilet paper rolls as a base.
- Sound Effects: Before sealing, add a few small bells or noisemakers inside for an auditory surprise when the piñata is broken.
Monster & Ghost Piñata FAQs 🤔
Q1: How can I make my piñata extra sturdy for older kids or a larger group?
For a super-strong piñata, simply add more layers of papier-mâché. Instead of 2-3 layers, go for 4-5. You can also reinforce key areas, like the top where the string is, with extra strips. Another trick is to use a slightly thicker paste (less water) for your final layers.
Q2: What are some good candy alternatives for filling piñatas, especially for younger children or those with allergies?
Absolutely! I love filling piñatas with non-candy treats. Think small bouncy balls, Halloween-themed erasers, stickers, temporary tattoos, friendship bracelets, or mini containers of slime or play-doh. Just make sure the items are lightweight and won’t break easily.
Q3: My papier-mâché isn’t drying properly or is getting moldy; what went wrong and how can I fix it?
This is a common “oops” moment, and it’s almost always caused by two things: layers that are too thick or not enough air circulation. Make sure you are wiping off excess paste and applying thin layers. To fix it, move the piñata to a well-ventilated, sunny spot. You can even use a fan on a low setting to speed up drying. If you see mold, it’s best to start over, as the structure might be compromised.
Now you have everything you need to create a fantastic, eco-friendly piñata for your Halloween bash. It’s a wonderful way to get creative and make something truly unique for your celebration.
What kind of monster or ghost will you create? Let me know in the comments below
