How to Create Moody Rustic Fall Wedding Decor (Easy DIY Guide)
✨ From styling spooky-chic weddings to creating elaborate party themes, I’ve spent over a decade as an event planner and stylist mastering the art of atmosphere. I’ve learned how to transform a simple space into a breathtaking experience—testing, fixing fails, and discovering solutions that actually work.
😅 But I know the struggle. How do you get that gorgeous, moody rustic vibe you see on Pinterest without a massive budget? How do you make sure all your DIY fall decor projects look cohesive and professional instead of mismatched?
👑 That’s why in this post, I’ll show you exactly how to solve these challenges with my tested, step-by-step guide. Stick with me, and you’ll learn how to be your own wedding designer, creating a stunning, coordinated look that feels deeply personal and utterly magical! 🎃
Tutorial At-a-Glance
Time Required: Approx. 3-5 hours (spread over a few days for drying/planning)
Budget Level: Mid-Range (significant savings compared to professional services)
Skill Level: Beginner to Intermediate DIYer
What You’ll Need for Your Moody Rustic Fall Wedding Decor 🎃
Here is the complete shopping list for this entire suite of rustic wedding projects. My go-to trick is to buy more foliage than you think you need—it’s better to have extra for filling in gaps!
✅ Assorted Faux or Dried Fall Foliage (e.g., eucalyptus, dark berries, dried grasses)
✅ Small Pumpkins & Gourds (real or faux, in muted tones like white, sage, deep orange)
✅ Pillar Candles & Taper Candles (various heights, in dark or earthy colors)
✅ Rustic Vases or Jars (e.g., amber glass, distressed metal, or simple clear jars)
✅ Cardstock (heavyweight, in dark or earthy tones like deep green, burgundy, or kraft)
✅ White or Metallic Gel Pen / Calligraphy Pen
✅ Small Wood Slices or Cork Coasters (for place cards)
✅ Large Wood Board or Chalkboard (for welcome sign)
✅ White Paint Pen or Chalk Marker
✅ Hot Glue Gun & Glue Sticks
✅ Floral Wire & Clippers
✅ Scissors
✅ Twine or Jute String
✅ Fabric or Ribbon (e.g., velvet, burlap, or sheer in fall colors)
✅ Fabric Glue (👑 Nancy’s Pick: I always have Beacon Fabri-Tac in my kit. It grabs fast, dries crystal clear, and works on everything from delicate ribbon to wood and fabric, making it incredibly versatile for these projects.)
Your Journey to a Cohesive Moody Rustic Fall Wedding: DIY Steps 🧵
As an event planner, I’ve seen firsthand how personal touches make a wedding unforgettable. These DIY projects are more than just a way to save money; they are an opportunity to pour your love and personality into your special day. This guide empowers you to create a professionally coordinated look that is 100% you, ensuring every element tells your unique story. Let’s get crafting!
Step 1: Setting the Mood: Your Fall Wedding Vision Board
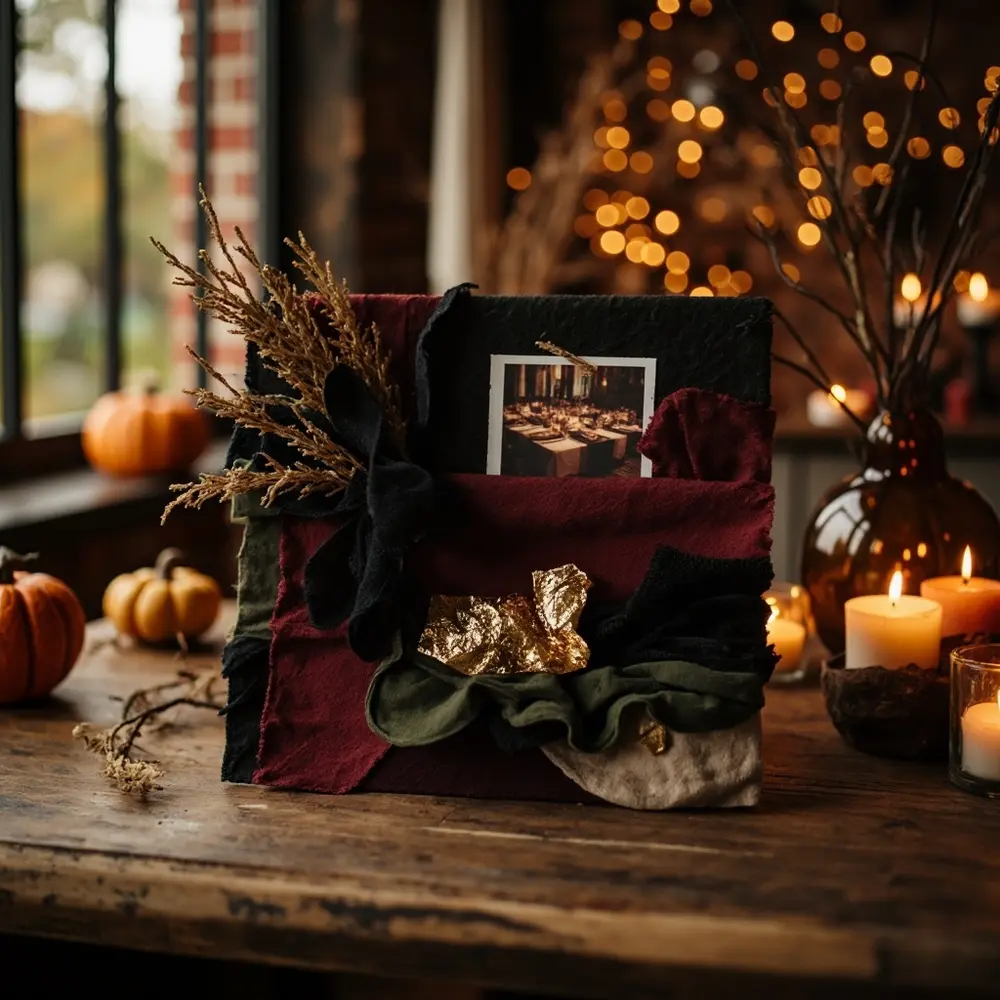
Before you buy a single pumpkin, you need a plan! A mood board is your secret weapon for achieving a cohesive, high-end look. It acts as your design blueprint, ensuring every piece of decor—from the centerpieces to the signage—feels like it belongs together.
Start by gathering inspiration. Pin images from Pinterest, tear pages from magazines, and even take photos of textures and colors you love in nature. Create a physical or digital board and focus on your core elements: a color palette (think deep burgundy, forest green, black, and warm gold), textures (velvet, raw wood, dried grasses), and specific decor items. This is where you define your “moody” aesthetic with dark fall wedding ideas, focusing on soft candlelight and rich, natural details.
[Image Placement Instruction: image-1: A beautifully curated mood board featuring dark fall colors, natural textures, candle light, and rustic elements.]
Step 2: Crafting Your Moody Rustic Centerpieces
This is where your vision starts coming to life! The key to a stunning centerpiece is layering different heights and textures.
- 1. Build Your Base: Start with your main vase. If it’s clear, you can add a few stones or even some dark-colored water for effect.
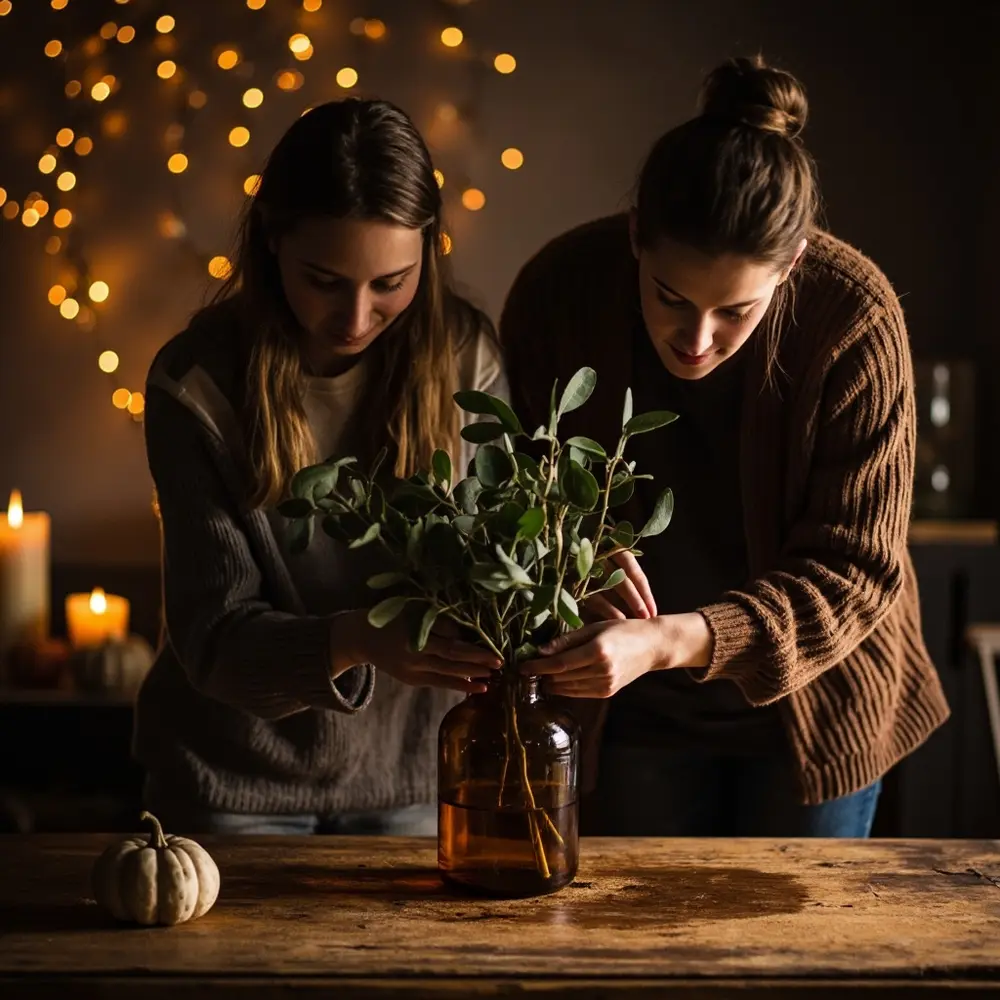
- 2. Add Greenery: Begin arranging your tallest and bushiest foliage first, like eucalyptus or dried grasses. This creates the overall shape of your arrangement. Use floral wire to bundle smaller stems together for more impact.
- 3. Incorporate Color & Texture: Next, weave in your accent pieces like dark berries or smaller, more delicate dried flowers.
- 4. Place Focal Points: Now, add your small pumpkins and gourds. Cluster them near the base of the vase, securing them with a dab of hot glue if needed.
- 5. Introduce the Glow: Finally, nestle your pillar and taper candles into the arrangement. Place them at varying heights to create visual interest and that signature moody glow.
⚠️ Safety First: Be extremely careful when using a hot glue gun, as the glue and tip can cause serious burns. When placing candles, ensure they are secure in their holders and positioned well away from any flammable materials like dried foliage or ribbons. Never leave lit candles unattended.
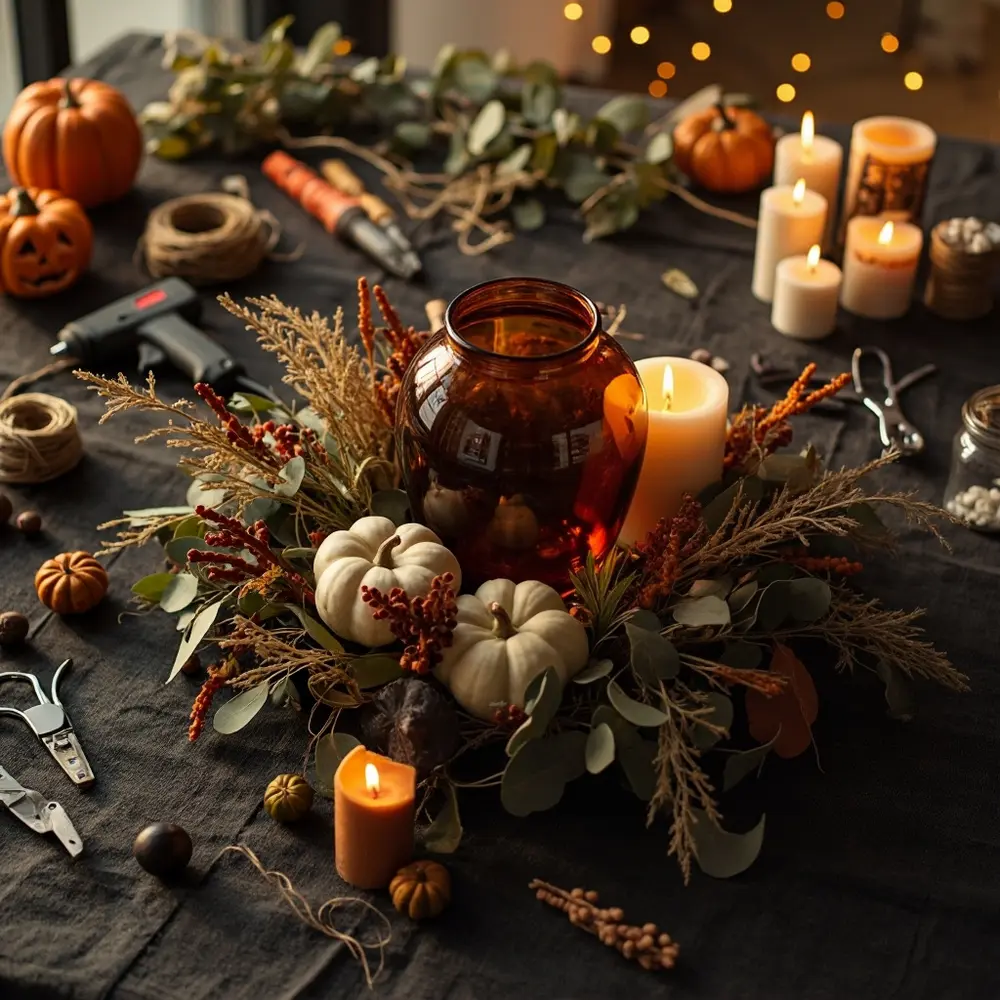
[Image Placement Instruction: image-2: A flat lay of all materials needed for one centerpiece (vase, foliage, candles, pumpkins, glue gun).]
[Image Placement Instruction: image-3: A step-by-step photo showing the arrangement of foliage and candles in a vase.]
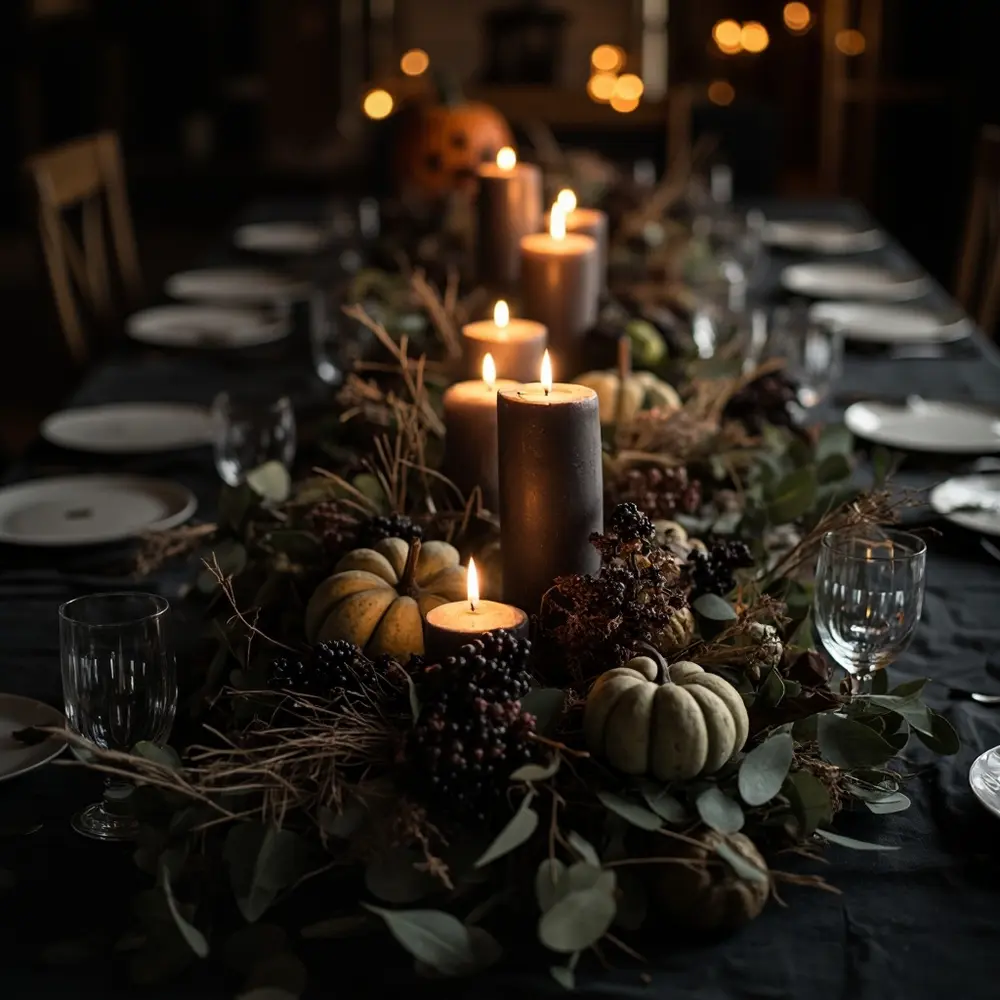
[Image Placement Instruction: image-4: A finished centerpiece, styled on a table with a dark tablecloth.]
Step 3: Elegant Fall Place Cards & Favors
These small details make a huge impact and show your guests how much you care. You can choose between rustic wood slices or elegant dark cardstock.
For wood slices, simply write each guest’s name directly onto the slice with a white or metallic paint pen. For cardstock, cut it into your desired shape (a simple rectangle or a tag shape works well) and use a gel or calligraphy pen for the names.
To tie them into your overall theme, use your hot glue gun to attach a tiny sprig of dried eucalyptus or a single dark berry to the corner of each card. These beautiful, personalized items can easily double as a take-home favor for your guests!
💡 Pro-Tip: Worried about your handwriting? No problem! Type your guests’ names in a font you love, print it out, and place it under a light source (like a window or a lightbox). Place your cardstock over the printout and trace the letters lightly in pencil before going over them with your pen. It’s a foolproof way to get a consistent, elegant look.
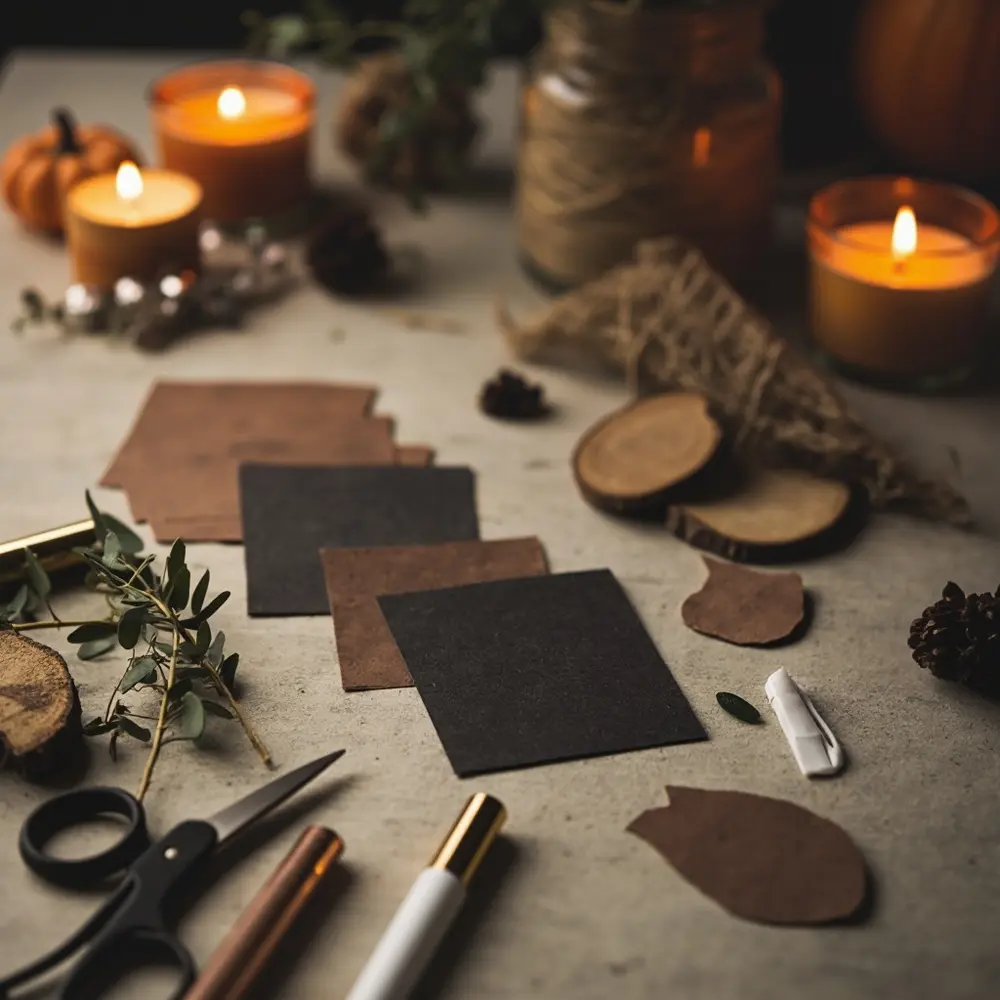
[Image Placement Instruction: image-5: Close-up of materials for place cards (cardstock, pen, wood slices, small embellishments).]
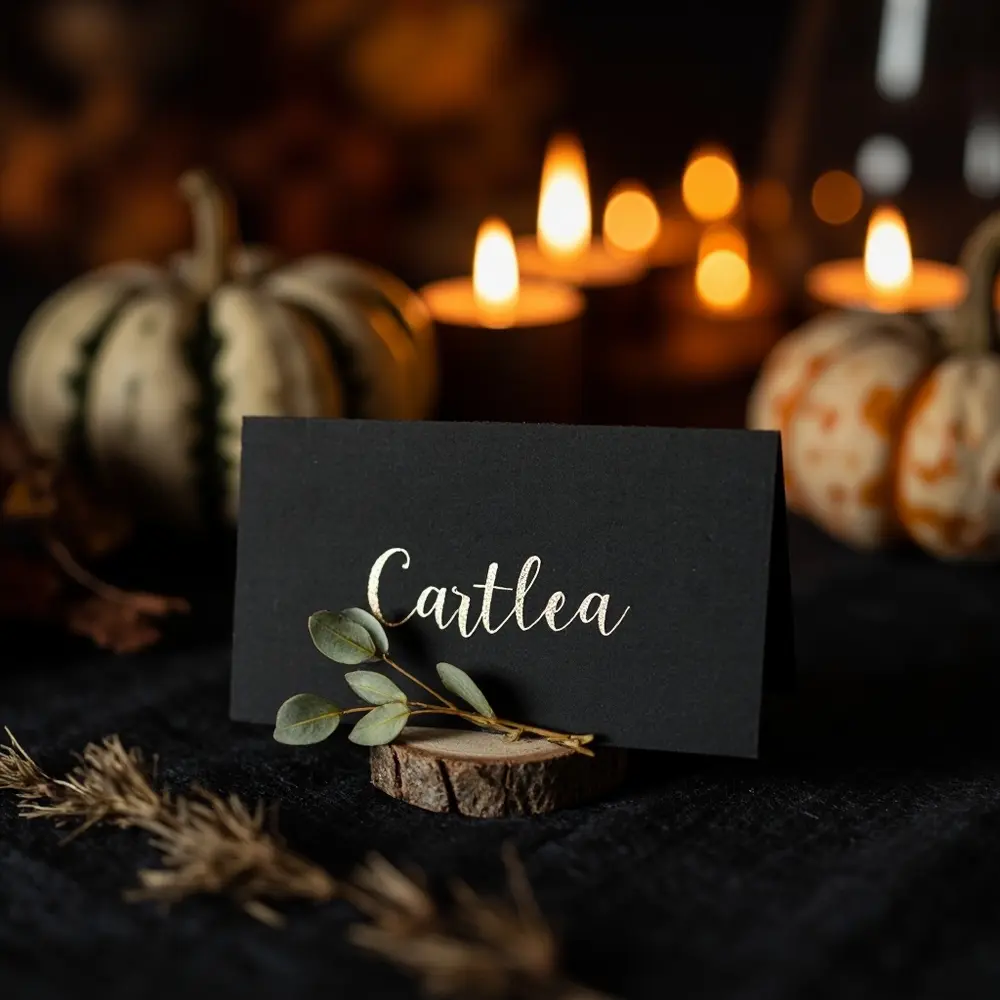
[Image Placement Instruction: image-6: A finished place card with a name and small decorative element.]
Step 4: Rustic Welcome Signage & Details
Your welcome sign is the first piece of decor your guests will see, setting the tone for the entire event.
- 1. Prep Your Surface: Make sure your wood board or chalkboard is clean and smooth.
- 2. Sketch Your Design: Lightly sketch out your wording (e.g., “Welcome to the Wedding of…”) and any decorative elements with a pencil. This allows you to perfect the spacing and layout before committing.
- 3. Paint or Draw: Carefully go over your pencil sketch with a white paint pen or chalk marker. A mistake I always see is people rushing this part—take your time and use a steady hand!
- 4. Add a Flourish: To connect the sign to your centerpieces, create a small floral swag using leftover foliage and floral wire. Attach it to one corner of the sign with hot glue or by wrapping it with twine.
You can use this same technique to create smaller signs for your guestbook, gift table, or favors station for a truly cohesive look.
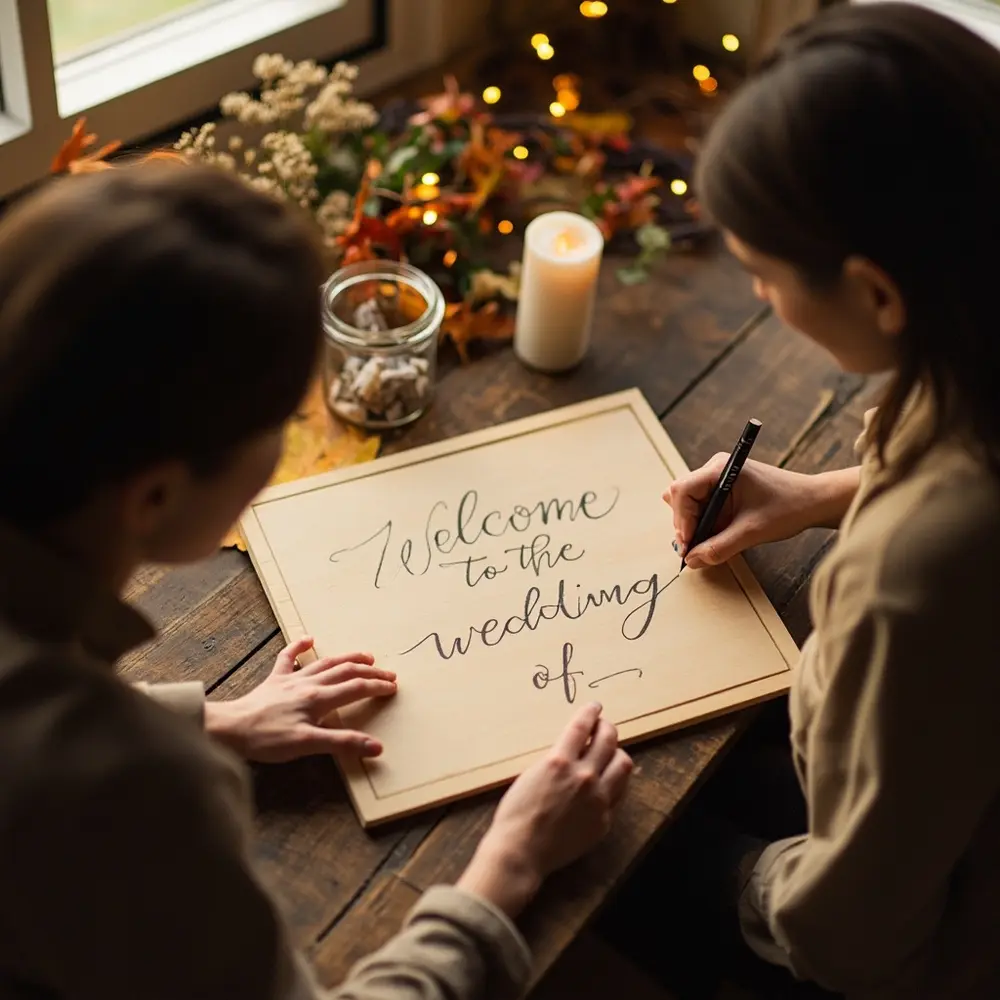
[Image Placement Instruction: image-7: A photo showing the blank wood board/chalkboard with sketching in progress.]
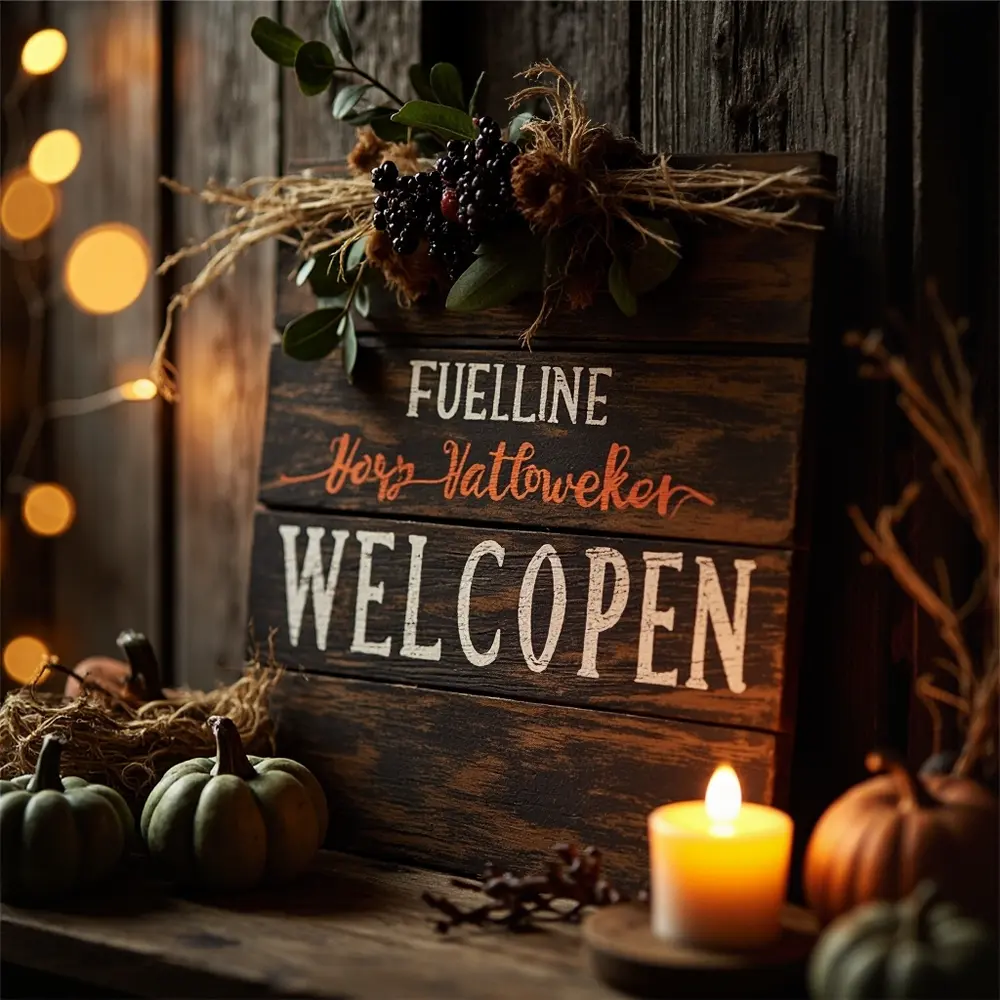
[Image Placement Instruction: image-8: The finished welcome sign, perhaps leaning against a rustic backdrop.]
Variations & Customizations 👻
One of the best parts of DIY is making it your own! Here are a few ideas to adapt this tutorial:
- Budget-Friendly Alternatives: Use real leaves and branches from your yard (press them first!), thrift store vases, or find beautiful printable templates for your signage on sites like Etsy.
- Color Palette Shift: Explore a more jewel-toned moody look with emerald, sapphire, and deep amethyst, or go for a lighter, ethereal fall aesthetic with more whites, creams, and soft grays.
- Seasonal Adaptations: Incorporate elements like pinecones and evergreen for a late fall/early winter wedding, or add brighter sunflowers and dahlias for an early fall celebration.
- Personal Touches: Tuck small photos of the couple into the centerpieces, incorporate family heirlooms like a vintage locket tied around a vase, or use lyrics from your song on the signage.
Moody Rustic Fall Wedding Decor FAQs 🤔
A question I get all the time from my community is about the logistics of DIY wedding decor. Let’s tackle the most common ones.
Q1: How far in advance can I make these DIY decor items without them looking stale?
A1: The beauty of using faux or dried foliage is that you can make almost everything months in advance! Assemble your centerpieces (without real candles), create your signage, and write your place cards whenever you have time. If you’re using any real elements like pumpkins, I’d recommend adding those in the week of the wedding to ensure they look their best.
Q2: What are the best ways to transport delicate centerpieces and signage to the venue?
A2: Transport is key! For centerpieces, I recommend using sturdy, deep boxes with dividers, like wine or liquor boxes. Pad any gaps with tissue paper or towels. For your welcome sign and other flat signage, wrap them carefully in old blankets or bubble wrap and transport them lying flat or secured upright so they can’t slide around. Always pack a “day-of emergency kit” with a hot glue gun, extra foliage, and paint pens for any last-minute touch-ups.
Q3: My handwriting isn’t great for place cards and signs; what are my options?
A3: You have so many options beyond the tracing tip I shared! You can purchase high-quality vinyl decals with your custom text from Etsy to apply to your sign. For place cards, you can find beautiful printable templates that you can customize and print directly onto your cardstock. Another great option is to use elegant letter stencils for a clean, uniform look.
Now you have the complete blueprint to create stunning, cohesive, and deeply personal moody fall wedding decor. It’s all about setting the right atmosphere to celebrate your love story.
What moody color are you most excited to use in your fall wedding decor? Let me know in the comments below
