How to Craft a Moving Skeleton Hand from Paper and Straws
Hello, ghouls and goblins! Roshan Sharma here, your friendly neighborhood Halloween fanatic. 🎃
Are you looking for a spooky season craft that goes beyond simple coloring pages? It can be tough finding an activity that holds kids’ attention and doesn’t end in a mess after five minutes. You want something that’s fun, a little bit spooky, and maybe even sneaks in a bit of learning without them noticing. 😉
Well, you’ve stumbled into the right crypt! As a long-time haunted house designer and DIY workshop leader, I’m here to share one of my all-time favorite projects: a moving skeleton hand! This craft is the perfect blend of spooky fun and simple science, guaranteeing a bone-rattling good time for the whole family. 🎉
How to Craft a Moving Skeleton Hand from Paper and Straws
Activity At-a-Glance
- Best For 👨👩👧👦: Family craft time, classroom science project, Halloween party activity
- Time Required ⏳: Approx. 45-60 minutes
- Budget Level 💰: Low-Cost
- Spookiness Level 👻: Low
What You’ll Need for Your Moving Skeleton Hand 📋
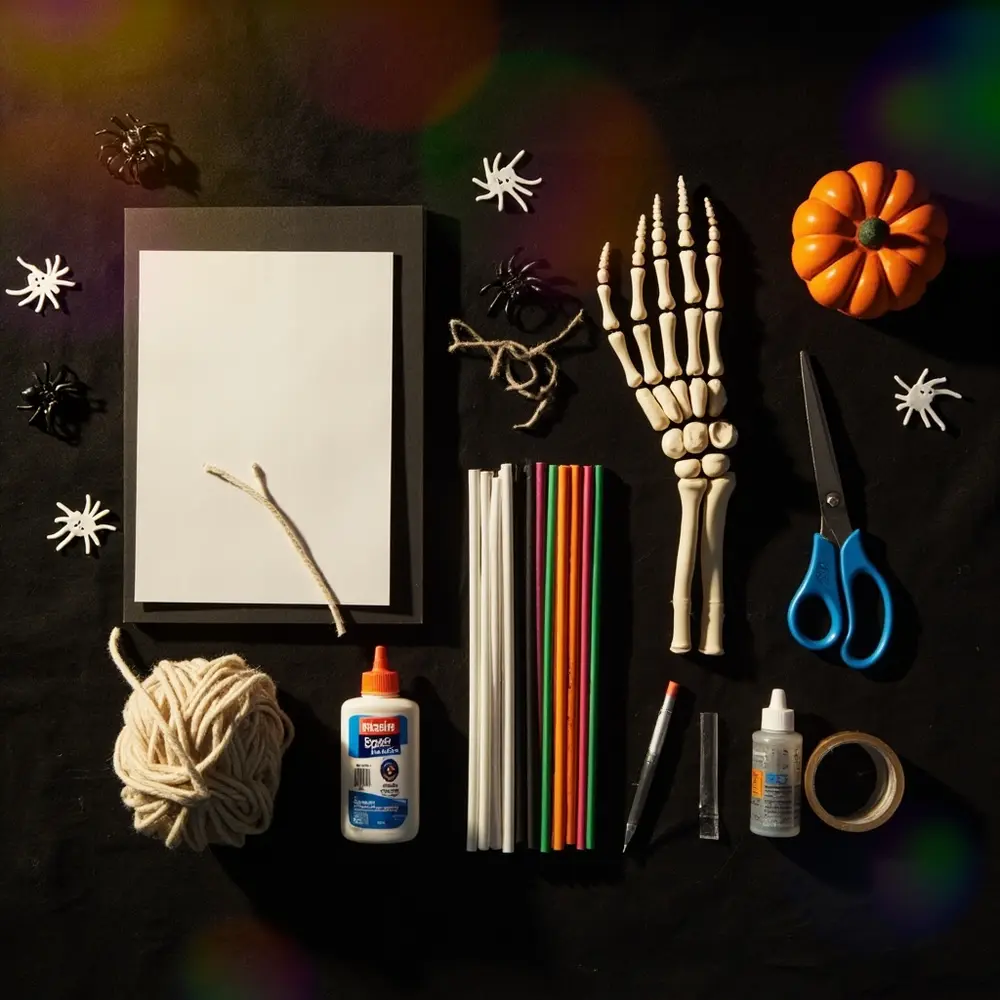
- Cardstock or thick paper (white, black, or bone-colored) 📄
- Paper straws or plastic straws 🥤
- String, yarn, or fishing line (approx. 2-3 feet per hand) 🧵
- Scissors ✂️
- Pencil ✏️
- Glue stick or craft glue
- Clear tape
- Printable skeleton hand template (optional, but I highly recommend it!)
Image-1: A neat, top-down photo showing all the required materials—cardstock, straws, string, scissors, glue, and a pencil—arranged on a dark, festive tablecloth.
Preparation & Setup: Creating the Spooky Scene 🕷️
Before we dive into the bone zone, let’s set the mood! I always find that a little atmosphere makes crafting ten times more fun. Lay down some newspaper or a craft mat to protect your table from any rogue glue.
For an extra touch of spooky fun, dim the lights and add some battery-powered candles or a few glow sticks. I love playing some mellow Halloween-themed music in the background—think movie scores or spooky ambient sounds. Last year, my niece and I put on the Hocus Pocus soundtrack and had a blast.
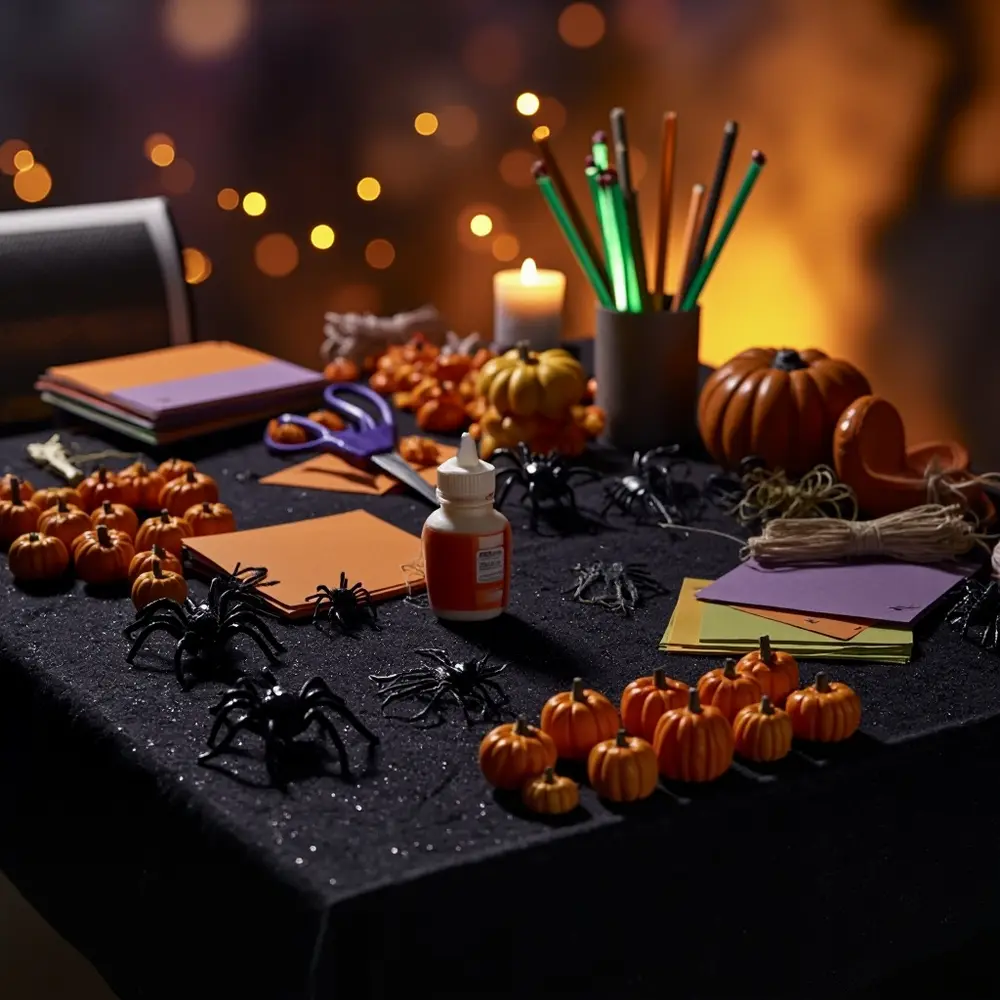
Pro Tip 💡: Use a dark tablecloth (black or deep purple) and scatter some plastic spiders or small pumpkin cutouts around the crafting area. It’s a super simple, high-impact way to make the space feel festive and ready for some monstrously good fun!
Image-2: A shot of a craft table decorated with a black tablecloth, plastic spiders, and a few small pumpkins, with the crafting supplies in the center.
How to Lead the Craft: Step-by-Step 🚀
Step 1: Gather Your Materials & Trace the Hand
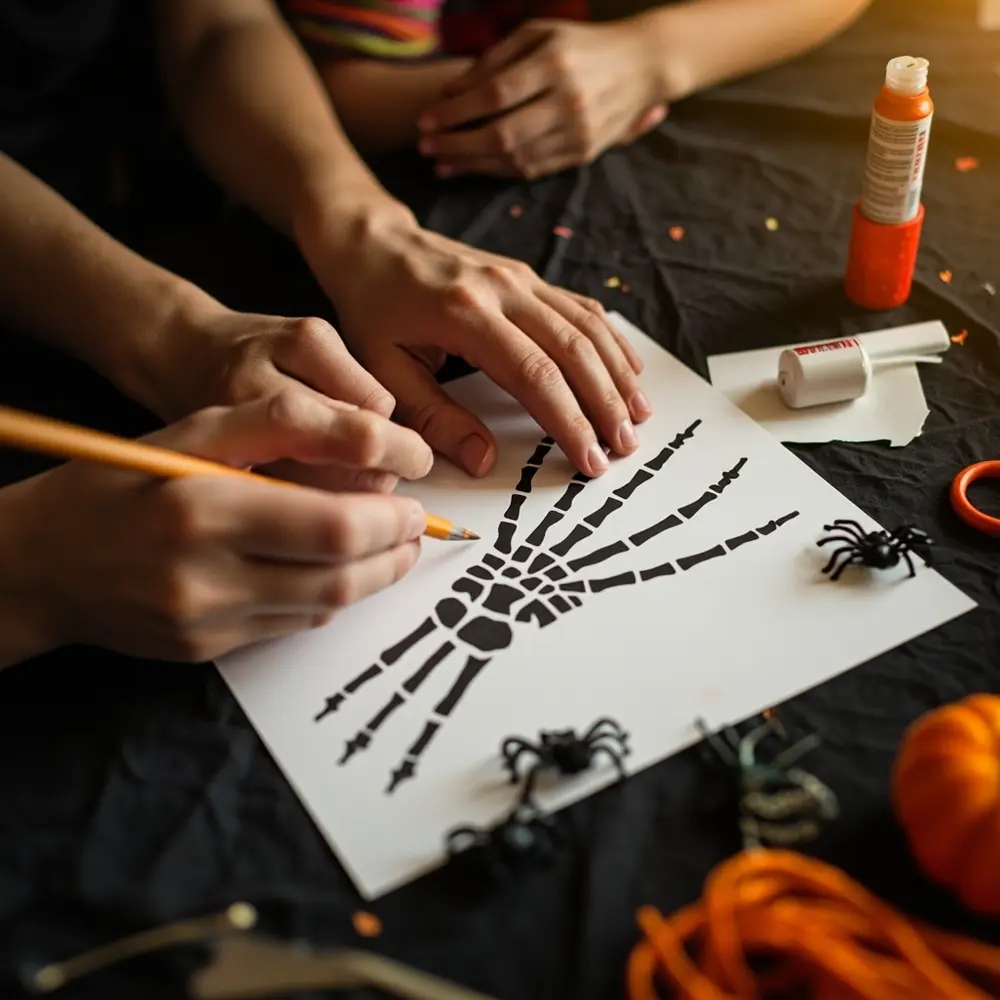
First things first! If you’re using a template, print it out. Otherwise, it’s time to get artistic! Place your own hand on the cardstock and trace around it with a pencil. Then, sketch in the bone shapes for the fingers and palm. Once you’re happy with your ghoulish outline, carefully cut out the main hand shape, making sure the fingers are clearly defined.
Image-3: A close-up shot of a hand tracing a skeleton hand template onto a piece of white cardstock with a pencil.
Step 2: Cut Out Bone Segments and Straw Pieces
This is where your skeleton starts taking shape! If you didn’t use a template with bone lines, draw lines on the fingers to mark the “knuckles” or joints. These are called phalanges if you want to get scientific! Cut along these lines to create separate bone segments for each finger.
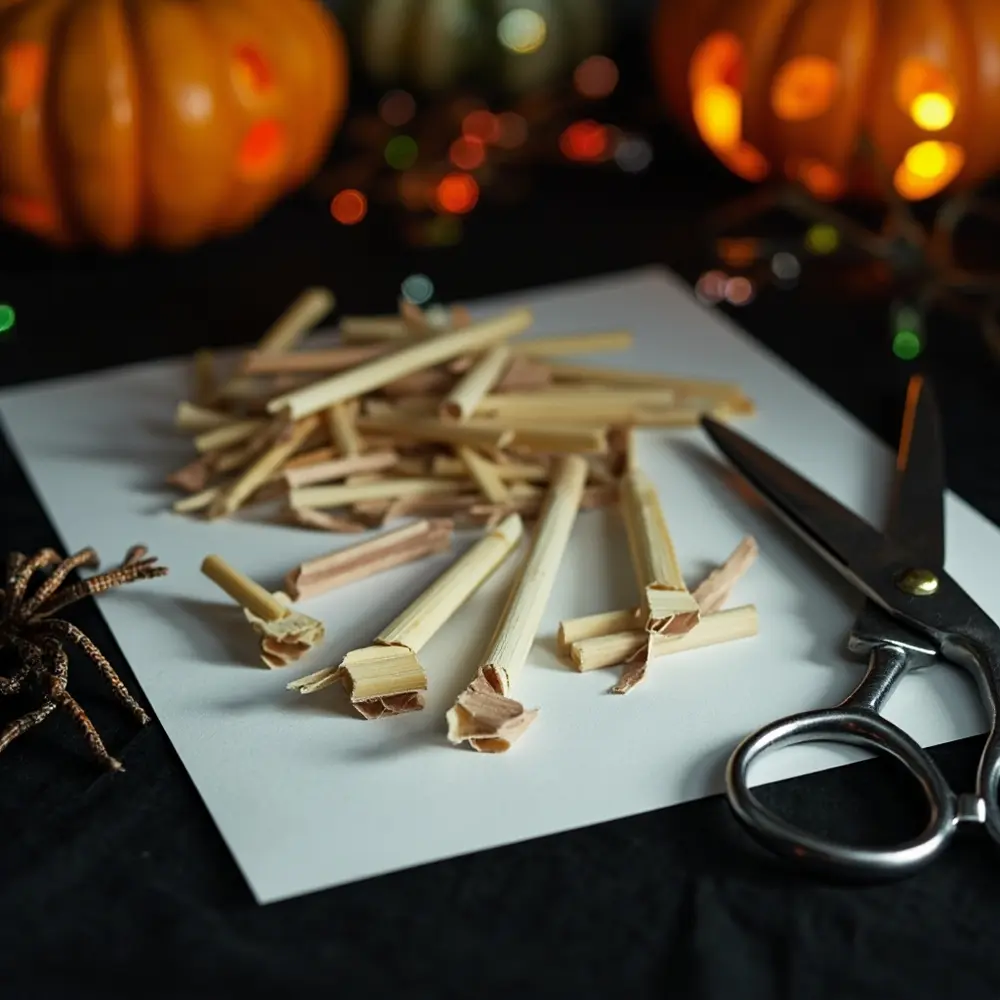
Next, grab your straws. Cut them into small pieces, about a half-inch to an inch long. We’ll need enough for each finger joint and a few for the palm. These little segments are the secret to making our hand move!
Caution ⚠️: Scissors are sharp! As someone who has taught over 50 kids in my safe crafting workshops, I always recommend adult supervision for this step, especially for younger children.
Image-4: A photo showing a small pile of cut straw segments next to the separated cardstock “bone” pieces of a finger.
Step 3: Attach Straw Guides to the Hand
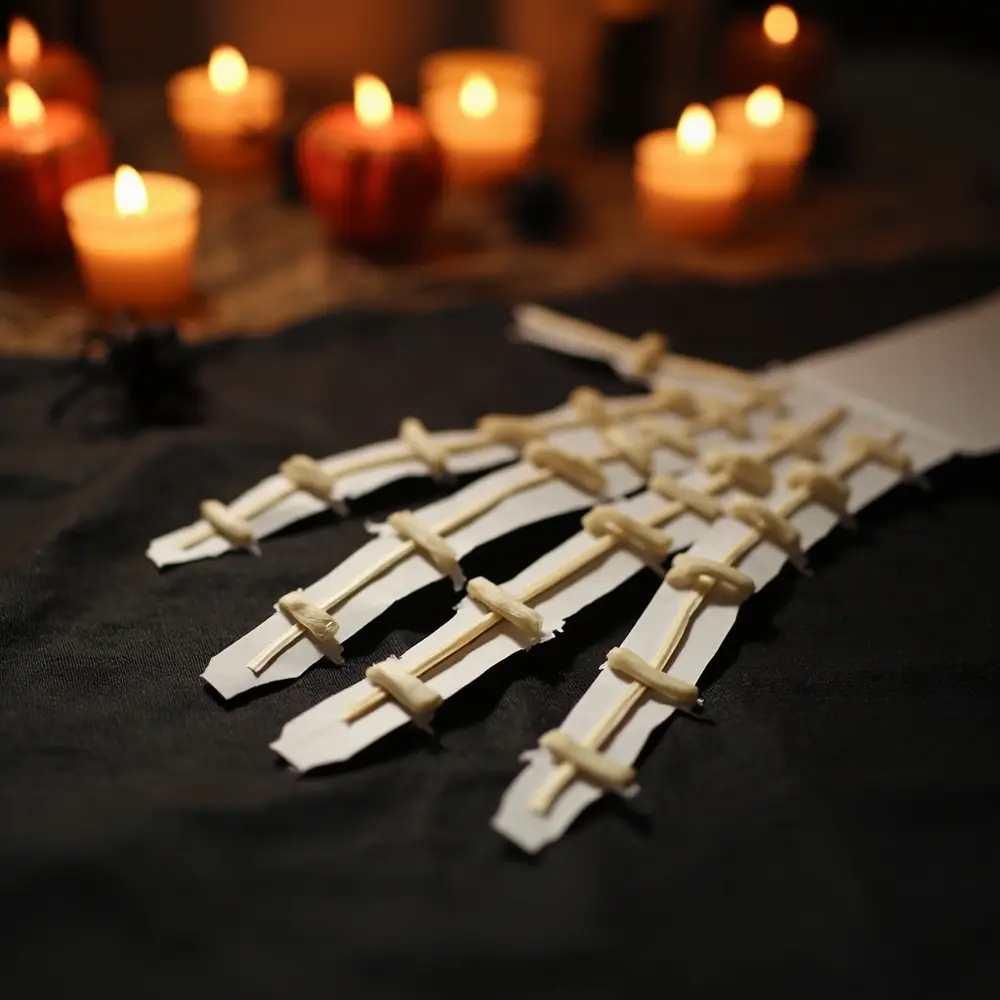
Now it’s time for some construction. Flip your main hand piece over to the back. Using your glue stick or a bit of clear tape, attach the straw segments. Place one straw piece on each paper “bone” segment of the fingers and a few running down the palm. Make sure they line up to create a clear channel from the fingertip all the way down to the wrist area.
Image-5: A photo showing the back of the paper hand. A person is carefully taping a small straw segment onto one of the finger bones. The channels are clearly visible.
Step 4: Thread the “Tendons”
This is my favorite part—it’s where the magic happens! Cut five pieces of string, each about 12-15 inches long. These are our “tendons.” For each finger, thread one piece of string through the straw guides, starting at the fingertip and working your way down to the base of the palm. Let the end of the string hang loose at the wrist.
Image-6: A close-up action shot of a piece of yarn being threaded through the straw channels on one of the paper fingers.
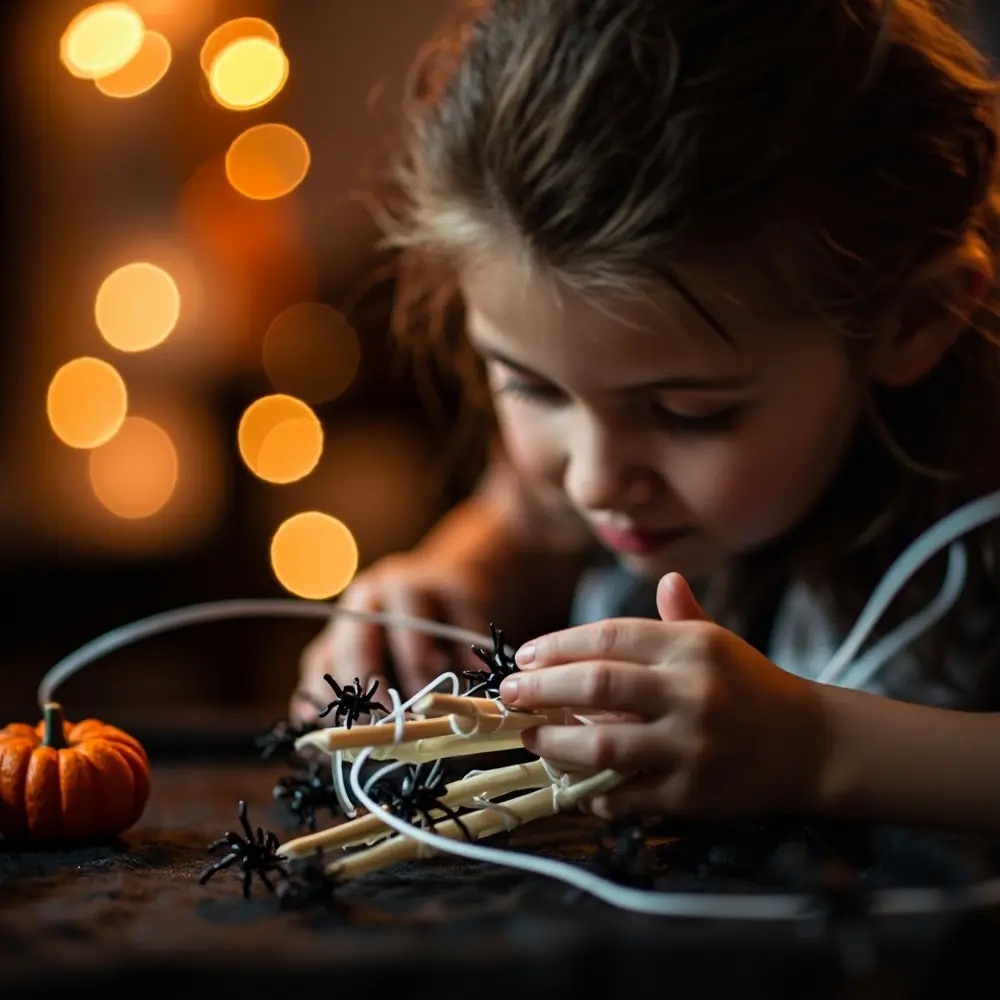
Image-7: A view of the back of the hand with all five strings successfully threaded through the straws, emerging at the bottom.
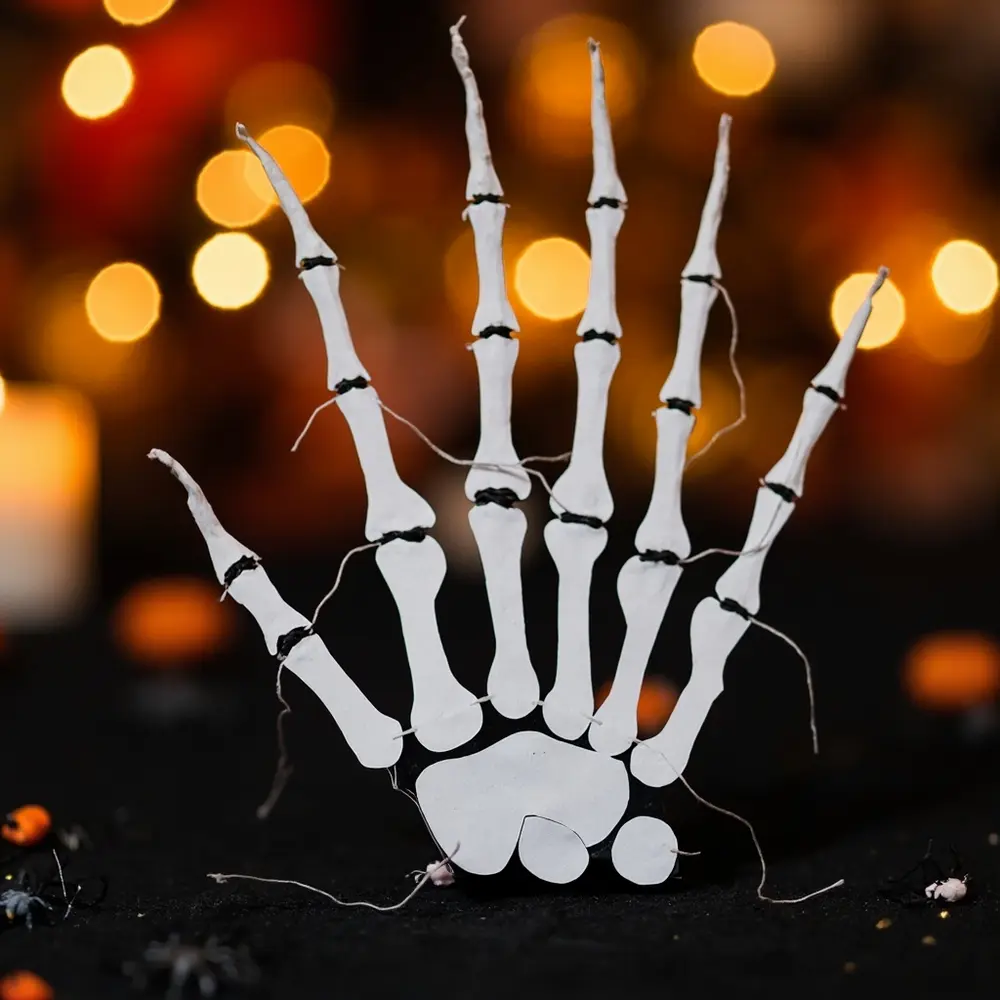
Step 5: Secure and Test Your Moving Hand
You’re almost there! Once all the strings are threaded, secure the top end of each string at the very tip of each finger with a small piece of tape. At the bottom, gather the loose strings hanging at the wrist. You can tie them to a small ring (like a plastic bottle ring or another piece of straw) to make them easier to pull.
Now for the moment of truth! Gently pull one of the strings. Watch as the finger curls up, just like a real hand! Pull all the strings together to make a fist. You did it!
Image-8: A dynamic photo of a person’s hand pulling the strings at the wrist, causing the paper skeleton hand’s fingers to curl into a spooky grasp.
The Science of Motion: Understanding Your Moving Skeleton Hand 🧠
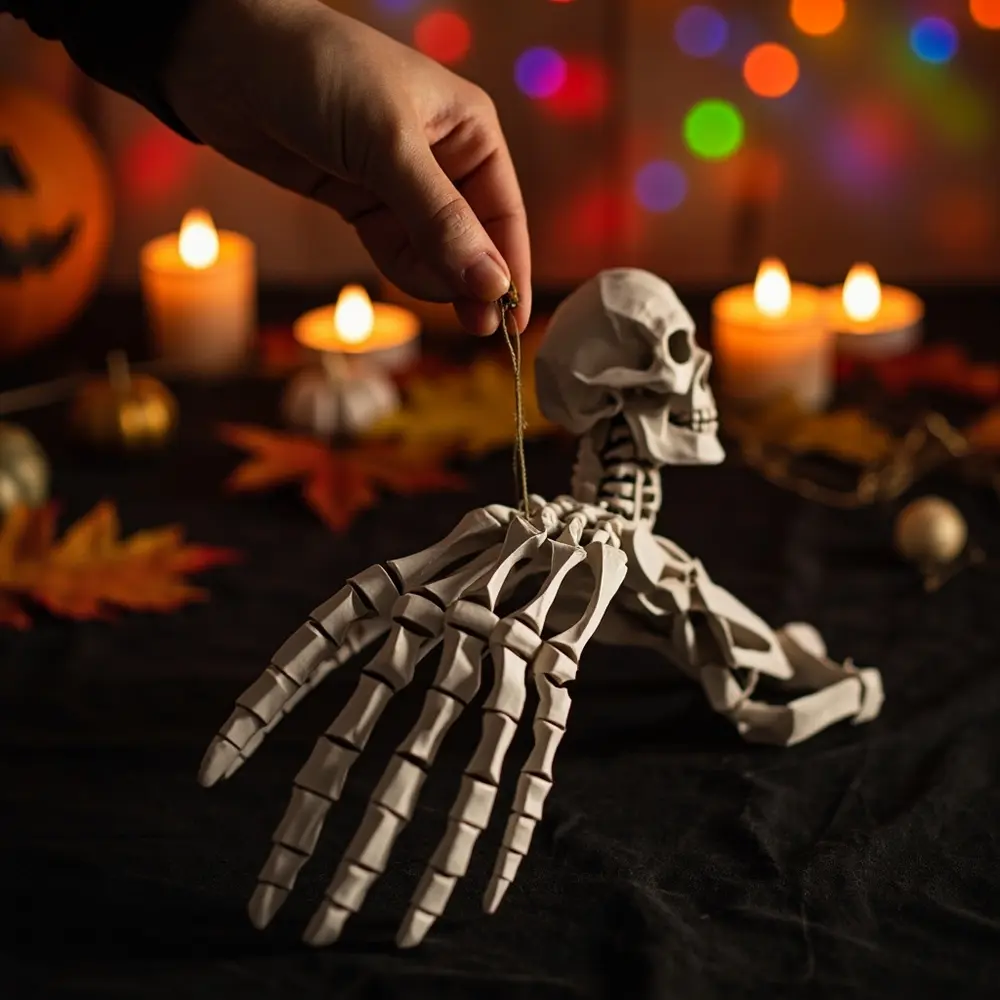
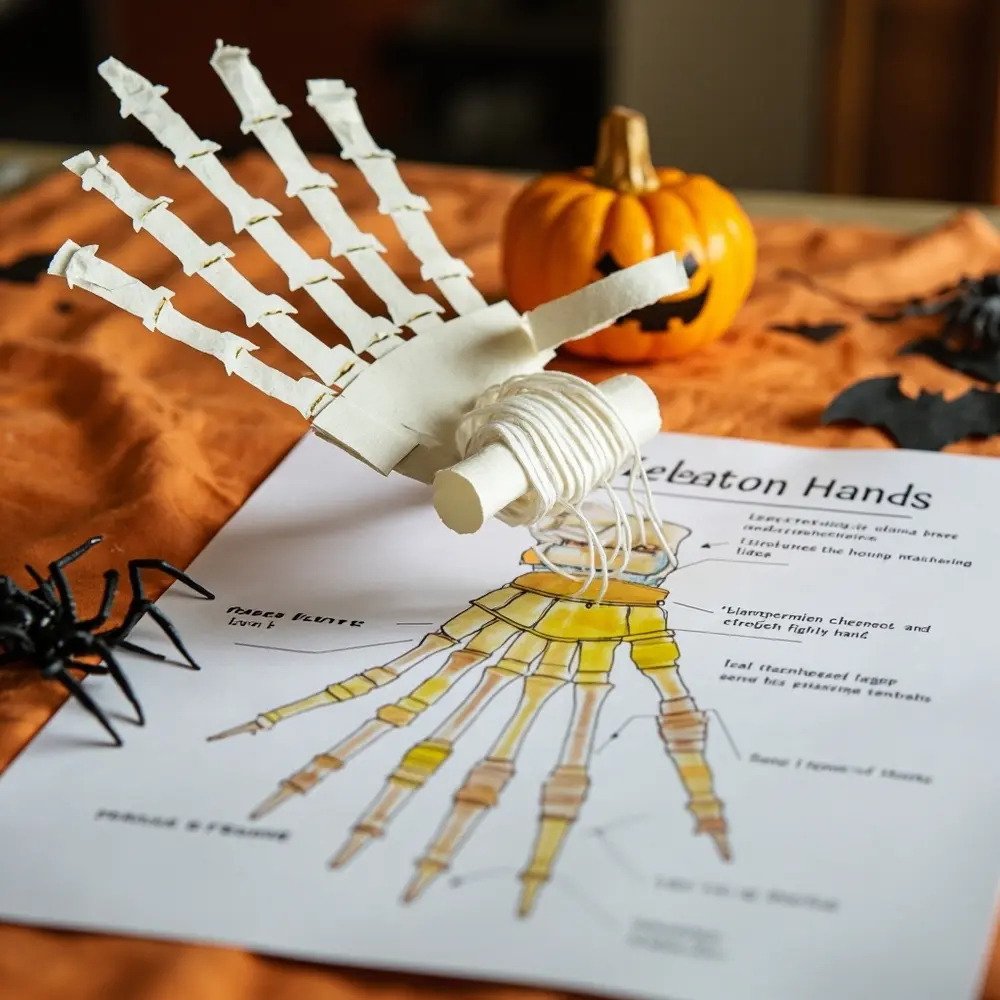
So, how does this spooky contraption actually work? You’ve just built a simple model of the human hand! It’s a fantastic way to see biomechanics in action.
In our craft, the paper segments are the bones (phalanges), the straws are the tendon sheaths (tunnels that guide tendons), and the strings are the tendons. In your real hand, muscles in your forearm pull on tendons, which slide through sheaths and are attached to your finger bones. This pulling action is what makes your fingers bend at the joints. By pulling the strings, you’re acting as the muscle, making your paper skeleton hand move. Pretty cool, right?
Image-9: A simple diagram comparing the paper hand to a real hand, with labels pointing to “Bones (Paper),” “Tendons (String),” and “Tendon Sheaths (Straws).”
Variations & Customizations to Haunt Your House 🎨
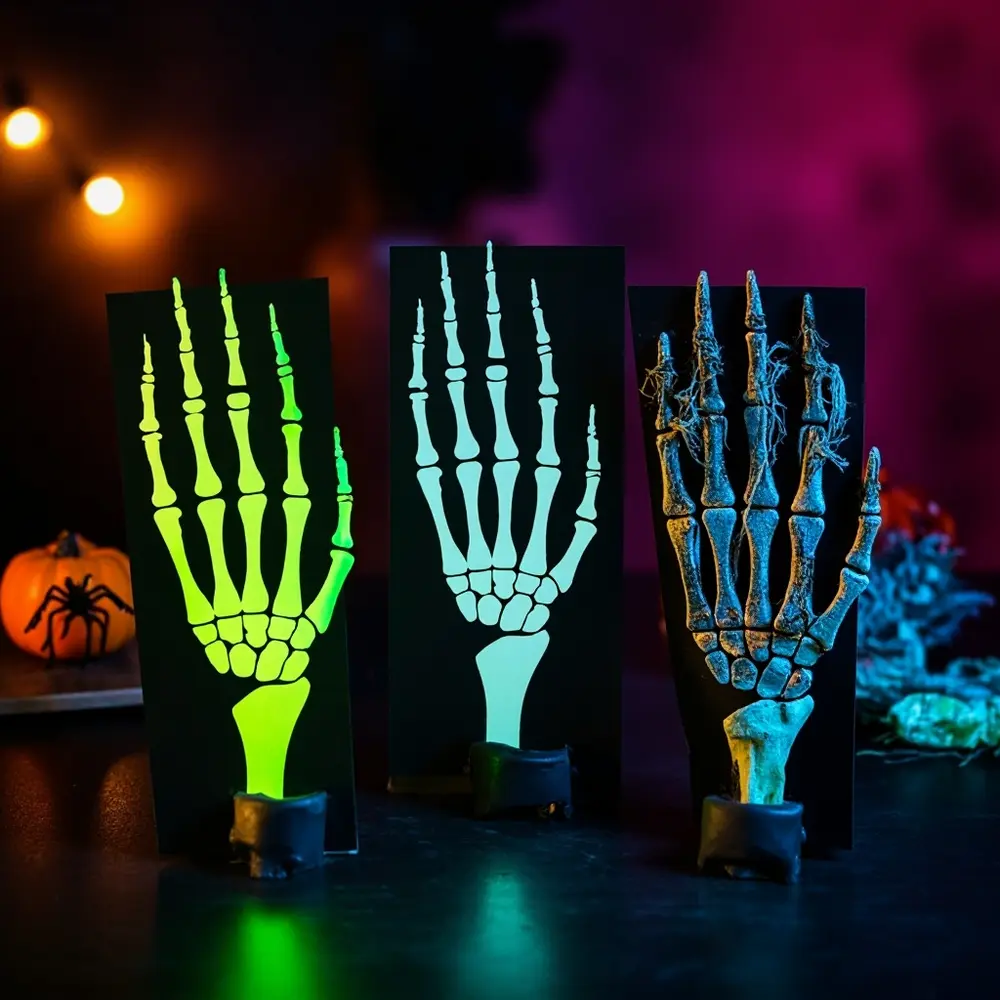
- Glow-in-the-Dark Hand ✨: Use glow-in-the-dark paint on the bones. Charge it under a lamp and then watch it glow eerily in the dark!
- Giant Skeleton Hand 👹: Why stop at hand-sized? Use a big piece of poster board to create a giant, life-sized version that can wave spookily from a window.
- Creepy Colors 💚: Don’t stick to white! A black cardstock hand with white string looks incredibly dramatic. Or go for a neon green or orange for a funky, modern monster vibe.
- Articulated Arm 💪: Feeling ambitious? Extend the project by adding a forearm and an elbow joint using more cardstock, straws, and string for even more complex movement.
- Finger Puppets 🤏: Make tiny versions and attach them to your own fingers for a miniature moving hand puppet show. My niece loves doing this!
Note 📝: Theme Twist! This doesn’t have to be a skeleton. Turn it into a zombie hand by coloring the paper a sickly green or grey and gluing on some tattered strips of gauze for “flesh.” Or, use metallic silver paper and colorful wire instead of string to build a robot hand!
Image-10: A vibrant photo collage showing three different customized hands: one glowing in the dark, one made from black paper, and a green “zombie” hand.
Halloween Activity FAQs ❓
Q1: How long will my paper skeleton hand last?
With cardstock, it should be pretty sturdy! I’ve had some that we made for parties last the whole season. If you use regular paper, it might be more fragile, but reinforcing the joints with tape can help it survive all the spooky fun.
Q2: Can I use different materials instead of paper straws?
Absolutely! Cut-up plastic straws work perfectly. In a pinch, you can even make little loops out of paper or tape, but straws provide the smoothest channel for the “tendons” to slide through.
Q3: Is this activity suitable for preschoolers, or is it better for older kids?
Older kids (ages 7+) will be able to do most of this themselves, and it’s a fantastic lesson in fine motor skills and science. For preschoolers (ages 4-6), I’d recommend an adult do the cutting and taping, but let them do the tracing, decorating, and of course, the super-fun part of pulling the strings!
A High-Five for a Spooky, Smart Craft! 🙌
Congratulations, you’ve successfully crafted a moving skeleton hand that’s equal parts spooky, scientific, and spectacular! I hope you had as much fun building it as I always do. This project isn’t just about making a cool Halloween decoration; it’s about sparking curiosity and learning how our own amazing bodies work, all while getting into the festive spirit. Don’t be afraid to experiment with the customizations and make a whole army of creepy, crawly hands to decorate your home.
I wish you a wonderfully weird and crafty Halloween season!
What’s your all-time favorite Halloween craft to do with your family? Let me know in the comments—I’m always looking for new ideas! 🎃
Image-11: A fun, final shot of two completed skeleton hands—one classic white, one black—waving “hello” to the camera.
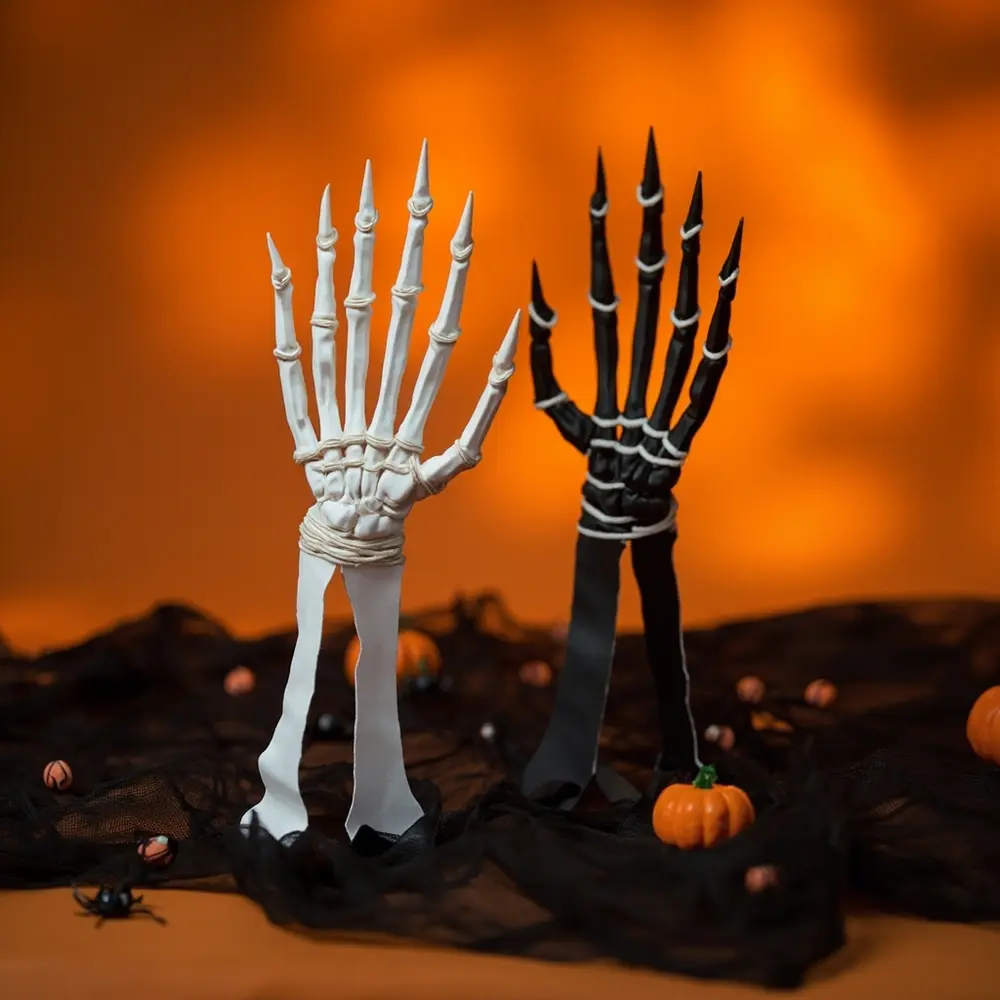
Image-12: A candid photo of a child smiling, proudly holding up their finished moving skeleton hand.
