How to Decorate Your Office or Classroom for Halloween Tastefully
Are you excited to bring some Halloween spirit into your office or classroom but worried about crossing a line? It’s a common challenge! 🎃
You want to create a fun, festive vibe, but you absolutely need to keep it professional, appropriate, and welcoming for every single person. Striking that perfect balance between spooky and suitable can feel like a real tightrope walk. 😟
This guide is for all you office managers, team leads, teachers, and anyone who wants to decorate a shared space with style and smarts. Forget the cheap and cheesy stuff; I’m going to walk you through a simple process to plan and execute tasteful Halloween decorations that will earn you compliments, not complaints. 🎉
By the end of this tutorial, you’ll have a clear roadmap to transform your space into a festive, yet perfectly appropriate, Halloween haven.
- Difficulty Level 🦴: Beginner
- Time to Complete ⏳: Approx. 1-2 hours for planning & sourcing
- Estimated Cost 💰: Varies (can be done for $0!)
- Prerequisites 🧠: A shared space to decorate and a love for the spooky season!
Before You Decorate: Plan for Success 📝
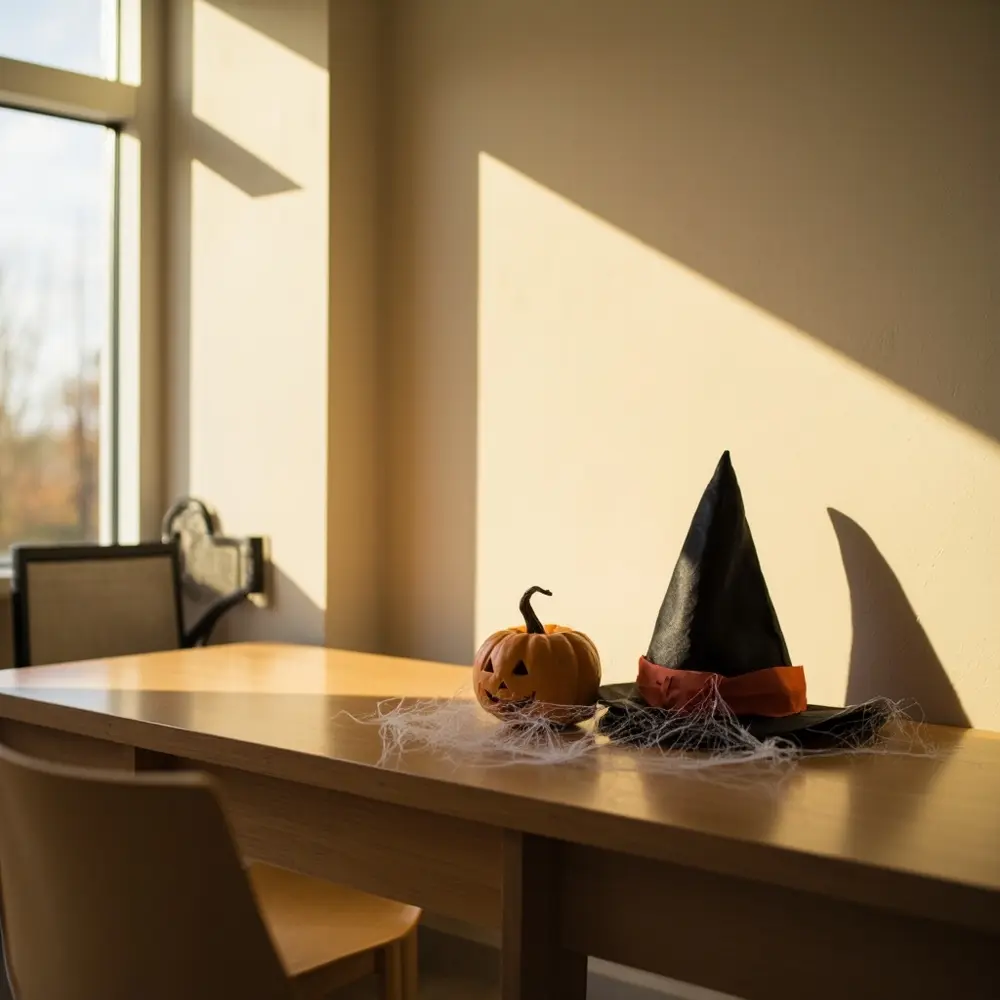
Before you even think about buying a single pumpkin, taking just a few moments to plan is my secret to tasteful, hassle-free decorating. This makes sure your efforts are celebrated and that you’re perfectly aligned with your organization’s expectations.
Here’s a quick checklist of what you’ll need to have in place first.
- Permission: A clear “yes” from your office manager, HR department, or school principal.
- Guidelines: A copy or list of any official policies about decorations. This could include rules about hanging things from ceilings, fire safety codes, or what imagery is off-limits.
- Budget: An approved budget, whether it’s from the company/school or a collection from willing colleagues or parents.
- Team: A small group of volunteers to help you set up and, just as importantly, clean up later!
Here’s how I suggest you get started:
- Confirm Guidelines: Send a brief, friendly email to your manager or principal. Something like, “Hi [Name], My team/class is excited to decorate for Halloween. Could you please confirm any guidelines or restrictions we should be aware of?”
- Set the Budget: Figure out your total spending limit. This will guide every single one of your purchasing decisions and keep things on track.
- Schedule Decorating Time: Block off 1-2 hours on the calendar for you and your volunteers to set up the decorations together. It’s way more fun that way!
⚠️ Warning: Always, always check your building’s fire code. Avoid blocking fire exits, sprinklers, or smoke detectors with any decorations. Safety first, spooky second!
Step-by-Step Tutorial 🛠️
Step 1 – Define Your “Tasteful” Theme

Your goal here is to choose one central theme that guides all of your decor choices. A good theme is what prevents that random, cluttered look and sets a clear, sophisticated tone for the space.
- Brainstorm 2-3 theme ideas that feel right for a professional or educational environment.
- Think about your audience. For a corporate office, a “Spooky & Chic” theme might work great. For a classroom with young kids, something like a “Friendly Pumpkin Patch” is much more appropriate.
- Choose one final theme and stick with it! Here are a few of my favorites:
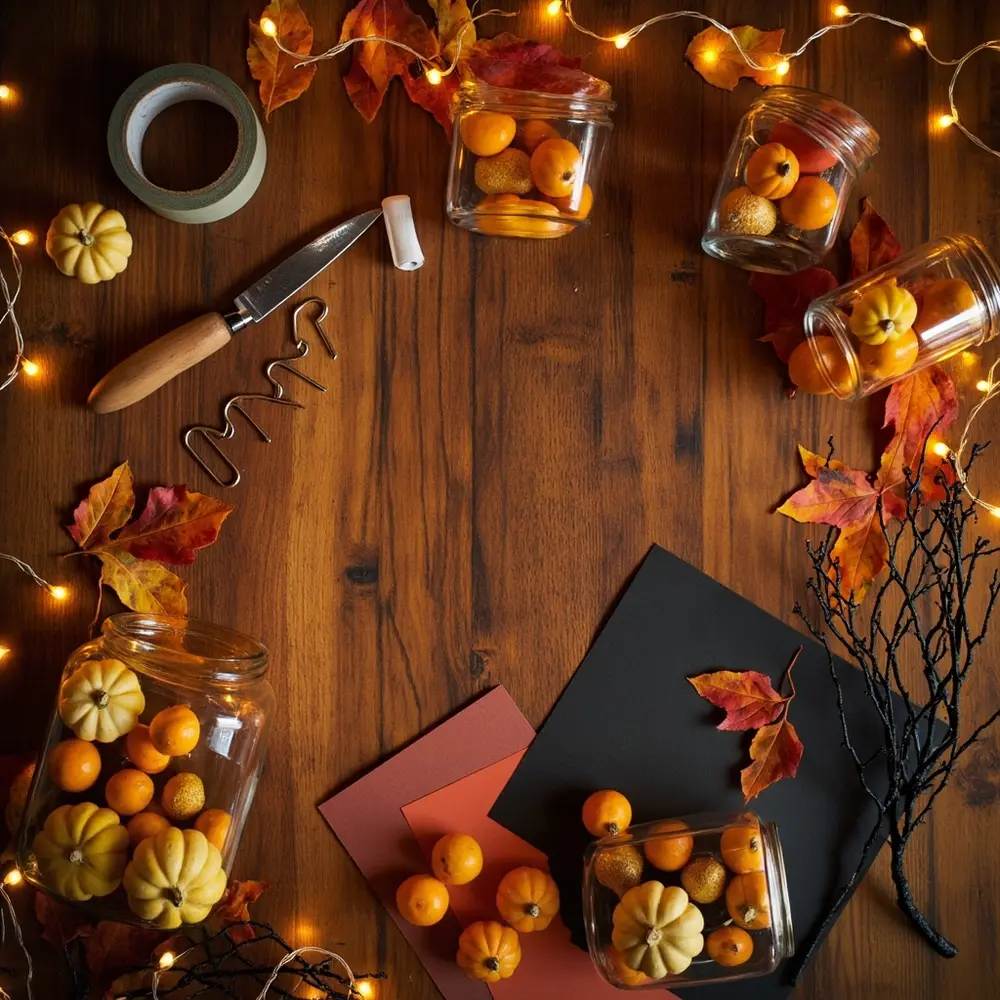
- Autumn Harvest: This one is more “seasonal” than “spooky.” Focus on pumpkins, gourds, fall leaves, and warm, cozy colors.
- Spooky & Chic: Think black, white, and metallic colors. This is where you can use elegant skulls, stylish crows, and sophisticated, light cobwebs.
- Mad Scientist’s Lab: So much fun! Use glass beakers filled with colored water, stacks of old books, and cool vintage-looking labels.
- Enchanted Forest: Focus on magical elements like fairy lights, moss, and maybe some woodland creature silhouettes.
Step 2 – Choose a Cohesive Color Palette
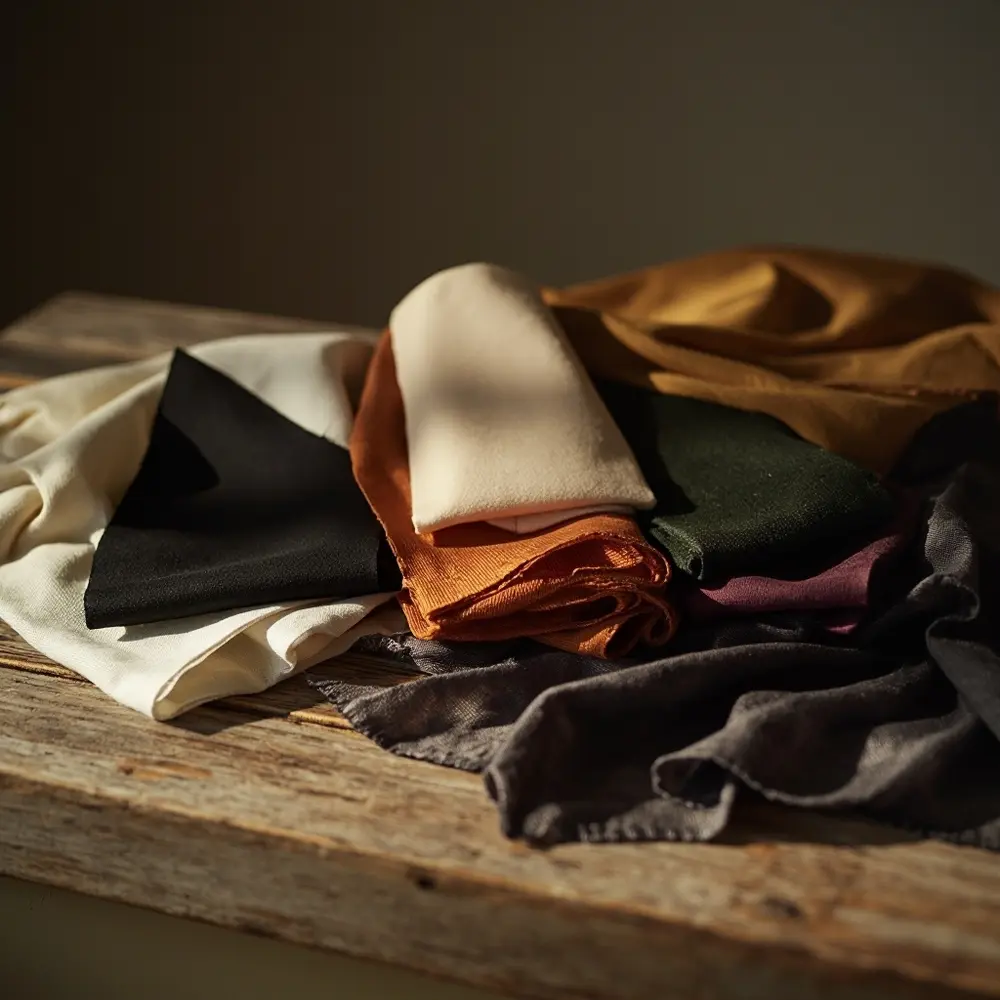
The objective here is super simple: select a limited color palette of just 2-4 colors. I promise you, this is one of the easiest ways to make your decorations look intentional and tasteful instead of chaotic.
- Based on the theme you chose, select your main colors.
- Try to move beyond the basic orange and black. Consider some of these more sophisticated combinations:
- Black, white, and gold or silver.
- Cream, deep orange, and forest green.
- Plum, black, and dusty gray.
Use these main colors for your big decor items, like tablecloths, streamers, and key props to tie everything together.
Important Note: Using a consistent color palette is the fastest way to elevate your decor. It tricks the eye into thinking everything was professionally planned, even if you did it all yourself on a tiny budget!
Step 3 – Select High-Impact Decor (The 80/20 Rule)
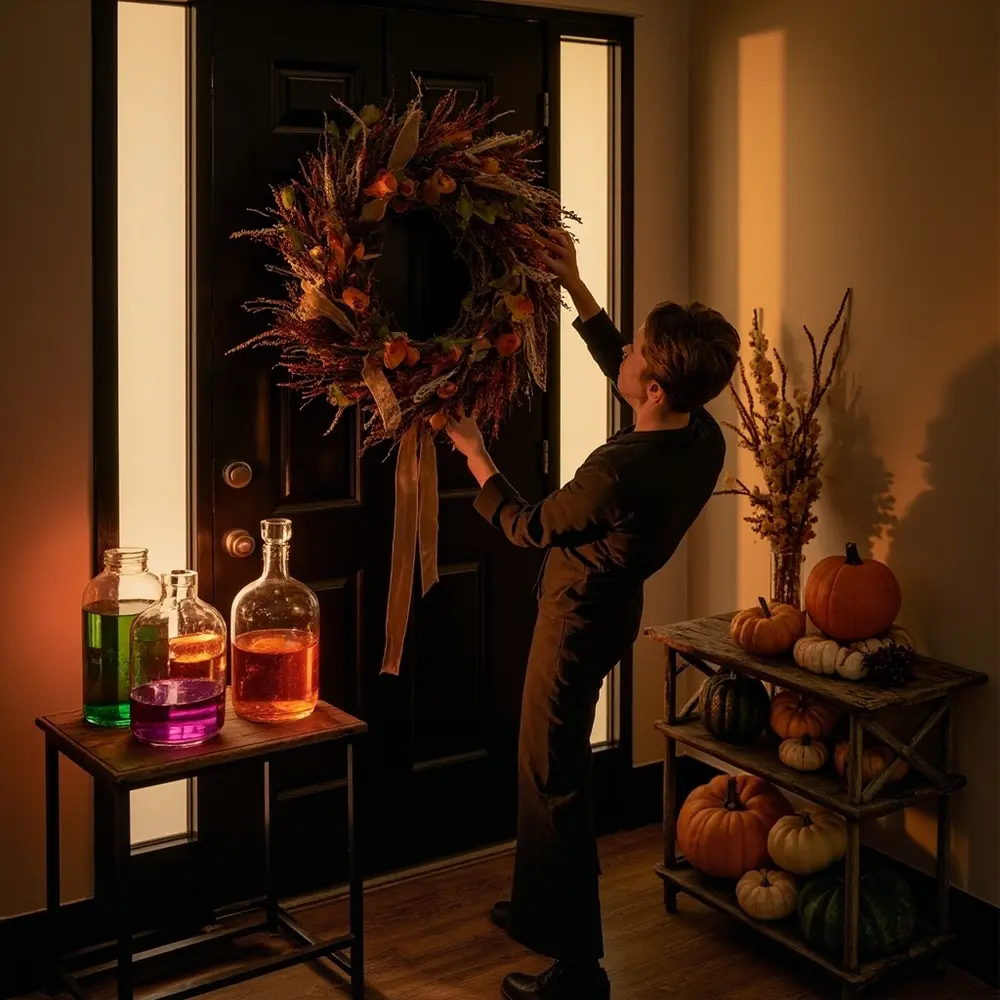
The goal here is to focus your budget and effort on a few key areas that give you the most visual bang for your buck. I call this the 80/20 rule of decorating: 80% of the impact comes from 20% of the decor.
- Identify 1-3 focal points in your space. This could be the reception desk, a main bulletin board, or the coffee station in the breakroom.
- Spend most of your budget and effort making these spots look amazing.
- Choose a few “statement pieces.” Think of a large, well-decorated wreath for the main door, a beautifully arranged “potion” station on a side table, or a nice cluster of varied pumpkins on a shelf.
- Then, just use smaller, complementary items sparingly in other areas. These are just there to support your main focal points, not steal the show.
Step 4 – Testing Your Final Look
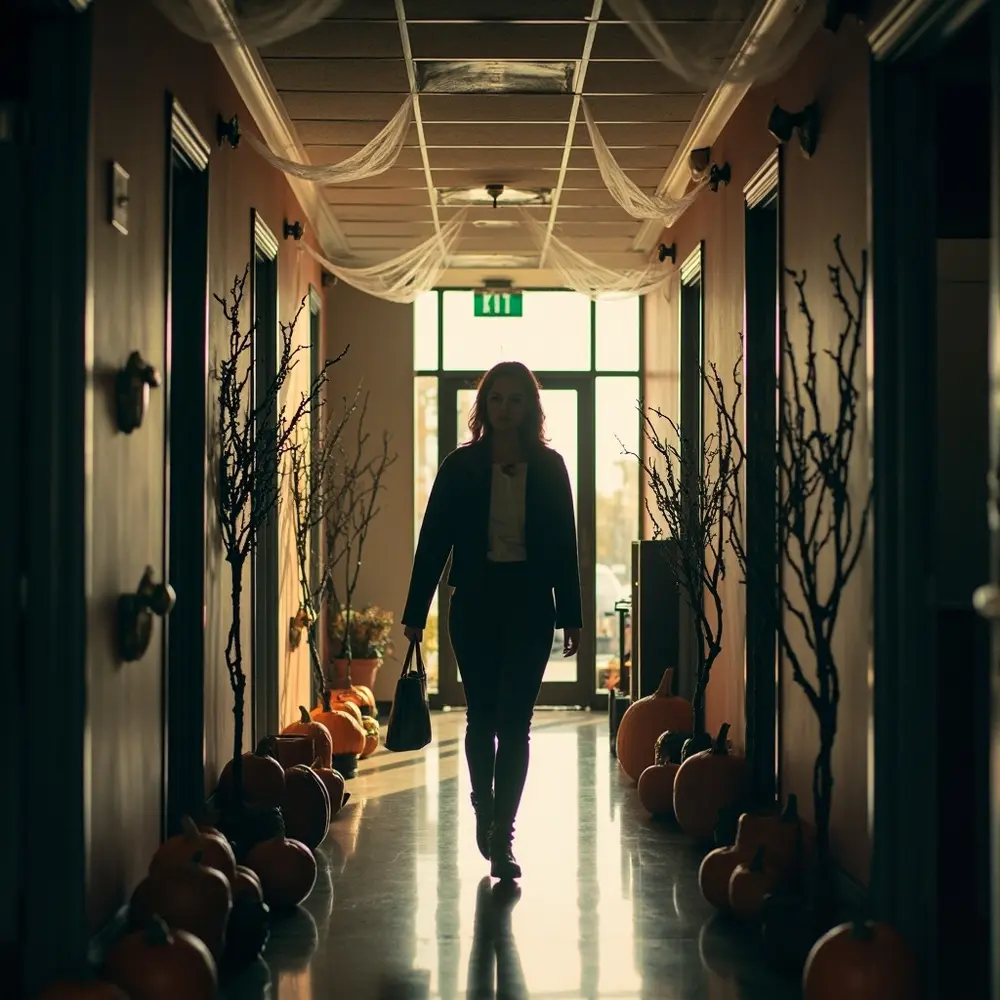
The last step is to do a final check to make sure your decorations are secure, appropriate, and achieve the festive vibe you wanted without causing any disruption.
- The Walk-Through Test: Walk through the space like you’re a visitor, a client, or a student. Do any decorations block pathways or create any kind of hazard?
- The “Distraction” Check: Sit down at a desk or in a student’s chair. Are any decorations in your direct line of sight? Are they distracting from work or learning? If so, just move them a bit.
- Secure Everything: Gently tug on anything you hung up to make sure it’s firmly attached. I recommend using painter’s tape or removable hooks to avoid damaging walls.
- Expected Result: The space should feel festive and unified by your theme and color palette. The decor should enhance the room, not interfere with its main purpose.
A Closer Look: Office vs. Classroom Ideas 🏢🏫
This is where the magic happens! While my principles of tasteful decorating work everywhere, how you apply them is very different between a corporate office and a school classroom. Here is some tailored inspiration for each.
For the Office: Emphasize Sophistication and Team Spirit
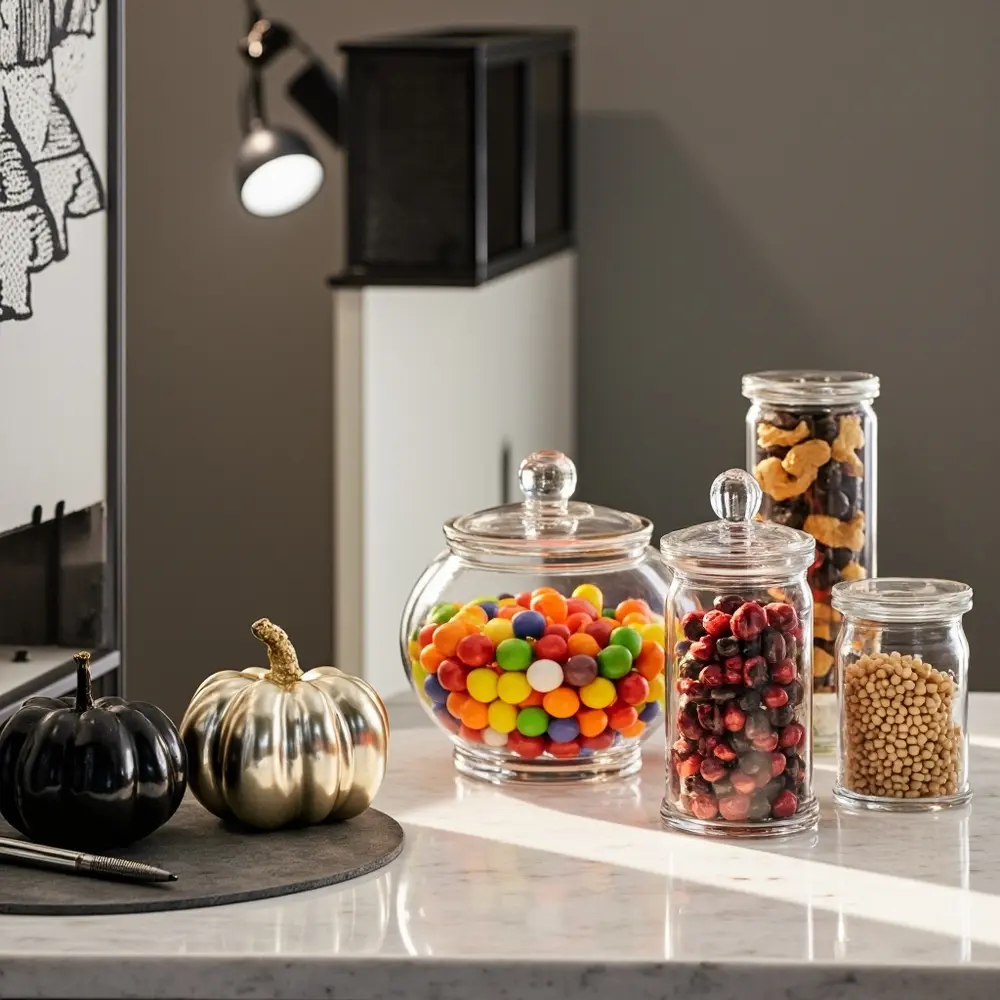
The goal is to be festive without looking unprofessional. I always suggest focusing on communal areas like the breakroom, reception, or a designated “fun” corner.
- Idea 1: The Gourmet Candy Bar. Use elegant glass apothecary jars and fill them with candies that match your color palette. It looks so chic!
- Idea 2: A Cubicle Decorating Contest. This is a great way to encourage creativity within personal spaces while using a shared theme to keep it cohesive.
- Idea 3: Subtle Desk Accents. Sometimes less is more. Think a small metallic pumpkin, a tasteful spooky mug, or a gothic-inspired pen holder.
Important Note: For an office, you must avoid anything with gore, overtly religious symbolism, or loud/flashing elements that could be distracting for people trying to work.
Ready for more office-specific ideas? Check out my complete guide: [Internal Link to: The Ultimate Guide to Office Halloween Decorations]
For the Classroom: Focus on Fun, Not Fright
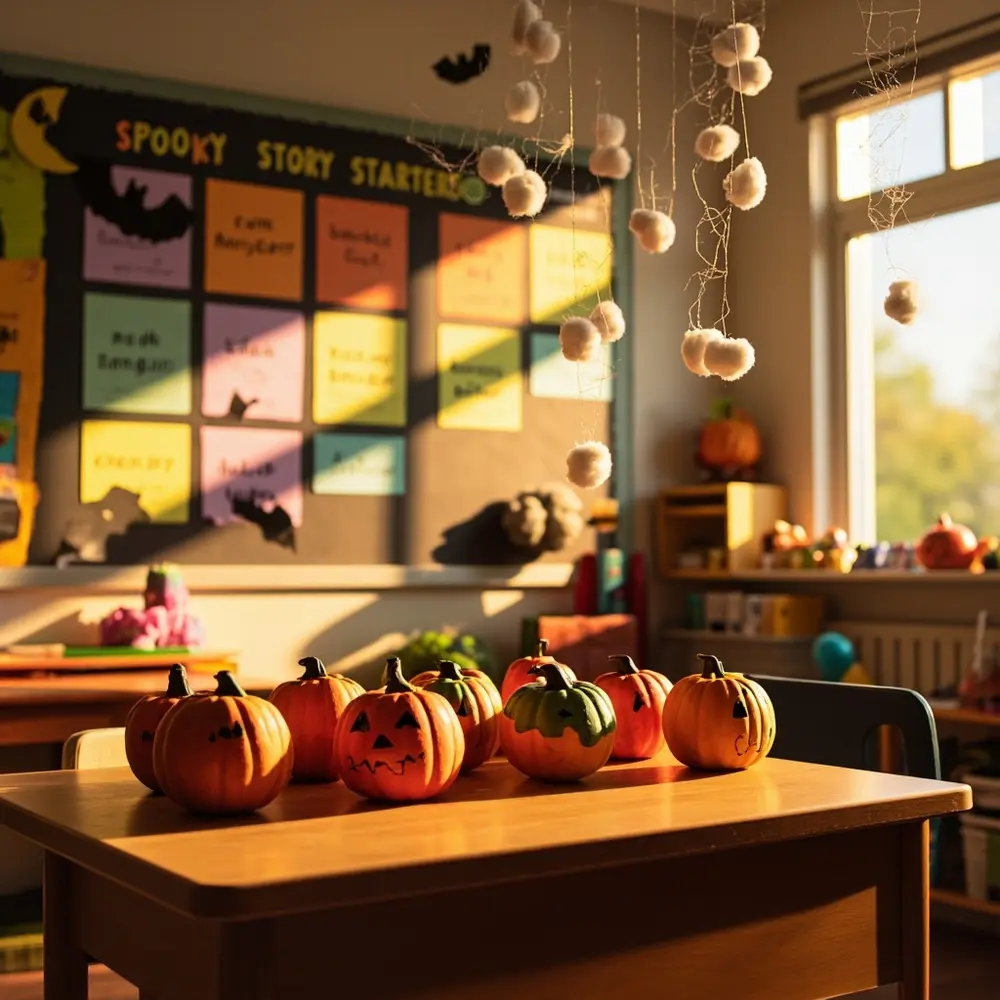
Here, the goal is to be creative and engaging without scaring your younger students. The best decorations are ones you can even tie to learning objectives!
- Idea 1: Spooky Story Starters Bulletin Board. Create a board with fun character and setting prompts to get your students excited about creative writing.
- Idea 2: Pumpkin Science. Decorate with various types of gourds and pumpkins, and turn it into a science lesson on botany, measurement, or the five senses.
- Idea 3: Student-Made Decor. Honestly, the best decorations are the ones students make themselves! Think paper plate ghosts, painted pumpkins, or cotton-ball cobwebs.
⚠️ Warning: Be aware of student allergies (like latex in some balloons) and avoid any decor that could be a choking hazard for young children.
Need more classroom-friendly inspiration? Read my detailed post: [Internal Link to: 25 Fright-Free Halloween Decor Ideas for the Classroom]
Troubleshooting & Common Questions ❓

What if a coworker or student is genuinely afraid of common Halloween items like spiders or clowns?

This is a great question, and it’s exactly why planning ahead is so important! The best approach is to stick to themes that avoid common phobias from the start. An “Autumn Harvest” theme, for example, is a perfectly safe and festive choice for everyone. If you’ve already bought the decor, I’d discreetly and privately ask the individual what they are comfortable with and then remove any offending items without making a big deal of it. Making people feel included is always the top priority.
How can I decorate with a zero or very small budget?
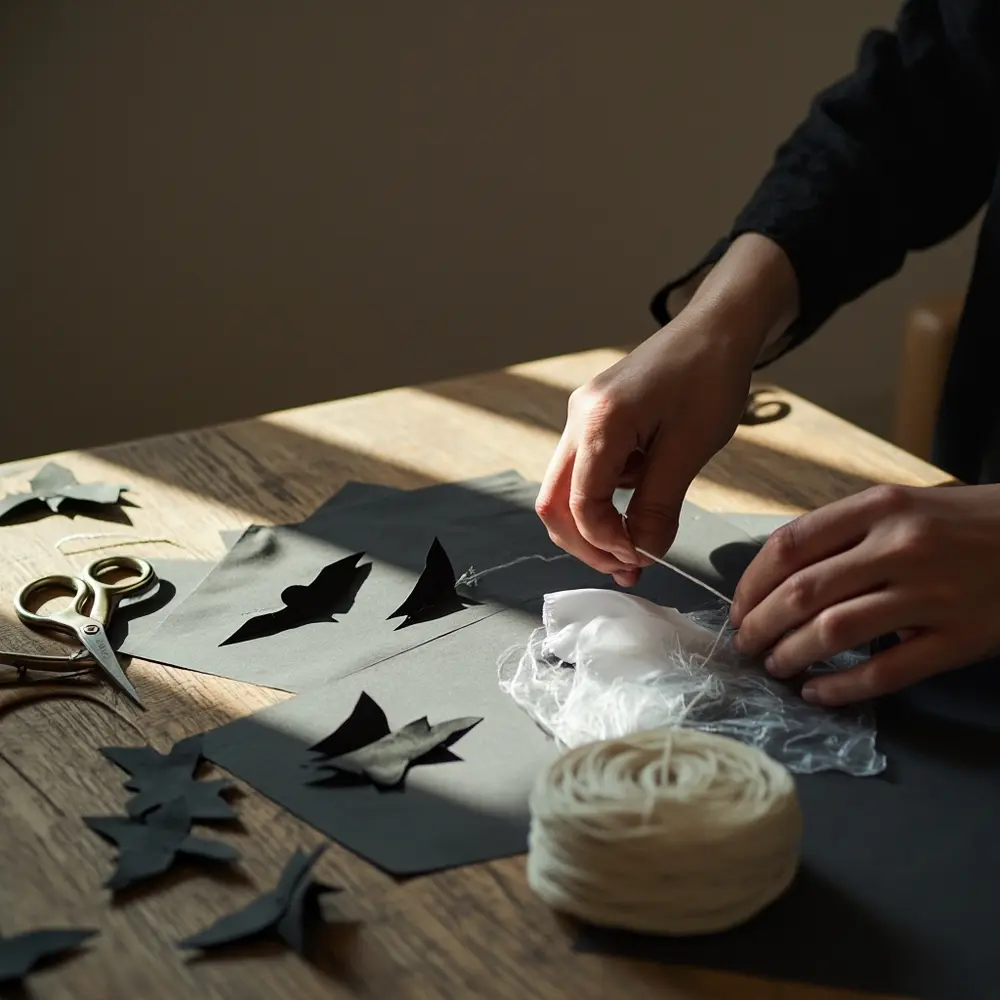
You can absolutely do this! It’s all about focusing on DIY. I once decorated an entire client party using just black construction paper and fishing line! You can create amazing decor for free. Cut bat shapes out of black paper, create “ghosts” from old tissues or fabric scraps, or collect branches from outside to paint black and create a spooky centerpiece. You can also ask colleagues or parents if they’d be willing to loan items from their personal Halloween collections for the season.
What decorations should I absolutely avoid in a professional or school setting?
This one is crucial. You must avoid anything with gore, blood, or realistic-looking weapons. Steer clear of items that are politically or religiously charged. In an office, I’d also avoid anything that looks overly “cutesy” or childish, and in a school, avoid anything that is truly terrifying or might give kids nightmares. My personal rule is: when in doubt, leave it out.
My Final Thoughts & Next Steps 👻
Congratulations! You’ve successfully navigated the tricky task of decorating a shared space for Halloween. By focusing on smart planning, a cohesive theme, and a tasteful color palette, you’ve created an environment that is both festive and respectful. It’s a space that builds community spirit without causing a single real fright.
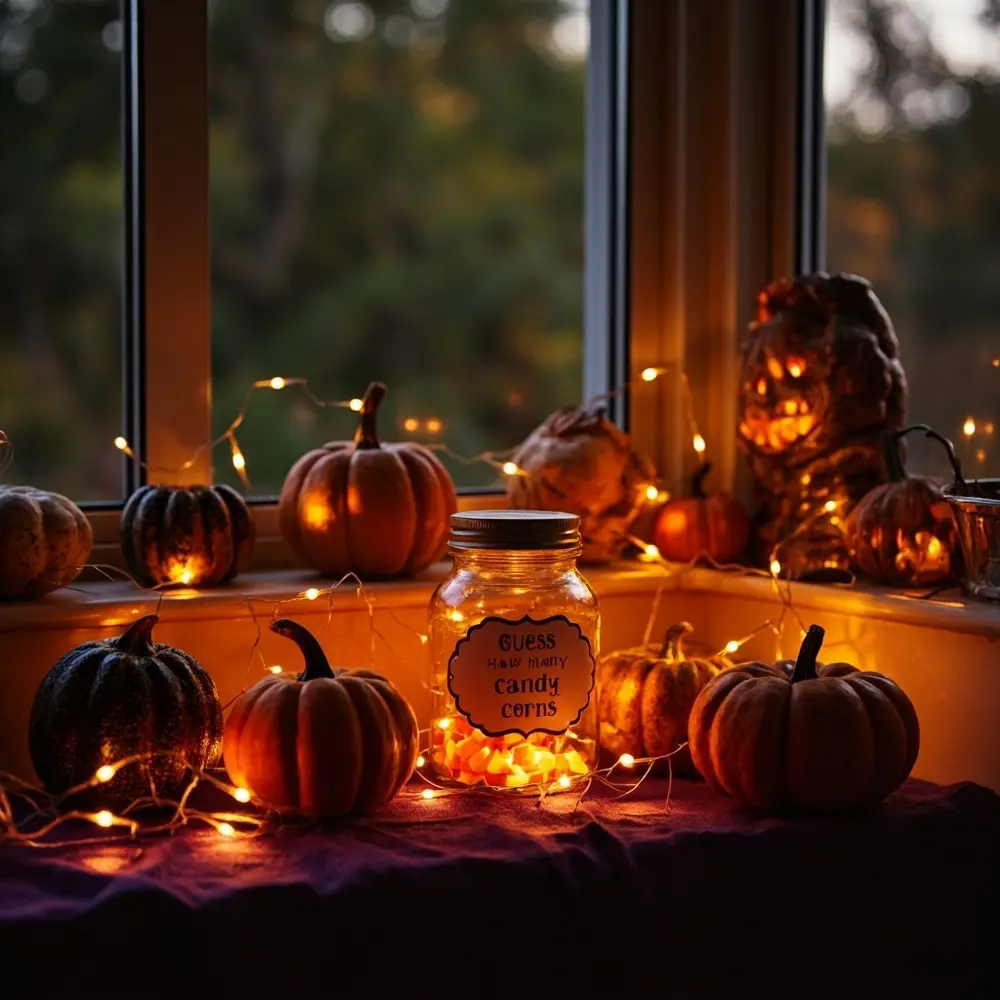
Now that you’ve set the scene, why not leverage the festive atmosphere? You could plan a simple, low-key event to celebrate. Suggest a Halloween-themed potluck, a “wear your favorite fall color” day, or even a simple pumpkin painting contest. One of my favorite tricks is to set up a “Guess How Many Candy Corns” in a jar game. It’s simple, interactive, and everyone loves it!
Your office or classroom is now a testament to the fact that Halloween decor can be fun, stylish, and perfectly appropriate. I hope this guide has empowered you to decorate with confidence this year!
What was your favorite tasteful theme idea? Share your own decorating successes in the comments below!
