How to Decorate an Entire Office Space Without Disrupting Work
It’s that time of year, ghouls and ghosts! The air is getting crisp, and there’s a spooky feeling bubbling up. But at work, the biggest scare might be the thought of having to decorate the entire office. 🎃
You want that fun, festive vibe to boost morale, but you’re picturing chaos, tangled decorations, and work getting totally disrupted. Who has time for that? It feels like an impossible task for a busy office manager or culture committee lead. 😟
Well, I’m here to tell you it’s not impossible at all! I’ve planned dozens of spooky scenes, and I’ve created a foolproof, step-by-step plan just for you. We’ll make your office look amazing with high-impact decorations that are super fast to put up and take down. Let’s do this! ✨
- Difficulty Level 🦴: Beginner
- Time to Complete ⏳: 2-3 hours for planning; 1-2 hours for installation
- Estimated Cost 💰: Under $100
- Prerequisites 🧠: Management approval and a set budget!
Prerequisites: What You’ll Need Before You Start 🛠️
Before we hang a single bat, a little bit of prep work makes all the difference. Honestly, spending 15 minutes on this phase will save you hours of headaches later. Trust me.
- Damage-Free Adhesives: This is my number one rule!
- Command™ Hooks & Strips: Get a variety pack. These are your best friends for hanging almost anything.
- Removable Mounting Putty: Perfect for lightweight paper cutouts like bats or ghosts.
- Low-Tack Painter’s Tape: Great for temporary marks or securing things without leaving gunk behind.
- High-Impact Decorations: Think big and simple.
- Large, stretchable spider webs with a few plastic spiders.
- Paper or cardstock cutouts (bats and ghosts are classics for a reason!).
- Lightweight hanging items like floating witch hats or paper skeletons.
- Window clings for glass doors and kitchen appliances.
- Spooky creepy cloth to drape over doorways.

- Basic Tools:
- A sturdy step stool.
- Scissors.
- A measuring tape.
- Fishing line for that “invisible” floating look.

Your 15-Minute Game Plan
- Get Budget Approval: Before you even open a shopping app, make sure you have the final budget approved by management.
- Survey Your “Zones”: Take a quick walk and pick 2-3 spots that everyone sees. The lobby, the break room, and a main hallway are always my top picks.
- Measure and Photograph: Snap a few photos of your zones on your phone. You can even use a photo editor to draw on them and jot down quick measurements. This helps you visualize everything and avoid buying things that won’t fit.
⚠️ Warning: Never, ever use staples, nails, or sticky tape that isn’t made for damage-free removal. I’ve seen the repair bills for damaged walls, and they are way scarier than any Halloween decoration!
Step-by-Step Tutorial 🛠️
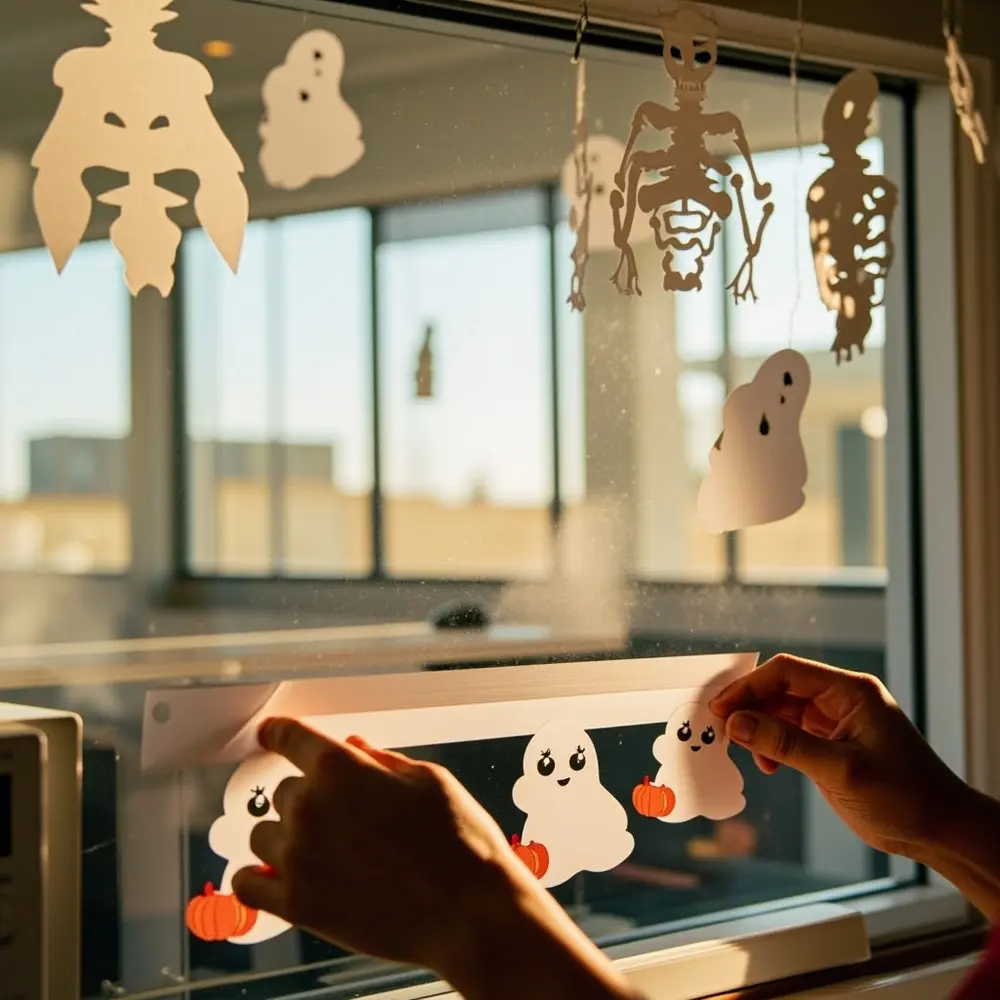
Step 1 – Plan Your “Decorating Zones” and Theme

Our goal here is simple: we’re going to break this down into a few mini-missions. This keeps things organized and gives your office a cool, cohesive look.
- Look at the photos you took. Make a simple list of your zones, like “Zone 1: Lobby” and “Zone 2: Break Room.”
- Choose a simple, office-friendly theme. I love “Spooky & Chic” (using black, white, and orange) or a “Harvest Festival” theme (pumpkins and leaves), which is great if you want to avoid anything too scary.
- For each zone, write down just one or two main ideas. For example: Lobby = Bat wall. Break Room = Spider web corner. This is your shopping list!
Step 2 – Schedule Your “Stealth” Installation Time
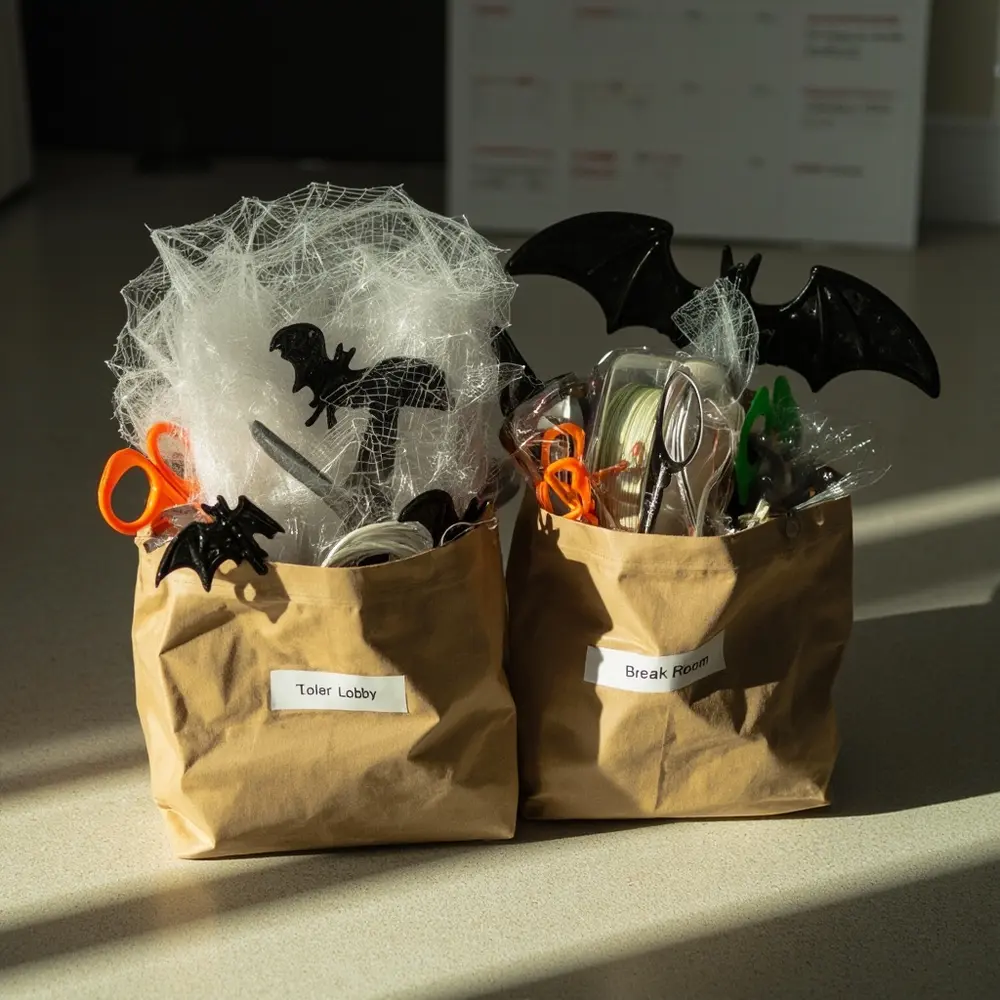
The key to not disrupting work is to decorate when no one is working! It’s like being a friendly Halloween ninja.
- Pick a time outside of busy hours. After 5:30 PM on a weekday, early in the morning, or a quiet Friday afternoon are perfect.
- Block this time on your calendar. If you have a small team helping, send a meeting invite so everyone is on the same page.
- Create a “kit” for each zone. Put all the decorations and tools for the lobby in one bag, and all the stuff for the break room in another.
Important Note: Pre-kitting your supplies is a massive time-saver. When I was starting my “Spooky Sharma” YouTube channel, I learned that having everything ready to go before hitting record was the only way to get things done fast. The same rule applies here!
Step 3 – Execute Zone 1: The High-Impact Lobby/Reception
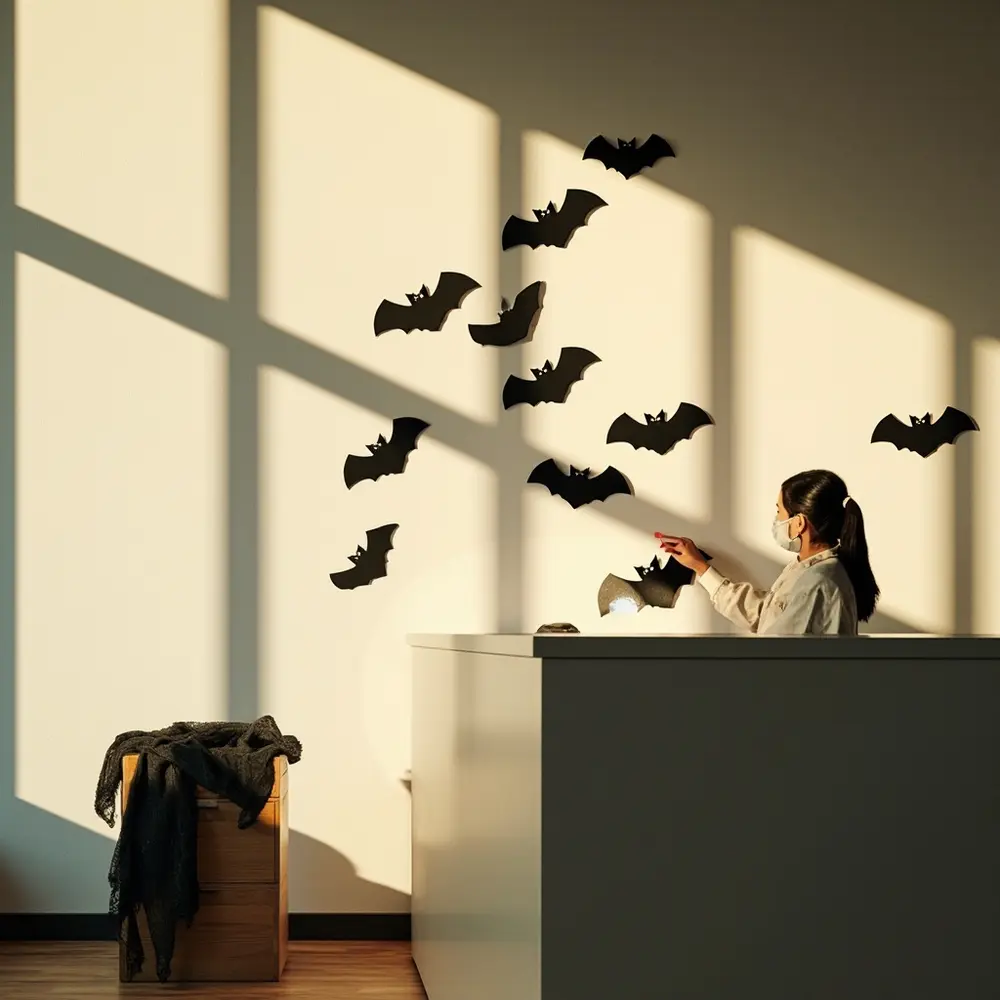
This is all about making a great first impression. You want people to walk in on Monday and immediately smile.
- Start with your biggest feature. A “bat wall” is my favorite. Use your removable putty to stick paper bats to the wall behind the reception desk in a cool, swooping pattern.
- Drape some of that creepy cloth over a corner or across the top of a filing cabinet.
- Place a friendly-looking pumpkin or a big bowl of candy right on the reception desk. Easy and effective!

Step 4 – Execute Zone 2: The Break Room Transformation
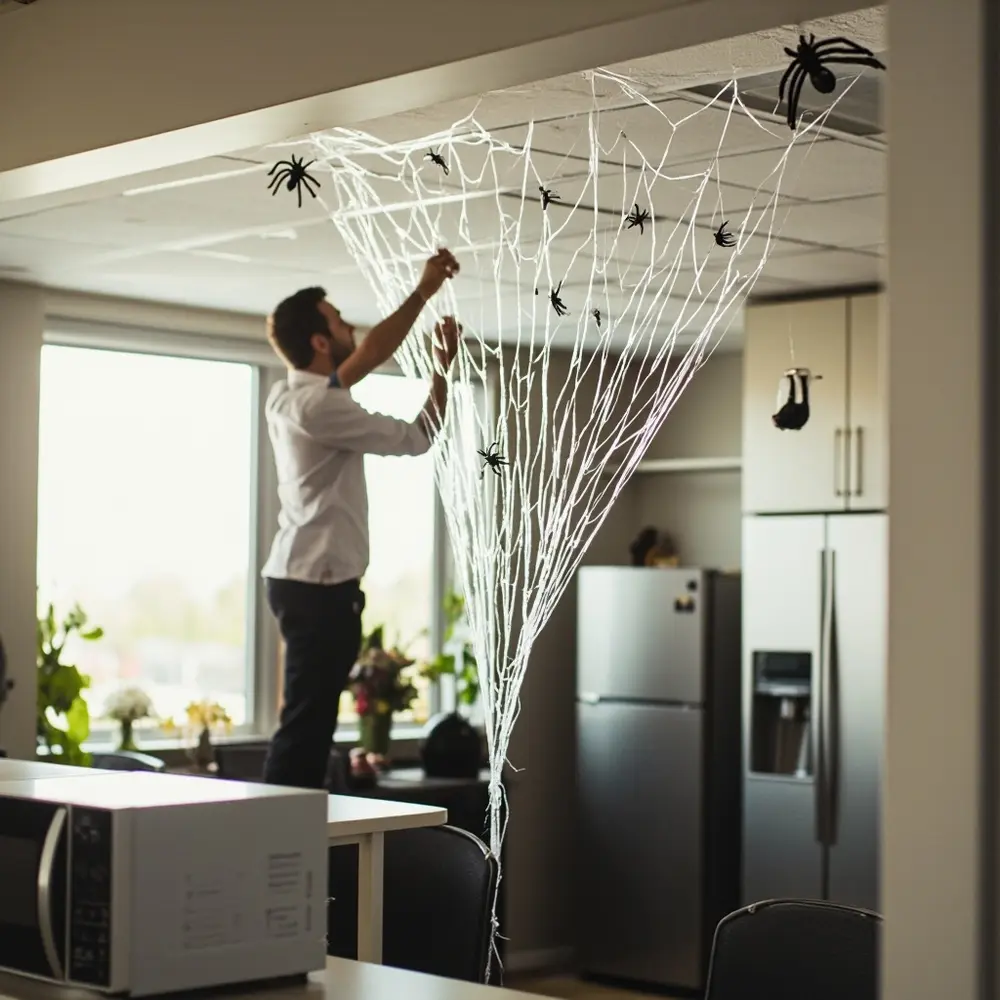
Let’s bring the festive spirit to the place where everyone recharges. We’ll focus on areas that are out of the way.
- Target the corners of the room. Stretch a large spider web across a top corner, using small, clear Command hooks to hold it in place.
- Use fun window clings on the microwave door, the fridge, or any windows looking outside. They peel right off.
- Hang a few paper skeletons or ghosts from the ceiling grid. You can use fishing line and paper clips for a simple, invisible look.
Step 5 – The Final Walk-Through and Safety Check

You’re almost done! This last step is super important to make sure everything is safe and secure.
- Walk through all your decorated zones one more time.
- Check for trip hazards. Make sure nothing is hanging too low in a walkway.
- Check for fire hazards. Ensure no paper or fabric is touching hot lights, coffee makers, or computers.
- Give hanging items a gentle tug to make sure they’re secure.

The result? A fun, festive office that’s still professional, clean, and totally safe for your team.
Big Impact, Low Effort: Large-Scale Ideas That Won’t Cause Chaos 👻
Forget tiny, time-consuming crafts. You need ideas that fill a big space with minimal effort. Here are a few of my go-to tricks that I’ve used for client parties.
- The “Floating Witch Hat” Ceiling: This looks so impressive. Use fishing line and clear Command hooks to hang 5-10 lightweight witch hats from the ceiling in the lobby. The fishing line makes them look like they’re magically floating in the air.
- The “Caution Tape” Crime Scene: For a bit of fun, use yellow “CAUTION” or “ZOMBIE ZONE” tape to frame a few doorways. It’s a classic that takes just minutes to put up and gets a good laugh.
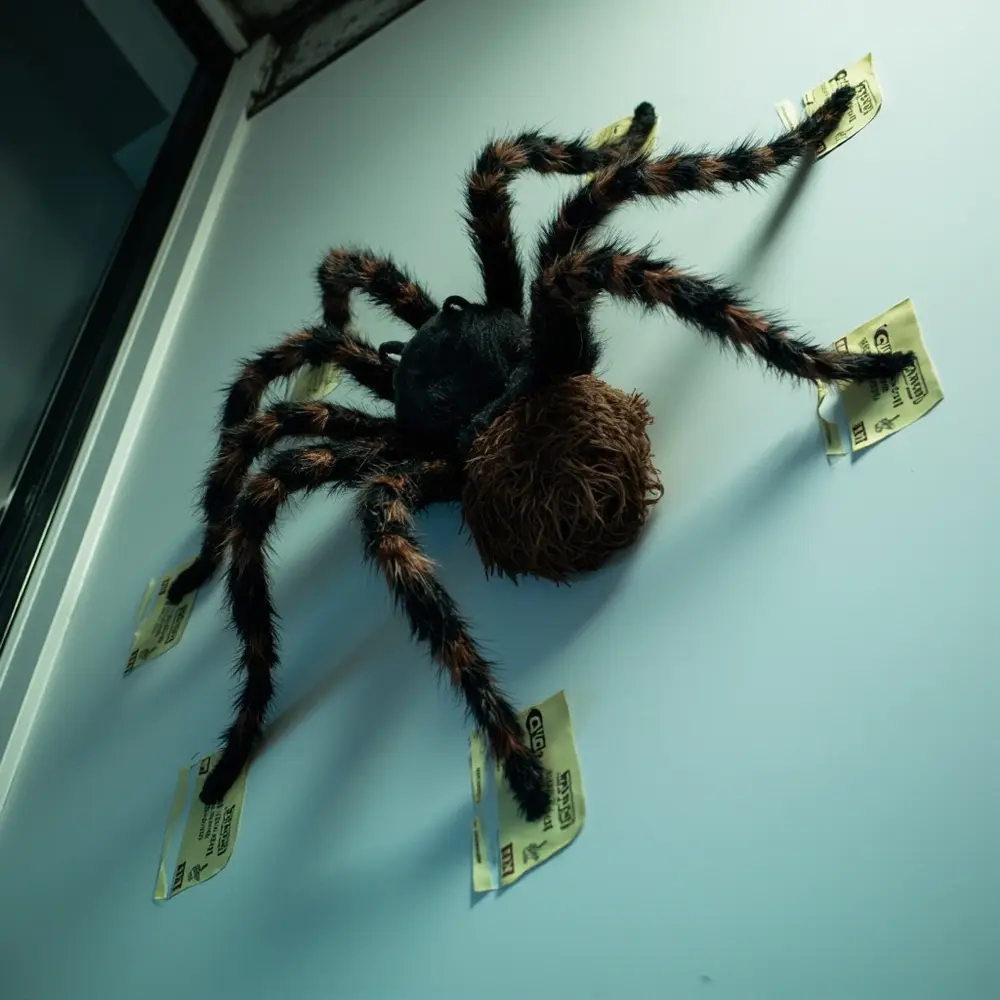
- The “Giant Spider Invasion”: Get one or two of those oversized, hairy spiders. They are very lightweight! Pose one on a large, empty wall so it looks like it’s crawling up toward the ceiling. Use several large Command strips to make sure it’s secure.

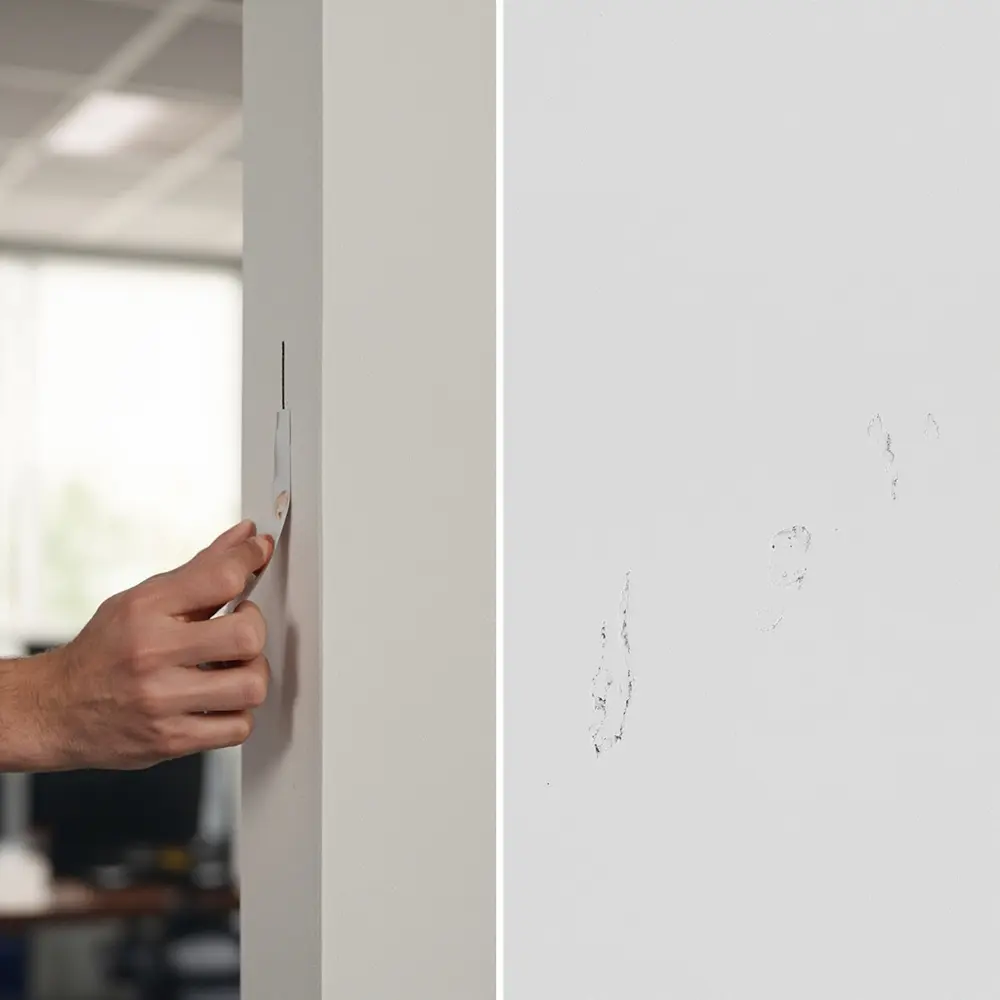
My Personal Tip: To make sure the novelty tape doesn’t leave any residue, use a small piece of low-tack painter’s tape to stick the ends to the doorframe. I learned this trick after helping a client with a party and it saved us so much cleanup time!
Troubleshooting & Common Questions ❓
How can I decorate my office for Halloween on a budget?
A tiny budget just means you get to be more creative! Focus on DIY. You can find free bat and ghost templates online and print them on regular black office paper. You can also send out an email asking everyone to bring in one pumpkin to create a “company pumpkin patch” in the break room. It gets everyone involved!
How do you decorate an office for Halloween appropriately?
This is a great question. To keep everyone comfortable, I suggest sticking to a “Harvest Festival” theme with pumpkins, fall leaves, and friendly scarecrows. Avoid anything gory, bloody, or religious. Think cartoon ghosts, not terrifying demons. Keep it light and fun!
What’s the easiest way to remove everything without leaving marks?
Always follow the removal instructions on your Command strips—pull straight down, slowly. For wall putty, just roll it off the wall with your thumb. The best trick is to schedule a 30-minute “De-Decorating Party” on your calendar for November 1st. Put on some music, get it all down at once, and you’re done!
Next Steps & Further Optimization 🎶
You did it! But why stop there? Now you can use this awesome atmosphere to build even more team spirit.
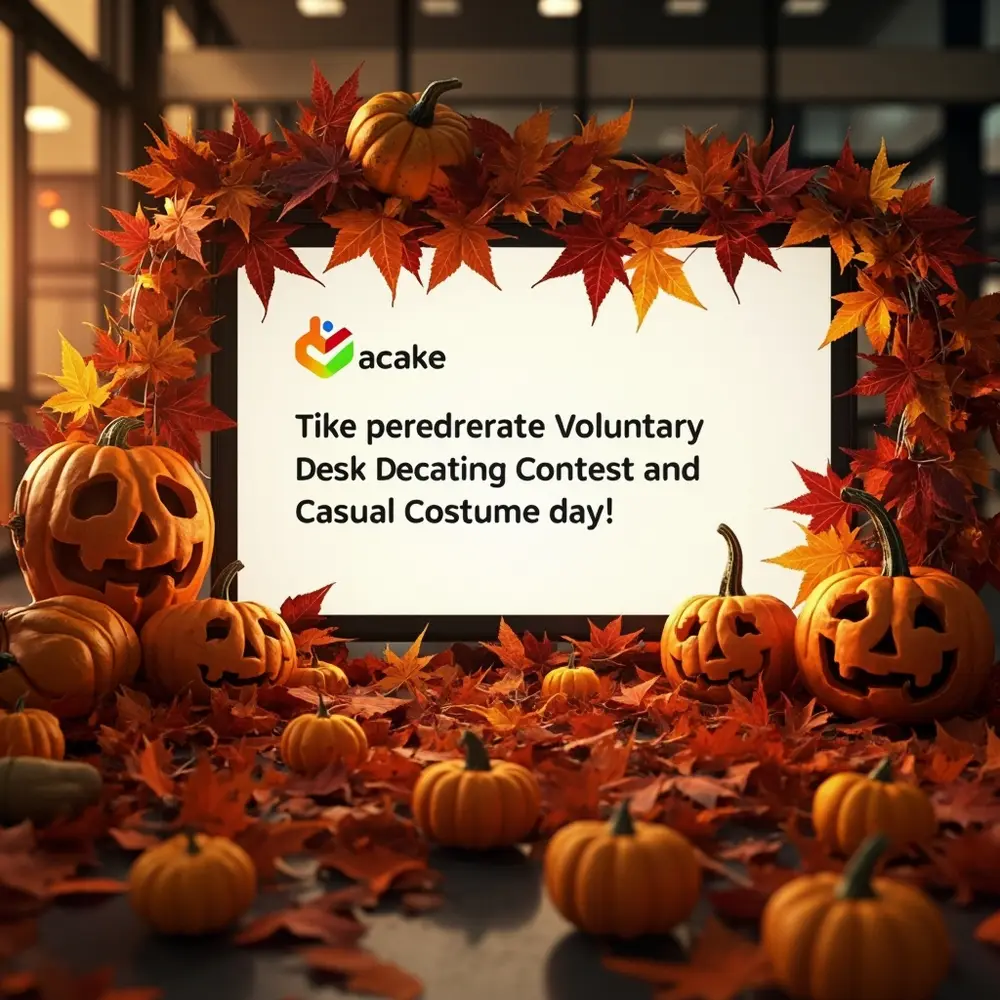
- What to Do Next: Send a company-wide email showing off the new look! Use it to announce a totally voluntary desk decorating contest or a casual costume day.
- Optimization Tips:
- Add a Soundtrack: Put a small Bluetooth speaker in the lobby and play a low-volume “Spooky Classical Music” playlist.
- Engage the Senses: A simple pumpkin spice or apple cinnamon air freshener in the kitchen can make a huge difference.
- Advanced Applications: Now that you’ve proven how awesome and easy this is, you can use this success to pitch a bigger budget for a full-blown office Halloween party next year!
Conclusion (My Final Thoughts) 👻

Congratulations! You officially transformed your office from everyday to extraordinary without causing any chaos. By using a simple plan and the right tools, you’ve shown that celebrating at work can be easy and fun.
This is about more than just cobwebs and pumpkins. It’s about building community, sparking fun conversations, and giving everyone a much-needed morale boost. You’ve made your workplace a little happier, and that’s a huge win.
Now that you’re an office decorating hero, I have to ask: what was the one decoration that got the biggest reaction from your team? Let me know in the comments below!


