How to Turn Your Front Porch and Yard into a Spooky Masterpiece
It’s that time of year again, ghouls and ghosts! Are you tired of just tossing a few pumpkins on the porch and calling it a day? 🎃
You see those houses on the block, the ones that make kids gasp with excitement, and you think, “I want to do that!” You dream of a front yard that’s not just decorated, but is a full-on spooky experience. 👻
Well, you’ve come to the right place! I’m Roshan, and I’m going to guide you through a simple design process to turn your yard into a cohesive masterpiece. Forget the clutter; let’s build something truly memorable together! ✨
- Difficulty Level 🦴: Beginner-Intermediate
- Time to Complete ⏳: Planning: 1-2 hours; Setup: 4-8 hours
- Prerequisites 🧠: A front yard or porch, and a love for all things spooky!
Prerequisites: What You’ll Need Before You Start 📝

Before we dive into the spooky stuff, a little prep work goes a long way. Gathering everything first makes the whole process so much smoother and, honestly, way more fun.
Requirements Checklist:

- Planning Tools: A measuring tape, a pen and paper or sketchbook, or even a simple drawing app on a tablet.
- Core Decorations: Your main props that fit a single theme. Think skeletons, tombstones, giant spiders, or witches.
- Lighting: A mix of outdoor-rated spotlights (I love using both white and colored LEDs!), string lights (orange and purple are classics), and maybe a cool projection light.
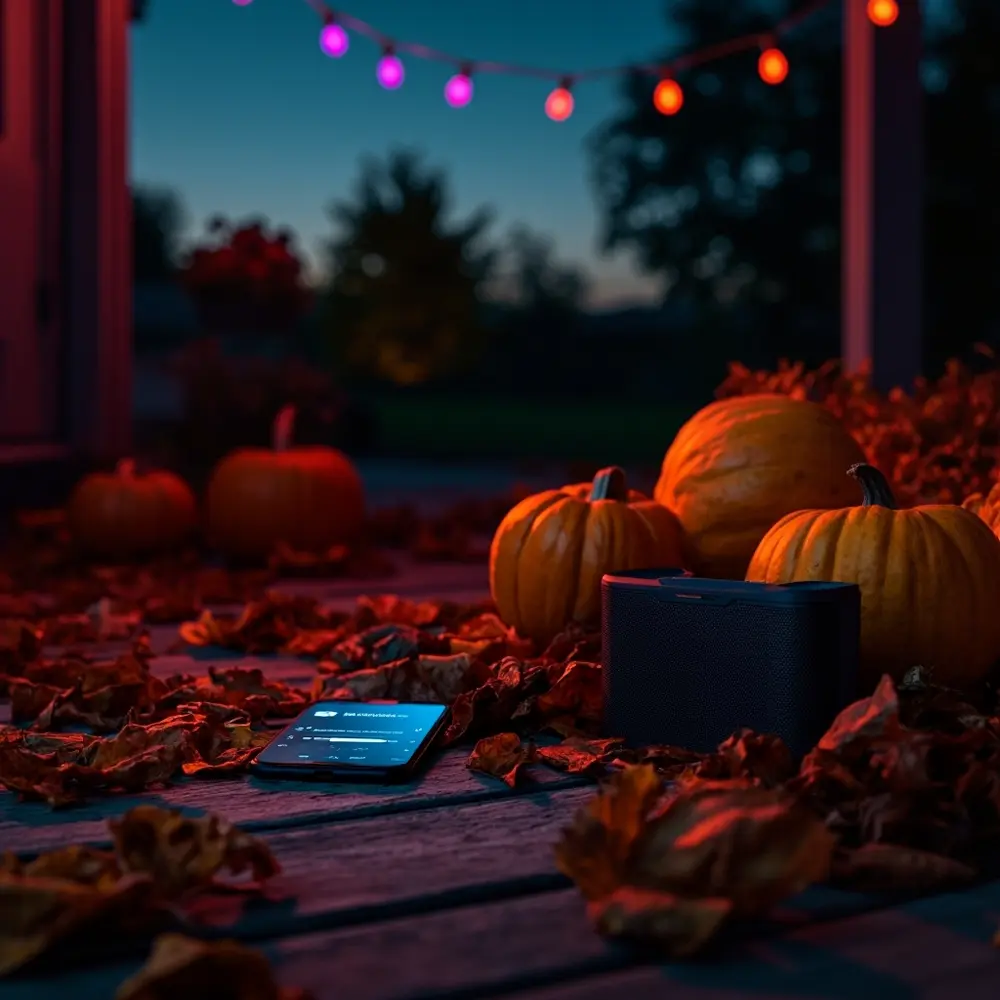
- Ambiance: A fog machine with plenty of fog juice and an outdoor Bluetooth speaker for creepy sounds. Trust me, sound makes a huge difference.
- Structural & Electrical: Outdoor-rated extension cords, power stakes, zip ties, fishing line, landscape stakes, and good old duct tape.
Initial Setup:

- Measure Your Space: Grab your measuring tape and get the basic size of your yard and porch. I always sketch a rough map in my notebook to plan where the big items will go.
- Take “Before” Photos: Stand at the curb and snap a few pictures of your yard as it is now. It’s a great reference, and you’ll love the before-and-after shot!
- Set Your Budget: Decide what you’re comfortable spending. This helps you figure out if you want to splurge on one giant “hero” prop or get a bunch of smaller things.

⚠️ Warning: Please, please, please only use extension cords and lights that are specifically rated for outdoor use. This is super important to prevent electrical shock and fire hazards. Also, check the power needs of your items so you don’t overload a circuit!
Step-by-Step Tutorial 🛠️

Just follow these steps, and you’ll have an amazing scene designed and built in no time.
Step 1 – Choose Your Theme & Color Palette

The goal here is to create a single, unified idea for your yard. A strong theme is what makes a display look professional instead of random.
- Brainstorm a few themes you like. Some of my favorites are:
- Classic Graveyard (skeletons, tombstones, maybe a zombie or two)
- Witch’s Coven (cauldrons, glowing potions, and broomsticks everywhere)
- Spider Infestation (webs of all sizes, and a giant spider as the star)
- Pumpkin Patch Horror (scarecrows and lots of evil-looking jack-o’-lanterns)

- Pick one primary theme to focus on.
- Choose a simple color palette of 2-3 colors that supports it. For a graveyard, I love using green, purple, and white light. For a spider theme, red and white light is extra creepy.


Important Note: A focused theme is always more powerful than trying to do a little bit of everything. Stick to your concept for the best result!
Step 2 – Sketch Your Scene & Define a Focal Point

Now, let’s make a simple plan. This helps you see where things should go and makes sure your best decoration gets all the attention.
- Look at your “before” photo and use your measurements to draw a very rough sketch of your house and yard. It doesn’t have to be art!
- Decide on your one Focal Point. This is your “hero” piece, the main attraction. Is it a huge skeleton on the porch? A dramatic witch scene under a tree?
- Mark the spot for your focal point on your sketch. Every other decoration should help draw people’s eyes toward it.


Step 3 – Place Your Background & Midground Layers

The secret to a scene that feels real is creating depth. We do this by building our scene from the back to the front.
- Background: Start with the things that are farthest away. I like using window silhouettes or aiming projection lights at the wall of the house.
- Midground: Now place your bigger props like tombstones or standing skeletons in the middle of your yard. I always group them in odd numbers like 3 or 5; it just looks more natural.

Step 4 – Add Your Foreground & Path Elements

This step guides everyone’s eyes—and feet!—from the street right to your front door, completing the scene.

- Put your smaller props in the foreground, which is the area closest to the sidewalk. This is a great spot for smaller pumpkins, crawling skeletons, or skulls.
- Line your main walkway with something thematic. You can use path lights, small stakes, or even zombie hands reaching out of the ground to create a spooky path.

Step 5 – Implement Your Lighting Strategy

Light is everything! It creates drama, highlights your best props, and sets the mood for your entire theme.
- Uplight: Place spotlights on the ground and aim them upwards at your focal point, cool-looking trees, or other key props. This creates amazing, long shadows.
- Backlight: Put a light behind a prop, like a big skeleton, to create a really powerful and scary silhouette.
- Fill with Color: Use your colored floodlights to wash the front of your house in one of your theme colors. A whole house washed in purple or green light looks incredible.

Important Note: With lighting, less can be more. Don’t just blast the whole yard with bright white light. Use focused beams and pockets of darkness to create mystery and suspense.
Step 6 – Testing Your Masterpiece (The Nighttime Walk-through)

This is the final check to make sure your scene looks as good in the dark as you imagined, and that it’s safe for your visitors.
- Wait until it’s totally dark outside.
- Turn everything on—lights, fog machine, and sound effects!
- Walk to the curb and take a good look. See if any props need to be moved or need better lighting.
- Walk the path to your front door like a trick-or-treater would. Make sure there are no tripping hazards like extension cords in the way. Adjust anything that feels unsafe.

A Closer Look: Design Principles for a Cohesive “Curb Appeal” Scene ✨

Lots of guides show you cool decorations, but they don’t explain why some yards look amazing while others look like a Halloween store exploded. The secret is in a few simple design ideas.
My Personal Tip: When I first launched my ‘Spooky Sharma’ YouTube channel, my early yard designs were a total mess! I had a little of everything. I learned that guiding the viewer’s eye is key. Now, I always start with a big focal point to grab attention, then use a clear path to lead people right to the candy bowl. It tells a little story!
- The Visual Journey: Your display should guide a person’s eyes from the curb to your door. Use your focal point to get their attention, and then use pathway lights and other props to create a clear line for them to follow.
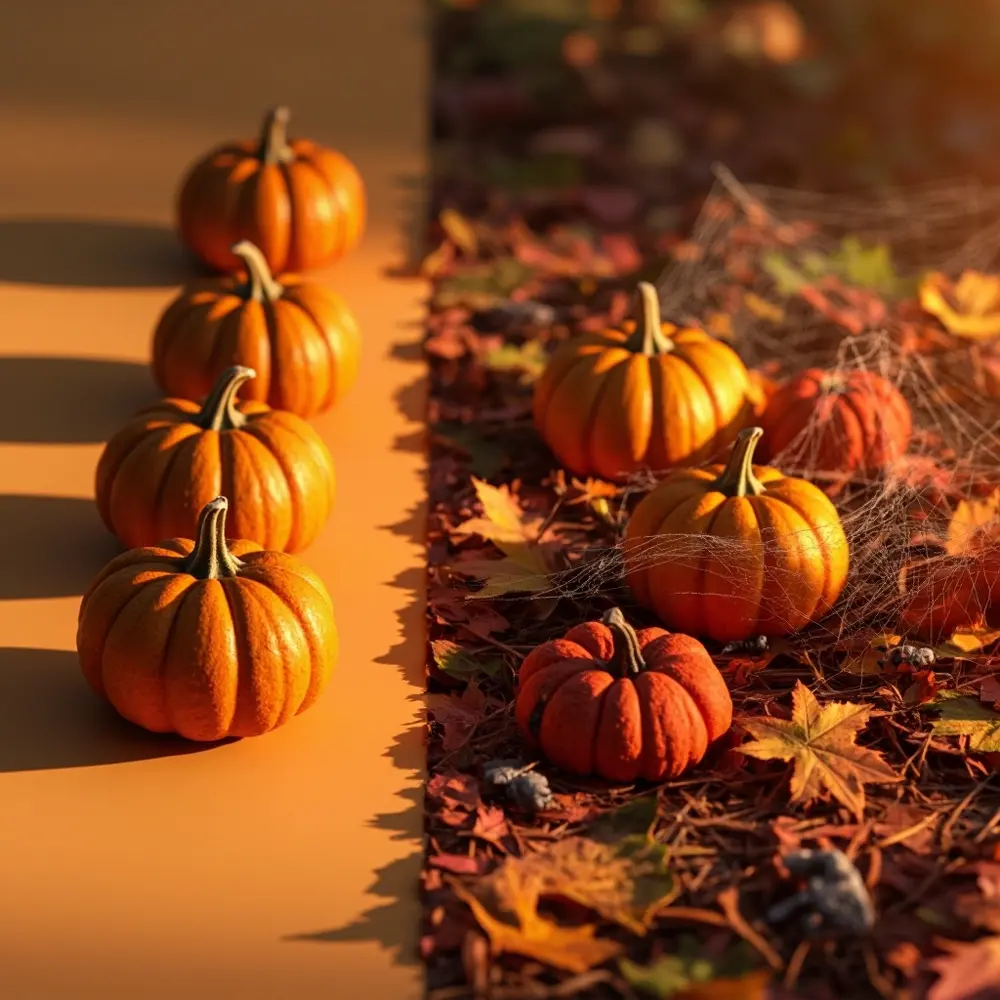
- The Rule of Threes (and Fives): When you’re placing smaller, similar items like pumpkins or tombstones, always group them in odd numbers (3, 5, etc.). It looks more organic and is way more pleasing to the eye than a straight, even line.
- Varying Scale and Height: A great scene has props of different sizes at different heights. Don’t put everything on the ground! Have a tall creature, a medium-sized tombstone, and something crawling on the ground. This variety makes the scene feel bigger and more dynamic.
Troubleshooting & FAQs ❓

How do I keep my Halloween decorations from blowing over?

Ah, the classic battle with the wind! For lightweight plastic or styrofoam props, you have to anchor them. I use landscape stakes and zip ties to secure them to the ground. For taller things, I hammer a piece of rebar into the ground right behind it and use dark-colored zip ties to hold it in place.
My fog from the fog machine just blows away instantly. How do I fix this?
I’ve been testing fog machines since 2017, and the biggest enemy is wind. For the best effect, use your machine on a cool, calm night. If you want that super spooky, ground-hugging fog, you can get or build a “fog chiller.” It’s just a cooler with ice that the fog passes through, making it denser so it stays low to the ground.
This seems expensive. How can I get a high-impact look on a small budget?

You absolutely can! The trick is to focus your budget on just two things: one single, awesome “hero” prop and good lighting. A well-lit yard with one great focal point looks so much better than a yard full of cheap stuff with bad lighting. You can also DIY your filler items, like making tombstones from foam board or ghosts from old white sheets.
Next Steps & Further Optimization 🚀

You’ve built your spooky masterpiece, but why stop there? The fun can continue!

- What to Do Next: Take a picture of your amazing creation! I love posting my final setup on social media. It’s so fun to see the reactions from friends and neighbors.
- Optimization Tips:
- Add Animation: Next year, maybe swap a static skeleton for an animated one that jumps or talks. It adds a whole new layer of fright!
- Create a Custom Soundtrack: Instead of a generic spooky sounds loop, I create a custom playlist on my phone that fits my theme perfectly and play it on an outdoor speaker.

- Advanced Applications: If you really get the bug, you can look into something called DMX lighting. It lets you program and sync all your lights and props to music for a fully automated Halloween show. It’s next-level stuff!

Conclusion (My Final Thoughts) 👻

Congratulations! You did it. You’ve gone from just putting out decorations to thinking like a true scene designer. By using a theme, layers, and dramatic lighting, you’ve created an experience, not just a display.
You now have the skills to build an incredible, cohesive scene that will be the talk of the neighborhood. Best of all, you can use this framework to make it even better year after year. I’d absolutely love to see what you created!
What was your favorite part of building your spooky new yard?


