15 Dreamy DIY Pastel Halloween Birthday Party Ideas
✨ From haunted party planning spreadsheets to late nights perfecting decor, I’ve mastered the art of creating unforgettable celebrations—testing, fixing fails, and discovering solutions that actually work.
😅 But I know the struggle: Tired of the same old orange and black Halloween? Dreaming of a celebration that’s both spooky and sweet? I’ve spent hours figuring this out, sometimes with family by my side, and I’ve been there too.
👑 That’s why in this post, I’ll show you exactly how to solve these challenges with tips I’ve tested myself. Stick with me, and you’ll learn how to throw a magical pastel Halloween birthday party while creating magical memories with your loved ones! 🎃
My Top 4 Picks From This List 🏆
If you’re short on time, these are the absolute must-try ideas that I personally love!
- 1. The Ethereal Pastel Balloon Arch Entrance 🎈: This is the ultimate first impression and photo op, setting the entire dreamy aesthetic.
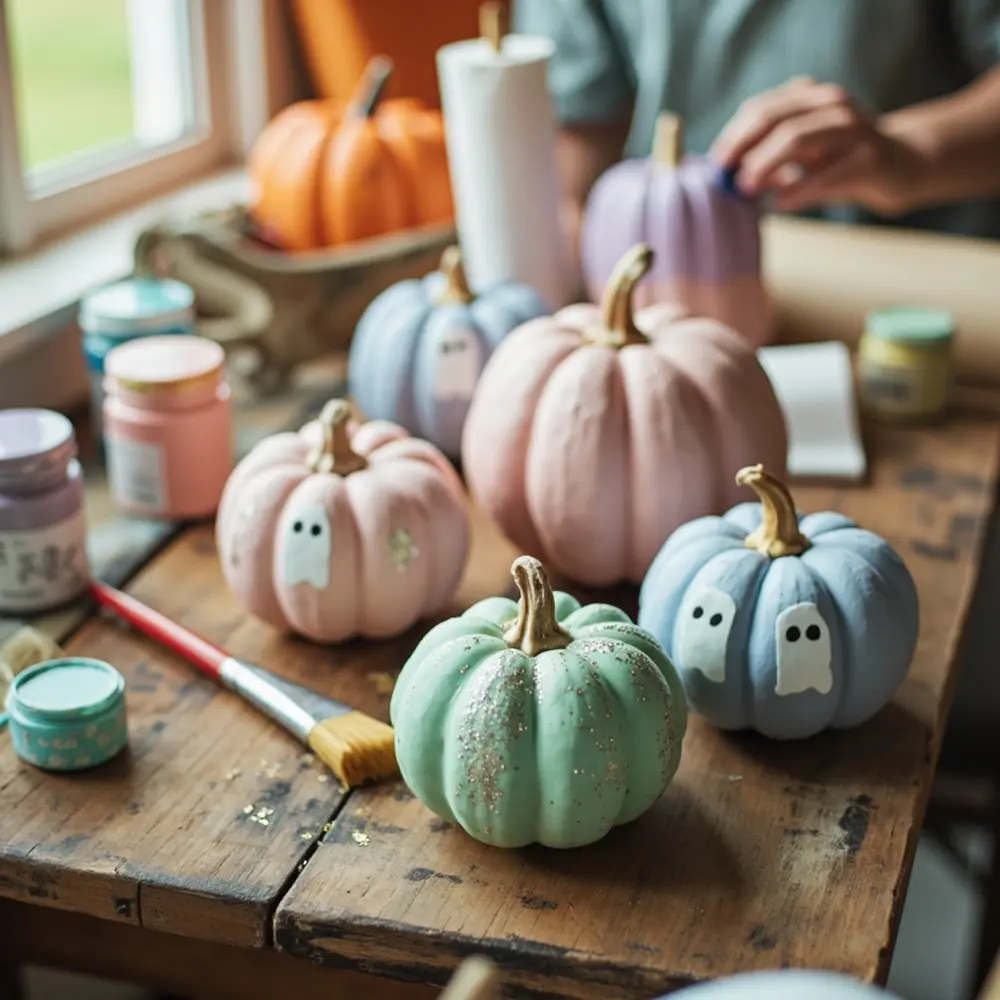
- 2. DIY Pink & Purple Pumpkin Patch 🎃: A versatile and budget-friendly way to infuse pastel charm into your decor.
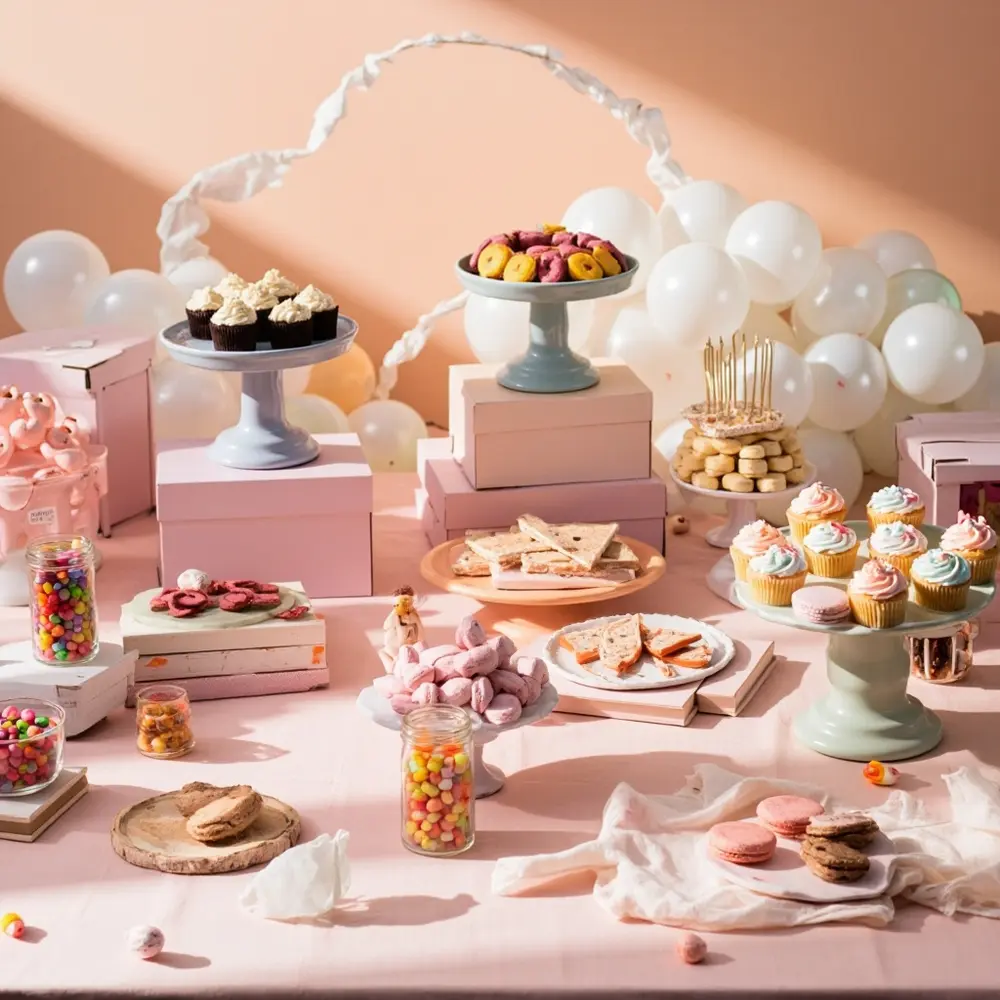
- 4. Spooky Sweet Treat Table Display 🍬: Elevates your party with a cohesive and irresistible dessert presentation.
- 6. “Potion” Drink Bar with Pastel Elixirs 🧪: A fun, interactive station that’s a hit with guests of all ages.
A Few Tools for Your Creative Toolkit 🛠️
As a Party Planning Pro, I always keep these essentials handy. They’re part of my Secret Sauce for making magic happen!
- ✅ Pastel Craft Paint Set
- ✅ Hot Glue Gun & Glue Sticks (👑 Nancy’s Pick: A good quality, low-temp hot glue gun is a party planner’s best friend for quick, secure, and kid-safe crafting. It adheres quickly without waiting, making it perfect for last-minute adjustments and ensuring everything stays put!)
- ✅ Assorted Pastel Cardstock & Construction Paper
- ✅ Scissors & Craft Knife
- ✅ Balloon Pump (manual or electric)
1. The Ethereal Pastel Balloon Arch Entrance 🎈
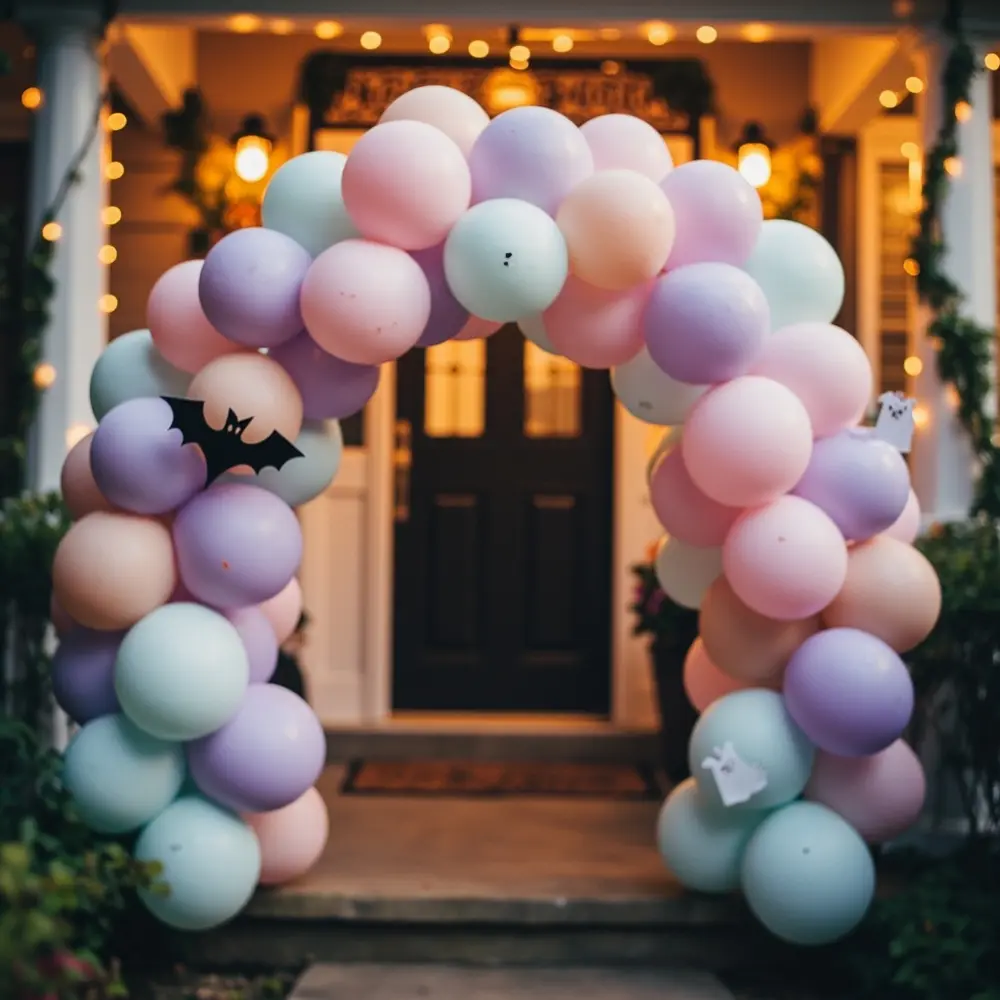
As a Party Planning Pro, I know the entrance sets the entire tone for your celebration. This ethereal pastel balloon arch is the perfect welcoming statement for a dreamy party, instantly setting an aesthetic that’s both spooky and sweet. It’s my go-to trick for creating a show-stopping photo opportunity right from the start, using key materials like pastel balloons in shades of pink, lavender, mint, and baby blue, along with balloon tape.
💡 Pro-Tip: My go-to trick for easily assembling a professional-looking balloon arch is to inflate balloons to varying sizes for depth, then thread them onto balloon tape. For extra security and shaping, fishing line and command hooks are your best friends, allowing you to create curves and secure it without fuss.
[Image Placement Instruction: image-1: A stunning pastel balloon arch at a party entrance, featuring soft pinks, purples, and blues, with a few small ghost or bat cutouts.]
2. DIY Pink & Purple Pumpkin Patch 🎃
Transforming ordinary pumpkins, whether real or faux, into charming pastel decor is one of my favorite budget-friendly ideas. This versatile project allows you to infuse beautiful soft hues into your Halloween birthday theme, making it truly unique. You’ll just need pumpkins, pastel acrylic paints, paintbrushes, and optional glitter for that extra sparkle.
👑 Nancy’s Golden Rule: For achieving smooth, even paint coverage on pumpkins, apply several thin layers rather than one thick coat, allowing each to dry completely. For subtle sparkle without the mess, mix fine glitter directly into a clear matte or glossy sealant and apply it as a topcoat.
[Image Placement Instruction: image-2: A collection of pumpkins painted in various pastel shades (pink, lavender, mint), some with subtle glitter or painted white ghost faces.]
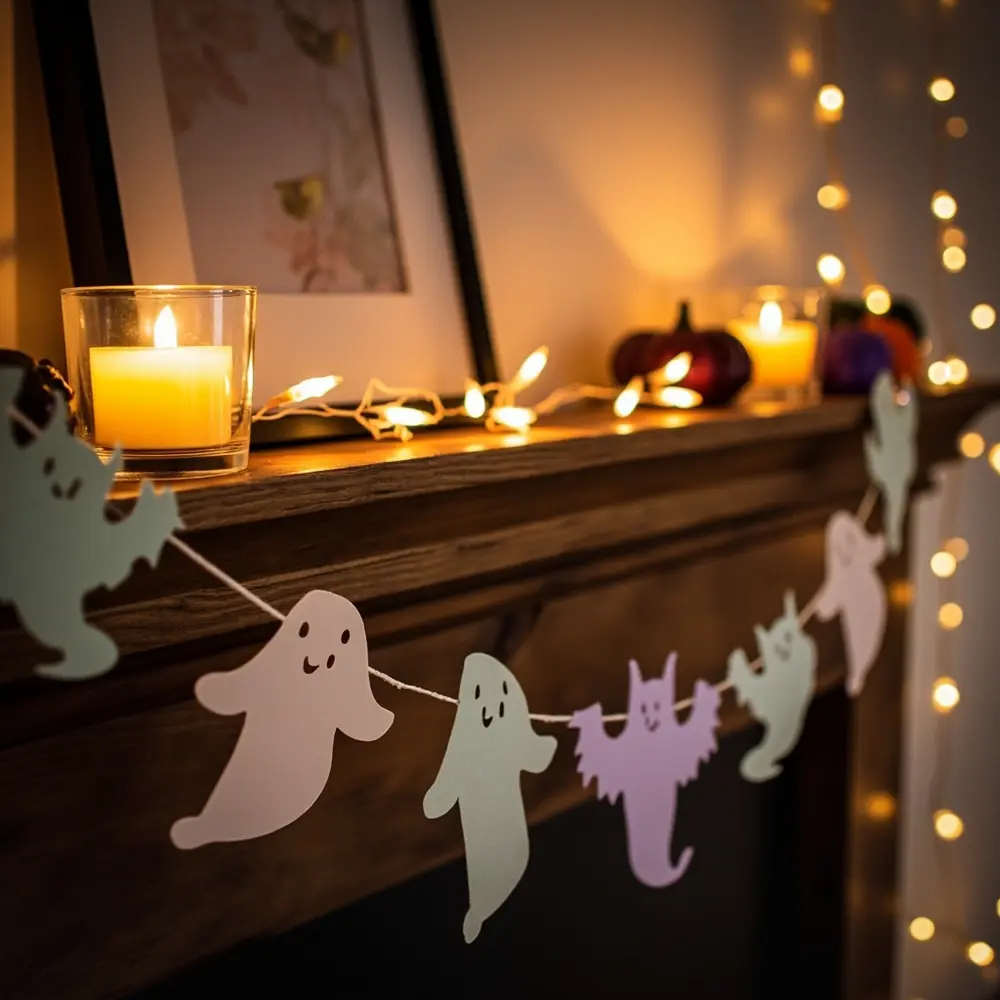
3. Ghostly Pastel Garland & Banners 👻
Creating whimsical garlands and banners using felt or cardstock is a simple yet impactful way to add a soft, spooky touch to your party walls or treat tables. This DIY project allows you to extend your pastel Halloween aesthetic throughout the entire space. You’ll need pastel felt or cardstock, string or ribbon, ghost or bat stencils, and fabric glue.
💡 Pro-Tip: For making reusable stencils, print your designs on cardstock and laminate them or cut them from thin plastic sheets. If you have access to a craft cutting machine (like a Cricut or Silhouette), it’s a game-changer for intricate designs and ensures perfectly consistent shapes every time!
[Image Placement Instruction: image-3: A close-up of a pastel ghost garland draped across a mantelpiece, with soft lighting.]
4. Spooky Sweet Treat Table Display 🍬
A beautifully arranged dessert table is a Party Planning Pro’s secret sauce for elevating the entire party experience. This display, featuring pastel-themed treats, becomes a focal point that’s both inviting and visually stunning. Key elements include a pastel tablecloth, tiered stands to add height, and decorative serving dishes that complement your theme.
👑 Nancy’s Golden Rule: For creating visual height and balance on a dessert table, use varying levels of tiered stands, cake pedestals, and even overturned boxes draped with fabric. This creates an appealing landscape for your treats, making it both functional and beautiful.
[Image Placement Instruction: image-4: An overhead shot of a beautifully arranged pastel Halloween treat table with various desserts.]
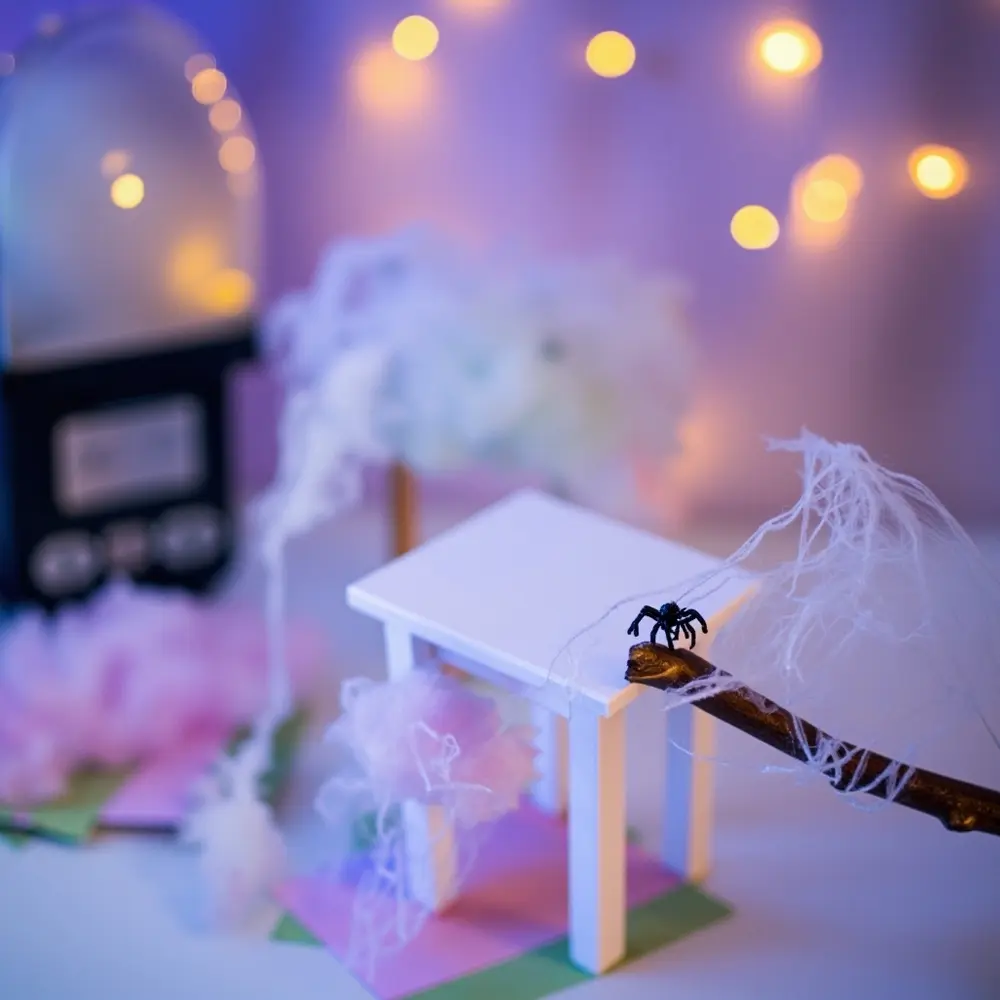
5. Cotton Candy Spiderwebs & Clouds 🕸️
Using cotton candy to create ethereal spiderwebs or fluffy “ghost clouds” is one of my favorite unique, edible, and visually striking decor elements. It adds a whimsical, soft texture that perfectly fits the pastel Halloween vibe. You’ll just need pastel cotton candy (either store-bought or machine-made) and optional small plastic spiders for a creepy-cute touch.
💡 Pro-Tip: For handling cotton candy without it dissolving too quickly, work in a cool, dry environment and wear food-safe gloves to prevent moisture from your hands. To shape it effectively, gently pull and stretch small wisps of cotton candy, then drape them over objects to create delicate “webs” or form into fluffy “clouds.”
[Image Placement Instruction: image-5: Delicate pastel pink and purple cotton candy stretched to resemble spiderwebs, perhaps with a small plastic spider.]
6. “Potion” Drink Bar with Pastel Elixirs 🧪
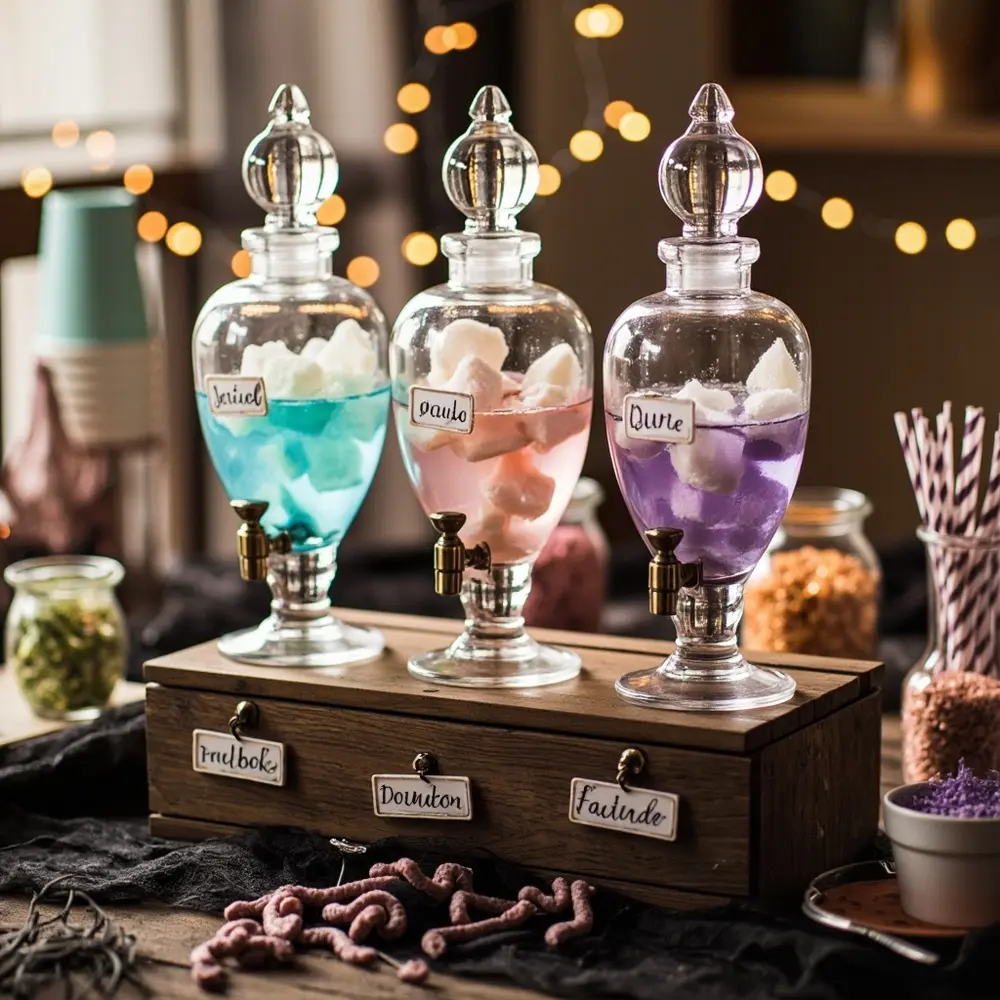
Setting up a fun drink station with colorful, non-alcoholic “potions” is always a hit with kids and adults alike at any party I plan. It’s an interactive element that’s easy to customize to your pastel palette. You’ll need clear drink dispensers, pastel juices or sodas, a tiny bit of food coloring if needed, and fun, whimsical labels.
👑 Nancy’s Golden Rule: For creating vibrant pastel drinks using natural ingredients, try combinations like white grape juice with a drop of blue food coloring for light blue, or lemonade with a splash of cranberry for a soft pink. For fun garnishes that tie into the theme, add edible glitter, gummy worms, or a few pastel rock candy sticks to each glass.
[Image Placement Instruction: image-6: A drink station with glass dispensers filled with pastel pink, blue, and purple beverages, labeled with whimsical “potion” names.]
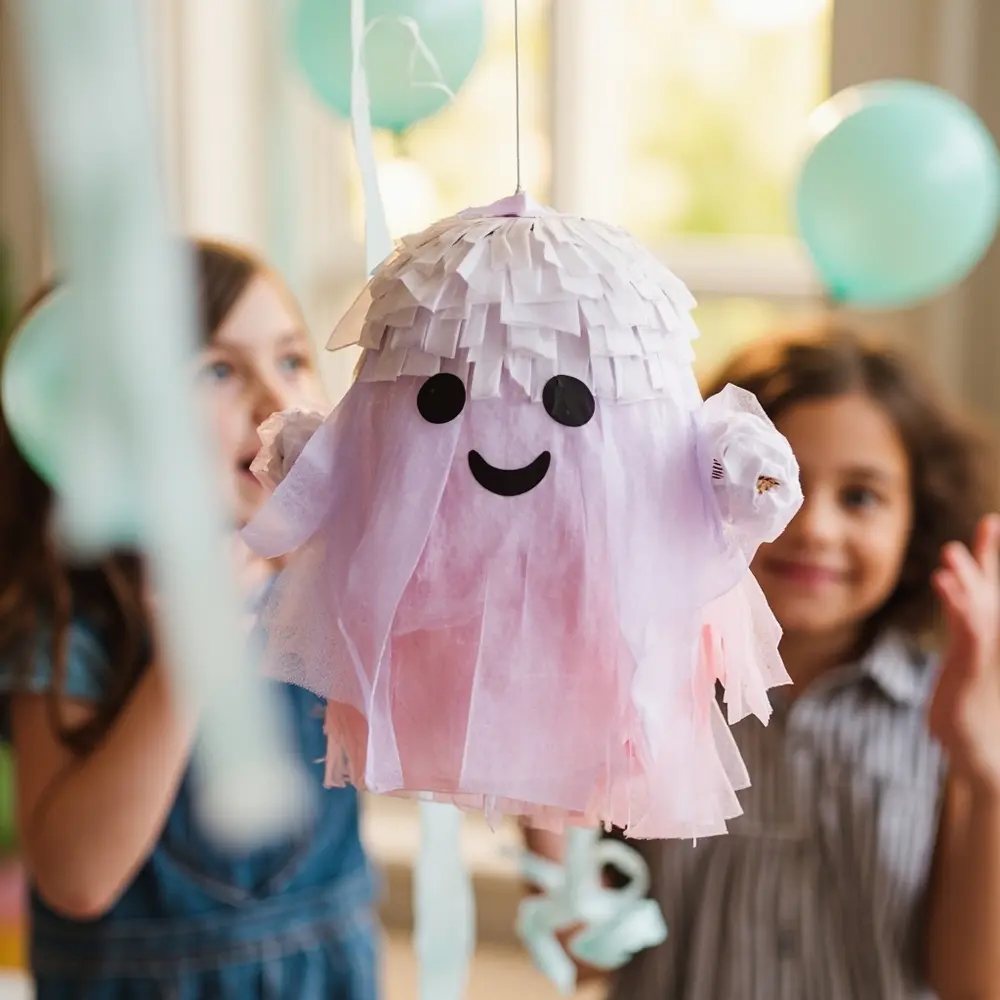
7. DIY Pastel Ghost Piñata 👻
Crafting a friendly ghost piñata in soft pastel colors gives this classic party game a charming and unique update. It’s a fantastic activity that doubles as decor until it’s time for the big smash! You’ll need cardboard for the base, tissue paper in your chosen pastel shades, glue, and of course, candy or small toys for filling.
💡 Pro-Tip: For making a sturdy piñata base, use strong cardboard and reinforce seams with masking tape before applying papier-mâché or tissue paper. When applying tissue paper for a smooth, professional finish, cut it into strips and layer them, ensuring each piece slightly overlaps the last, and use a thin, even layer of glue.
[Image Placement Instruction: image-7: A cute, pastel-colored ghost piñata hanging, ready for action.]
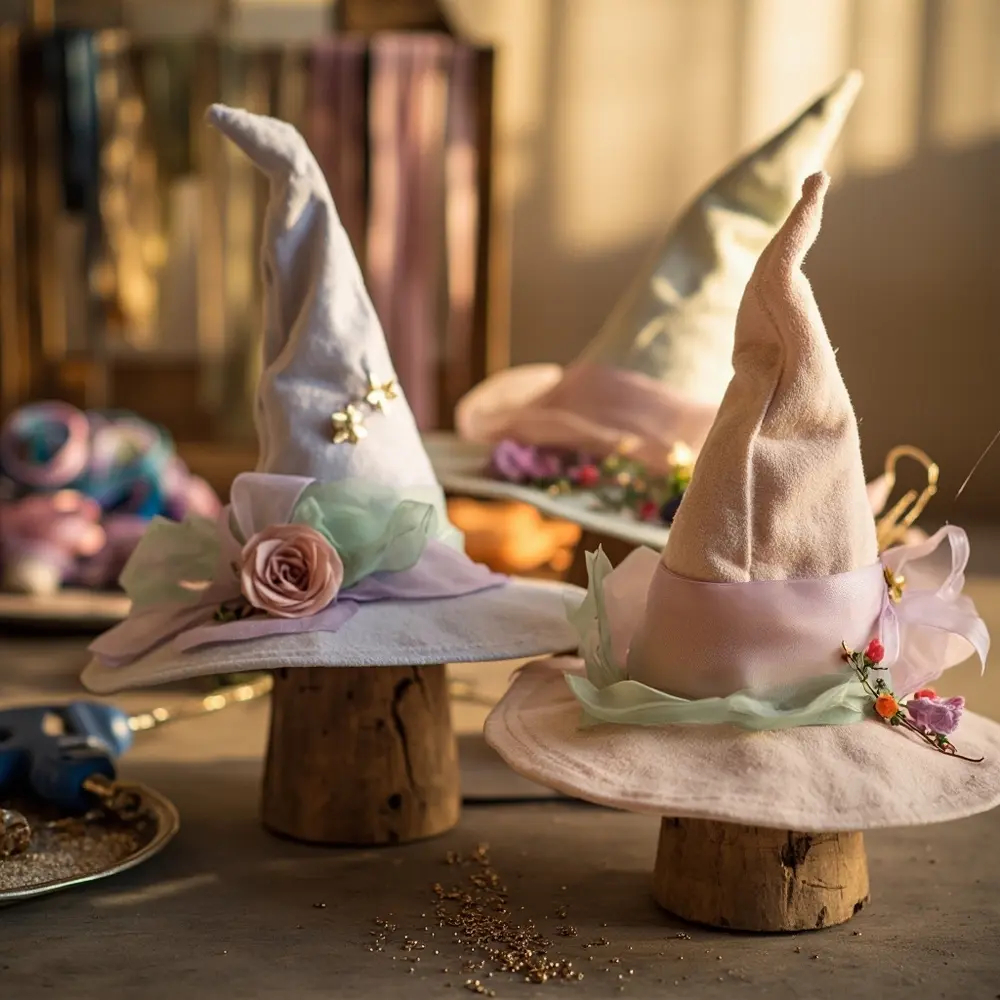
8. Whimsical Pastel Witch Hats 🧙♀️
Decorating plain witch hats with pastel ribbons, faux flowers, and glitter is a simple yet effective way to add a touch of whimsy. These embellished hats make fantastic photo props for guests to enjoy or can even serve as unique party favors. You’ll need plain witch hats, pastel fabric scraps or ribbon, faux flowers, glitter, and a hot glue gun.
👑 Nancy’s Golden Rule: For securely attaching embellishments to hats so they last through the party fun, always use a good quality hot glue gun (my Secret Sauce!) and apply glue directly to the embellishment, then press firmly onto the hat. For larger items like flowers, consider adding a small piece of felt to the back of the embellishment for extra surface area adhesion.
[Image Placement Instruction: image-8: A close-up of several pastel-decorated witch hats, perhaps on a display stand.]
9. “Enchanted Forest” Photo Booth Backdrop 📸
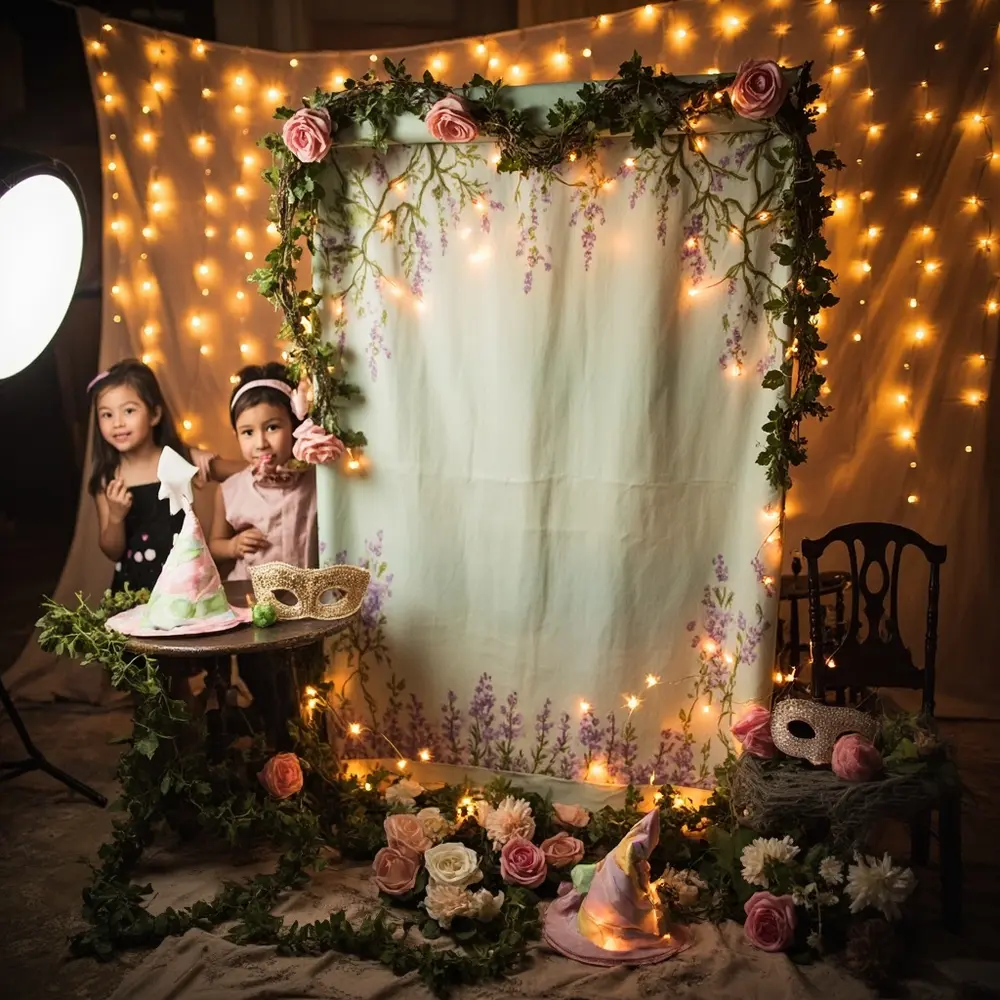
Creating a magical photo booth area with a pastel, enchanted forest theme provides lasting memories for your guests. As a Party Planning Pro, I know how much everyone loves a good photo op! You’ll need a pastel fabric or paper backdrop, faux vines and flowers in soft hues, fairy lights for a dreamy glow, and fun, themed props.
💡 Pro-Tip: For setting up good lighting for photos, use soft, diffused light from ring lights or natural window light, avoiding harsh overhead flashes. To create easy-to-hold pastel props, print out themed shapes (ghosts, bats, stars) on pastel cardstock, cut them out, and glue them onto wooden dowels or paper straws.
[Image Placement Instruction: image-9: A pastel-themed photo booth backdrop with soft lighting, whimsical props, and a few kids posing.]
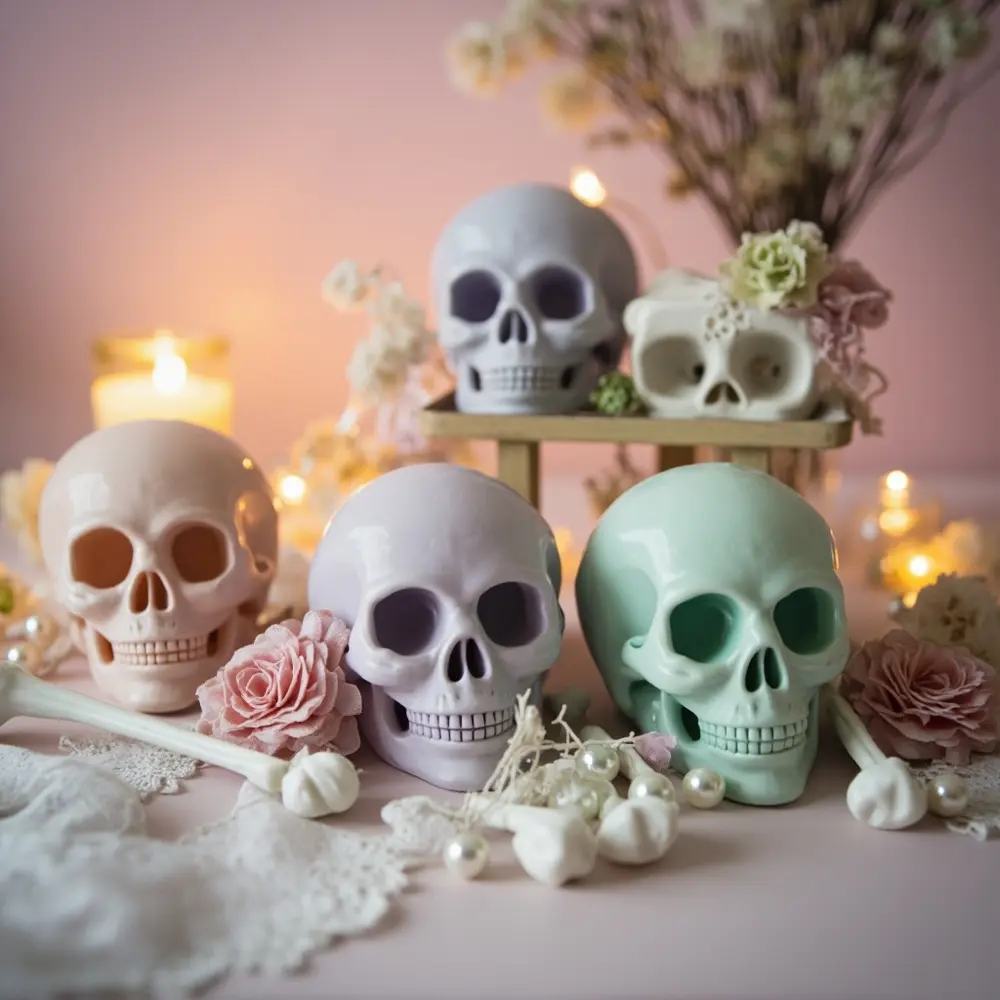
10. Pastel Skull & Bone Decor Accents 💀
Painting plastic skulls and bones in soft pastel hues is a clever way to add a subtle, chic spooky touch that perfectly aligns with your aesthetic Halloween theme. This idea adds an unexpected, elegant element to your party decor that guests will adore. You’ll need plastic skulls and bones, pastel spray paint, and optional matte sealant for a polished finish.
👑 Nancy’s Golden Rule: For achieving a smooth, even finish with spray paint on plastic, always clean the items thoroughly first. Apply several light, even coats from about 6-8 inches away, rather than one heavy coat, allowing each to dry for 15-20 minutes before the next. This also ensures quick drying times and prevents drips.
[Image Placement Instruction: image-10: A tastefully arranged display of pastel-painted skulls and bones on a shelf or table.]
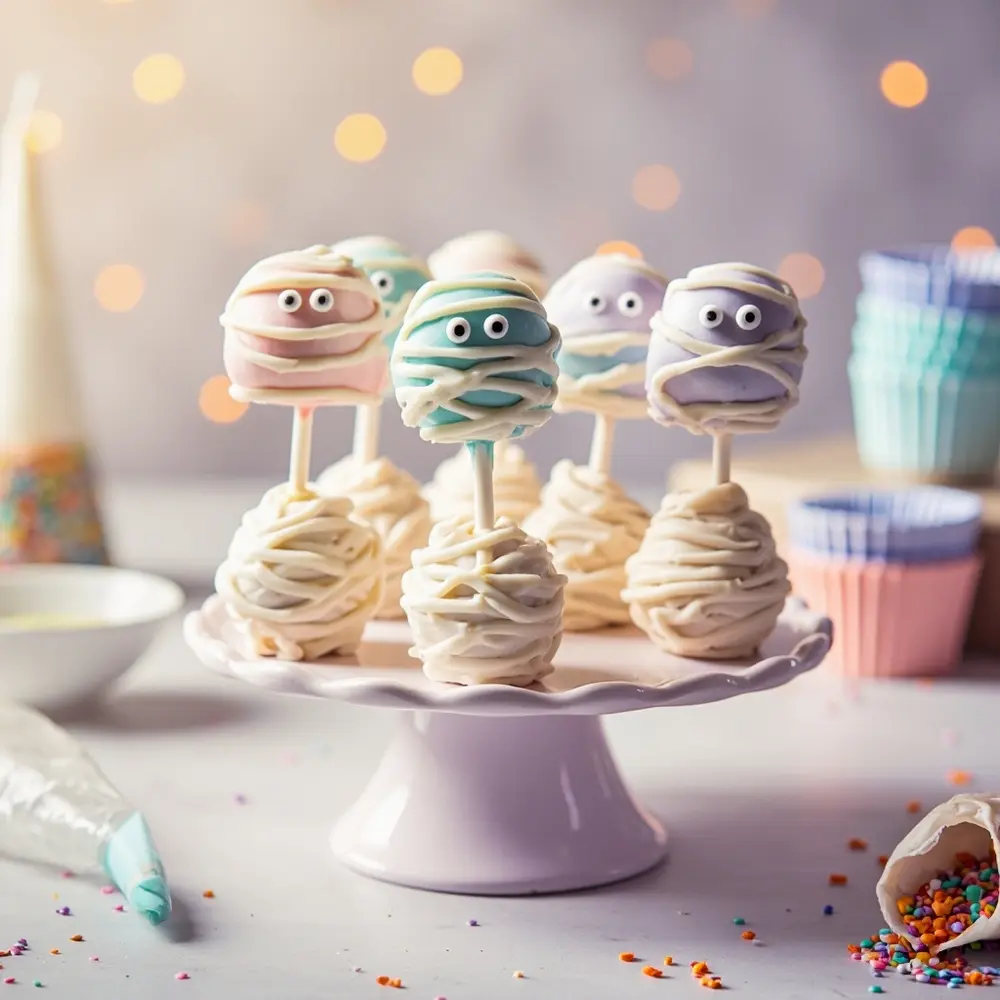
11. “Mummy” Cake Pops with Pastel Wraps 🍡
Making adorable cake pops decorated to look like mummies, wrapped in pastel candy melts, is a perfect bite-sized treat that’s both cute and spooky. These are always a hit at my parties because they’re easy to eat and so visually appealing. You’ll need your favorite cake pop ingredients, pastel candy melts, and tiny edible googly eyes.
💡 Pro-Tip: For dipping cake pops smoothly, ensure your candy melts are melted to the right consistency – not too thick, not too thin. Dip quickly, tap off excess, and let dry. To create neat “mummy” bandages, use a piping bag with a very small round tip or a fork to drizzle thin lines of melted candy melts over the set cake pop.
[Image Placement Instruction: image-11: A plate of pastel mummy cake pops, each with tiny edible eyes, looking cute and spooky.]
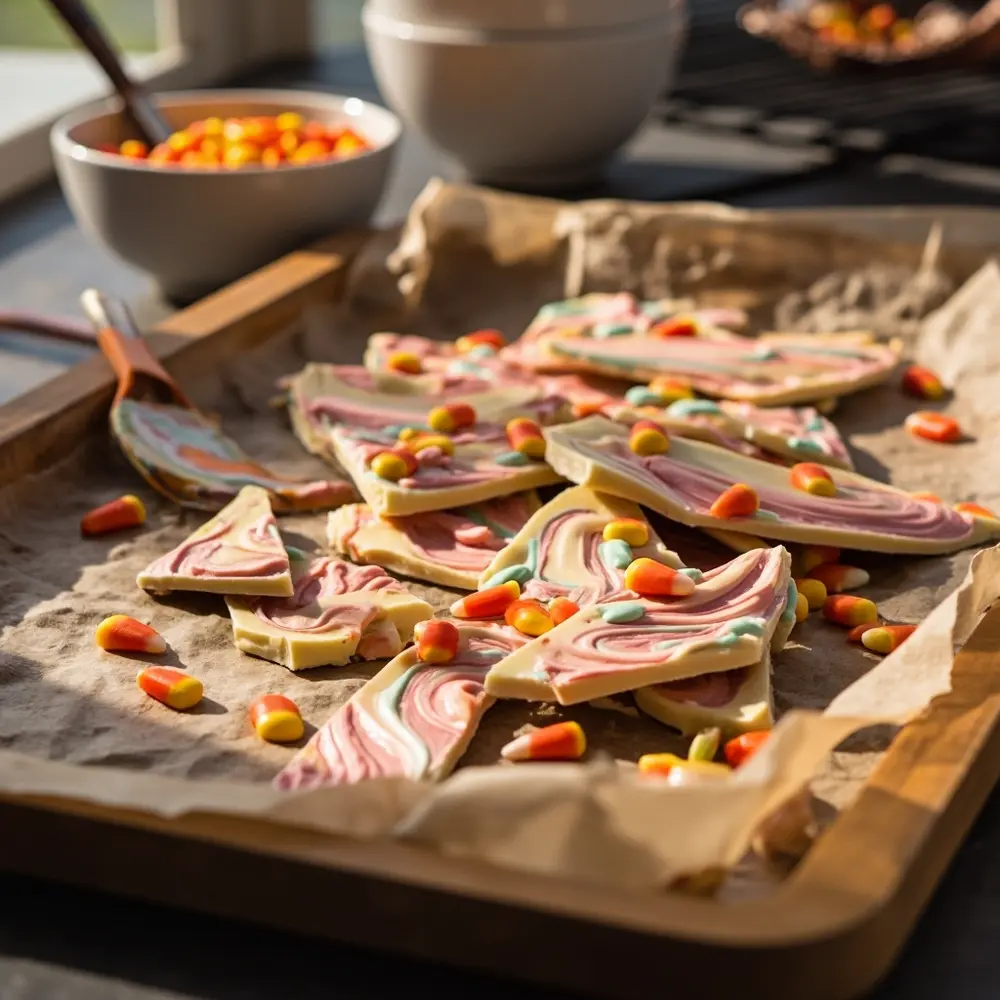
12. Dreamy Pastel Candy Corn Bark 🍭
Creating a colorful candy bark with layers of pastel chocolate and candy corn is an easy, customizable, and absolutely delicious treat for your pastel party decor. It’s a fantastic way to incorporate the Halloween theme with a sweet twist. You’ll need good quality white chocolate, pastel food coloring, and pastel candy corn.
👑 Nancy’s Golden Rule: For tempering chocolate for a shiny finish, slowly melt about two-thirds of your chocolate, then stir in the remaining third off the heat until fully melted and smooth. To create distinct, vibrant pastel layers, allow each colored layer to set for about 10-15 minutes in the refrigerator before pouring the next one.
[Image Placement Instruction: image-12: A close-up of pastel candy corn bark broken into irregular pieces, showing the distinct layers.]
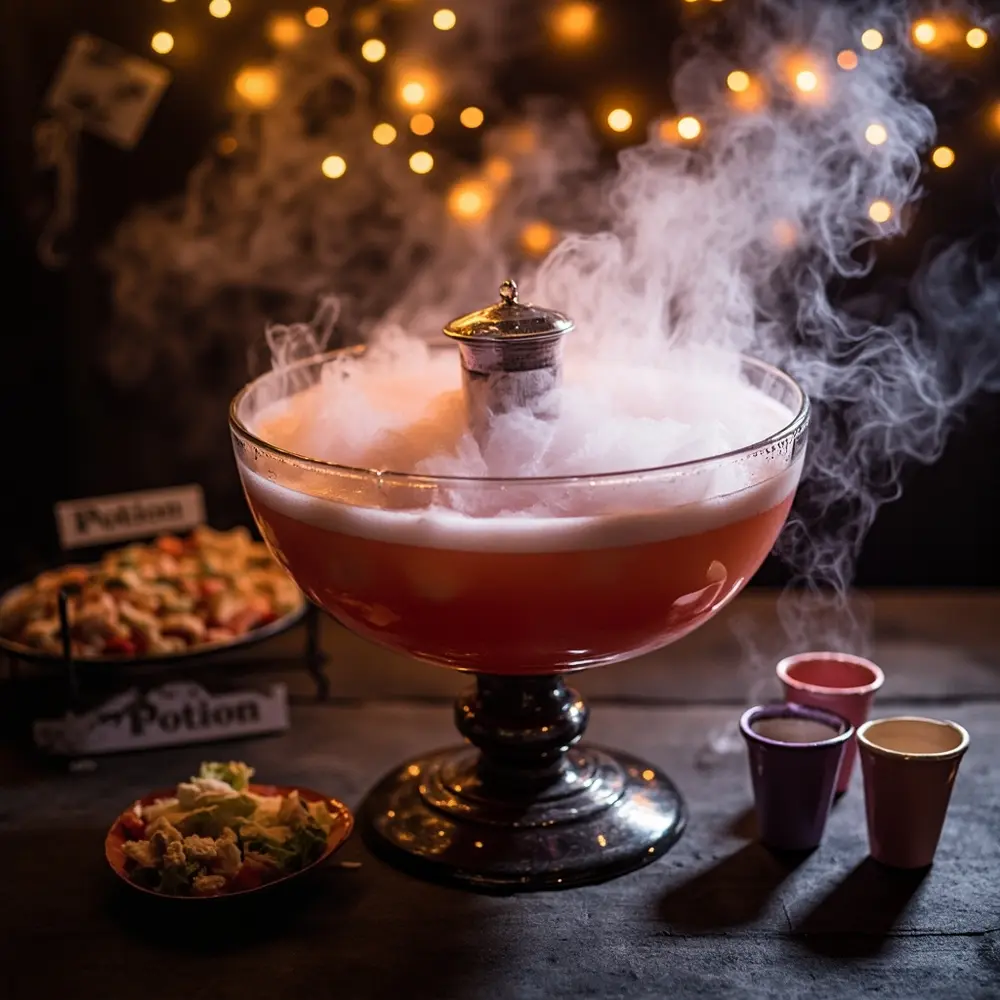
13. “Witch’s Brew” Punch with Dry Ice Effect 🌬️
A non-alcoholic punch that uses dry ice for a dramatic, smoky effect, all in pastel colors, is a true showstopper! This is part of my Secret Sauce for creating truly magical moments. You’ll need pastel fruit juices, ginger ale, dry ice (with safety precautions!), and a large punch bowl.
💡 Pro-Tip: For safely handling dry ice, always wear thick gloves and use tongs. To create the best “fog” effect for your punch, place small pieces of dry ice in a separate, smaller bowl inside the larger punch bowl, then add warm water to the dry ice as needed. Never put dry ice directly into the drink where guests could ingest it.
[Image Placement Instruction: image-13: A punch bowl with pastel-colored punch, gently fuming with dry ice, surrounded by pastel decor.]
14. Pastel Halloween Cupcake Toppers 🧁
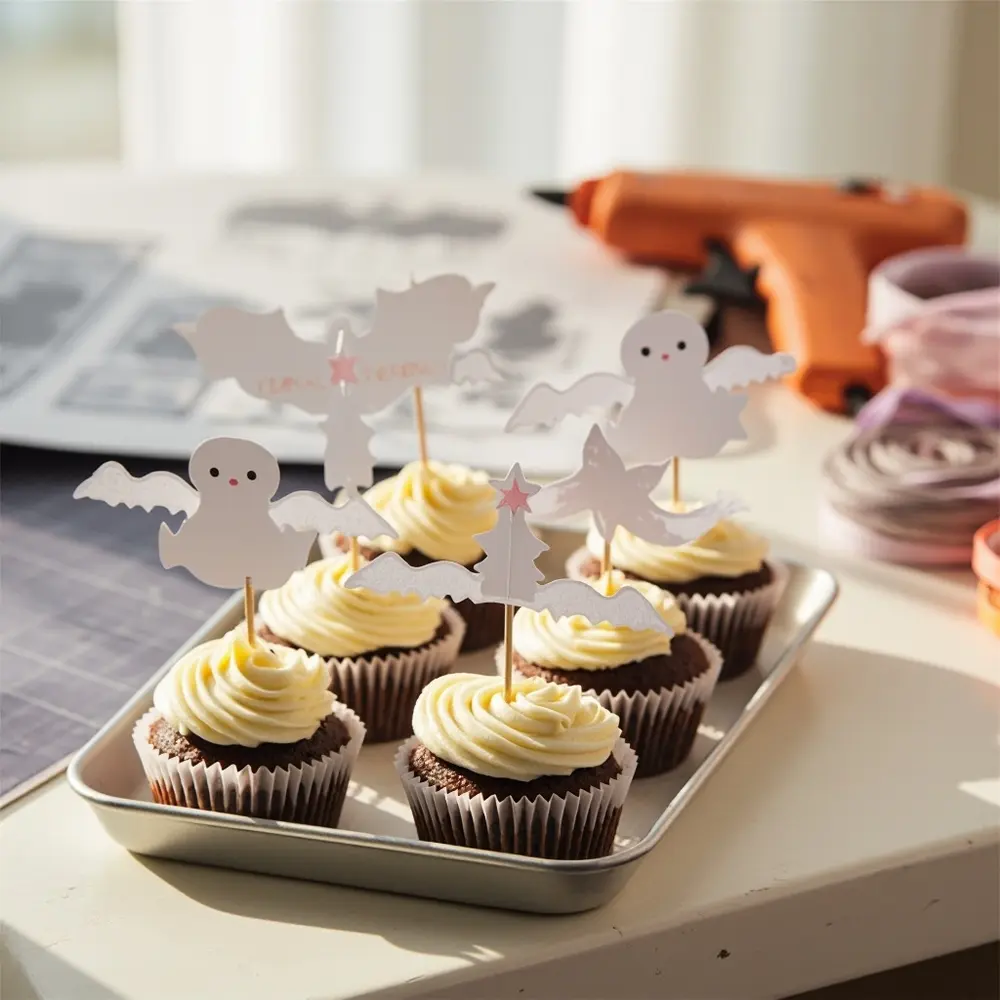
Making custom cupcake toppers with pastel-themed Halloween shapes (ghosts, bats, stars) is a simple way to add a personalized touch to store-bought or homemade cupcakes. This small detail truly elevates your spooky cute treats. You’ll need pastel cardstock, toothpicks, glue, and a craft punch or cutting machine.
👑 Nancy’s Golden Rule: For designing and attaching toppers securely so they stand upright and look professional, use a dab of hot glue (my favorite for quick adhesion!) to attach the design to the toothpick, then sandwich the toothpick between two identical cardstock cutouts. This makes them double-sided and much sturdier.
[Image Placement Instruction: image-14: A tray of cupcakes adorned with various pastel Halloween-themed toppers.]
15. “Spooky Cute” Pastel Party Favors 🎁
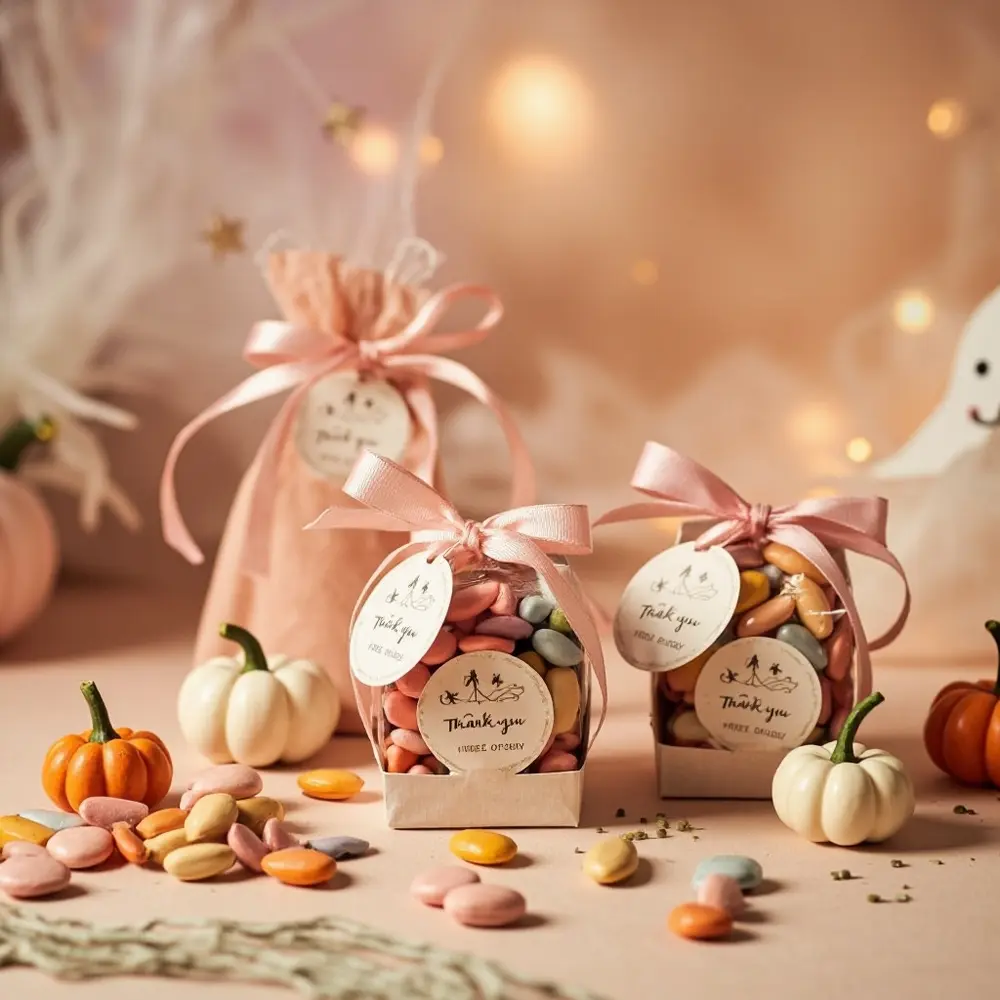
Assembling charming party favors that match your pastel Halloween theme is a thoughtful way to leave a lasting impression on your guests. It’s the perfect way to send them home with a little piece of the magic! Think small bags of pastel candies, mini pastel-painted pumpkins, or themed stickers.
💡 Pro-Tip: For creating personalized favor tags, design them on your computer using a pastel-friendly font and print them on cardstock. Punch a hole and tie them with pastel ribbon. For cost-effective bulk buying for small gifts, check out craft stores during sales, online party supply wholesalers, or even dollar stores for hidden gems.
[Image Placement Instruction: image-15: A display of small, pastel-themed party favor bags or boxes, ready for guests.]
Mix & Match Your Magic ✨
Don’t be afraid to get creative and combine these ideas to make your pastel Halloween birthday party truly unique!
- Themed Zones: Combine the Balloon Arch, Photo Booth, and Treat Table ideas to create distinct “zones” within your party space, guiding guests through a magical journey.
- Interactive Craft Station: Set up a table with plain mini pumpkins and pastel paints from the “Pink & Purple Pumpkin Patch” idea, allowing guests to decorate their own as an activity and a take-home favor.
- Costume Coordination: Encourage guests to wear pastel-colored costumes to perfectly complement your party’s aesthetic, making everyone part of the decor!
Your Spooky Questions Answered 🤔
Q1: Where can I find unique pastel Halloween decorations if I’m not a DIY expert?
A1: If DIY isn’t your Secret Sauce, don’t worry! Many online retailers like Etsy and Amazon offer unique handmade or curated pastel Halloween decor. Specialty party stores and even some larger craft stores are starting to carry more aesthetic Halloween options, especially during the season. Just search for “pastel Halloween decor” or “spooky cute party supplies.”
Q2: How can I adapt these ideas for a smaller budget or a last-minute party?
A2: For a smaller budget, focus on impactful DIYs like the painted pumpkins and ghost garlands using inexpensive materials. For last-minute parties, prioritize 3-4 key elements like a balloon arch, a beautiful treat table, and a signature “potion” drink. My go-to trick is to use store-bought items and customize them with pastel ribbons or painted accents for a quick, unique touch.
Q3: What are the best ways to ensure food safety for a pastel-themed treat table, especially with kids?
A3: Food safety is paramount, especially with little ones! Always keep perishable items refrigerated until just before serving. Use appropriate serving utensils to minimize direct contact, and clearly label any allergens if you know your guests’ dietary needs. For outdoor parties, use covered dishes and keep food out of direct sunlight. A Party Planning Pro always has these details covered!
Conjure Your Dreamy Celebration!
There you have it—a treasure trove of dreamy DIY pastel Halloween birthday party ideas, all designed to make your celebration both spooky and sweet. With these tested solutions and a touch of your own magic, you’re ready to create an unforgettable aesthetic Halloween experience. Which of these dreamy DIY pastel Halloween ideas will you conjure up for your next celebration? Share your favorites in the comments below!
