The Ultimate Guide to Setting Up a Personalized Caramel Apple Station
✨ From sprawling wedding dessert bar spreadsheets to intimate fall party setups, I’ve mastered the art of the interactive food station—testing, fixing fails, and discovering solutions that actually work.
😅 But I know the struggle: How do you keep the caramel from getting gloopy? How do you stop the station from becoming a sticky mess? I’ve been there, trying to create a perfect experience for guests.
👑 That’s why in this post, I’ll show you exactly how to solve these challenges with tips I’ve tested myself. Stick with me, and you’ll learn how to create a stunning and seamless DIY event catering experience while creating magical memories with your loved ones! 🎃
Tutorial At-a-Glance
- Time Required: Approx. 2-3 hours (prep + setup)
- Budget Level: Mid-Range
- Skill Level: Beginner (Event Planning)
What You’ll Need for Your Personalized Caramel Apple Station 🎃
A mistake I always see is underestimating the small supplies. This checklist covers everything you need for a flawless dessert bar idea, ensuring you aren’t running to the store mid-party.
✅ Fresh Apples (e.g., Granny Smith, Honeycrisp)
✅ Caramel (pre-made tubs or homemade recipe)
✅ Wooden Skewers or Popsicle Sticks
✅ Toppings (e.g., crushed cookies, sprinkles, chopped nuts, mini chocolate chips, shredded coconut)
✅ Small Bowls/Dishes for Toppings
✅ Serving Utensils (tongs, spoons)
✅ Caramel Warmer or Slow Cooker (👑 Nancy’s Pick: For a large event like a wedding, I always recommend a commercial-grade food warmer with a pump or ladle opening. Unlike a standard slow cooker which can have hot spots and inconsistent heat, a commercial warmer maintains a perfect, even temperature. This means no scorching, no hardening, and a flawless dipping experience for every single guest.)
✅ Cutting Boards & Knives (for apple prep)
✅ Lemon Juice (to prevent apple browning)
✅ Display Stands/Trays (for elegant presentation)
✅ Napkins & Wet Wipes
✅ Trash Receptacle
Setting Up Your Dream Caramel Apple Station: Step-by-Step Guide 🧵
Let’s get this fall party food station ready! Follow these steps for a setup that’s as functional as it is beautiful.
Step 1: Prepare Your Apples & Sticks
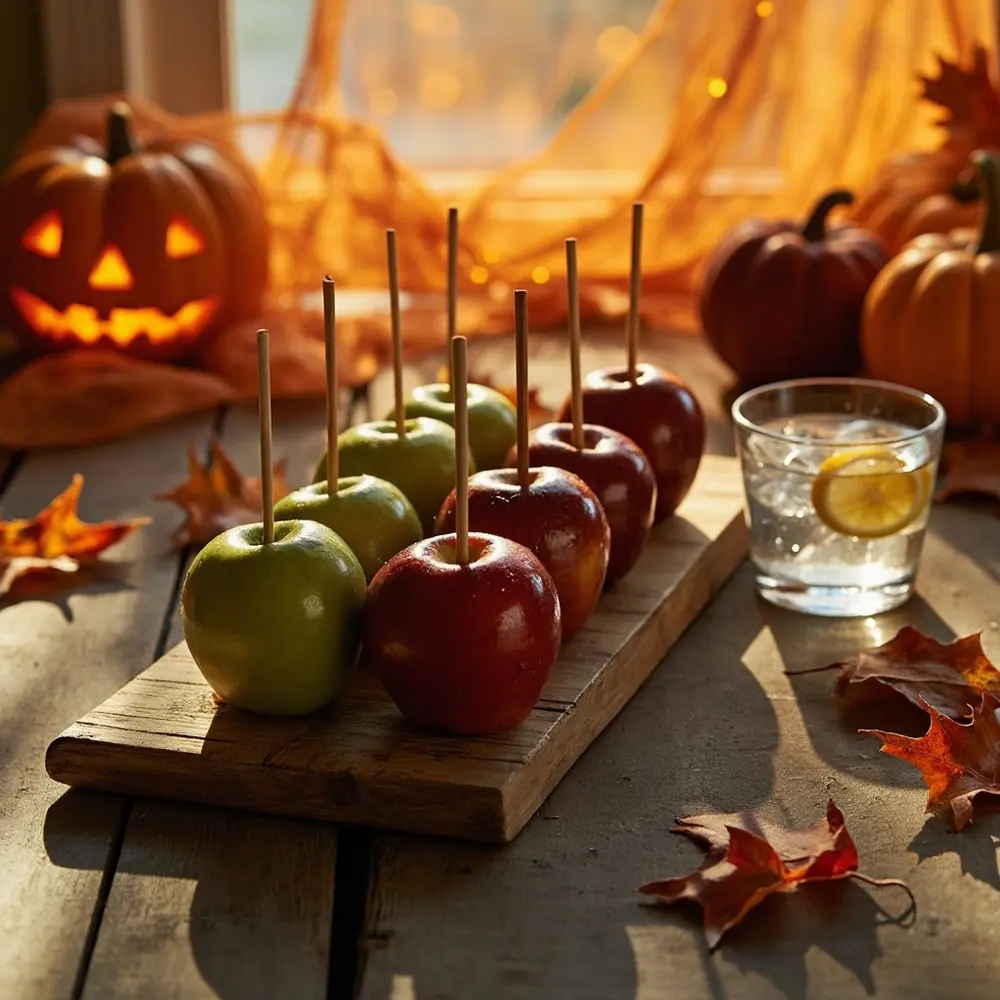
First things first, give your apples a thorough wash and dry them completely. A waxy or wet surface will cause the caramel to slide right off! Remove the stems and firmly insert a wooden skewer or popsicle stick into the top of each apple, pushing it about halfway through. To prevent browning, you can give the apples a quick dip in a bowl of cold water mixed with a splash of lemon juice, then pat them dry again.
image-1: A tray of perfectly washed and stick-inserted apples, with a small bowl of lemon water nearby.

Step 2: Master the Caramel (and keep it warm!)
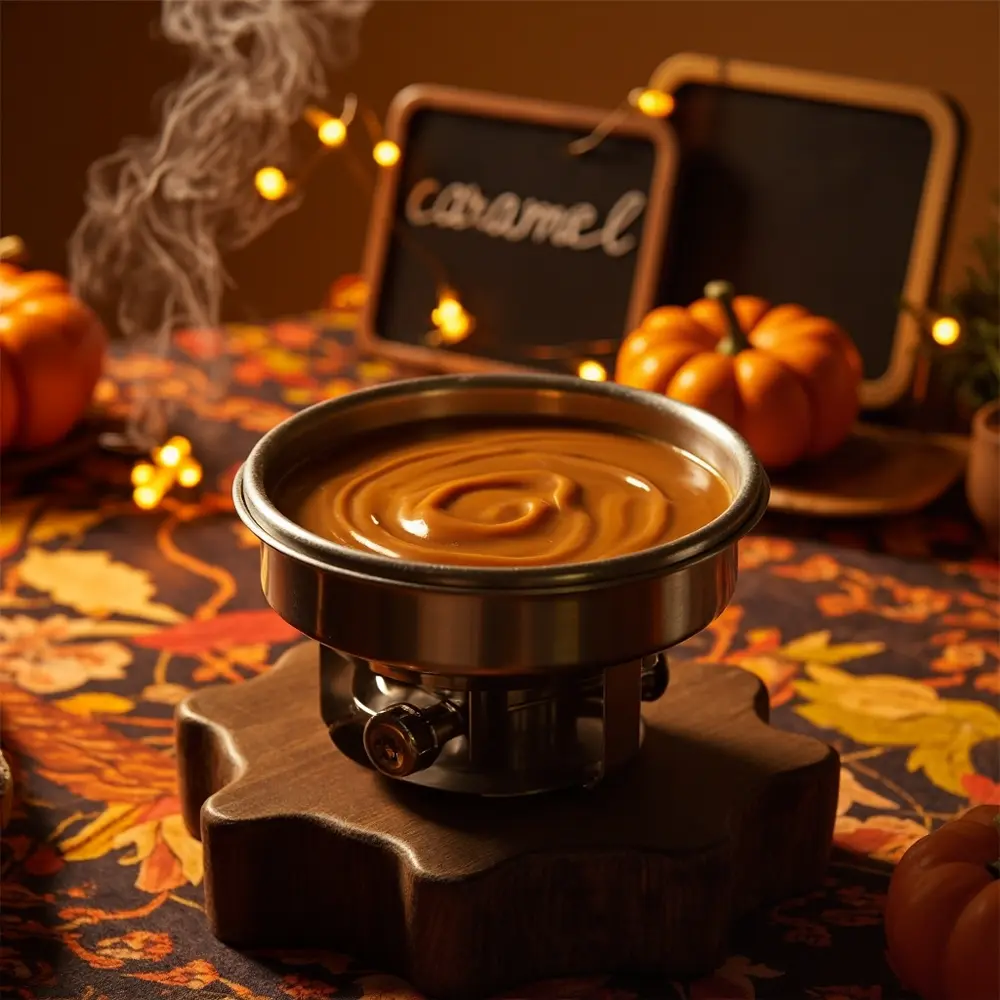
Whether you’re melting pre-made caramel or using a homemade recipe, the goal is a smooth, consistent, and dippable temperature. Heat it slowly in your caramel warmer or slow cooker on the “warm” setting, stirring occasionally until it’s perfectly melted. You want it warm enough to coat the apple easily but not so hot that it’s a safety risk.
⚠️ Safety First: Hot caramel can cause serious burns. Always supervise the station, especially if children are present. Consider adding a small, elegant sign that says “Caution: Hot Caramel” so guests are aware.
image-2: A close-up shot of a caramel warmer with smooth, glistening caramel, ready for dipping.

Step 3: Design Your Topping Bar
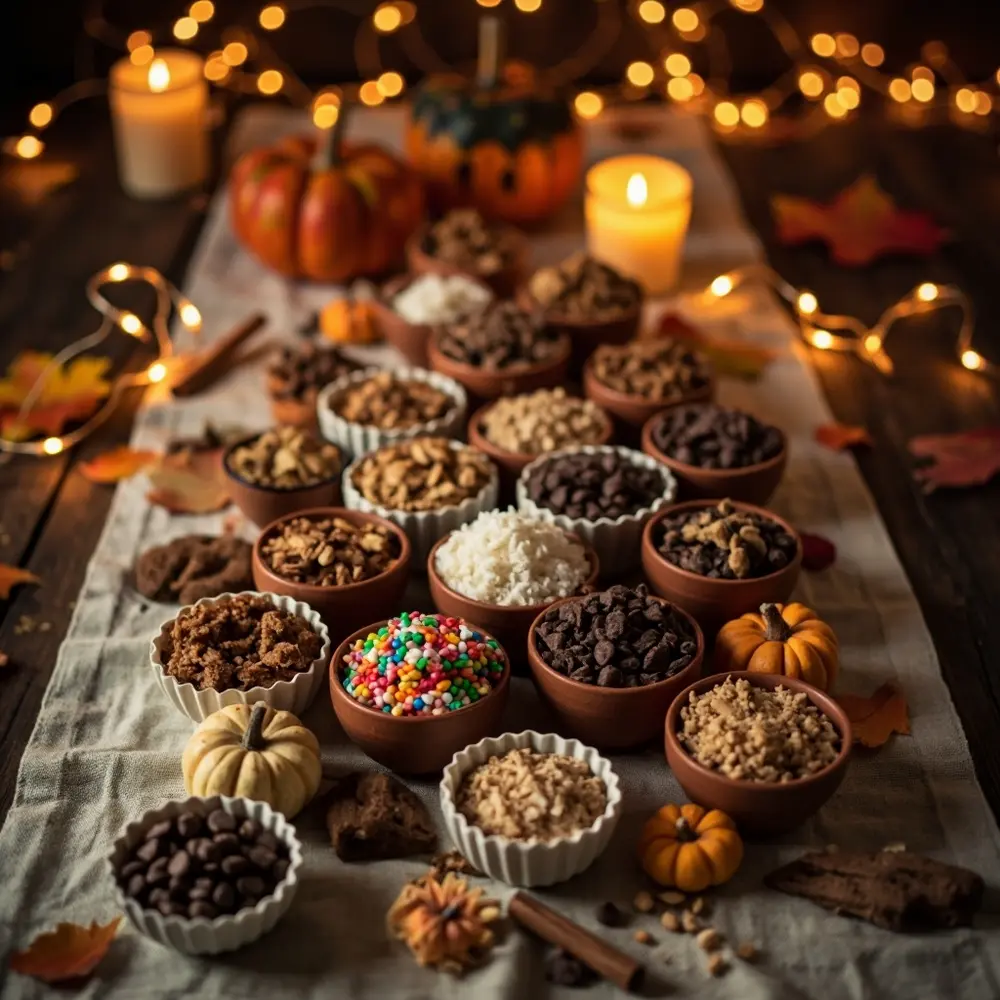
This is where the magic happens! Choose a variety of toppings that offer different colors, textures, and flavors. Think crunchy (nuts, crushed cookies), sweet (sprinkles, mini chocolate chips), and unique (shredded coconut, sea salt). Arrange them in small, attractive bowls with serving spoons or tongs for each one.
💡 Pro-Tip: To prevent cross-contamination and keep things tidy, use long-handled spoons or tongs for each topping. For sticky items like mini chocolate chips, pre-portion them into small paper cupcake liners for a simple grab-and-go solution!
image-3: An aesthetically pleasing arrangement of various toppings in elegant, labeled dishes.

Step 4: Arrange Your Station for Flow & Aesthetics
A great interactive food station has a logical flow. Arrange your setup so guests move in one direction:
- 1. Pick an apple.
- 2. Dip it in caramel.
- 3. Move to the topping bar.
- 4. Place the finished apple on a plate.
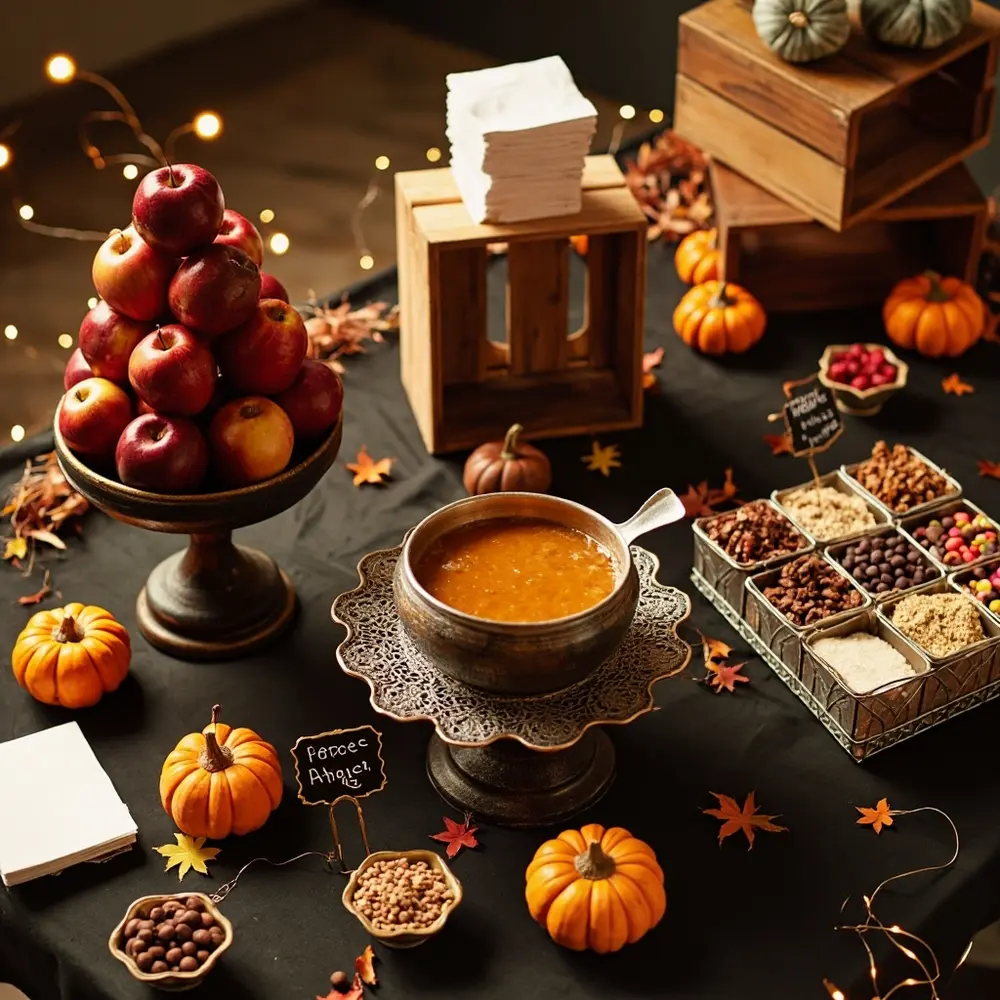
My go-to trick for visual appeal is using cake stands, wooden crates, or tiered trays to create varying heights. This makes the station look more dynamic and professional. A little bit of signage can also help guide guests through the process.
image-4: An overhead shot of the fully assembled caramel apple station, showcasing the entire setup.

Wedding-Specific Logistics & Pro-Tips for Large Crowds 🥂
As an Event Planner and Food Stylist, I’ve seen every potential hiccup. Here’s how to proactively tackle the unique challenges of a caramel apple station at a wedding or large event, ensuring a seamless and elegant experience for your guests. After planning dozens of fall weddings, these are my non-negotiable tips.
Keeping Caramel Perfectly Warm & Dippable
For a high-volume wedding dessert bar, a single slow cooker won’t cut it. Use a commercial-grade warmer and have a backup batch of caramel already melted and waiting in the kitchen. If the caramel in the warmer starts to thicken over time, have a little warm heavy cream on hand to stir in, a teaspoon at a time, to bring it back to the perfect consistency.
Mess-Proofing Your Station
Let’s be honest: caramel drips. Create a designated “dipping zone” by placing a decorative (but washable!) runner or tray directly under the caramel warmer and the first few toppings. This catches the inevitable drips. Also, place a stylish basket filled with napkins and wet wipes at the end of the station. Your guests will thank you!
Elegant Topping Display & Replenishment
Instead of one giant bowl for each topping, use several smaller, identical bowls. This looks much more elegant and makes replenishment a breeze. When a bowl gets low, you can simply swap it out for a fresh, full one from the back without disrupting the guest experience. This keeps your station looking abundant and clean all night long.
Staffing & Flow Management
For any event with over 50 guests, I strongly recommend having one person dedicated to managing the station. They don’t need to serve every guest, but they can act as a helpful guide, assist children, restock toppings and apples, and wipe up any spills. This ensures your wedding dessert bar remains a beautiful focal point, not a sticky mess.
Download Your Essential Caramel Apple Station Checklist! 📝
Ready to plan your station like a pro? I’ve put all these tips, supply lists, and day-of reminders into one handy checklist. Download your free PDF to make your setup completely stress-free and ensure you don’t miss a single detail!
Variations & Customizations 👻
One of the best things about this idea is how easy it is to customize. Here are a few ideas I love:
- Mini Caramel Apples: Use smaller apples or apple slices on shorter sticks for bite-sized treats.
- Seasonal Themes: Adapt toppings for different holidays (e.g., Halloween candy, Christmas sprinkles, red and pink hearts for Valentine’s).
- Chocolate Drizzle Station: Add melted chocolate (milk, dark, white) in separate warmers as an extra dipping or drizzling option.
- Adult-Friendly Additions: Offer liqueurs to drizzle over the top or create a separate boozy caramel sauce for a 21+ event.
Personalized Caramel Apple Station FAQs 🤔
A question I get all the time on my Instagram is about the little details. Let’s dive into the most common ones.
Q1: How far in advance can I prepare the apples without them browning?
You can prep them up to 3-4 hours ahead. The key is to dip the cut apple flesh in a solution of cold water and lemon juice (about 1 tbsp of juice per cup of water) for a few minutes, then pat them completely dry before inserting the sticks. Store them in an airtight container in the fridge until you’re ready to set up.
Q2: What’s the best way to keep the caramel from hardening or becoming too thin?
The secret is consistent, gentle heat. A commercial warmer or a slow cooker on the ‘warm’ setting is best. If it gets too thick, stir in a teaspoon of heavy cream or milk at a time until it reaches the right consistency. If it’s too thin, it might be too hot—turn the heat down slightly and let it cool for a moment.
Q3: Can I use store-bought caramel, and if so, what kind is best for dipping?
Absolutely! Look for caramel blocks or tubs specifically made for dipping apples, often found in the produce section during the fall. Avoid caramel ice cream topping, as it’s too thin. My favorite trick is to melt down individually wrapped caramel squares (like Kraft’s) with a couple of tablespoons of milk for a perfect, rich consistency.
Now you have all the secrets to creating a truly unforgettable interactive food station! Your guests will love this sweet, hands-on treat.
What topping are you most excited to include on your dessert bar? Let me know in the comments below! 🎃
