Create a Spooktacular DIY Halloween Birthday Photo Booth Corner: Easy Backdrops & Printable Props
✨ From countless haunted party planning spreadsheets to last-minute prop creations, I’ve mastered the art of the perfect Halloween birthday bash. As a party planner, I’ve spent years testing, fixing fails, and discovering the secrets to creating family Halloween fun that feels truly special.
😅 But I know the struggle. How do you make a Halloween party feel like a birthday party? How do you create amazing DIY party decorations without breaking the bank or spending days crafting? I’ve been there, trying to balance spooky with celebratory.
👑 That’s why in this post, I’ll show you exactly how to solve these challenges with my tested tips. Stick with me, and you’ll learn how to create a memorable photo booth that perfectly blends birthday fun with spooky season magic! 🎃
Tutorial At-a-Glance
- Time Required: Approx. 2-3 hours (depending on backdrop complexity)
- Budget Level: Low-to-Medium Cost
- Skill Level: Beginner-Intermediate (some crafting involved)
What You’ll Need for Your Spooktacular Photo Booth Corner 🎃
Here’s a quick checklist of the essentials. My go-to trick for any party setup is to gather everything in one spot before you begin—it saves so much time!
✅ Backdrop material (e.g., black fabric, plastic tablecloths, streamers)
✅ Command hooks or strong adhesive tape
✅ Scissors or craft knife (⚠️ Safety First: Please handle sharp tools with care, and always supervise children if they are helping cut out props.)
✅ Printer & cardstock (👑 Nancy’s Pick: I always use 110 lb. heavy-duty cardstock. It’s sturdy enough to survive a whole party, prevents props from flopping over, and makes the printed colors look incredibly vibrant in photos.)
✅ Wooden dowels or sturdy paper straws for props
✅ Hot glue gun & glue sticks
✅ Optional: String lights, balloons, faux spiderwebs, plastic spiders, bats, etc.
Setting Up Your DIY Halloween Birthday Photo Booth Corner: The Foundation 📸
A question I get all the time from my community is, “How do you make party prep feel less like a chore?” My answer is always the same: turn it into part of the celebration! For this photo booth, I love getting my family involved. Put on a spooky playlist, pour some cider, and make setting up a fun group activity. The memories start before the first photo is even snapped.
Step 1: Choose Your Corner & Clear the Space
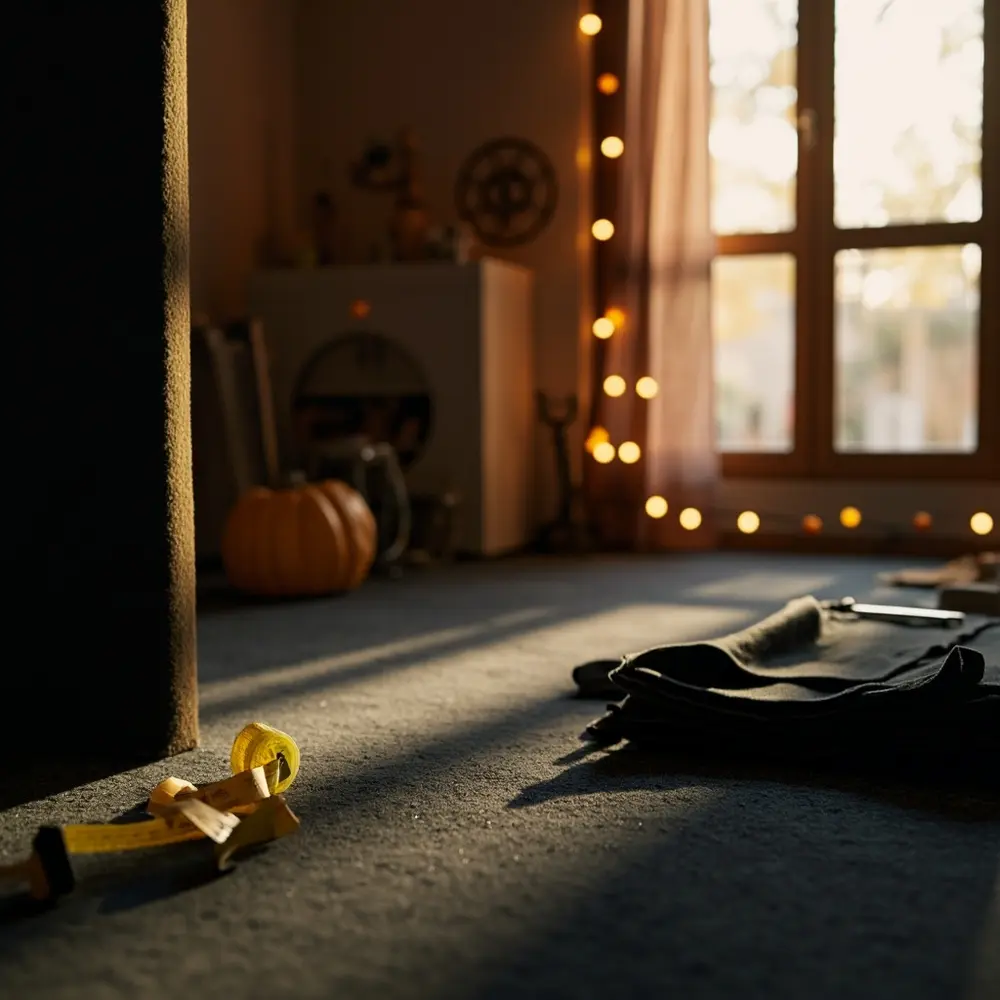
First, scout the perfect location. Look for a low-traffic corner in your party area that won’t block the flow of guests. An ideal spot has good ambient lighting and is near a power outlet if you plan to use string lights or other electric effects. Measure the wall space to ensure your backdrop material will fit. A little planning here prevents a lot of headaches later!
[image-1: A clean, empty corner of a room, ready for transformation, perhaps with a measuring tape extended against the wall to show space consideration.]
Step 2: Secure Your Base Backdrop
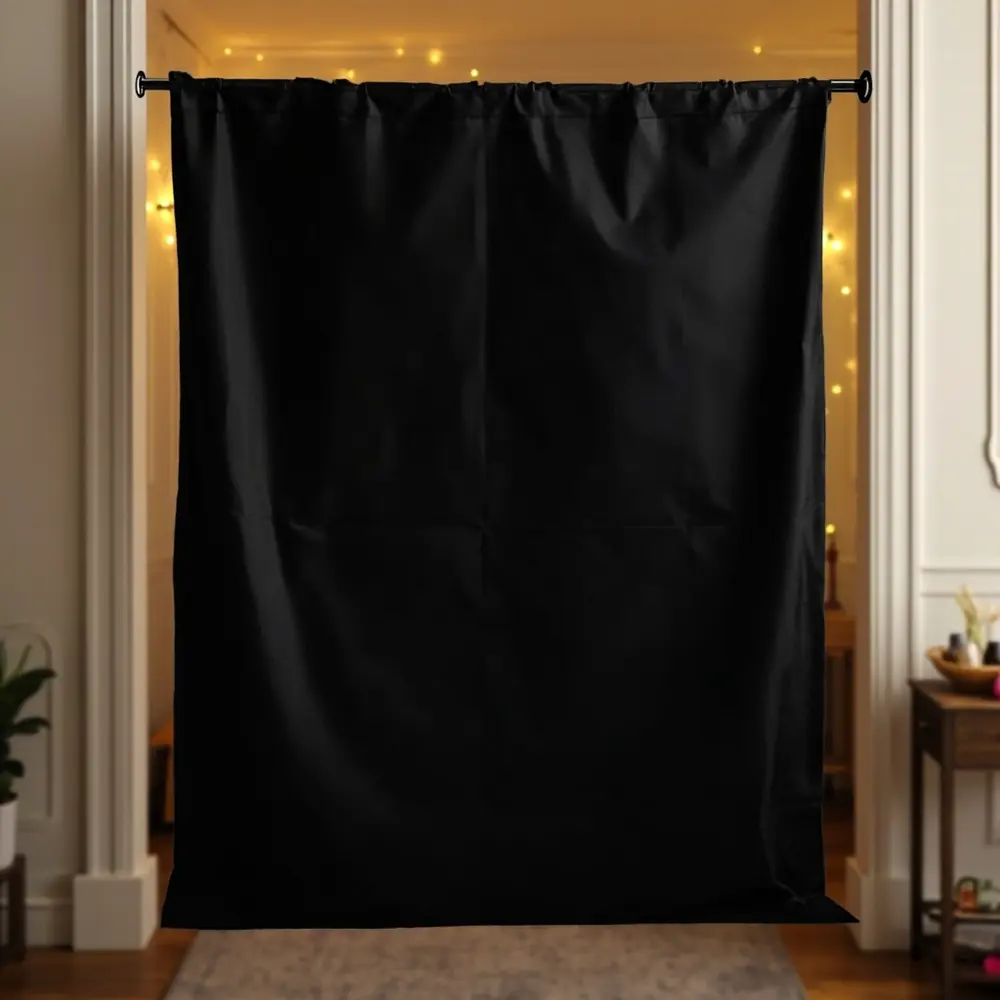
Now it’s time to create your canvas. Whether you’re using a black fabric sheet or a few plastic tablecloths, the goal is to get it smooth and taut. Start by securing the top corners, then work your way down the sides, pulling gently to eliminate wrinkles. This base layer is what makes all your other decorations pop.
💡 Pro-Tip: To avoid any damage to your walls, I swear by removable adhesive hooks or a simple tension rod placed in a doorway or between two walls. They are strong, easy to set up, and leave no trace behind after the party.
[image-2: A wide shot of the chosen corner with the base black backdrop material already hung, looking neat and taut.]
Spooky & Sweet Backdrop Ideas for a Birthday Bash 🎂
After planning dozens of Halloween birthdays, I’ve learned that the best backdrops mix spooky elements with a celebratory feel. Here are a few of my favorite, easy-to-create ideas.
Idea 1: The “Ghostly Glam” Streamer Wall
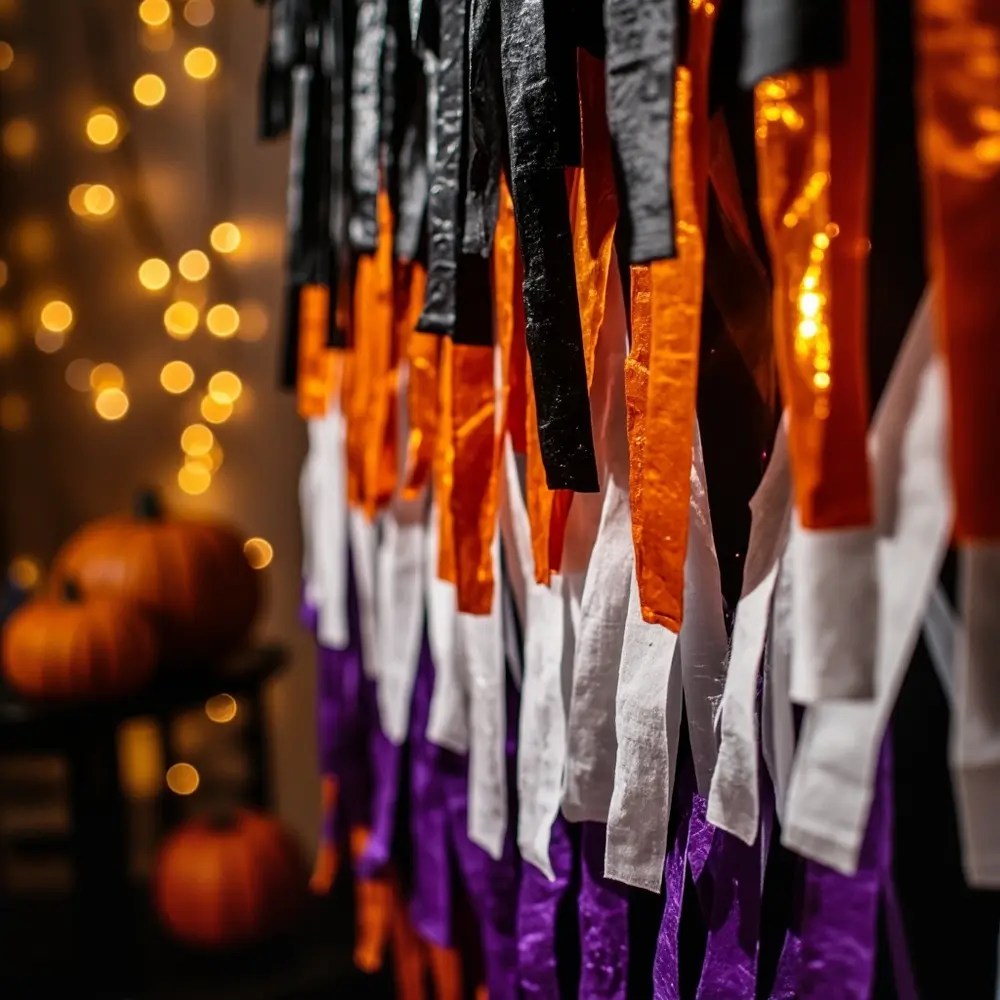
This is a fantastic, budget-friendly option that delivers a huge visual impact. Simply cut streamers in Halloween colors (black, orange, purple, white) to varying lengths. For that birthday sparkle, weave in some metallic silver or gold streamers. Attach them in layered rows to the top of your wall or a tension rod, creating a shimmering, textured backdrop that looks amazing in photos.
[image-3: Close-up of a streamer backdrop being created, showing the layering technique and the combination of matte and metallic streamers.]
Idea 2: The “Haunted Mansion” Silhouette Scene
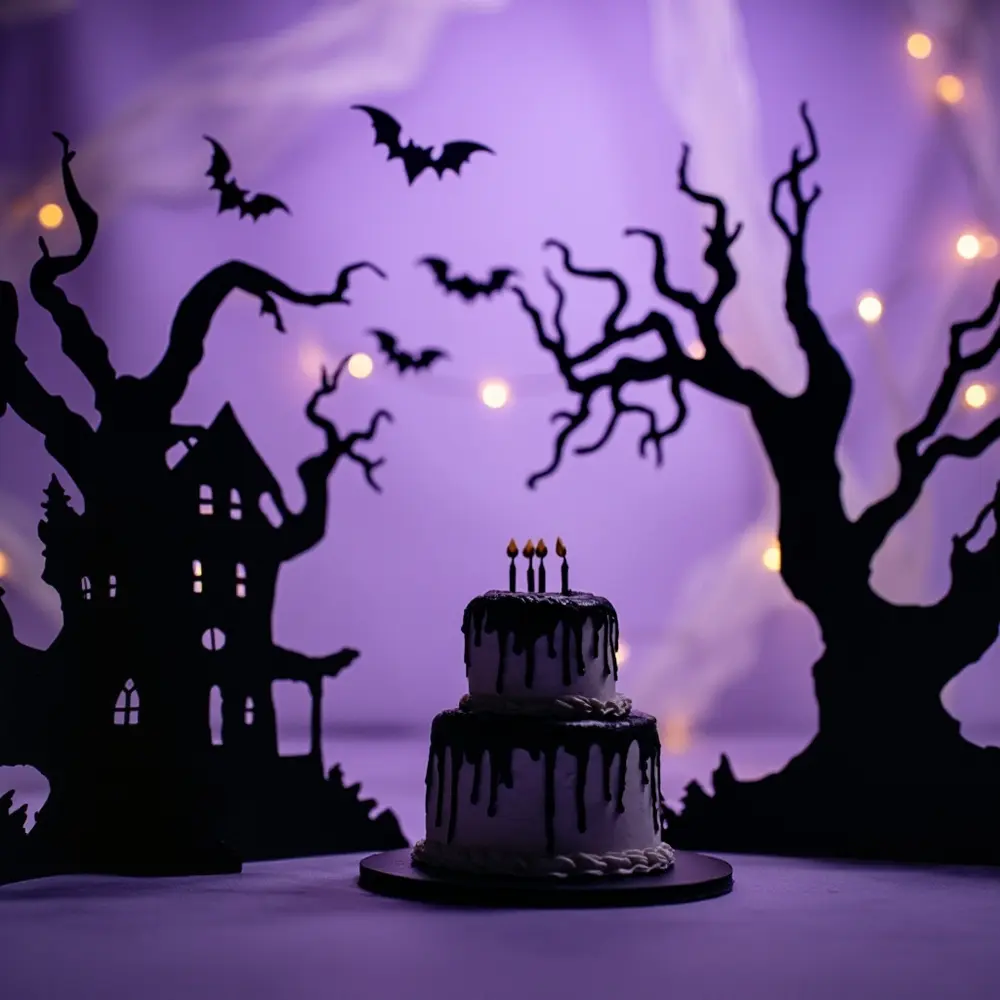
For a more dramatic look, create a spooky scene. On a light-colored backdrop (like gray or purple), attach large silhouettes cut from black cardstock or felt. Think spooky trees, a flight of bats, a crooked haunted house, and—for the birthday twist—a silhouette of a tiered birthday cake with drippy candle wax. It’s sophisticated, spooky, and perfectly on-theme.
[image-4: A finished silhouette backdrop with black bats, a haunted house, and a subtle birthday cake silhouette on a light purple background.]
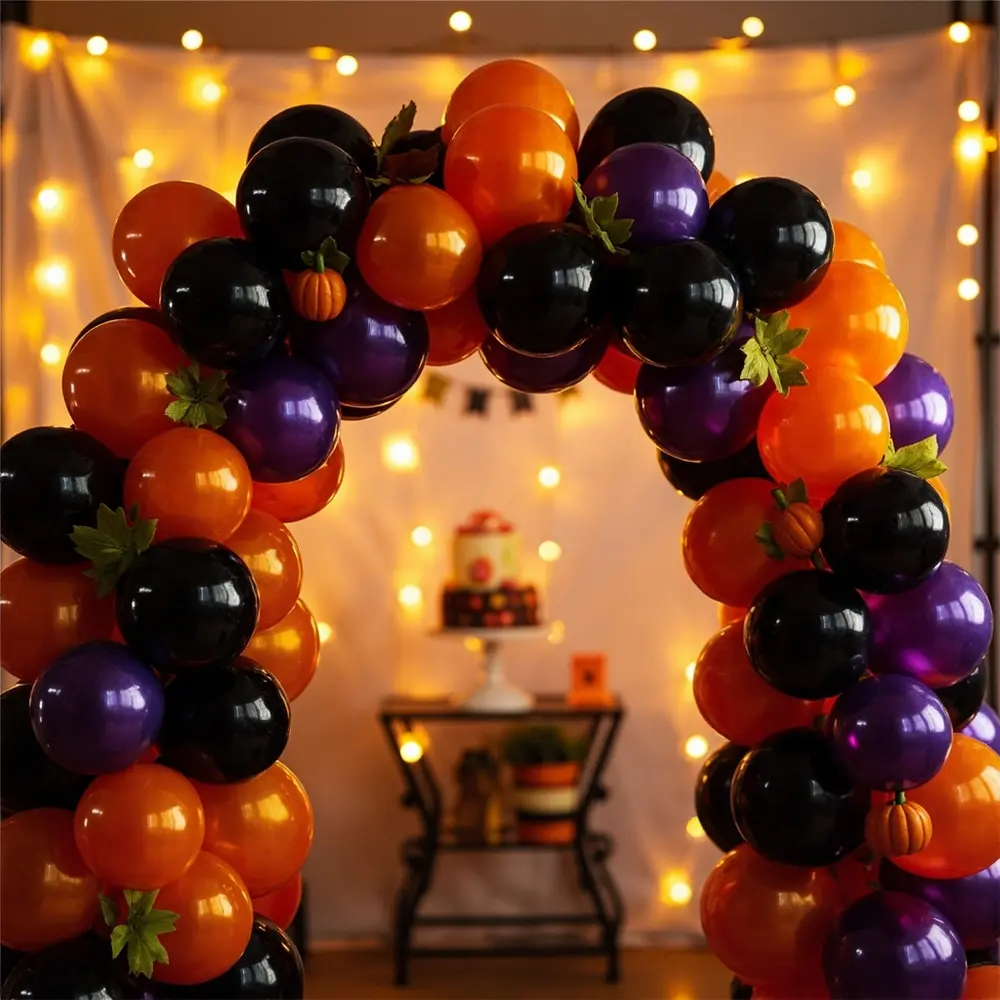
Idea 3: The “Pumpkin Patch” Balloon Arch
Nothing says “party” like balloons! Create a simple balloon arch or garland using an inexpensive kit. Stick to a color palette of orange, black, and maybe a pop of lime green or purple. To elevate the look, use glue dots to tuck in some faux autumn leaves, tiny plastic pumpkins, or even some faux spiderwebs for a festive, birthday-friendly look.
[image-5: A vibrant balloon arch with orange, black, and purple balloons, with some small faux pumpkin and leaf accents tucked in.]
Printable Props & Poses: Adding Birthday Fun to the Frights 🥳
As a Party Planner Extraordinaire, I can tell you that props are the heart and soul of a photo booth! This is where you really get to blend the Halloween and birthday themes together, creating truly unique and fun photo opportunities.
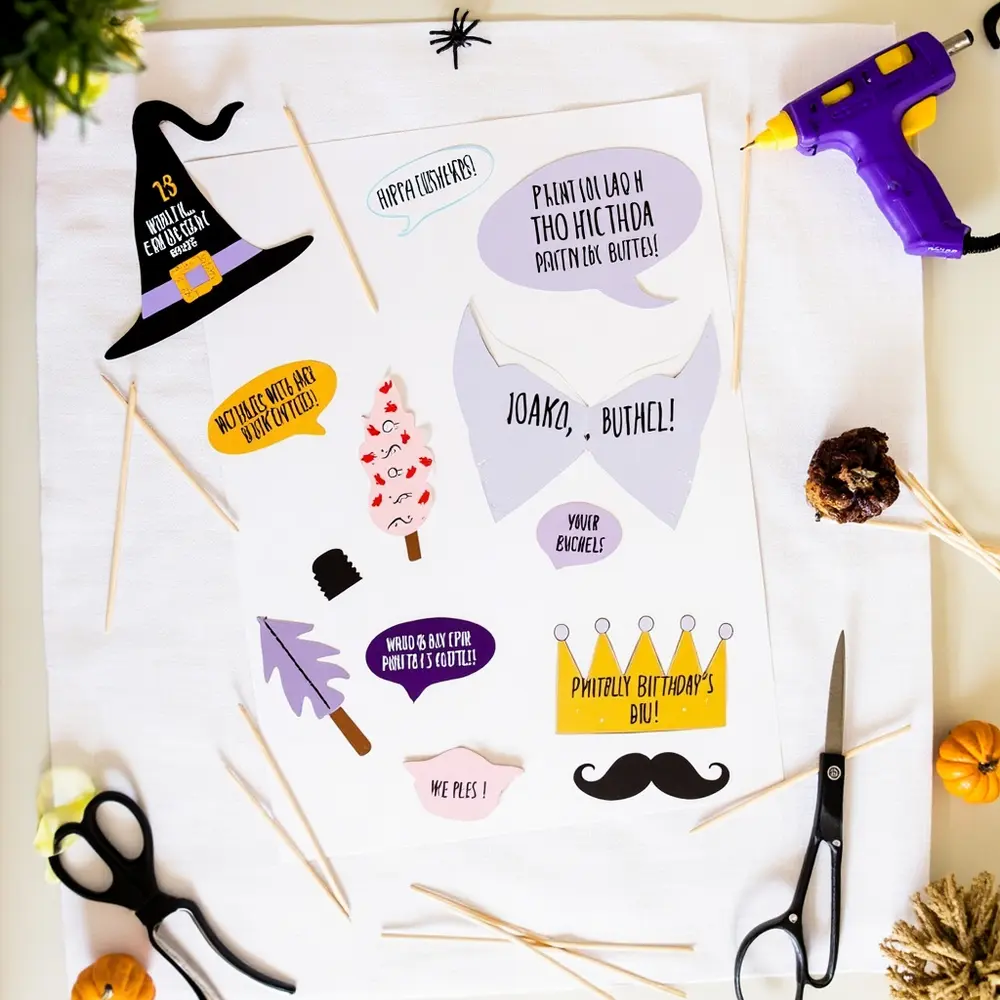
Step 1: Design & Print Your Birthday-Themed Halloween Props
Get creative with your printable props! Use heavy-duty cardstock for durability—trust me, flimsy props are the first to get ruined. Here are some ideas to get you started:
- Speech bubbles: “Happy Haunting Birthday!”, “Here for the Boos & Cake,” “Birthday Ghoul”
- Wearable props: A witch hat, a vampire cape collar, monster mustaches, ghost masks
- Birthday items with a twist: A birthday cake slice with vampire fangs, a party hat with a spider on top, a “Birthday Boo” crown
[image-6: A flat lay of various printed Halloween birthday props on cardstock before cutting, showcasing the variety of designs.]
Step 2: Cut & Assemble Your Props
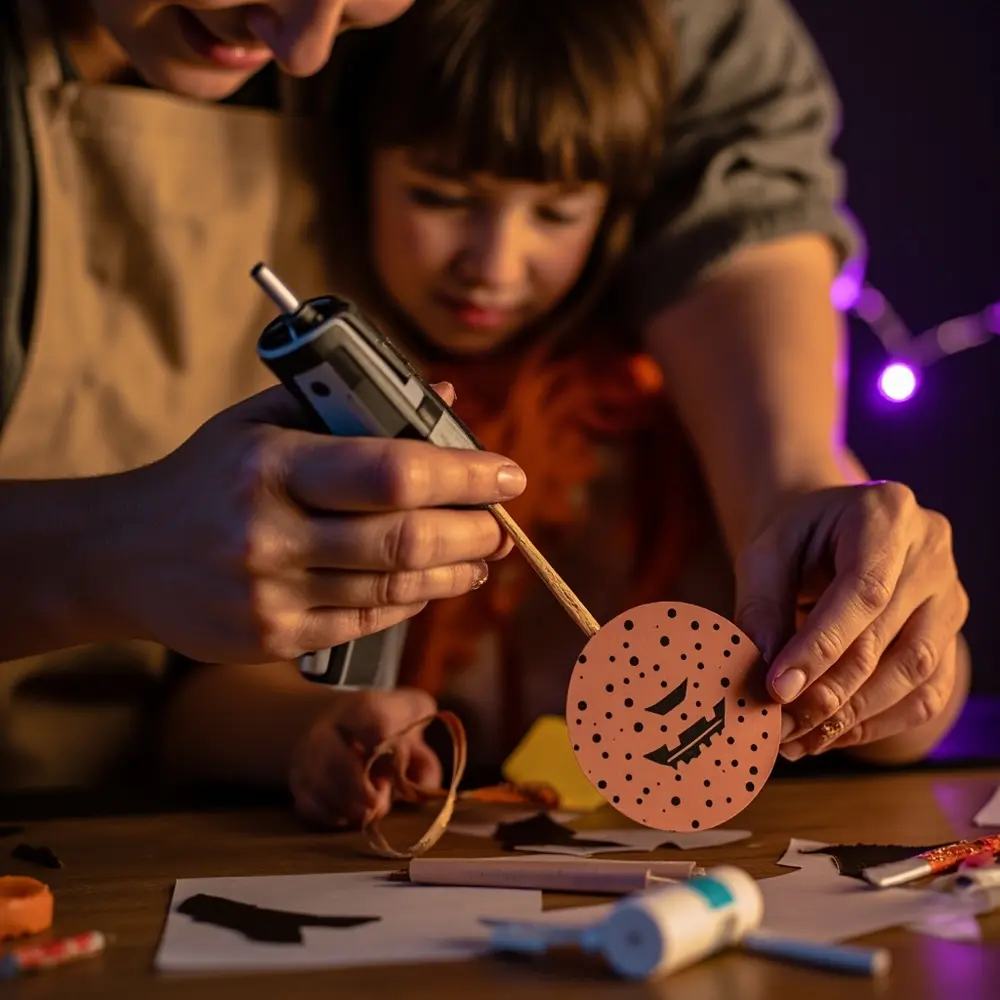
Time for the final touches! Carefully cut out each prop using sharp scissors or a craft knife. A mistake I often see people make is using weak glue. For props that will last all night, a hot glue gun is your best friend. Add a generous dab of hot glue to the back of the prop and press your wooden dowel or paper straw firmly into it.
⚠️ Safety First: A hot glue gun gets extremely hot. Be careful not to touch the nozzle or the fresh glue. If kids are helping, this is a great step for an adult to handle.
[image-7: Hands carefully cutting out a printed prop with scissors, and another shot showing a hot glue gun attaching a wooden dowel to the back of a prop.]
Step 3: Encourage Creative Poses!
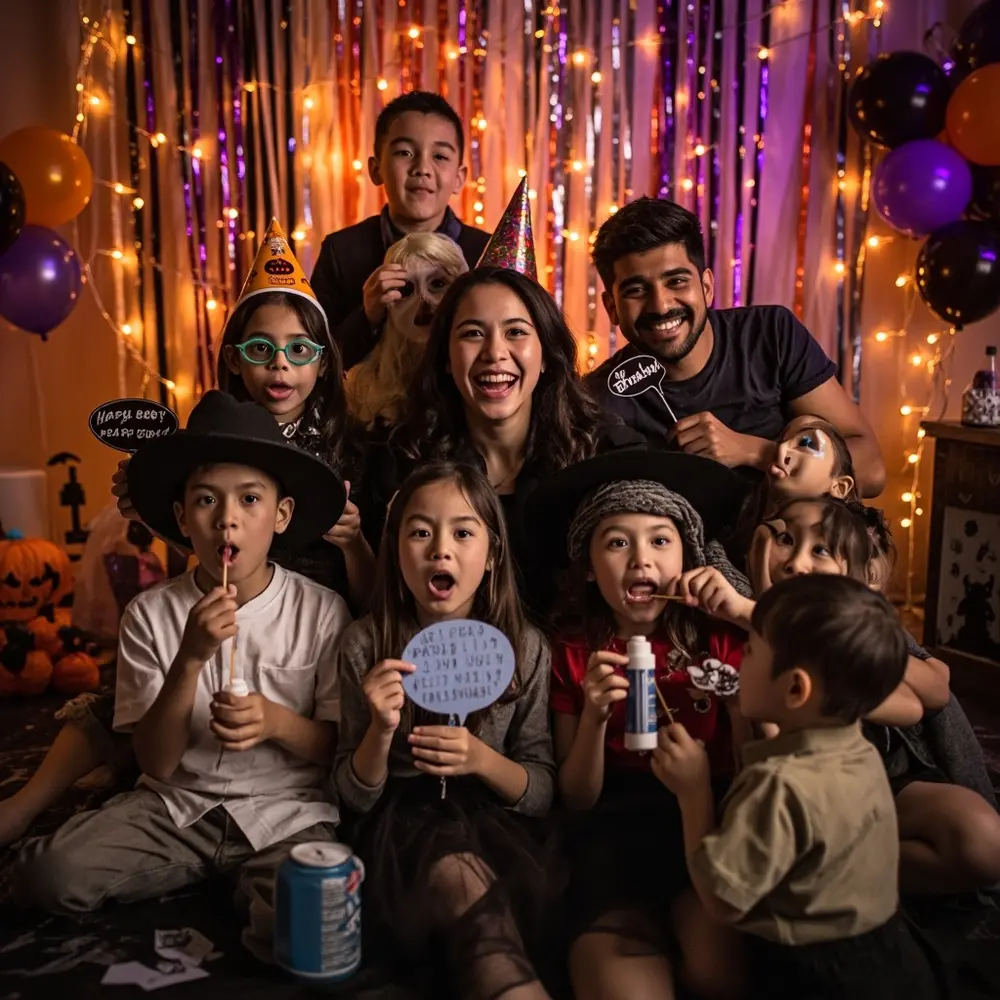
Guide your guests with some fun pose ideas that incorporate both themes. This helps break the ice and leads to more dynamic photos. Suggest things like:
- A group pretending to be scared of the “birthday monster.”
- Someone “blowing out” a spooky ghost-shaped candle prop.
- The birthday person striking a royal pose with their “Birthday Ghoul” crown.
- Friends “cheers-ing” with potion bottle props.
[image-8: A group of kids and adults having fun in the completed photo booth, holding various props and demonstrating fun, interactive poses.]
Extra Touches for a Memorable Birthday Photo Booth 🌟
A few final details can take your photo booth from great to unforgettable. After testing dozens of setups, these are the three elements that make the biggest difference.
Lighting & Effects:
Don’t rely on the room’s overhead lighting. Drape some orange or purple string lights around the backdrop for a spooky glow. You can even swap a regular lamp bulb for a colored one. For extra atmosphere, a small, safely placed fog machine can create an incredible haunted effect.
Sound & Music:
Create a playlist that mixes spooky Halloween classics (like “Monster Mash”) with upbeat, fun birthday tunes. The right music sets the energy and gets everyone in the mood to strike a pose.
Guest Book/Photo Album:
Set up a small table nearby with a guest book. If you have an instant camera, have guests snap a photo, tape it into the book, and write a birthday message. It becomes a priceless keepsake for the birthday person.
Halloween Birthday Photo Booth FAQs 🤔
Q1: How can I make the backdrop reusable for next year’s Halloween party?
My best tip is to build your backdrop on a sturdy, removable base. Use a large piece of foam board or a tri-fold presentation board as your foundation. Attach your fabric and decorations to that instead of the wall. After the party, you can easily store the entire board flat for next year!
Q2: What are some good budget-friendly alternatives for props if I don’t have a printer?
Absolutely! Raid your local dollar or craft store. Look for things like plastic vampire teeth, silly glasses, witch hats, plastic tiaras, and feather boas. You can also make your own props by cutting shapes out of colored foam sheets or construction paper.
Q3: How do I ensure good lighting for photos in a dimly lit party space, especially for evening events?
This is a common party-planning challenge! The easiest solution is a ring light. They are affordable, easy to set up, and provide bright, even light that makes smartphone photos look fantastic. Position it facing the photo booth, and your pictures will be clear and vibrant, no matter how spooky the ambient lighting is.
I hope these tips help you create a spooktacular photo booth that makes your Halloween birthday celebration extra special!
What’s your favorite prop idea for a Halloween birthday? Let me know in the comments below
