How to Make ‘Poison’ Candy Apples (with a Dark Caramel Drizzle)
It’s that time of year again, ghouls and goblins! Are you tired of the same old Halloween treats and looking for something that truly screams “spooky season”? 🎃
You want a dessert that’s not just delicious but also a show-stopping centerpiece for your party, something dramatic and elegant that gets everyone talking. But complex recipes can feel intimidating, and you definitely don’t want a kitchen disaster. 👻
I’m Roshan Sharma, your friendly neighborhood Halloween fanatic, and I’ve got you covered! I’ve spent years perfecting the most theatrical, delicious, and bone-chillingly beautiful treats, and these ‘Poison’ Candy Apples are my absolute favorite. Let’s make some Halloween magic together! ✨
Activity At-a-Glance
- Best For 👨👩👧👦: Adult Halloween Parties, Elegant Spooky Gatherings, Dessert Enthusiasts
- Time ⏳: Approx. 1.5 – 2 hours (including cooling time)
- Budget Level 💰: Moderate
- Spookiness Level 💀: High (Visual Impact)
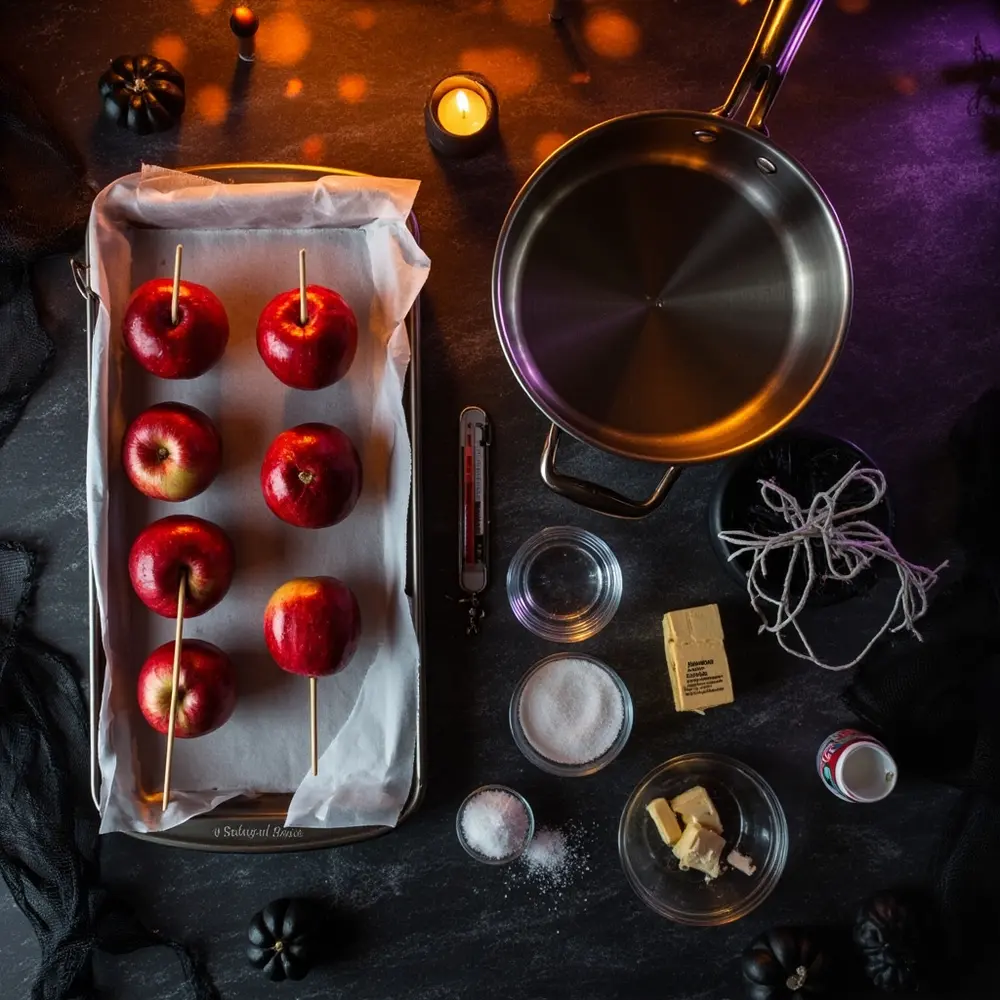
What You’ll Need for Your ‘Poison’ Candy Apples 📋
- 6-8 medium apples (Granny Smith or Fuji are my go-to!) 🍏
- 6-8 wooden craft sticks or sturdy twigs 🌲
- 2 cups granulated sugar
- 1 cup light corn syrup
- 1/2 cup water 💧
- Black gel food coloring (high-quality and concentrated is a must!)
- Candy thermometer 🌡️
- Heavy-bottomed saucepan (at least 3-quart)
- Baking sheet lined with parchment paper or a silicone mat
#### For the Dark Caramel Drizzle:
- 1/2 cup granulated sugar
- 1/4 cup water
- 2 tablespoons unsalted butter 🧈
- 1/4 cup heavy cream
- Pinch of salt 🧂
- Optional: A few drops of black gel food coloring for extra dark caramel
Image-1: A flat-lay photo of all the ingredients and tools neatly arranged on a dark surface, creating a moody, ready-to-cook vibe.
Preparation & Setup: Creating the Spooky Scene 🕯️
Before we dive into the potion-making, let’s set the mood! A spooky kitchen is a happy kitchen. I always dim the main lights and turn on some Halloween-themed string lights—the orange and purple ones work wonders. Put on your favorite spooky playlist; mine is a mix of classic monster movie soundtracks and modern goth-pop.
Make sure your countertop is clean and completely clear. This is a cooking project, so having an organized space is key to avoiding sticky situations. Lay out all your ingredients and tools so they’re within arm’s reach. It makes you feel like a real culinary witch or warlock!
Pro Tip 💡: For a simple, high-impact decoration, drape some black cheesecloth or sheer fabric over your lamps. It creates the most wonderfully eerie shadows. You can also use a few black candles (placed safely away from anything flammable!) to really set the stage.
How to Lead the Activity: Step-by-Step 🚀
Step 1: Prep Your Apples & Workspace
First things first, let’s get our apples ready for their sinister transformation.
- 1. Wash and Dry: Wash your apples thoroughly to remove any wax coating. This is the most important part—dry them completely. I mean, bone dry! Any moisture will make the candy coating slide right off, and we can’t have that.
- 2. Remove Stems: Gently twist off the stems.
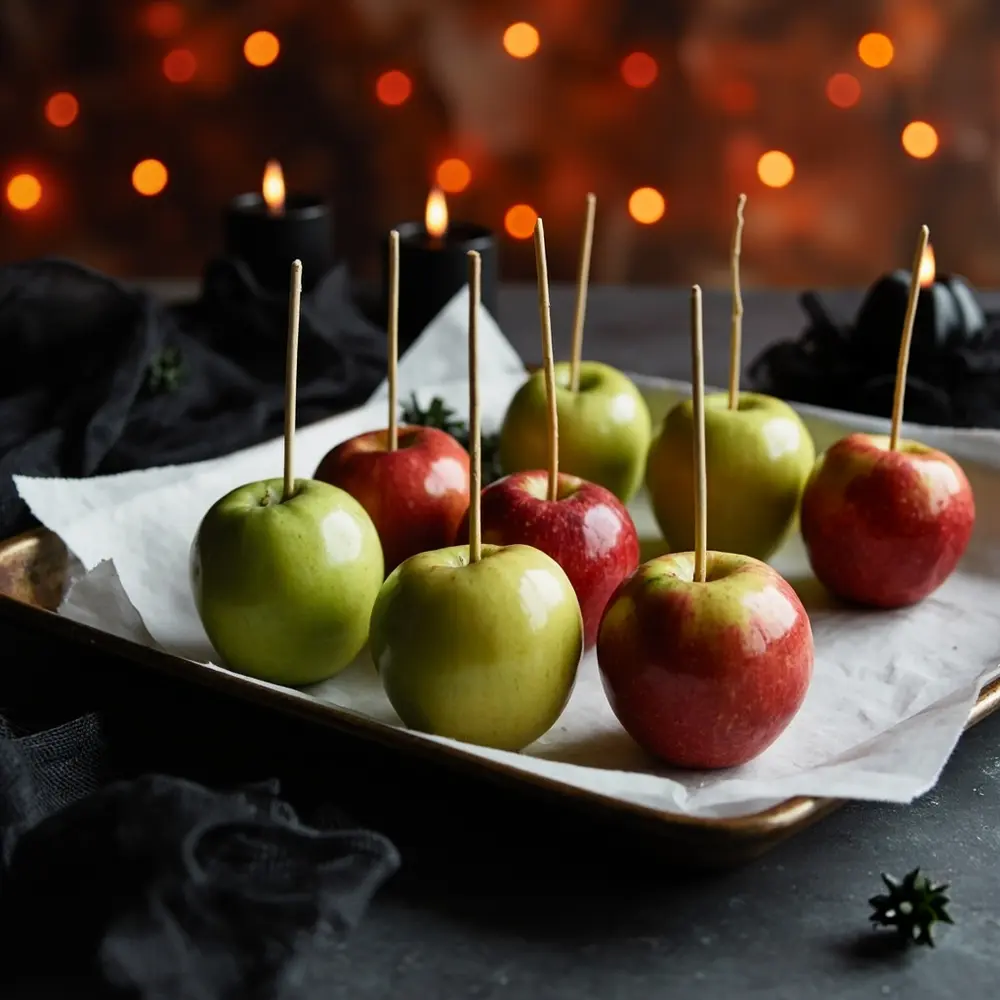
- 3. Insert Sticks: Push your wooden sticks or twigs firmly into the top of each apple where the stem was. You want them to be secure enough to handle dipping.
- 4. Set Up Your Station: Place your parchment-lined baking sheet nearby. This will be your cooling station for the finished apples.
Image-2: A shot of the 6-8 washed apples with wooden sticks firmly inserted, lined up on the parchment-covered baking sheet, ready for dipping.
Step 2: Craft the Dark Candy Coating
Now for the witch’s brew! This part is pure magic, but you have to be careful.
- 1. Combine Ingredients: In your heavy-bottomed saucepan, combine the 2 cups of sugar, 1 cup of corn syrup, and 1/2 cup of water.
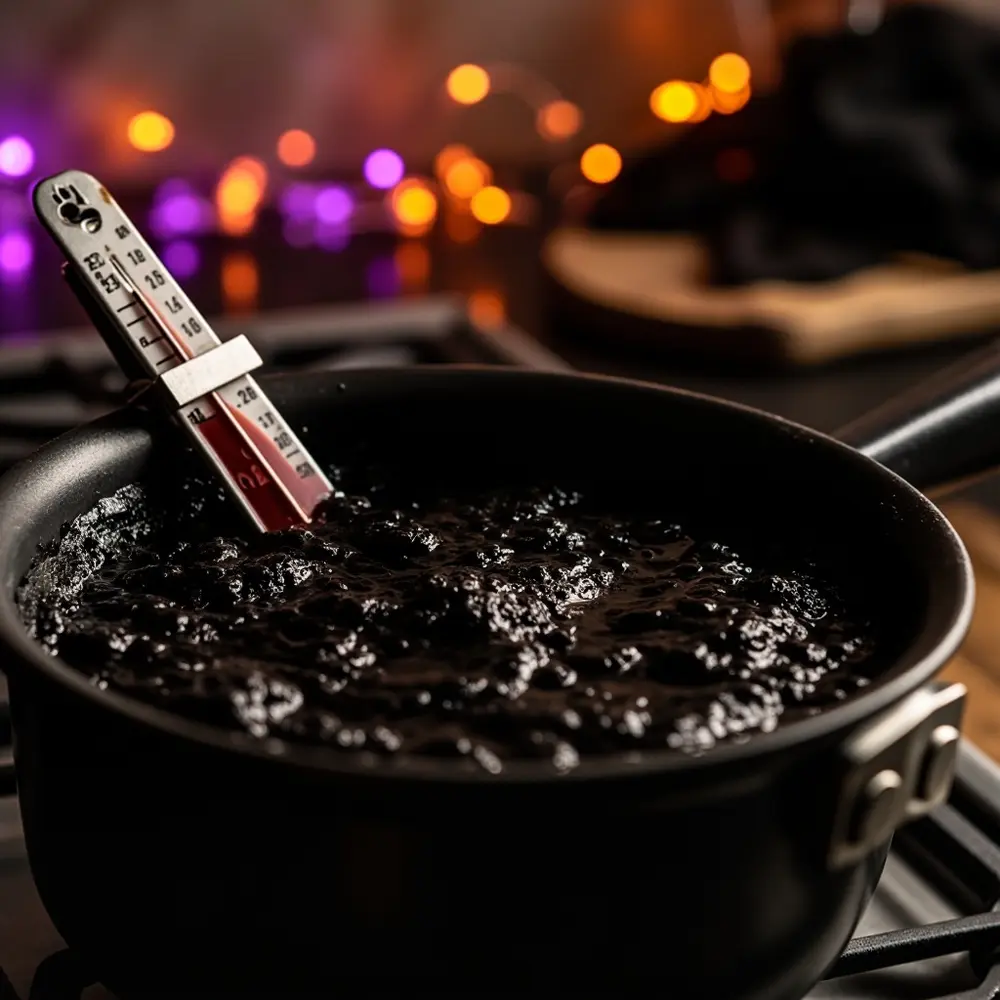
- 2. Attach Thermometer: Clip your candy thermometer to the side of the pan, making sure the tip is submerged in the liquid but not touching the bottom.
- 3. Bring to a Boil: Place the pan over medium-high heat and stir gently until the sugar dissolves. Once it starts boiling, stop stirring!
- 4. Hard Crack Stage: Let the mixture boil until it reaches the “hard crack” stage, which is between 300-310°F (149-154°C). This can take a little while, so be patient.
- 5. Add the ‘Poison’: Once it hits the right temperature, immediately remove the pan from the heat. Carefully stir in several drops of your black gel food coloring. Be generous! You want a deep, inky black, not a sad grey. It will bubble up, so be prepared!
Image-3: A close-up shot of the candy thermometer in the simmering, glossy black candy syrup, showing the dark, bubbling liquid in the saucepan.
⚠️ CAUTION ⚠️: This sugar syrup is incredibly hot—like molten lava! Please do not touch it with your bare hands under any circumstances. I always wear heat-resistant gloves or oven mitts when handling the saucepan. Safety first, spooky fun second!
Step 3: Dip for Deadly Perfection
It’s time to coat our apples in their midnight-black shell. Work quickly, as the candy will start to harden.
- 1. Dip It: Hold an apple by its stick and carefully dip it into the hot black candy mixture.
- 2. Tilt and Swirl: Tilt the pan and swirl the apple to ensure it gets a perfectly even coat all over.
- 3. Drip Off Excess: Lift the apple and let the excess candy drip back into the pan for a few seconds.
- 4. Place to Cool: Carefully place the coated apple on your prepared baking sheet to cool and harden. Repeat with the remaining apples.
Image-4: An action shot of a hand holding an apple by the stick, dipping it into the pot of black candy. The glossy coating is dripping off the bottom of the apple.
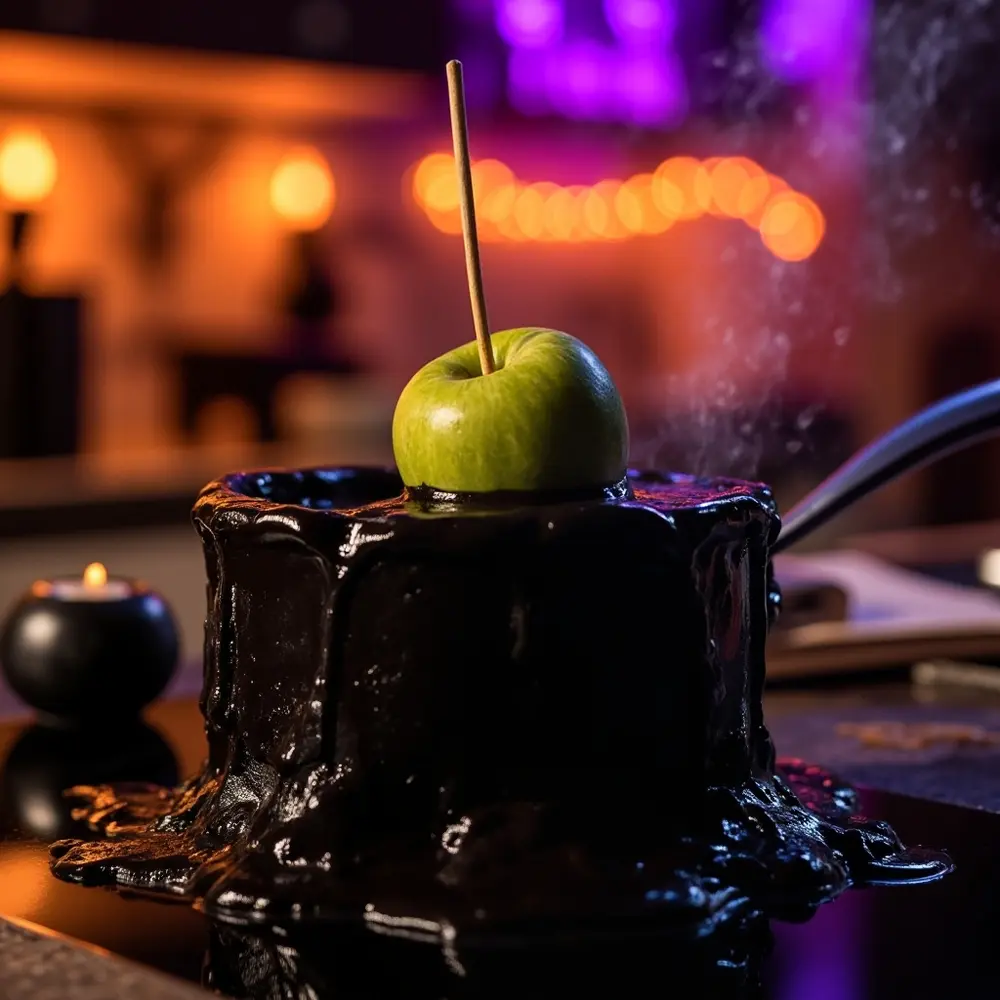
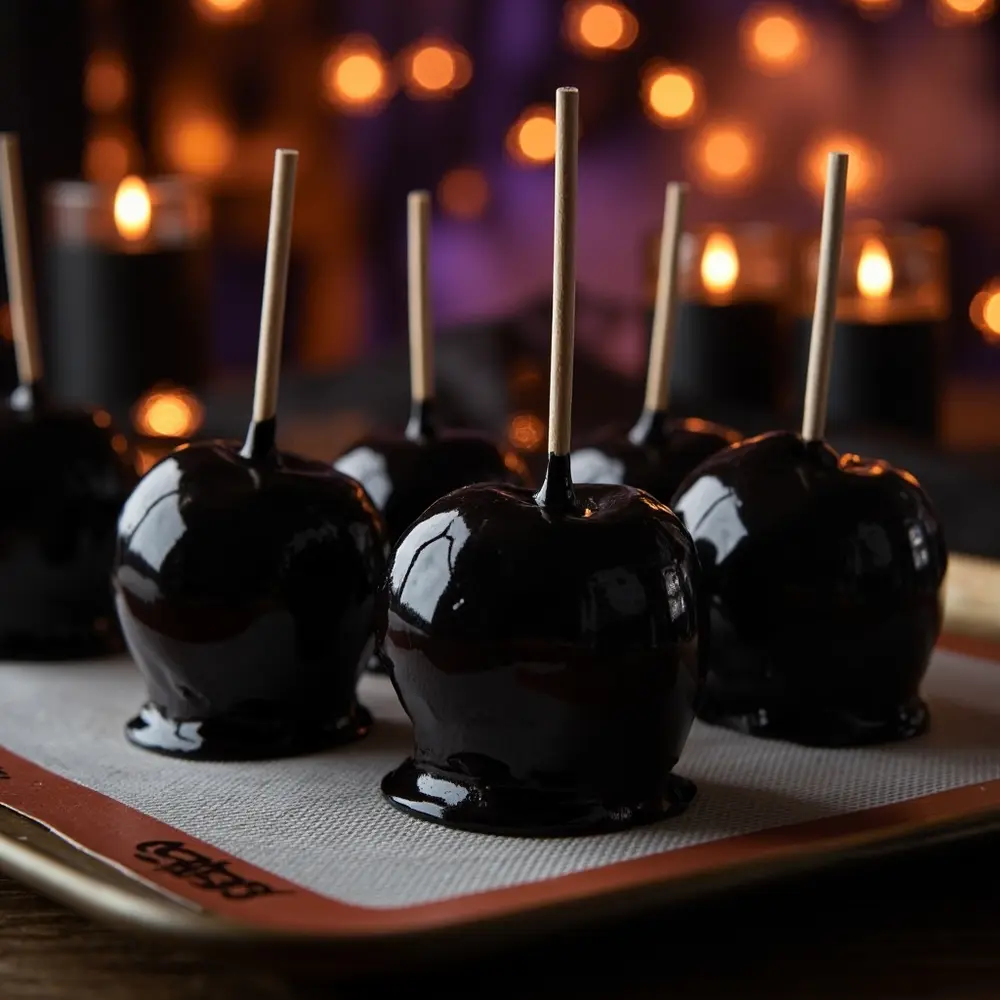
Image-5: The freshly dipped, glossy black candy apples standing in a row on the silicone mat, hardening.
Step 4: Prepare the Dark Caramel Drizzle
While the apples are hardening, let’s whip up the sinfully delicious caramel drizzle.
- 1. Melt Sugar: In a separate small saucepan, combine the 1/2 cup of sugar and 1/4 cup of water. Cook over medium heat, stirring until the sugar dissolves.
- 2. Cook to Amber: Once dissolved, stop stirring and let the mixture bubble until it turns a beautiful amber color. Keep a close eye on it, as it can burn quickly!
- 3. Add the Good Stuff: Immediately remove from heat. Carefully whisk in the butter, then slowly pour in the heavy cream and salt.
- 4. Color if Desired: For an extra-dark look, stir in a few drops of black food coloring until the caramel is a deep, rich brown.
⚠️ CAUTION ⚠️: When you add the butter and cream, the mixture will bubble and release a lot of hot steam! Stand back and add them slowly to avoid any splashes or burns.
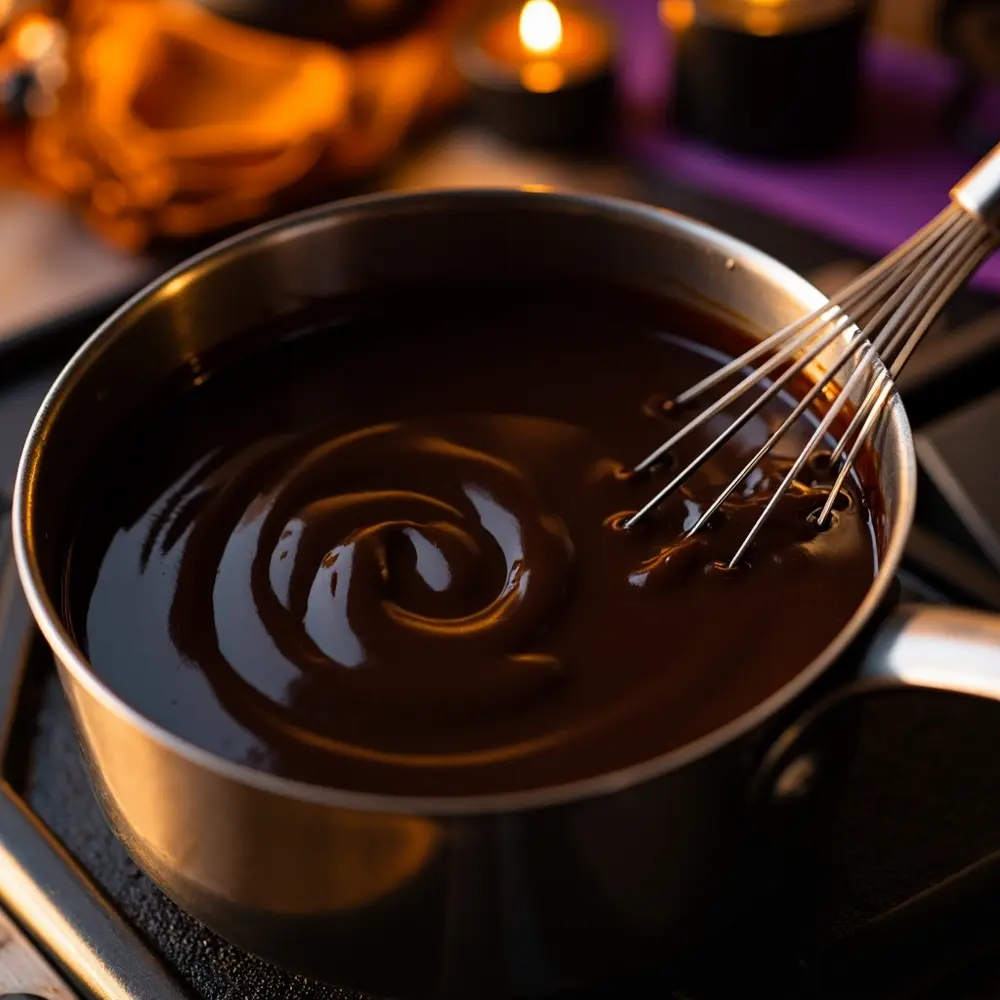
Image-6: A close-up of the dark caramel being whisked in its saucepan. The texture looks rich, smooth, and glossy.
Step 5: The Final ‘Poison’ Drizzle
This is the final artistic touch that takes your apples from cool to breathtaking.
- 1. Check Your Apples: Make sure the black candy coating on your apples is completely hard.
- 2. Drizzle Away: Let the caramel cool for just a minute or two so it’s slightly thickened but still pourable. Using a spoon, drizzle the warm caramel over the top of each black candy apple.
- 3. Get Creative: Let it drip down the sides in spooky, web-like patterns. There’s no right or wrong way to do it—the messier, the better!
Image-7: A dramatic shot of the dark caramel being drizzled from a spoon onto a finished black candy apple, creating eerie, dripping patterns.
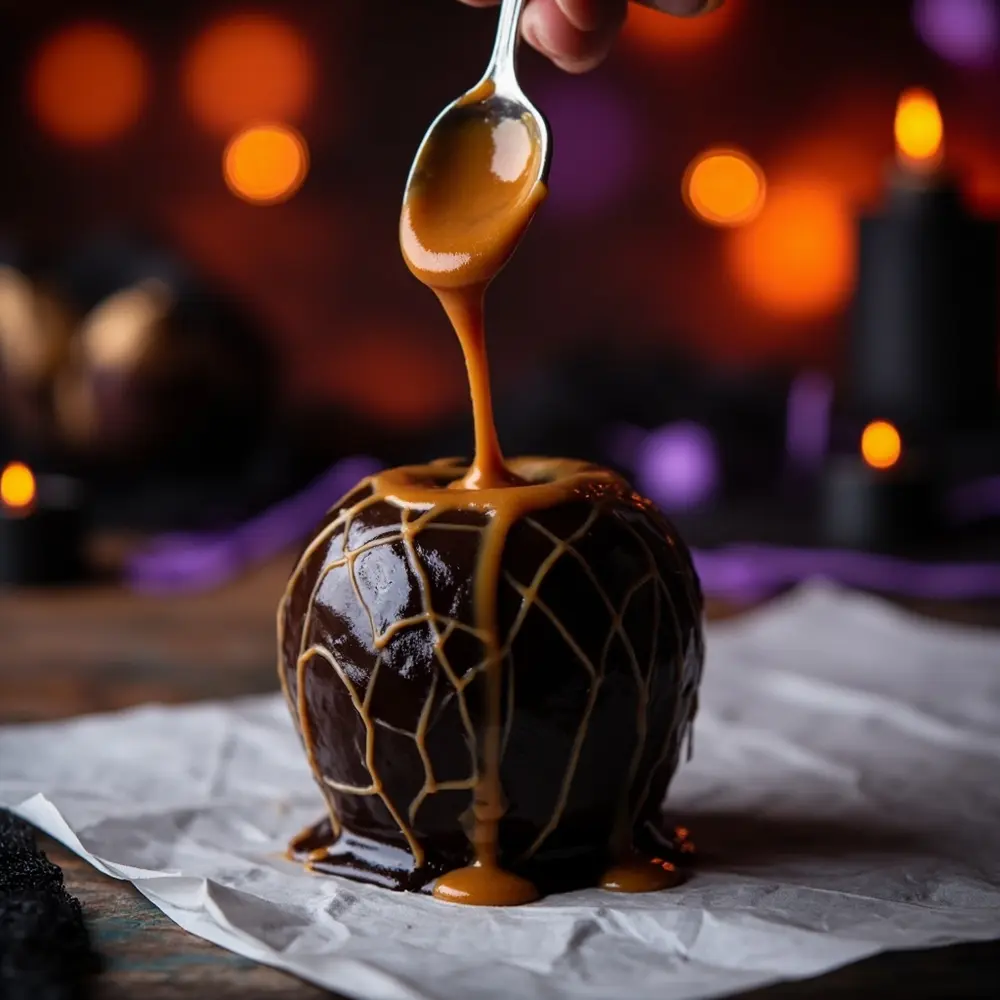
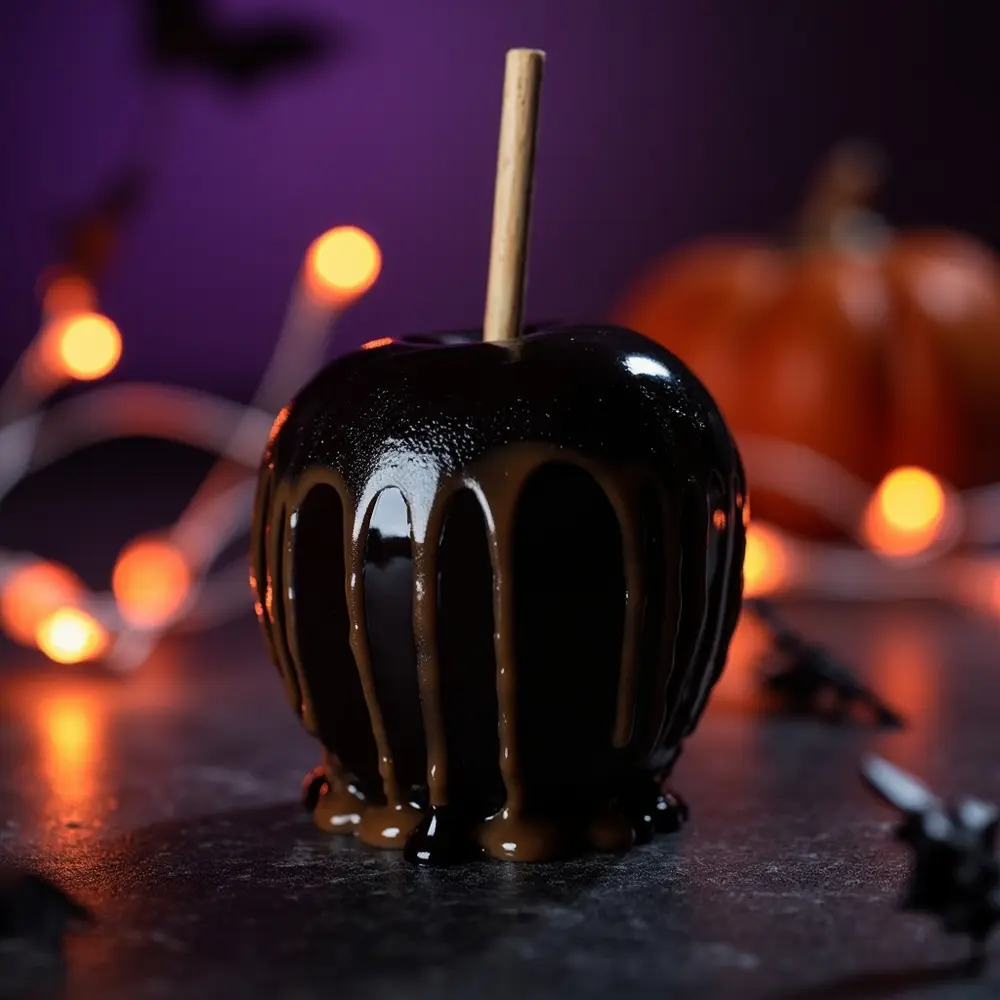
Image-8: A stunning close-up of one finished ‘Poison’ Candy Apple, showcasing the contrast between the glossy black shell and the textured caramel drips.
Tips for the Perfect ‘Poison’ Appearance ✨
- Go with Gel: For that deep, void-like black, you must use gel food coloring. Liquid coloring just won’t cut it and can mess with the candy’s consistency.
- Avoid Streaks: If you see streaks, it usually means your candy mixture wasn’t hot enough or you didn’t work quickly enough. Make sure you hit that 300°F mark!
- Drizzle Drama: To get those amazing, long drips, let your caramel cool just enough to thicken slightly. If it’s too hot, it will be too thin and just run off.
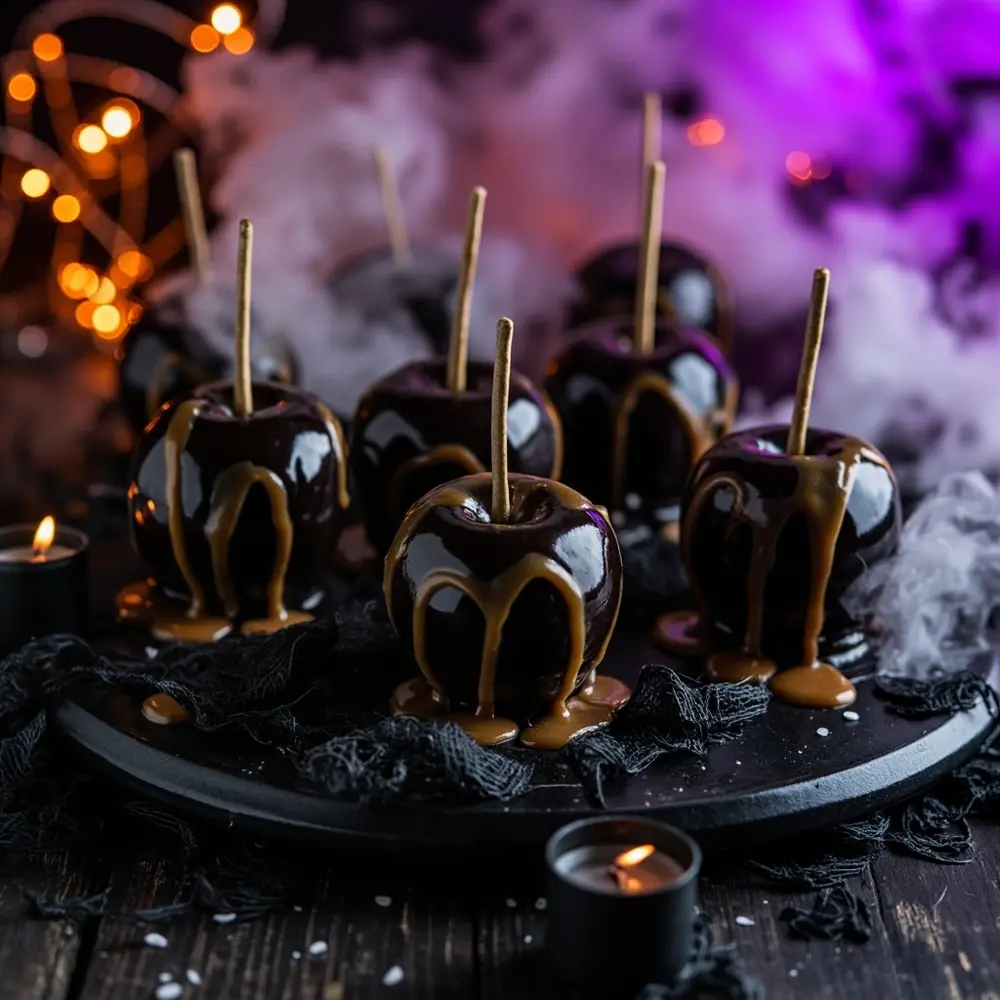
Image-9: A final shot of several completed ‘Poison’ Candy Apples arranged on a spooky, dark platter, perhaps with some dry ice fog swirling around them for effect.
Variations & Customizations to Haunt Your House 👻
- Edible Glitter ✨: Before the black candy sets, sprinkle on some edible silver or gold glitter. It looks like a starry night sky!
- Spooky Embellishments 🕷️: Use a dab of leftover caramel to “glue” on small edible spiders, skulls, or bats made from fondant.
- Flavor Twists cinnamon: Add a few drops of food-grade cinnamon or peppermint oil to the black candy mixture for a surprise flavor.
- Alternative Drizzles 🩸: Instead of caramel, melt some white chocolate and dye it red with food coloring for a gruesome “bloody” effect.
Theme Twist 🧙♀️: Go for a ‘Witch’s Brew’ theme! Use green candy coating instead of black and top the apples with “bubbles” made from green and purple sprinkles.
Halloween Activity FAQs ❓
#### Q1: How do I prevent the candy coating from becoming sticky or weeping?
This is usually caused by humidity. Try to make these on a dry day if possible. Storing them in an airtight container in a cool, dry place (but not the fridge!) can help. The fridge introduces too much moisture.
#### Q2: Can I make these apples ahead of time, and how should I store them?
Yes! You can make them a day ahead. Once they are completely cool and hard, wrap each one individually in cellophane or place them in an airtight container. Keep them at room temperature.
#### Q3: What type of apples work best for candy apples, and why?
I swear by Granny Smith apples! Their tartness is the perfect balance for the super-sweet candy coating. Fuji or Honeycrisp also work well because they are firm and crisp, holding up nicely to the hot candy.
*
And there you have it—a dessert that’s as stunning to look at as it is fun to make! I absolutely love seeing the look on people’s faces when I bring these out at a Halloween party. They’re the ultimate spooky treat.
I can’t wait to see your creations! Snap a picture of your ‘Poison’ Candy Apples and tag me on social media. What’s your go-to Halloween dessert? Let me know in the comments below! 🎃
