How to Pose Skeletons for Maximum Spooky (and Funny) Effect
So, you did it. You brought home a life-size, 5-foot bundle of bony joy and it’s standing in your living room. 🤩 After the initial thrill, you’re probably thinking, “Now what?” Don’t let your new bestie become just another coat rack! That skeleton is a blank canvas for hilarious, horrifying, and unforgettable scenes that will make your neighbors do a double-take. This tutorial is for you. 🎃
I’ll guide you through the basics of posing—from making your skeleton stand on its own two feet to giving it a ton of personality. Then, I’ll unveil a massive gallery of spooky and funny ideas to keep your skeleton shenanigans fresh all season long. I’ve been setting up these bony buddies in my own yard for years, and I can’t wait to share my secrets. Get ready to transform your home and your social media feed! 👻
- Difficulty Level 🦴: Beginner
- Time to Complete ⏳: 15-30 minutes per pose
- Prerequisites 🧠: A sense of humor and a newly acquired skeleton.
- Tools/Software Needed 🧰: Life-size poseable skeleton, various household props (optional), zip ties or fishing line (optional).
Prerequisites: What You’ll Need Before You Start 🛠️
Before you can bring your bony buddy to life, let’s gather the essentials. Having these items on hand will make the process so much smoother and help you secure more ambitious poses without getting frustrated. Trust me, a little prep goes a long way.
Requirements Checklist:
- A Life-Size Poseable Skeleton: The star of the show! Most standard 5-foot skeletons with articulated joints will work perfectly. This model is a great starting point.
- Support & Securing Materials (Optional but Recommended):
- Clear fishing line or string
- Zip ties (clear or black)
- Duct tape or gaffer’s tape
- A sturdy base or stand (some skeletons come with one).
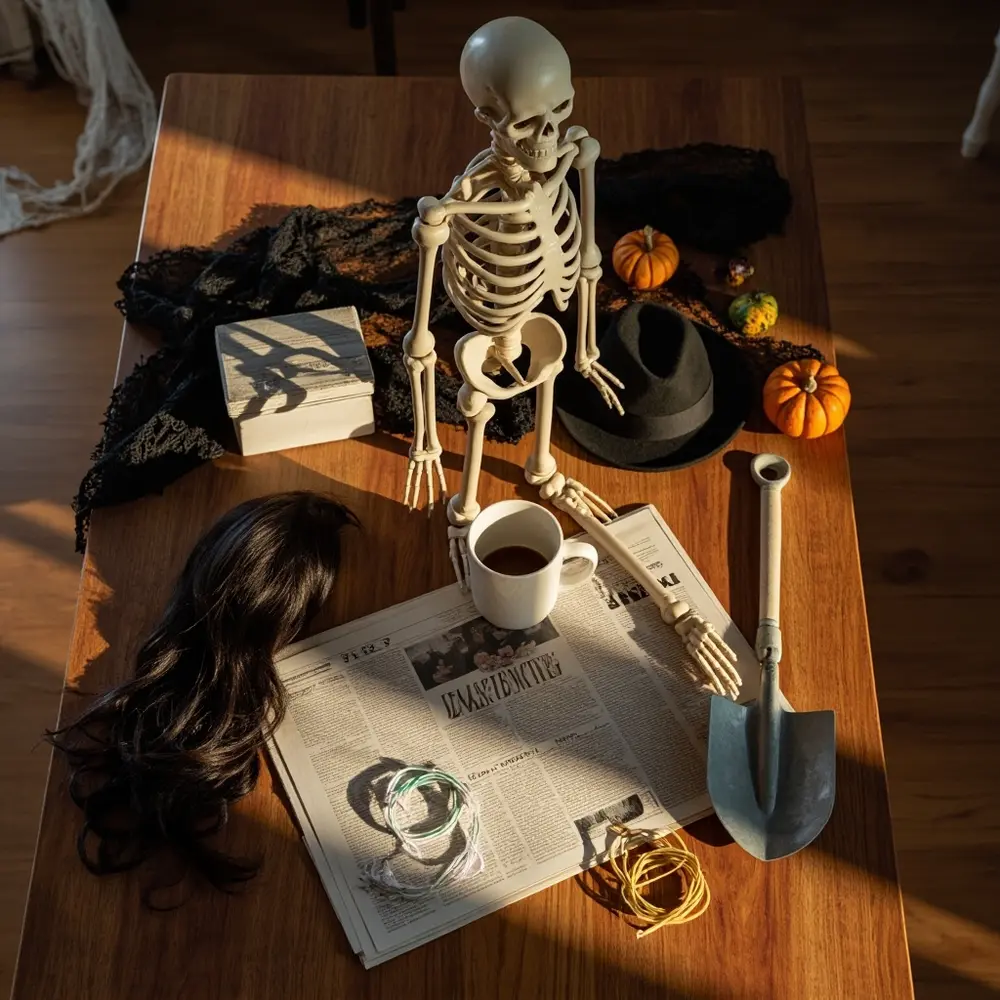
- Props: Get creative! Look for everyday items like a coffee mug, a newspaper, a remote control, a garden shovel, a wig, or a hat. The possibilities are endless.
Initial Setup:
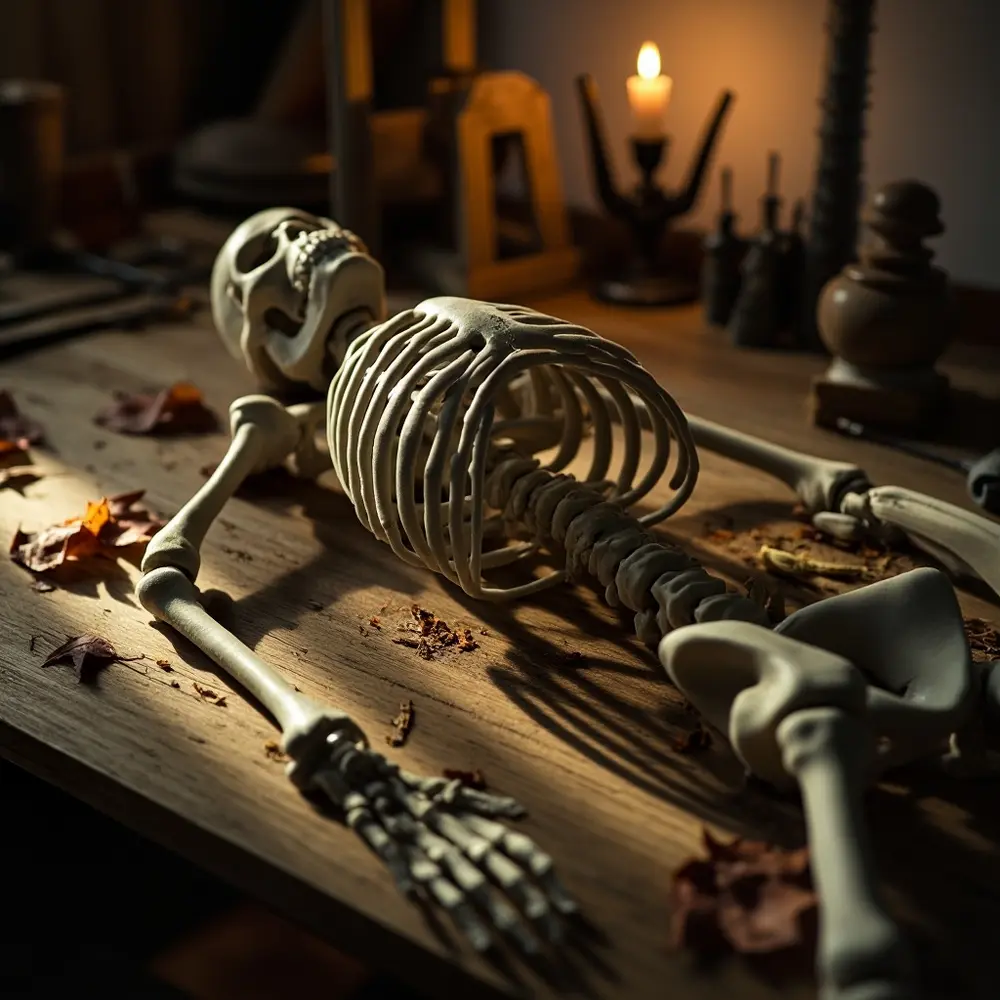
First, unbox and assemble your skeleton. Just follow the manufacturer’s instructions. This usually just involves attaching the head, legs, and the stand if one was included.
Next, gently move each joint—knees, elbows, wrists, ankles, and the jaw. Some might be a bit stiff right out of the box. I like to work them back and forth slowly to understand their range of motion before I start posing.
⚠️ Warning: Do not force a joint past its intended range of motion. The plastic can be brittle and may snap. If you hear any stressful creaking or cracking sounds, back off immediately.
Step-by-Step Tutorial: The Fundamentals of Posing 🛠️
Mastering these basic techniques is the key to creating any pose you can imagine. We’ll start with stability and then add the flair that brings your skeleton to life.
Step 1 – Finding the Center of Gravity
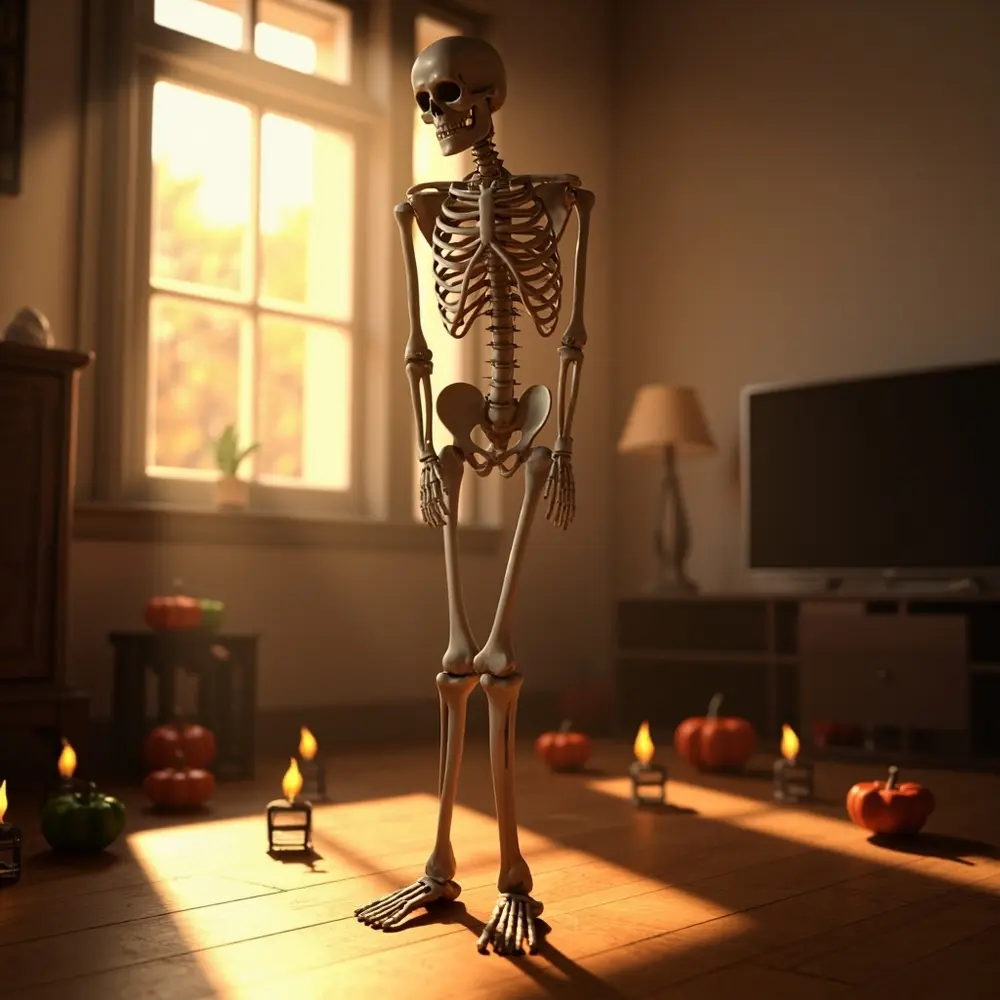
The first goal is to understand how to balance your skeleton so it can stand or sit without toppling over. This is the foundation of every good pose.
- Start by placing your skeleton in a basic standing position on a flat surface.
- Adjust the feet to be about shoulder-width apart.
- Slightly bend the knees and hips. A straight-legged, stiff pose is much less stable and looks unnatural.
- Gently shift the torso and hips back and forth until you find a point where it balances on its own. The weight should feel centered right over the feet.
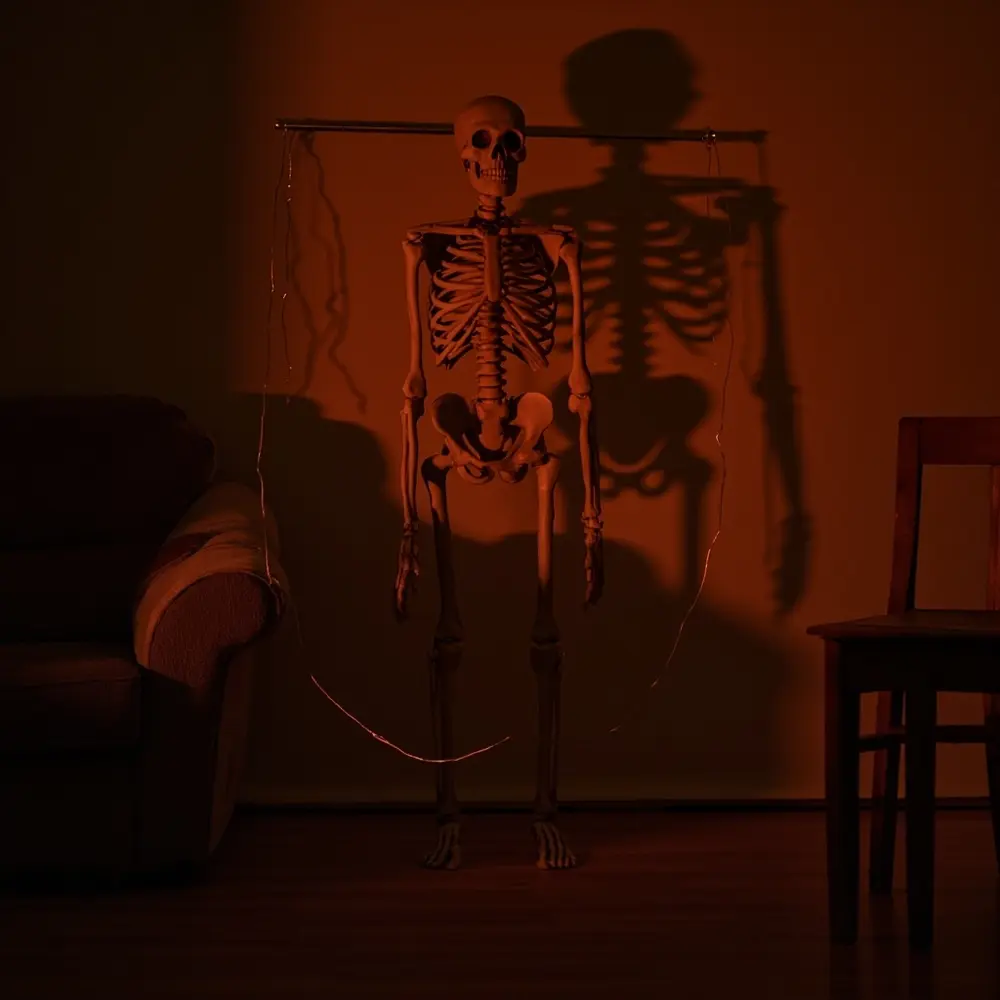
Important Note: If your skeleton has trouble standing, don’t worry! Use clear fishing line to tie it to a nearby anchor point (like a curtain rod, a deck railing, or a tree branch) for some invisible support.
Step 2 – Creating Dynamic Sitting Poses
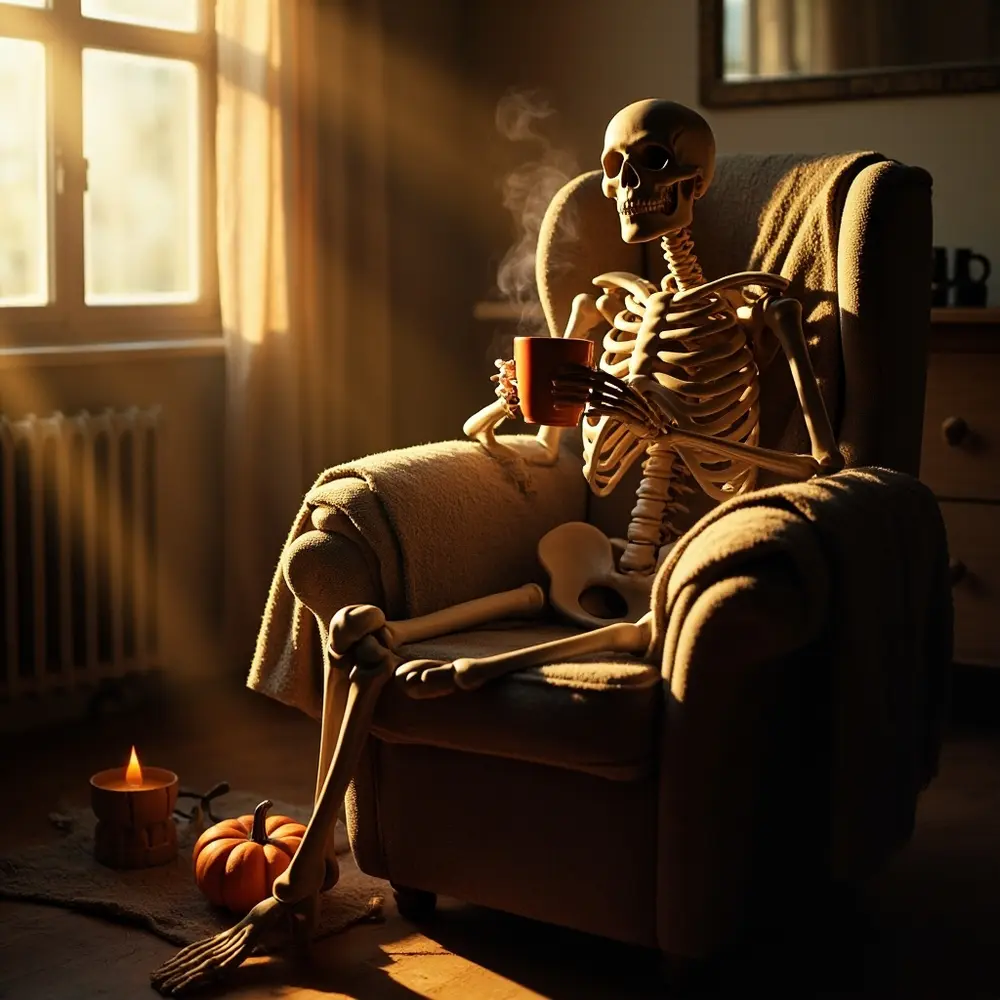
Now let’s master posing your skeleton in a chair, on a couch, or even on the floor for more natural and interactive scenes.
- Place the skeleton’s pelvis firmly on the desired surface, like a chair. This is your anchor point.
- Position the legs first. Should they be crossed? Kicked up on a table? Dangling off the side? This sets the mood.
- Lean the torso naturally. A slight slouch or a lean to one side adds a ton of realism.
- Position the arms last. Have them rest on the armrests, hold a prop, or wave to guests passing by.
Step 3 – Injecting Personality with Head and Hands
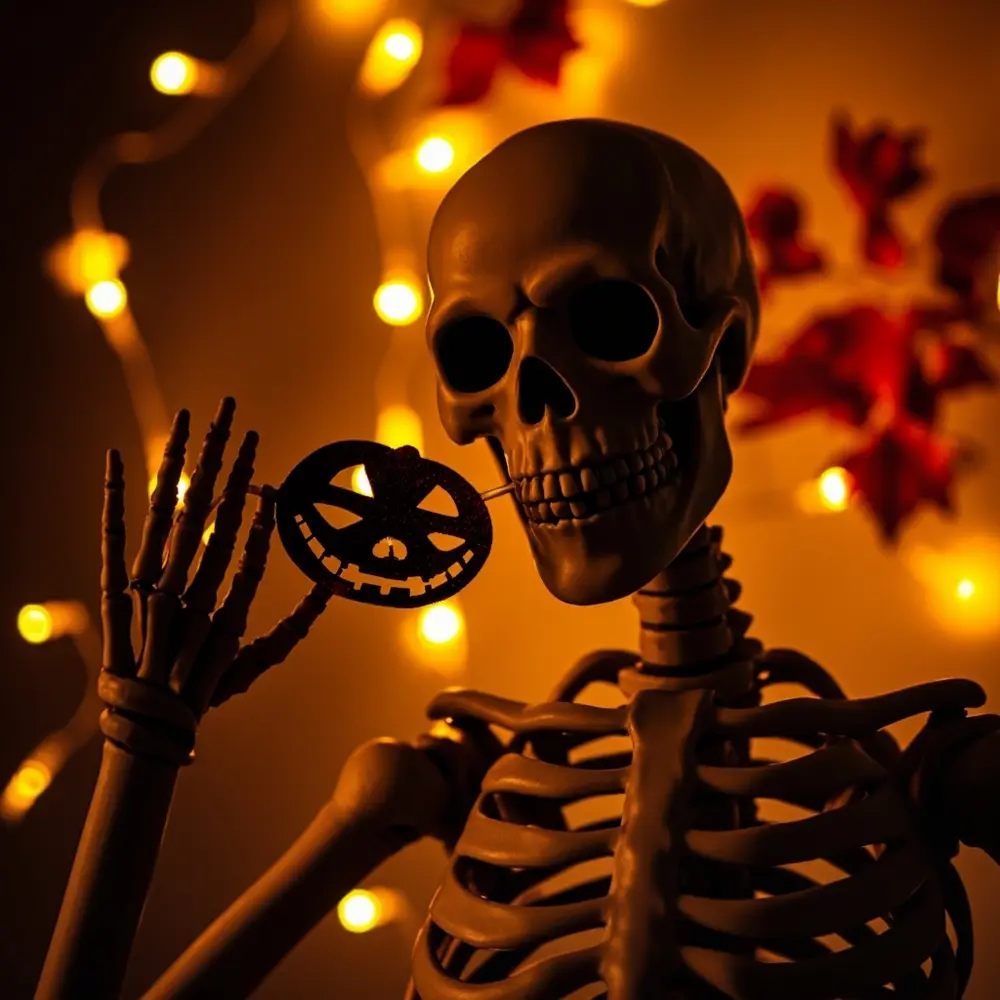
This is my favorite part! Small adjustments to the head and hands are what elevate a pose from good to great. It’s how you give your skeleton character.
- The Head Tilt: A simple tilt of the skull can imply curiosity, confusion, or a super creepy stare. Experiment with tilting it left, right, forward (looking down), or back (looking up).
- Hand Gestures: Don’t just leave the hands in a boring, neutral state. Pose them to be waving, pointing, holding a prop, or resting on the hip. Use small zip ties if you need the fingers to grip an object tightly.
Step 4 – Testing Your Scene’s Stability
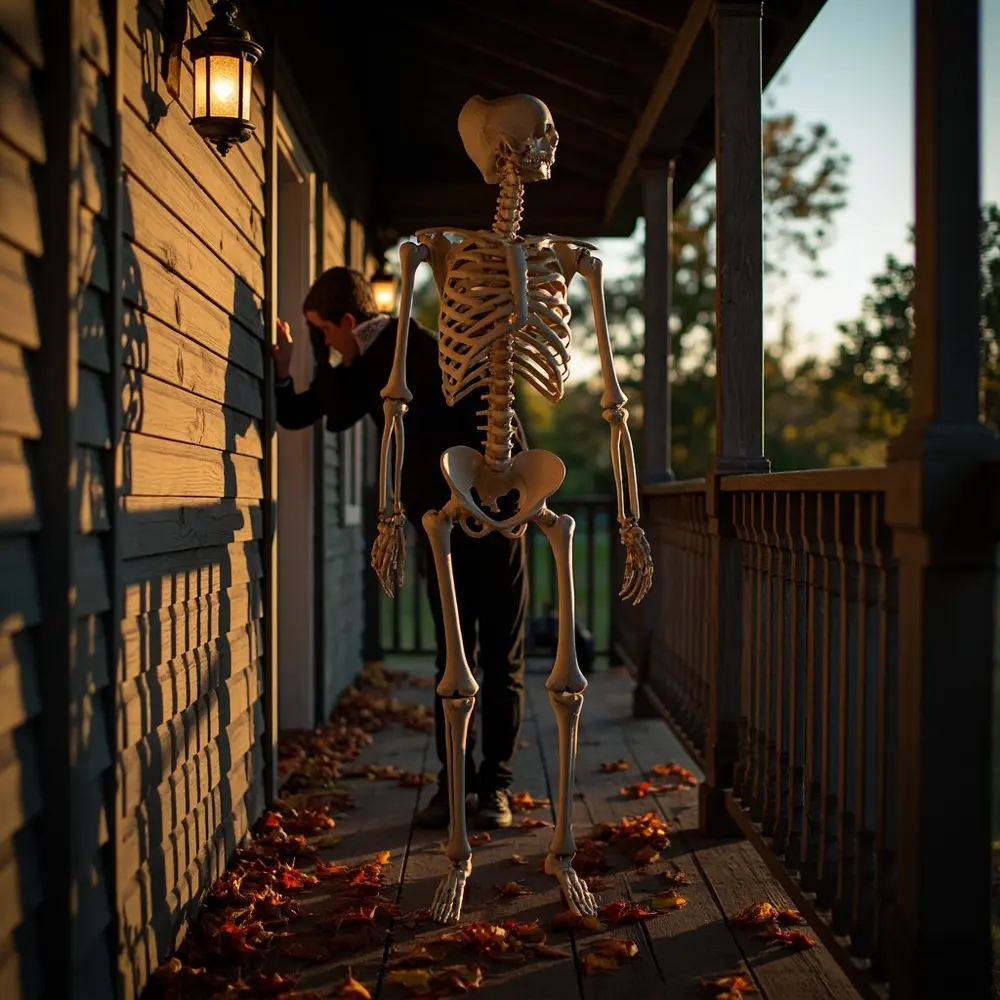
Finally, you need to verify that your masterpiece is stable and safe, especially if it’s in a high-traffic area or outside.
- Once your pose is set, give it a very gentle nudge to check for wobbles.
- Take a look at it from multiple angles to ensure it looks good from all sides.
- If you’re setting it up outdoors, think about how wind might affect the pose.
The skeleton should remain securely in its pose without falling over or losing a prop. You did it!
The Ultimate Skeleton Posing Idea Gallery 🖼️

This is where the real fun begins! I’ve created a visual gallery of ideas to get you started. Feel free to mix and match, or use these as a jumping-off point for your own unique creations.
Category 1: Hilariously Mundane Scenes
- The Eternal Binge-Watcher: Pose your skeleton on the couch, slouched over with a remote in one hand and a bowl of popcorn in its lap. Add a cozy blanket for extra effect.
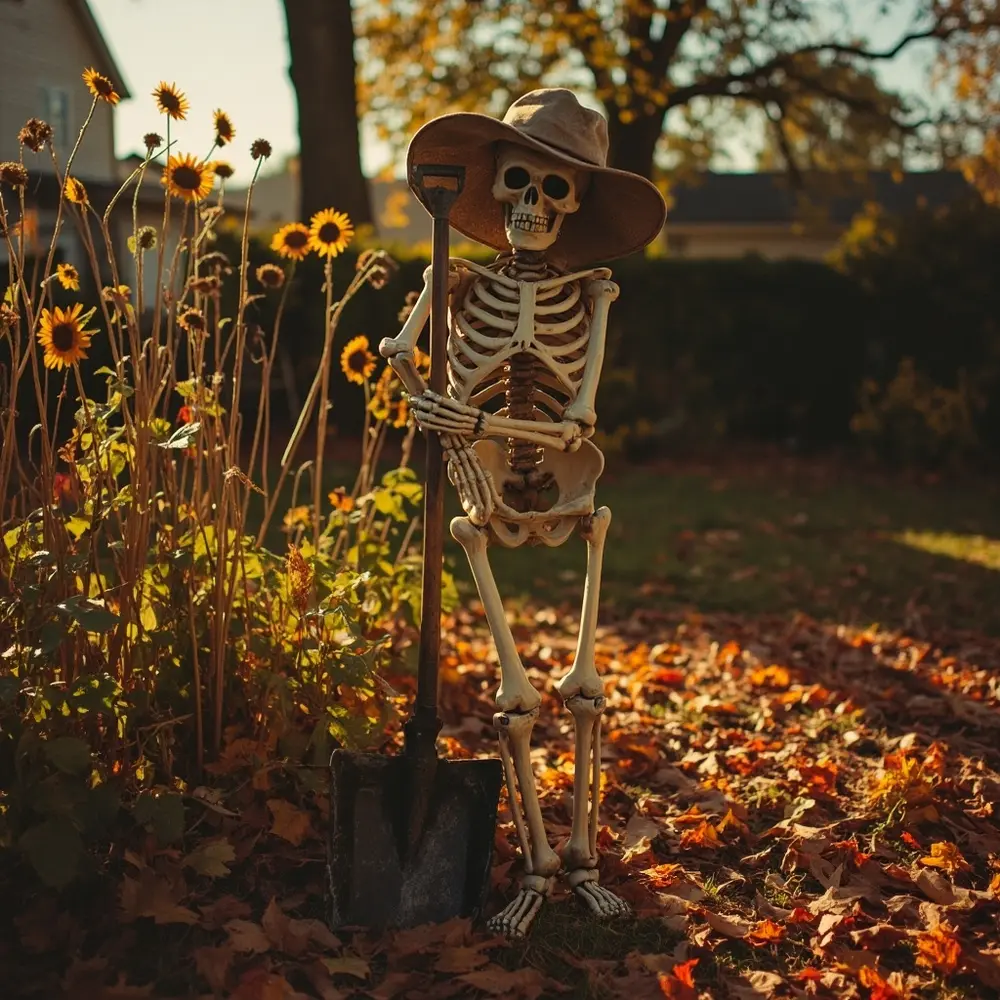
- The Procrastinating Gardener: Set up your skeleton in the yard, leaning wearily on a shovel, staring at a single tiny weed. A big sun hat really sells this one.
- “I’ve Been Waiting For You…”: Place your skeleton on a toilet, reading a newspaper with its bony knees crossed. This is a true classic that always gets a laugh.
- The Grill Master: Position the skeleton at your BBQ grill with a spatula and an apron that says “Kiss the Cook.” I do this one every year and my neighbors love it.

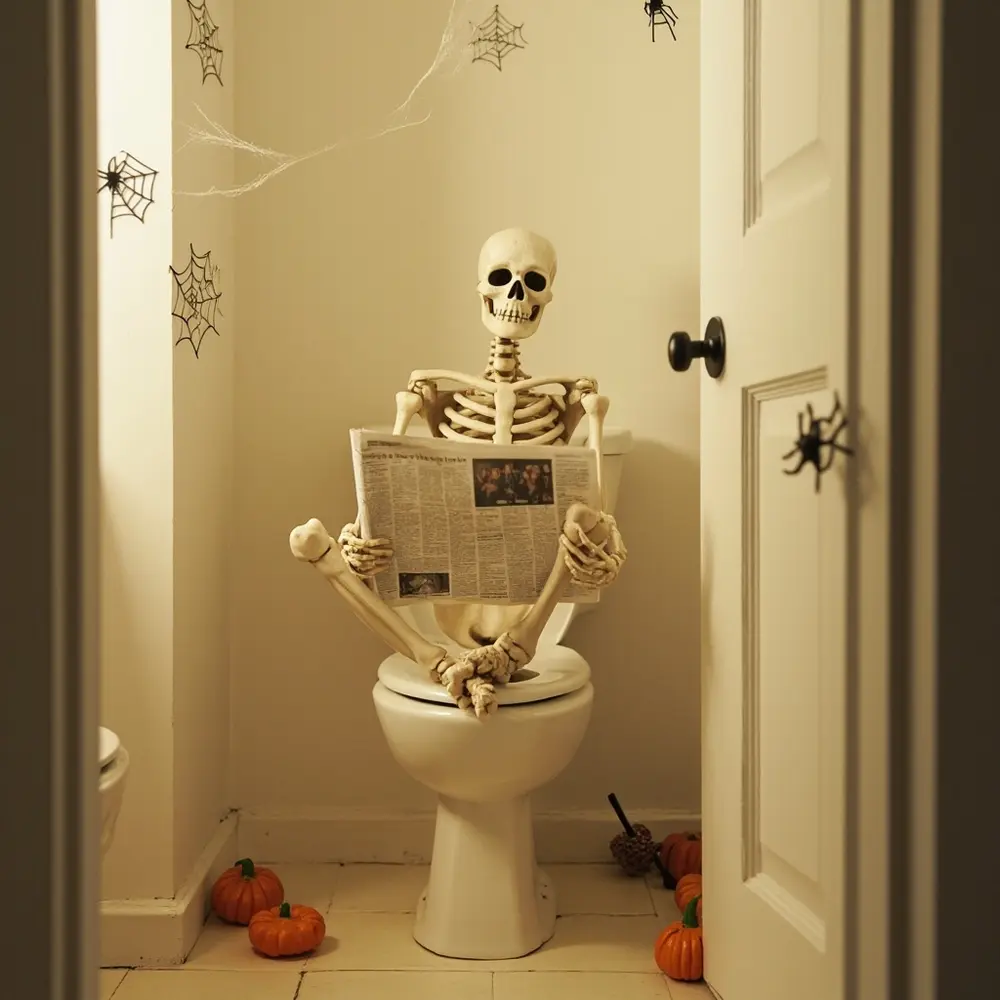
Category 2: Classically Spooky & Creepy Scenes
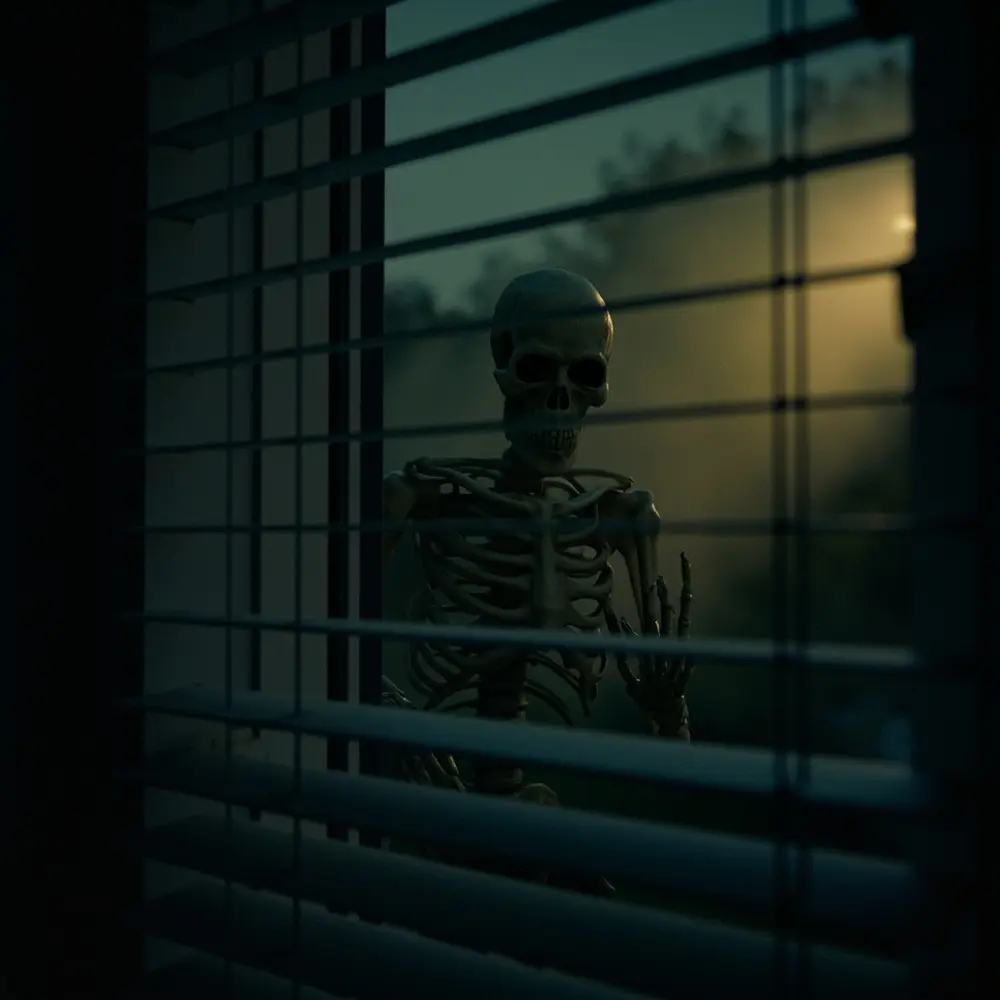
- The Window Peeper: Have your skeleton peeking through the blinds or curtains of a front-facing window. This is extra creepy at night with a light on inside the room.
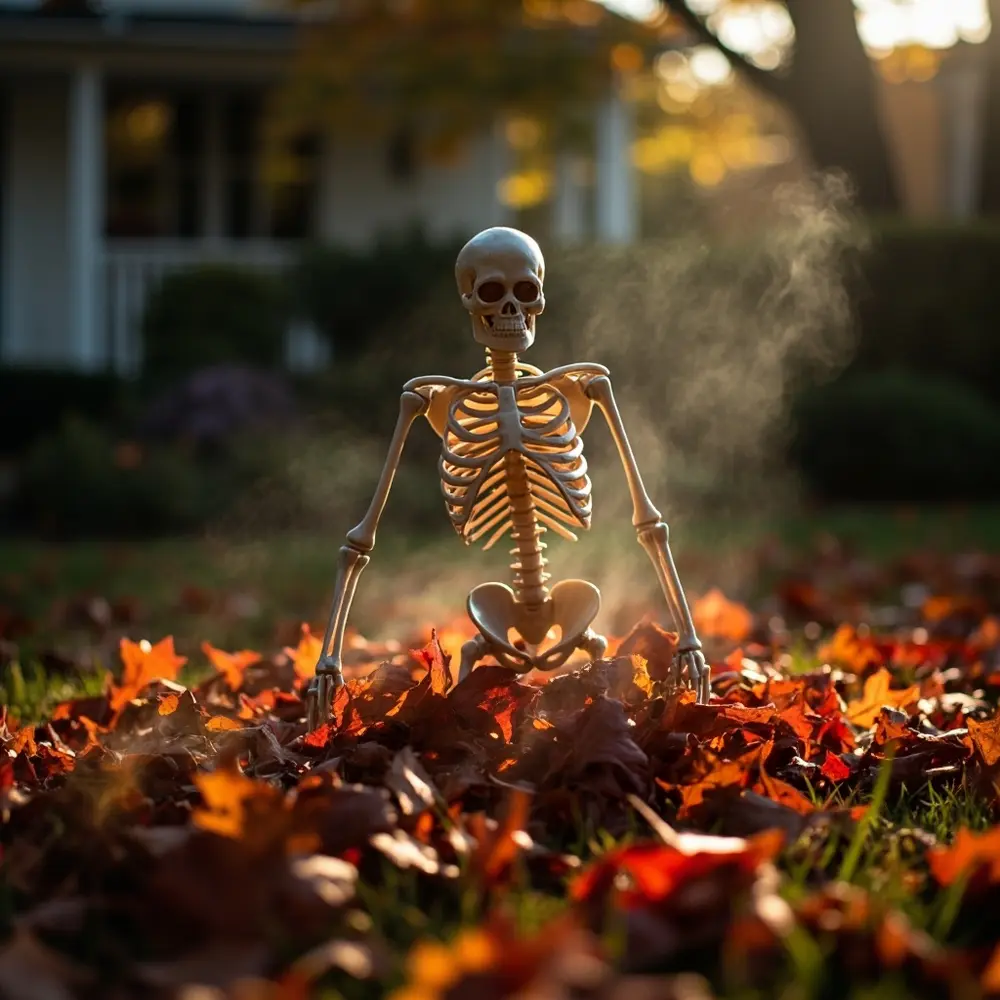
- Rising from the Grave: In your yard, pile dirt or leaves around the lower half of the skeleton to make it look like it’s crawling right out of the ground.
- The Unwanted Passenger: Buckle up your skeleton in the passenger seat of your car. This is guaranteed to get some looks at every red light.
Important Note: Check your local regulations to ensure this doesn’t violate any laws regarding distracted driving or obstructions in your area before you hit the road.
Troubleshooting & Common Questions ❓
My skeleton keeps falling over! What can I do?
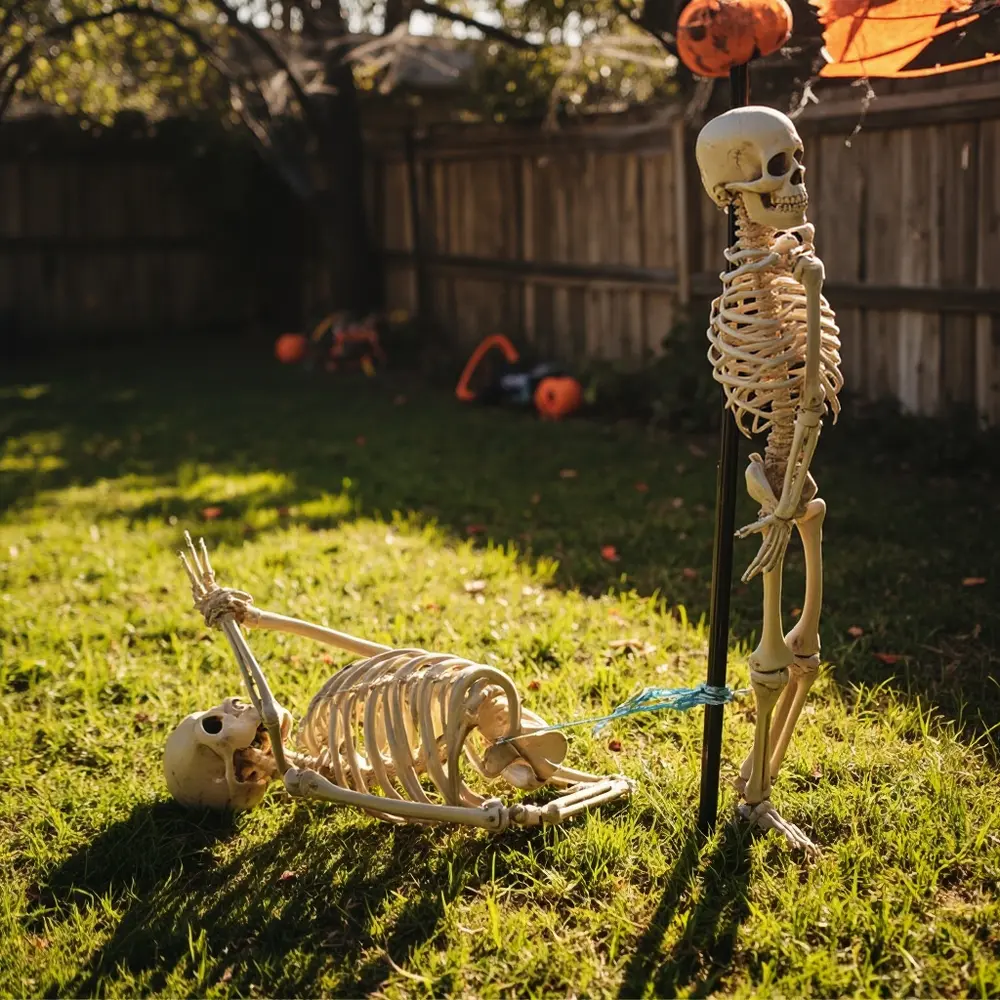
A: This is the most common issue, so don’t feel bad! First, always make sure the knees are slightly bent to lower its center of gravity. Second, use the environment for support—lean it against a wall, a chair, or a tree. For ultimate stability in windy conditions or on uneven ground, my go-to trick is to use a metal garden stake (like for a tomato plant) and zip-tie one of the skeleton’s legs or its spine to the stake.
The joints are too loose and won’t hold a pose. How do I fix this?
A: I’ve run into this with a few models. Most poseable skeletons use simple bolt-and-nut joints at the knees and elbows. You can often use a screwdriver or a small wrench to gently tighten the hardware at the joint. This provides more friction to hold a pose. Just don’t overtighten, or you could crack the plastic!
Can I leave my skeleton outside? Will it get damaged?
A: Most plastic skeletons can be left outside for the season, but you have to be aware of the elements. Prolonged, direct sunlight can make the plastic brittle over time. Heavy rain can fill up the skull and body cavity, which gets gross. And strong winds can easily knock it over. If a big storm is coming, I always recommend bringing “Bones” inside for safety.
Next Steps & Further Optimization 🚀
You’ve mastered the art of the single-skeleton scene. So, what’s next? It’s time to level up your spooky game and get even more creative.
- What to Do Next: Create a scene with two or more skeletons interacting! Picture them playing cards at a table, carrying a coffin together, or re-enacting a famous movie scene. The storytelling possibilities are endless.
- Optimization Tips:
- Add Lighting: Use a single, colored spotlight (like red or green) to cast dramatic shadows. This creates a much spookier nighttime effect for very little effort.
- Create a Story: Give your skeleton a name and a recurring theme. Post daily or weekly updates on social media. People absolutely love following the “Adventures of Skelly.”
- Advanced Applications: Try creating dynamic stop-motion videos with your skeleton. Move it a tiny bit between each photo to create a hilarious or horrifying animation for your friends to see.
My Personal Tip: When I first launched my ‘Spooky Sharma’ YouTube channel, growth was slow. I remember the thrill of hitting 300 subscribers, and it was all because I started giving my main skeleton prop, “Bartholomew,” a personality and a story. People connect with characters, even bony ones! A little story goes a long way.
Conclusion (My Final Thoughts) 👻
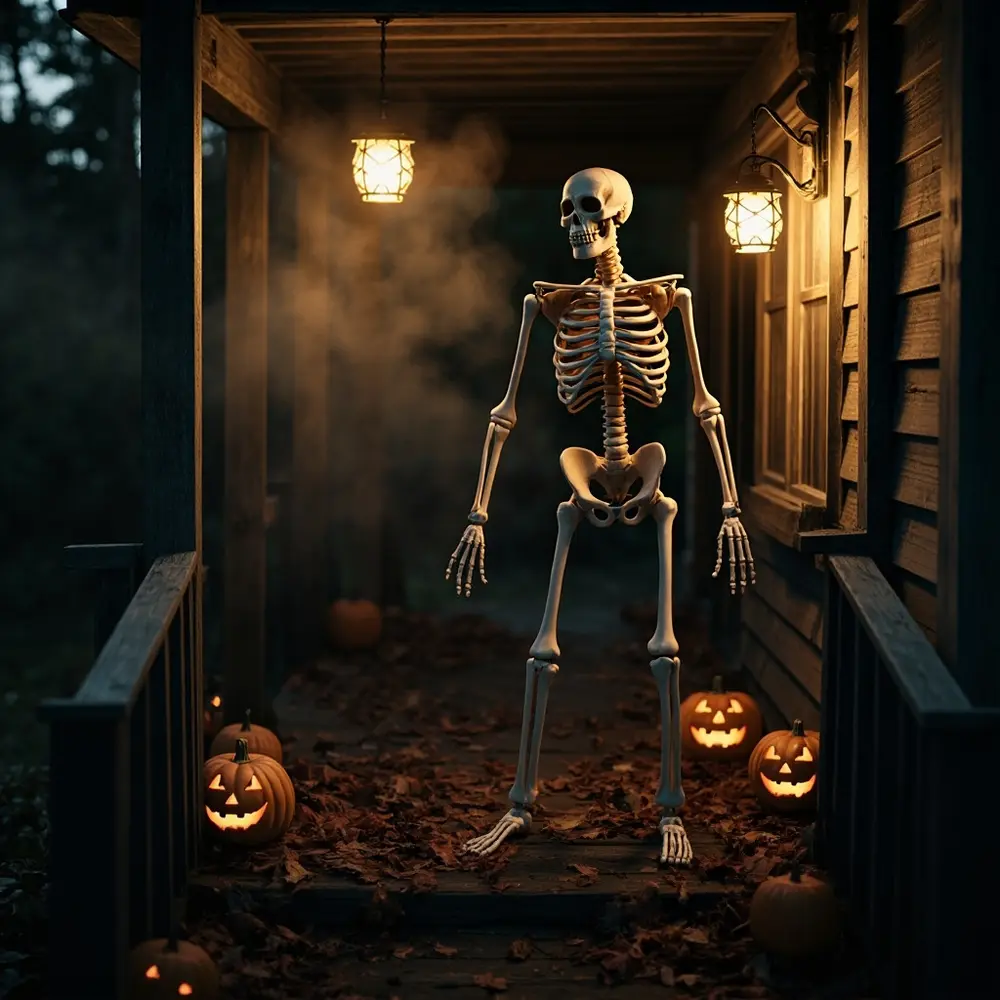
Congratulations! You are no longer just the owner of a plastic skeleton; you are a master of boneyard choreography. You’ve learned how to make your skeleton stand, sit, and express itself, and you’re armed with a gallery of ideas to spark your imagination.
You’ve successfully transformed a simple prop into a source of endless spooky and funny entertainment for your family, friends, and neighborhood. The only limit now is your own creativity. Go forth and get posing!
I’d love to see what you create. What’s the first pose you’re going to try with your skeleton? Share your ideas or photos in the comments below!
