The Pumpkin Decomposition Study: A Week-by-Week Biology Project
Hey there, ghouls and goblins! It’s Roshan Sharma, your friendly neighborhood Halloween fanatic, here to make your spooky season last even longer. 🎃
Are you ever sad when Halloween ends and your perfectly carved jack-o’-lantern starts to slump on the porch? You could just toss it, but that feels like such a waste of spooky potential. 😥 What if I told you that the end of your pumpkin is actually the beginning of a super cool, hands-on science experiment that your whole family will love?
I’m here to show you how to turn that post-Halloween pumpkin into a fascinating, week-by-week biology project! We’re going to observe the magic of natural decay and become scientists in our own backyards. It’s the perfect way to keep the spooky fun going and learn something amazing along the way! 🔬
Activity At-a-Glance
- Best For 👨👩👧👦: Home science projects, school assignments, curious learners (elementary to middle school age)
- Time Required ⏳: Initial setup: Approx. 30 minutes; Ongoing observations: 10-15 minutes/week for 4-8 weeks
- Budget Level 💰: Low-Cost
- Spookiness Level 👻: Low (observing natural decay)
What You’ll Need for Your Pumpkin Decomposition Study 📋
You probably have most of these things around the house already!
- A pumpkin (any size, but smaller might be easier to manage) 🎃
- Clear plastic bin or large tray (to contain the glorious mess)
- Optional: Garden trowel or spoon (for initial pumpkin prep) 🥄
- Optional: Camera or smartphone for photo documentation 📸
- Notebook or science journal 📓
- Pen or pencil ✏️
- Ruler or measuring tape 📏
- Optional: Gloves (for handling the decomposing pumpkin)
- Optional: Mask (if smells become strong) 😷
- Optional: Magnifying glass (for those amazing close-up observations) 🔍
- Optional: Thermometer (to measure the temperature near your pumpkin) 🌡️
Preparation & Setup: Creating the Spooky Scene
First, we need to find the perfect laboratory for our experiment! You have two main options: outdoors or indoors. An outdoor spot is fantastic because your pumpkin gets to interact with nature. Find a safe, undisturbed corner of your yard, balcony, or patio where you can easily check on it each week.
If you’re doing this indoors, a well-ventilated garage, a covered porch, or even a spot by an open window can work. The key here is containment and ventilation to manage any potential mess or smells. I once tried this in my workshop and learned very quickly that an open window is your best friend!
Pro Tip 💡: For an outdoor study, try to pick a spot that gets a mix of natural elements (sun, rain, air) but is also somewhat protected from hungry squirrels or other critters who might want to steal your subject! A clear bin with the lid slightly ajar works perfectly. For an indoor setup, a sealed clear bin allows you to see all the magnificent mold growth up close without any pests.
How to Lead the Pumpkin Decomposition Study: Step-by-Step 🚀
Step 1: Selecting & Preparing Your Pumpkin
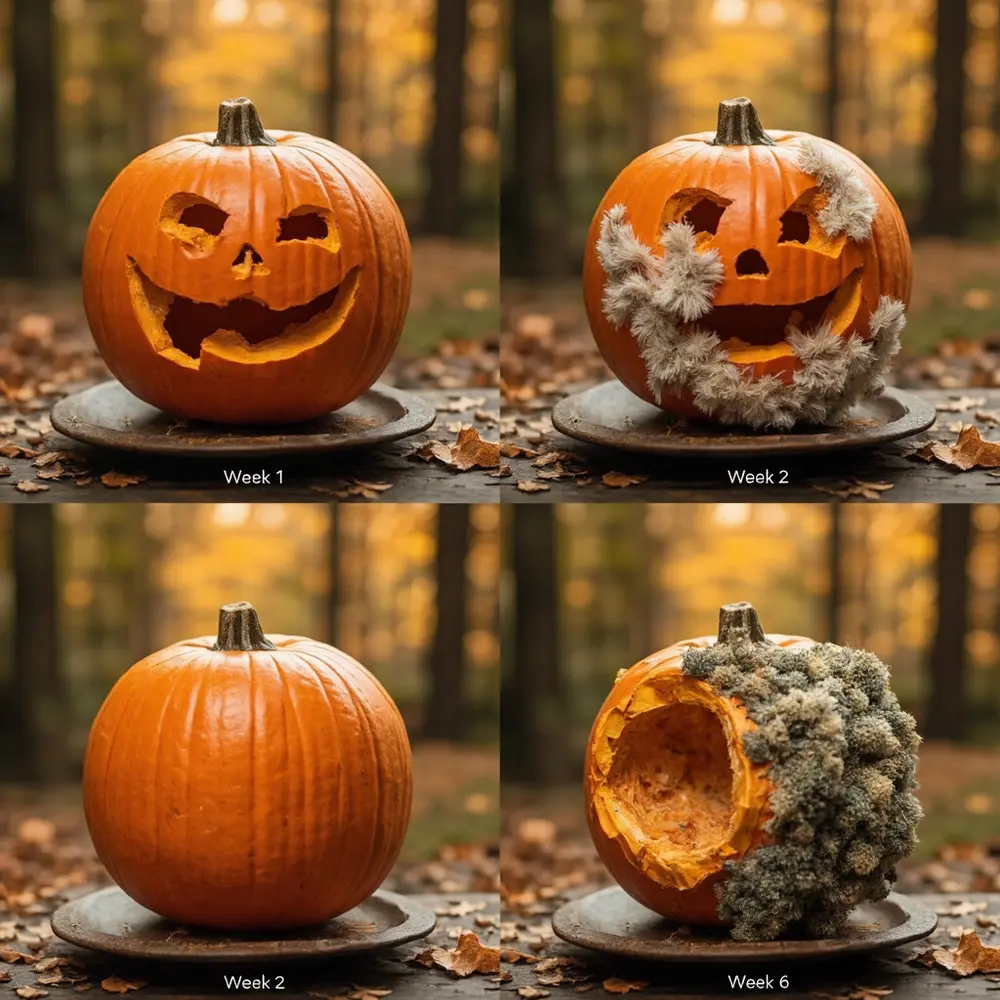
Start with a healthy, firm pumpkin. You can use a whole, uncarved pumpkin for a slower decomposition, or you can give it a simple carved face to speed things up by exposing the inside to air and microbes. Before you begin, get out your scale and ruler! Weigh the pumpkin and measure its height and circumference (the distance around its fattest part). This is your “Day 1” data—super important!
Image-1: A bright, top-down shot showing a small pumpkin on a kitchen scale. Next to it, a measuring tape is wrapped around a similar pumpkin with a simple, triangle-eyed face carved into it.
Step 2: Setting Up Your Observation Station
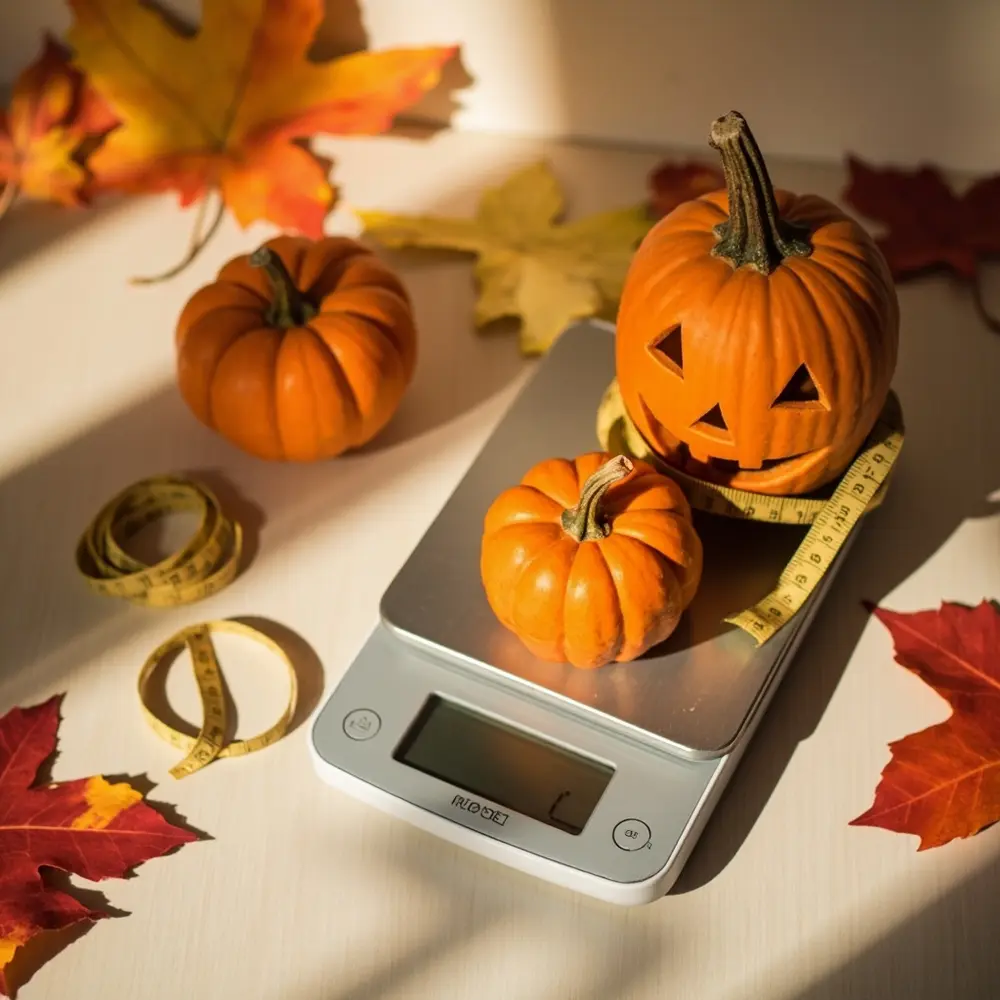
Now, place your pumpkin in its new home. If you’re outside, put it on a tray or directly in your designated spot. If you’re inside, place it snugly inside a large, clear plastic bin. This bin is your best friend—it will contain any liquids that leak out (and trust me, there will be liquids!) and help manage any earthy smells.
Caution ⚠️: Make sure your observation station is out of reach of curious pets or very young children. If you’re keeping it indoors, double-check that the area has good airflow to keep things fresh.
Image-2: A close-up, eye-level shot of the prepared pumpkin sitting neatly inside a clear plastic storage bin, ready for observation.
Step 3: Making Initial Observations & Forming a Hypothesis
Time to put on your scientist hat! Open your science journal to a new page and record today’s date. Write down everything about your pumpkin right now:
- Color: Is it bright orange? Are there any green spots?
- Texture: Is the skin smooth? Bumpy? Firm?
- Smell: Does it smell fresh and earthy?
- Weight & Measurements: Write down the numbers you got in Step 1.
Now for the fun part: form a hypothesis! A hypothesis is just a fancy word for your best guess. What do you think will happen to the pumpkin? Will it get soft? Grow mold? Attract bugs? How long do you think it will take to completely collapse? Write it all down!
Image-3: A shot from over a child’s shoulder as they write in a science journal. The journal is open next to the pumpkin in its bin, showing neat columns for “Date,” “Weight,” and “Observations.”

Step 4: Weekly Observations & Documentation
Set a reminder to check on your pumpkin once a week. Consistency is key! Each week, bring out your journal and record what you see.
- Look for changes in color, the appearance of mold (what color is it?), and any softening or sinking spots.
- Note any insect activity. Are ants or flies visiting?
- Measure its size again. Has it shrunk?
- Take a photo from the same angle each week. This creates an awesome time-lapse!
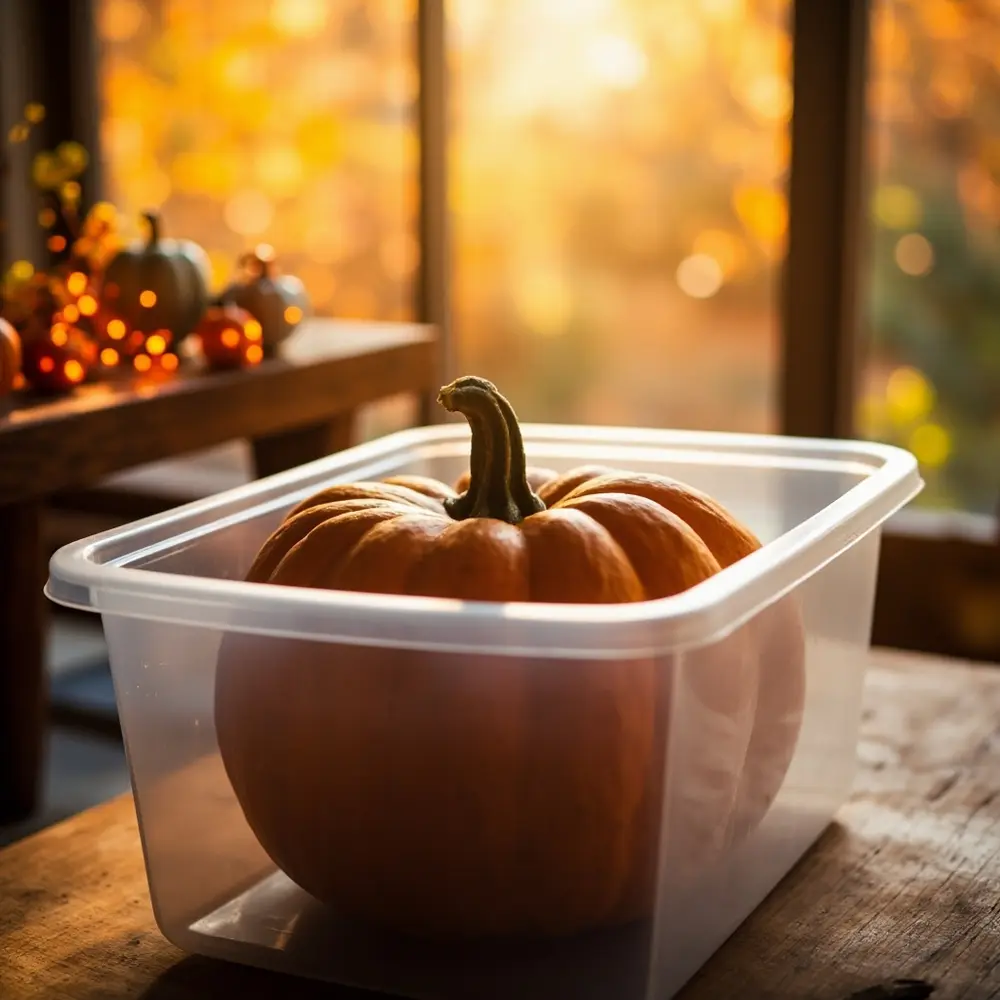
This is where the real story unfolds. You’ll be amazed at how quickly things can change!
Image-4: A grid of four photos, clearly labeled “Week 1,” “Week 2,” “Week 4,” and “Week 6.” The images show the pumpkin’s gradual collapse, from a firm orange gourd to a soft, mold-covered, and partially sunken form.
Step 5: Analyzing Your Data & Drawing Conclusions
After several weeks, your pumpkin will likely be a flat, gooey, amazing mess. Now it’s time to analyze your findings! Look back through all your notes and photos.
- What happened first? Did the top sink in before the sides?
- What colors of mold did you see?
- Did your measurements change consistently each week?
Compare what actually happened to your initial hypothesis. Were you right? Partially right? It’s okay if you were wrong—that’s part of science! Write a final summary, or conclusion, describing the entire journey of your pumpkin’s decomposition.
Image-5: A photo showing a completed science journal open to a page titled “Conclusion,” with handwritten notes and a small drawing of the final pumpkin state.

Documenting Your Scientific Journey: Tips for Success 📝
To make your project truly epic, great documentation is everything. When I used to run my DIY Halloween YouTube channel, the time-lapse videos were always the biggest hit!
- Schedule It: Pick the same day and time each week for your observation (e.g., “Science Saturday at 10 AM”). This helps you stay consistent.
- Be Specific: Don’t just write “it looks gross.” Describe how it looks gross! Use descriptive words like “fuzzy white mold,” “dark, sunken spots,” or “earthy smell.”
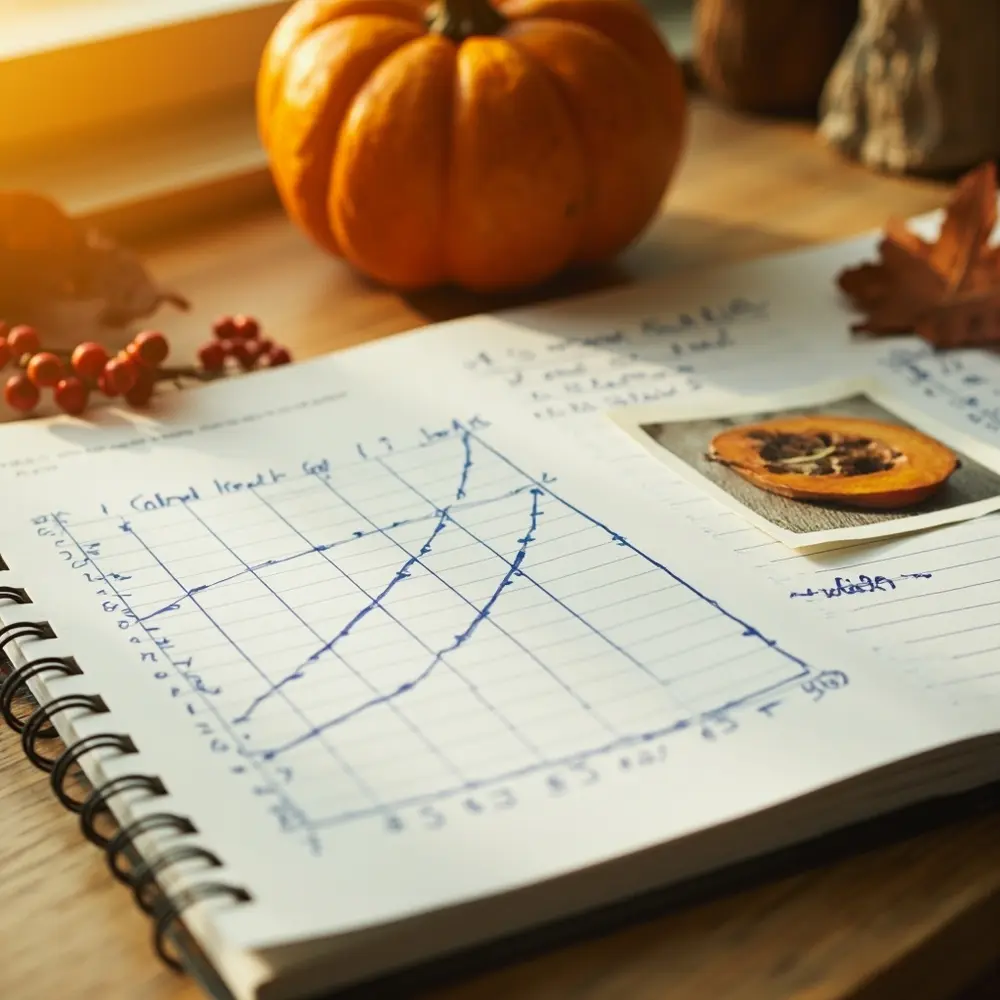
- Record Metrics: Keep track of the numbers. Weight and circumference are great metrics to chart on a graph to see the changes visually. You can also measure the size of a specific moldy patch each week.
- Photo Power: Create a time-lapse! Prop your phone in the exact same spot each week to take your photo. When you’re done, you can use a simple app to stitch them together into a video. It’s so cool to watch weeks of decay happen in just a few seconds!
Image-6: A close-up shot focusing on a detailed page in the science journal. The page shows a hand-drawn chart tracking the pumpkin’s weight over several weeks, with a small photo taped next to the entry.
Variations & Customizations to Haunt Your House 🧪
Want to take your experiment to the next level? Try one of these spooky variations!
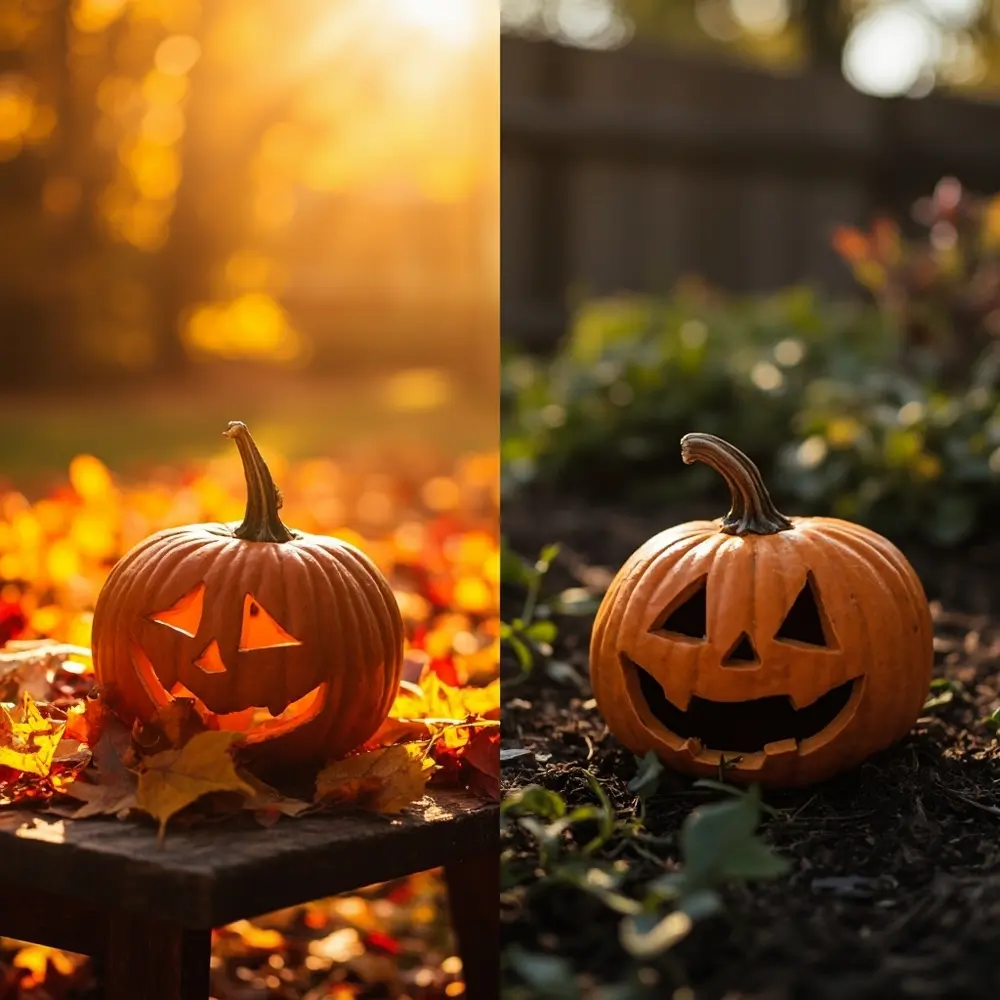
- Location Comparison: Get two pumpkins and place one in the shade and one in direct sunlight. Does one decompose faster?
- Variable Introduction: See what happens if you carve one pumpkin but leave another whole. Or, add a little water to one pumpkin’s bin each week and keep the other dry.
- Seed Study: After the pumpkin has fully decomposed, carefully collect some of the seeds. Try planting them in a pot to see if a new pumpkin will grow!
- Microscope Exploration: If you have a microscope, carefully take a tiny sample of the mold and look at it up close. It’s a whole other world in there!
- Artistic Documentation: Instead of just taking photos, get out the paints or colored pencils and have your kids create a scientific illustration of the pumpkin each week.
Theme Twist 😈: Turn your science journal into a “Mad Scientist’s Lab Notebook”! Use spooky fonts, add dramatic drawings of bubbling potions, and write your observations with ominous predictions like, “The specimen has developed a curious green fuzz… my creation is coming to life!”
Image-7: A split-screen image. On the left, a pumpkin sits in a sunny spot in a yard. On the right, a second pumpkin is in a shady, dark corner. The text “Sun vs. Shade” is overlaid.
Halloween Activity FAQs ❓
Q1: How long will the pumpkin decomposition study typically take?
It really depends on your climate and conditions! In a warm, humid place, a small pumpkin might fully collapse in 4-6 weeks. In a colder, drier area, it could take 8 weeks or even longer. That’s part of the fun—every experiment is unique!
Q2: What should I do if the pumpkin starts to smell really bad?
A bit of an earthy, rotting smell is normal. If it gets too strong, make sure your indoor setup has plenty of ventilation. If it’s outside, you can sprinkle a thin layer of soil or some dead leaves over it, which will help neutralize the odor while letting the decomposition continue.
Q3: Can I do this project indoors without attracting pests?
Yes, if you’re careful! Using a plastic bin with a lid that seals tightly is your best defense. This will contain the smell and prevent insects like fruit flies from getting in. I’d still recommend a garage or a covered porch over your kitchen, just to be safe.
Conclusion
Congratulations, mad scientists! You’ve successfully guided your pumpkin through its entire spooky life cycle and learned a ton about biology in the process. This project is so much more than just watching a pumpkin rot; it’s about observing nature, practicing the scientific method, and creating a super unique family memory. I love this activity because it turns a simple Halloween decoration into weeks of discovery.
Why not make it a new family tradition? Every year, you can document a new pumpkin and see how your results compare. Happy experimenting!
Now I have to ask: what’s your favorite way to get more than one day of fun out of Halloween? Let me know in the comments! 👇
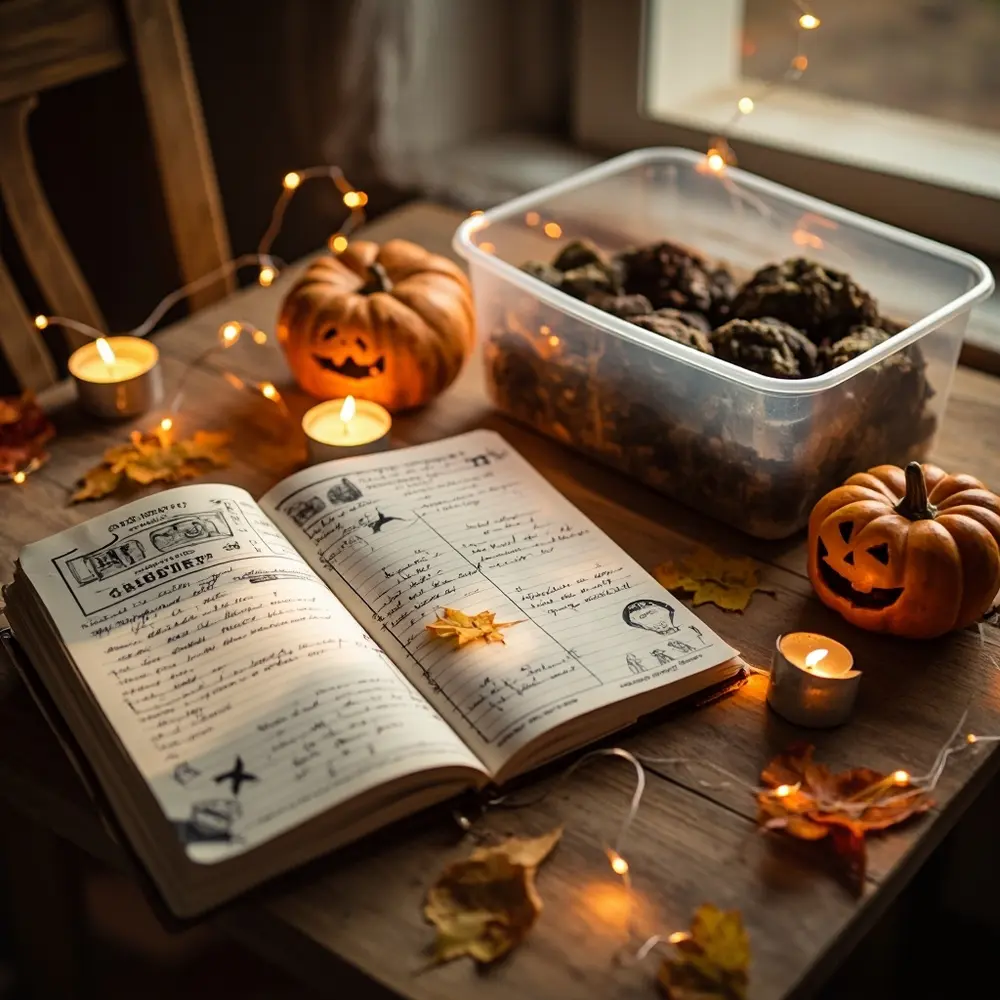
Image-8: A beautiful, slightly zoomed-out shot showcasing the final result of the project. The completed, decorated “Mad Scientist’s Lab Notebook” is open to the final page, displayed proudly next to the clear bin containing the fully decomposed pumpkin remains. The entire setup is on a small table, looking like a finished science fair exhibit.
