The Ultimate Pumpkin Volcano Experiment: A How-To Guide
Hey there, ghouls and goblins! Roshan Sharma here, your friendly neighborhood Halloween fanatic. It’s that magical time of year when the air gets crisp, the leaves turn spooky colors, and I start drinking way too much pumpkin spice coffee. 🎃
Are you searching for a Halloween activity that goes beyond the usual candy grab and creates a core memory for your little monsters? 🎉
It can be tough to find something that’s hands-on, exciting, and maybe even a little educational without causing a total mess or costing a fortune. You want that “wow” moment that will have the kids talking for weeks! 👻
Well, get ready to become the coolest mad scientist on the block! This Pumpkin Volcano experiment is the perfect solution—it’s a bubbling, fizzing, erupting spectacle that’s incredibly easy to set up and guaranteed to be the highlight of your spooky season. Let’s make some magic happen! 🧪
Activity At-a-Glance
- Best For 👨👩👧👦: Family Halloween Fun, Classroom Science Demonstrations, Spooky Playdates
- Time Required ⏳: Approx. 30-45 minutes (including setup, eruption, and initial cleanup)
- Budget Level 💸: Low-Cost (uses common household items!)
- Spookiness Level 💀: Medium (More cool than creepy!)
What You’ll Need for Your Pumpkin Volcano 📋
Most of these things are probably hiding in your cupboards already! Last year, I had to do a last-minute run for vinegar because we’d used it all for cleaning—don’t be like me, check your supplies first!
- A medium-sized pumpkin 🎃
- Baking soda (sodium bicarbonate) ⬜
- White vinegar (acetic acid) 💧
- Liquid dish soap 🧼
- Food coloring (orange, red, or ghoulish green are my favorites!) 🎨
- A large spoon or scoop 🥄
- A knife or carving tools (adults only for this part!) 🔪
- A large tray, baking dish, or an old tarp to catch the glorious mess 🧺
- Measuring cups/spoons 📏
- Optional Fun: A dash of glitter for a magical potion effect ✨, small plastic spiders to ride the foam wave 🕷️, or a plastic bottle/cup to place inside the pumpkin for super-fast cleanup.
Preparation & Setup: Creating the Spooky Scene 🧪
First things first, let’s set up our laboratory. The key to a stress-free eruption is containing the inevitable overflow of foamy goodness. I recommend doing this outside on the grass, on a porch, or in the kitchen on a well-protected surface.
Place your large tray or baking sheet down first. This will be your “blast zone” and will catch all the colorful foam. If you’re indoors, go a step further and lay down some old newspapers or a disposable tablecloth.
Pro Tip 💡: After one particularly messy (but fun!) experiment with my niece, we learned to put a plastic bottle or a large cup inside the pumpkin. You can mix the ingredients in there, and when you’re done, you just pull the bottle out to clean it. It makes resetting for a second eruption a total breeze!
How to Make Your Pumpkin Volcano: Step-by-Step 🚀
Step 1: Carve Your Ghoulish Gourd (or Prep Your Pumpkin)
This is where the spooky personality of your volcano comes to life! If you haven’t carved your pumpkin yet, now’s the time. As someone who has taught over 50 kids how to carve safely, I can’t stress this enough: an adult should always handle the sharp tools.
Carefully cut a wide circle around the stem to create a lid, just like you normally would. Then, get the kids involved in the fun, gooey part! Have them use their hands and a big spoon to scoop out all the pulp and seeds. You need a nice, hollow cavern inside. If you’re using a pumpkin that’s already carved with a face, just make sure the inside is clear of debris.
Image-1: An overhead, flat-lay shot of all the experiment materials arranged neatly on a dark, rustic wooden table: a clean pumpkin, a box of baking soda, a bottle of vinegar, dish soap, food coloring vials, and a carving tool set.
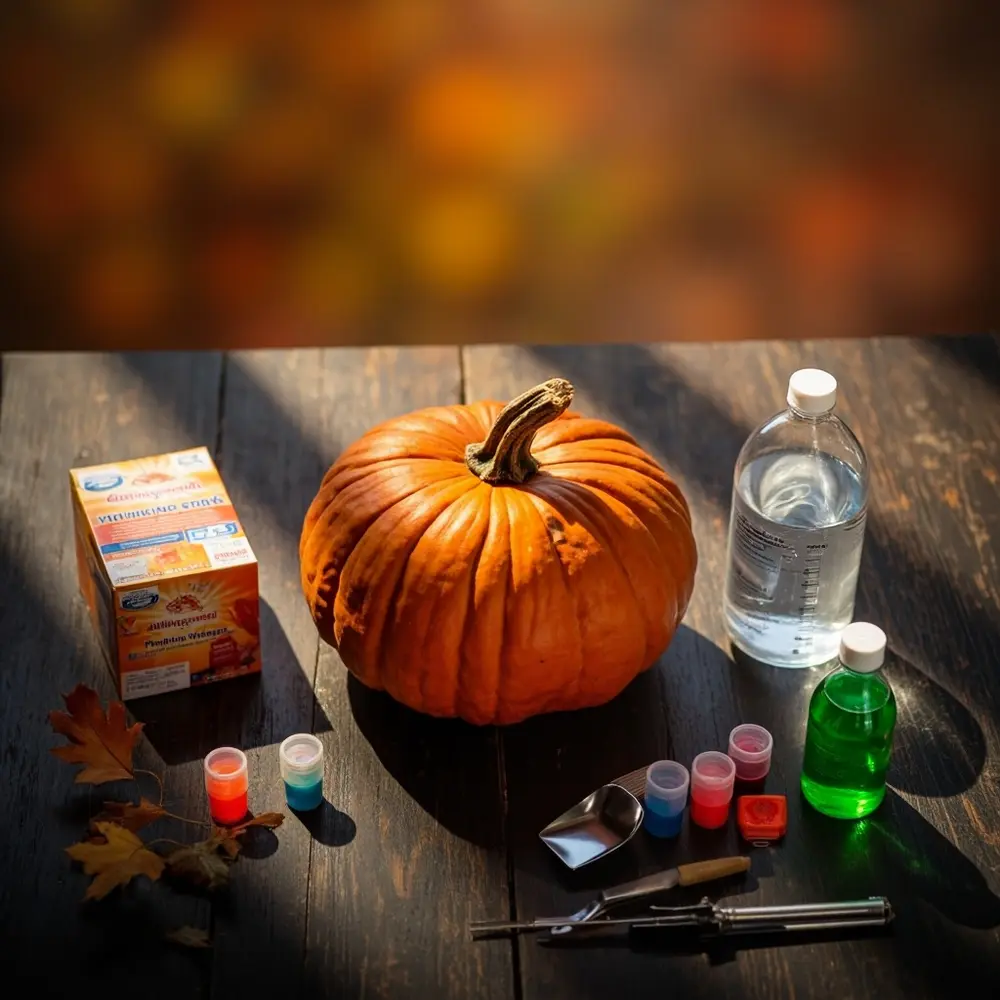
Image-2: A close-up shot of an adult’s hands safely using a pumpkin carving knife to slice the top off a medium-sized pumpkin.
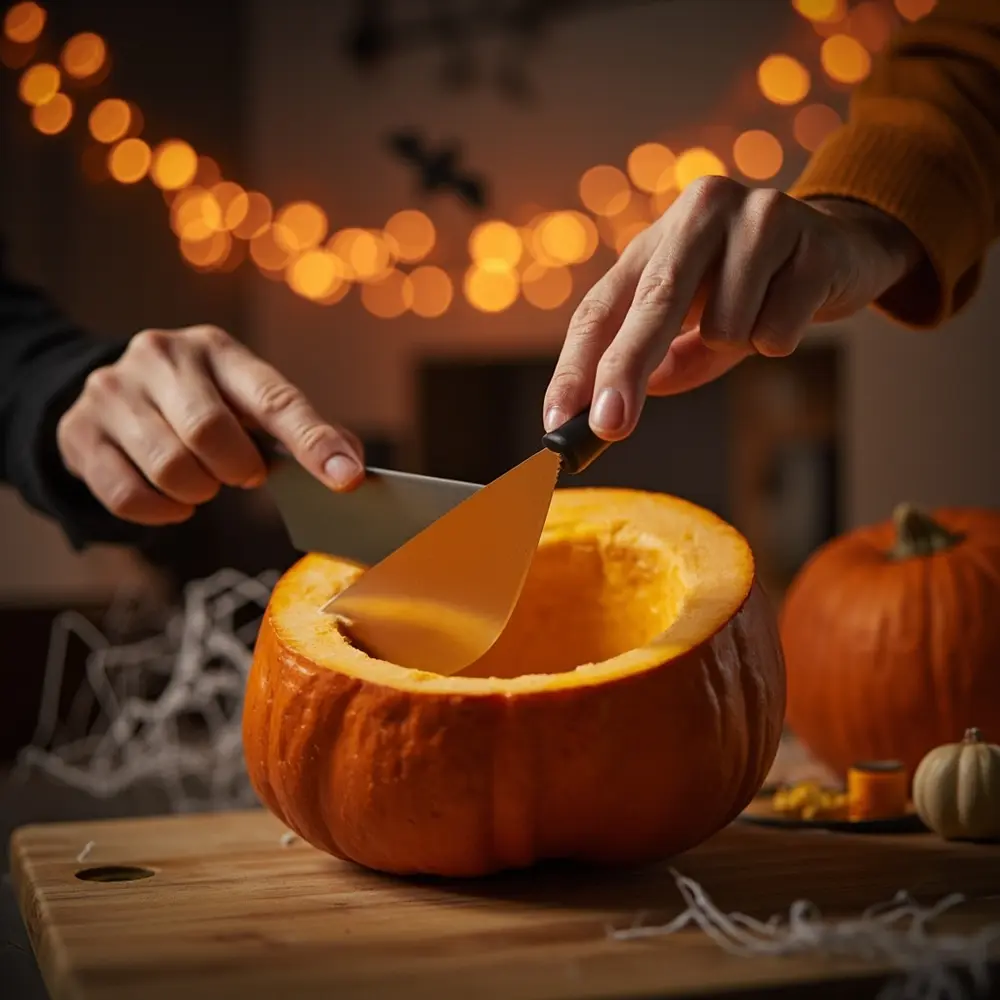
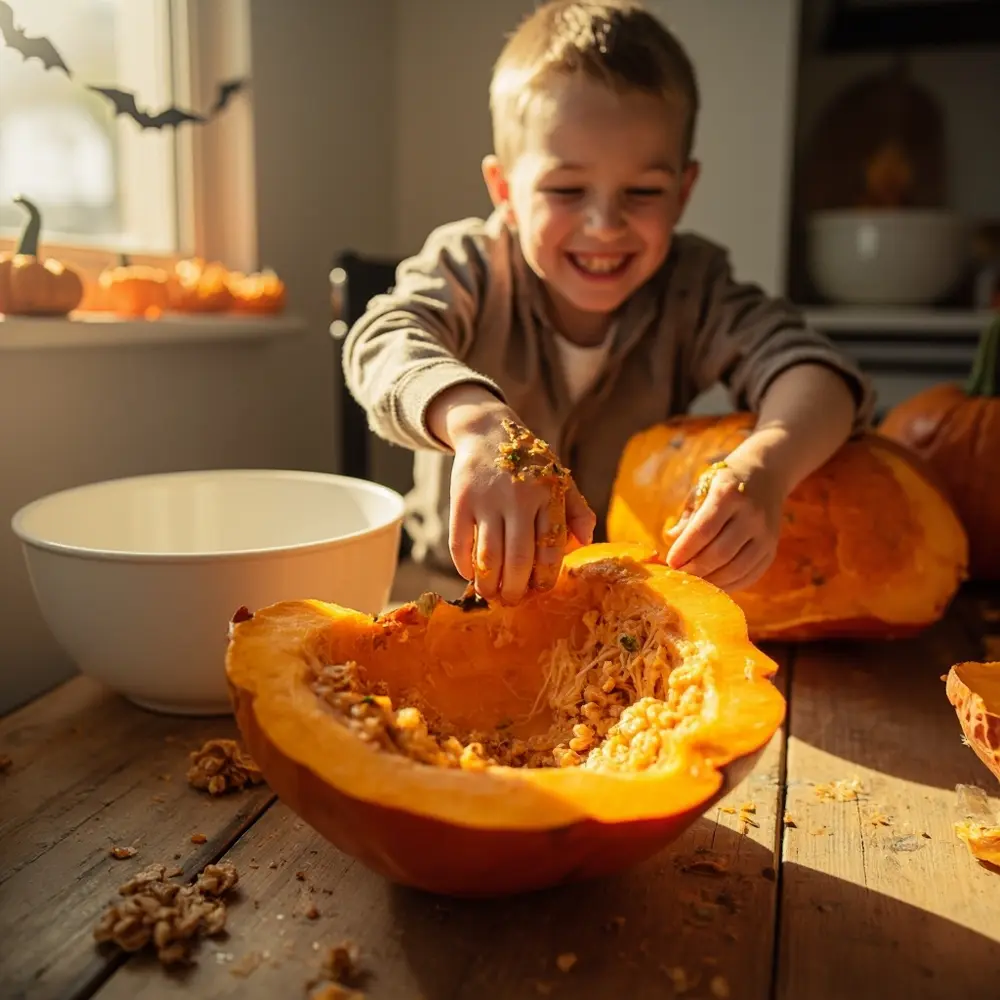
Image-3: A fun, action shot of a child’s hands gleefully scooping pumpkin seeds and pulp out of the hollowed-out pumpkin and into a nearby bowl.
Step 2: Assemble the Eruptive Ingredients
Alright, scientists, it’s time to mix our potion!
Inside your hollowed-out pumpkin (or the plastic cup inside it), add a generous amount of baking soda. A good starting point is about half a cup. Next, squeeze in a good squirt of dish soap—this is the secret to getting thick, long-lasting foam! Finally, add about 8-10 drops of your chosen food coloring. We love using green to make it look like our monster pumpkin is getting sick!
CAUTION: While these ingredients are non-toxic, they are not for eating! Make sure an adult is supervising to keep little hands away from mouths during this step.
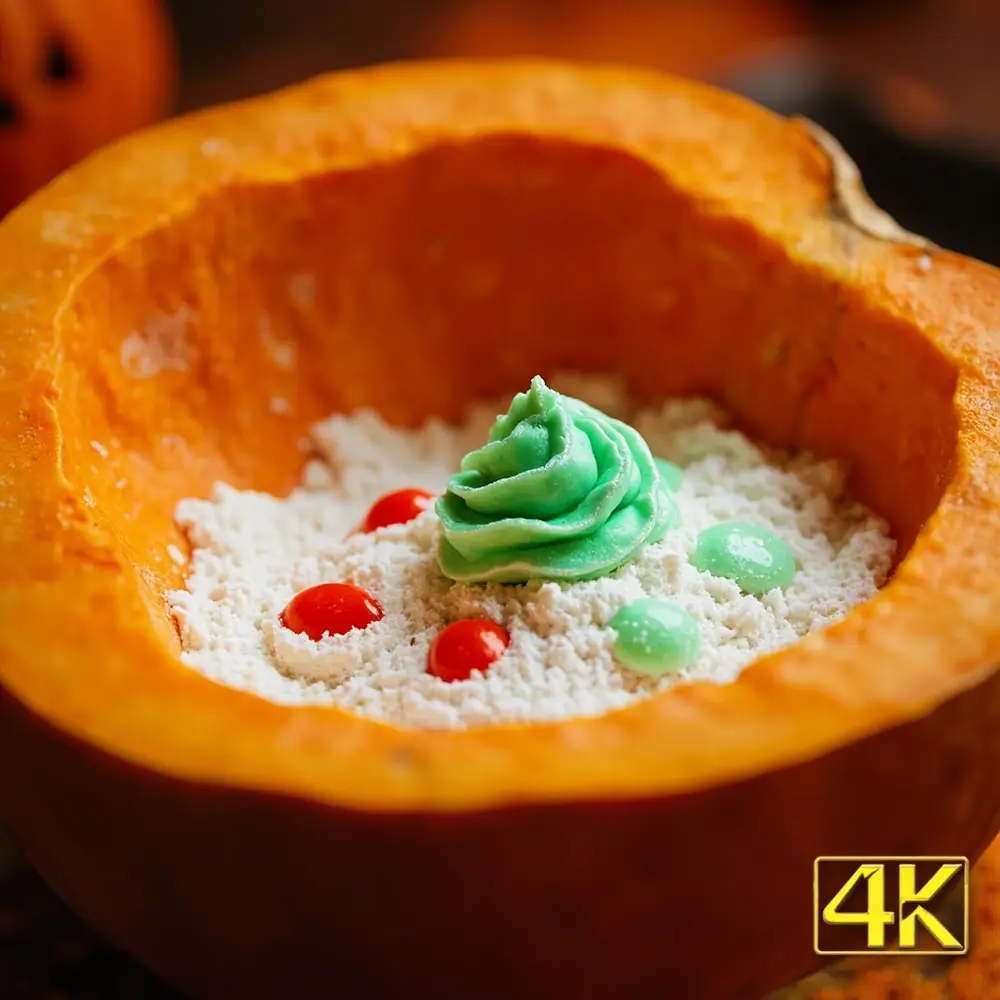
Image-4: A close-up, angled shot looking down into the pumpkin’s cavity, showing a white pile of baking soda topped with a swirl of green dish soap and a few drops of red food coloring.
Step 3: Unleash the Spooky Eruption!
This is the moment we’ve all been waiting for! Get your cameras ready.
Grab your vinegar and prepare to pour. I like to build the suspense with a classic “three… two… one…” countdown. Slowly and steadily, pour the vinegar into the pumpkin. You’ll immediately see a reaction as a massive, colorful foam begins to bubble up and spill out of the top (or the mouth, if you carved one!).
Image-5: An eye-level, action-packed photo of the pumpkin at the peak of its eruption. Thick, colorful foam is spilling dramatically out of the top and down its sides onto the collection tray.
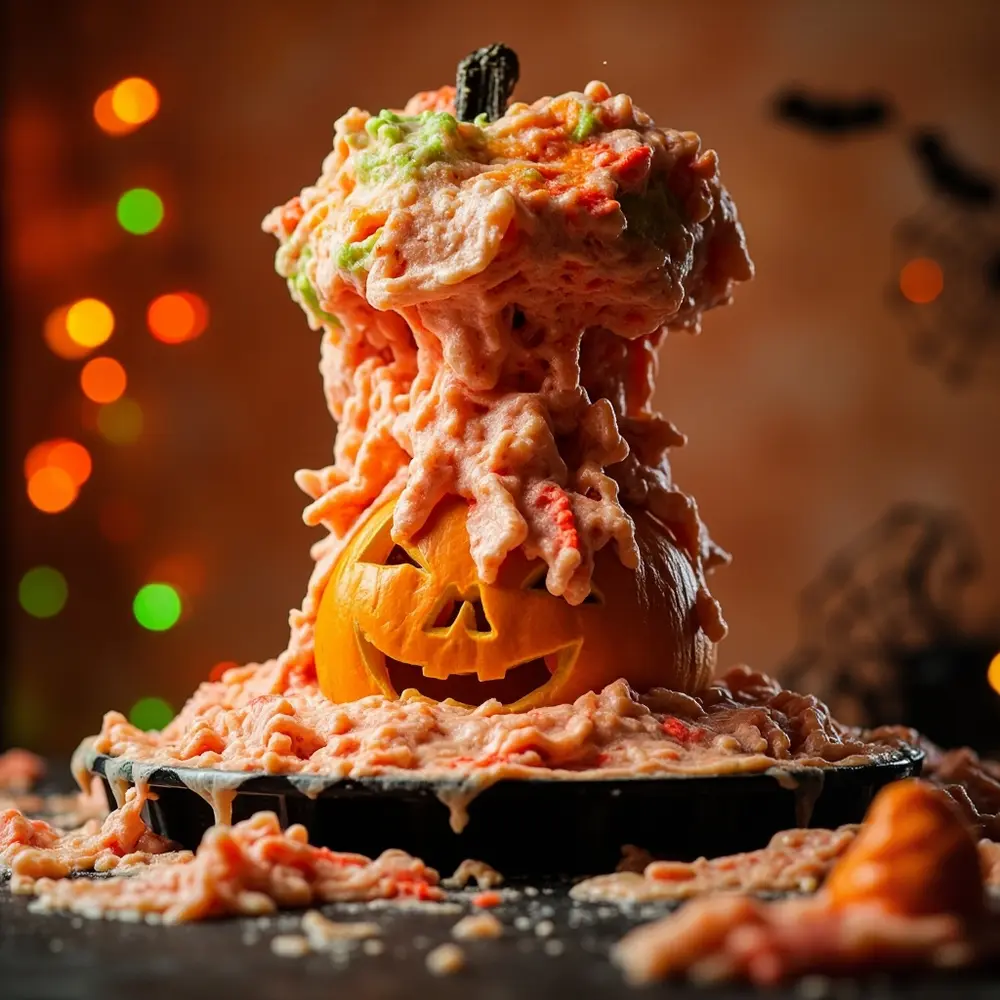
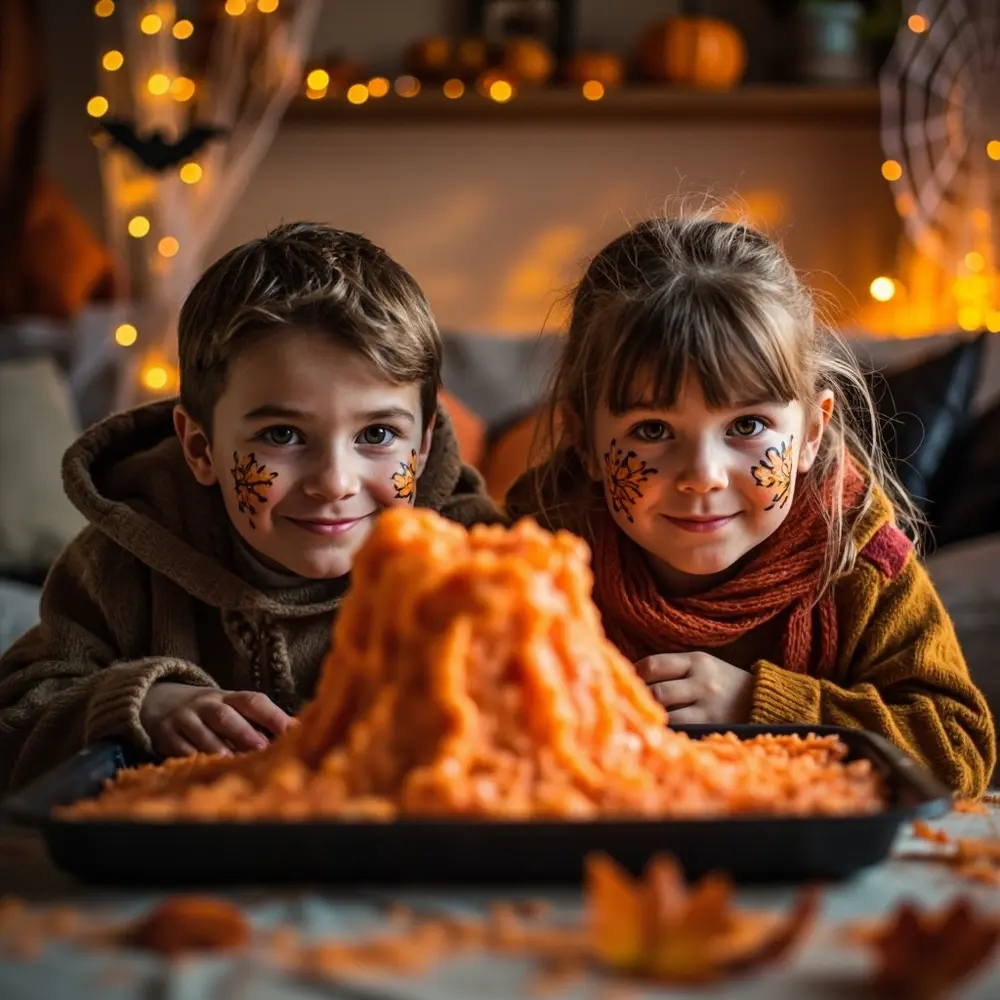
Image-6: A wider shot capturing the reactions of two elementary-aged children with expressions of pure amazement as they watch the pumpkin volcano erupt from a safe distance.
Step 4: Observe and Discuss the Aftermath
Once the initial “whoa!” wears off, let the foam bubble and settle. This is a great time to talk about what just happened! Ask the kids what the foam feels and looks like. Once the reaction has completely stopped, you can simply scoop out the leftover mixture and give the inside a quick rinse if you want to go for round two! Cleanup is as easy as rinsing your tray and pumpkin.
Image-7: A post-eruption shot showing the pumpkin sitting in a pool of settled, colorful foam on the tray. A small hand is cautiously poking the foam.
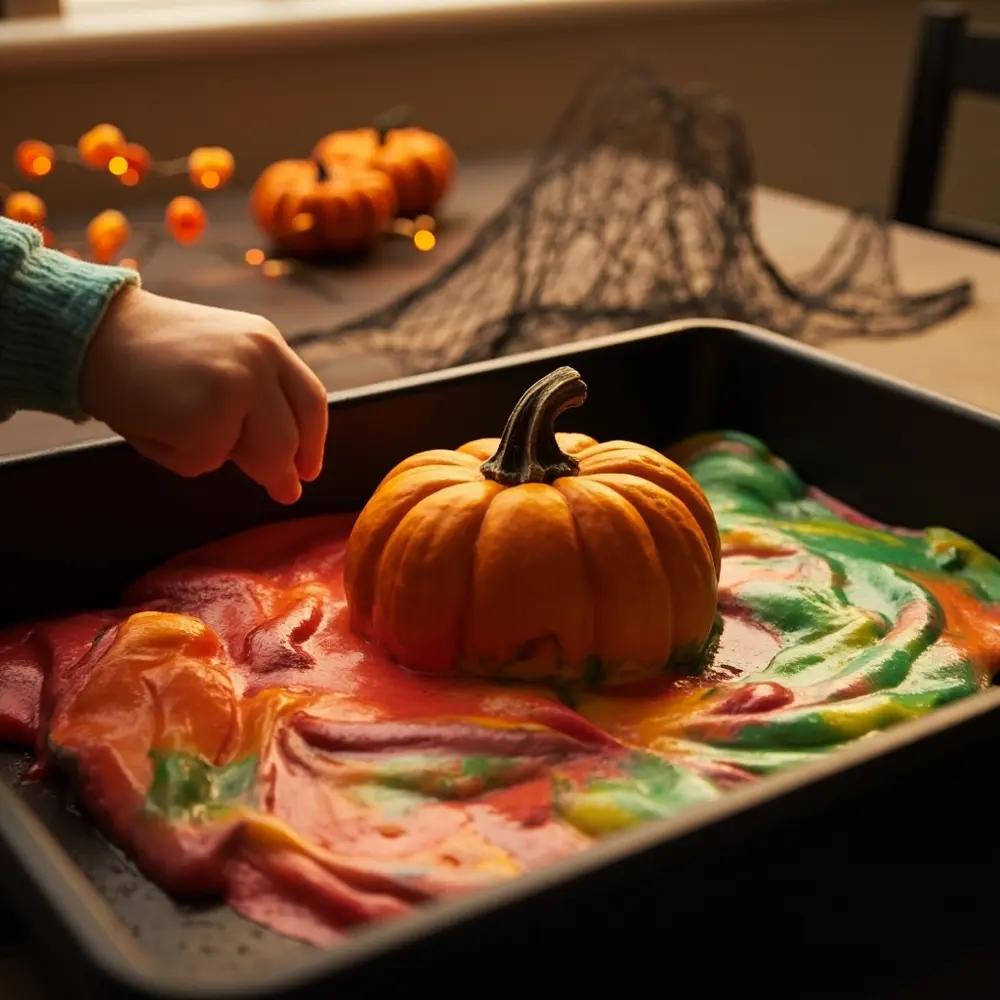
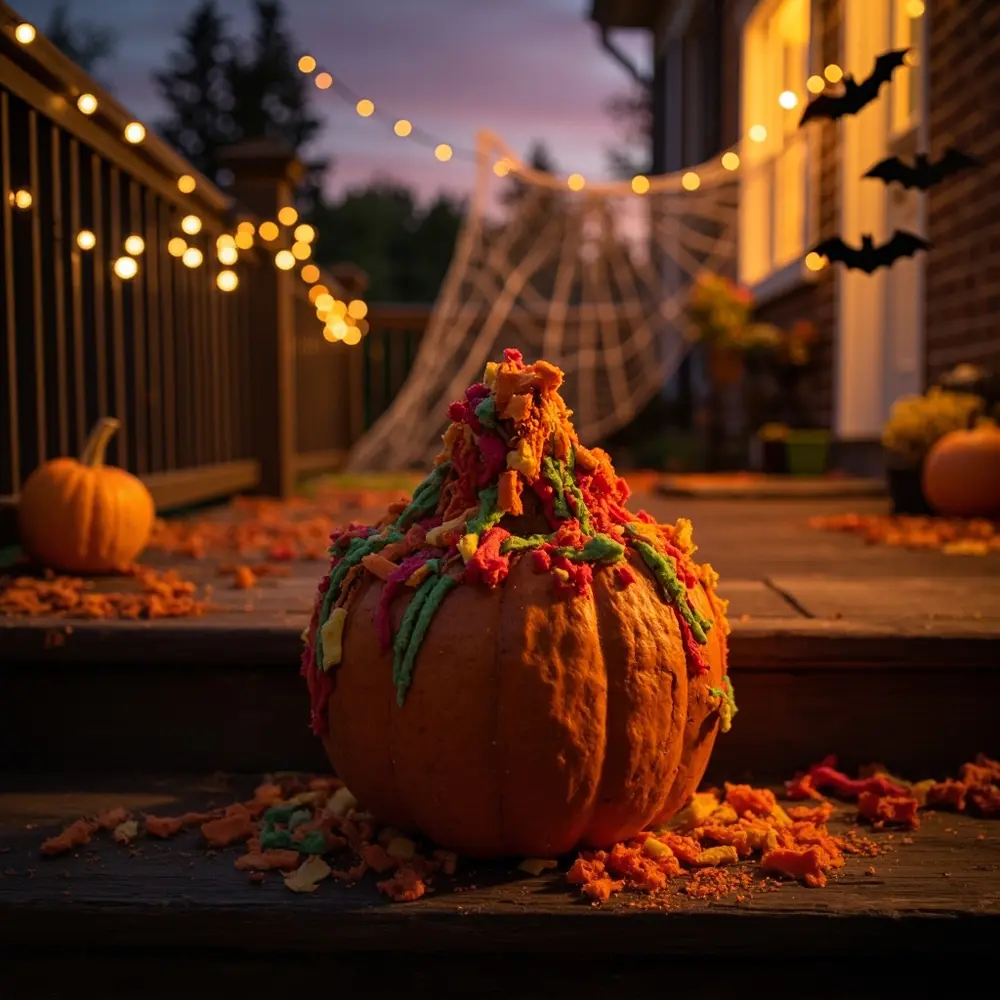
Image-8: A beautiful, slightly zoomed-out final result shot. The pumpkin volcano, with remnants of colorful foam dripping down its side, sits proudly on a front porch step at dusk. Other Halloween decorations, like a string of bat lights and a fake spider web, are visible in the background, creating a perfect festive scene.
The Science Behind the Spooky Eruption 🔬
So, what’s the magic that makes our pumpkin erupt? It’s not spooky spirits—it’s awesome science!
What you created is a classic acid-base reaction. The vinegar is a weak acid (acetic acid), and the baking soda is a base (sodium bicarbonate). When you mix them, they react and rapidly produce a harmless gas called carbon dioxide (CO2). This is the same gas that makes the bubbles in your soda!
All that gas builds up inside the pumpkin and needs to escape, so it pushes everything upward and outward, creating the eruption. So where does the foam come in? That’s our secret ingredient: the dish soap! The soap traps the little bubbles of carbon dioxide gas, creating a thick, foamy, and fantastically spooky ooze instead of just fizzy water.
Variations & Customizations to Haunt Your House 🧛
Once you’ve mastered the basic eruption, try these fun twists I’ve used at my own Halloween parties:
- Ghoulish Green Slime 💚: Use green food coloring and carve a silly monster face on your pumpkin. The green foam looks like it’s oozing right out of the monster!
- Vampire Blood Volcano ❤️: Go for red food coloring and add a few shakes of red glitter to the baking soda for a shimmery, sparkly blood effect.
- Mini Pumpkin Madness 🎃: Grab a few small munchkin pumpkins from the store. Let each kid have their own mini-volcano to set off with different colors.
- Bubbling Cauldron 🧙♀️: Ditch the pumpkin and use a small, black plastic cauldron for a witchy brew that bubbles over the sides.
- Enhanced Foam ☁️: Want an eruption that’s even bigger and lasts longer? Just add a little extra dish soap to your mixture.
- Dry Ice Effect (With Extreme Caution!) 💨: For older kids and with 100% adult supervision and safety gear (thick gloves are a must), you can add a small piece of dry ice to the vinegar before pouring. It will create a spooky, rolling fog. Never, ever touch dry ice with bare hands.
Halloween Activity FAQs ❓
#### Q1: How much baking soda and vinegar should I use for a good eruption?
A great starting ratio is about 1 part baking soda to 4 parts vinegar. For a medium pumpkin, try 1/2 cup of baking soda and about 2 cups of vinegar. But honestly, the best part is experimenting! See what happens when you add a little more or a little less of each.
#### Q2: Why isn’t my pumpkin volcano erupting well?
This is a common issue! Here are a few things to check:
- 1. Old Baking Soda: Baking soda can lose its power over time. Make sure you’re using a fresh box for the best fizz.
- 2. Not Enough Reactants: You might simply need more baking soda or vinegar to get a big reaction in a larger pumpkin. Try adding more of both.
- 3. Pouring Too Slowly: A slow pour can cause the reaction to fizzle out before it builds up. Try a steady, confident pour to get that “whoosh” effect.
#### Q3: Can I reuse the pumpkin for another eruption, or for carving later?
Absolutely! You can trigger eruptions over and over again. Just scoop out the leftover residue, give it a quick rinse, and add fresh ingredients. After the experiment, you can rinse it out thoroughly and still use it as a standard jack-o’-lantern, though the inside might smell a bit like a salad for a day or two!
—
I hope this guide helps you create a wonderfully spooky and scientific Halloween memory! There’s nothing better than seeing kids’ faces light up with a mix of shock and delight. It’s a simple activity, but it’s one they’ll be talking about all year long.
Now, I want to hear from you! What’s your go-to, can’t-miss Halloween activity? Drop your ideas in the comments below—I’m always looking for new spooky inspiration! 🎃✨
