How to Make and Sell Your Own Halloween Crafts for Profit
The air is getting crisp, pumpkins are popping up on doorsteps, and the spooky season is almost here. For a creative person like you, this is the best time of year! But imagine if your handmade Halloween crafts didn’t just impress your friends, but also put some extra cash in your pocket. 🎃
So many guides show you how to make a craft, but they stop there. That’s a real problem if you want to actually sell your work. They leave you wondering how to price things, take good photos, or even list your creations online. It can feel like you’re left all alone in the dark. 👻
This guide is different. I’m going to walk you through the entire business journey, from picking a winning product to publishing your first live listing. Think of me as your business partner for this spooky side hustle. By the end, you’ll have a real, sellable product ready for customers. Let’s make some money from your amazing talent! 💰
- Difficulty Level 🦴: Beginner (Business & E-commerce)
- Time to Complete ⏳: Approx. 3-5 hours
- Estimated Cost 💰: Under $50 for initial supplies
- Prerequisites 🧠: Basic crafting skills, a love for all things spooky!
Prerequisites: What You’ll Need Before You Start 🧰
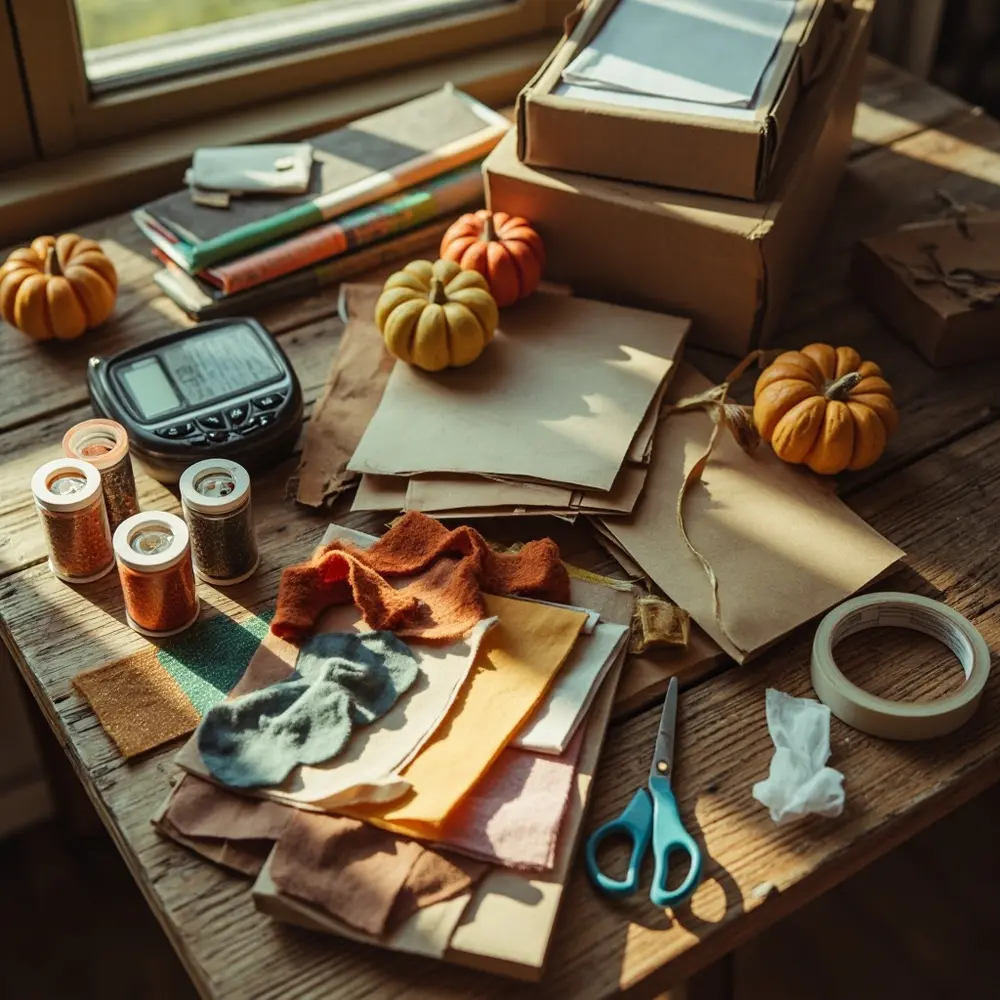
Before we dive into making and selling, let’s get our business toolkit ready. This is more than just glue and glitter; it’s the foundation of your new online shop.
- A Finished Craft Prototype: You need at least one completed, high-quality example of what you plan to sell.
- E-commerce Platform Account: I always recommend starting with Etsy. It’s where I first tested selling some of my own digital party plans. You can create a free Etsy Seller account here.
- Digital Camera: Your smartphone camera is perfect for this. No need for fancy equipment yet!
- Basic Shipping Supplies: Grab a few boxes or padded mailers that fit your item, some packing tape, and a simple kitchen scale for weighing packages.
- Crafting Supplies: Make sure you have enough materials to create a small batch of your craft, maybe 5 to 10 of them.
First, go ahead and create your Etsy seller account and connect your bank account so you can get paid. Then, take a few minutes to explore the Etsy Seller Dashboard. Just click around the ‘Listings’, ‘Orders’, and ‘Stats’ tabs to see where everything is.
⚠️ Warning: When you set up your payment info, please double-check every number and detail. I learned this the hard way once! A tiny typo can cause major delays in receiving your hard-earned money.
Step-by-Step Tutorial 🛠️
Step 1 – Research & Choose Your Profitable Craft Niche
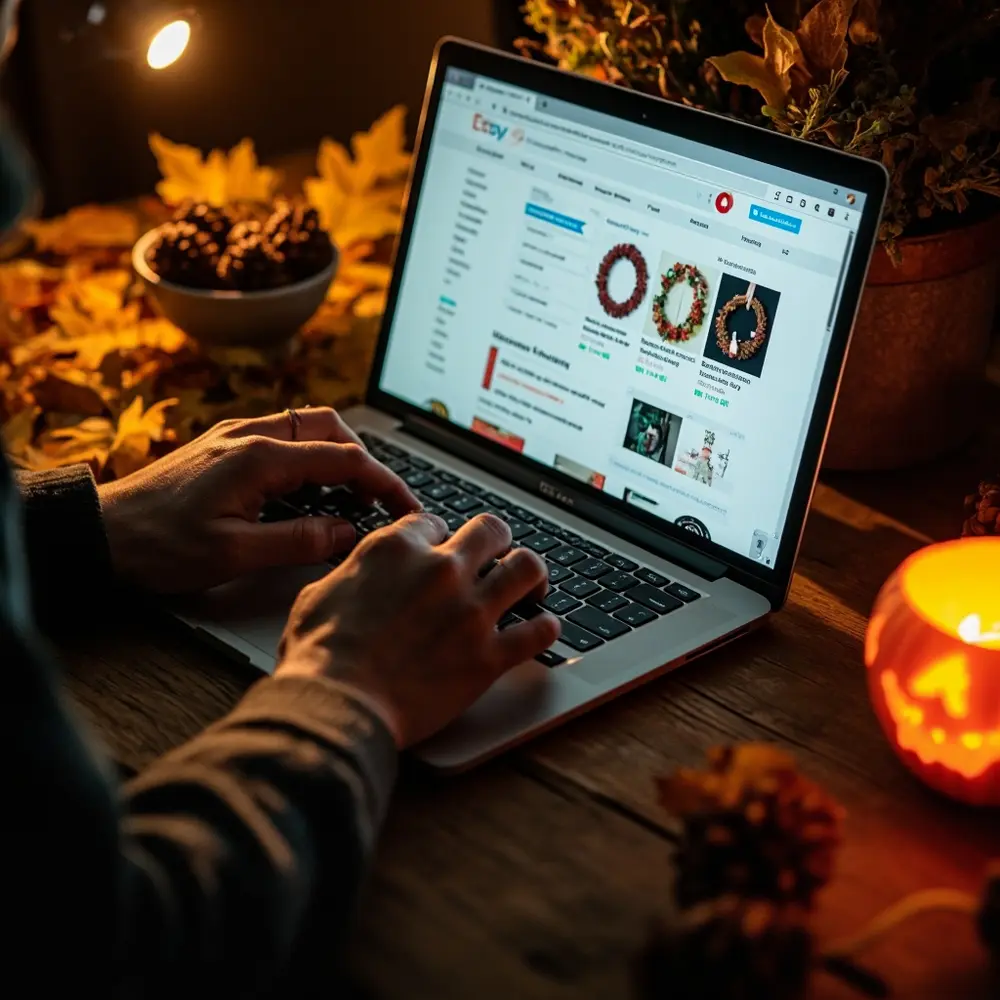
The goal here is to find a Halloween craft that people are already buying. This takes the guesswork out of your new venture. We want to find proof of what sells!
- Go to Etsy.com and type a general Halloween idea into the search bar. Try things like “spooky wreath,” “ghost decorations,” or “Halloween candles.”
- Look at the top results on the first page. Do you see any with a “Bestseller” or “Popular now” badge? These are golden! It’s direct proof that customers are actively buying these items.
- Pay attention to the specific styles. Are “rustic spooky wreaths” selling better than “glam spooky wreaths”? Are “cute ghost decorations” more popular than scary ones? Get as specific as you can.
- Choose a niche that you have the skills to create and that you now know has real customer demand.
Important Note: The key is to find inspiration, not to copy. Look at what makes a bestseller popular, then think, “How can I make my version unique?” Maybe you can offer different colors, a larger size, or even a personalized option!
Step 2 – Take Professional-Looking Product Photos
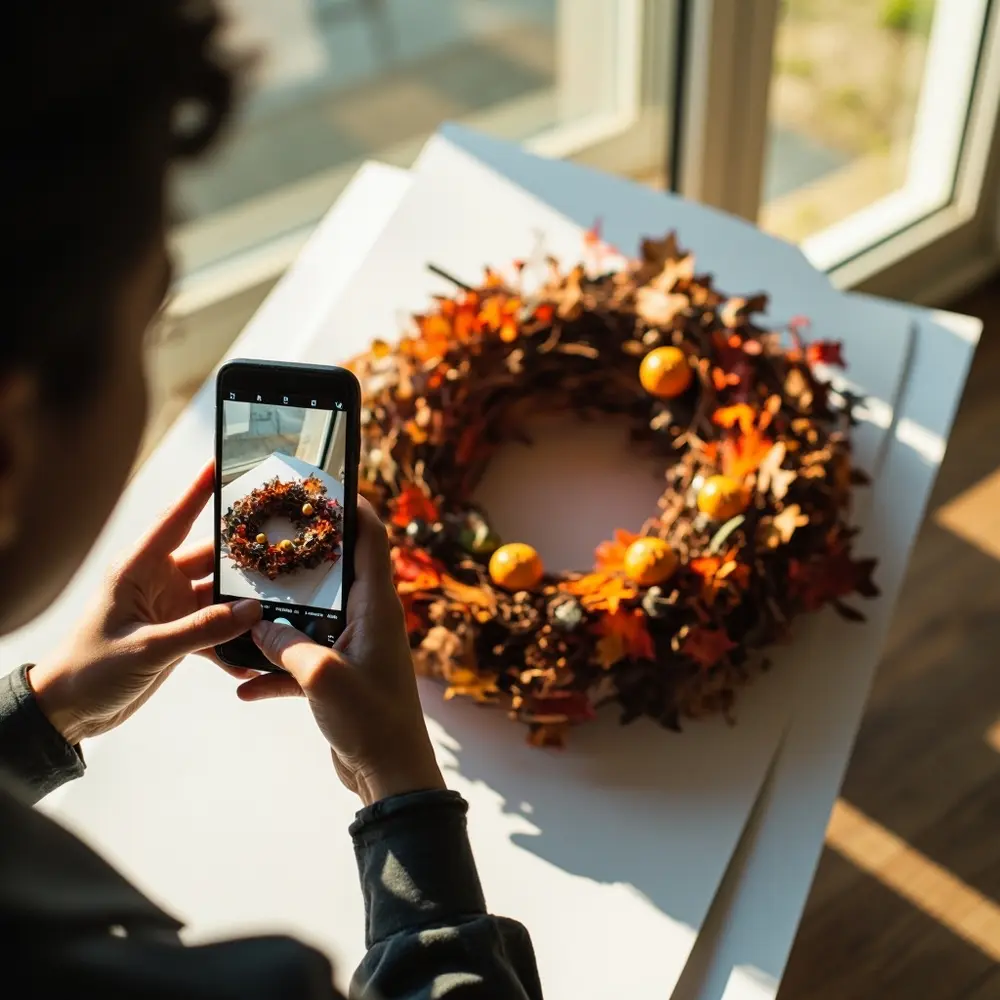
Your photos do the selling for you! The goal is to create bright, clear, and beautiful pictures that make a customer feel like they to have your item.
- Find a spot with good natural light, like near a big window. Avoid harsh, direct sunlight.
- Create a simple, clean background. A piece of white poster board, a clean wooden table, or a plain colored wall works wonders.
- Take pictures from several different angles. You need a straight-on shot, a top-down shot, a 45-degree angle shot, and a close-up shot to show the details.
- Include a “lifestyle” photo that shows your craft in a real setting. For example, show your wreath hanging on a door or your ghost garland draped across a fireplace mantle. You can also include something like a coin or your hand in one shot to help show the scale.
Step 3 – Write a Keyword-Rich Title and Description

Now we need to write the words that will help shoppers find your product through search. This is super important for getting seen on a busy site like Etsy.
- Title: Use the keywords you found back in Step 1. A great formula is: Main Keywords + Style/Adjective + Product Type. For example: “Felt Ghost Garland, Cute Spooky Halloween Decor, Halloween Banner for Mantle”.
- Description: Start the very first sentence by clearly stating what your product is. No fluff!
- Use bullet points to list the key features. Include things like dimensions (height/width), materials used, colors, and if you offer any custom options.
- Tell a little story. Help the customer imagine where they would use it. What feeling does your craft create? Is it for a fun kids’ party or a spooky adult gathering?
Step 4 – Publish Your First Product Listing
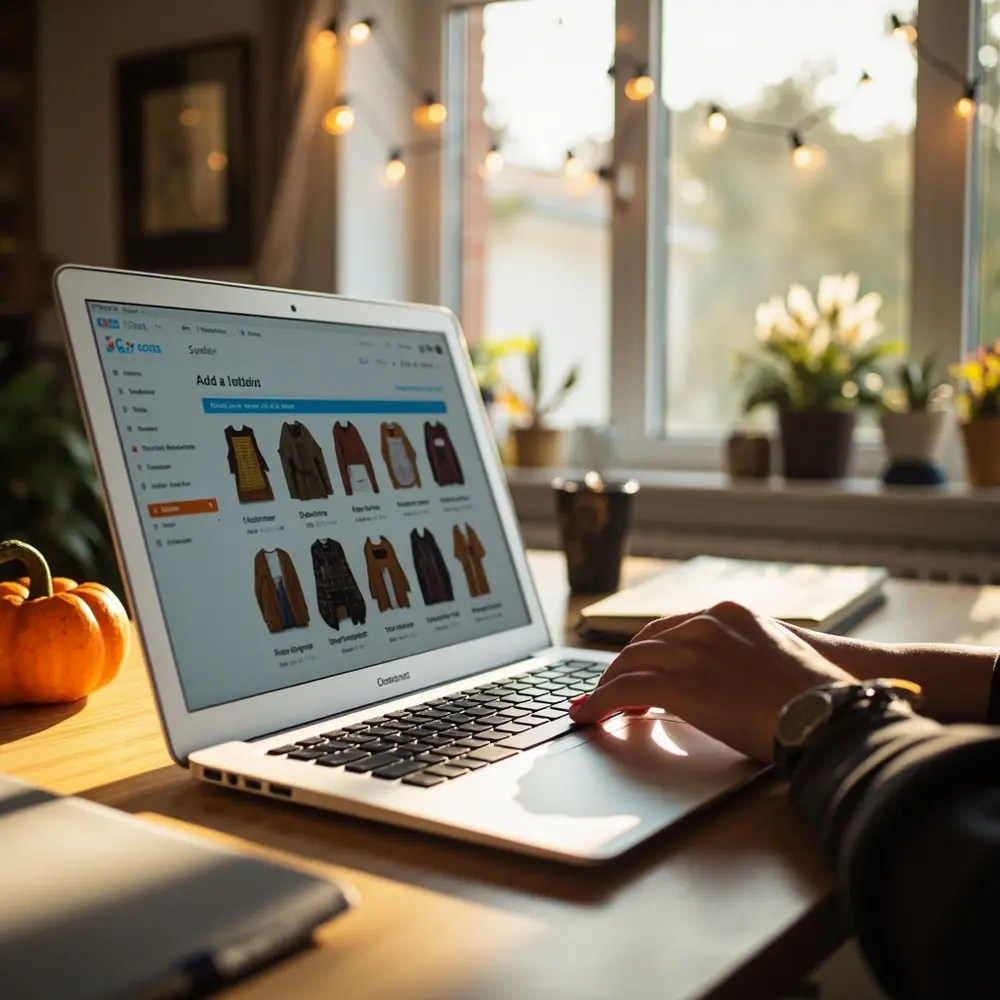
It’s time to put it all together and go live! This is the exciting part where you officially open your shop for business.
- In your Etsy Dashboard, click on “Listings” and then the “Add a listing” button.
- Upload all those beautiful photos you just took. Make sure your best, brightest photo is the first one.
- Copy and paste the Title and Description you wrote in the last step into the correct fields.
- Enter your price. We’ll cover exactly how to figure this out in the next section!
- Enter the quantity you have ready to ship right now. Start small, with 5 or so.
- Fill out the shipping details. If you’re unsure, use Etsy’s calculated shipping tool. You just need to enter the item’s weight and the size of the box it will ship in.
- Take a deep breath and click that “Publish” button!
Step 5 – Testing Your Setup: Review Your Live Listing

Your listing is live, but we’re not quite done. We need to make sure it looks perfect to a potential customer.
- After you publish, Etsy will give you a “View your listing” button. Click it immediately.
- Check every single photo. Did they all load properly? Are they in the right order?
- Read your title and description one last time. It’s so easy to miss a typo when you’re excited.
- Now, pretend you’re a shopper. Is all the information you’d need to buy there? Is it clear how big the item is? Is it easy to understand what it’s made of?
If everything looks good, you’ve done it! Your product is officially on the market, looking professional and ready for its first sale.
The Business of Boo: A Beginner’s Guide to Pricing for Profit 👻

This is the step that turns your craft from a fun hobby into a real business. Pricing feels scary, but it doesn’t have to be. I’m going to give you a simple formula that takes all the guesswork out of it.
First, you have to know your costs. Get a piece of paper and let’s find your “Cost of Goods Sold” (or COGS).
- Material Costs: List every single thing that goes into one finished product. I mean —the felt, the thread, the stuffing, the ribbon. If a bag of 100 googly eyes costs $2, then each eye costs $0.02. You have to be this detailed!
- Time Cost: You must pay yourself for your work! Pick a fair hourly wage. Let’s say you decide on $15 per hour. If it takes you 30 minutes to make one craft, your time cost is $7.50.
- Platform & Shipping Fees: Etsy takes fees for the listing, the transaction, and payment processing. This adds up to about 10-15% of your sale price. You also have the cost of the shipping box and tape. Just estimate this for now as a single “Fee & Supply” cost.
Now, let’s use a simple, standard formula to find your price.
(Material Costs + Time Cost) x 2 = Wholesale Price
Wholesale Price x 2 = Retail Price
Here’s an example to make it clear:
- Materials = $3.50
- Time Cost = $7.50
- Your Base Cost = $11.00
- Wholesale Price = $11.00 x 2 = $22.00
- Retail Price (Your Etsy Price) = $22.00 x 2 = $44.00
Important Note: This formula gives you a great starting point. After you calculate your price, go back to Etsy and compare it to the successful competitors you found. If your price is way higher or lower, you might need to adjust. Can you find cheaper materials? Can you make your process a little faster? Don’t be afraid to tweak the final price to fit the market.
Troubleshooting & Common Questions ❓
My crafts aren’t getting any views or sales. What do I do?

First, don’t panic! When I first launched my ‘Spooky Sharma’ blog, it took a while to get visitors. Go back and check your keywords in your title. Are they the words a real customer would type? Use the Etsy search bar to test out different ideas. Second, look at your main photo. Is it bright, clear, and more eye-catching than the others around it in search results? You might need to re-take it. It can take time for a new shop to get going!
How do I handle shipping without losing money?
The absolute best way is to use calculated shipping. You just need a simple kitchen or postal scale to weigh your item it’s in its shipping box. When you create your listing on Etsy, you’ll enter the package’s weight and dimensions. Etsy will then automatically charge the customer the exact shipping cost based on where they live. This completely removes the guesswork and protects you from losing money.
What’s the best way to market my new shop?
For visual products like crafts, Pinterest and Instagram are your best friends. I use them all the time to promote my blog posts and DIY projects. Create a business account on Pinterest and make a few beautiful “Pins” that link directly to your Etsy listings. On Instagram, post your best lifestyle photos and use popular hashtags like #halloweendecor, #handmadehalloween, #spookyseason, and #etsyshop to help people find you.
Next Steps & Further Optimization 📈
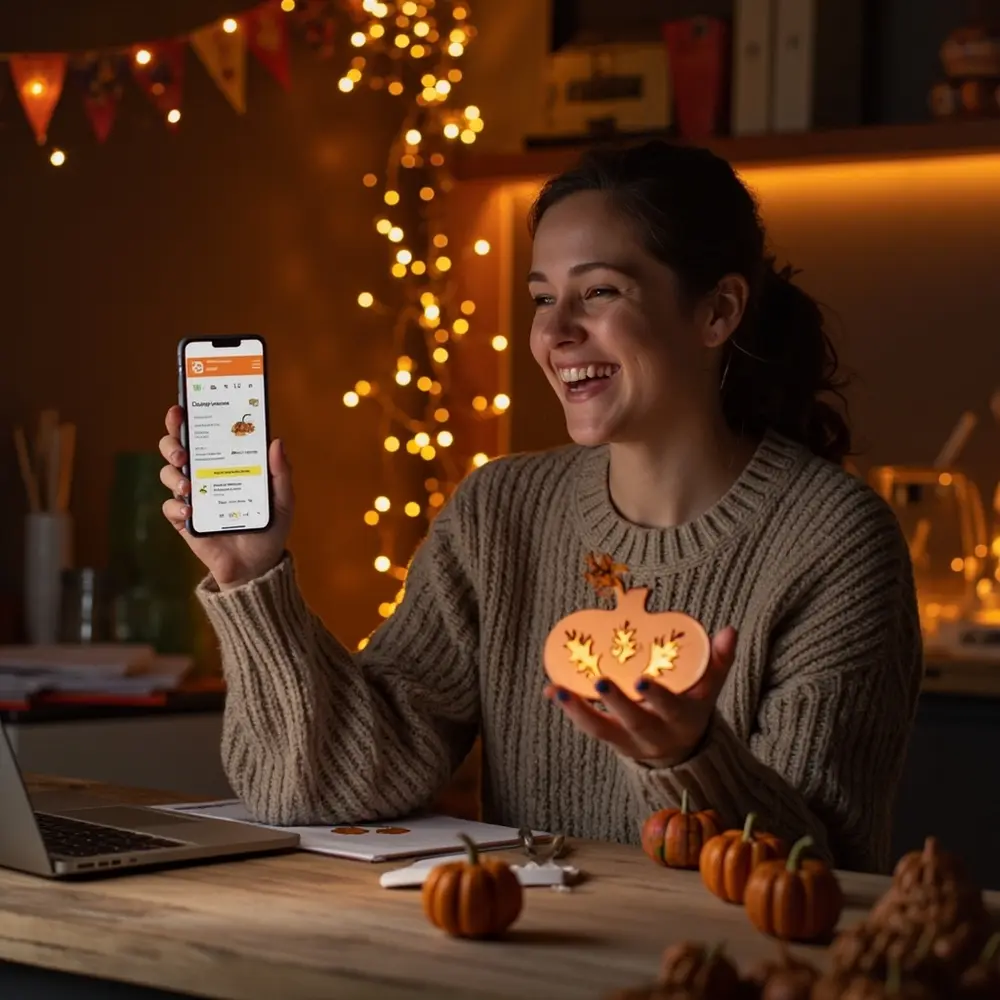
Congratulations! Getting that first product listed is a huge step. Now, let’s keep the spooky momentum going and turn this into a real success.
- What to Do Next: Your very first goal is to get one sale and your first 5-star review. Don’t be shy! Share a link to your new listing on your personal Facebook or Instagram to let friends and family know what you’re up to. This can help you get that first bit of traction.
Once you’ve made a sale or two, here are some tips to keep growing:
- Offer Bundles: If you sell small ghost decorations, try creating a new listing for a discounted bundle of three. This encourages people to spend a little more.
- Add a Video: Etsy listings with a short video often do better. Just use your phone to take a quick 10-second clip of you holding the craft or showing it off from all angles.
- Run a Holiday Sale: As Halloween gets closer, you can run a small sale, like 10% off. This creates a sense of urgency and can attract those last-minute shoppers.
Conclusion (My Final Thoughts) 👻
You actually did it! You’ve officially gone from being a talented crafter to a real-deal entrepreneur. By following these steps, you didn’t just make a thing—you built a business asset. You researched a market, developed a product, photographed it, and listed it on a global marketplace. That is a massive accomplishment, and you should be proud.
My best advice is to start small, pay attention to what sells, and never stop pouring your unique creativity and passion into your work. The skills you just learned can be used again and again for Christmas, Valentine’s Day, and beyond, turning your wonderful hobby into a reliable source of income.
Now that you have the complete business roadmap, I have to ask: what is the first Halloween craft you are excited to create and sell?
