5-Minute Manicure: The Easiest DIY Ghost Nail Art Tutorial for Beginners
✨ After hosting countless seasonal workshops teaching DIY Halloween hacks, I’ve mastered the art of quick spooky nails—testing, fixing fails, and discovering solutions that actually work.
😅 But I know the struggle: you want festive nails but don’t have special tools or hours to spare. Are you worried your DIY ghost nails will look more like blobs than ghouls?
👑 That’s why in this post, I’ll show you exactly how to solve these challenges with a foolproof method I’ve tested myself. Stick with me, and you’ll learn how to create an adorable, no-tool nail art design in just minutes!
Tutorial At-a-Glance
Time Required: Approx. 5-10 minutes (per hand)
Budget Level: Low-Cost
Skill Level: Absolute Beginner / No Special Tools
What You’ll Need for Your Spooky Ghost Nails 🎃
Here’s the simple list of supplies for this beginner nail art. My go-to trick for a stress-free DIY is having everything laid out before you start.
✅ White Nail Polish
✅ Black Nail Polish
✅ Clear Top Coat (👑 Nancy’s Pick: I swear by a quick-dry, high-shine top coat. It not only makes your design look professional and glossy but also seals everything in, preventing chips for days.)
✅ Toothpick or Dotting Tool (if you have one)
✅ Nail Polish Remover & Cotton Swabs (for quick clean-ups)
Creating Your Ghostly Manicure: Step-by-Step Guide 💅
As a visual storyteller, I believe the best tutorials show you exactly what to do. That’s why I’ve broken this down into simple, clear steps with photos and a quick video at the end to guide you. Let’s get painting!
Step 1: Prep Your Canvas
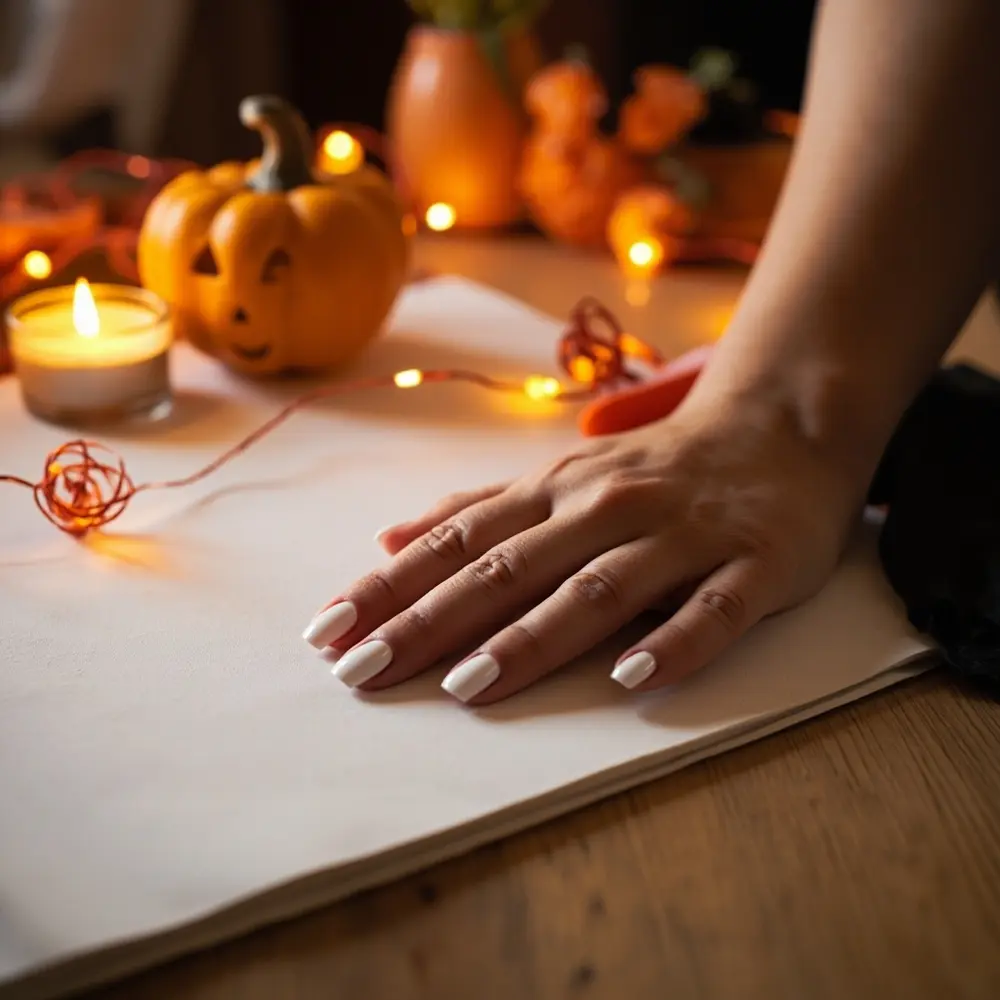
Before you even think about polish, make sure your nails are ready. Start by cleaning your nails and gently shaping them with a file. Push back your cuticles for a clean look. If you have a base coat, apply one layer—this helps the manicure last longer and prevents staining.
[Image Placement Instruction: image-1: Clean, prepped nails with a base coat applied, ready for polish.]
Step 2: Apply Your Base Color
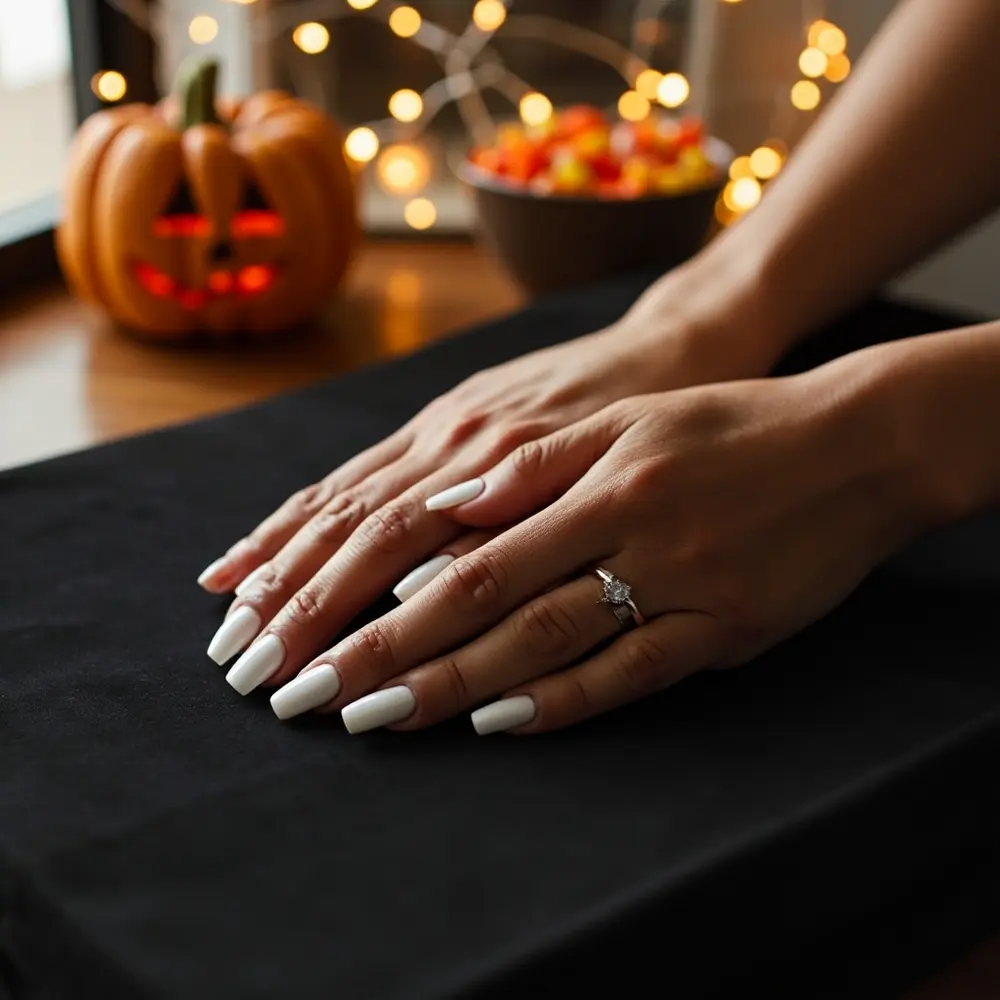
Apply one to two even coats of your white nail polish. The key to avoiding smudges is patience! Let the first coat dry completely before adding the second. A solid, opaque white base will make your little ghosts pop.
[Image Placement Instruction: image-2: Hand with nails painted solid white, drying on a flat surface.]
Step 3: Draw Your Ghosts!
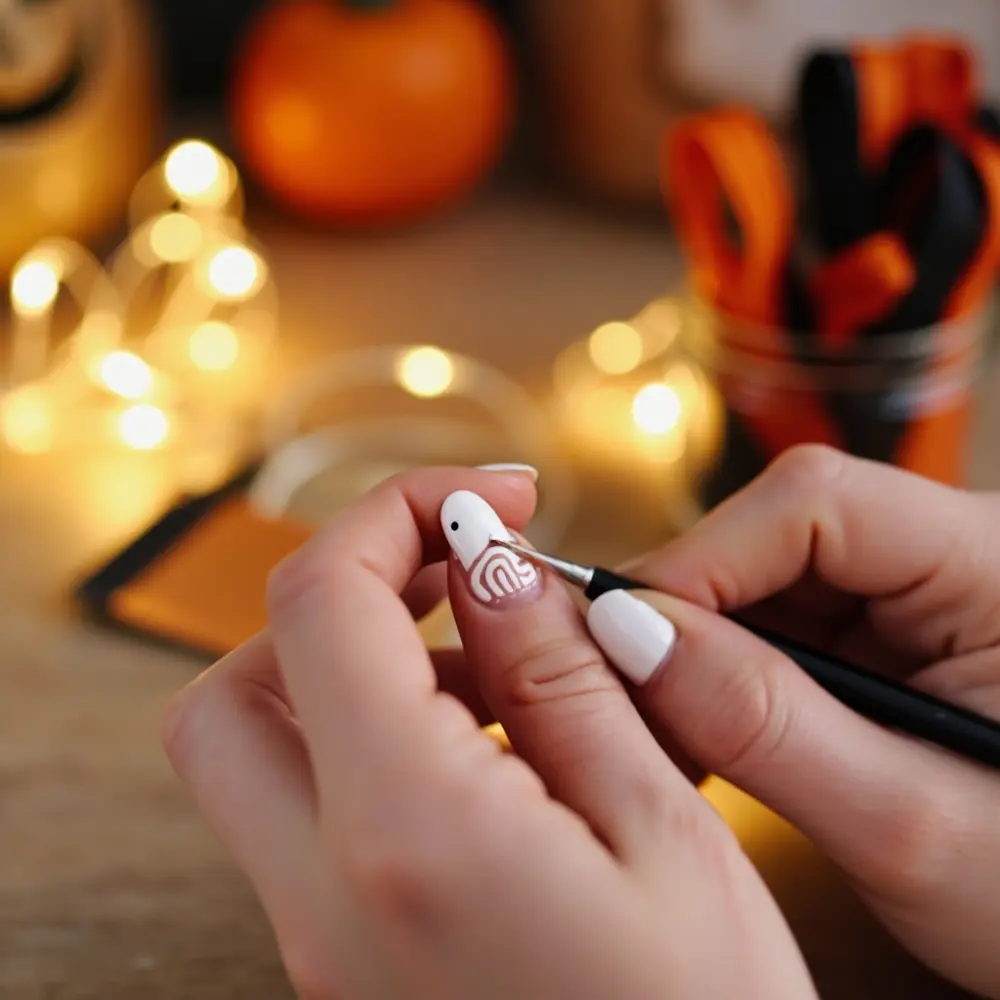
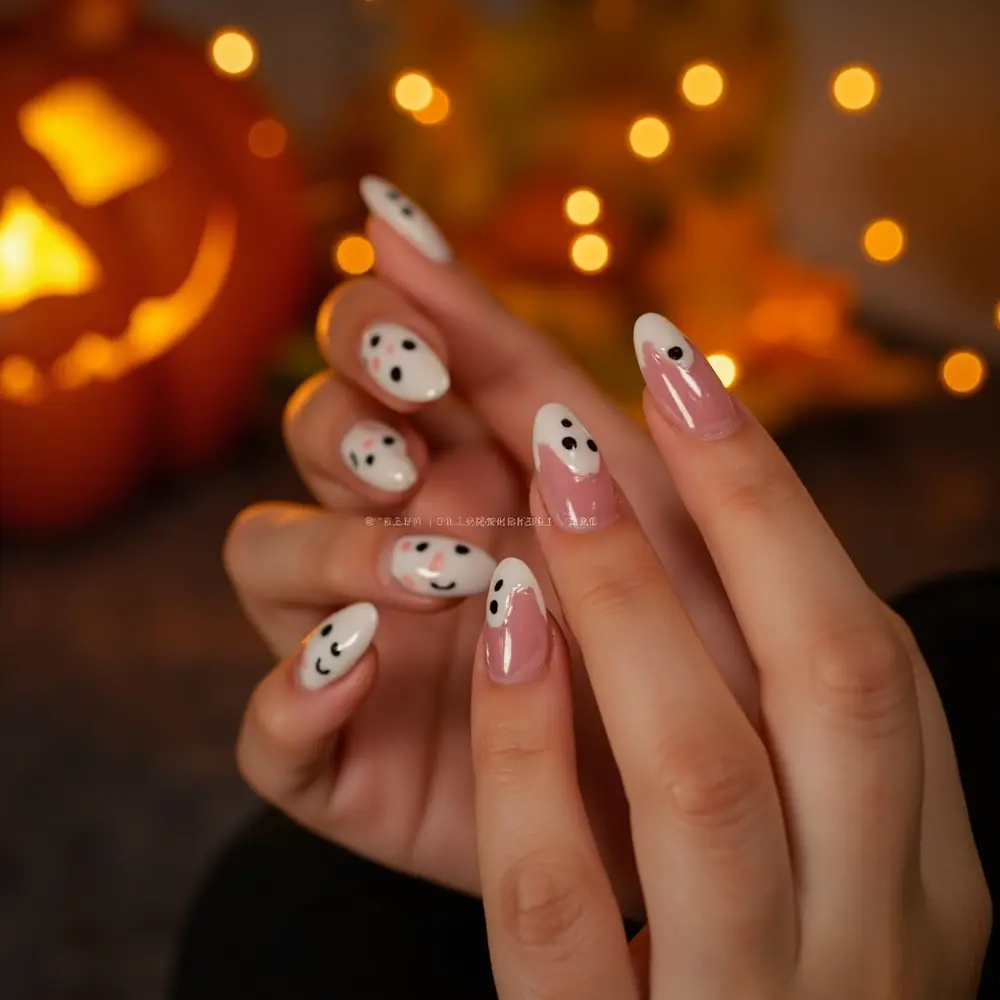
This is where the magic happens! Instead of painting your whole nail, use the white polish brush to create a rounded, half-moon shape near the tip of your nail. Then, gently drag the brush downwards to create a wavy, ghostly tail. Don’t worry about perfection—each ghost should have its own quirky shape! If you want more control, you can use a toothpick to refine the wavy bottom edge.
⚠️ Safety First: Always work in a well-ventilated area when using nail polish and remover to avoid inhaling fumes.
[Image Placement Instruction: image-3: Close-up of a nail with the white ghost shape being formed, showing the brush or toothpick in action.]
Step 4: Add the Eyes
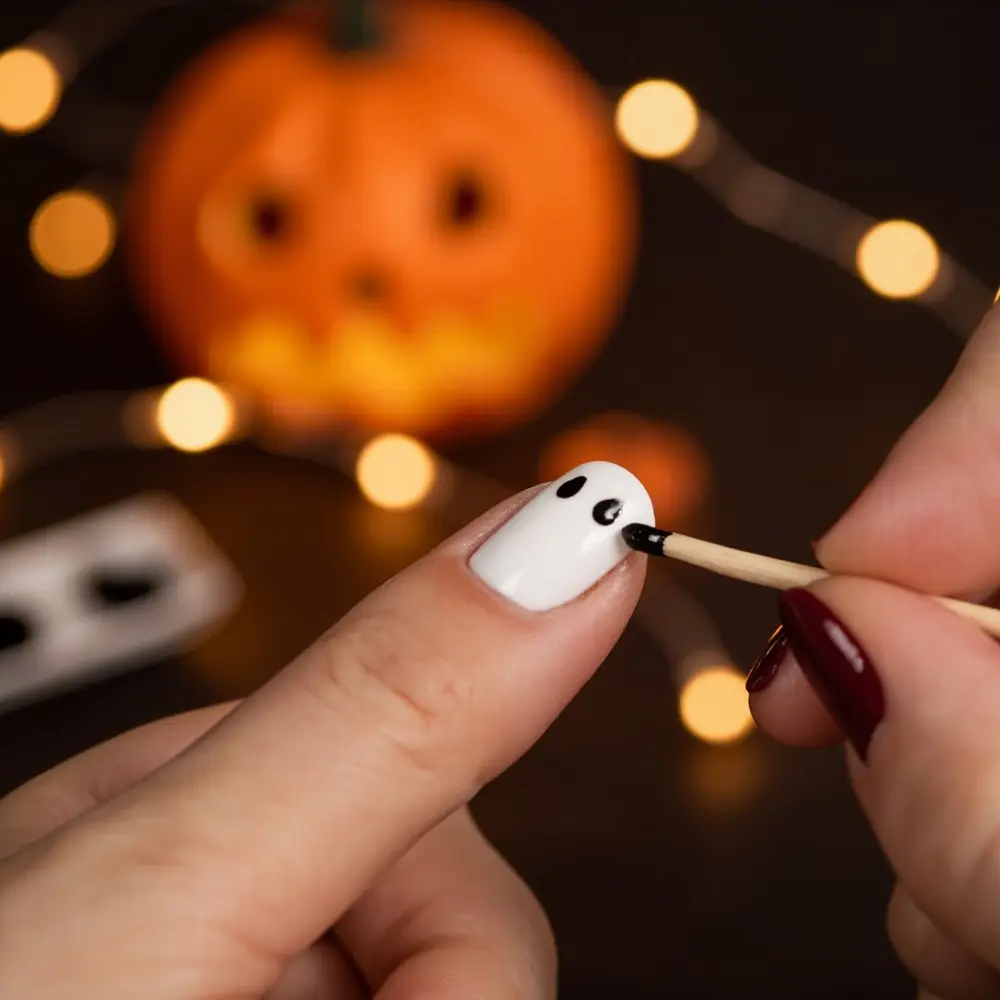
Now, give your ghosts some personality! Pour a tiny drop of black nail polish onto a piece of paper. Dip the very tip of your toothpick into the black polish and gently dab two small dots onto the white ghost shape for eyes. Less is more here—tiny dots look the cutest.
💡 Pro-Tip: For perfectly round eyes, use the head of a pin or the blunt end of a different toothpick. The larger surface area creates a slightly bigger, more uniform dot with just one tap.
[Image Placement Instruction: image-4: Close-up of a nail with the ghost shape and two black dots for eyes, looking complete.]
Step 5: Seal the Deal with Top Coat
Once your ghost’s eyes are dry to the touch, it’s time to protect your masterpiece. Apply a generous layer of your clear top coat over the entire nail. This will smooth out the design, add a beautiful shine, and help your DIY ghost nails last through all your Halloween fun.
[Image Placement Instruction: image-5: Hand with all nails completed with ghost design and top coat, looking shiny and finished.]
Watch the Magic Happen: 15-Second Video Tutorial!
Still feeling a little unsure? Watch this super quick video! It shows the entire foolproof process from start to finish, proving just how easy this design is to create.
[Image Placement Instruction: video-1: Embed a 15-second vertical video demonstrating the entire process from base coat application to the finished ghost design.]
Variations & Customizations 👻
After testing dozens of spooky nail designs, I’ve found these simple twists make a huge impact. Once you’ve mastered the basic ghost, try one of these fun variations!
- ✅ Add tiny pink cheeks with a dotting tool or the tip of a clean toothpick for cute, kawaii-style ghosts.
- ✅ Use a glow-in-the-dark top coat for an extra spooky effect that shines at night.
- ✅ Experiment with different base colors, like a black or deep purple, for a more dramatic ghost contrast.
Ghost Nail Art FAQs 🤔
A question I get all the time in my workshops is how to fix common nail art mistakes. Here are the answers to a few potential challenges.
Q1: How do I prevent my nail polish from smudging or bubbling while drying?
The number one cause of smudges and bubbles is applying coats that are too thick. My tested solution is to apply two thin coats, allowing each one to dry for at least 2-3 minutes in between. Also, avoid shaking your polish bottle, as this creates air bubbles. Instead, roll it gently between your palms.
Q2: What if my ghost shapes aren’t perfect or look too messy?
Don’t stress! The charm of DIY ghost nails is that they’re supposed to look a little quirky and hand-drawn. No two ghosts will be identical. If you have a major smudge, dip a small brush or a cotton swab in nail polish remover and carefully clean up the edge. Remember, they’re spooky, not perfect!
Q3: How can I make this DIY ghost nail art last longer without chipping?
Longevity is all about the prep and the finish. First, never skip the base coat. Second, when you apply your top coat, be sure to “cap the free edge” by running the brush along the very tip of your nail. This creates a seal that dramatically reduces chipping.
And there you have it—the cutest, quickest spooky nails perfect for any Halloween celebration! This no-tool nail art proves you don’t need a salon to get into the spirit.
What other beginner nail art tutorials would you love to see next? Let me know in the comments below! 🎃
