Is your box of Halloween decorations filled with the same old tacky, over-the-top stuff that totally clashes with your home’s style? 🎃 You’re definitely not alone. So many of us love the spooky fun of spiders and cobwebs but want a look that’s more “elegant eerie” than “county fair haunted house.” It can feel like you have to choose between being festive and being chic. 🕸️ But what if I told you that you could turn those classic elements into a sophisticated, modern display that gets compliments for its artistry? It’s totally possible, and I’m going to show you how. This guide is for anyone who wants to embrace the Halloween spirit without sacrificing style. Let’s get ready to spin a web of spooky sophistication in your home! ✨
- Difficulty Level 🦴: Beginner
- Time to Complete ⏳: Approx. 30-60 minutes per vignette
- Estimated Cost 💰: Under $50
- Prerequisites 🧠: An eye for design and a burning desire to avoid tacky decor!
Prerequisites: Curating Your Chic Halloween Toolkit 🧰
Before we dive in, let’s talk materials. Gathering the right stuff is probably the most important step for an elevated look. Trust me, the difference between chic and cheap often comes down to the quality and style of your decorations.
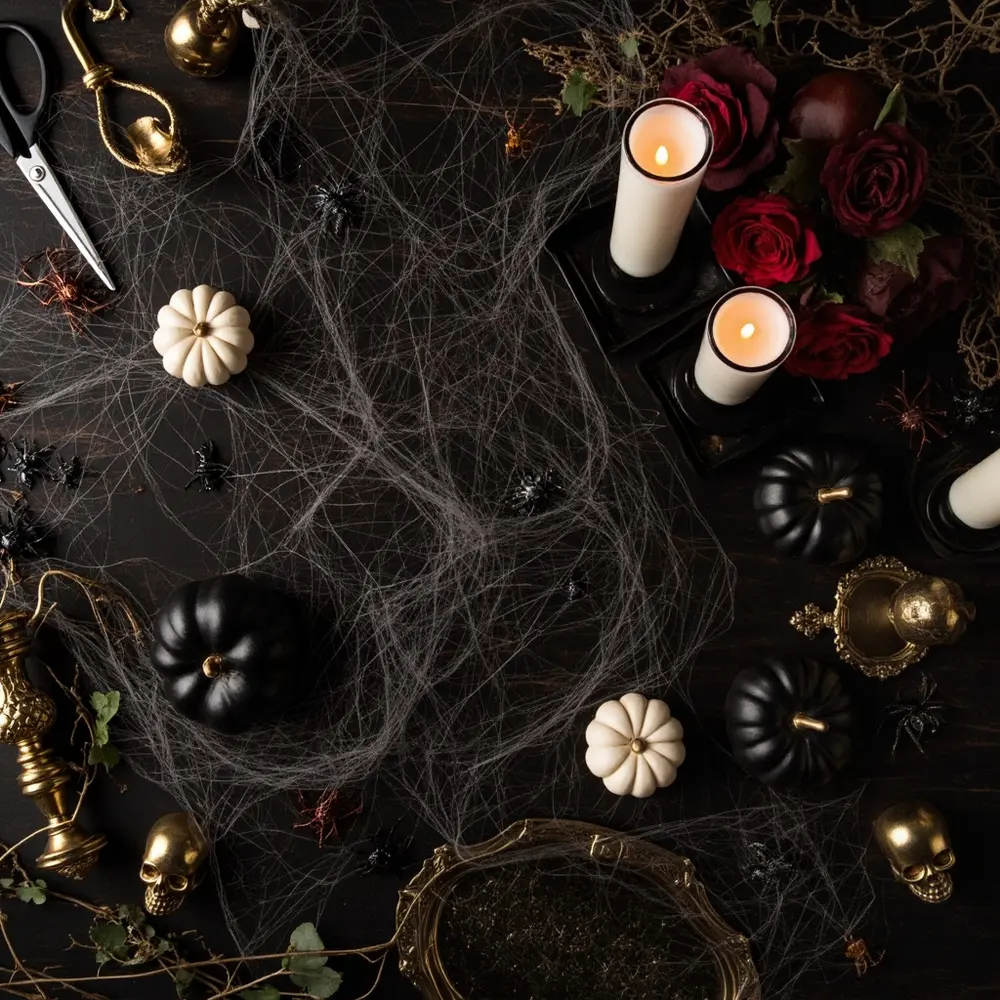
- Stretchable Spider Webbing: You absolutely need to look for bags labeled “super-stretch” or “stretchy” webbing. This isn’t the dense, cotton-ball-like fluff. The goal is to get material you can pull until it’s almost transparent.
- Assorted Spiders: Get a mix of sizes and finishes! Please, avoid the neon or cartoonish plastic spiders.
- Small Accent Spiders: Tiny black or metallic spiders are perfect for creating creepy-crawly trails.
- Statement Spiders: Get one or two larger, more detailed spiders. I love the ones with velvet flocking, cool metallic finishes like gold or gunmetal, or more realistic shapes.
- Scissors: Just a basic pair for trimming any excess webbing.
- Optional Decor Elements:
- Black or metallic taper candles and cool holders.
- Matte black or white ceramic pumpkins.
- Dark, moody florals (real or fake), like deep red roses or some dried eucalyptus.
- Brass or gold decorative objects like skulls, trays, or vases.
Initial Setup:
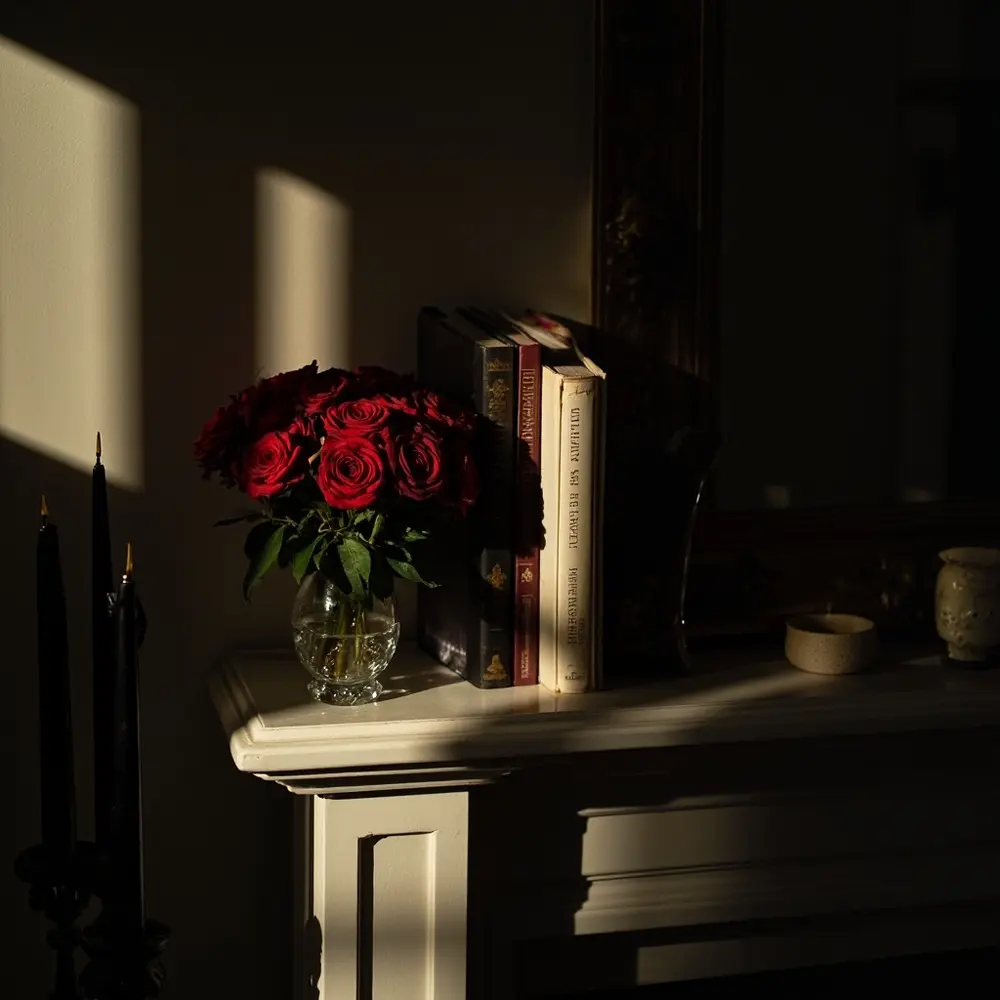
First, pick the areas you want to decorate. I always suggest focusing on contained spaces like a fireplace mantel, a bookshelf, a bar cart, or a console table. This targeted approach is the secret to a minimalist, high-impact look. Then, just give the surfaces a quick wipe-down so the webbing has something to grip onto.
Step-by-Step Tutorial: Weaving Your Elegant Web 🛠️
Step 1 – Anchor and Stretch Your Webbing
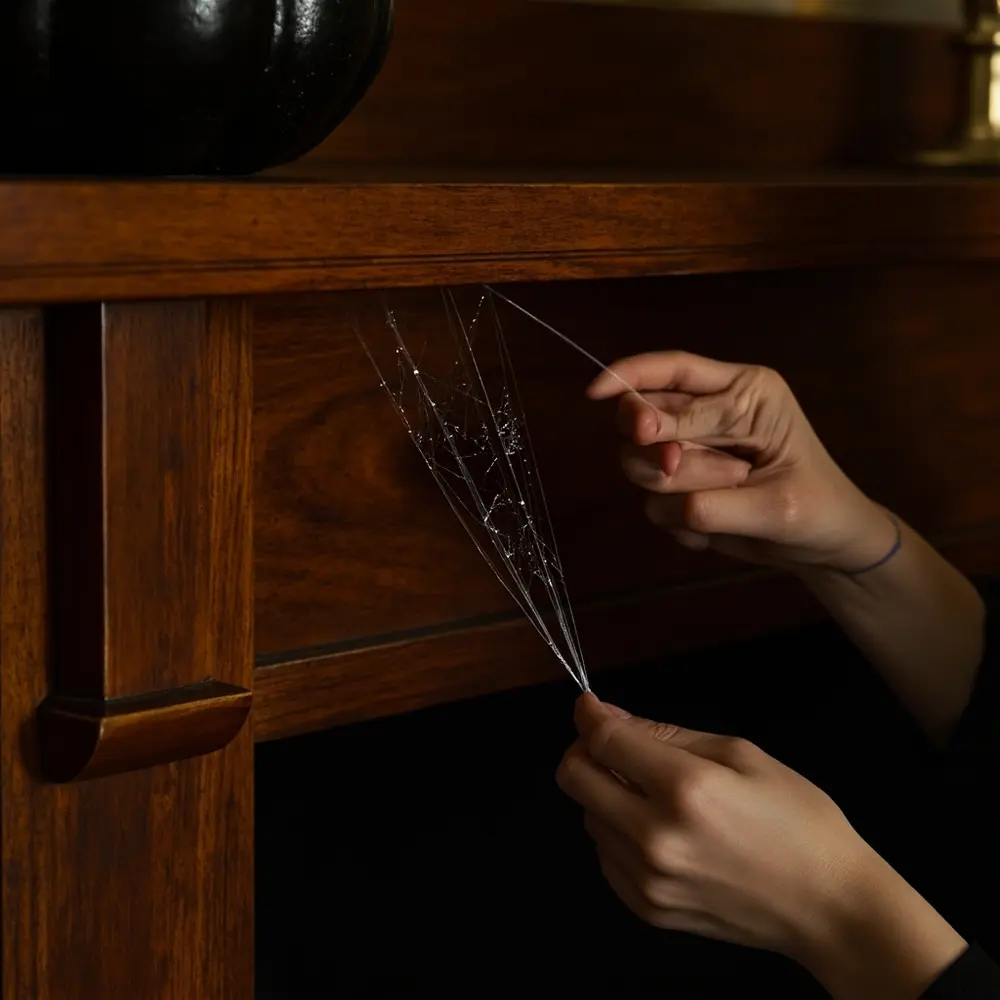
Your goal here is to create a delicate, wispy web texture, not a thick, clumpy mess. Start with a very small piece of the webbing—seriously, about the size of a cotton ball. Find a corner or an edge on your surface, like the corner of a picture frame or the stem of a pumpkin. Hook the first bit of the web onto this anchor point. Now, slowly and deliberately begin stretching the webbing. Pull it horizontally and vertically until the fibers separate and become thin and see-through. You want it to look like a whisper of dust, not a blanket of snow.
Important Note: The single biggest mistake I see people make is using too much webbing. Start with 1/10th of what you think you need. You can always add more, but it’s a huge pain to take it away.
Step 2 – Drape and Catch for an Organic Look
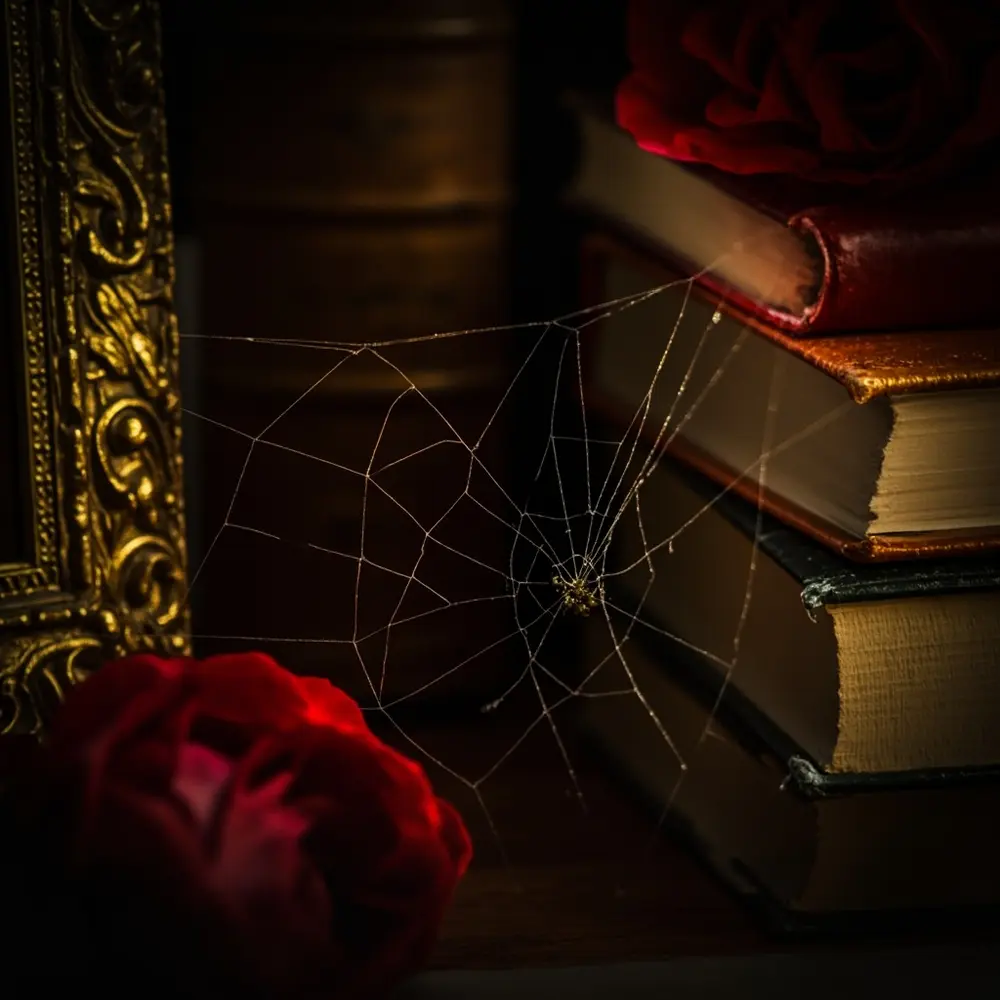
To make the webbing look natural and authentically dusty, guide the thin strands over and around other objects. As you keep stretching from your anchor point, let the fibers naturally catch on rough edges, corners, and textures. Don’t just drape it over the top; weave it between objects. For example, stretch a strand from a candlestick, across a stack of books, and onto the leaf of a plant. The more points of contact you create, the more delicate and real it will look. Use your scissors to snip any thick clumps or weird loose ends.
Step 3 – Place Your Spiders with Intention
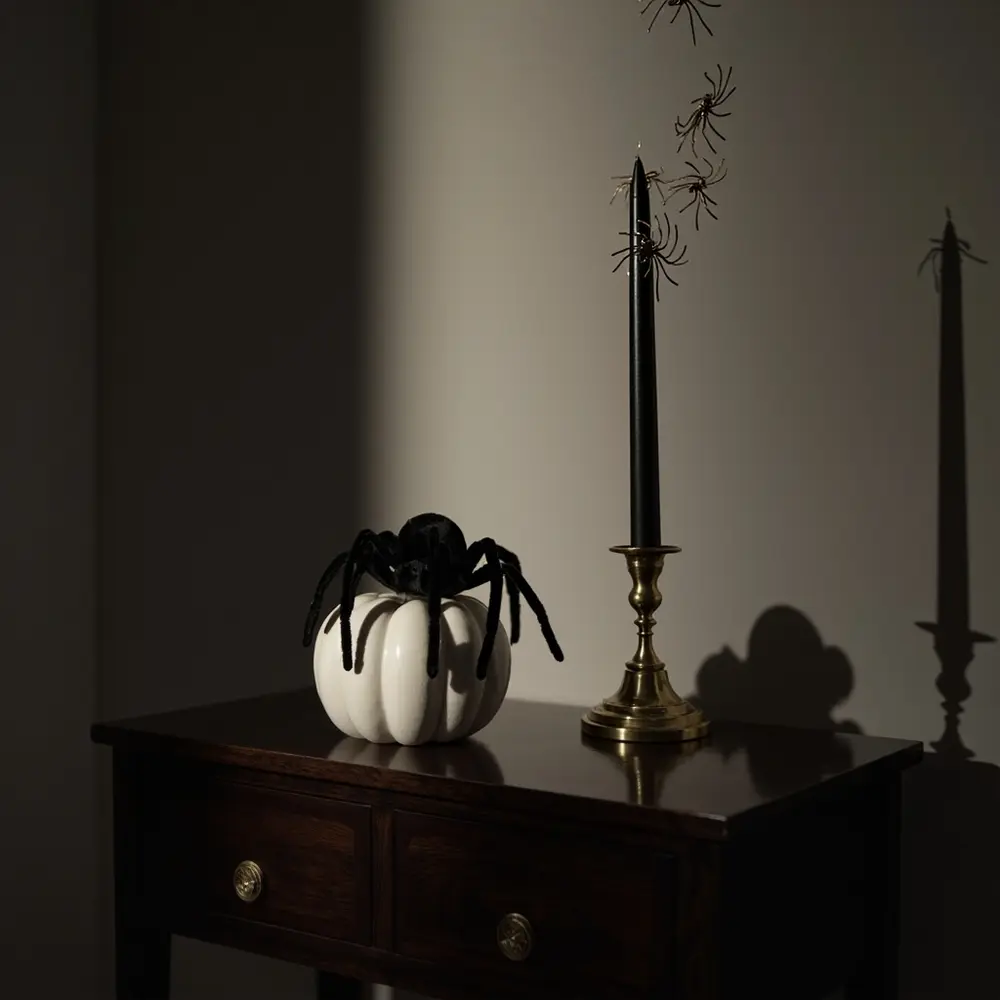
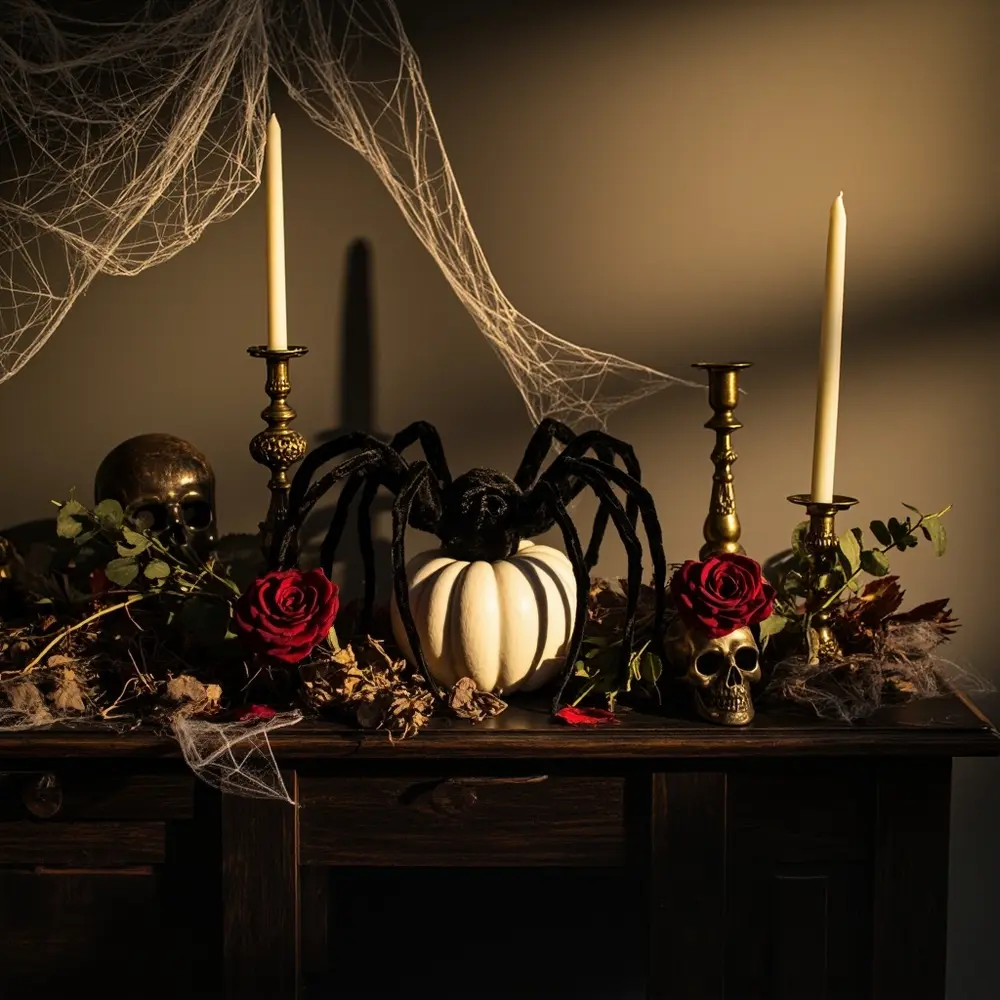
Now for the fun part! Your goal is to use spiders as deliberate design accents, not just random clutter. Instead of scattering them everywhere, try to create mini-stories. Place a single large, statement spider right on top of a white pumpkin or have it peeking out from behind a vase. Then, create a “trail” of your tiny spiders marching up the side of a mirror or a candlestick. The key here is strategic grouping and asymmetry. Let some of the web be empty space—it makes the areas spiders so much more impactful.
Step 4 – Layer in Your Supporting Decor

With your webs and spiders in place, it’s time to add your other decorative elements. This is the step that really elevates the whole look. Cluster your metallic candlesticks, add some dark florals to a vase, and place your chic pumpkins. Arrange these items in and around the webbing you created. This makes it feel like the spiders and webs are just one textural part of a larger, cohesive design, rather than something you just threw on top.
⚠️ Warning: If you’re using real candles, please make sure the webbing and any spiders are a very safe distance from the flame. To be honest, I usually just use high-quality LED candles for peace of mind.
Step 5 – Edit and Refine Your Design
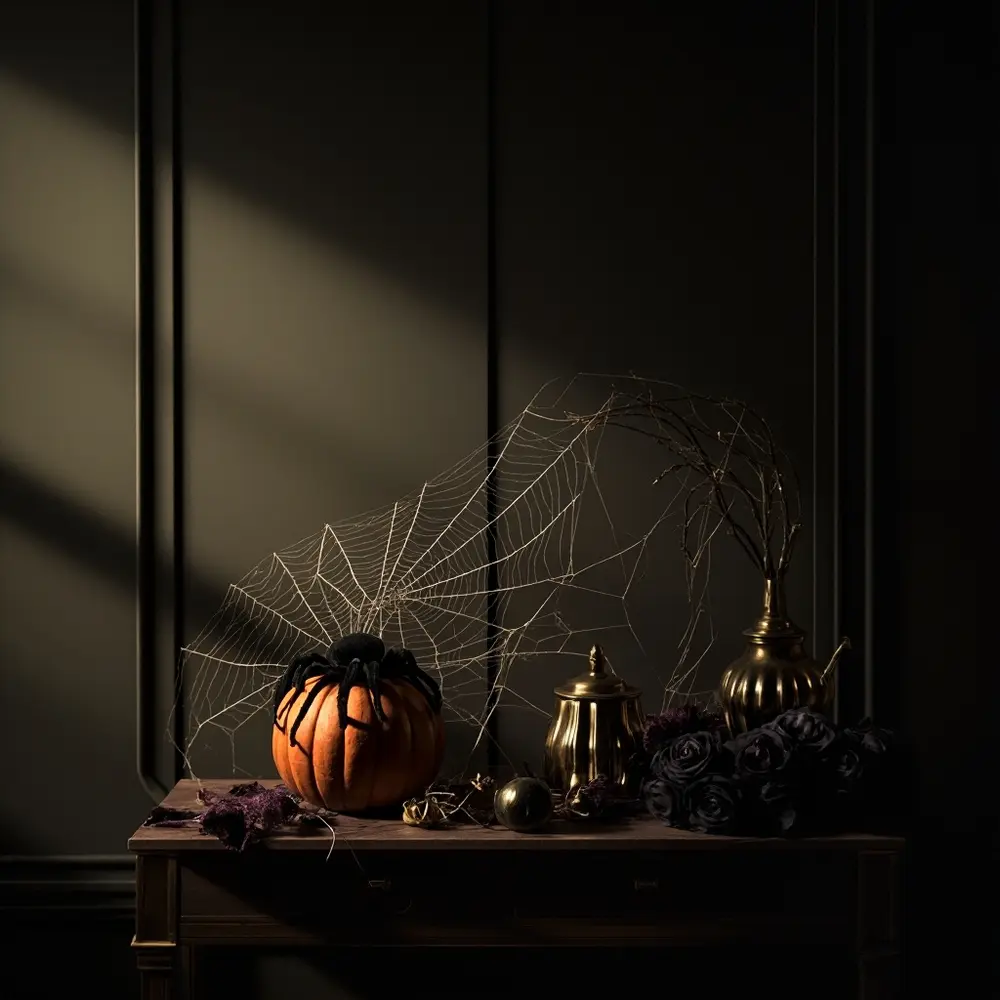
Okay, take a step back and look at your vignette from across the room. Does it feel balanced? Is there a clear focal point? The most common issue is simply doing too much. When I first started designing decor for clients, I always had to remind myself to edit. If it feels too busy, don’t be afraid to pull something away. Remove a few spiders, thin out a section of webbing, or take away one of the decorative objects. The goal is a beautifully curated display that feels spooky, elegant, and intentional.
The Secret to Chic Webs: From Clumpy Mess to Ethereal Texture ✨
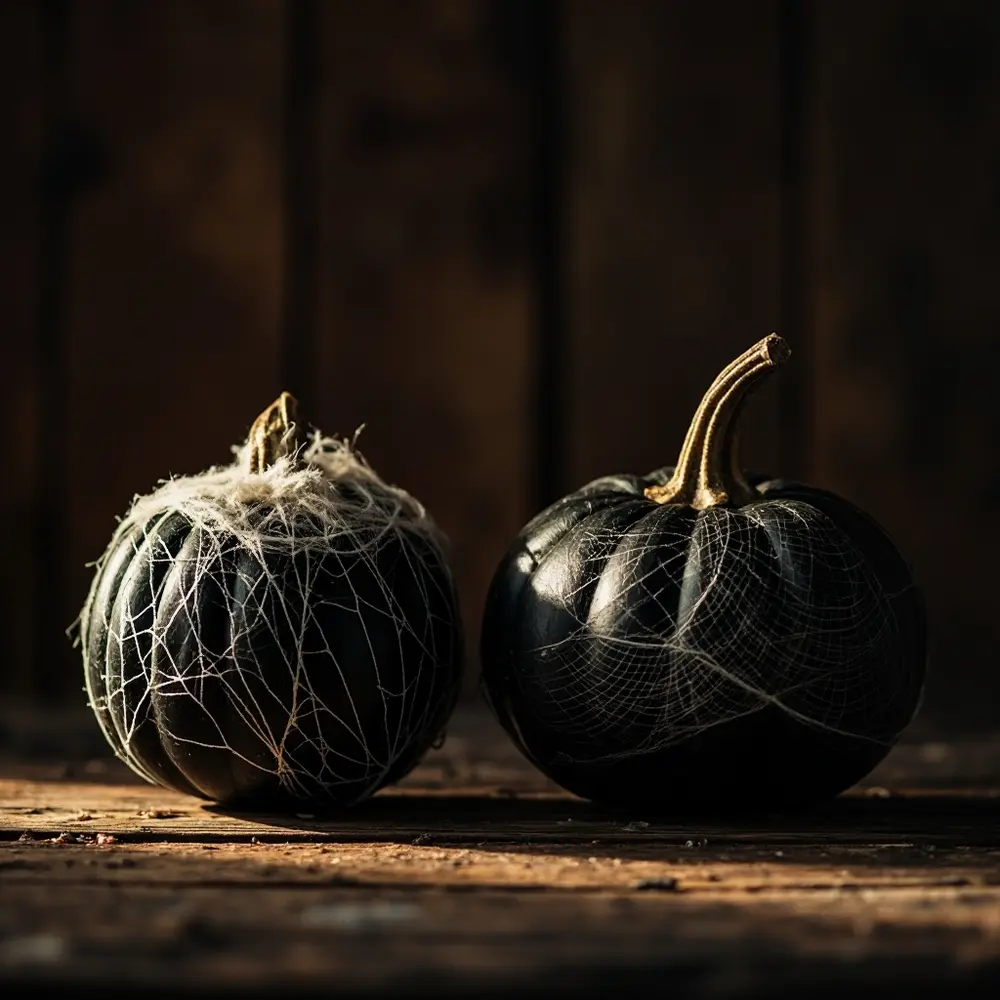
This is where most people go wrong with spider web decor, and it’s the number one reason it can look so tacky. The goal is not to cover a surface in a thick white sheet. The secret is to treat the webbing like a delicate, aged texture.
The key is aggressive stretching. When you pull a clump of webbing from the bag, it feels dense. Your first instinct is to pull it apart a little and just drape it. Resist that urge! You have to pull and stretch the material until it’s so thin you can barely see the individual fibers. It should look like a real, wispy cobweb, not a piece of cotton batting.
To do this right, always work in small sections and anchor the web to a point before you start stretching. Use existing textures to your advantage—the rough edge of a book, the corner of a wooden frame, the stem of a plant. These act as tiny hooks that will catch the microfibers and hold your delicate design in place.
Important Note: If your web still looks too white or opaque, you’ve either stretched it too little or you’re using way too much material. Just start over with a much, much smaller piece.
Troubleshooting & FAQs ❓
How do you get fake spider webs to stick to smooth surfaces?
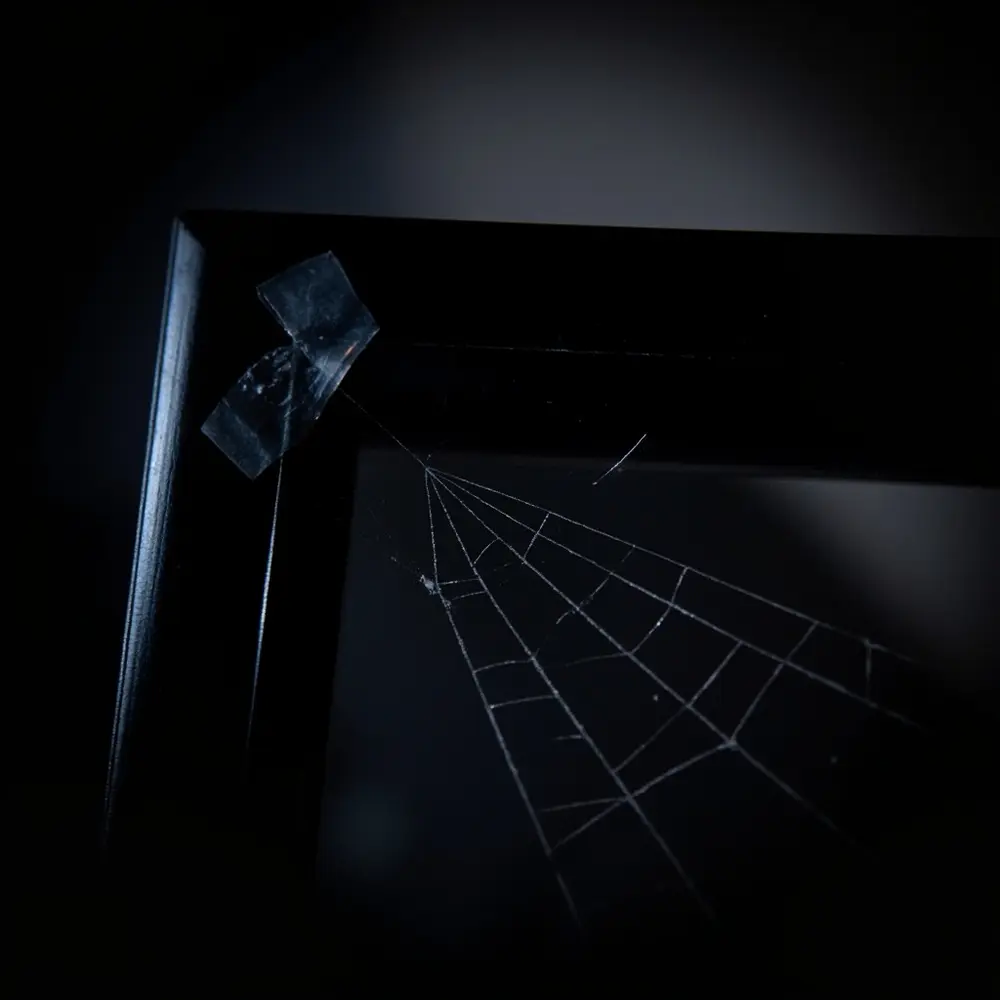
This is a great question! For super smooth surfaces like glass, a mirror, or polished metal, the webbing needs a micro-anchor. I just use a tiny, clear piece of tape or a little dot of removable adhesive putty to create that first anchor point. Once it’s anchored, you can stretch the thin fibers across the rest of the smooth surface and they’ll hold.
How can I decorate my front porch for Halloween without it looking tacky?
You apply the exact same “vignette” principle. Instead of webbing your entire porch, which can look messy fast, just focus on one area. Delicately web only the door knocker and add one large, cool spider. Or, create a trail of tiny spiders that look like they’re crawling out of a chic planter by your door. Pair this with elegant white or heirloom-colored pumpkins instead of the bright orange ones for a really sophisticated look.
How do you get spiders to stay on fake cobwebs?
For the really lightweight spiders, you can just gently wrap a few of the web fibers around one of their legs to hold them in place. For your heavier “statement” spiders, it’s actually better to secure the spider to the surface itself. I use a small amount of removable putty or a glue dot, and then I drape the webbing over and around it. This makes it look perfectly nested and secure.
Next Steps & Further Optimization 🚀
Once you’ve got this technique down, the possibilities are endless for creating a chic and spooky home.
- What to Do Next: Try creating an elegant Halloween tablescape for a dinner party! Use a dark tablecloth or runner as your base and create a delicate web “runner” down the center, weaving it between candles and small, chic pumpkins.
- Optimization Tips:
- Lighting is Key: Use an uplight or a small, focused spotlight to graze your vignette. This will catch the texture of the thin webbing and create some amazing, spooky shadows.
- Go Monochrome: For an ultra-modern, dramatic look, stick to an all-black-and-white theme. Use white webs, black spiders, and white pumpkins on a dark surface. It’s stunning.
- Advanced Applications: I did this for my “Spooky Sharma” blog last year and it was a hit. Create a “specimen” display by mounting a few of your coolest spiders in shadow boxes with elegant, old-timey labels. Then, weave a single, delicate web strand from the frame as if it’s escaping!
Conclusion (My Final Thoughts) 👻
Congratulations! You’ve officially graduated from basic Halloween decorations. You now know how to use classic spiders and cobwebs as tools for creating truly sophisticated, stylish decor. It really is all about texture, intentional placement, and that “less is more” mindset.
By following these steps, you’ve proven that spooky and chic can absolutely go hand-in-hand. Your home can now reflect the fun, festive spirit of the season without compromising the beautiful aesthetic you’ve worked so hard to create. You’re no longer just decorating for a holiday; you’re curating a seasonal experience.
Now that you’ve mastered the art of the ethereal web, what space in your home are you most excited to transform? Share your ideas in the comments below!
