18 Genuinely Spooky & Scary Halloween Nail Ideas for 2025
✨ After countless hours covered in glitter and nail polish, perfecting everything from intricate costume makeup to the ultimate spooky ambiance, I’ve mastered the art of Halloween style – testing, fixing fails, and discovering solutions that actually work for truly scary nail art. As a Style Maven in the Halloween community, finding that perfect dark aesthetic is my specialty.
😅 But I know the struggle: finding genuinely creepy Halloween nail designs that go beyond cartoonish gore can be a real challenge. I’ve spent hours figuring this out, sometimes with family by my side, and I’ve been there too, searching for that perfect dark aesthetic that truly elevates a look.
👑 That’s why in this post, I’ll show you exactly how to solve these challenges with 18 ideas I’ve tested myself. Stick with me, and you’ll learn how to achieve truly spooky nail art while creating magical, memorable looks for 2025!
My Top 4 Picks From This List 🏆
If you’re short on time, these are the absolute must-try ideas that I personally love for their unique blend of psychological horror and gothic elegance!
- 1. The Whispering Shadows Mani: Subtly unsettling and plays on psychological horror beautifully.
- 2. Gothic Graveyard Etchings: Intricate, darkly romantic, and perfect for a sophisticated scare.
- 5. Cracked Porcelain Doll: Combines innocence with decay for a truly disturbing, yet fragile, look.
- 18. The Unseen Presence: Minimalist, impactful, and perfectly captures the essence of psychological dread.
A Few Tools for Your Creative Toolkit 🛠️
✅ Fine-Tip Nail Art Brushes (for intricate details)
✅ Matte Top Coat (👑 Nancy’s Pick: I swear by OPI Matte Top Coat for its velvety, non-reflective finish. It’s my secret weapon for enhancing eerie textures and dark, atmospheric designs, making colors appear deeper and more unsettling – truly essential for those creepy Halloween nails!)
✅ Dotting Tools (for eyes, textures, or small patterns)
✅ Black & White Gel Polish (essential for contrast and classic horror looks)
✅ Liquid Latex or Peel-Off Base Coat (for easy cleanup of messy designs)
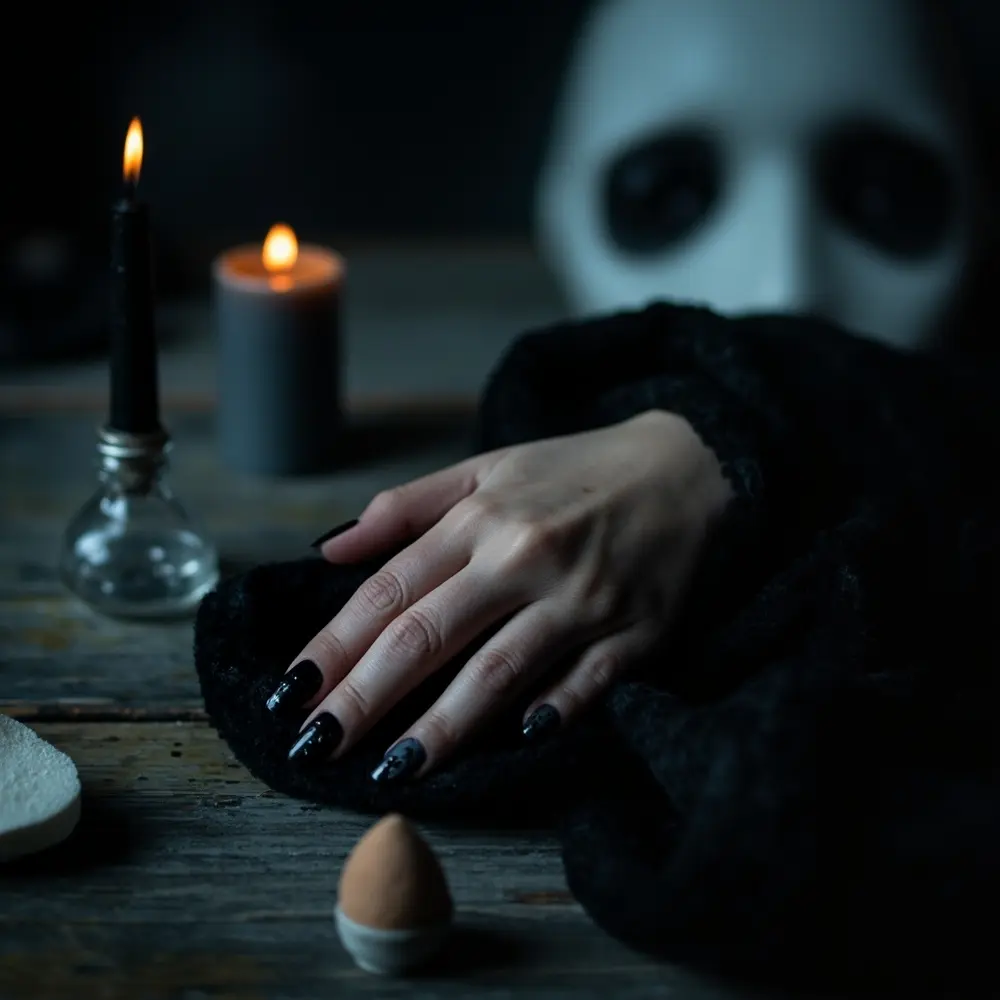
1. The Whispering Shadows Mani 👻
Subtly unsettling, this design plays on psychological horror rather than overt gore, perfect for those who prefer a sophisticated scare. It’s one of my favorite spooky nail art ideas for its depth and mystery, creating a look that’s both elegant and deeply creepy. To achieve this, you’ll primarily need grey, black, and sheer polishes.
💡 Pro-Tip: My go-to trick for achieving a blurred, smoky, or gradient effect is to use a small makeup sponge or a fluffy eyeshadow brush. Dab a tiny amount of polish onto the sponge, then gently tap it onto your nail, layering colors for a truly ethereal and unsettling look.
[Image Placement Instruction: image-1: A close-up of nails with a smoky, gradient black-to-grey effect, perhaps with a faint, barely visible silhouette or a subtle, blurred face emerging from the darkness.]
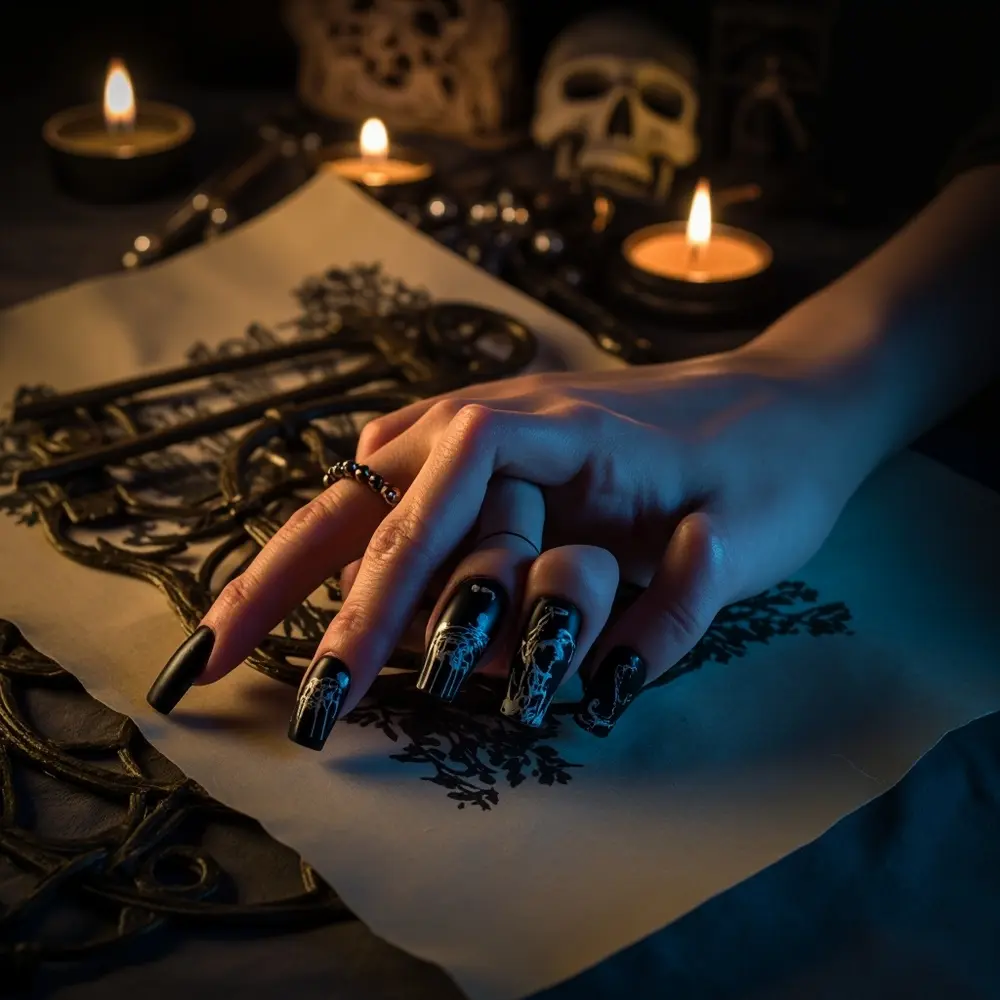
2. Gothic Graveyard Etchings ⚰️
Embrace classic gothic aesthetics with delicate, detailed imagery that evokes ancient cemeteries and forgotten tales. This design offers a sophisticated take on Halloween nail designs, focusing on intricate beauty rather than overt fright. You’ll need black polish, a fine-tip brush, and silver or white accent polish to bring these delicate scenes to life.
👑 Nancy’s Golden Rule: Patience and a steady hand are absolutely crucial for achieving crisp, fine lines in detailed designs like these. Take your time, use a good quality fine-tip brush, and don’t be afraid to rest your hand on a flat surface for stability.
[Image Placement Instruction: image-2: Nails featuring intricate, delicate etchings of tombstones, bare trees, wrought iron gates, or a lone raven on a dark, matte base.]
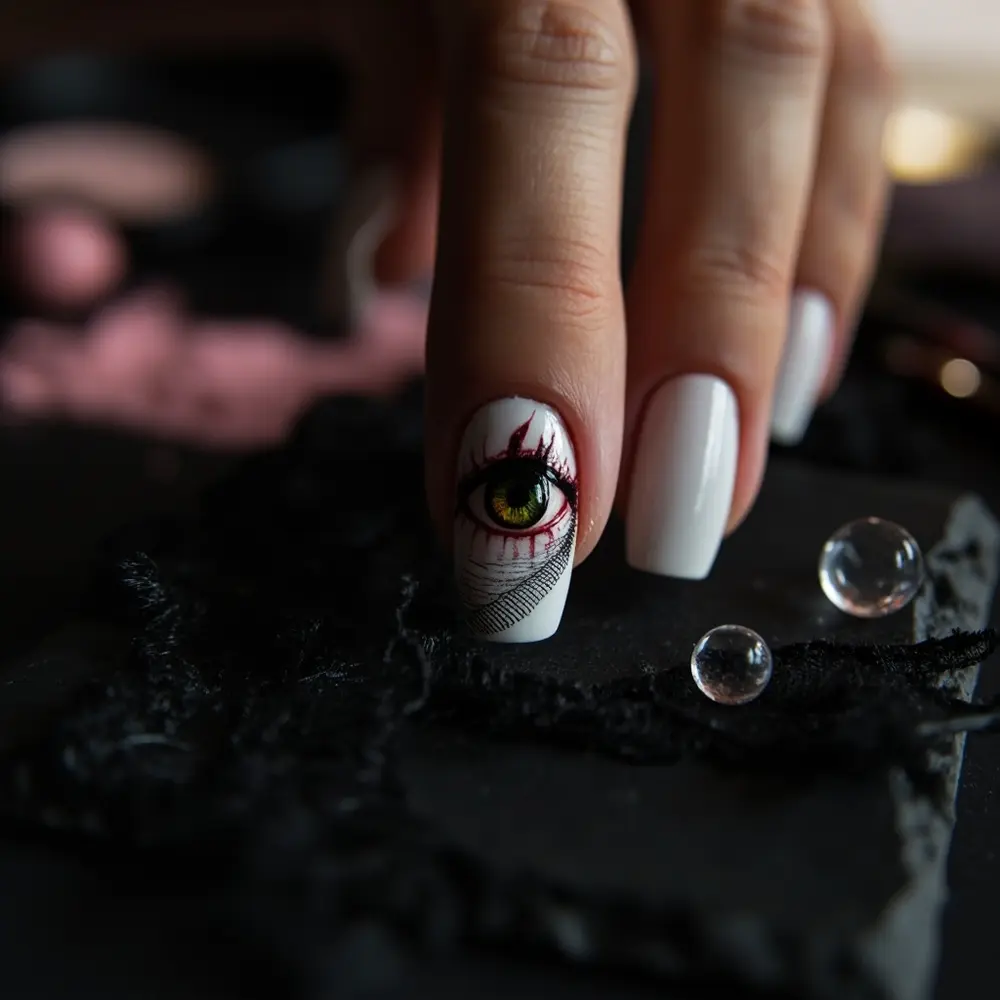
3. The Veiled Phantom’s Gaze 👁️
A single, piercing eye peeking from behind a shadowy veil creates an unnerving, watchful presence. This design is intensely haunting and mysterious, making it a standout for genuinely scary Halloween nails. You’ll need a nude or pale base, black polish, and white with a pop of color for the iris.
💡 Pro-Tip: To create a realistic, glossy eye effect, apply a tiny dot of clear top coat directly over the “pupil” after your design has dried. This small detail provides incredible depth and makes the eye appear truly alive and watchful.
[Image Placement Instruction: image-3: A close-up of a nail with a single, realistic, slightly bloodshot eye peeking from behind a dark, wispy, or scratched-out background.]
4. Blood Moon Eclipse Nails 🌑
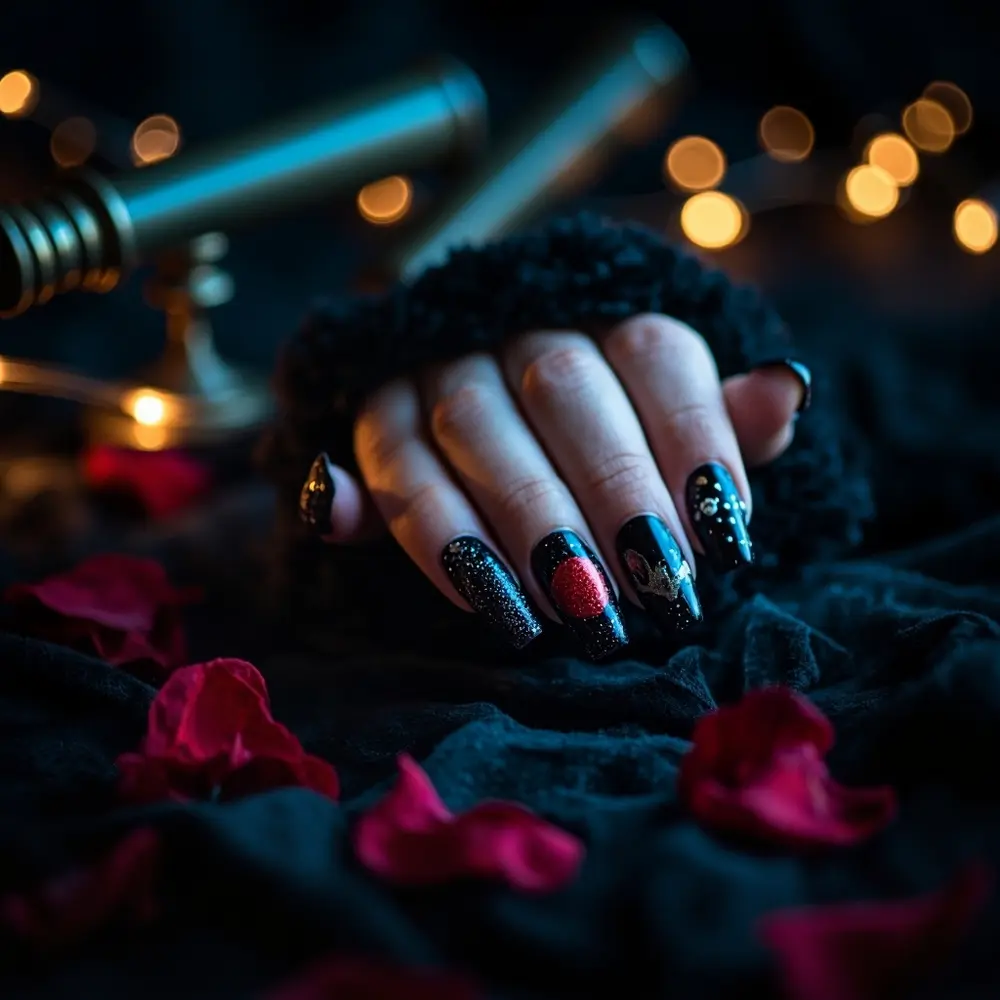
Capture the ominous beauty of a blood moon against a dark, starless sky, hinting at ancient rituals and impending doom. This dramatic and foreboding look is perfect for dark aesthetic nails. You’ll need deep red, black, and glitter polishes to create this celestial horror.
👑 Nancy’s Golden Rule: Layering glitter or shimmer is key for a truly celestial and deep effect without looking flat. Apply a sheer glitter polish over your dark base before adding the moon, or dab fine glitter onto the wet red polish for a truly luminous and ominous glow.
[Image Placement Instruction: image-4: Nails with a deep, dark base featuring a striking, blood-red moon (or partial eclipse) with subtle shimmer or a textured effect.]
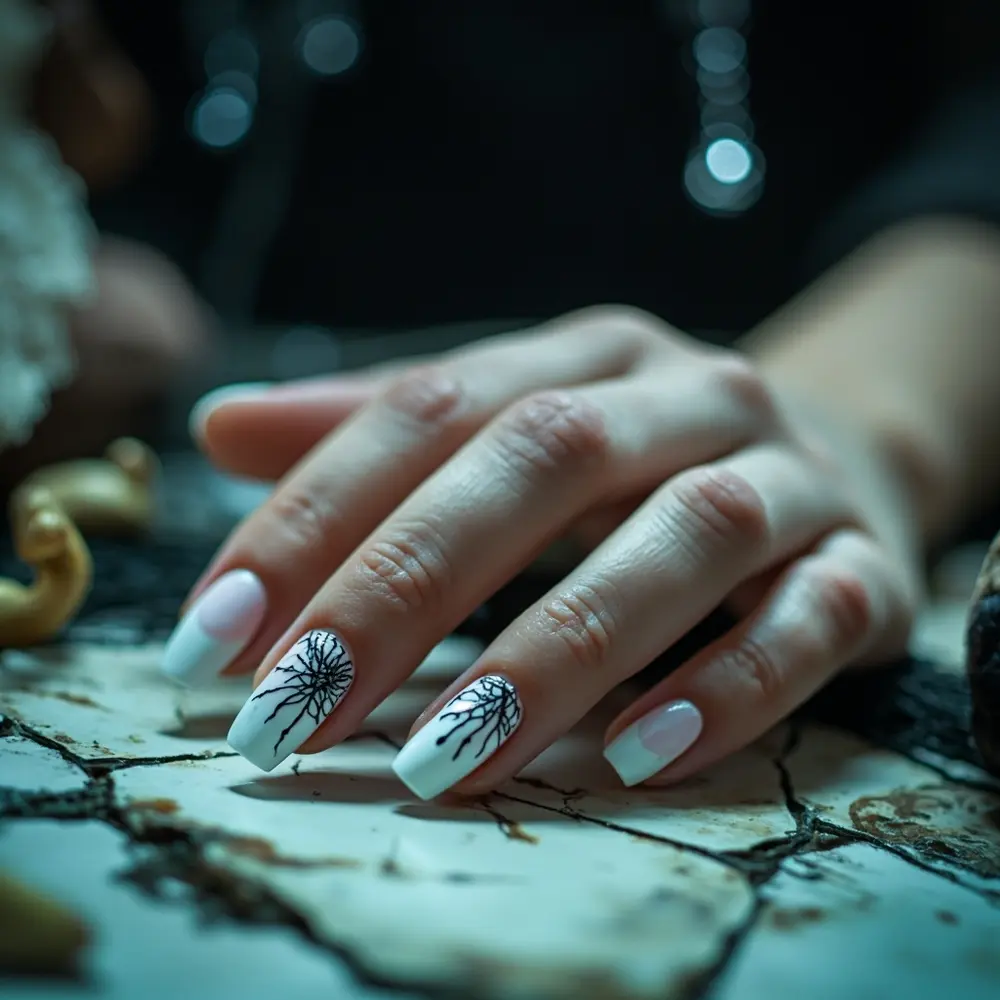
5. Cracked Porcelain Doll 💔
Evoke the eerie beauty of a broken antique doll, combining innocence with a chilling sense of decay. This unsettling and fragile design is a prime example of creepy Halloween nails that rely on psychological discomfort. A pale nude or white base and fine black polish for the cracks are your essential materials.
💡 Pro-Tip: For realistic-looking, irregular crack patterns, use a very fine detail brush and don’t try to make them perfect. Start with a central “break” and let smaller, thinner lines branch out organically, mimicking how porcelain naturally shatters.
[Image Placement Instruction: image-5: Nails painted a pale, matte white or nude with delicate, spiderweb-like black cracks running across them, perhaps with a subtle blush tint.]
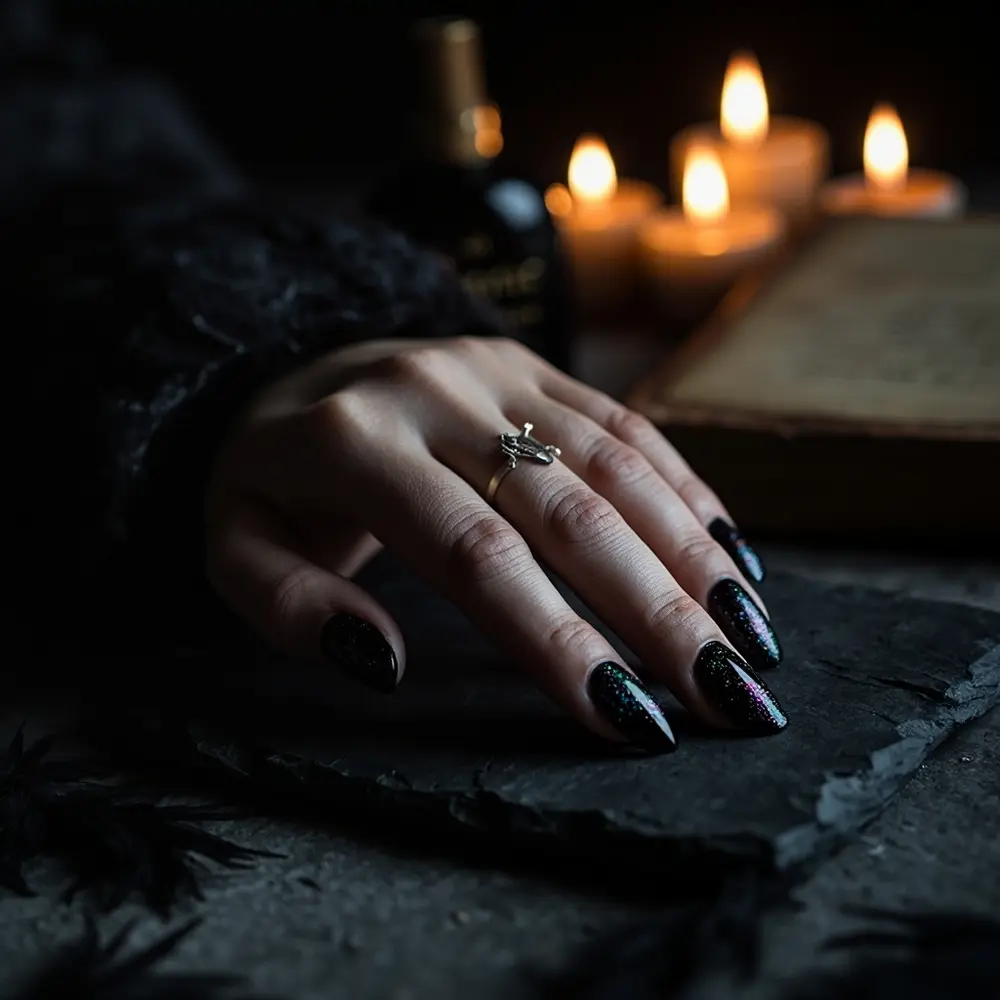
6. The Raven’s Feather Texture 🖤
This is a sophisticated yet spooky design that uses texture to mimic the sleek, ominous feathers of a raven, a classic symbol of death and mystery. It’s a fantastic option for dark aesthetic nails. You’ll need black polish, a matte top coat, and flocking powder or fine glitter to achieve this tactile effect.
👑 Nancy’s Golden Rule: To apply flocking powder or fine glitter evenly for a seamless, feathery texture, apply your last coat of wet black polish, then immediately sprinkle the powder generously over the nail. Gently press it in with a clean finger or brush, then dust off the excess once dry. Avoid a top coat to maintain the texture.
[Image Placement Instruction: image-6: Nails with a deep black, matte base, featuring a subtle, textured effect that mimics the look of raven feathers, perhaps with a single, glossy feather outline.]
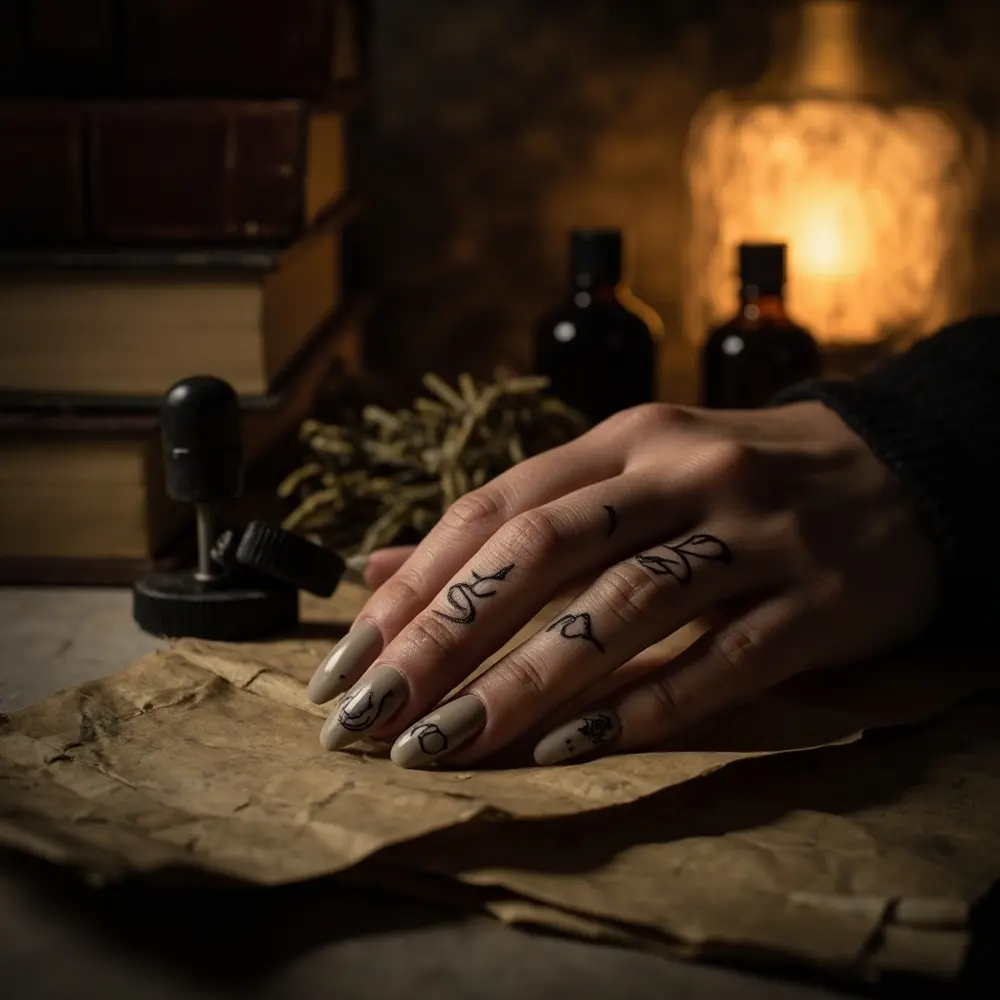
7. Whispers from the Crypt 📜
Imagine ancient, faded script or symbols from a forgotten tomb, creating a sense of untold secrets and dark history. This ancient and mysterious design is perfect for gothic nail art enthusiasts. You’ll need a beige or grey base, dark brown or black polish, and ideally, a stamping plate for consistency.
💡 Pro-Tip: Using a stamping plate is the easiest way to achieve consistent, intricate script or symbol designs. Make sure your stamper is clean and your polish is opaque for the best transfer. For an aged look, you can lightly smudge the stamped design before it fully dries.
[Image Placement Instruction: image-7: Nails with a faded, parchment-like base featuring faint, dark, ancient-looking script, runes, or symbols, as if from an old, decaying scroll.]
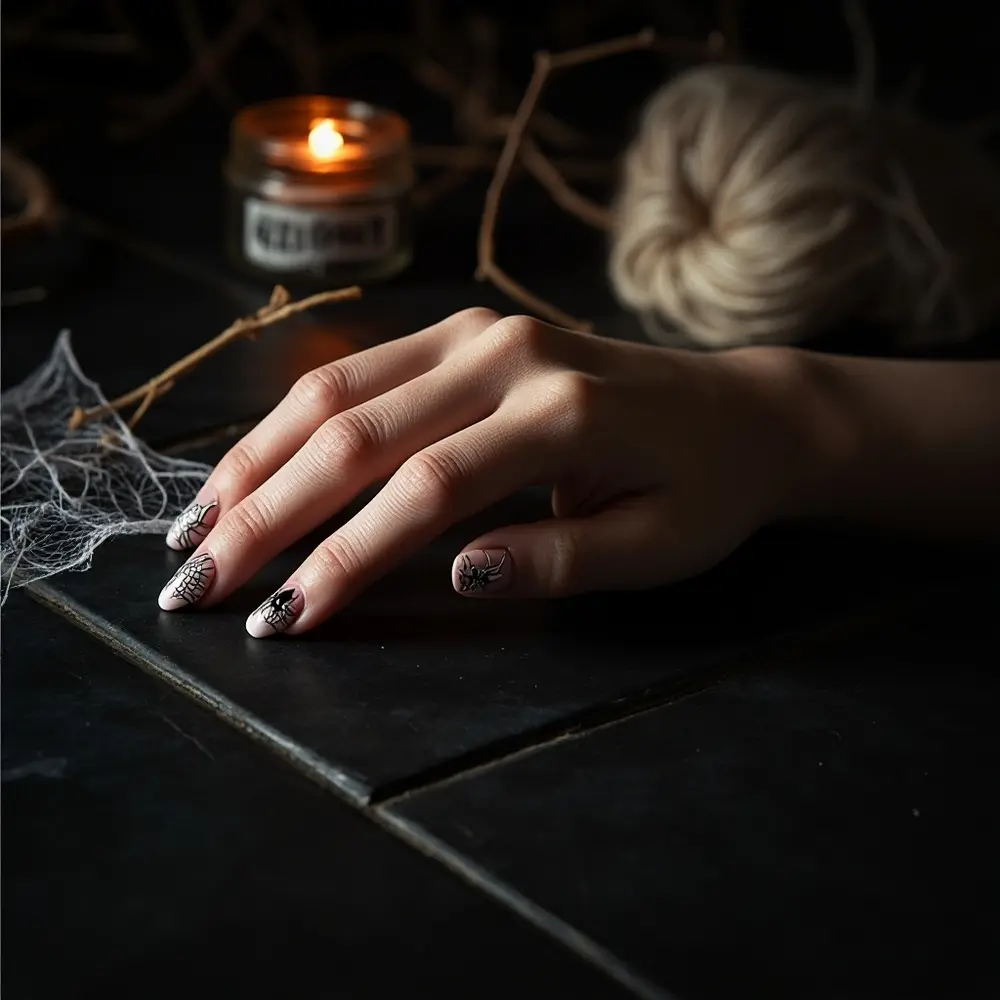
8. The Spider’s Silk Trap 🕸️
A classic spooky motif elevated with intricate, almost invisible web strands and a lurking, shadowy presence. This delicate yet deadly design is a timeless choice for Halloween nail designs. A clear or nude base and white or black fine-tip polish are all you need.
👑 Nancy’s Golden Rule: My go-to trick for creating realistic, sagging web lines rather than perfectly straight ones is to use a very thin brush and slightly waver your hand as you draw. This gives the web a more organic, creepy, and less “perfect” feel, as if it’s truly hanging.
[Image Placement Instruction: image-8: Nails with a clear or nude base featuring extremely fine, delicate spiderweb lines, perhaps with a subtle, dark silhouette of a spider in one corner.]
9. Eerie Forest Silhouette 🌳
Capture the desolate beauty of a haunted forest at twilight, with bare branches reaching like skeletal fingers. This atmospheric and chilling design is a powerful statement for spooky nail art ideas. You’ll need a dark blue or purple base and stark black polish.
💡 Pro-Tip: Use a dry brush technique to create the textured, gnarled look of tree branches. Dip a fine-tip brush into black polish, wipe most of it off, then lightly drag the brush across the nail to create thin, broken lines that mimic bark and twigs.
[Image Placement Instruction: image-9: Nails with a dark, gradient background (e.g., deep blue to black) featuring stark, black silhouettes of gnarled, bare trees or a haunted house.]
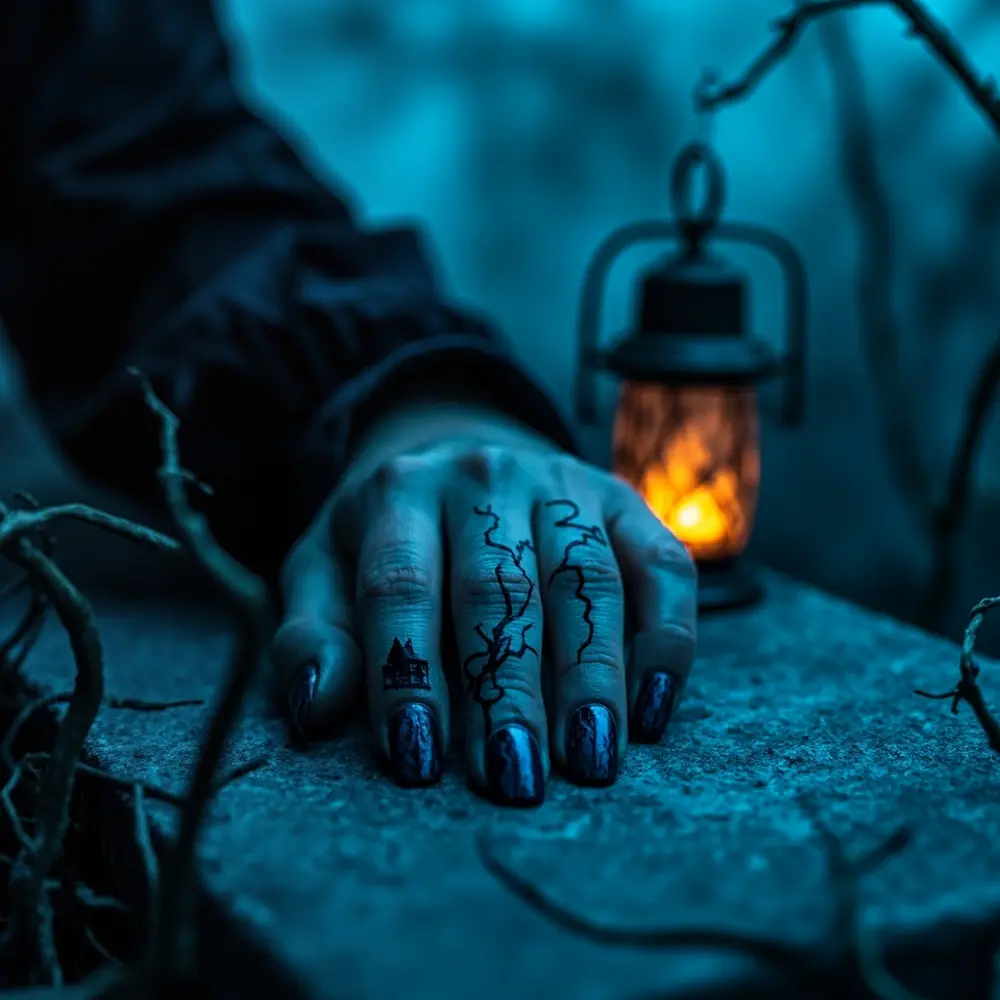
10. The Shadow Hand’s Grasp 🖐️
A simple, dark silhouette of a hand reaching or grasping creates an immediate sense of dread and unseen forces. This minimalist yet impactful design is perfect for those who appreciate psychological horror. You’ll need a light grey or nude base and black polish.
👑 Nancy’s Golden Rule: Positioning the hand silhouette for maximum dramatic effect is key. Try placing it slightly off-center, reaching from the cuticle, or even having just the fingertips appear from the edge of the nail to suggest a larger, unseen presence.
[Image Placement Instruction: image-10: Nails with a pale, matte base featuring a stark, black silhouette of a skeletal or shadowy hand reaching across the nail.]
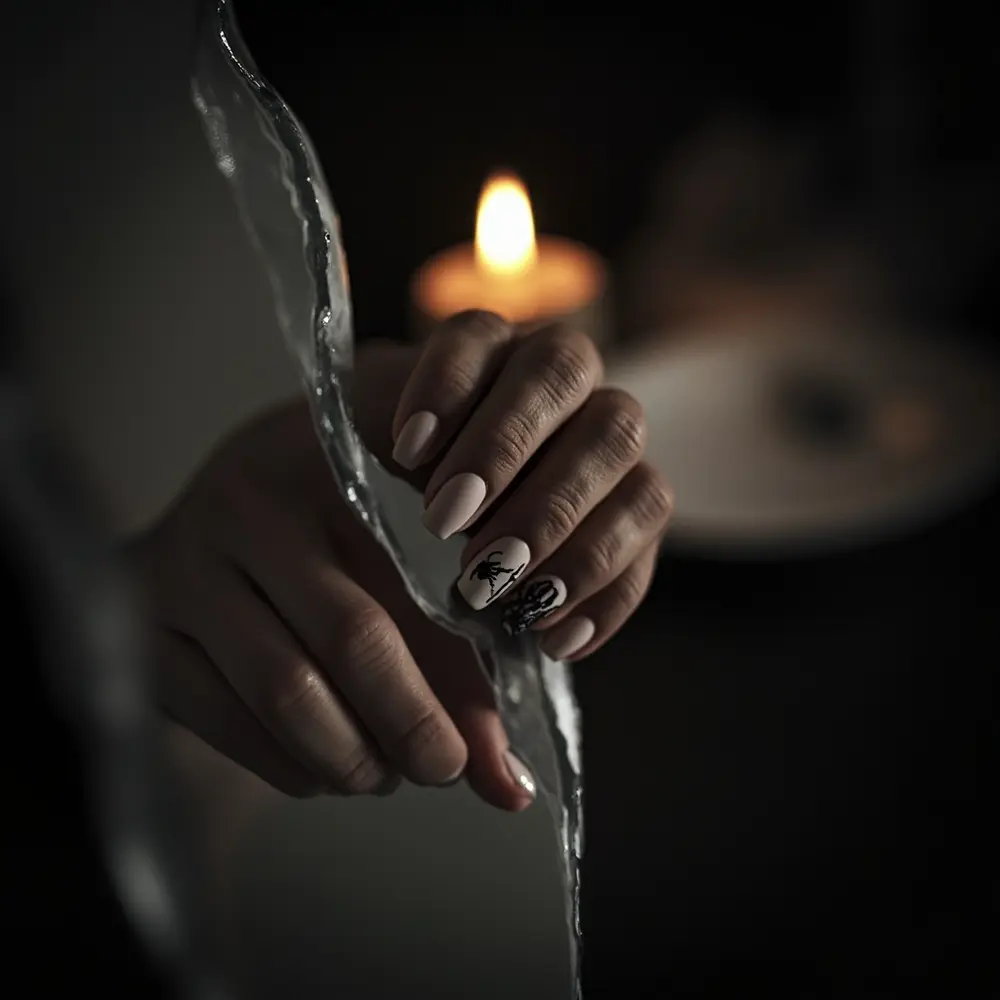
11. Possessed Doll Eyes 😵💫
Focus on the vacant, yet strangely alive, eyes of a possessed doll, creating a truly disturbing effect. This intensely unsettling design is a guaranteed head-turner among genuinely scary Halloween nails. A white base, black, red, and blue polishes will bring these creepy eyes to life.
💡 Pro-Tip: To create the slightly off-kilter or mismatched look of possessed eyes, draw one pupil slightly larger or higher than the other, or add a subtle red “vein” to one eye. Imperfection here actually enhances the creepiness!
[Image Placement Instruction: image-11: Nails with a white or pale base featuring large, wide-open, slightly mismatched or bloodshot doll eyes, perhaps with a subtle crack effect around them.]
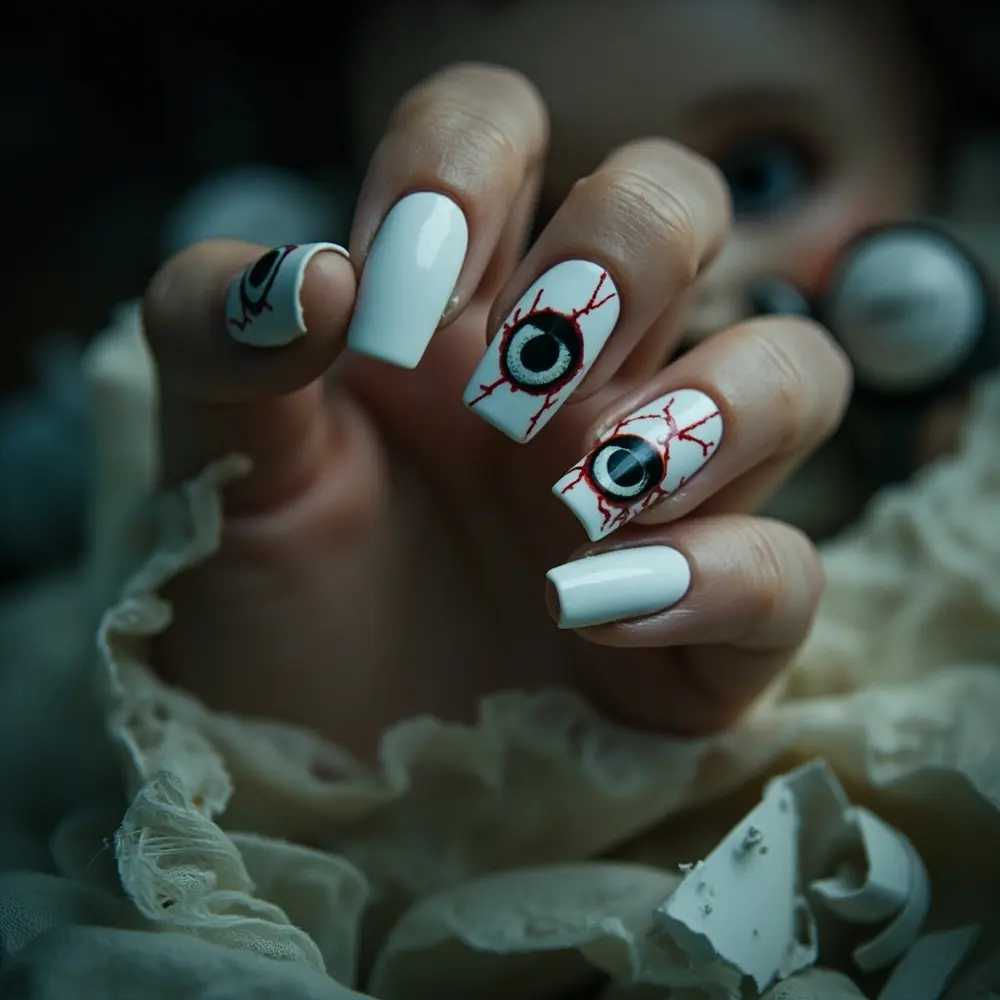
12. The Haunted Mirror Shard 🪞
Mimic the look of a broken mirror, reflecting distorted images or dark voids, symbolizing bad luck and shattered realities. This fragmented and ominous design is fantastic for a dark aesthetic. You’ll need silver chrome polish, black polish, and a fine brush.
👑 Nancy’s Golden Rule: When creating the “shard” lines, aim for sharp, irregular angles that look genuinely broken, not just geometric. Vary the thickness of the lines to add to the illusion of depth and shattered glass.
[Image Placement Instruction: image-12: Nails with a reflective silver or chrome base, overlaid with sharp, irregular black lines to mimic shattered glass, with some “shards” appearing darker or void-like.]
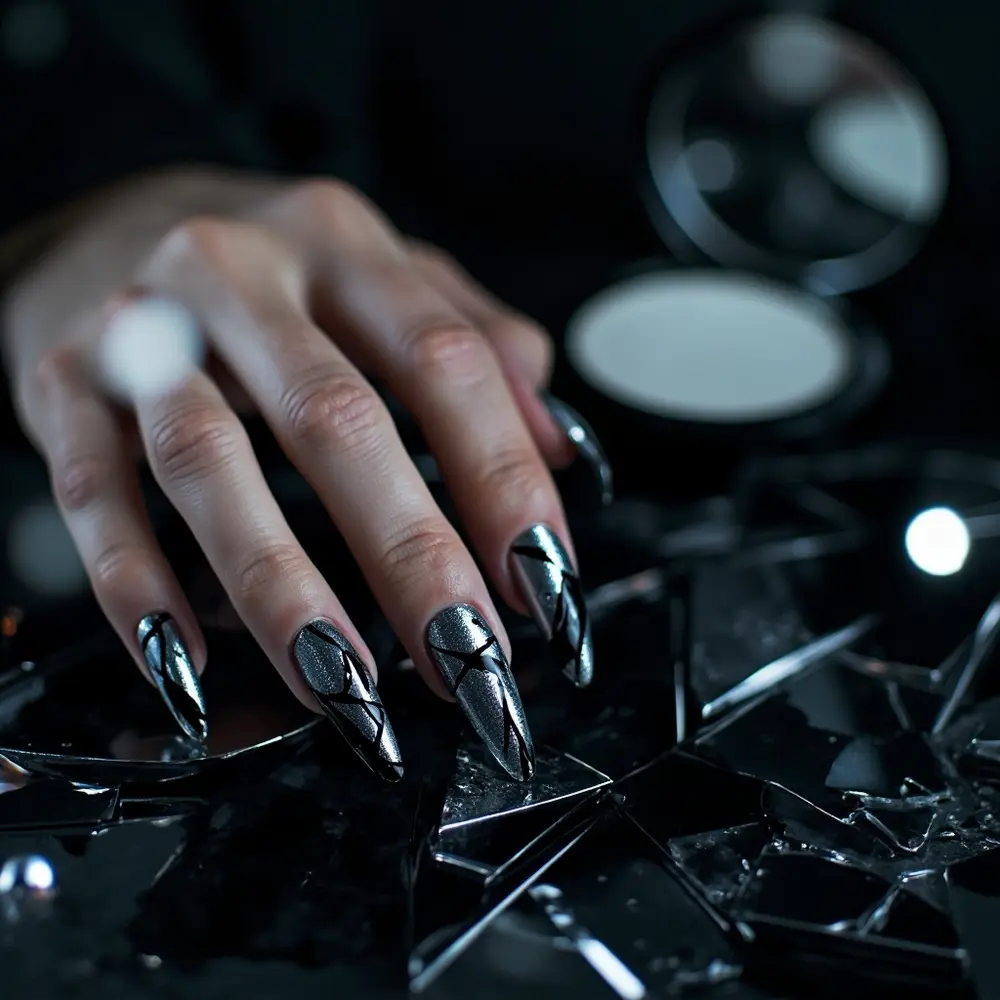
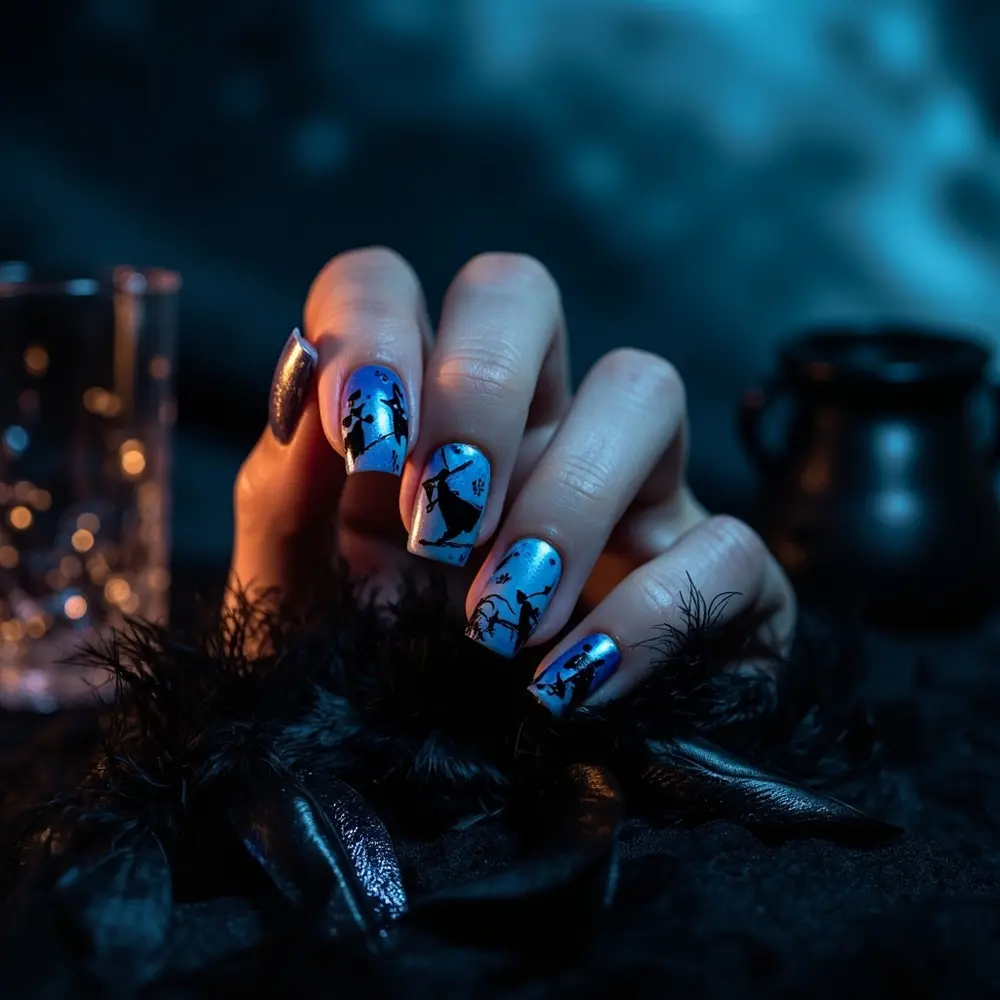
13. Whispering Wind Witches 🌬️
Capture the ethereal presence of witches flying through a stormy night sky, using swirling patterns and dark silhouettes. This mystical and atmospheric design is one of my favorite spooky nail art ideas. You’ll need a dark blue/purple gradient, black polish, and fine glitter.
💡 Pro-Tip: Use a marbling or swirling technique with your dark blue and purple polishes to create a dynamic, wind-swept sky effect. Apply dots of each color, then gently swirl them together with a toothpick or fine brush before they dry completely.
[Image Placement Instruction: image-13: Nails with a dark, swirling blue/purple gradient background, featuring subtle black silhouettes of witches on broomsticks or swirling cloaks.]
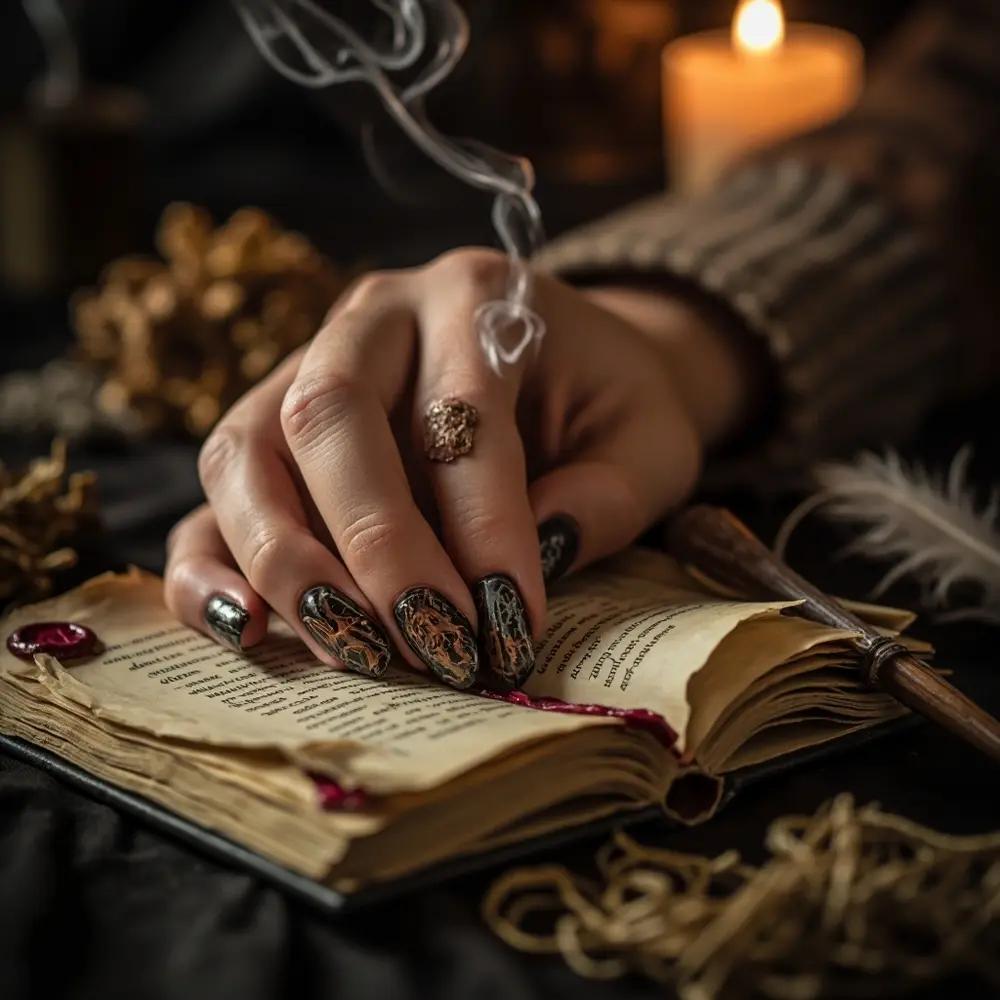
14. The Grimoire’s Pages 📖
Transform your nails into pages from a dark magic spellbook, complete with arcane symbols and faded text. This ancient and arcane design is excellent for gothic nail art. An aged parchment-colored base, black or dark brown polish, and a stamping plate will be your tools.
👑 Nancy’s Golden Rule: To distress the “pages” with subtle brown or grey smudges for an authentic, aged look, lightly dab a tiny amount of watered-down brown or grey polish onto the corners and edges of your “parchment” base before adding the text.
[Image Placement Instruction: image-14: Nails painted to look like aged, yellowed parchment, covered with intricate, dark, arcane symbols, sigils, or faded Latin text.]
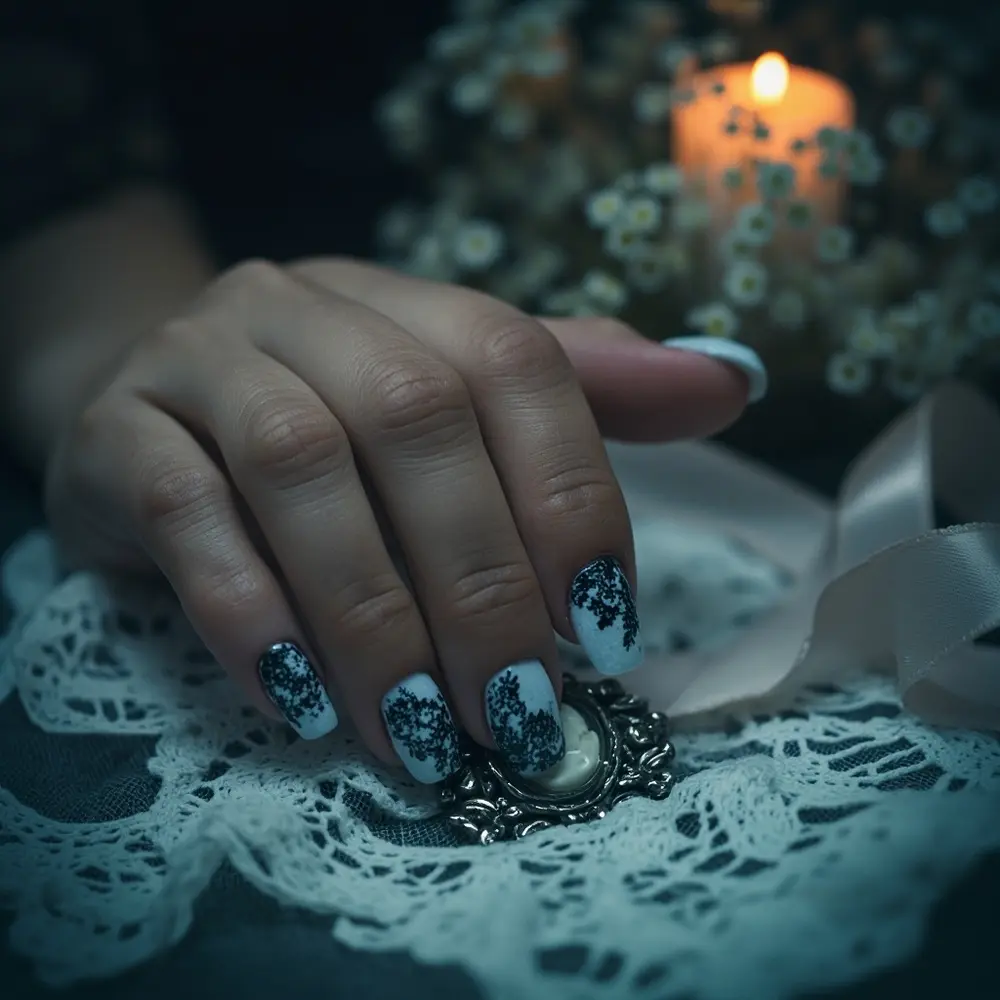
15. Corpse Bride Lace 👰♀️
Combine delicate, decaying lace patterns with a ghostly pallor for a truly gothic and hauntingly beautiful look. This elegantly macabre design is perfect for those who love creepy Halloween nails with a touch of eerie romance. A pale blue or grey base and a white or black lace stamping plate are key.
💡 Pro-Tip: To achieve a “tattered” or “decaying” lace effect, after stamping the lace pattern, gently dab or smudge a few small areas with a fine brush dipped in a tiny amount of acetone. This will slightly break up the pattern, making it look aged and worn.
[Image Placement Instruction: image-15: Nails with a pale, ghostly blue or grey base, overlaid with delicate, slightly distressed black or white lace patterns, perhaps with a subtle hint of decay.]
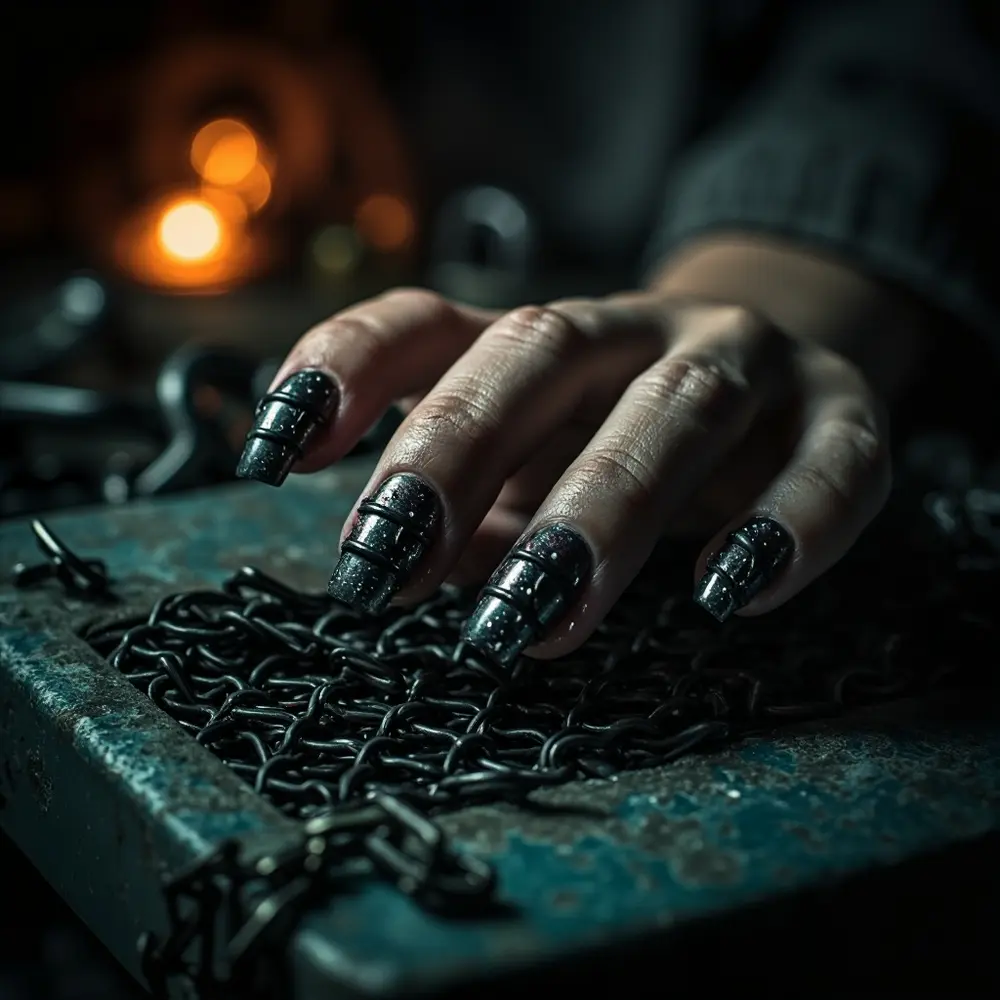
16. The Crypt Keeper’s Chains ⛓️
Heavy, rusted chains evoke images of dungeons, captivity, and ancient, forgotten horrors. This industrial horror design is a bold choice for dark aesthetic nails. You’ll need a metallic grey or rust-colored base, black polish, and a fine brush.
👑 Nancy’s Golden Rule: Adding subtle highlights and shadows to the chain links is what gives them a realistic, three-dimensional appearance. After drawing your black outlines, use a tiny dot of lighter grey or silver polish on one side of each link to mimic light reflection.
[Image Placement Instruction: image-16: Nails with a dark, metallic grey or rust-colored base, featuring realistic, detailed black chains wrapped around or across the nail.]
17. Foggy Graveyard Mist 🌫️
Capture the chilling beauty of a graveyard shrouded in a thick, swirling mist, where unseen horrors might lurk. This atmospheric and ethereal design is a classic among Halloween nail designs. You’ll need grey, white, and black polishes, plus a sponge.
💡 Pro-Tip: My go-to trick for creating a soft, diffused, and realistic mist effect is to use a dabbing or sponging technique. Apply small amounts of white and light grey polish onto a makeup sponge, then gently dab and blend them over your darker base, focusing on the center of the nail.
[Image Placement Instruction: image-17: Nails with a gradient of grey to black, featuring a soft, swirling white mist effect, perhaps with faint, blurred silhouettes of tombstones in the background.]
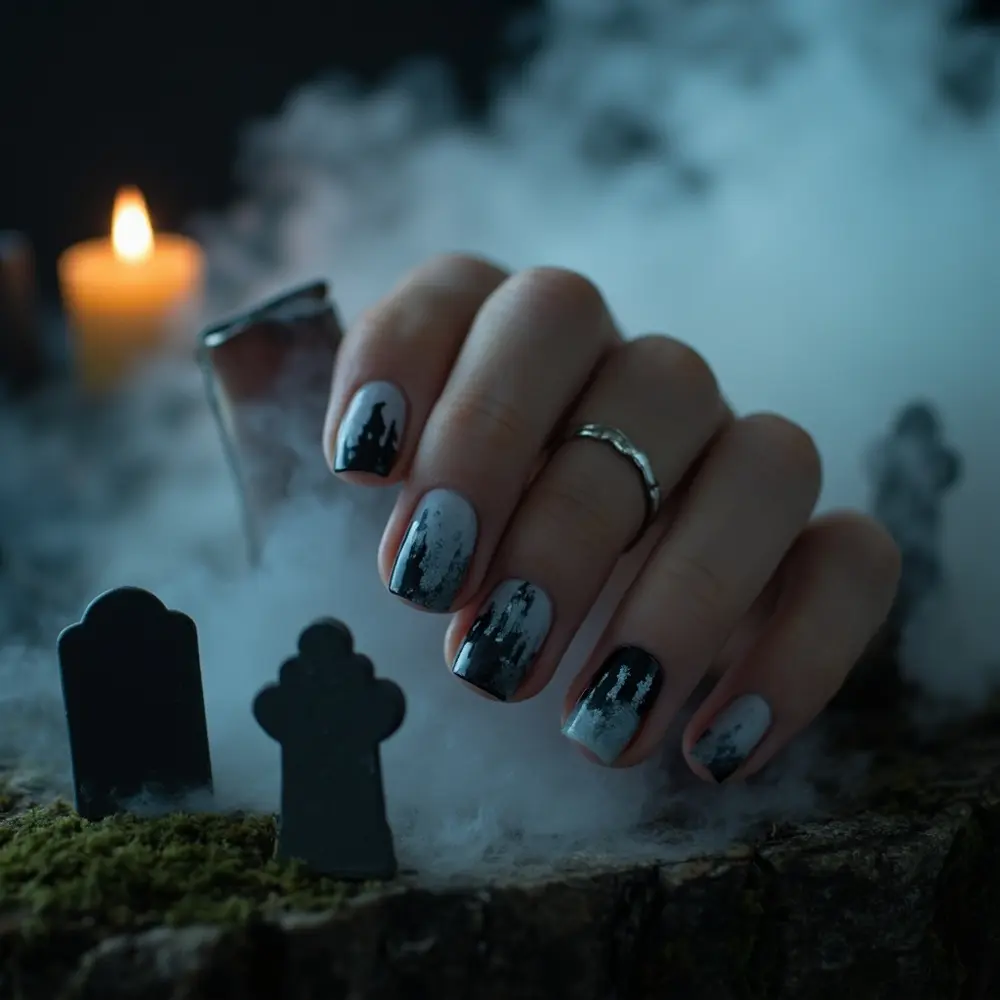
18. The Unseen Presence 👻
Sometimes the scariest things are what you don’t see. This design hints at a presence just out of sight, using subtle distortions or negative space, making it a truly psychological spooky nail art idea. You’ll need matte black, clear polish, and perhaps a subtle shimmer.
👑 Nancy’s Golden Rule: Using negative space or a very subtle, almost invisible shimmer is how you suggest an ethereal, unseen entity. On a matte black base, you can paint a faint, glossy outline of a figure using clear top coat, or strategically place a translucent shimmer that only catches the light at certain angles, hinting at movement in the darkness.
[Image Placement Instruction: image-18: Nails with a matte black base, featuring a subtle, almost imperceptible distortion, a faint, glossy outline of a figure, or a shimmer that suggests movement in the darkness.]
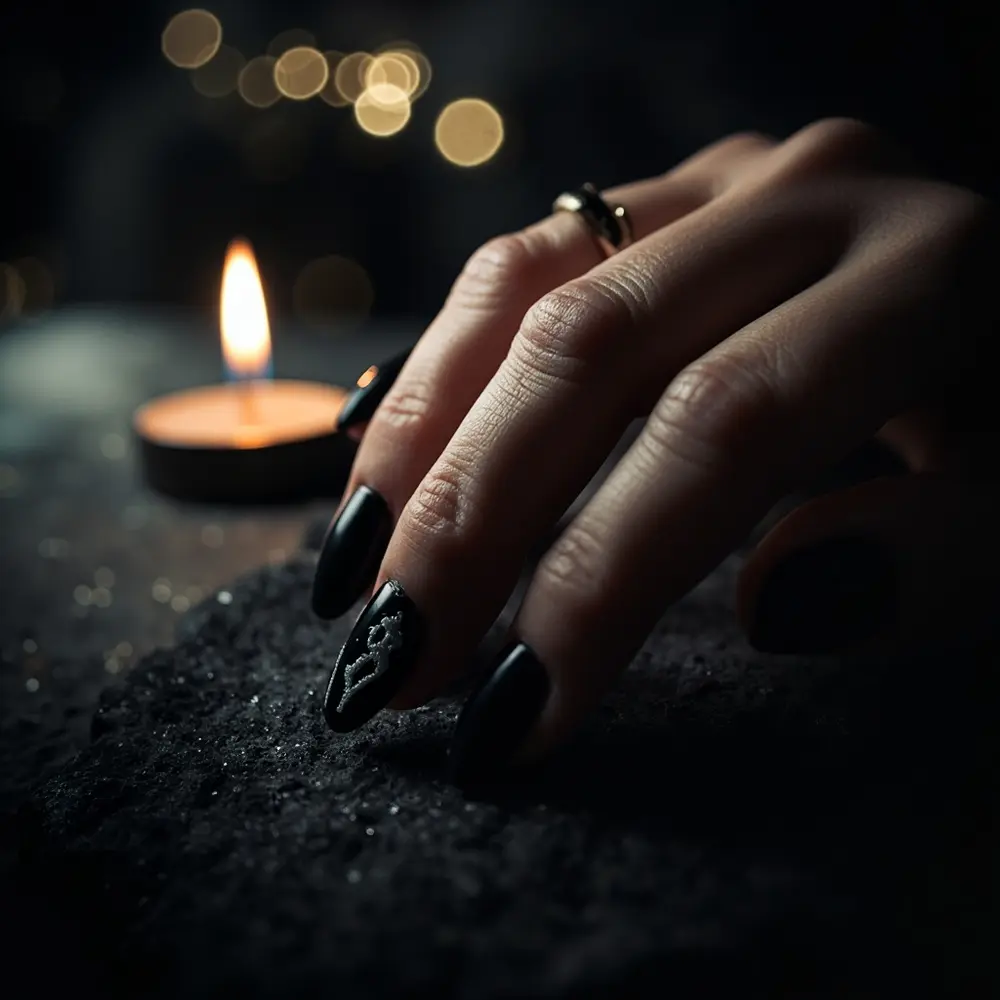
Mix & Match Your Magic ✨
- Combine a subtle texture (like Raven’s Feather) on one nail with a bold graphic (like Possessed Doll Eyes) on an accent nail for a balanced yet terrifying look.
- Host a “Spooky Nail Art Challenge” with friends, where everyone picks two ideas from the list and tries to blend them into a cohesive, unique design.
- Adapt any of the intricate designs for a single accent nail, keeping the rest of your nails a solid, dark, complementary color for a more understated spooky vibe.
Your Spooky Questions Answered 🤔
Q1: How can I make these intricate nail art designs last longer without chipping, especially during Halloween festivities?
To ensure your genuinely scary Halloween nails withstand all the spooky fun, proper prep is key! Start with clean, dry nails, use a good quality base coat, and apply thin layers of polish, allowing each to dry completely. Finish with a durable top coat – I always recommend a gel top coat cured under a UV/LED lamp for maximum chip resistance, even over regular polish, or at least two layers of a high-quality regular top coat. My community on Instagram often asks about this, and quality products are truly the solution!
Q2: What are the best budget-friendly alternatives for specialized nail art tools or polishes needed for these spooky designs?
You don’t need to break the bank for amazing dark aesthetic nails! For fine-tip brushes, try using an old eyeliner brush that’s been thoroughly cleaned, or even a sharpened toothpick for dots and very fine lines. Instead of expensive dotting tools, the end of a bobby pin or a dull pencil tip works wonders. For polishes, keep an eye out for drug store brands during sales – many offer excellent black, white, and dark shades that are perfect for these spooky nail art ideas.
Q3: Can these genuinely scary designs be adapted for shorter nails, and if so, what are the best techniques to maintain their impact?
Absolutely! Many of these creepy Halloween nails translate beautifully to shorter nails. For intricate designs like Gothic Graveyard Etchings or The Spider’s Silk Trap, focus on a single, impactful element rather than trying to fit too much detail. Negative space designs, like The Unseen Presence or The Shadow Hand’s Grasp, are also fantastic for shorter nails as they create drama without needing a large canvas. You can also opt for accent nails, applying a complex design to just one or two nails while keeping the others a solid, dark color for a cohesive look.
Unleash Your Inner Ghoul This Halloween!
From psychologically unsettling shadows to darkly romantic gothic art, these 18 genuinely spooky and scary Halloween nail ideas are designed to elevate your look beyond the ordinary. As a Style Maven, I know that the right nail art is the ultimate accessory for completing any Halloween ensemble, adding that crucial layer of eerie sophistication or outright terror. So, get ready to unleash your creativity! Which of these genuinely creepy designs will you dare to try first this Halloween? Share your favorite in the comments below!
