DIY ‘Spooky One’ Balloon Arch: A Spooktacular First Birthday Guide
✨ From countless party planning spreadsheets to styling dozens of unforgettable first birthdays, I’ve mastered the art of creating magical moments. As a professional party planner, I’ve tested, failed, and discovered the secrets to show-stopping DIY party decorations that actually work.
😅 But I know the struggle. How do you create a balloon arch that looks professional and not like a Pinterest fail? Where do you even start with spooky one decor that’s more sweet than scary? I’ve been there, trying to make every detail perfect for those precious memories.
👑 That’s why in this post, I’ll show you exactly how to solve these challenges with my tested, no-fail balloon garland tutorial. Stick with me, and you’ll learn how to create a stunning centerpiece for a truly spooktacular first birthday celebration! 🎃
Tutorial At-a-Glance
Time Required: Approx. 2-3 hours (depending on arch size)
Budget Level: Mid-Range (DIY saves labor, but materials add up)
Skill Level: Beginner (no prior experience needed)
What You’ll Need for Your Spooky One Balloon Arch 🎃
✅ Assorted Balloons (various sizes: 5″, 10″, 12″, 18″ in “Spooky One” colors like black, white, grey, orange, purple, or pastels)
✅ Balloon Decorating Strip (or fishing line/string)
✅ Electric Balloon Pump (👑 Nancy’s Pick: I always recommend a dual-nozzle electric pump. It’s a total game-changer for efficiency and saves your lungs!)
✅ Balloon Tying Tool (optional, but highly recommended for saving your fingers)
✅ Glue Dots or Low-Temp Hot Glue Gun (for attaching smaller balloons and accents)
✅ Command Hooks or Wall Anchors (for hanging the arch)
✅ Scissors
✅ Optional: Themed accents like faux spiderwebs, plastic spiders, small bat cutouts, ghost cutouts, or “Spooky One” letter balloons.
Creating Your Spooktacular ‘Spooky One’ Balloon Arch: Step-by-Step Guide 🎈
A question I get all the time in my Instagram community is, “Nancy, how can I create something truly special for a first birthday without hiring a professional?” My answer is always a stunning balloon arch! It has the biggest visual impact and is surprisingly simple to make. This balloon garland tutorial is my gift to all the parents out there wanting to add a personal, magical touch to their little one’s big day.
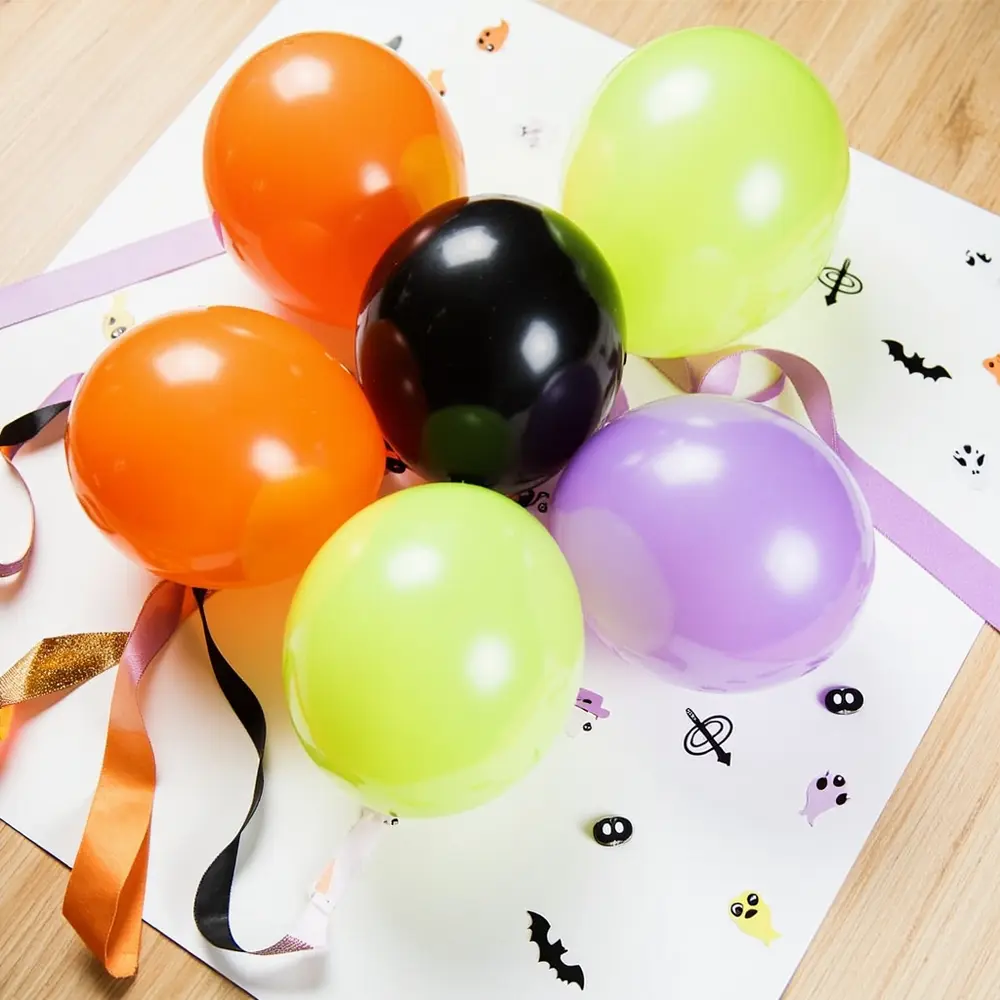
Step 1: Gather Your Spooky Supplies & Plan Your Arch
Before you inflate a single balloon, take a moment to plan. Lay out all your materials so everything is within reach. Visualize where you want to hang your arch—over a high chair, a dessert table, or as a photo backdrop. Having a clear plan for the shape and placement will make the entire process smoother. My go-to trick is to take a quick photo of the space on my phone and sketch the arch shape right over it!
[Image Placement Instruction: image-1: All materials laid out neatly on a flat surface, perhaps with a small sketch of the desired arch shape.]
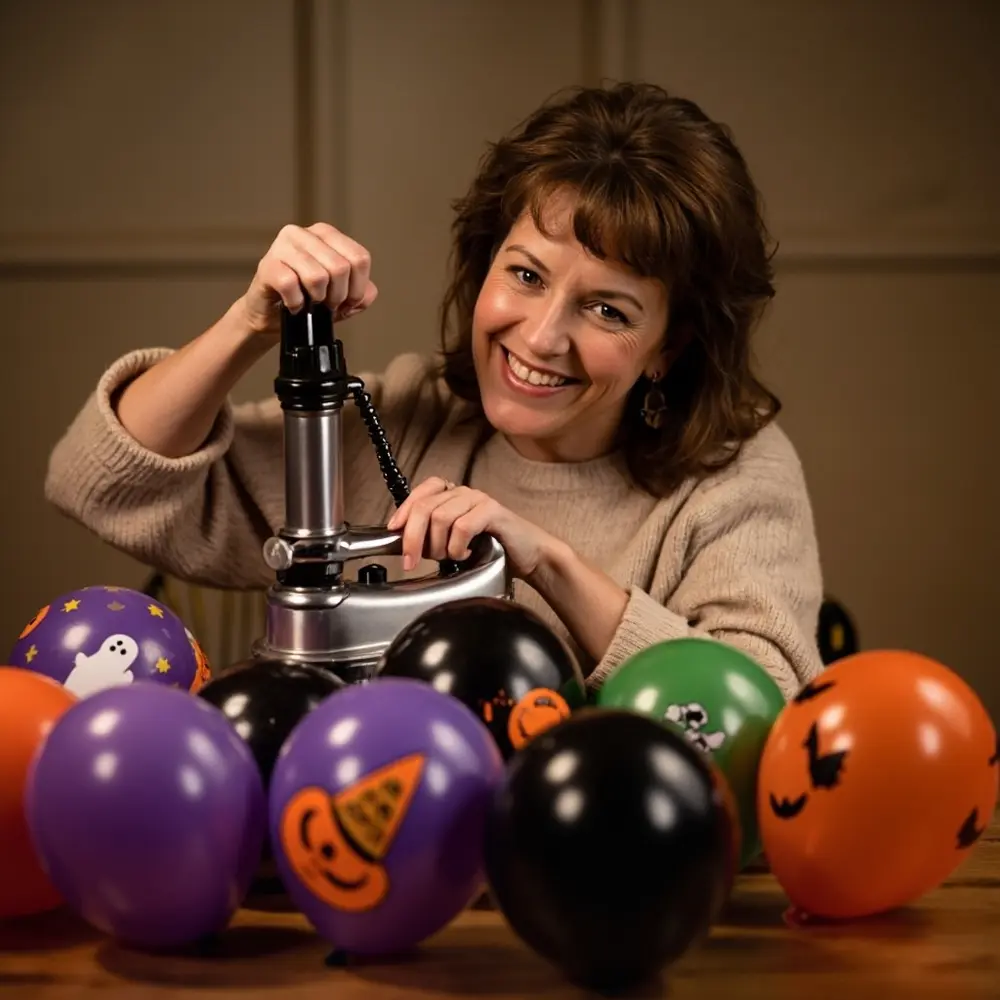
Step 2: Inflate Your Balloons (The Smart Way!)
This is where your electric pump becomes your best friend. To get that gorgeous, organic look, you need variety. Inflate your 10″, 12″, and 18″ balloons to about 80-90% of their full capacity. This not only prevents popping but also gives them a rounder, more professional shape. Inflate your 5″ balloons last, as you’ll use these to fill in gaps at the end.
⚠️ Safety First: Do not over-inflate your balloons, as this makes them more likely to pop. Always supervise children if they are nearby during the inflation and assembly process.
💡 Pro-Tip: For a truly custom color palette or a more opaque, high-end look, try “double-stuffing” your balloons. Simply place one balloon inside another (e.g., a black balloon inside a white one for a chic grey) before inflating. It takes a little extra time but the result is stunning!
[Image Placement Instruction: image-2: Hands using an electric balloon pump to inflate balloons of various sizes.]
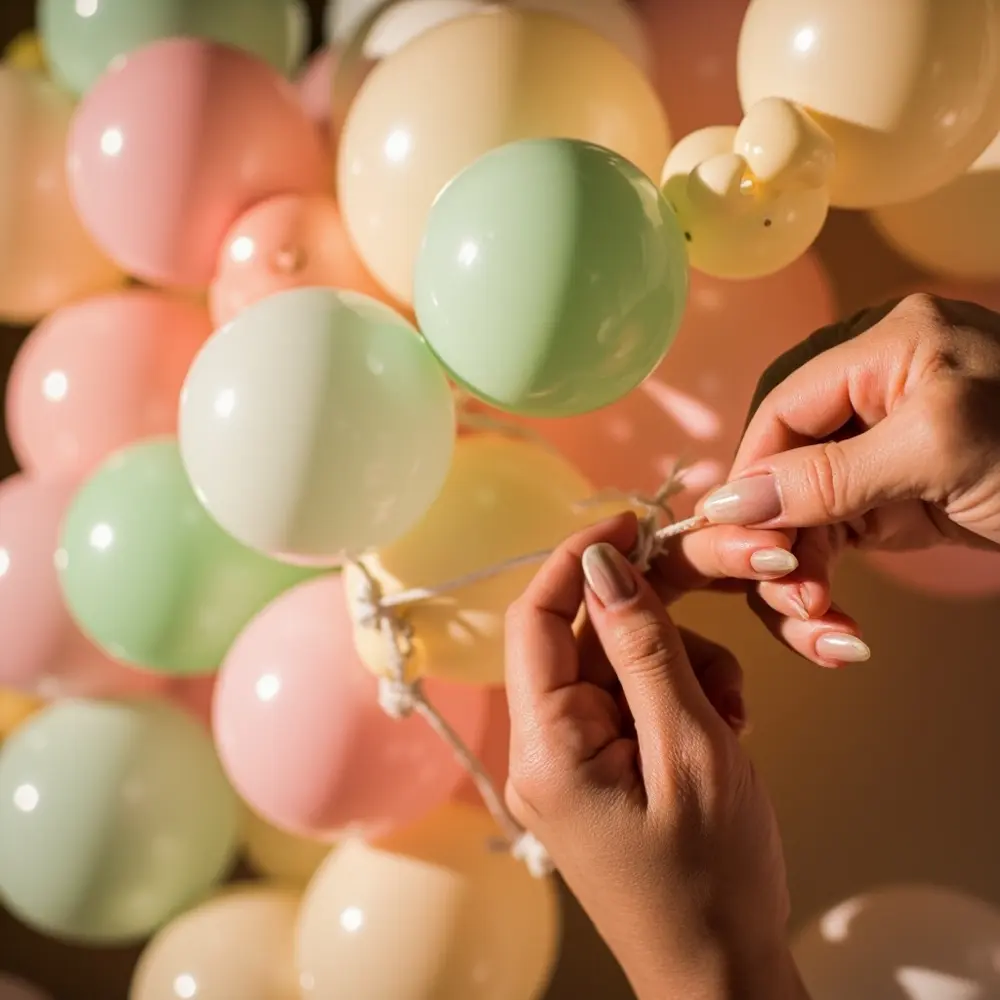
Step 3: Assemble Your Balloon Garland Strip
Now for the fun part! Start threading your larger, inflated balloons (10″ and 12″) into the holes of the balloon decorating strip. My method for a full, dynamic look is to alternate colors and sizes as you go. A mistake I always see is people skipping too many holes to save time. Trust me, threading a balloon every second or third hole will give you that lush, gap-free finish you’re looking for.
[Image Placement Instruction: image-3: Close-up shot of hands attaching balloons to the balloon decorating strip, showing the alternating pattern.]
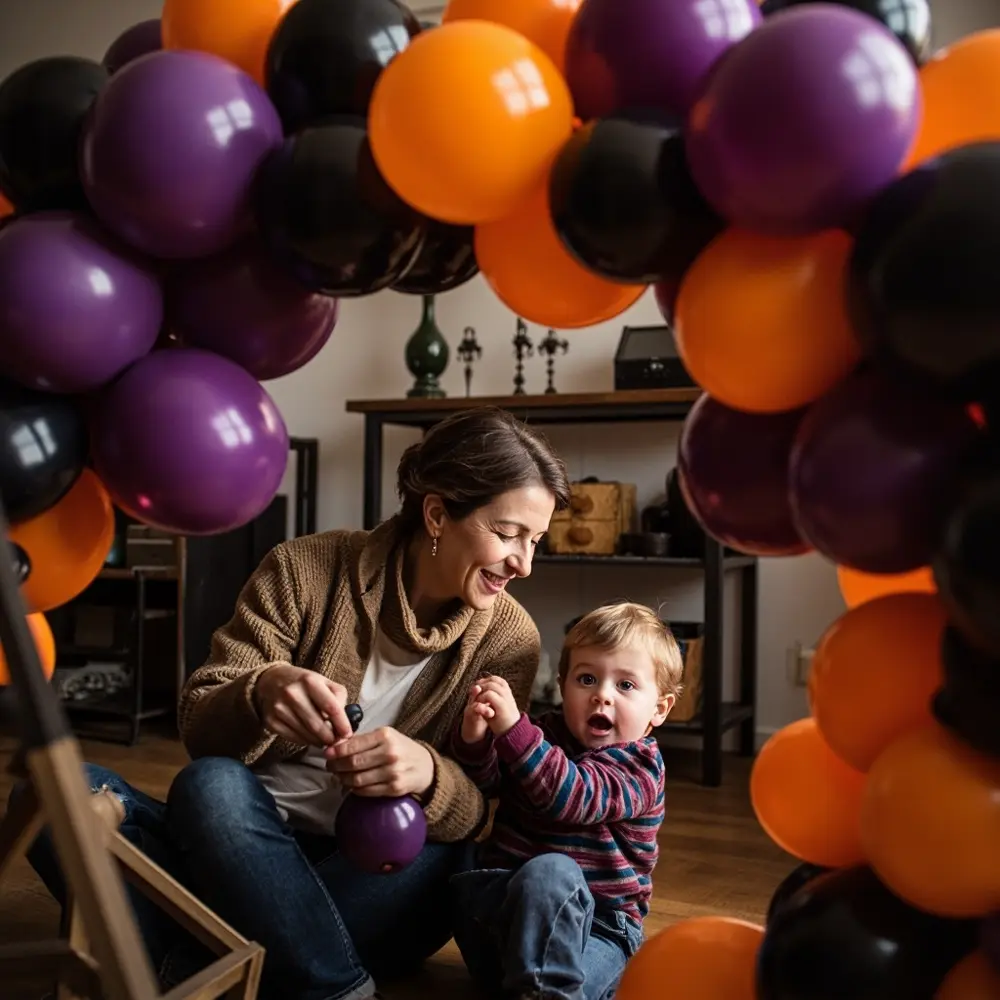
Step 4: Add Dimension with Smaller Balloons & Themed Accents
Once your main garland is built, it’s time to add the magic. This is where your arch goes from good to great! Use glue dots or a low-temp glue gun to attach the small 5″ balloons into any gaps or crevices. This step is crucial for creating a full, three-dimensional look. Now, strategically place your themed accents—add a cluster of bats taking flight from one side, tuck in a few friendly ghosts, or drape some faux spiderwebs for that perfect “Spooky One” feel.
💡 Pro-Tip: To create even more dimension, use fishing line to tie 3-4 of the small balloons together into a mini-cluster. You can then tie these clusters directly onto the main arch in areas that need a little extra volume.
[Image Placement Instruction: image-4: A photo showing the arch partially assembled, with smaller balloons and decorative elements being added to fill in gaps.]
Step 5: Secure Your Arch in Place
With your masterpiece complete, it’s time to hang it. I swear by Command hooks for a damage-free installation. Attach the hooks to the wall in your desired shape, then use string or the ends of the decorating strip to loop around the hooks and secure the arch. Step back, adjust the shape as needed, and get ready for the compliments to roll in!
⚠️ Safety First: Ensure the arch is securely fastened to the wall, especially if it’s in an area accessible to small children or near the high chair. Give it a gentle tug to make sure it won’t fall.
[Image Placement Instruction: image-5: A photo showing the completed balloon arch installed in its party location, ready for the celebration.]
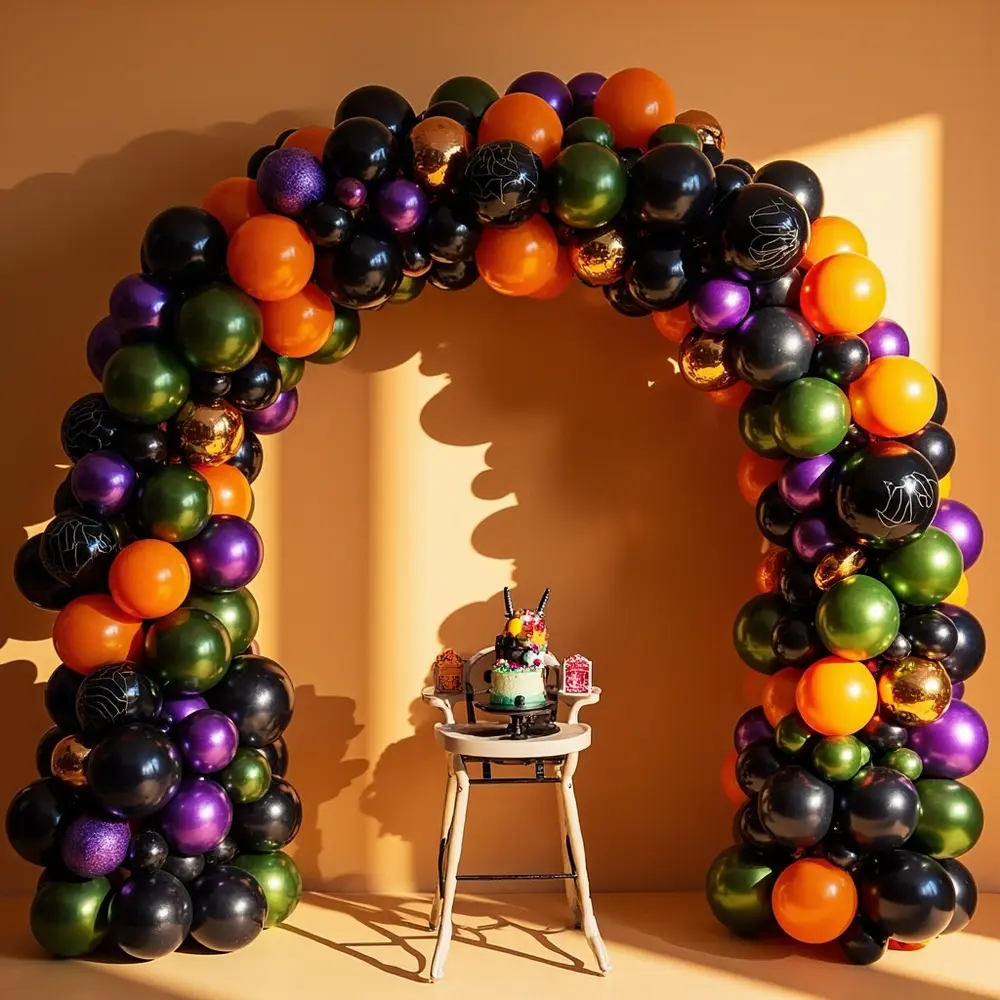
Pastel & Themed Variations for Your ‘Spooky One’ Arch 👻
One of the best things about a DIY pastel balloon arch is how easily you can customize it! Here are a few of my favorite twists on the “Spooky One” theme:
- Pastel Perfection: Swap traditional Halloween colors for soft lavender, mint green, baby pink, and light grey for a whimsical, less spooky vibe. Think “sweetly spooky.”
- Gothic Glam: Incorporate deep jewel tones like burgundy, emerald green, and navy blue with black and gold accents for a sophisticated “Spooky One.”
- Friendly Ghosts & Ghouls: Focus on white, grey, and light blue balloons, adding friendly ghost cutouts and smiling pumpkin faces for a cute, not scary, theme perfect for a first birthday.
‘Spooky One’ Balloon Arch FAQs 🤔
Q1: How far in advance can I make my balloon arch without the balloons deflating?
You can safely make your air-filled balloon arch 24-48 hours in advance. Air-filled balloons (especially high-quality ones) hold up much longer than helium. To keep it looking fresh, store it in a cool, dark room away from direct sunlight until you’re ready to hang it.
Q2: What if my balloons keep popping during inflation or assembly?
Popping is usually caused by one of three things: over-inflation, low-quality balloons, or heat/sunlight. Make sure you’re only inflating them to about 90% capacity. If they continue to pop, check that your work area is free of sharp objects and try to assemble the arch indoors in a climate-controlled space.
Q3: How can I hang the balloon arch without damaging my walls or paint?
Command hooks are your best friend for this! They are designed to be removed cleanly without leaving residue or peeling paint. Just be sure to buy the right size for the weight of your arch (the medium or large hooks are usually perfect) and follow the package instructions for application and removal.
I hope this guide helps you create the most spooktacular first birthday balloons for your little one! Building something beautiful with your own hands is one of the best parts of party planning.
What color palette are you dreaming of for your ‘Spooky One’ celebration? Let me know in the comments below
