How to Get the Most Out of Your Store-Bought Halloween Props
Do you ever look at your collection of store-bought skeletons, ghosts, and gravestones and feel like something is missing? 🤔
You’ve spent good money on some awesome Halloween props, but when you set them up, they just feel a little… generic. They don’t have that chilling, cohesive look I know you’ve seen on spooky blogs or social media. 👻
The great news is, you don’t need to buy more stuff! You just need to unlock the hidden potential of what you already own. This tutorial is my guide for the practical decorator who wants to transform standard props into a stunning, personalized display that will be the talk of the neighborhood. Let’s get started! 🎃
- Difficulty Level 🦴: Easy/Beginner
- Time to Complete ⏳: Approx. 2-3 hours (plus paint drying time)
- Estimated Cost 💰: Under $50 (for paints & supplies)
- Prerequisites 🧠: A collection of store-bought Halloween props and a love for all things spooky!
Prerequisites: What You’ll Need Before You Start 🛠️
Before we bring your ghoulish vision to life, you’ll need to gather a few essential tools and materials. I promise, most of these are inexpensive and you can find them at any craft or hardware store. This small bit of prep will make the entire process so much smoother.
Requirements Checklist:
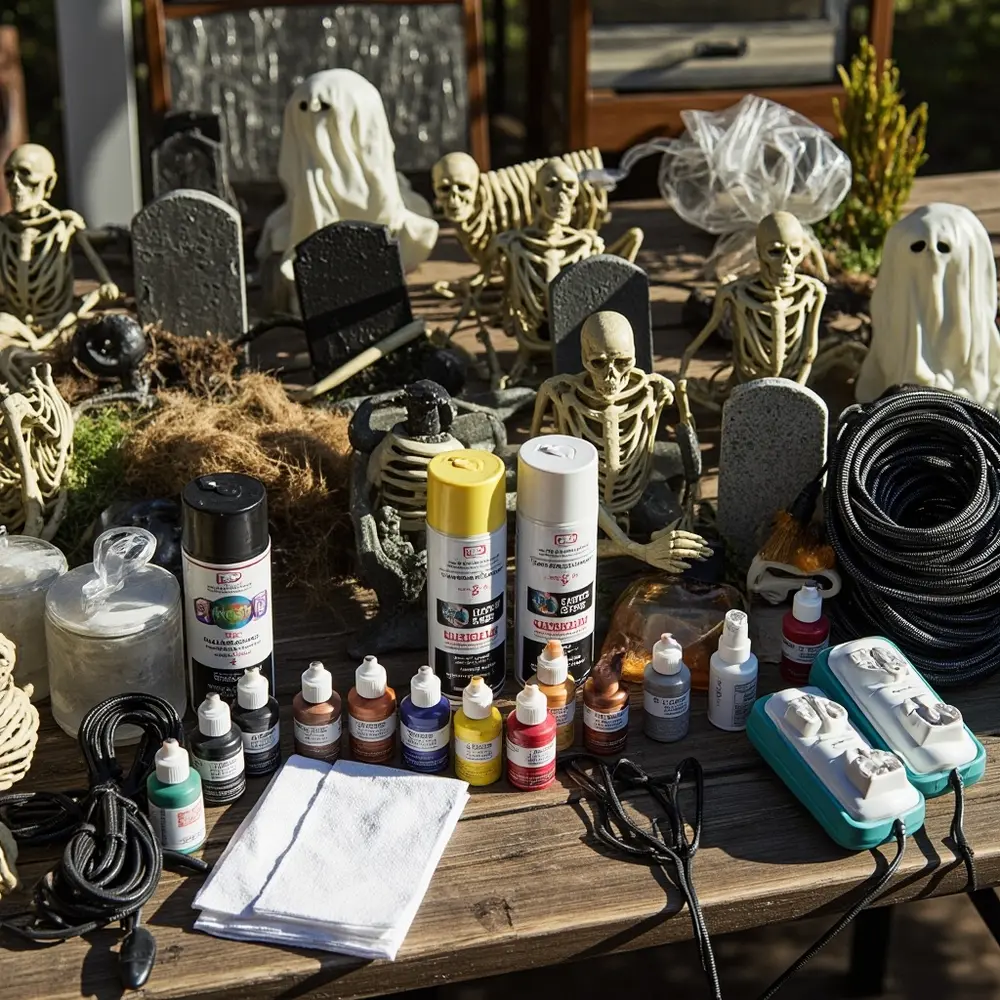
- Your Core Props: Grab those skeletons, tombstones, ghosts, and witches!
- Acrylic Craft Paints: A basic set is perfect. Make sure you have black, brown, dark green, and a bone-white.
- Paintbrushes: You don’t need anything fancy. A mix of cheap chip brushes and a few smaller detail brushes works great.
- Matte Clear Coat Spray: This is my secret weapon for protecting your work. I recommend something like Krylon Matte Finish Spray.
- Spray Bottle: Just a simple one filled with water for our weathering techniques.
- Paper Towels or Old Rags: You’ll need these for dabbing and wiping away paint.
- Outdoor-Rated Spotlights: LED spotlights work best. I suggest starting with a set of 2-3 colored LED spotlights from a home improvement store.
- Extension Cords & Power Strips: Make sure they are specifically rated for outdoor use. Safety first!
Initial Setup:
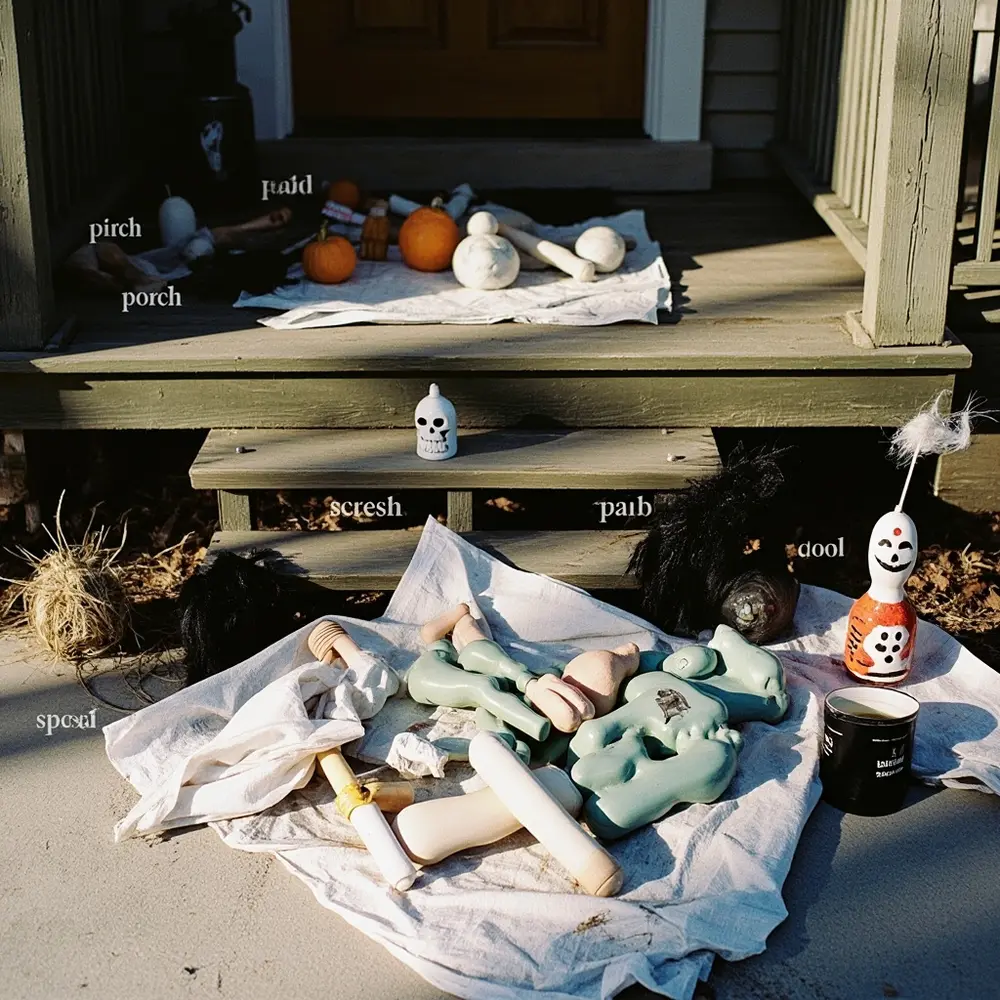
First, give your props a quick bath. Just wipe down any plastic or resin props with a damp cloth to remove dust and dirt. This helps the paint stick much better.
Next, lay down a drop cloth or some old newspapers in your workspace. I’ve made this mistake before, and trust me, you don’t want to explain spooky paint stains on the patio.
Finally, organize your props by the area you plan to decorate. I like to make a “porch pile” and a “yard pile” to keep things organized.
⚠️ Warning: When you’re using spray paint or clear coats, please always work in a well-ventilated area. I always do this stuff outdoors and wear a mask. It’s super important.
Step-by-Step Tutorial 🛠️
Step 1 – Give Your Props a “Character” Makeover with Weathering
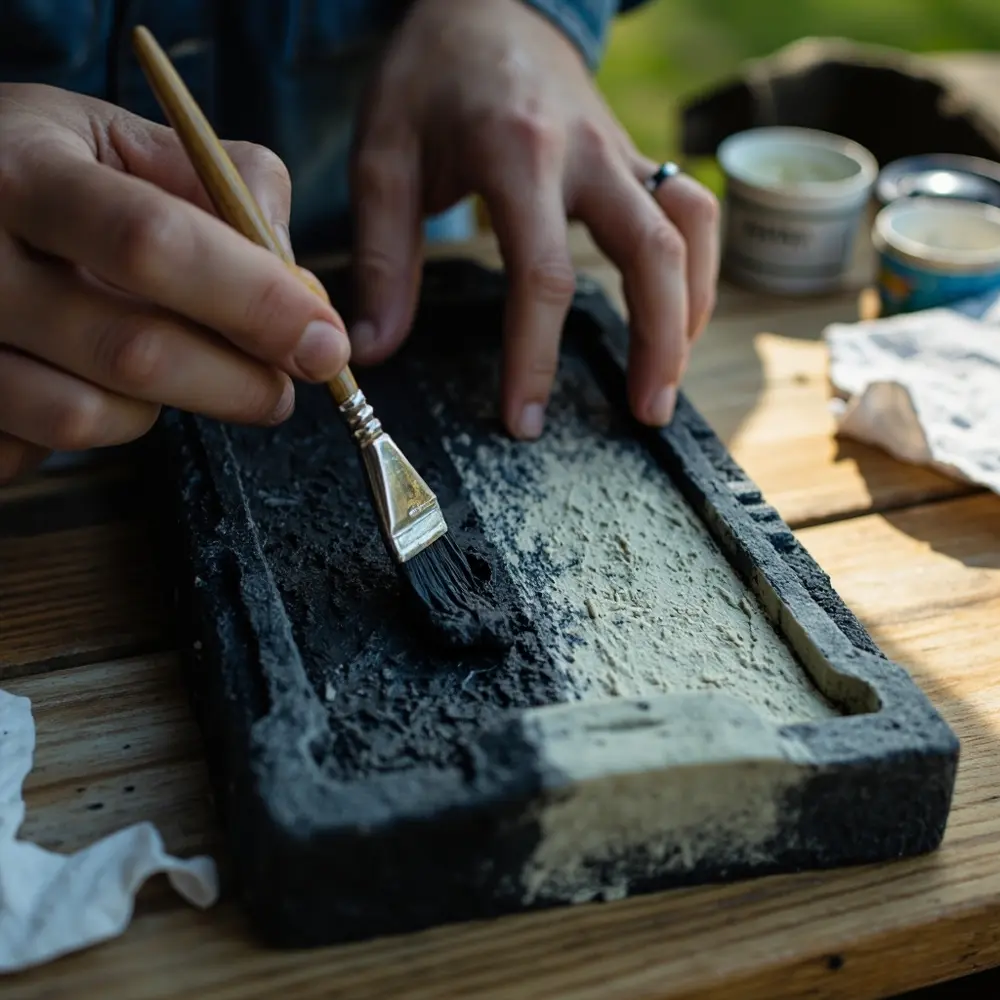
Our first goal is to get rid of that shiny, “fresh from the store” look. We want to make your plastic and resin props look aged, dirty, and a whole lot more realistic.
- Take your black or brown acrylic paint and water it down slightly in a small cup. I aim for about 2 parts paint to 1 part water. This creates what we call a “wash.”
- Brush the wash generously all over your prop. Don’t be shy! Make sure it gets into all the little cracks, letters, and crevices.
- Before it has a chance to dry, use a damp paper towel or an old rag to wipe the wash off the raised surfaces. The dark paint will stay behind in the crevices, which instantly adds depth and a spooky, aged look.
- For a cool “dry brush” effect, dip the very tip of a dry brush in a lighter color (like bone-white for skeletons). Wipe most of the paint off on a paper towel until the brush is almost dry. Then, lightly go over the raised surfaces to create awesome highlights.
My Personal Tip: From my experience building props for clients, I’ve learned to embrace the mess. The goal here is imperfection. Real bones and old stones aren’t perfectly clean, so don’t be afraid to let your props get a little grungy!
Step 2 – Create a Focal Point and Tell a Story
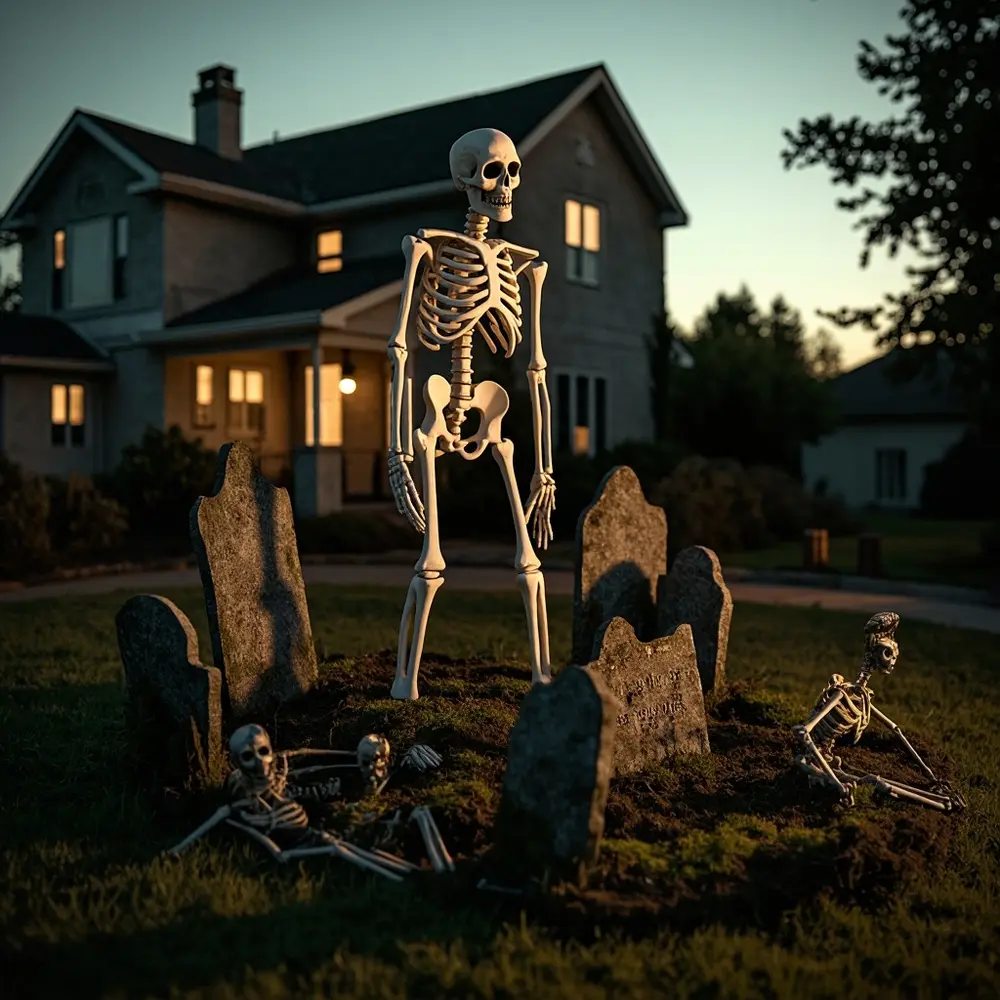
This is where we move from just placing props to actually designing a scene. We want to arrange them in a way that tells a little story and draws your eye to one central point.
- First, figure out your primary viewing area. This is usually the walkway to your front door or the view from the sidewalk.
- Next, choose your “hero” prop. This should be your largest or most interesting item, like a full-size skeleton or a bubbling witch cauldron. Place this right in a prominent position.
- Arrange your other props in relation to your hero. For example, have smaller skeletons trying to crawl out of the ground your main skeleton. Or, group your tombstones into a small cluster to create a mini-cemetery instead of just lining them up.
- Think in triangles. I’ve found that grouping items in threes or fives at different heights is way more visually interesting than using even numbers or straight lines. It’s a simple design trick that makes a huge difference.
Step 3 – Unify Your Scene with Strategic Lighting
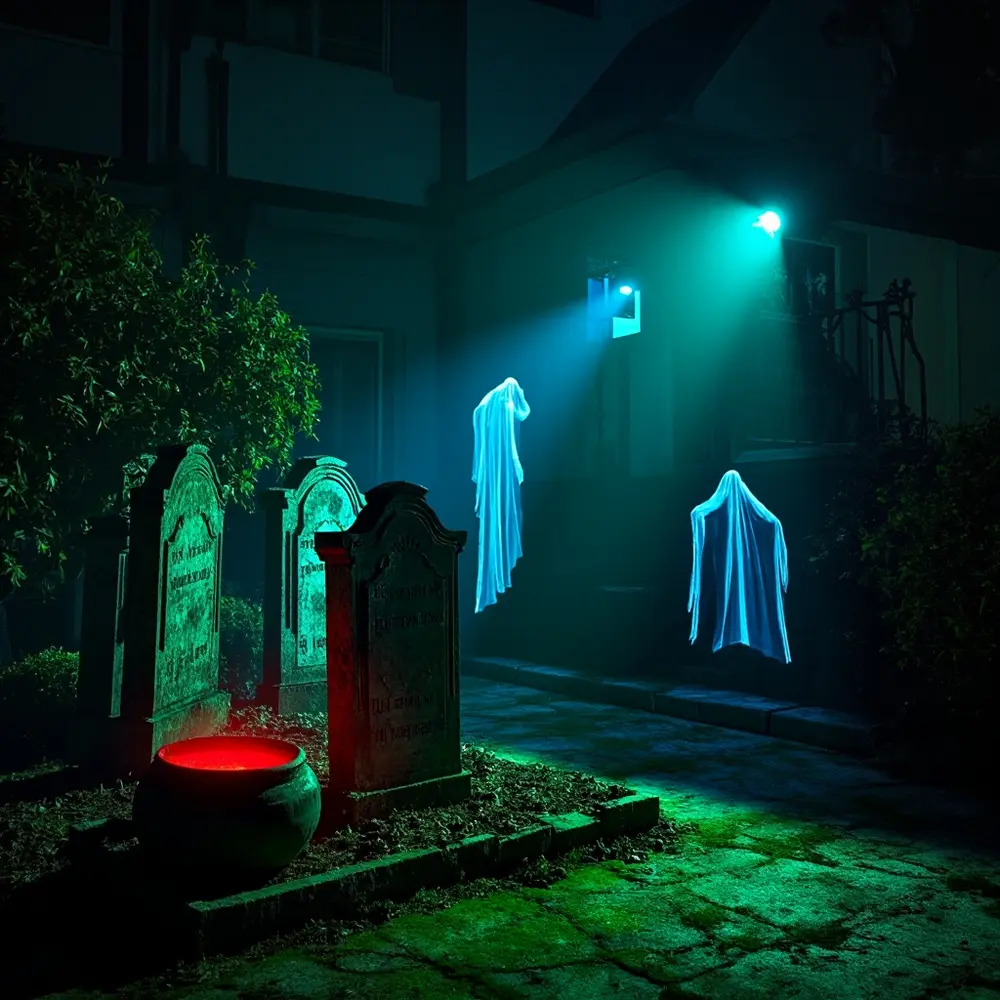
Light and shadow are your best friends for creating drama! Good lighting can also hide imperfections (like cords) and make your entire display pop in the dark.
- Place your spotlights on the ground, and try to hide them behind other props, bushes, or tombstones.
- Instead of pointing a light straight at a prop, aim it upwards from below. This is called “uplighting,” and it creates those classic spooky, unnatural shadows that look so cool.
- Use color with a purpose. A green light aimed at a tombstone cluster looks incredibly eerie. A red light inside a cauldron makes it look like it’s on fire. I like to use a cool blue or white light on ghosts and ghouls to make them feel more spectral.
- Don’t light everything! Leaving some areas in shadow is just as important. It makes the parts you light feel much more impactful.
Important Note: Please double-check that all your cords and connections are rated for outdoor use and protected from any moisture. We want spooky fun, not electrical hazards!
Step 4 – Testing Your Final Look
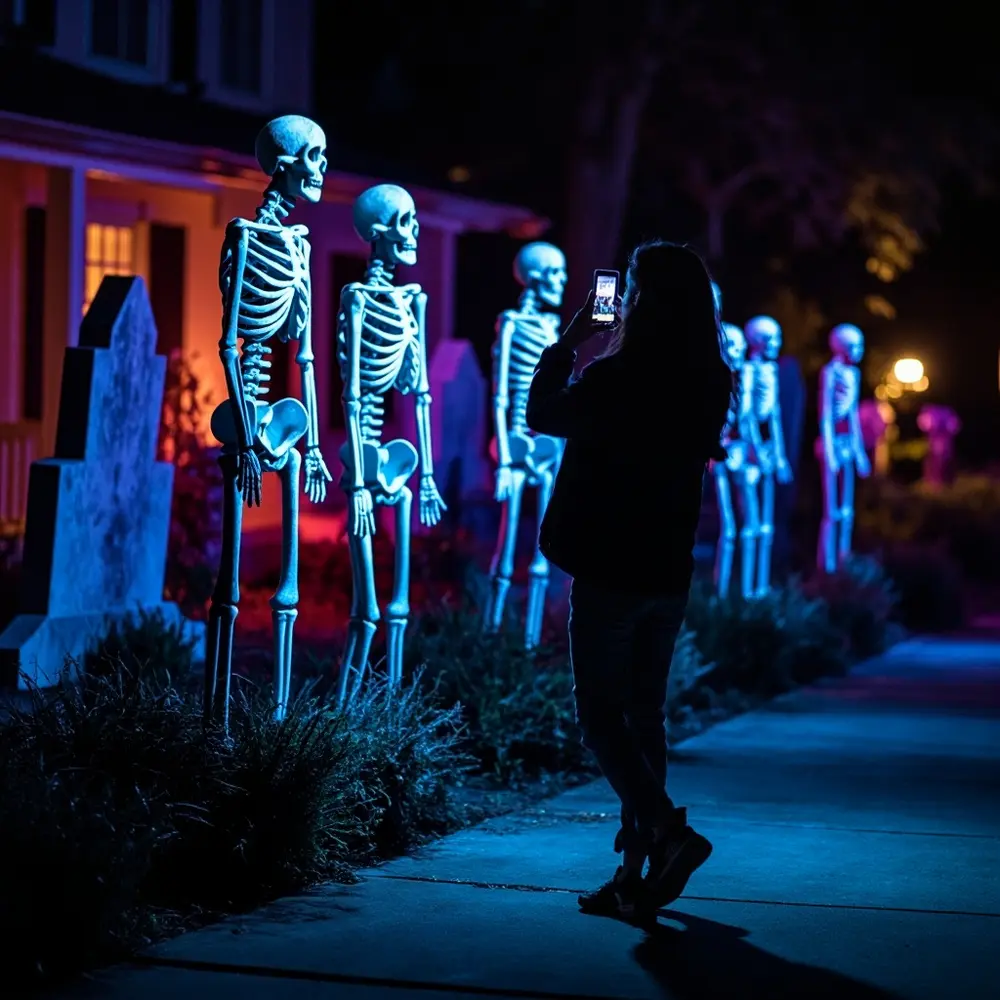
Okay, the final and most exciting step! We need to make sure your scene looks amazing from all the key angles, both during the day and especially at night.
- Wait until it gets dark and turn on all your lights. The big reveal!
- Walk up to your display from the street or sidewalk. See it the way a visitor or trick-or-treater would for the first time.
- Look for “dead spots” that are too dark or distracting things like visible cords. Now is the time to adjust your lights or props.
- Take a photo with your phone! It’s funny, but a camera often reveals things you might not notice with your own eyes, like weird bright spots or awkward shadows.
Your expected result should be a cohesive and dramatic scene that looks totally intentional and super spooky. The weathering on your props should be visible under the lights, adding that extra layer of realism.
Beyond Single Props: How to Build a Cohesive Halloween Scene 👻

This is where you graduate from a decorator to a true scene designer. I’ve seen it time and time again—the biggest mistake people make is treating each prop as a separate item. The real secret to a high-impact display is making your props interact with each other and their environment. Your yard is a stage, so what story is it telling?
- Create Mini-Scenes (Vignettes): Instead of one skeleton over here and one tombstone over there, create small, self-contained stories. For example, I once positioned a skeleton so it looked like it was trying to climb out of a window box, while another skeleton on the ground below was reaching up to help it. It was a huge hit!
- Establish a Clear Theme: Let your props guide your theme. If you have mostly skeletons and tombstones, you’ve got a graveyard theme. Don’t throw a cheerful-looking inflatable pumpkin in the middle of it. Stick to the theme for a stronger, more professional look. The weathering technique from Step 1 is perfect for unifying props from different stores.
- Use the “Supporting Cast”: Your store-bought props are the stars, but they need support. Use cheap, natural materials to fill out the scene. I always scatter dead leaves from my yard around my tombstones. You can also lean old, broken branches against the house near your witch prop or drape torn cheesecloth over everything to tie it all together.
Troubleshooting & Common Questions ❓
Why is paint scraping off my plastic props?
This is a super common question! It usually happens for two reasons. First, the plastic might have been a little dirty or oily. That’s why cleaning them first is a key step. Second, and this is crucial, you must seal your paint job with a matte clear coat spray. This protects the paint from chipping and from rain or morning dew.
How do I keep my props from blowing over in the wind?
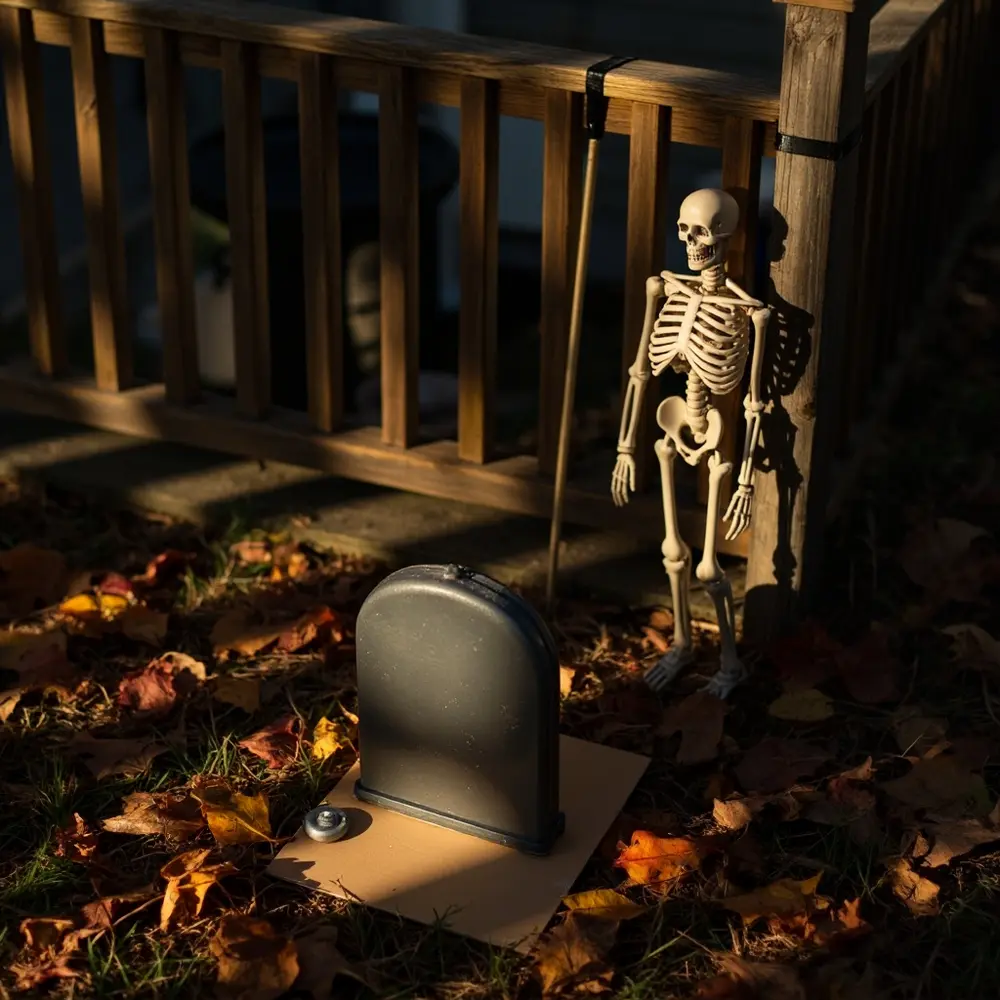
Ah, the classic battle against the wind! For lightweight props like plastic tombstones, I glue them to a small piece of plywood. This gives them a wider, more stable base that you can weigh down with a rock. For taller props like skeletons, I use black zip ties to secure them to porch railings or trees. You can also drive a piece of rebar or a garden stake into the ground right behind them and tie the prop to it.
Can I paint my animatronics or inflatables?
You can definitely use the lighting and scene-building tips for any prop! However, I’d be very careful when painting animatronics. You have to avoid getting paint in any of the moving joints or sensors. I do not recommend painting inflatables at all. The paint will just crack and flake right off as soon as you deflate it, creating a huge mess.
Next Steps & Further Optimization ✨
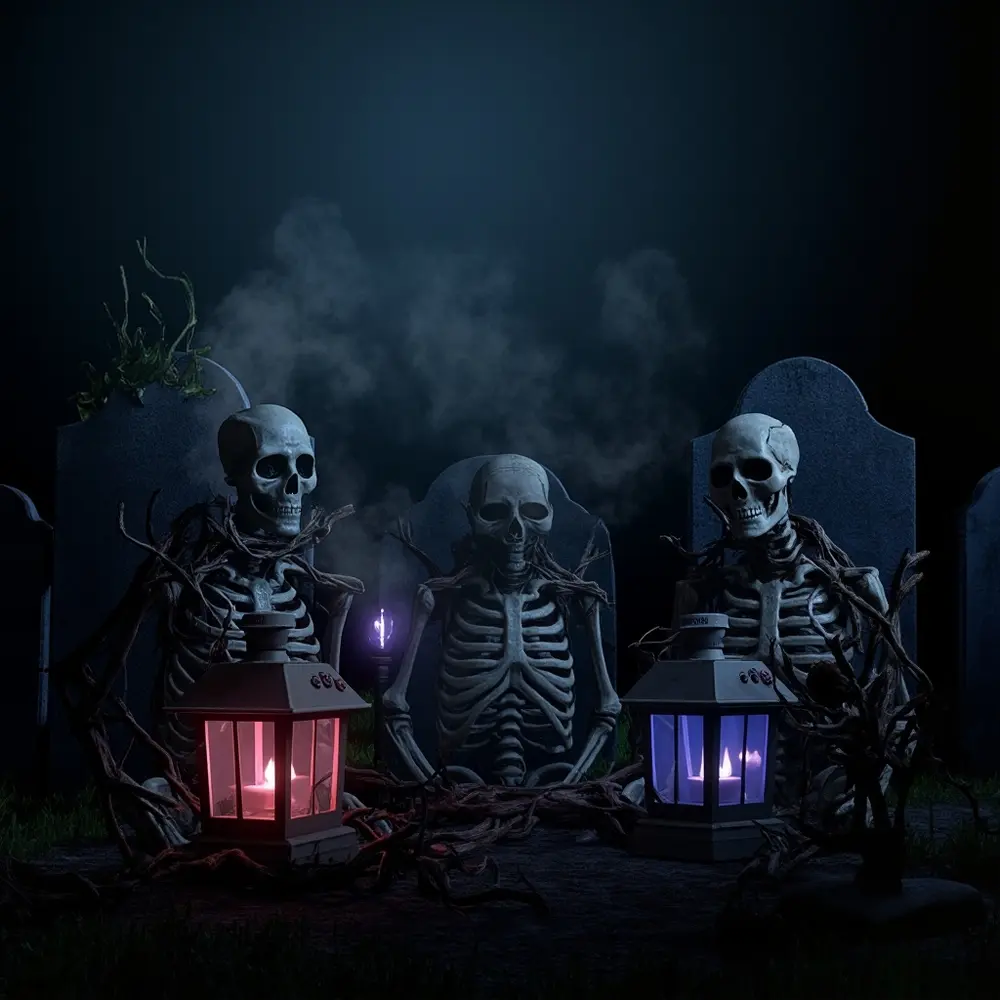
You’ve mastered the art of elevating your store-bought props! If you’re feeling ambitious and want to take your skills even further, here are a few things I’ve tried that have a huge impact.
- What to Do Next: Add sound! You can hide a small, cheap Bluetooth speaker near your scene and play a spooky ambient track on a loop. Search for “creepy forest sounds” or “haunted house ambience” online for some great free options.
- Optimization Tips:
- Add a Fog Machine: Nothing screams Halloween like a layer of low-lying fog. It can dramatically boost the atmosphere and does a great job of hiding lighting fixtures and cords.
- Incorporate Natural Elements: Weave some thorny vines or dead ivy through your skeletons’ ribcages. It gives them a truly ancient, overgrown look that is so creepy.
- Advanced Applications: If you’re feeling adventurous, you could look into basic motor kits. I once used one to make a static skeleton’s head slowly turn from side to side. It was simple to build and freaked everyone out!
My Final Thoughts 👻
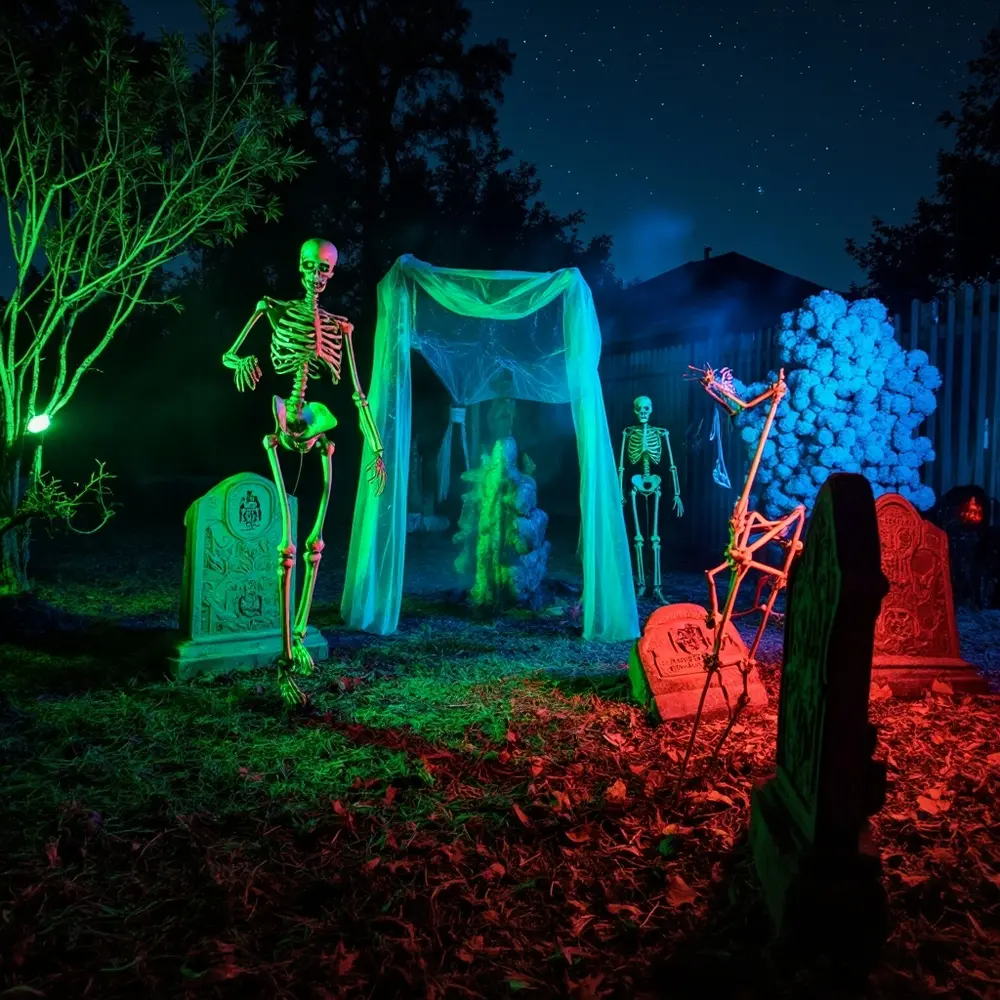
Congratulations! You’ve successfully transformed a simple collection of props into a chilling, cohesive, and totally unique Halloween masterpiece. You now have the skills to not just decorate, but to design a scene that tells a story and creates a memorable experience for everyone who sees it.
By focusing on customization, composition, and lighting, you’ve unlocked a new level of creativity. Your yard is now proof that it’s not about how much you spend on props, but how much imagination you use with them.
So, what amazing scene did you create with your props? I’d love to hear about it in the comments below!
Quick Reference Guide
- [ ] Gather Materials: Props, paints, brushes, clear coat, lights.
- [ ] Clean & Prep: Wipe down all props.
- [ ] Weather & Customize: Apply paint washes and dry brush details.
- [ ] Seal Your Work: Apply a matte clear coat.
- [ ] Build Your Scene: Create a focal point and tell a story with prop placement.
- [ ] Add Lighting: Use uplighting and color to create drama.
- [ ] Test & Refine: Check your scene at night and make adjustments.
