The Ultimate Parent’s Guide to Toddler Face Paint (Puppy, Butterfly & More!)
✨ Looking into a mirror after hours of makeup trials, I’ve learned one thing: the best transformations are often the simplest. As a professional costume and makeup artist, I’ve mastered everything from complex special effects to quick, magical looks—testing, fixing fails, and discovering solutions that actually work for the littlest faces.
😅 But I know the struggle: How do you paint a wiggly toddler’s face without a meltdown? What paints are actually safe for their sensitive skin? I’ve been there, trying to create a cute look while a little one is more interested in grabbing the brush.
👑 That’s why in this post, I’ll show you exactly how to solve these challenges with my tested, 2-minute designs. Stick with me, and you’ll learn how to create adorable Halloween looks safely and quickly while creating magical memories with your loved ones! 🎃
Tutorial At-a-Glance
Time Required: Approx. 2-5 minutes per design
Budget Level: Low-Cost to Mid-Range (depending on paint kit)
Skill Level: Beginner / No-Artistic-Skill-Needed
What You’ll Need for Toddler-Safe Face Painting 🎨
My go-to trick for a flawless and fun experience is having everything ready before you even bring your toddler to the “makeup chair.” After testing dozens of kits over the years, I’ve found that a simple setup is all you need.
- ✅ Kid-Safe Face Paint Kit (👑 Nancy’s Pick: I always recommend a trusted, water-based brand like Snazaroo. As a Costume + Makeup Artist, I rely on it because it’s non-toxic, hypoallergenic, FDA-compliant, and washes off with just soap and water. It’s vibrant, easy to apply, and perfect for sensitive toddler skin.)
- ✅ Soft Brushes & Sponges (specifically for face paint)
- ✅ Wet Wipes or Damp Cloth
- ✅ Small Mirror (optional, for toddler engagement)
- ✅ Distraction (e.g., favorite toy, snack, or short video)
⚠️ Safety First: Essential Tips for Toddler Face Painting 🛡️
From my years as a makeup artist, the most important part of my toolkit has always been a “Safety First” mindset, especially with kids. Before you dip a single brush in paint, let’s go over the non-negotiables for protecting your little one’s delicate skin.
- Patch Test Always: This is my golden rule. Apply a small dab of each color you plan to use on your toddler’s inner arm 24 hours beforehand. If any redness or irritation occurs, do not use it on their face.
- Ingredient Check: Only use paints specifically made for skin. Look for labels that say “FDA-compliant,” “non-toxic,” “hypoallergenic,” and “water-based.” A mistake I always see is parents reaching for craft supplies—never, ever use craft paints, acrylics, or adult makeup, as they can contain harmful chemicals and cause severe reactions.
- Avoid Sensitive Areas: Keep paint away from the immediate eye area and lips. Never apply face paint over any cuts, scrapes, or broken skin.
- Supervision is Key: A toddler with a paintbrush can get creative in all the wrong places! Never leave your child unattended with face paint supplies.
- Gentle Removal: The best part about water-based paints is the easy cleanup. Use a soft cloth with warm water and a mild, baby-safe soap. For any stubborn spots, a little bit of baby oil on a cotton ball works wonders without harsh scrubbing.
2-Minute Designs: Easy Toddler Face Paint Tutorials 🖌️

The secret to toddler face painting is speed! These designs are created to be done in under two minutes, before your little one has a chance to get squirmy. My go-to trick for this is to focus on one or two simple elements rather than a full-face design.
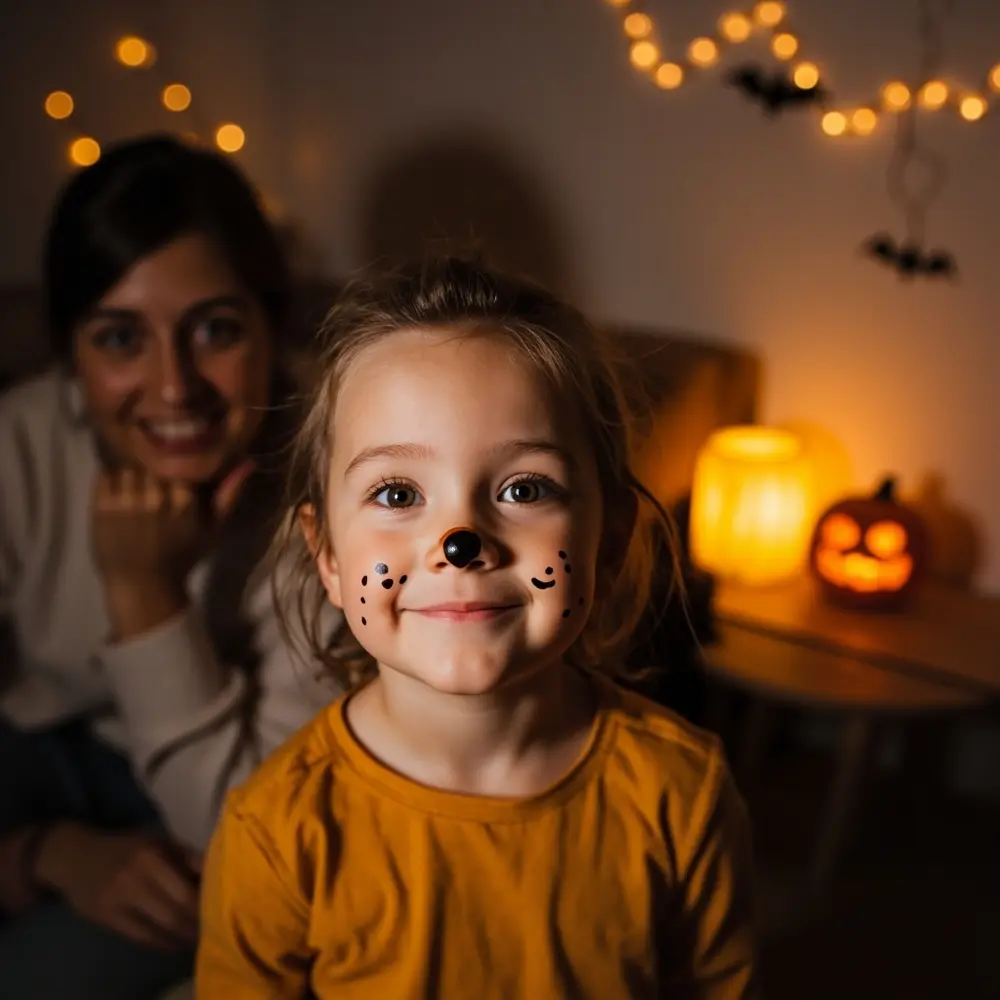
Design 1: The Cute Puppy Nose & Whiskers 🐶
- Using a small sponge or your fingertip, dab a black or brown circle onto the very tip of your toddler’s nose.
- With a thin brush, draw three small dots on each cheek, just beside the nose.
- From the dots, paint three quick, thin lines (whiskers) sweeping out across the cheeks. Woof, you’re done!
[Image Placement Instruction: image-1: A close-up of a child’s face with just the puppy nose and whiskers painted, smiling.]

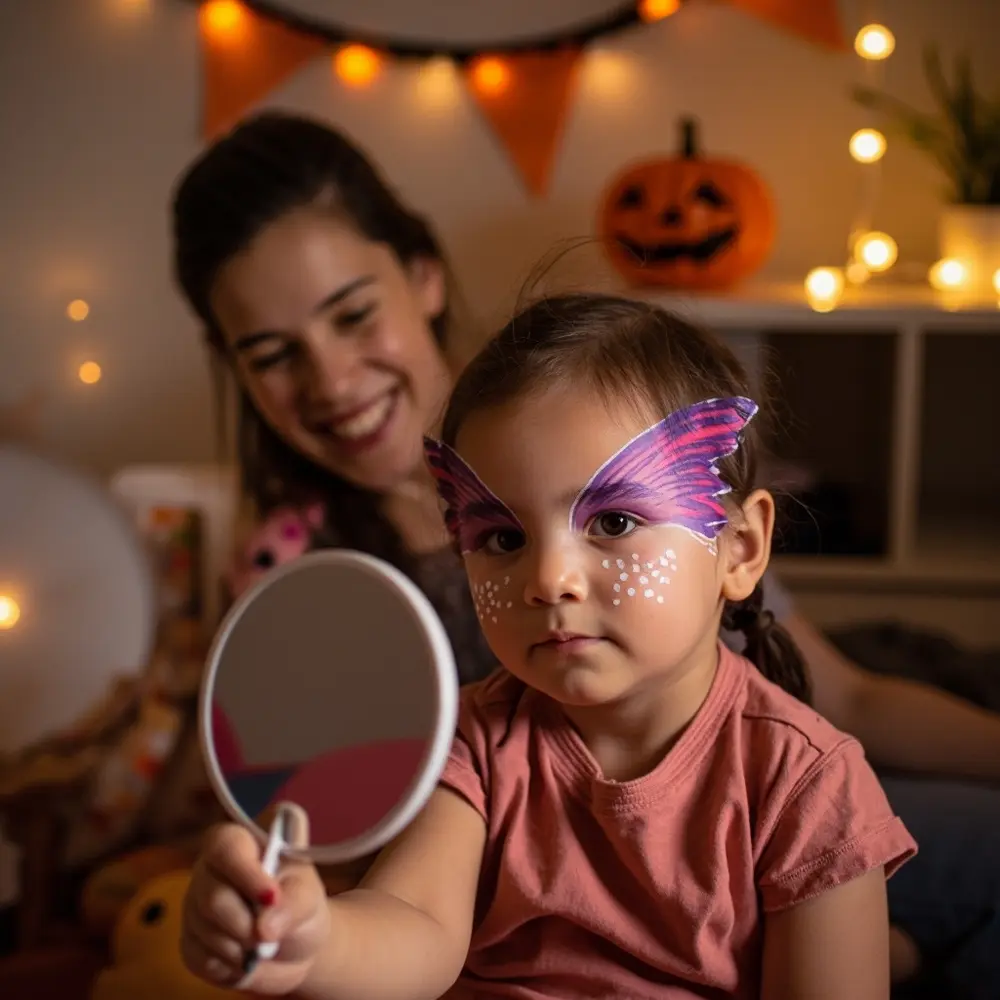
Design 2: Simple Butterfly Wings on Cheeks 🦋
- Choose two bright colors, like pink and purple.
- On one cheek, paint a simple wing shape starting from the outer corner of the eye and sweeping up and out towards the temple.
- Paint a slightly smaller wing shape just below it, sweeping out across the cheek.
- Repeat on the other side. Add a few white dots with a thin brush for a touch of magic!
💡 Pro-Tip: For the fastest color application, use a slightly damp makeup sponge. Load it with color and press it onto the cheek to create the main wing shape in one go. Then, you can use a brush for any small details.
[Image Placement Instruction: image-2: A child’s face with simple butterfly wing shapes on their cheeks, showing the quick application.]
Design 3: Friendly Tiger Stripes (Forehead & Cheeks) 🐯

- Using a flat brush loaded with orange or black paint, draw three quick, slightly jagged stripes on one side of the forehead.
- Add two more simple stripes on each cheek, starting near the nose and sweeping outwards.
- Keep the lines bold and simple—no need for perfection. Rawr!
[Image Placement Instruction: image-3: A child’s face with a few quick tiger stripes on the forehead and cheeks, demonstrating the ease of the design.]
Getting a Wiggly Toddler to Cooperate: Parent-Tested Strategies 🤝
A question I get all the time from parents in my community is, “How do you get them to sit still?!” It’s the ultimate challenge, but turning it into a fun activity instead of a chore is the secret. After years of practice, these are my foolproof strategies.
- Keep it Short & Sweet: I can’t say this enough—stick to the 2-minute rule! Talk about the design beforehand so they know what to expect.
- Make it a Game: Don’t just paint; perform! Use silly voices and sound effects. “Okay, let’s paint a little puppy nose… boop! Now for some whiskers… swoosh, swoosh!”
- Use Distractions: This is the perfect time for a little screen time. Put on their favorite short video or give them a special snack to keep their hands and mind busy.
- Let Them Choose: Empower them by offering a choice between two simple designs. “Do you want to be a puppy or a tiger today?” This gives them a sense of control.
- Mirror Magic: Let them hold a small, child-safe mirror. Toddlers are fascinated by their own reflection, and watching the design appear can keep them engaged.
- Positive Reinforcement: Hype it up! Tell them how amazing they look and how great they are at sitting still. A big round of applause at the end works wonders.
- Know When to Stop: If they are truly upset, don’t force it. A happy toddler is more important than a perfect face paint design. There’s always next time!
Variations & Customizations for Quick Designs 👻
Once you’ve mastered the basics, it’s easy to adapt these quick designs for any occasion. My favorite part of makeup artistry is seeing how a small change can create a whole new look.
- Seasonal Swaps: Use green for St. Patrick’s Day polka dots, red and white for candy cane stripes at Christmas, or spooky black and purple for simple Halloween spiderwebs.
- Character Add-ons: A simple black outline of a superhero mask across the eyes, a pirate eye patch, or a few blue dots for a “Frozen” look can bring a character to life in seconds.
- Glitter Fun: For a touch of sparkle, add a dab of cosmetic-grade glitter gel (never craft glitter!) on top of the paint. Just be sure to keep it away from the eyes.
Toddler Face Paint FAQs 🤔
Q1: What if my toddler has very sensitive skin, even with “kid-safe” paints?
Even with the best products, some children have extra-sensitive skin. Always do the 24-hour patch test. If there’s a reaction, it’s best to skip face painting and opt for a fun mask or a decorated hat instead. Safety first, always!
Q2: How do I remove face paint gently without scrubbing or irritating my child’s skin?
The key is to avoid scrubbing. Hold a warm, wet, soapy cloth on the painted area for about 15-20 seconds to soften the paint before gently wiping. For stubborn colors, apply baby oil or coconut oil with a cotton pad, let it sit for a minute, and then wipe away.
Q3: Can I use regular makeup or craft paint if I don’t have specific face paint?
Absolutely not. This is a critical safety rule. Craft paints, markers, and even adult makeup contain chemicals, dyes, and preservatives that are not safe for prolonged contact with delicate skin and can cause painful rashes, allergic reactions, or worse. Only use products specifically labeled as “face paint” and “non-toxic.”
*
Now you have everything you need to create adorable, safe, and super-fast face paint looks for your toddler! It’s all about having fun and making memories together.
What quick design are you excited to try on your little one this Halloween? Let me know in the comments below! 🎃
