How to Create a Whimsical Halloween Wedding Entryway Your Guests Will Love
✨ From endless event planning spreadsheets to styling dozens of spooky-chic weddings, I’ve mastered the art of creating magical Halloween decor. I’ve spent years testing what works, fixing what doesn’t, and discovering the secrets to an unforgettable atmosphere.
😅 But I know the struggle. How do you create a Halloween wedding vibe that’s more “enchanting” than “eerie”? How do you design a romantic wedding entrance that feels magical, not like a haunted house? I’ve been there, untangling miles of string lights to find the perfect glow.
👑 That’s why in this post, I’ll show you exactly how to solve these challenges with tips I’ve tested myself. Stick with me, and you’ll learn how to craft a breathtaking entryway that will have your guests swooning the moment they arrive! 🎃
Tutorial At-a-Glance
- Time Required: Approx. 3-5 hours (excluding shopping)
- Budget Level: Mid-Range
- Skill Level: Intermediate (some DIY experience helpful)
What You’ll Need for Your Whimsical Wedding Entryway 🎃
As an event planner, I’ve learned that the right materials are the foundation of any stunning design. A mistake I always see is skimping on the quality of core items like lights and fabric, which can really impact the final look. This curated list has everything you need for a truly magical Halloween decor setup.
✅ Sheer White or Ivory Fabric (for draping)
✅ Warm White Fairy Lights or String Lights (👑 Nancy’s Pick: Opt for battery-operated, waterproof fairy lights with a warm glow for versatility and safety, especially if outdoors. They create the most magical ambiance!)
✅ Assorted Faux Pumpkins & Gourds (white, cream, muted pastels)
✅ Floral Garlands (faux, in muted fall tones or dark romantic hues)
✅ Sturdy Hooks or Command Strips (for hanging fabric/lights)
✅ Wedding Welcome Sign (DIY or pre-made)
✅ Lanterns or Flameless Candles
✅ Optional: Dried Flowers, Twigs, or Moss
Crafting Your Magical Halloween Wedding Entryway: Step-by-Step Guide ✨
The secret to a breathtaking ceremony entrance decor is visual storytelling. Each element we add isn’t just decoration; it’s a chapter in the romantic, whimsical story you’re telling your guests. My go-to trick for this is to think of the entryway as the cover of your book—it sets the tone for the entire magical experience to come.
Step 1: Envisioning Your Whimsical Welcome
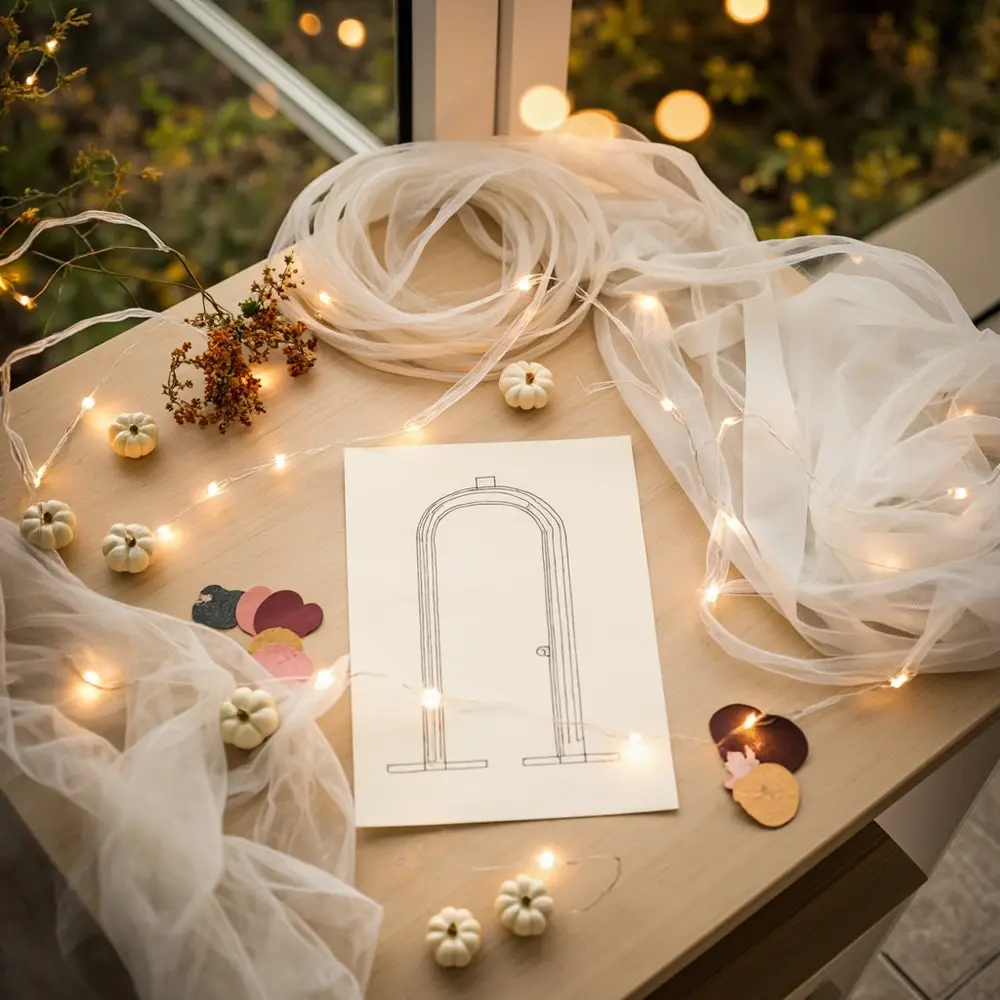
Before you hang a single light, take a moment to plan your masterpiece. Consider the natural architecture of your entryway. Is there an archway, a porch, or a simple doorway? Sketch out where you want the main focal points to be, like your welcome sign or a large cluster of pumpkins. Think about the path your guests will walk and design the decor to guide them in. This initial vision is your map to creating a cohesive, dreamy, and romantic wedding entrance.
[image-1: A mood board or sketch showing the overall concept, including fabric swatches, light examples, and color palette.]
Step 2: Draping the Dreamy Canopy
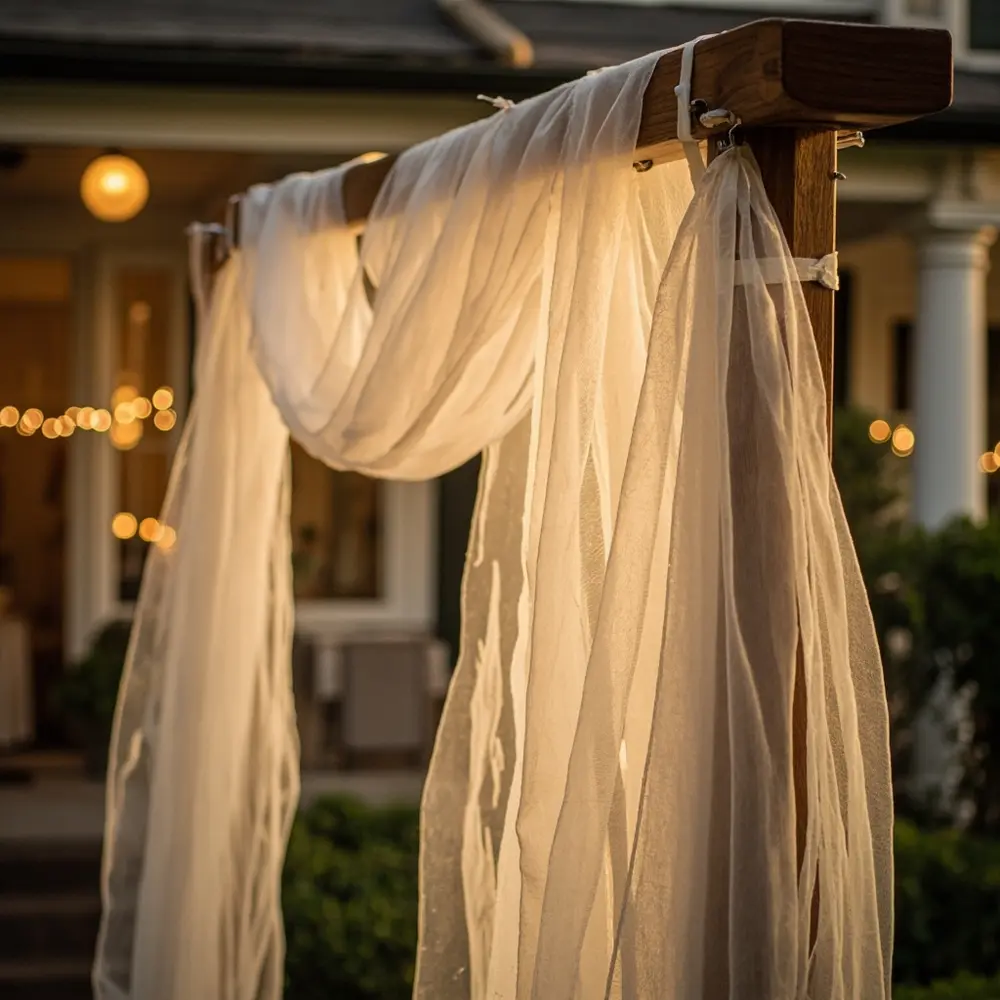
Now, let’s create that soft, ethereal feeling. Using sturdy hooks or damage-free command strips, begin hanging your sheer fabric. Start from a central high point and let the fabric drape down and outward, creating gentle swags. Don’t pull it too tight; the beauty is in the soft, gentle folds. If you’re working with an archway, wrap the fabric loosely around the structure. The goal is to create a welcoming canopy that feels like stepping into a fairytale.
⚠️ Safety First: Always ensure your fabric and hooks are securely attached, especially if your entryway is outdoors and exposed to wind. Keep fabric away from any real flame or heat sources.
[image-2: Photo showing elegant fabric drapes being hung and arranged, creating a soft, flowing canopy or arch.]
Step 3: Illuminating with Enchanting Fairy Lights
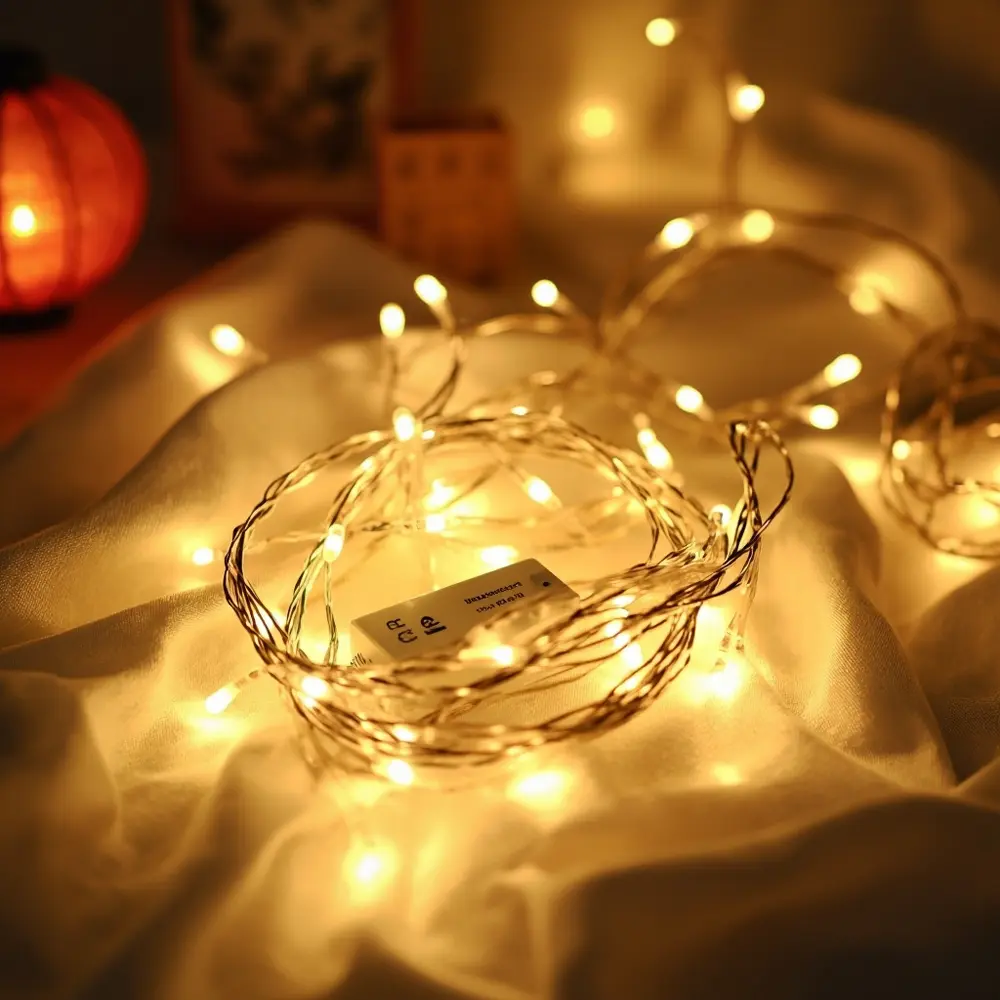
This is where the magic truly happens! Weave your fairy lights through the draped fabric. My favorite technique is to layer them—some wrapped around the drapes and others tucked loosely behind them to create depth. Bunch some lights together in key areas for a concentrated sparkle. These fairy light ideas will cast a warm, inviting glow that makes the entire space feel enchanted.
💡 Pro-Tip: Use a mix of different lengths of fairy lights to add visual interest. You can easily hide battery packs by tucking them into the folds of the fabric or placing them behind a pumpkin or lantern.
[image-3: Close-up of fairy lights intertwined with draped fabric, glowing softly to create a magical effect.]
Step 4: Personalizing with Your Wedding Welcome Sign
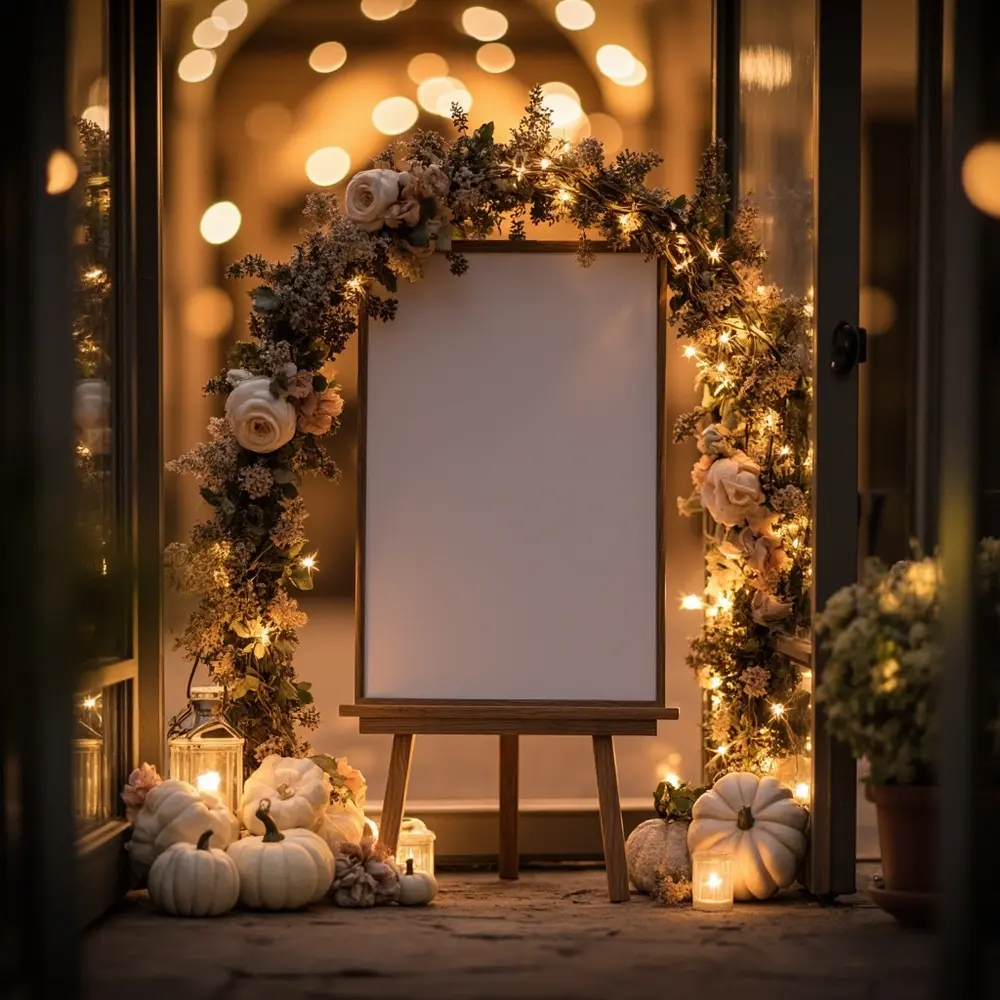
Your welcome sign is the heart of the entryway. Place it where guests will see it immediately. Whether you’ve chosen a DIY wedding welcome sign or a pre-made one, integrate it into the scene. Nestle it among a cluster of pumpkins, wrap a floral garland around one corner, and ensure a string of fairy lights illuminates it softly. This personal touch officially welcomes your guests into your love story.
[image-4: A beautifully decorated wedding welcome sign, surrounded by pumpkins, florals, and soft lighting, at the entrance.]
Step 5: Adding Whimsical Accents & Florals
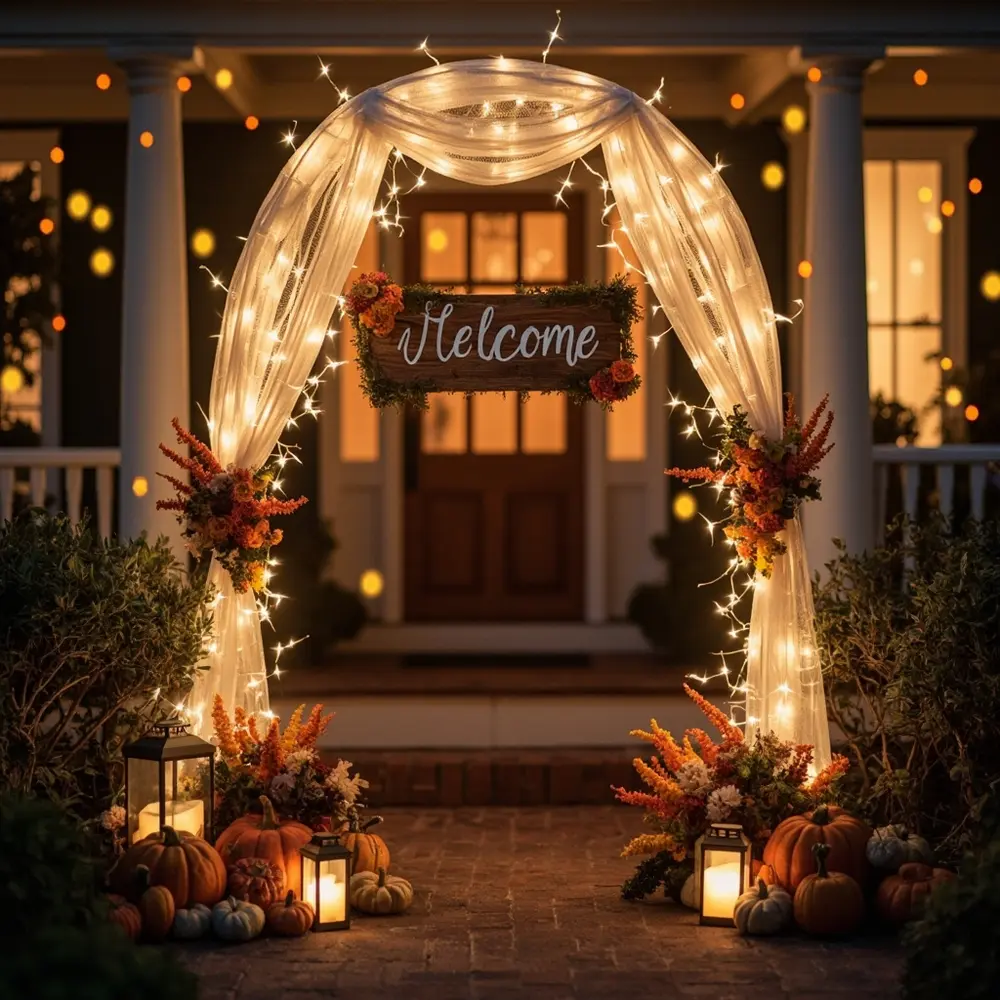
It’s time for the finishing touches! Arrange your pumpkins and gourds in asymmetrical clusters of varying sizes at the base of the entryway. Place lanterns and flameless candles among them to add more layers of warm light. Drape your floral garlands naturally over the pumpkins and along the floor. Weave in dried flowers or twigs to add texture and complete the whimsical, romantic look.
[image-5: A wider shot of the completed entryway, showcasing the full arrangement of fabric, lights, sign, pumpkins, and florals, ready for guests.]
Beyond the Decor: Crafting an Immersive Whimsical Experience 🌟
A truly memorable entryway engages more than just the eyes. This is the secret I share with all my event planning clients to elevate a space from pretty to unforgettable. Think about the other senses! Place a hidden diffuser with a subtle, warm scent like sandalwood or spiced pumpkin. Have a playlist of soft, ambient instrumental music playing faintly as guests arrive. These small details complete the story and make your whimsical welcome a truly immersive experience.
Variations & Customizations 👻
One of the questions I get all the time on my Instagram is how to make a tutorial your own. Here are a few of my favorite ideas for customizing this look:
- Color Palette Swap: Experiment with deep jewel tones (burgundy, emerald) for a more gothic romance, or pastels for a truly ethereal look.
- Themed Elements: Incorporate subtle nods to specific whimsical themes like “enchanted forest” (more moss, branches) or “celestial” (star-shaped lights, moon accents).
- Budget-Friendly Hacks: Suggest using natural elements from your yard (fallen leaves, branches) or repurposing old sheer curtains for draping.
Whimsical Wedding Entryway FAQs 🤔
Q1: How can I ensure the fabric drapes look elegant and not messy?
The key is to use plenty of fabric to create full, luxurious folds. Start by securing the fabric at a high central point, then create soft swags by securing it at lower points along the sides. Use small, clear safety pins to discreetly shape the drapes and keep them in place.
Q2: What are the best options for outdoor entryways to withstand weather?
For outdoor setups, always use waterproof, battery-operated fairy lights. Secure your fabric more firmly with zip ties in addition to hooks, and consider adding small, elegant weights (like decorative stones tied to the ends) to prevent them from blowing around too much. Opt for faux pumpkins and florals, as they are much more durable.
Q3: Can I incorporate traditional Halloween elements without making it scary?
Absolutely! The trick is in the styling. Instead of orange and black, paint your pumpkins white, gold, or a muted pastel. You could incorporate a sophisticated black element, like a velvet ribbon tied around a pumpkin stem or a black lace overlay on your welcome sign, to give a nod to Halloween in a chic, romantic way.
I hope this guide helps you create the whimsical Halloween wedding entryway of your dreams! It’s all about blending romance with a touch of enchantment to welcome your guests to your special day.
What color palette are you dreaming of for your wedding entryway? Let me know in the comments below
