Easy Witch Finger Pretzel Rods: Spooky, Sweet & Toddler-Friendly!
✨ After years of planning Halloween parties and creating countless spooky snacks as a culinary creator, I’ve learned one big secret: the best treats are the ones that bring everyone together, from toddlers to grandparents.
😅 But I know the struggle: How do you make DIY spooky snacks that are actually easy, don’t require baking, and won’t scare the little ones? I’ve been there, trying to make complicated recipes with my own family, only to end up with a kitchen disaster.
👑 That’s why in this post, I’ll show you exactly how to create these adorable witch finger pretzels with my tested, no-fail method. Stick with me, and you’ll learn how to make a memorable, no-bake Halloween dessert while creating magical memories with your loved ones! 🎃
Tutorial At-a-Glance
Time Required: Approx. 30 minutes (plus chilling time)
Budget Level: Low-Cost
Skill Level: Beginner / No-Bake
What You’ll Need for Your Witch Finger Pretzel Rods 🎃
Here’s the simple shopping list for this easy Halloween treat. My go-to trick is to gather everything on a baking sheet before you start so it’s all within reach!
✅ Pretzel Rods (thin, straight)
✅ White Candy Melts or Chocolate (👑 Nancy’s Pick: Opt for high-quality candy melts in white for easy coloring and smooth dipping. They set quickly and hold color beautifully!)
✅ Food Coloring (gel-based for vibrant colors – green, purple, orange, and pastel options like pink/light blue)
✅ Almond Slivers (for “nails”)
✅ Sprinkles & Edible Decorations (e.g., Halloween sprinkles, edible glitter, toddler-safe options like crushed fruit loops or mini chocolate chips)
✅ Parchment Paper
✅ Baking Sheet
✅ Microwave-safe bowls or Double Boiler
Crafting Spooky & Sweet Witch Fingers: Step-by-Step Guide 🍬
A question I get all the time from my Instagram community is how to make Halloween treats that are both spooky for the older kids and sweet for the toddlers. These witch fingers are my answer! They are so fun to make and share, and seeing everyone’s creative designs is the best part of the season. Let’s get dipping!
Step 1: Prepare Your Dipping Station
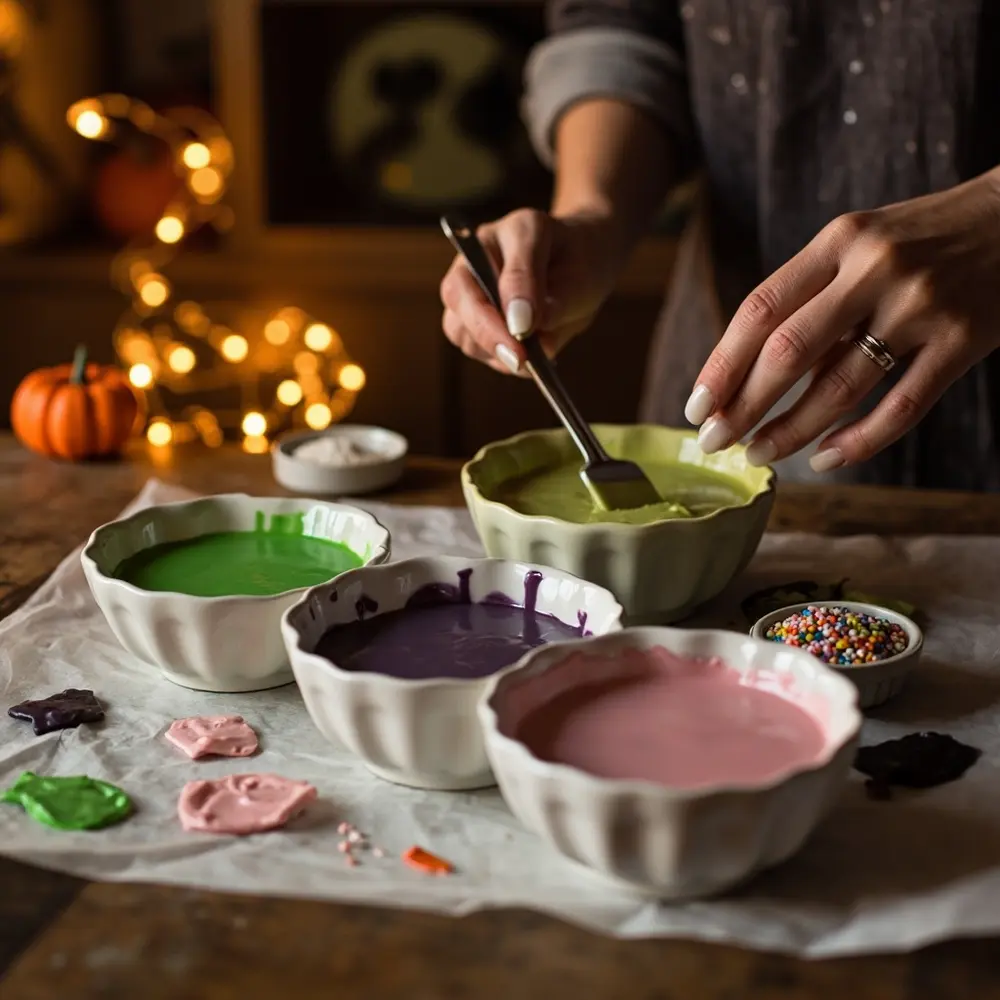
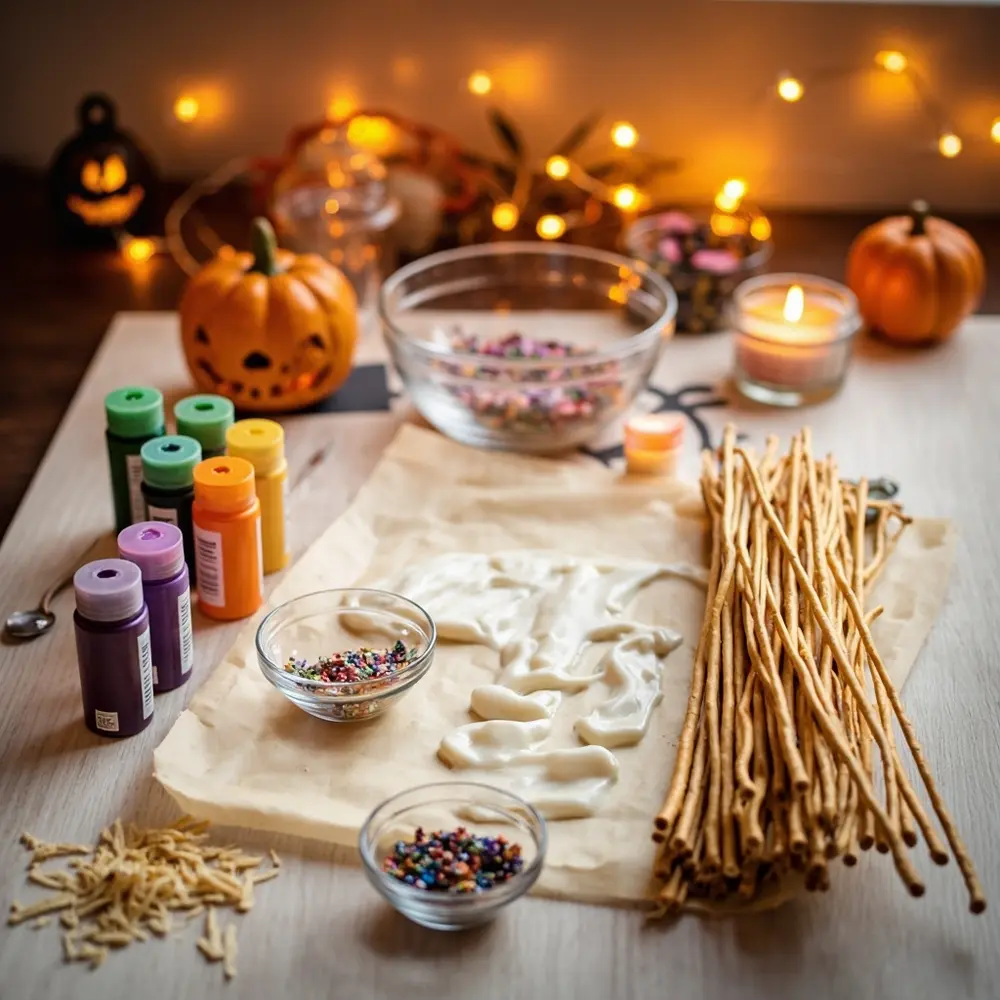
First things first, let’s get organized. Line a large baking sheet with parchment paper—this is your non-stick landing zone for the finished fingers. Pour your sprinkles and other toppings into small, separate bowls for easy access. Trust me, once you start dipping, you’ll want everything ready to go!
[image-1: All ingredients laid out, candy melts in bowls, sprinkles ready.]
Step 2: Melt & Color Your Candy Melts
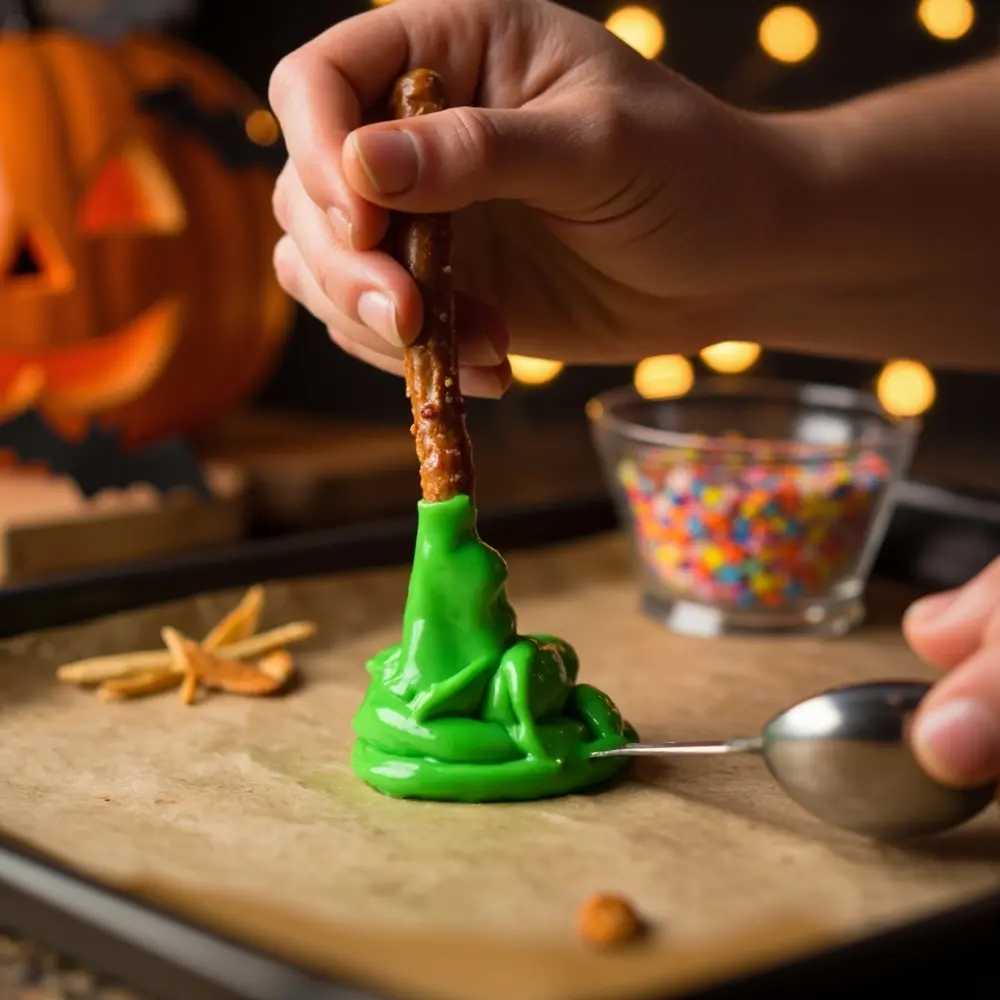
Now for the magic! You can melt your candy melts in a microwave-safe bowl in 30-second intervals, stirring in between until smooth. A mistake I always see is overheating the melts, which makes them clumpy. Alternatively, use a double boiler over low heat. Once melted, add a few drops of gel food coloring and stir until you get your desired spooky green, ghoulish purple, or even a pretty pastel pink.
⚠️ Safety First: Melted candy can be very hot! If you have little ones helping, make sure an adult handles the hot bowls and any hot water from a double boiler.
[image-2: Close-up of melted candy melts in various colors, some being stirred with food coloring.]
Step 3: Dip & Shape Your Witch Fingers
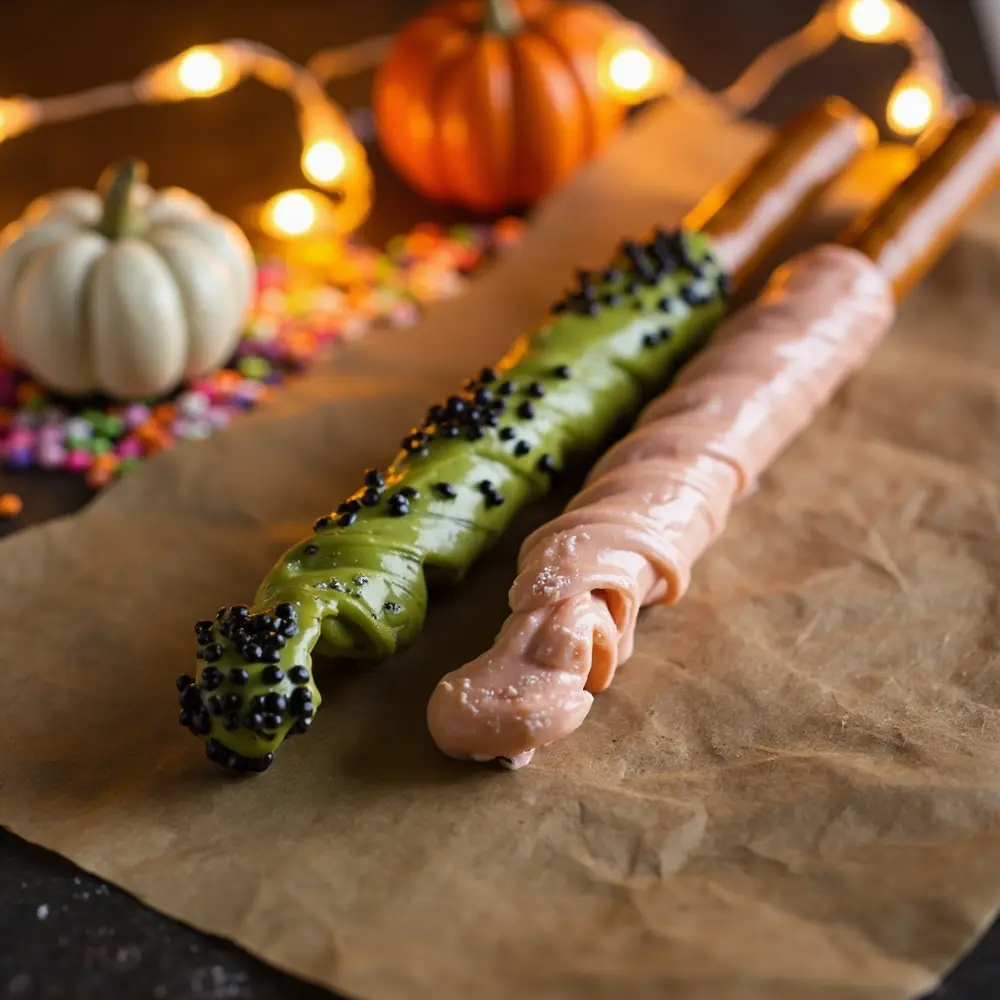
Hold a pretzel rod by one end and dip it into the melted candy, leaving about an inch uncovered to act as a handle. Turn the rod to coat it evenly. As you lift it out, gently tap it on the side of the bowl to let the excess drip off. To create the “knuckle,” lay the pretzel on the parchment paper and gently push a small amount of the coating together with a spoon, or simply press the rod against the side of the bowl as you pull it out.
[image-3: Hands dipping a pretzel rod into green candy melt, showing the “knuckle” shaping.]
Step 4: Attach the “Nails” & Decorate
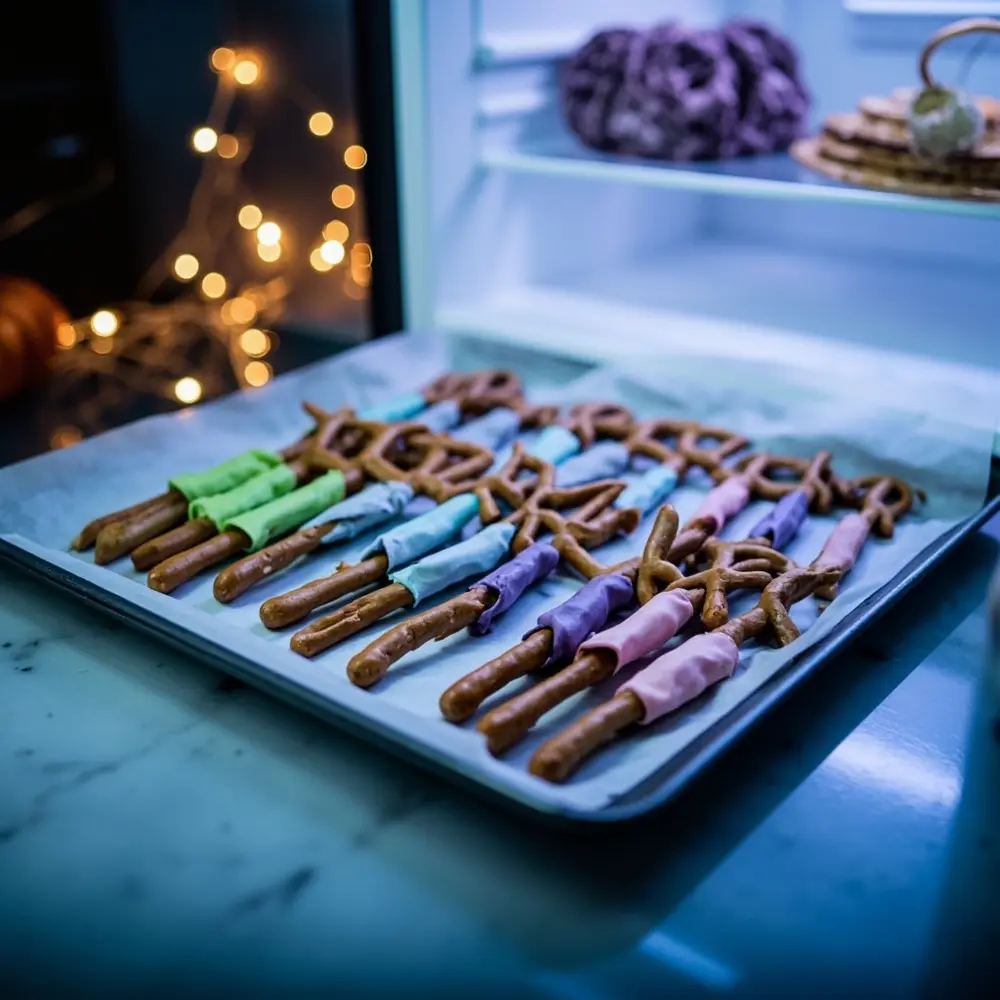
While the candy coating is still wet, press an almond sliver onto the tip to create the witch’s “nail.” This is the time to get creative! Immediately add your sprinkles, edible glitter, or toddler-safe toppings. This is where you can really lean into our unique angle—make some classic spooky green fingers and then create a batch of pastel “good witch” fingers for the little ones!
💡 Pro-Tip: For extra spooky detail, let the candy set for a minute, then use a toothpick to gently draw a few lines across the “knuckle” to look like wrinkles. To apply sprinkles without a mess, hold the pretzel over a bowl and shower them on.
[image-4: A decorated witch finger pretzel rod with an almond “nail” and sprinkles, showcasing both a spooky and a pastel version side-by-side.]
Step 5: Chill & Set
Carefully place your finished witch finger pretzel rods on the parchment-lined baking sheet, making sure they don’t touch. Pop the baking sheet into the refrigerator for about 10-15 minutes, or until the candy coating is completely firm.
[image-5: A baking sheet full of finished witch finger pretzels, ready to be chilled.]
Creative Twists & Toddler-Friendly Toppings 👻
After testing dozens of topping combinations, I’ve found these are the most fun and versatile. Don’t be afraid to mix and match!
- Pastel Perfection: Use light pink, baby blue, or lavender candy melts with edible glitter and star sprinkles for a “good witch” or fairy-tale vibe.
- Toddler-Safe Fun: Instead of almonds, use a mini marshmallow or a small piece of dried fruit for the “nail.” Decorate with crushed fruit loops, mini chocolate chips, or finely chopped dried cranberries.
- Monster Mash-Up: Use edible googly eyes, monster sprinkles, or drizzle with contrasting colored candy melts for a more playful monster look.
Witch Finger Pretzel Rods FAQs 🤔
Q1: How do I prevent my candy melts from seizing or becoming too thick?
This usually happens for two reasons: overheating or contact with water. Always melt your candy slowly and on low power. If it gets too thick, stir in a tiny bit (about 1/2 teaspoon) of vegetable shortening or paramount crystals—never water!—to thin it out.
Q2: What are some good alternatives if I can’t find almond slivers for the “nails”?
Great question! For a nut-free or kid-friendly option, you can use the pointed tip of a candy corn, a sunflower seed, a mini chocolate chip (pointy side out), or even a small piece of a dried apricot cut into a nail shape.
Q3: How far in advance can I make these witch finger pretzels, and how should I store them?
You can make these up to a week in advance! Once they are fully set, store them in a single layer in an airtight container at room temperature. Avoid refrigerating them after they’ve set, as condensation can make them sticky.
These spooky-sweet witch fingers are always a huge hit and prove that the most memorable Halloween treats are often the easiest.
What color will you be making your witch fingers this year? Let me know in the comments below
