– How to Decorate with Witch Hats in Creative and Unexpected Ways
Tired of your witch hats just sitting on a shelf or a mannequin head? It’s time to unlock their true magical potential and transform your home into an enchanting Halloween haven. 🎃
Forget the basic and embrace the bewitching! This guide is for any Halloween lover, like me, who wants to elevate their decor game using a simple, iconic prop: the witch hat. We’re moving beyond the obvious and exploring creative, unexpected ways to use them—from ethereal floating luminaries that dance in the air to spooky-chic wreaths that greet your guests. 🧙♀️
Don’t worry if you’re not a seasoned crafter. I’ve broken down each spellbinding project into simple, step-by-step instructions. By the end, you’ll have the skills to create a truly magical display that will have everyone asking, “How did you do that?” ✨
- Difficulty Level 🦴: Beginner
- Time to Complete ⏳: Approx. 15-20 minutes per project
- Estimated Cost 💰: Under $25
- Prerequisites 🧠: A love for Halloween and basic crafting skills!
Prerequisites: What You’ll Need Before You Start 🛠️
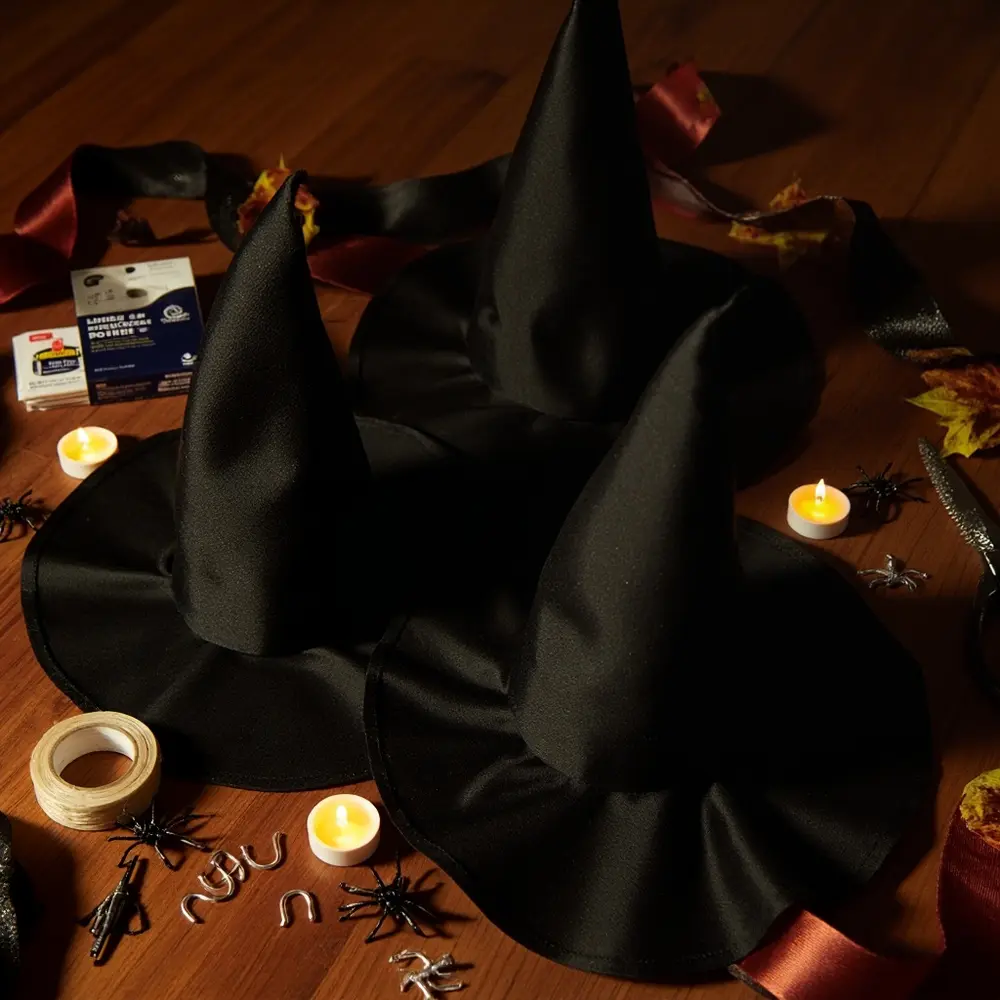
Before we begin brewing up some decor, let’s gather our essential ingredients. Having everything ready makes the process smooth and fun. I find most of these at my local craft or dollar store every season.
- Witch Hats: You’ll want at least 3-5 simple, lightweight black witch hats. I always find that fabric hats work much better than the brittle plastic ones.
- LED Flameless Tea Lights: Using battery-operated lights is a must for safety. No exceptions!
- Clear Fishing Line: A 5-10 lb test line is strong enough for the hats but is practically invisible.
- Clear Adhesive Hooks: I swear by the small, removable hooks like Command™ Brand Clear Mini Hooks. They are perfect for hanging from the ceiling without leaving a mark.
- Strong Clear Tape: A hot glue gun also works great for a more permanent hold.
- Scissors
- A Needle: A large-eye sewing needle will make threading the fishing line a breeze. Trust me on this one.
- Optional Embellishments: Get creative with some faux spiders, ribbon, or glitter spray.
Once you have your supplies, clear a workspace like a large table or a clean spot on the floor. Unpack your witch hats and flatten out any major wrinkles from the packaging. Lastly, turn on one LED tea light to make sure the batteries are working before you go through the trouble of hanging it.
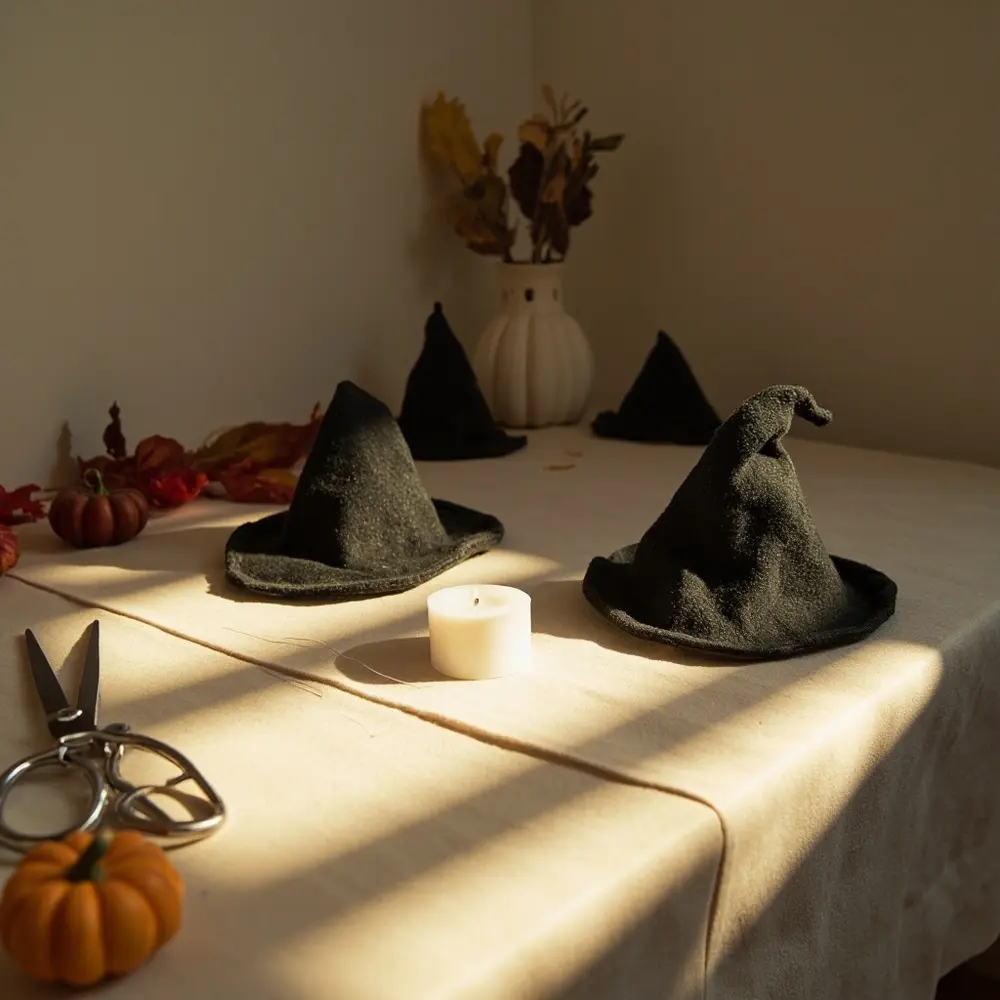
⚠️ Warning: Never, ever use real candles or any flame-based light source for these projects. It is a significant fire hazard. Please, only use battery-operated LED lights.
Step-by-Step Tutorial: 3 Bewitching Projects for Your Hats 🧙♀️
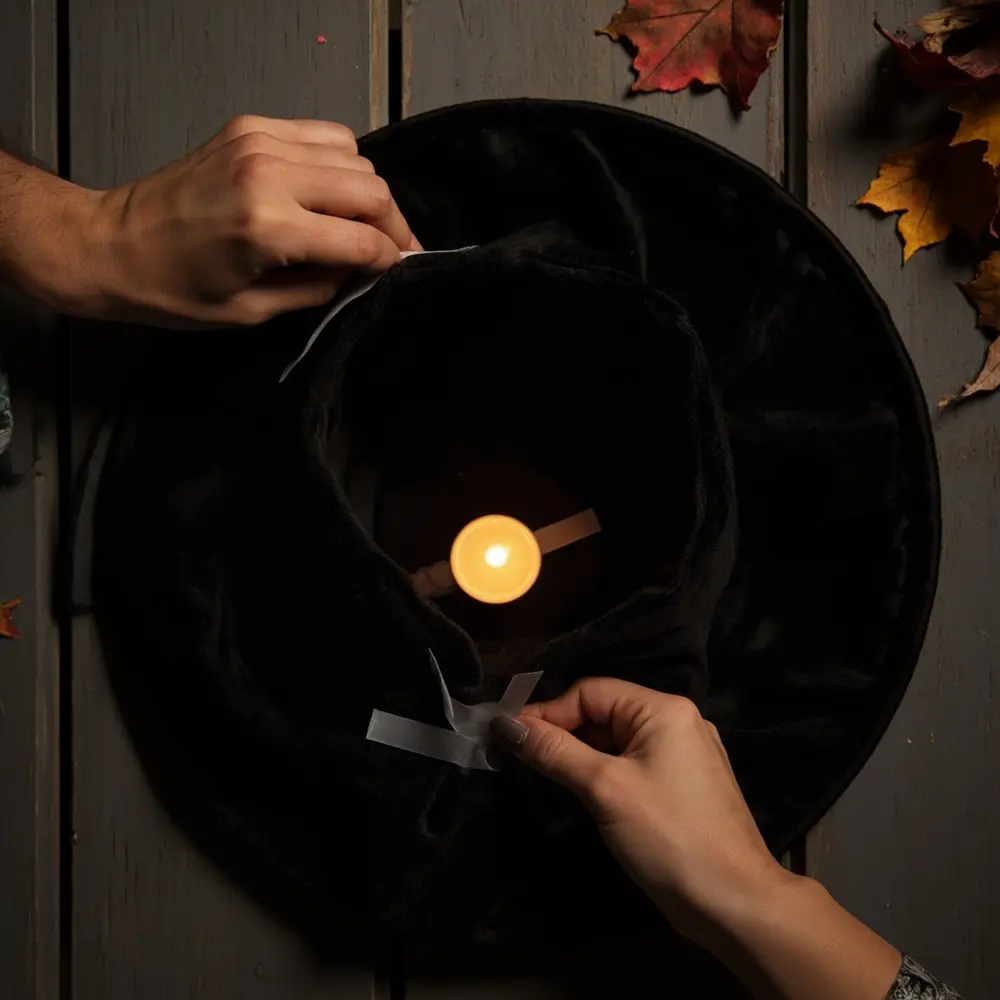
Here are three of my favorite projects to transform a space. You can do just one, or try all three for a super cohesive, witchy theme throughout your home!
Project 1 – Create Ethereal Floating Witch Hat Luminaries ✨
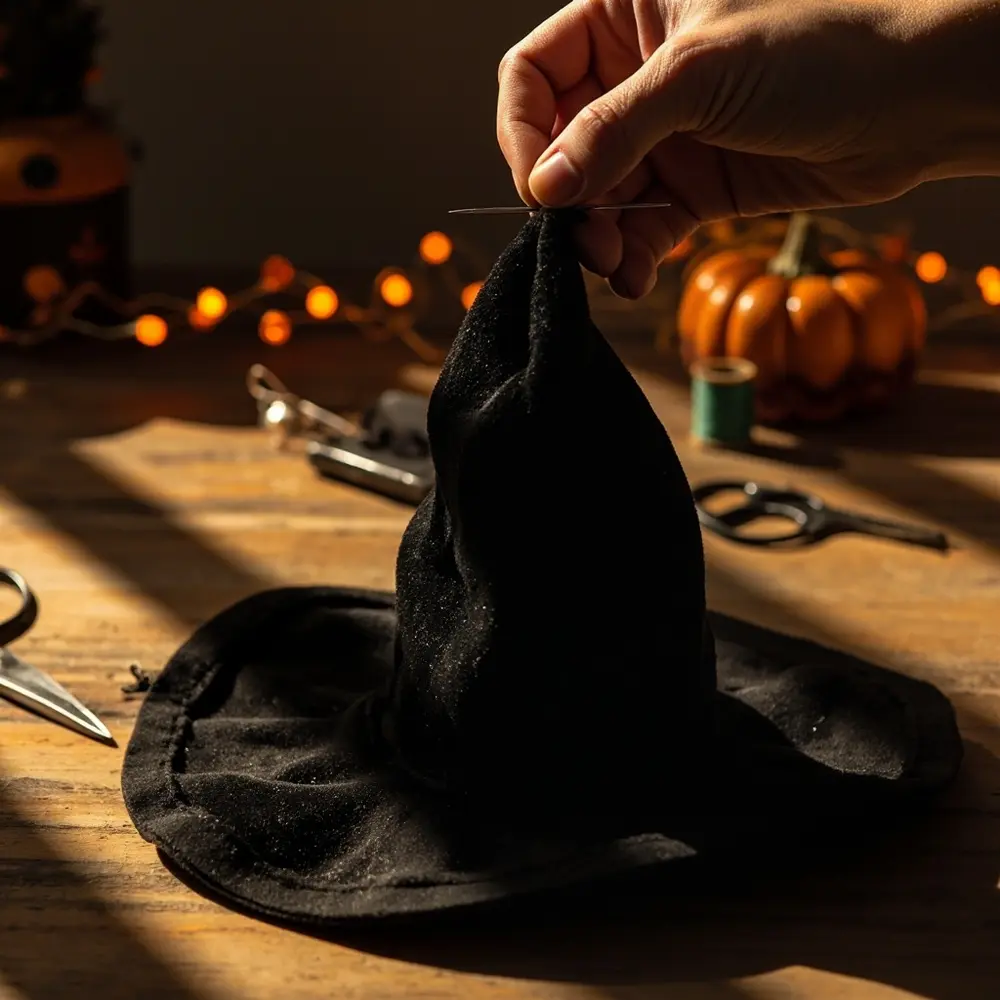
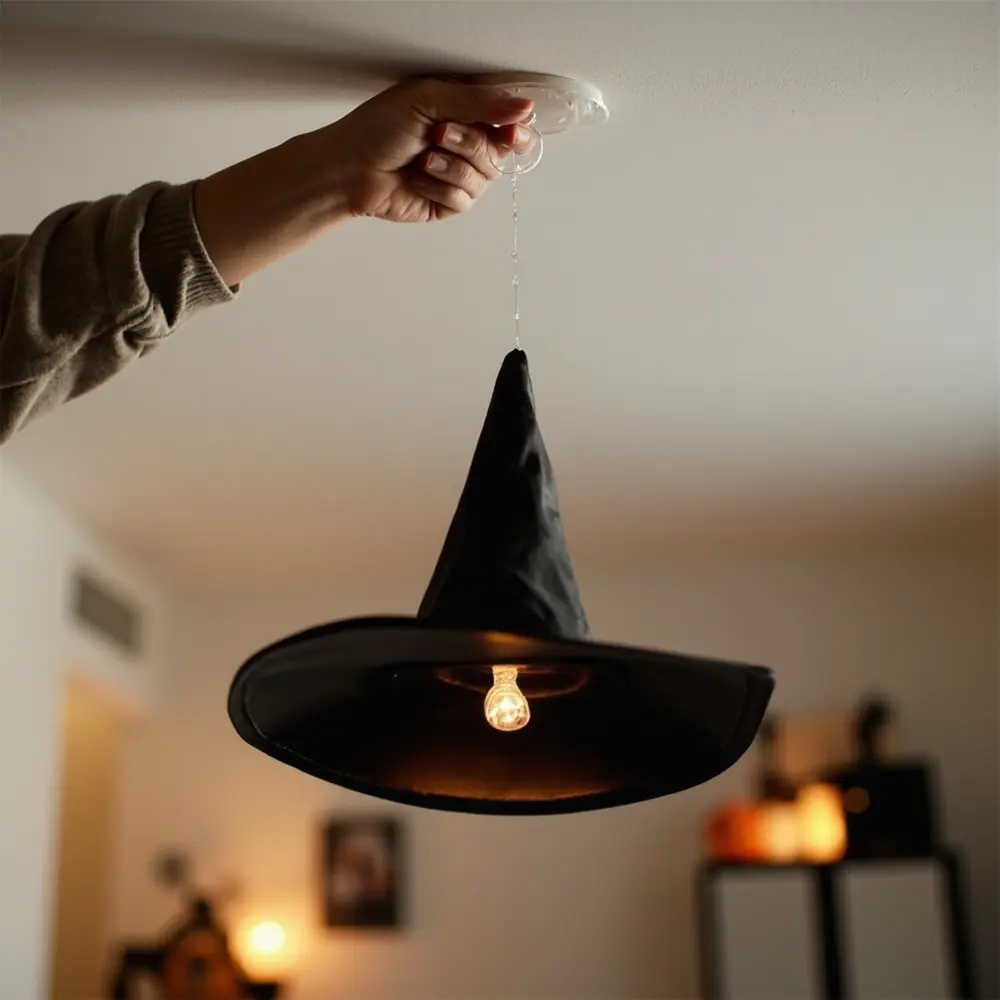
The goal here is to make it look like enchanted witch hats are floating magically in mid-air, lit from within. This is a classic for a reason!
- Prepare the Hat. Take your needle and carefully poke a small hole through the very tip of the witch hat’s point.
- Thread the Hat. Cut a piece of fishing line to your desired length. I like to vary the lengths for a better effect! Thread the line through the hole you just made and tie a secure double knot on the inside of the hat’s tip so it won’t pull through.
- Attach the Light. Use a small piece of clear tape or a dab of hot glue to attach one LED tea light to the inside center of the hat’s brim, with the little “flame” pointing down.
- Hang Your Luminary. Attach a clear adhesive hook to your ceiling where you want the hat to hang. Tie the other end of the fishing line to the hook. Turn on the light and admire your work! Repeat for all your hats, hanging them at different heights.
Important Note: Position the tea light so you can still easily access its on/off switch. I learned this the hard way after hanging five of them and realizing I couldn’t turn them on!
Project 2 – Craft a Spooky-Chic Witch Hat Wreath 🕸️
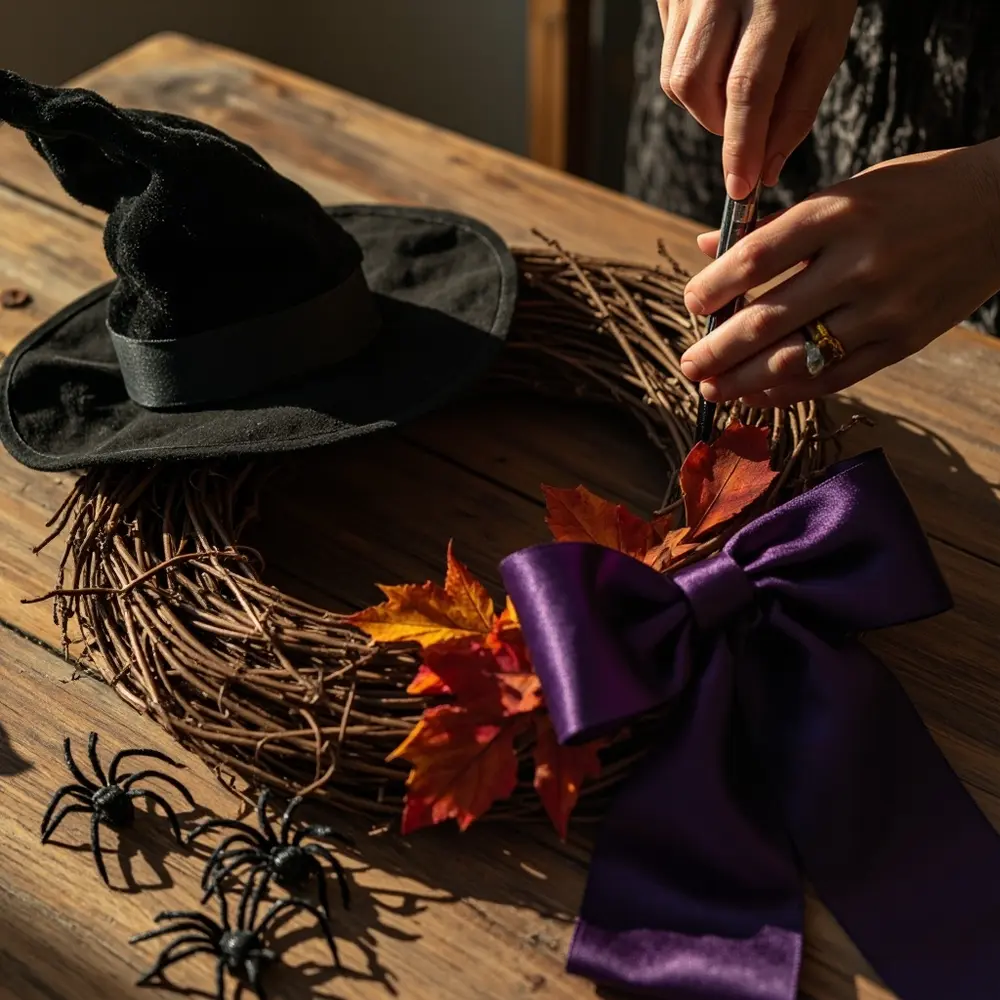
This project creates a unique and eye-catching piece of door decor that serves as an amazing focal point for arriving guests.
- Choose Your Base. You can start with a simple grapevine wreath form, or you can create a base by attaching 3-4 witch hats together at their brims using a hot glue gun or safety pins.
- Position the Main Hat. If you’re using a wreath form, position one witch hat as the centerpiece. Attach it securely with hot glue or floral wire. I like to tilt it for a more dynamic, whimsical look.
- Add Embellishments. This is the fun part! Hot glue faux spiders, autumn leaves, or a large ribbon bow around the base of the hat where it meets the wreath. This cleverly hides the connection points and adds a ton of personality.
Important Note: If your wreath is going to be outside, make sure all your embellishments are weatherproof so they survive the season.
Project 3 – Design a Witch Hat Halloween Tree Topper 🎄
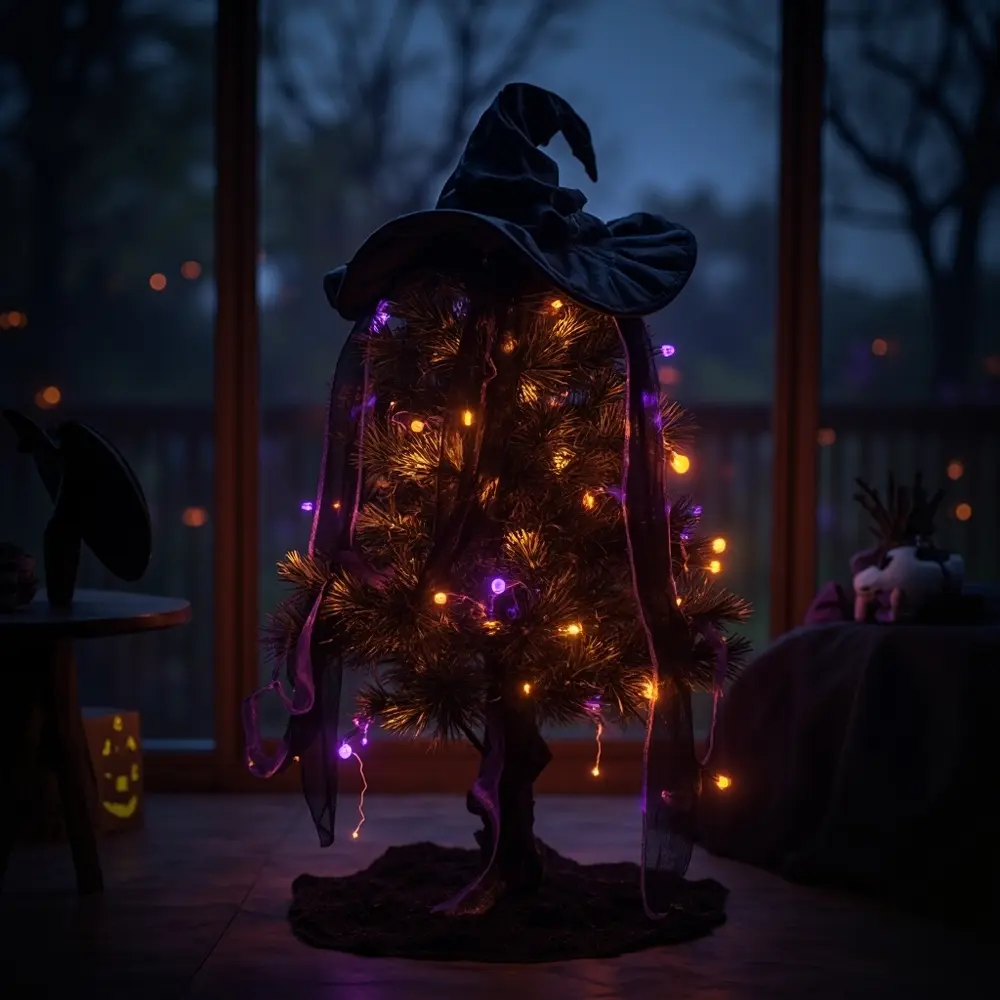
Why should other holidays get all the fun? If you have a Halloween tree, this is the perfect witchy centerpiece to crown it.
- Reinforce the Hat’s Opening. To make sure the hat sits securely, you might need to reinforce its opening. You can easily create a cardboard cone that fits snugly inside the hat. Just leave an opening at the bottom to slide over the top branch.
- Secure the Topper. Gently slide the hat over the top-most sturdy branch of your tree. If it feels a little wobbly, use some floral wire or a zip tie to discreetly attach the back of the hat to the tree trunk for extra stability.
- Final Touches. Let the point of the hat bend over naturally for that classic, slouchy look. You can also add some ribbon streamers that flow down from under the hat for a little extra flair.
A Closer Look: Achieving a Polished and Magical Effect 🔮
Simply completing the steps is one thing, but making your decor look enchanting is another. This is where a little design knowledge comes in handy, and it’s the detail other tutorials often miss.
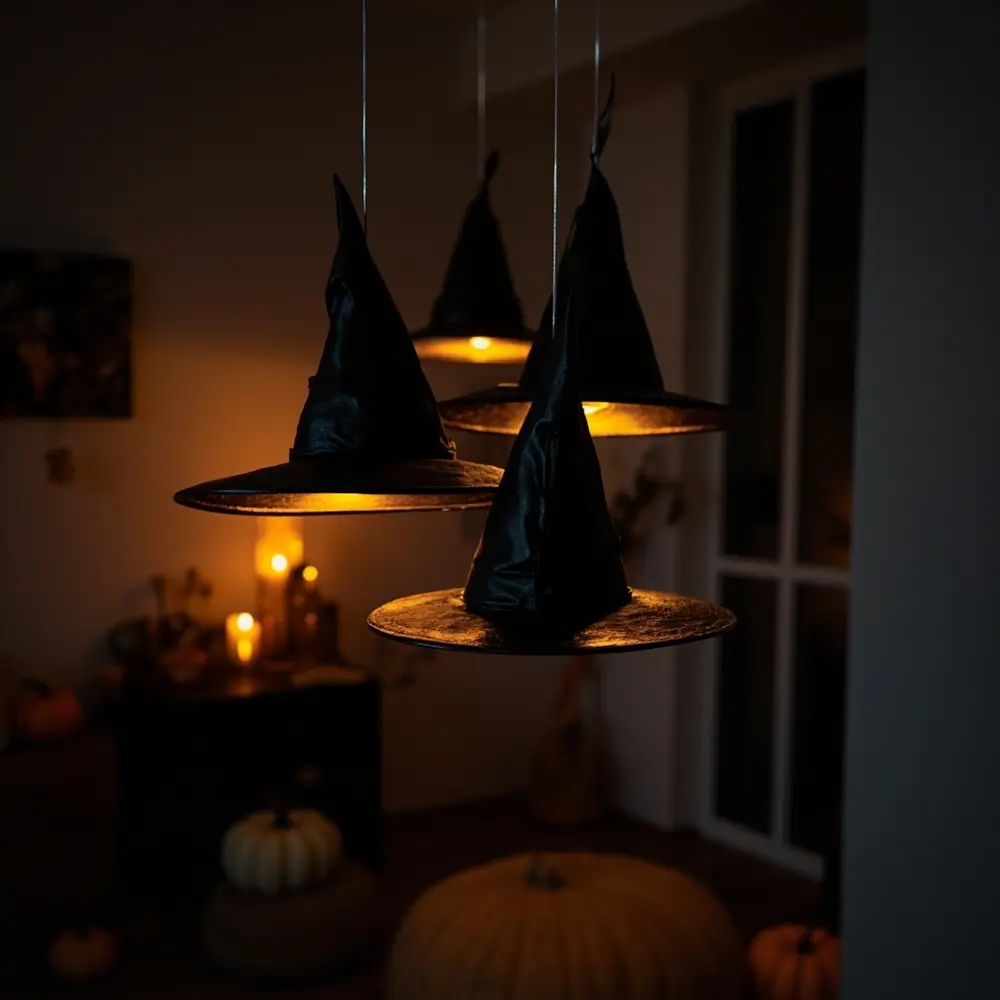
- Vary Your Heights: When hanging the floating luminaries, please don’t hang them all at the same level! Create a dynamic cluster by cutting the fishing line at different lengths—some high, some low, some in between. This creates depth and makes the display look so much more natural and magical.
- Embrace the Shadows: The real magic of the luminaries comes from the glow and the amazing shadows they cast. I always position them in a slightly darker corner of a room or hallway for maximum effect. The gentle movement from air currents will make the shadows dance on the walls.
- Group in Odd Numbers: In design, groups of 3, 5, or 7 often look more appealing and balanced than even-numbered groups. When you’re creating a display on a porch or a mantle, try clustering three hats of different sizes together for a more professional look.
Important Note: A little imperfection adds to the charm. Don’t worry if a hat is slightly tilted or a point is bent. It adds to the spooky, handmade character of the decor!
Troubleshooting & Common Questions ❓
My floating hats are spinning and the fishing line is tangling! What do I do?
Ah, a classic problem! This usually happens in areas with a draft from a vent or an open window. First, try moving them to a less drafty spot. If that’s not possible, you can add a tiny bit of weight to the hat to stabilize it.
My Personal Tip: The first time I set these up for a client’s party, the breeze from the front door made them dance a little much. I quickly learned that taping a small coin, like a penny, to the inside of the brim opposite the tea light works wonders to keep them steady!
Can I use these decorations outside?
Yes, but with a few things to keep in mind. The lightweight hats can definitely fly away in strong wind, so secure them well. Also, make sure any electronic parts (like the tea lights) are rated for outdoor use or are protected from rain. Fabric hats can get waterlogged and droop. A covered porch is really the ideal outdoor location for these projects.
How do I store these decorations so they last until next year?
Great question! For the floating hats, carefully remove them from the ceiling, turn off the lights, and gently wrap the fishing line around your hand to avoid tangles. I store the hats by stacking them inside one another in a box. For the wreath, I recommend a proper wreath box, or you can just cover it with a plastic bag and hang it in a closet.
Next Steps & Further Optimization ✨
You’ve mastered the basics! Now, if you’re feeling ambitious like me, let’s take your witchy decor to the next level.
- Introduce Color: Who says witch hats must be black? I love to grab a can of spray paint and make a few hats metallic silver, deep purple, or glittery orange to add amazing pops of color to a display.
- Add a Soundtrack: This is my secret weapon for parties. Hide a small Bluetooth speaker nearby and play a spooky ambient sounds track—think soft cackles, bubbling cauldrons, or windy nights—to fully immerse your guests in the experience.
- Create a Full “Witch’s Corner”: Don’t just stop at the hats! Combine your floating luminaries with a prop cauldron, a rustic broomstick leaned against the wall, and some potion bottles to create a complete, immersive scene.
Conclusion (My Final Thoughts) 👻
Congratulations! You’ve officially transformed a simple prop into a series of stunning, conversation-starting decorations. You’ve not only added a personal, crafty touch to your home but also learned how to think outside the box to create a truly magical atmosphere.
Your floating luminaries, chic wreath, or perfect tree topper are a testament to how a little creativity can go a long way. This is what makes seasonal decorating so much fun for me—the ability to create my own little world of enchantment. I hope you feel proud of your bewitching new skills and that your home feels perfectly spooky for the season.
Now I’d love to see what you conjured up! Which project was your favorite to create? Share your experience or a photo of your masterpiece in the comments below!
