How to Make a Bubbling ‘Witch’s Brew’ Punch (with Dry Ice Safely!)
It’s that time of year again, ghouls and goblins! You’ve got the spooky decorations up and the perfect playlist, but your party table is missing that one jaw-dropping centerpiece. 🎃
A plain old bowl of punch just doesn’t scream “Halloween,” and trying something spectacular like a bubbling cauldron seems complicated and maybe even a little dangerous. You want that “wow” factor without any of the worry. ✨
I’m Roshan Sharma, your friendly neighborhood Halloween fanatic, and I’m here to solve your party problems! I’ve designed haunted yard displays for years, and I know a thing or two about creating unforgettable special effects. This guide will walk you through creating a show-stopping, bubbling ‘Witch’s Brew’ punch that is both delicious and, most importantly, completely safe for everyone. 🎉
Activity At-a-Glance
Best For 👨👩👧👦: Halloween Parties, Adult & Family Gatherings, Themed Events
Time Required ⏳: Approx. 30-45 mins prep + ongoing effect
Budget Level 💵: Moderate
Spookiness Level 👻: High
What You’ll Need for Your Witch’s Brew Punch 📋
#### For the Punch Potion:
- 🥤 1 gallon (128 oz) Cranberry or Purple Grape Juice, chilled
- 🍋 2 liters Ginger Ale or Lemon-Lime Soda, chilled
- 🍍 46 oz can Pineapple Juice, chilled
- 🍦 1/2 gallon Lime or Orange Sherbet
- 🐛 Gummy worms, plastic spiders, or sliced fruit for garnish
#### For the Bubbling Haze (Dry Ice):
- 🧊 3-5 lbs Food-Grade Dry Ice (check local grocery stores or suppliers)
- 🧤 Heavy-duty gloves (like leather or insulated work gloves)
- 🥢 A pair of sturdy tongs
- 👓 Safety goggles
- 📦 An insulated container (like a Styrofoam cooler) for transport and storage
#### For Serving & Setup:
- 🥣 A large punch bowl (plastic or thick, tempered glass is best—avoid thin glass which can crack from the temperature change!)
- 🥄 A ladle for serving
- 🎃 A decorative cauldron (optional, but must be larger than your punch bowl)
- 🧪 Serving cups or beakers
Preparation & Setup: Creating the Spooky Scene 🔮
Before you start brewing, let’s set the stage! Choose a sturdy, heat-resistant table for your punch station, away from high-traffic areas. Since we’re using dry ice, which releases carbon dioxide gas, make sure the room is well-ventilated—open a window or door slightly if needed.
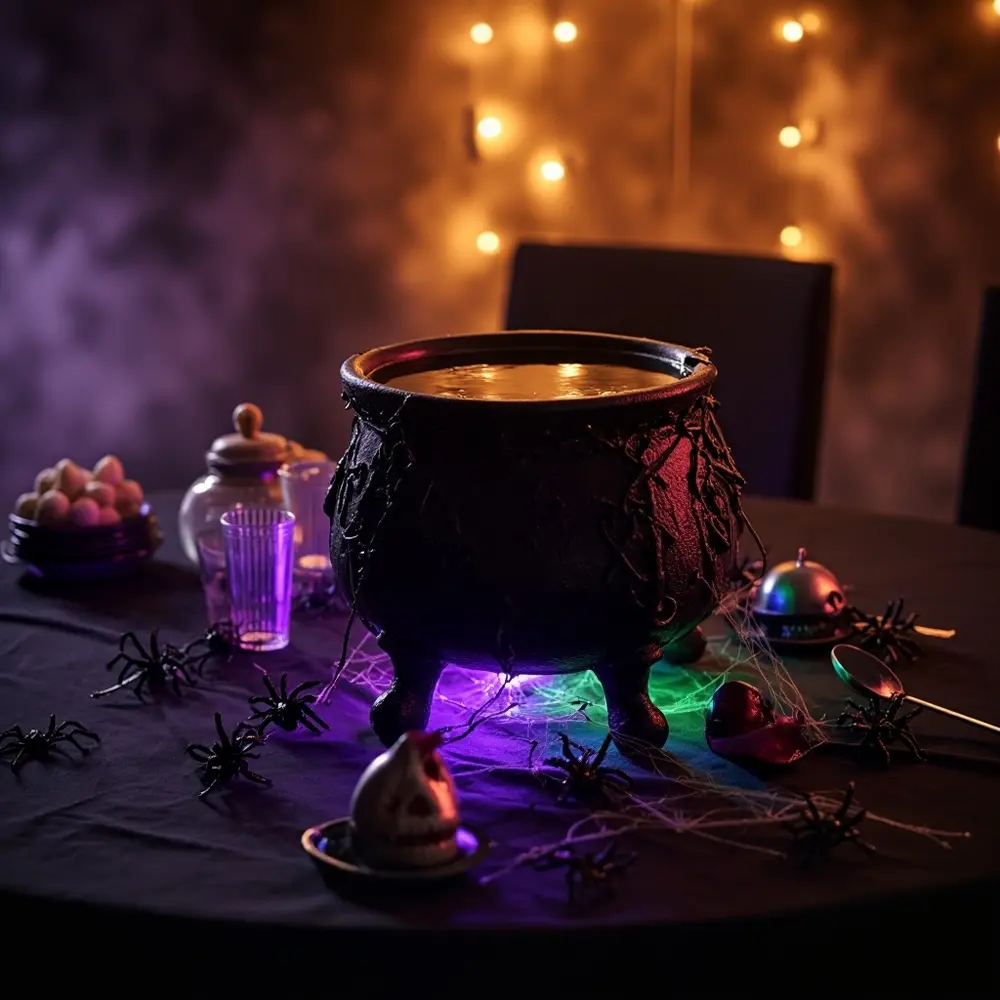
Dim the lights and add some spooky ambiance! I love using a few battery-operated purple or green LED lights under or behind the punch bowl to make it glow from within. Drape some fake cobwebs around the table and set out your serving cups and ladle so guests can easily help themselves once the magic starts.
Pro Tip 💡: For an extra-eerie touch, lay down a black tablecloth and scatter a few plastic spiders or skulls around the base of the cauldron. It’s a simple trick I use for my own parties, and it makes the whole setup look incredibly professional!
Image-1: A Halloween-themed table setup showing a black tablecloth, a large punch bowl inside a decorative cauldron, serving cups, and spooky decorations like cobwebs and plastic spiders.
How to Lead the Witch’s Brew Punch: Step-by-Step 🚀
Step 1: Gather Your Ghastly Gear (Ingredients & Tools)
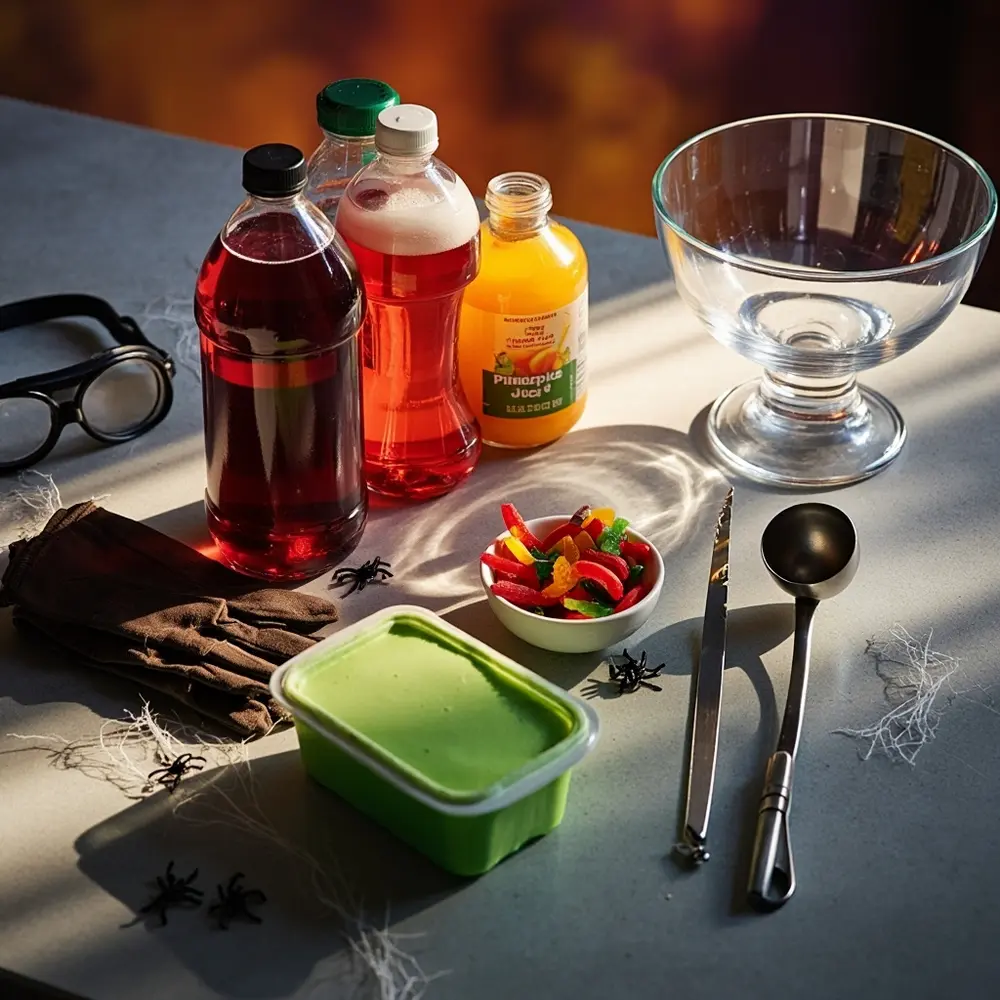
First things first, let’s get organized! Pull all your chilled juices and soda from the fridge. Prepare your garnishes—have those gummy worms ready to hang! Most importantly, lay out your dry ice safety equipment: put your heavy-duty gloves, safety goggles, and tongs right next to your punch station. You want them within easy reach before you even think about opening that cooler.
Image-2: A photo showing all the punch ingredients (juices, soda, sherbet) neatly arranged on a counter next to the punch bowl, ladle, gloves, and tongs.
Step 2: Concoct Your Cauldron’s Core (Mixing the Punch)
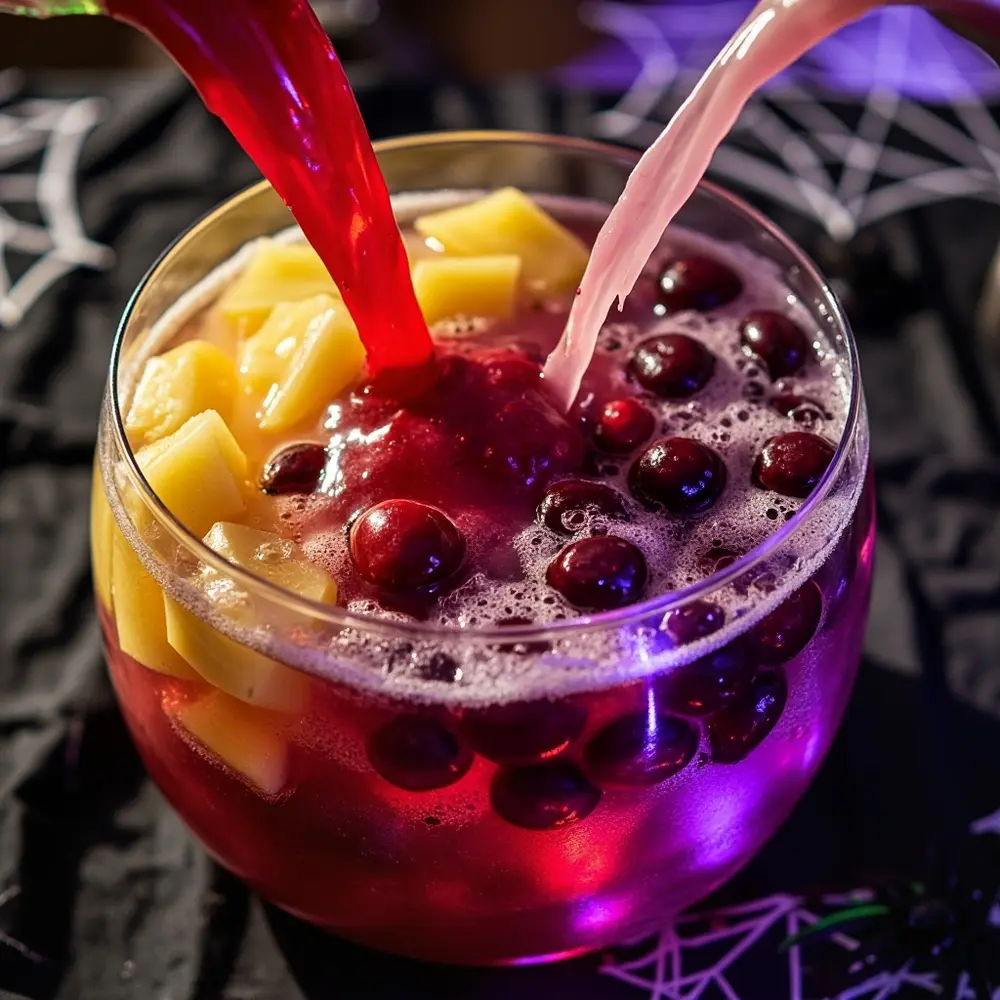
Now for the fun part! Pour your cranberry or grape juice, pineapple juice, and chilled ginger ale or lemon-lime soda directly into the large punch bowl. Give it a gentle stir with your ladle to combine the flavors. The color should be a wonderfully murky, magical purple or a deep, blood-red.
Image-3: A close-up action shot of colorful juices and bubbly soda being poured into a large punch bowl, creating a vibrant mixture.
Step 3: Add Eerie Embellishments (Garnishes)
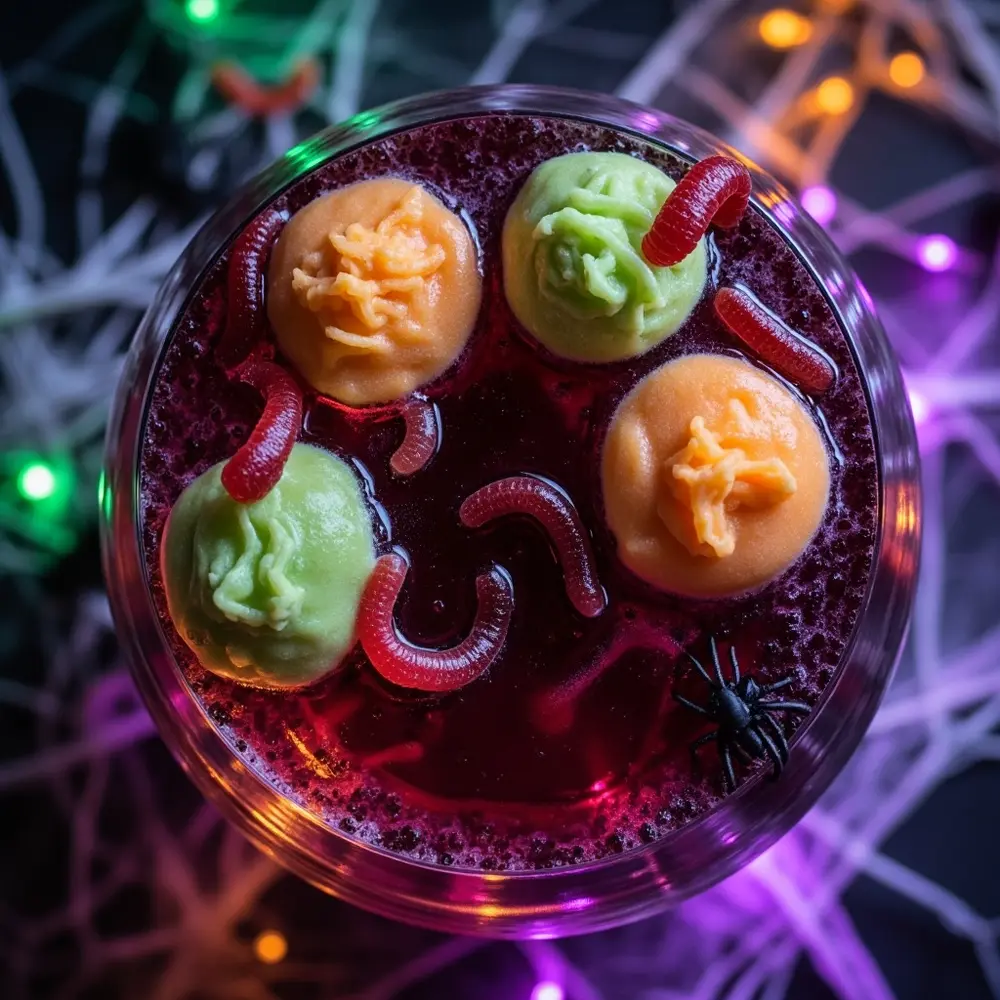
It’s time to make this potion look the part! Using an ice cream scoop, add several large scoops of the lime or orange sherbet to the punch. They will float on top like mysterious, bubbling islands. Drape gummy worms over the sides of the bowl and let a few float in the brew. This is where you can get really creative!
Image-4: A top-down view of the punch bowl, showing several scoops of bright green sherbet floating on the surface with gummy worms draped over the edge.
Step 4: Prepare for the Plume (Dry Ice Handling Prep)
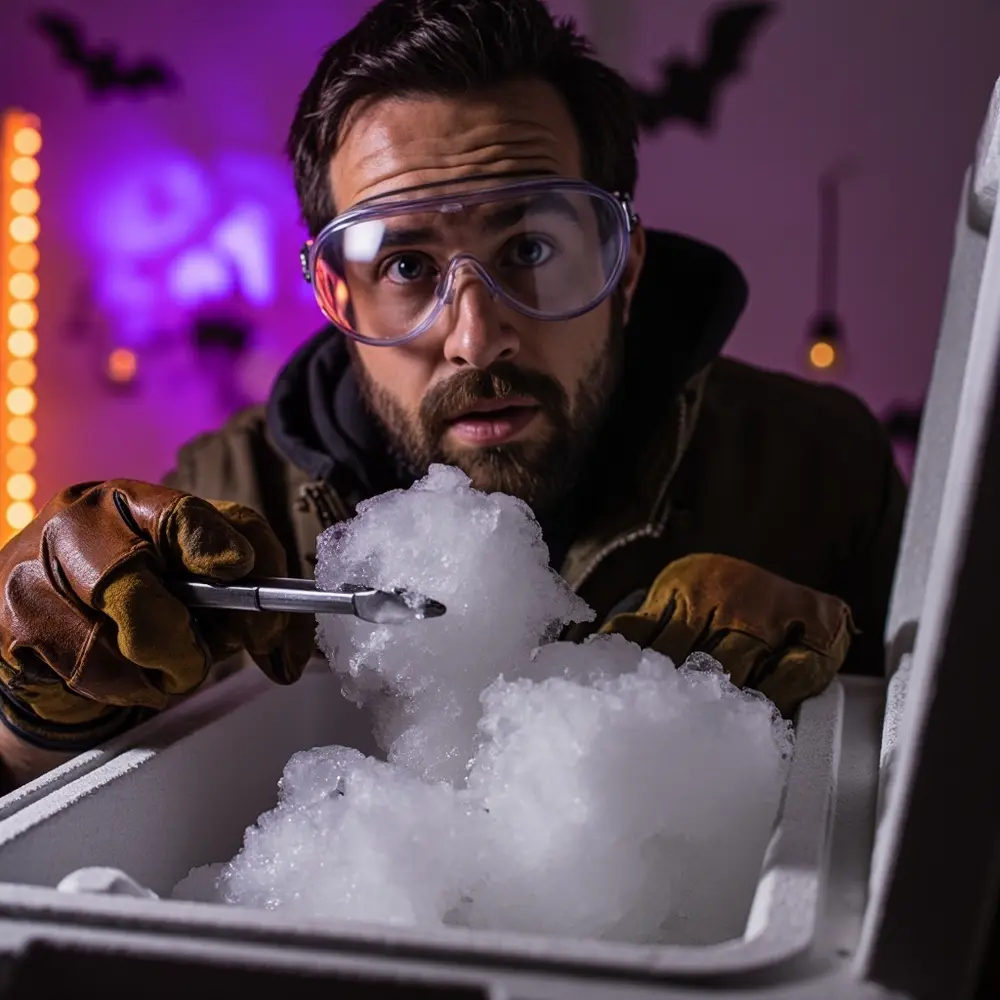
This is the most important step for safety, so let’s do it right. Put on your safety goggles and heavy-duty gloves. Open the insulated container with the dry ice away from your face. Remember, the “smoke” is just carbon dioxide gas, but it’s very cold and can displace oxygen in a small, unventilated space.
Caution: NEVER handle dry ice with your bare hands! It is extremely cold (-109.3°F or -78.5°C) and can cause severe frostbite in seconds. Always use insulated gloves and tongs. Also, ensure your room has good ventilation.
Image-5: A photo showing a person wearing thick, insulated gloves and safety goggles using a pair of tongs to carefully pick up a piece of dry ice from a Styrofoam cooler.
Step 5: Unleash the Unearthly Haze (Adding Dry Ice)
Using your tongs, carefully pick up a chunk of dry ice about the size of your fist. Gently lower it into the punch bowl. The brew will immediately begin to bubble and release thick, rolling clouds of fog that spill over the sides of the bowl. It’s pure Halloween magic! Start with one or two small-to-medium pieces.
Caution: Do NOT let guests touch or consume the dry ice. It is for visual effect only. Make sure the solid pieces of dry ice sink to the bottom of the bowl and are not accidentally ladled into serving cups.
Image-6: A dramatic photo of the punch bowl right after dry ice has been added. The liquid is bubbling vigorously, and thick white fog is rolling over the edges of the bowl.
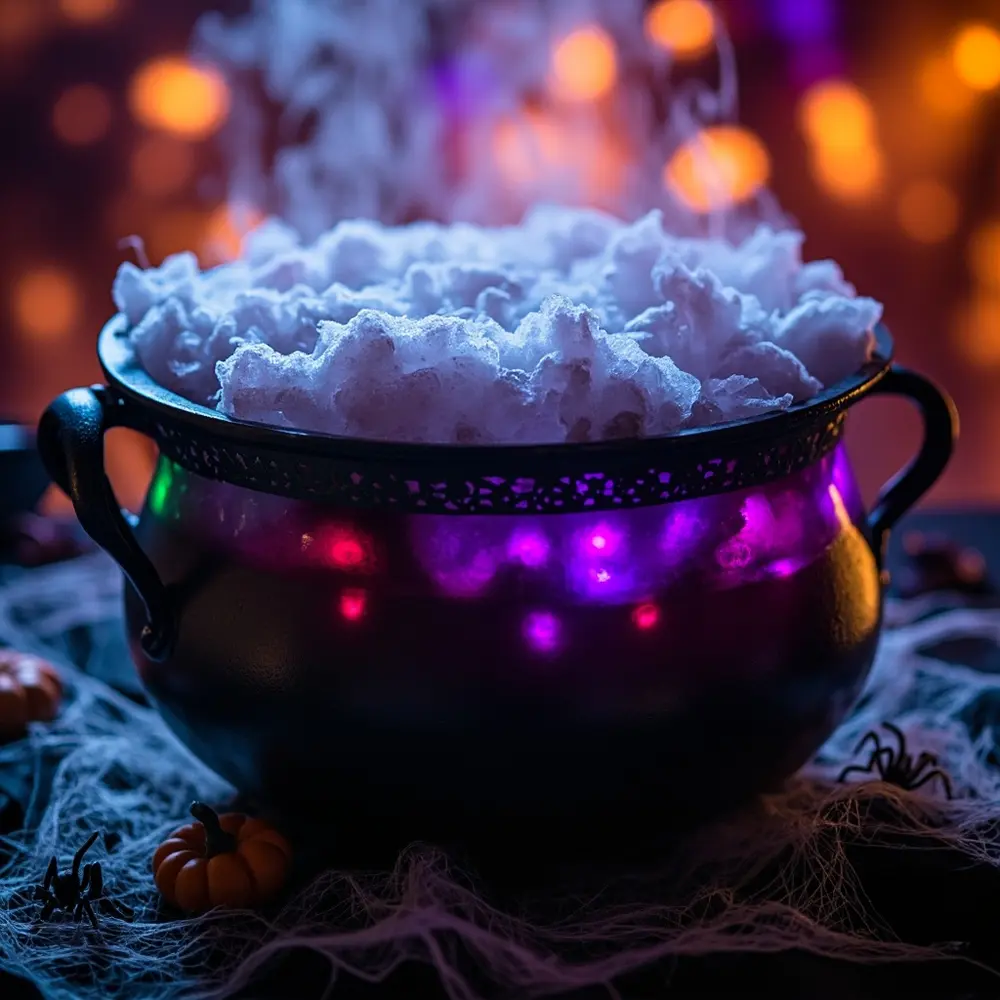
Step 6: Serve Your Sinister Sips
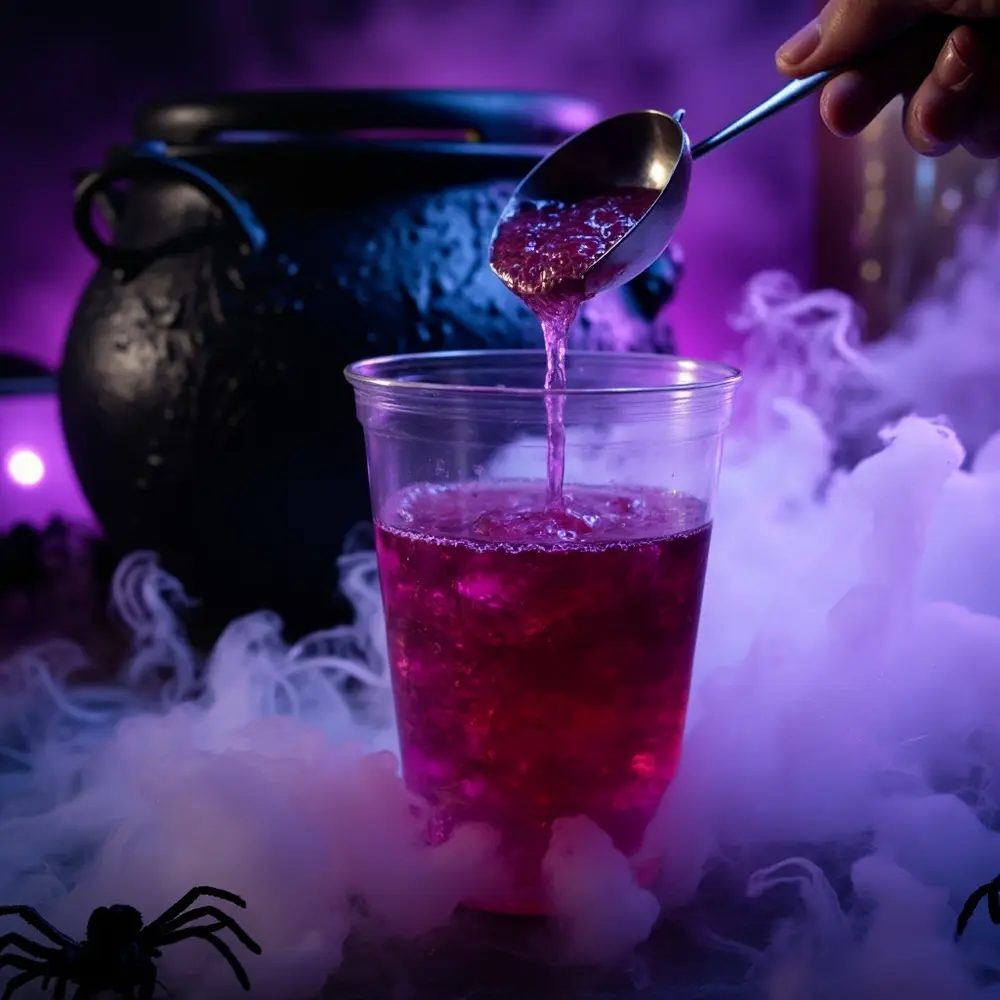
With the fog in full effect, you’re ready to serve! Use your ladle to scoop the punch from the top portion of the bowl, well away from the solid dry ice at the bottom. The effect will last for about 10-15 minutes per chunk of dry ice. To keep the fog rolling throughout your party, simply use your tongs to add another small piece every so often.
Image-7: A hand ladling the colorful punch from the foggy, bubbling bowl into a clear serving cup, showcasing the spooky effect.
Safety First: Handling Dry Ice Like a Pro ⚠️
That bubbling effect is amazing, right? It’s also powered by a substance that demands respect. As your resident Halloween safety expert (I’ve taught dozens of kids safe pumpkin carving!), I can’t stress this enough. Here’s everything you need to know:
- Storage: Keep dry ice in the insulated container it came in (like a Styrofoam cooler). Don’t seal it completely airtight! The sublimating gas needs to escape, or the container could burst. Store it in a well-ventilated area like a garage or patio, never in your freezer.
- Handling: Always, always, always wear insulated gloves and safety goggles. Use tongs to move it. Never let it touch your bare skin.
- Ventilation is Key: Dry ice is solid carbon dioxide (CO2). As it “melts” (sublimates), it releases CO2 gas. In a poorly ventilated room, this gas can displace oxygen and create a breathing hazard. Keep a window cracked or ensure good air circulation.
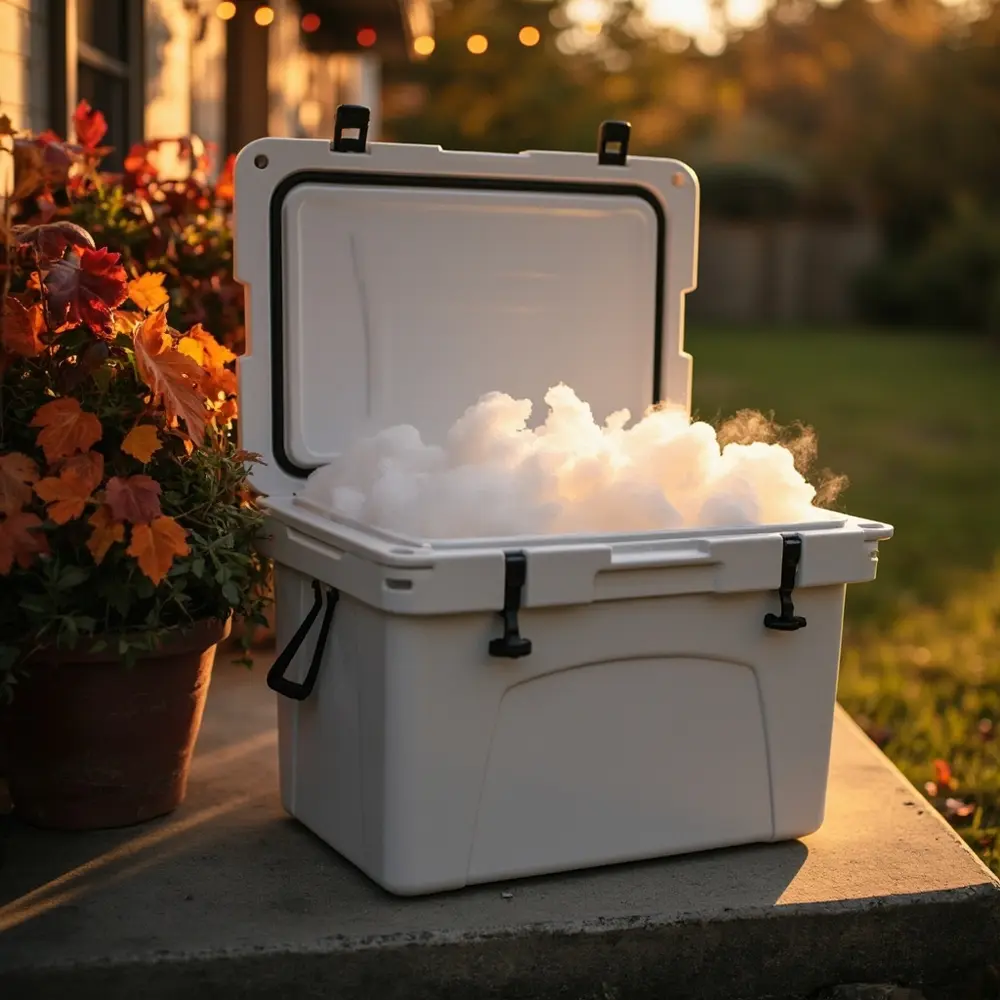
- Safe Disposal: When the party’s over, don’t just toss the leftover dry ice in the trash or down the sink (it can damage your pipes!). Simply leave the pieces in a well-ventilated area (like outside on a concrete slab) and let them sublimate away to nothing.
Caution: Dry ice can cause severe burns (frostbite) upon contact and poses an asphyxiation risk in unventilated areas. Treat it with care, and you’ll have a fantastic, worry-free effect!
Image-8: A picture showing leftover dry ice chunks sitting in an open Styrofoam cooler on a back porch, safely sublimating into the air.
Variations & Customizations to Haunt Your House 🧟
Once you’ve mastered the basic brew, why not customize it?
- Kid-Friendly Versions 🧸: For a less intense effect without dry ice, use fun, spooky-shaped ice molds (like skulls or bones) and freeze some of the punch in them. The melting shapes will look cool without the fog.
- Adult-Only Spells 🍸: For a grown-up gathering, add 2-3 cups of light rum, vodka, or even some sparkling wine to the punch mixture for a spirited brew.
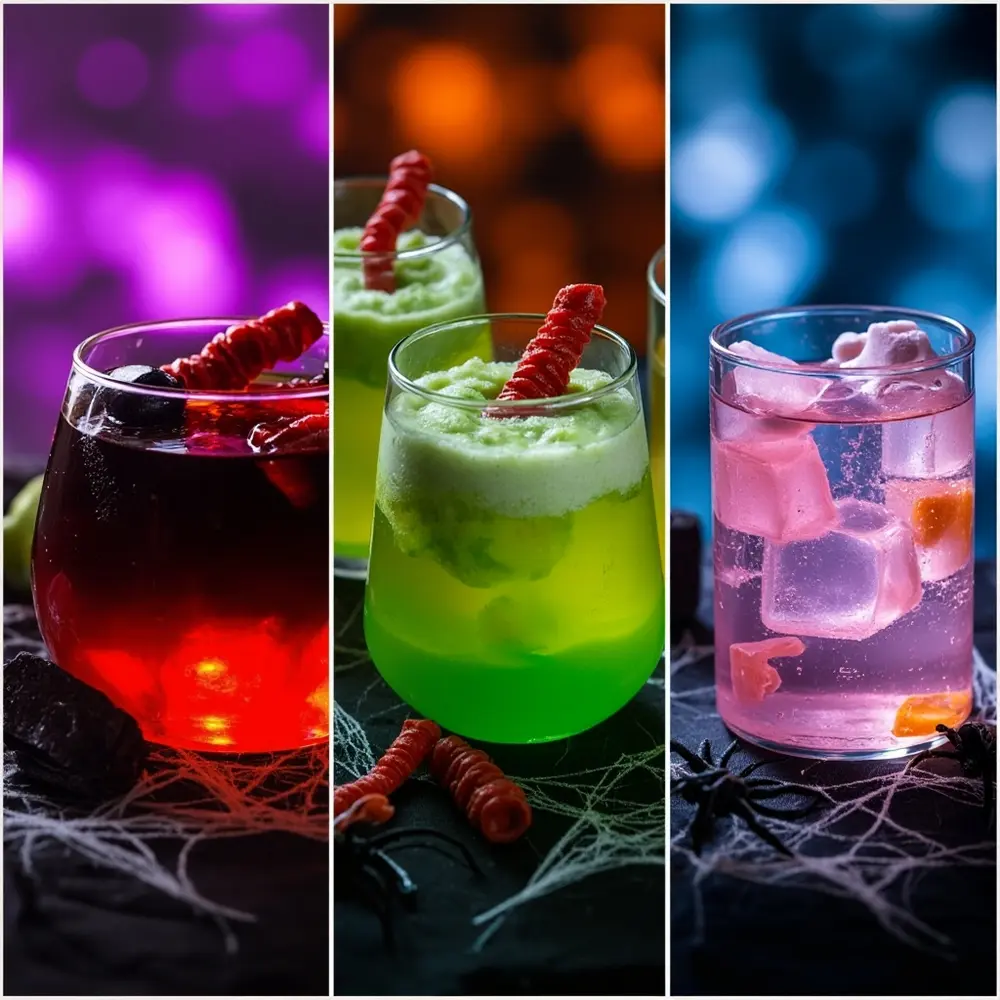
- Themed Brews 🧛: Change the color to fit your theme! Use lemon-lime soda, pineapple juice, and green food coloring for a “Zombie Goo” punch. Or, use cherry and cranberry juice for a deep red “Vampire’s Kiss” brew.
- Dry Ice Alternatives 💡: Not ready for dry ice? No problem! Place a small, battery-operated fog machine behind the punch table to create a similar hazy atmosphere. You can also place waterproof LED puck lights under a clear punch bowl for a mysterious glow.
Theme Twist 🧪: Go for a mad scientist theme! Make a bright green punch using green Hawaiian Punch, pineapple juice, and lemon-lime soda. Serve it in glass beakers and call it “Toxic Slime Punch.” The bubbling dry ice will look like a radioactive experiment gone wonderfully wrong!
Image-9: A photo collage showing three different variations: a red “vampire” punch, a green “slime” punch, and a kid-friendly version with skull-shaped ice cubes.
Halloween Activity FAQs ❓
#### Q1: How long does the dry ice effect last in the punch?
On average, a 1-2 inch chunk of dry ice will create a bubbling, foggy effect for about 10-15 minutes in a large punch bowl. The warmer the liquid, the faster it will sublimate and the more fog you’ll get! Plan on adding a new piece every 20-30 minutes to keep the effect going.
#### Q2: Can I use regular ice instead of dry ice for the bubbling effect?
No, regular ice will not create the bubbling, foggy effect. That signature look comes from the dry ice rapidly turning from a solid directly into a gas (sublimation) when it hits the warmer liquid. Regular ice just melts into water.
#### Q3: What if I can’t find food-grade dry ice?
It’s important to use “food-grade” dry ice, as it’s produced in a way that makes it safe to be near food and drinks. Most major grocery store chains (like Safeway, Kroger, or Walmart) carry it, especially around Halloween. You can also check with local ice suppliers. If you absolutely can’t find it, I recommend using one of the “Dry Ice Alternatives” I listed above, like a fog machine, for a similar spooky vibe.
—
You are now officially a master potion-maker! Creating this bubbling Witch’s Brew punch is one of my favorite ways to bring a little extra magic to a Halloween party, and it never fails to get a great reaction from guests of all ages. Following these steps, especially the safety guide, makes the whole process easy, fun, and totally worry-free.
I hope you have an absolute blast creating your spooky centerpiece. When you do, I’d love to see it! Share a picture or video of your bubbling cauldron on social media and tag it with #SpookySharmaBrew so I can check it out!
What’s your all-time favorite spooky treat to serve at a party? Let me know in the comments—I’m always looking for new ideas! 🦇

