How to Make Creepy, Stretchy Zombie Fluffy Slime
It’s that time of year again, ghouls and goblins! Are you looking for the perfect spooky activity to keep your little monsters entertained, especially when the weather outside is frightful? 🎃
You want something more engaging than just another scary movie, an activity that sparks creativity and brings the whole family together. But so many crafts are over in minutes or create a huge mess with little reward. That’s where I come in! I’m Roshan Sharma, your friendly neighborhood Halloween fanatic, and I’ve planned more spooky parties than I can count. 🎉
Get ready to roll up your sleeves and dive into some ooey-gooey fun! This creepy, stretchy Zombie Fluffy Slime recipe is the perfect solution. It’s a sensory experience, a mini-science lesson, and a fantastically gruesome Halloween decoration all in one. Let’s make some memories! ✨
Activity At-a-Glance
- Best For 👨👩👧👦: Rainy Halloween afternoons, sensory play, DIY Halloween decor, classroom science activity
- Time Required ⏳: Approx. 20-30 minutes active creation, plus playtime
- Budget Level 💰: Low-Cost
- Spookiness Level 👻: Medium
What You’ll Need for Your Zombie Fluffy Slime 📋
Here’s the checklist for our creepy concoction. I’ve found that having everything ready to go makes the process feel like a real science experiment!
- Elmer’s Glue (white or clear) 💧
- Shaving Cream (the cheap, foamy kind, not gel!) ☁️
- Liquid Starch or Borax Solution (this is our slime activator!) 🧪
- Green or Gray Food Coloring 💚
- Red Food Coloring (for that fresh-from-the-grave “blood” effect) ❤️
- Glow-in-the-Dark Paint or Powder (optional, but highly recommended!) ✨
- Small plastic zombie toys, googly eyes, or glitter (for optional “guts” or creepy additions) 🧟
- Mixing bowls 🥣
- Spatulas or spoons 🥄
- Measuring cups and spoons 📏
- Air-tight containers for storage 🥡
Preparation & Setup: Creating the Spooky Scene 🔬
Before we begin, let’s set the mood! This isn’t just a craft; it’s an experience. I love to turn my kitchen into a mad scientist’s lab. Dim the lights and maybe even swap a regular bulb for a green one. Put on a spooky Halloween playlist—something with lots of howling and clanking chains works wonders. Most importantly, protect your surfaces! Lay down newspaper, a cheap plastic tablecloth, or a trash bag. Slime-making is fun, but slime-on-the-countertop is a real horror story.
Pro Tip 💡: For a high-impact haunted lab feel, drape some old white sheets over chairs and stretch some cheap cotton-ball “cobwebs” across them. It takes two minutes and instantly transforms the space!
How to Make Your Zombie Fluffy Slime: Step-by-Step 🚀
Step 1: Gather Your Gross Ingredients
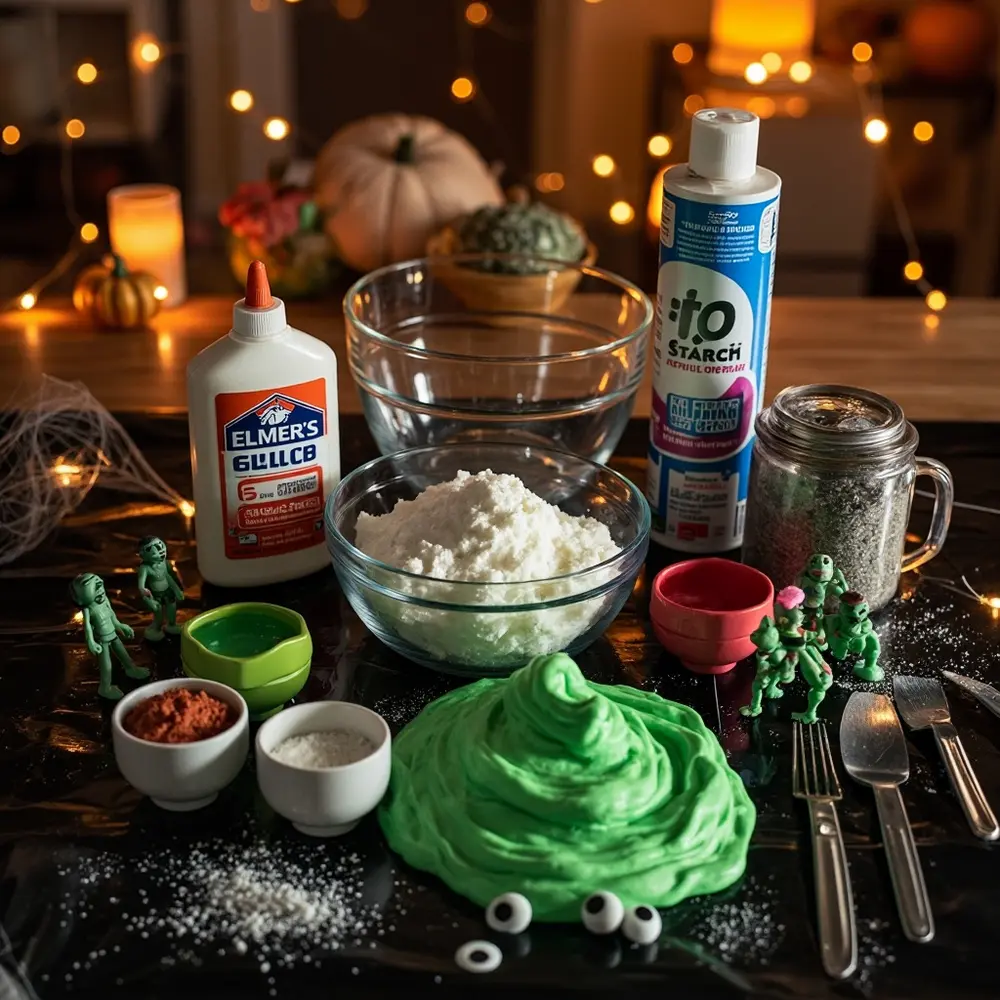
Alright, scientists, time to assemble your materials! Line up all your ingredients on your protected workspace. Unscrew the caps and have your measuring spoons ready. When I run Halloween workshops for kids, this is the step where the excitement really starts to build. Seeing all the “potions” lined up makes everyone feel like a real monster-maker!
Image-1: A bright, top-down shot of all the slime ingredients—glue, shaving cream, food coloring, googly eyes, and liquid starch—arranged neatly on a black plastic tablecloth, ready for the activity.
Step 2: Mix the Fluffy Zombie Base
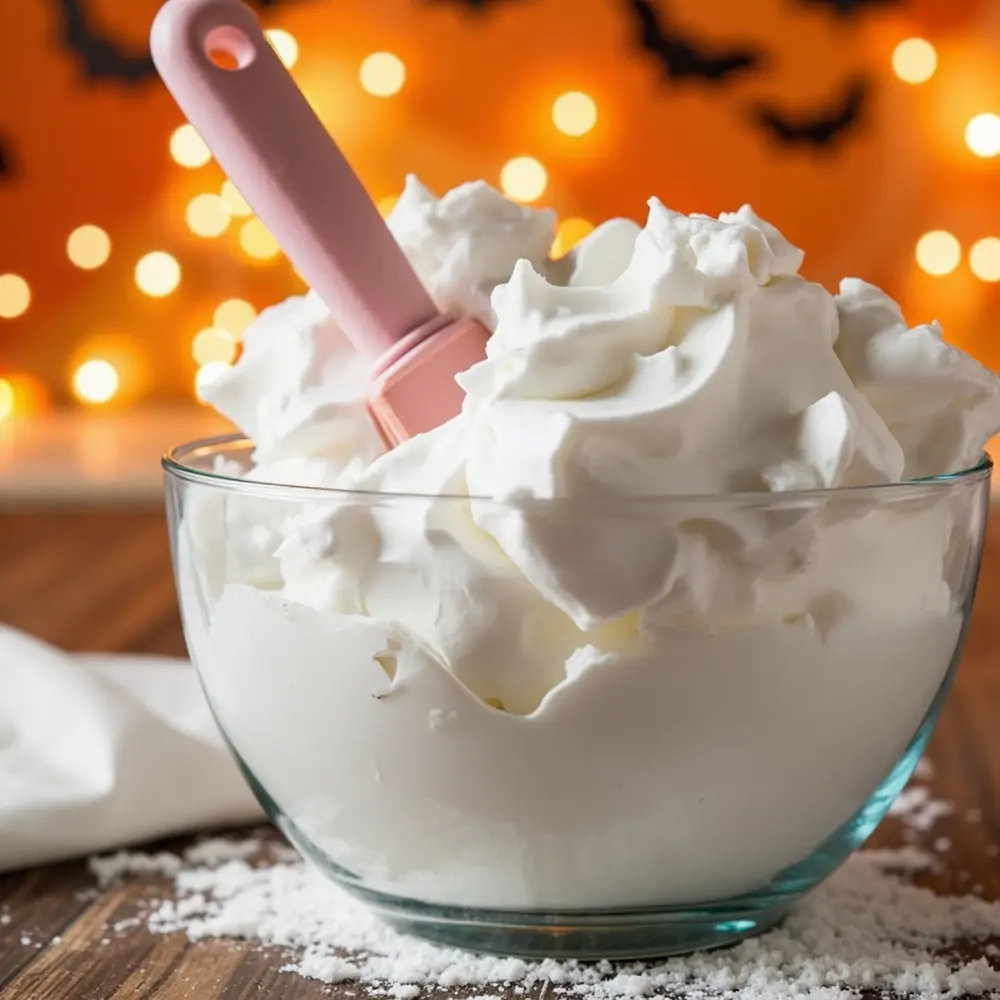
In your mixing bowl, pour in about 1/2 cup of Elmer’s Glue. Now for the fun part! Add about 1 to 1.5 cups of shaving cream. The more you add, the fluffier your slime will be! Use your spatula to mix the glue and shaving cream together. Keep stirring until it’s fully combined and looks like a big, white, fluffy cloud.
Caution ⚠️: This is a great step for kids, but make sure they’re supervised! Glue can get everywhere, so an apron or old t-shirt is a great idea to protect clothing from any spooky splatters.
Image-2: A close-up, angled shot of a spatula mixing white glue and fluffy shaving cream in a large bowl. The texture should look thick and airy, like meringue.
Step 3: Unleash the Zombie Color
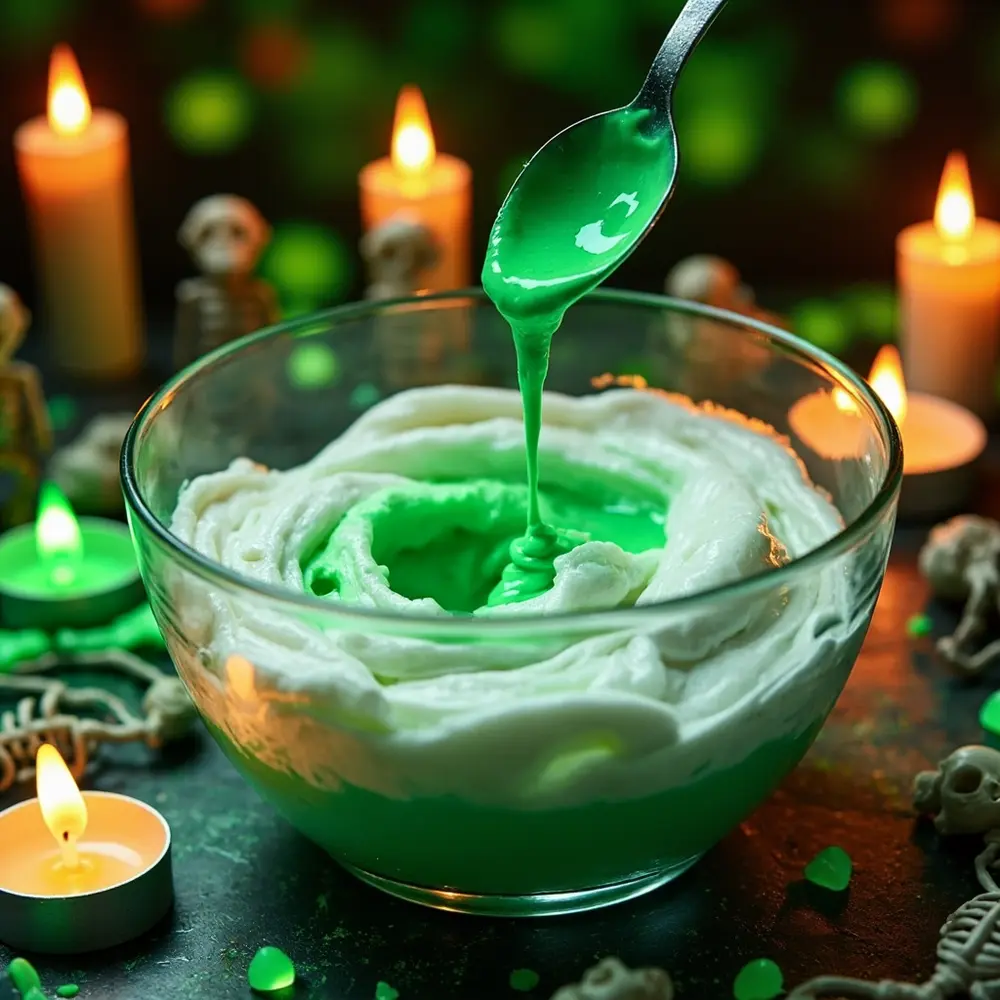
Time to bring our creation to life… or, uh, un-life! Add 5-6 drops of green or gray food coloring to your fluffy base. Stir it all together until the color is evenly mixed. Want it to glow under a blacklight for your haunted house? Now is the time to mix in a tablespoon of glow-in-the-dark paint or powder!
Image-3: A vibrant photo showing several drops of green food coloring just hitting the surface of the white, fluffy mixture in the bowl, with a spoon poised to stir.
Step 4: Activate the Undead Goop
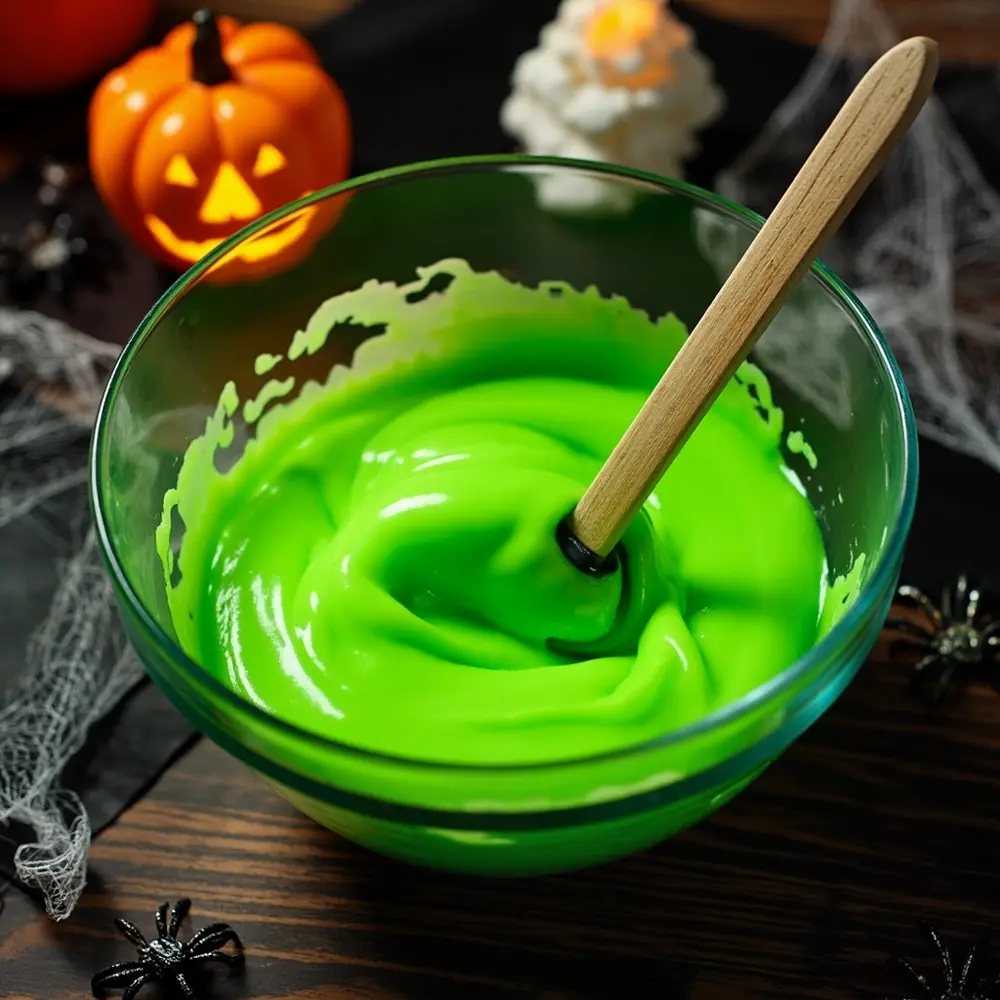
This is where the magic happens! Slowly, and I mean slowly, begin adding your activator. If you’re using liquid starch, start with 1-2 tablespoons. Stir constantly as you pour. You will immediately see the mixture change. It will start to pull away from the sides of the bowl and form a sticky blob. That’s how you know it’s working!
Caution ⚠️: Activators are the key, but they require adult supervision. If using a Borax solution (1 tsp borax dissolved in 1 cup warm water), an adult should handle it. Using too much activator too quickly will make your slime stiff and rubbery, so go slow!
Image-4: An action shot focusing on the liquid starch being poured in a thin stream from a measuring cup into the green mixture, with a hand stirring simultaneously.
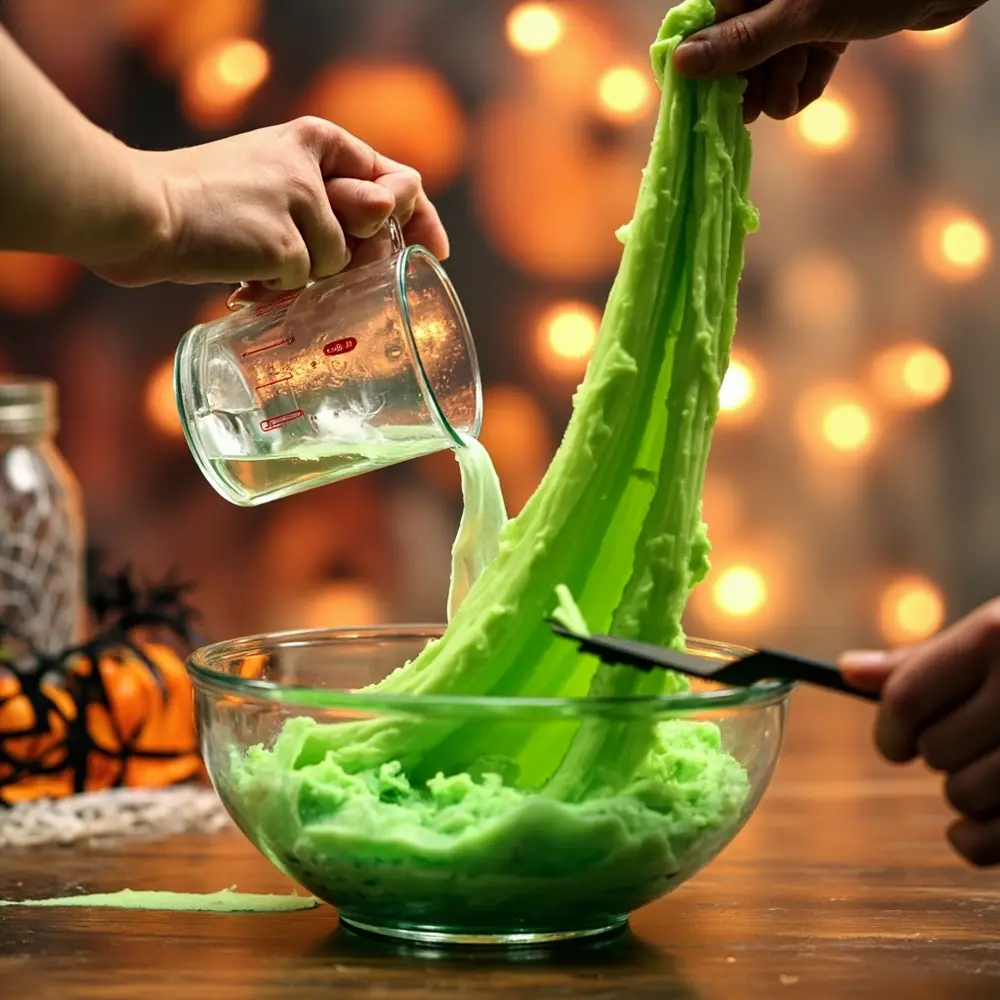
Image-5: A clear shot looking down into the mixing bowl, showing the slime has now formed a single mass and is pulling cleanly away from the sides of the bowl as it’s stirred.
Step 5: Knead Your Monster Slime
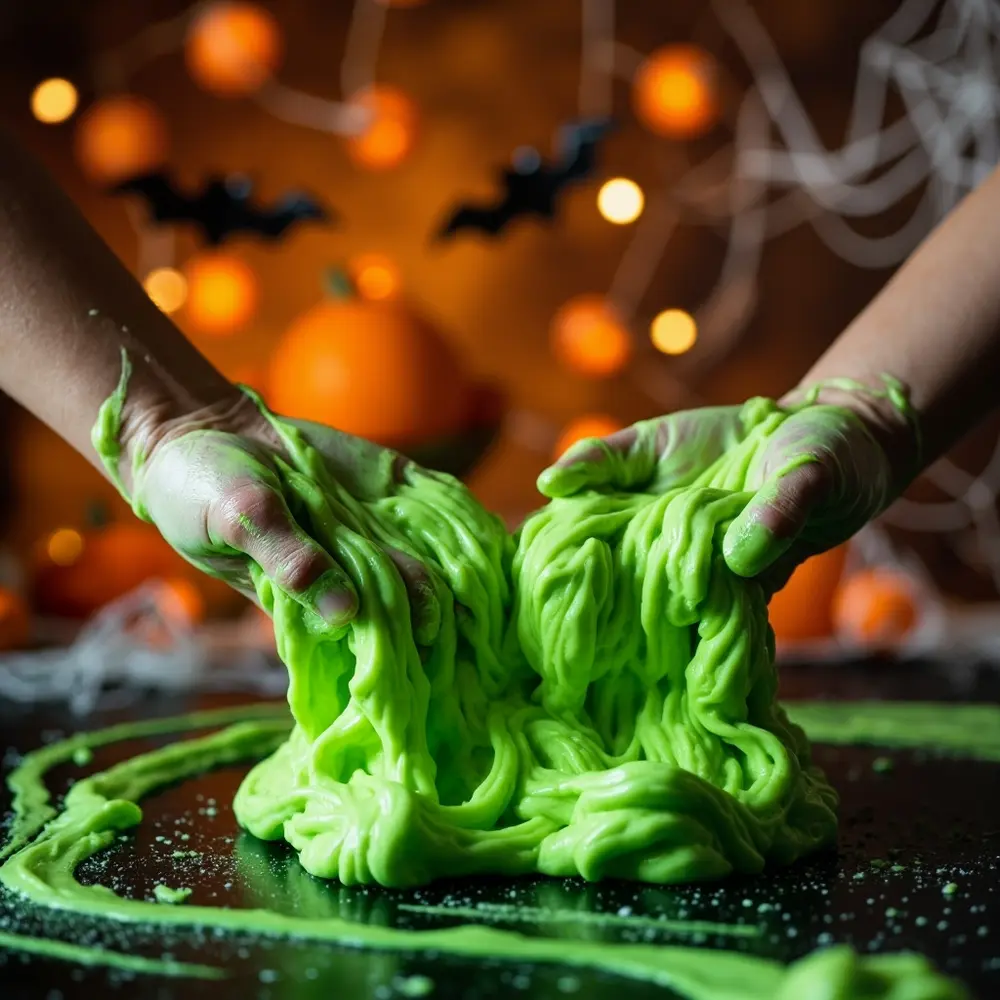
Once the slime is mostly holding together, it’s time to get your hands dirty! Lightly coat your hands with a bit of liquid starch or lotion to prevent sticking. Plop the slime onto your clean, protected surface and start kneading it like dough. It will be sticky at first—don’t panic! Just keep folding, stretching, and squishing it. After a few minutes of kneading, it will transform into the perfect, non-sticky, super-stretchy fluffy slime.
Image-6: A close-up photo of a pair of hands actively kneading the stretchy green slime on a clean work surface, demonstrating its pliable texture.
Step 6: Add Gruesome Details & Play!
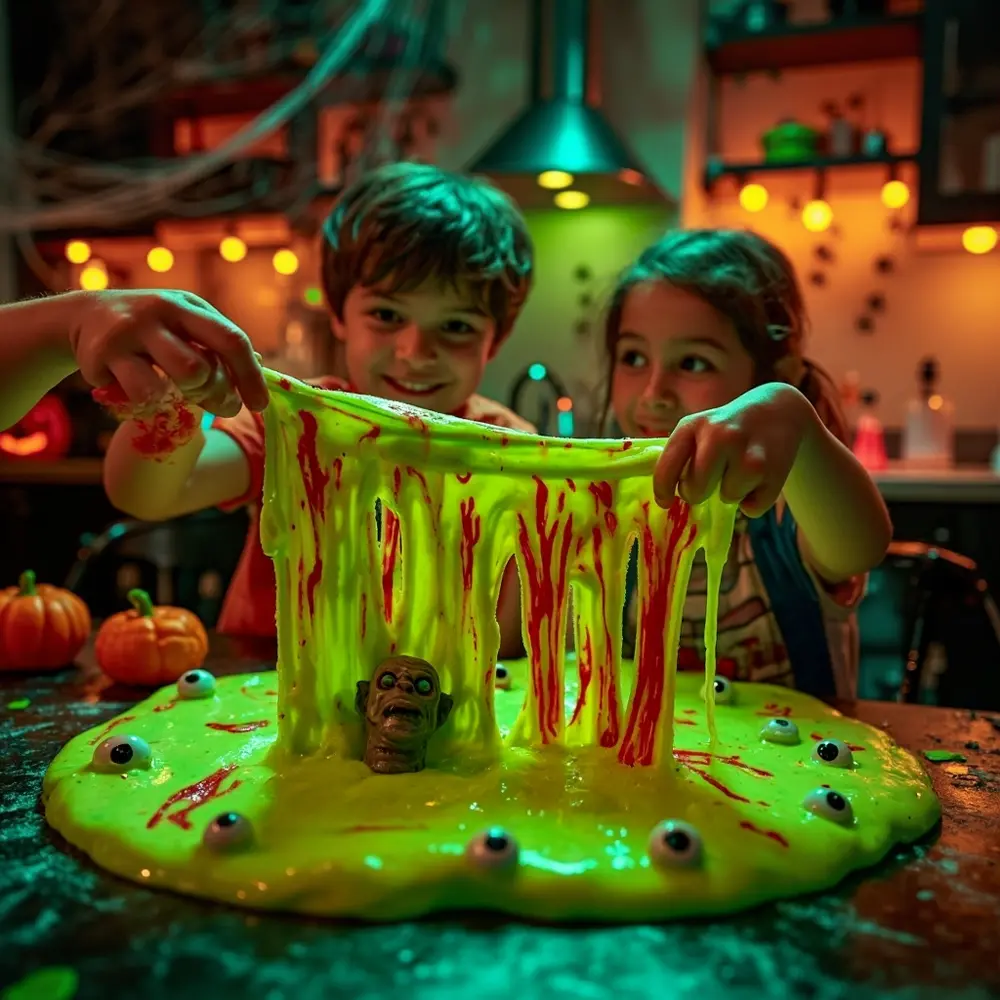
Your zombie is created! Now, let’s make it gruesome. Stretch the slime out and add a few drops of red food coloring, then fold it over a few times without fully mixing it in. This creates creepy “blood” veins! Knead in your plastic zombie toys, googly eyes, and any other “guts” you want to add. Now it’s time to play! Stretch it, squish it, and listen to the satisfying sounds it makes.
Image-7: A focused shot of the finished green slime being stretched out, with a few red “blood” streaks being folded in and a handful of googly eyes being sprinkled on top.
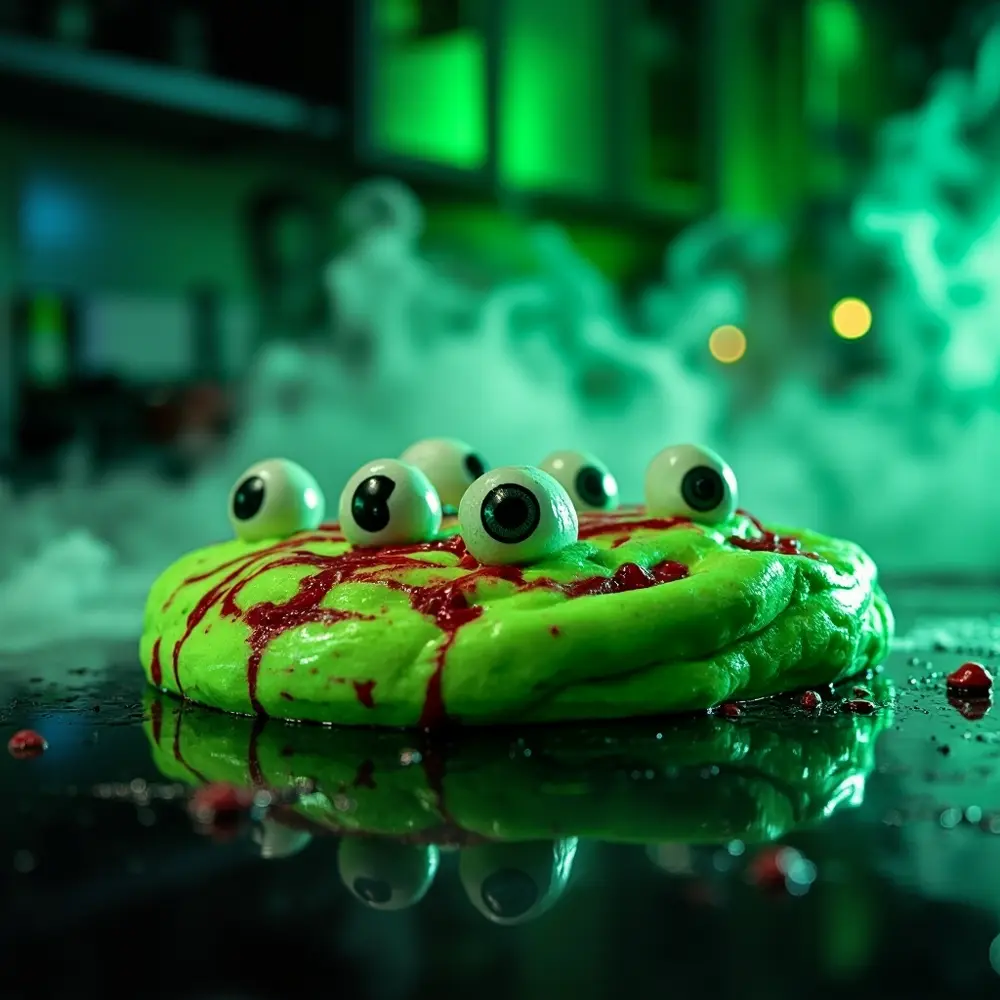
Image-8: A beautiful, slightly zoomed-out shot showing two pairs of kids’ hands stretching the finished zombie slime between them. The slime is filled with googly eyes and red streaks, with a small plastic zombie toy peeking out. The background is dimly lit with a spooky, green glow.
The Science Behind the Slime: A Polymer Explained 🧪
Ever wonder why this works? It’s not magic, it’s science! The white glue you used contains something called polyvinyl acetate (PVA), which is a polymer. Think of polymers as long chains of molecules, like spaghetti. On their own, they slide past each other easily, which is why glue is liquid.
Your activator (the liquid starch or borax solution) acts as a cross-linker. When you add it, it builds bridges between those long spaghetti chains, linking them all together into a net. This new, connected structure is what stops the polymers from flowing so easily and creates the thick, stretchy, viscous substance we call slime! You didn’t just make a creepy toy; you conducted a real chemistry experiment!
Variations & Customizations to Haunt Your House 🧛
One of the best things about running my `Spooky Sharma` blog is seeing how people adapt my ideas! Here are a few twists to make this activity your own:
- Toddler-Friendly Version 👶: For the littlest ghouls, safety is key. Skip the small parts like googly eyes and consider an edible slime recipe instead (like one made from cornstarch and yogurt) for worry-free fun.
- Bloody Zombie Slime 🩸: Go all out with the gore! Use more red food coloring and don’t mix it in completely to get a marbled, veiny effect.
- Glow-in-the-Dark Slime ✨: Add extra glow pigment and “charge” it under a bright light for 15 minutes. Turn off the lights for an eerie, glowing playtime!
- Biohazard Slime ☣️: Store your slime in clear containers and add a printed-out biohazard symbol to the lid. It’s a perfect party favor!
- Scented Slime 🍂: Add a few drops of a fall-themed essential oil like cinnamon or even a musky, earthy scent for a “fresh from the grave” smell.
Theme Twist 💡: Turn your whole setup into a “Mad Scientist’s Lab Experiment!” Use beakers instead of bowls for mixing, wear lab coats (old white t-shirts work great), and add some dry ice in a separate bowl of water (with adult supervision!) for a spooky, bubbling fog effect.
Halloween Activity FAQs ❓
Q1: How do I store Zombie Fluffy Slime to make it last?
Store your slime in an air-tight container or a sealed ziplock bag. Kept this way, it should stay fresh and stretchy for about a week. If it starts to dry out, you can try kneading in a tiny bit of water or lotion to revive it.
Q2: What do I do if my slime is too sticky or too stiff?
If it’s too sticky, it likely needs a little more activator. Lay the slime on your surface and add just a tiny bit more liquid starch (I’m talking a few drops!) and knead it in thoroughly. If it’s too stiff or rubbery, you added too much activator. You can sometimes fix this by kneading in a bit of lotion or a drop of warm water to help soften it.
Q3: Is this slime safe for children to play with?
This slime is for playing, not for eating! It should always be used with adult supervision, especially with younger children who might put things in their mouths. Ensure everyone washes their hands thoroughly before and after playing. The ingredients are generally safe for contact, but if you have a child with sensitive skin, a patch test or using gloves is a good idea.
Conclusion
And there you have it—your very own batch of creepy, crawly, and wonderfully fluffy zombie slime! I hope you and your family have an absolute blast bringing this ghoulish creation to life. This activity is so much more than a way to pass the time; it’s a chance to bond, get creative, and make some fantastically spooky memories that will last long after the slime has dried up. From my haunted house to yours, have a happy and slimy Halloween! 🧟♂️
Now go get messy! If you make this slime, I’d be thrilled to see it. Tag your creations on social media so I can see your monstrous masterpieces! What’s your favorite go-to Halloween craft? Let me know in the comments! 🎃
