How to Create Creepy Potion Bottles and Spellbooks for a Witch’s Lair
Have you ever looked at your Halloween decorations and felt like something was missing? You have the plastic skeletons and the fake cobwebs, but it just doesn’t feel… real. 🧙♀️
You want that truly immersive, creepy vibe, like you’ve stepped into a real witch’s workshop. But slapping a pre-made sticker on a clean glass jar from the dollar store just doesn’t cut it. It feels cheap and breaks the spell. 💔
Well, you’ve found the right guide! Forget the basic stuff. I’m going to show you the alchemical secrets to aging and distressing. We’ll turn simple craft supplies into potion bottles and a spellbook so authentic, your guests will wonder if you found them in a haunted attic. Let’s get crafting! 🎃
- Difficulty Level 🦴: Beginner (but requires patience!)
- Time to Complete ⏳: Approx. 2-3 hours of active crafting, plus overnight drying
- Estimated Cost 💰: Under $25 (using recycled jars!)
- Prerequisites 🧠: A love for spooky aesthetics and a well-ventilated crafting space.
Prerequisites: Gathering Your Alchemical Supplies 🧪
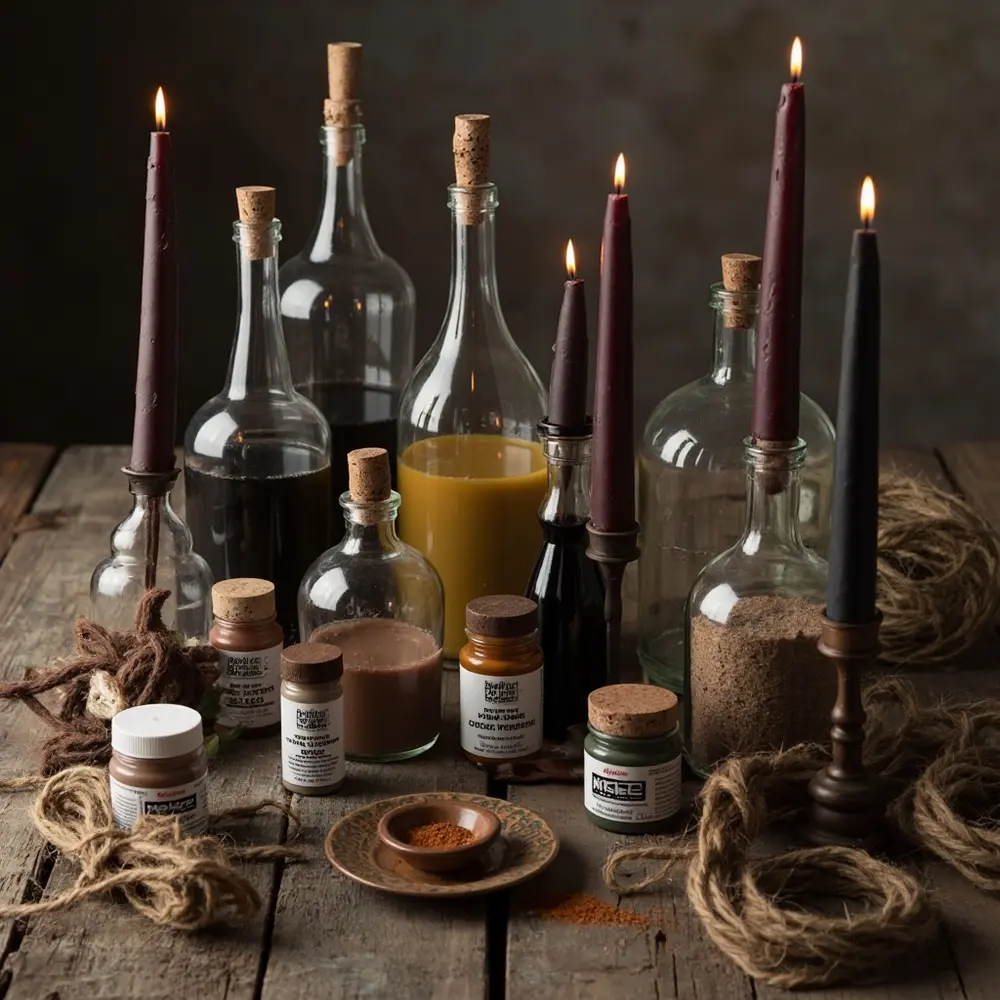
Before we start our magical crafting session, we need to gather our components. The real magic is in the details, so I always tell people to choose their materials wisely. You can find most of these at craft stores, dollar stores, or right in your recycling bin!
Requirements Checklist:
- For the Potion Bottles:
- An assortment of glass bottles and jars. I love finding unique shapes at thrift stores!
- Corks or T-stoppers that fit your bottles.
- Acrylic Paints (Black, Brown, Burnt Umber, Moss Green).
- Matte Mod Podge or a similar decoupage glue.
- Fine sand, dirt, or spices (cinnamon works great for a dusty look).
- Natural twine, jute cord, or thin leather strips.
- Optional: Dripless taper candles (dark red or black) for that perfect wax seal.
- For the Spellbook & Labels:
- A blank hardcover journal or an old, unwanted book.
- Parchment-style paper or plain white computer paper.
- Strongly brewed black coffee or tea, which you’ll need to let cool.
- A printer for your labels (or a steady hand and a cool pen!).
- School glue or a glue stick.
Initial Setup:
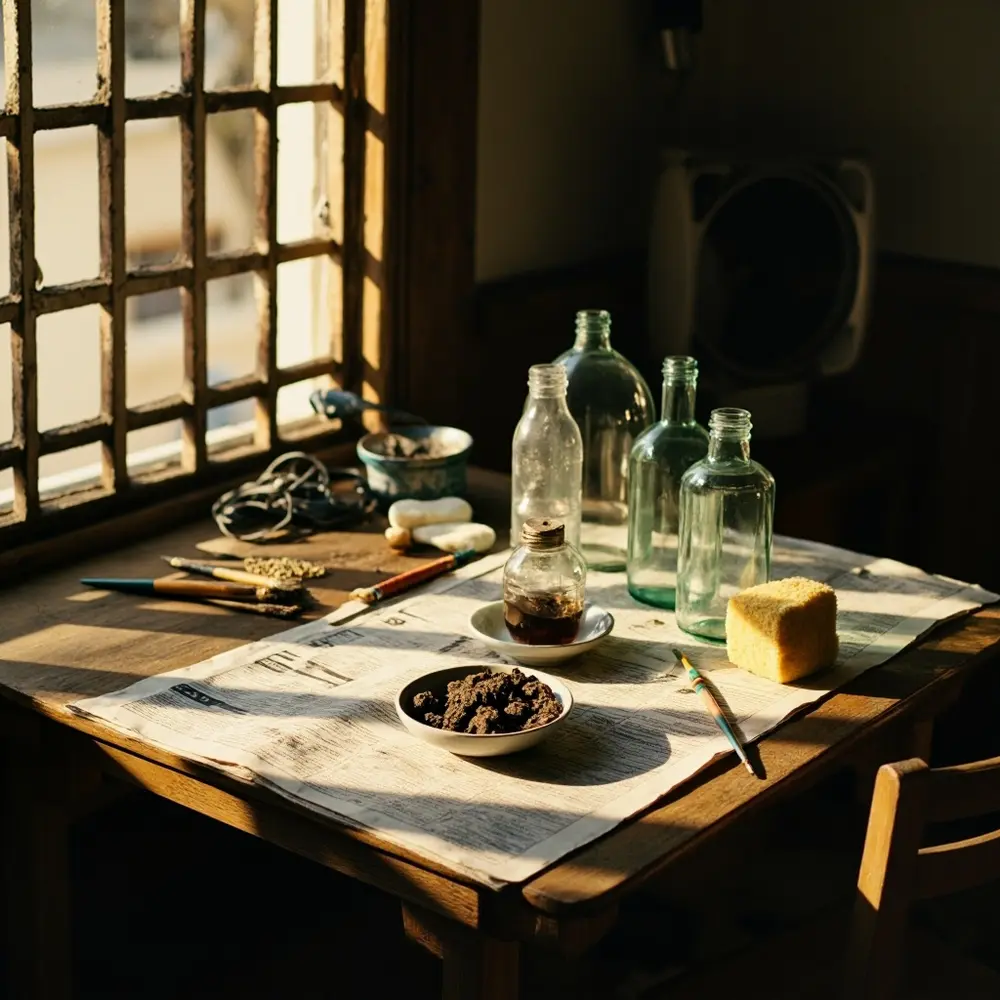
First, prepare your workspace by laying down some newspaper or an old cloth. Trust me, this can get messy, and paint is hard to get out of the dining room table.
Make sure to thoroughly wash and dry all your glass bottles to remove any oils. Then, brew a strong cup of coffee or tea and let it cool down completely in a shallow dish. This will be our secret aging potion!
⚠️ Warning: Please work in a well-ventilated area, especially when you’re using paints and glues. Open a window or turn on a fan!
Step-by-Step Tutorial: Crafting Your Cursed Potion Bottles 🏺
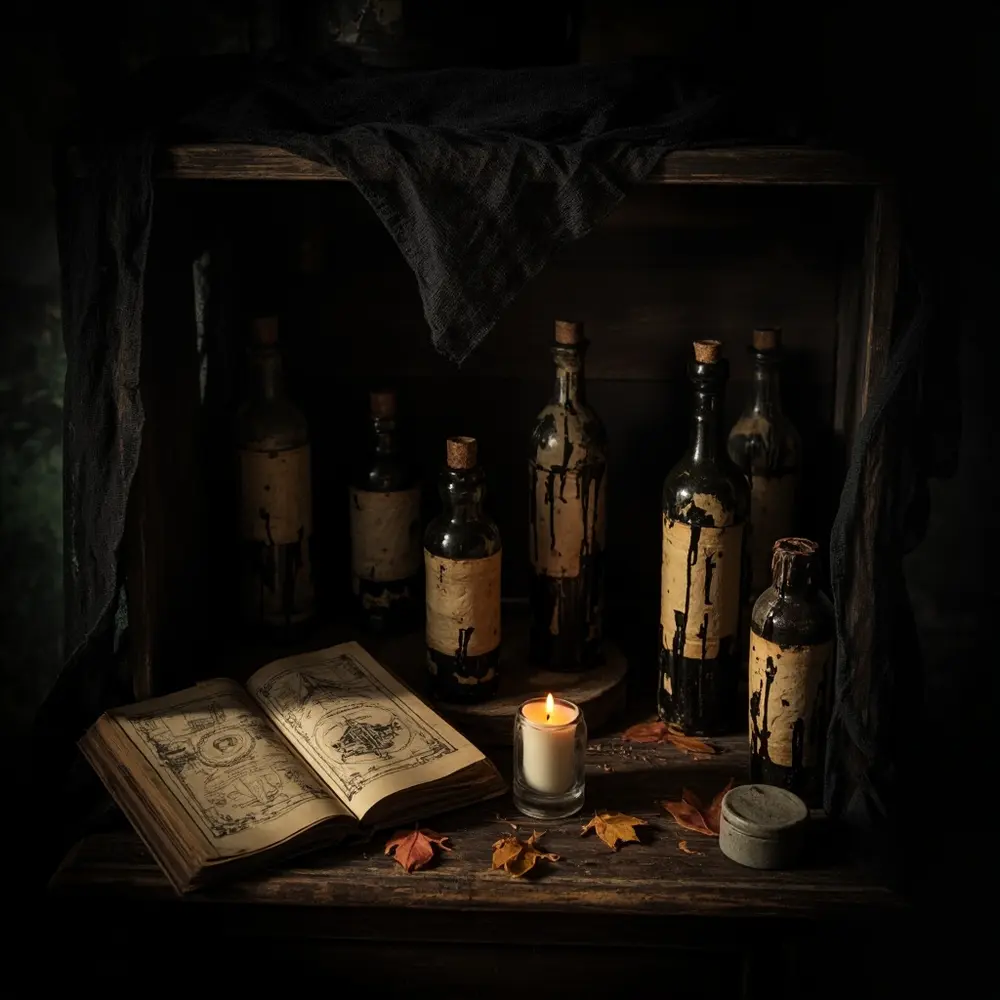
Step 1 – The First Layer of Grime: Aging the Glass
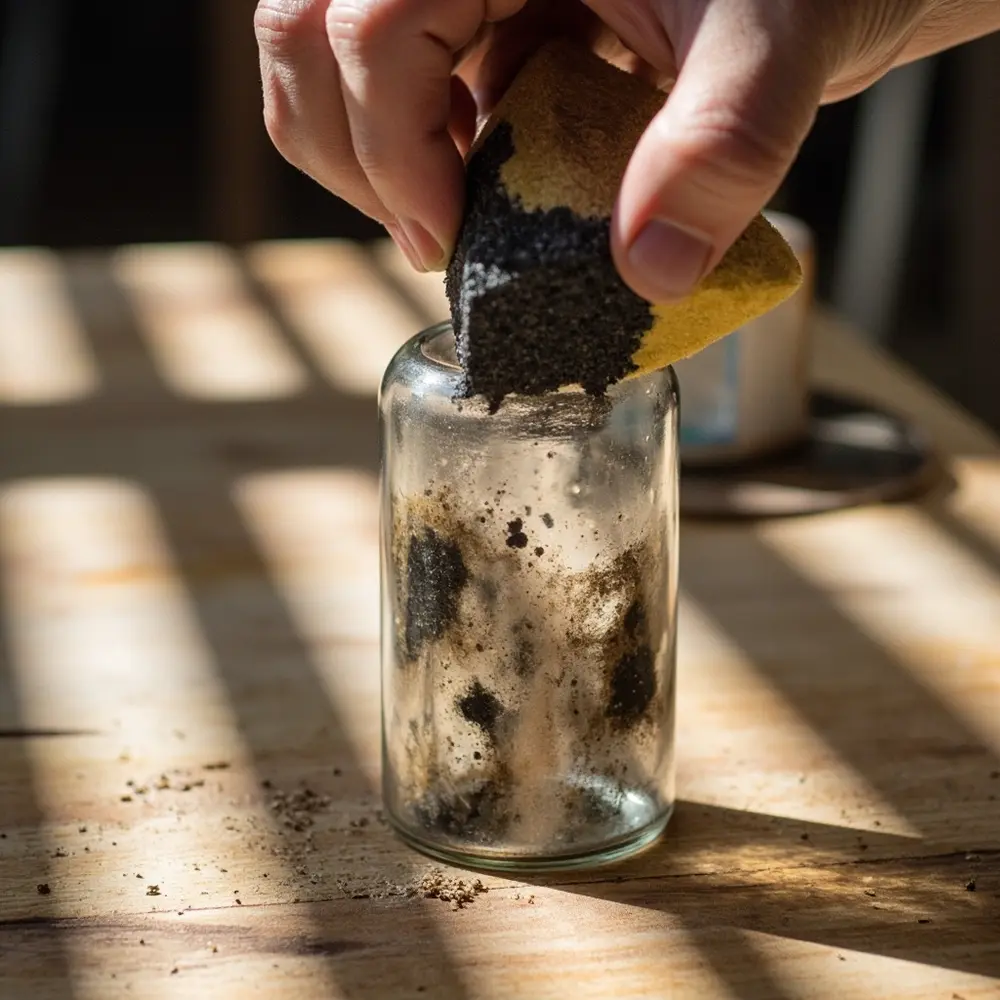
Our main goal here is to make a brand-new glass bottle look like it’s been gathering dust on a forgotten shelf for a hundred years.
- Pour a small amount of Matte Mod Podge into a dish.
- Mix in just a few drops of black and brown acrylic paint. You want to create a dirty, see-through wash.
- Using a sponge or a stiff brush, dab this mixture unevenly onto the outside of the bottle. Don’t try for perfect coverage! Splotches and streaks are your friends here.
- While the Mod Podge is still wet, lightly sprinkle a tiny pinch of fine sand or dirt onto the bottle. I like to focus on the neck and the very bottom where grime would naturally collect.
- Set it aside to dry completely. This is where patience comes in!
Important Note: Your paint mixture should be translucent, not opaque like regular paint. You still want to be able to see the “potion” you’ll put inside later. I always test it on a small, hidden spot first.
Step 2 – Designing and Distressing Your Arcane Labels
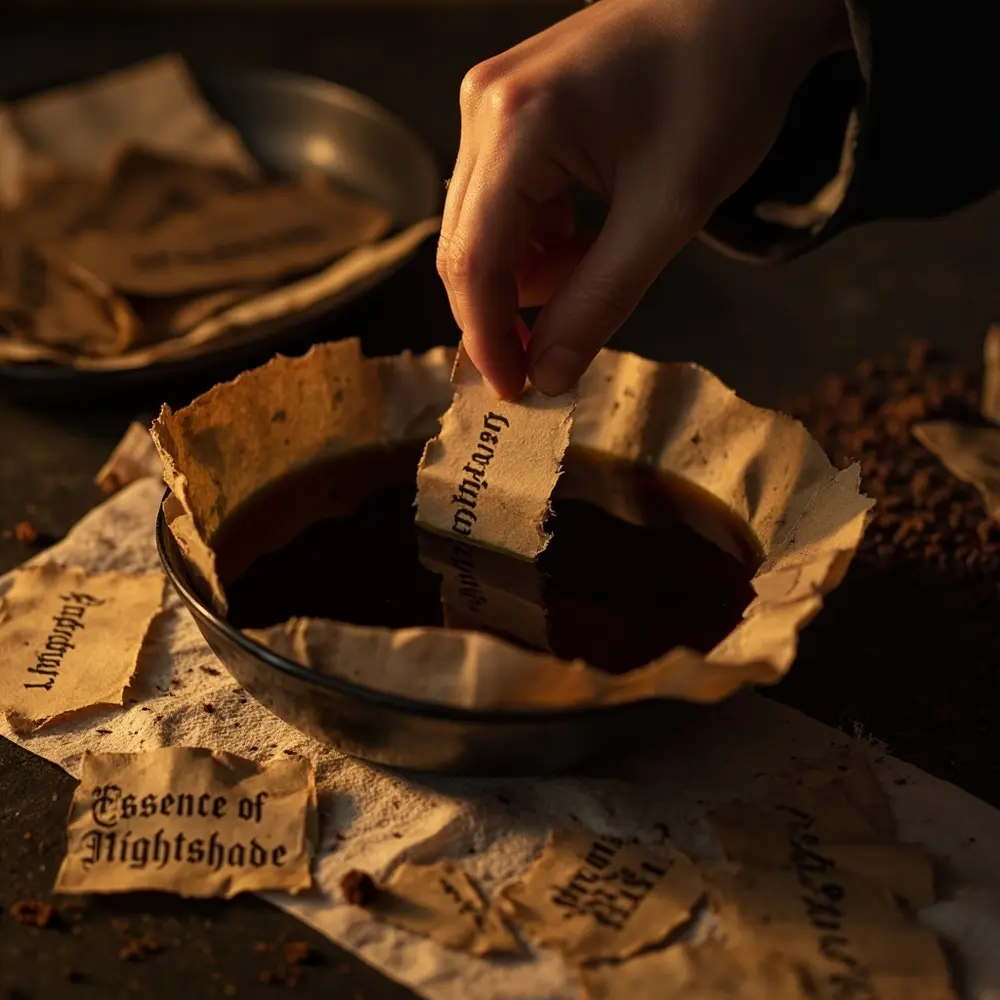
Now for my favorite part! We’re going to create some authentic, age-yellowed labels that look like they were written by a witch long ago.
- Design your labels on a computer. I love using gothic or old-timey script fonts. Get creative with the names! Some of my favorites are “Essence of Nightshade,” “Gillyweed,” “Tears of a Banshee,” or “Powdered Dragon’s Claw.”
- Print your awesome labels on the paper you chose.
- This is key: carefully tear the labels out instead of cutting them with scissors. A torn edge looks so much more rustic and old.
- Submerge your torn labels in your cooled coffee or tea bath. Let them soak for just 1-2 minutes.
- Carefully take them out and lay them flat on a paper towel. For extra cool effects, you can blot them, make water rings with the bottom of a glass, or even sprinkle on a few instant coffee grounds for a mottled look.
- Let them dry completely. They will be very delicate, so handle with care!
Step 3 – Applying Labels and Finishing Touches
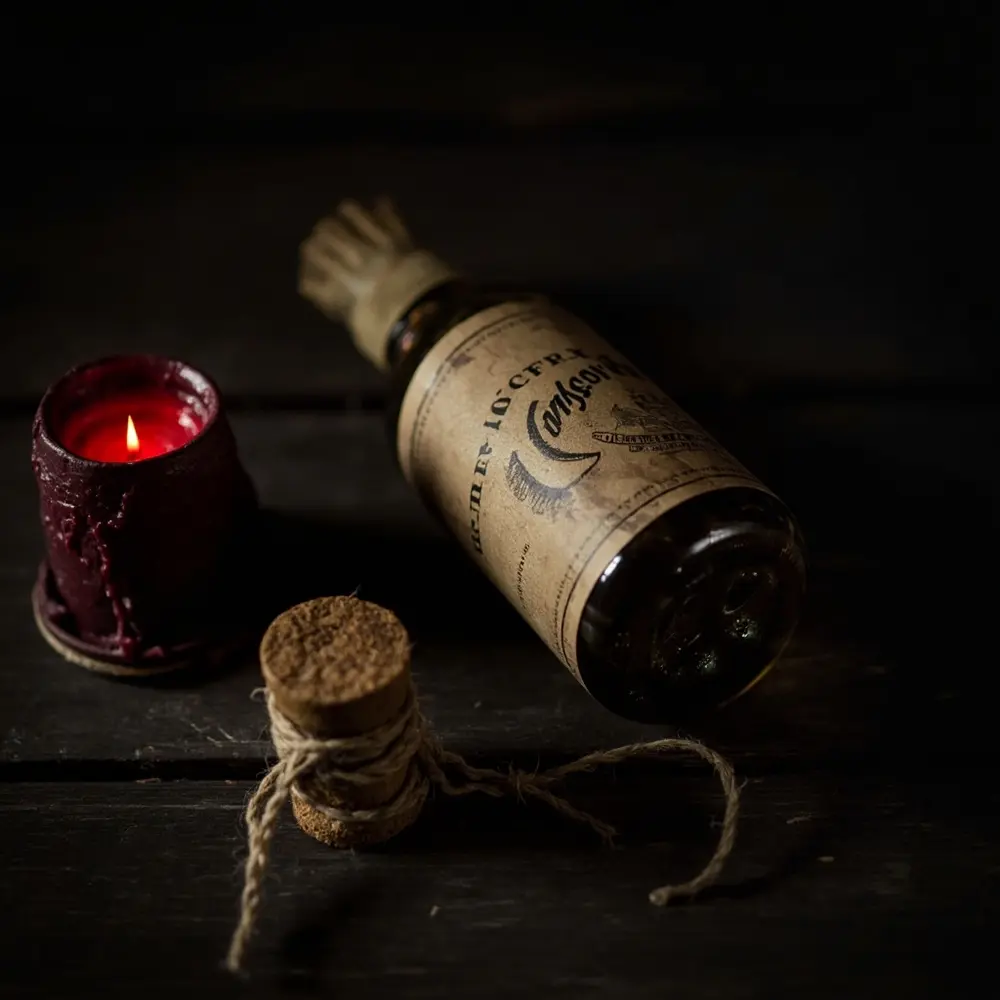
It’s time to bring it all together. This is where we attach the aged labels and add the final details that make the bottles pop.
- Apply a thin, even layer of Mod Podge to the back of your dry, distressed label.
- Carefully press the label onto your grimy bottle. I like to smooth it out from the center. Don’t worry if it’s not perfectly flat; a few wrinkles really add character!
- Once the label is secure, seal it by brushing another thin layer of Matte Mod Podge right over the top. This protects the label and makes it look like it’s part of the bottle.
- Wrap some twine or jute cord around the neck of the bottle a few times and tie a simple, rough knot.
- For an amazing wax seal, light a dark-colored candle. Carefully tilt it and let the wax drip over the cork and down the top of the bottle.
⚠️ Warning: Be extremely careful when you’re working with melted wax! It’s very hot. Protect your work surface and your hands from any drips.
Step 4 – Testing Your Display
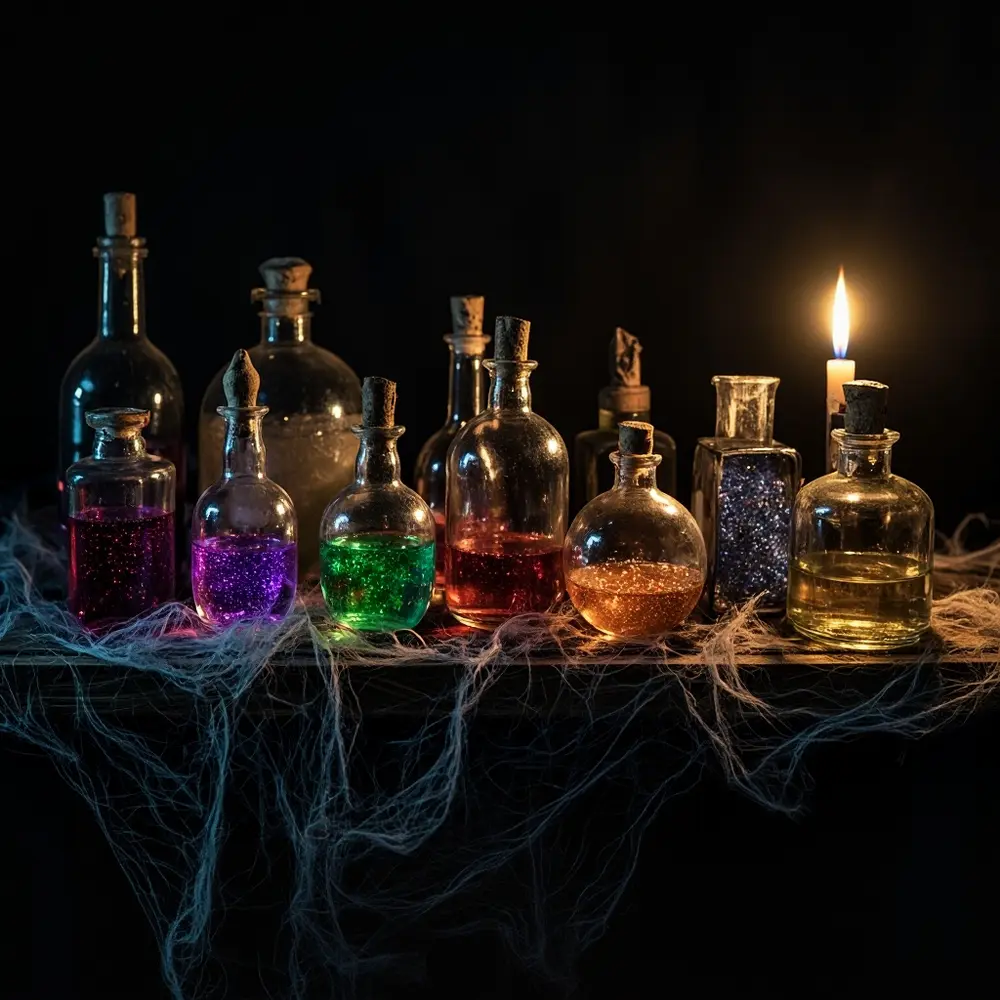
The final step is to arrange your new creations and see how they look as a collection. This is where you get to be the set designer!
- Fill your bottles with colored water, glitter, or other interesting items if you want.
- Arrange your collection of finished bottles on a shelf or table.
- Step back and look at them from a distance. Do they look like a cohesive, creepy set? I always move mine around a few times until the placement feels just right.
Expected Result: You should have a varied collection of potion bottles that look authentically old, dirty, and super magical.
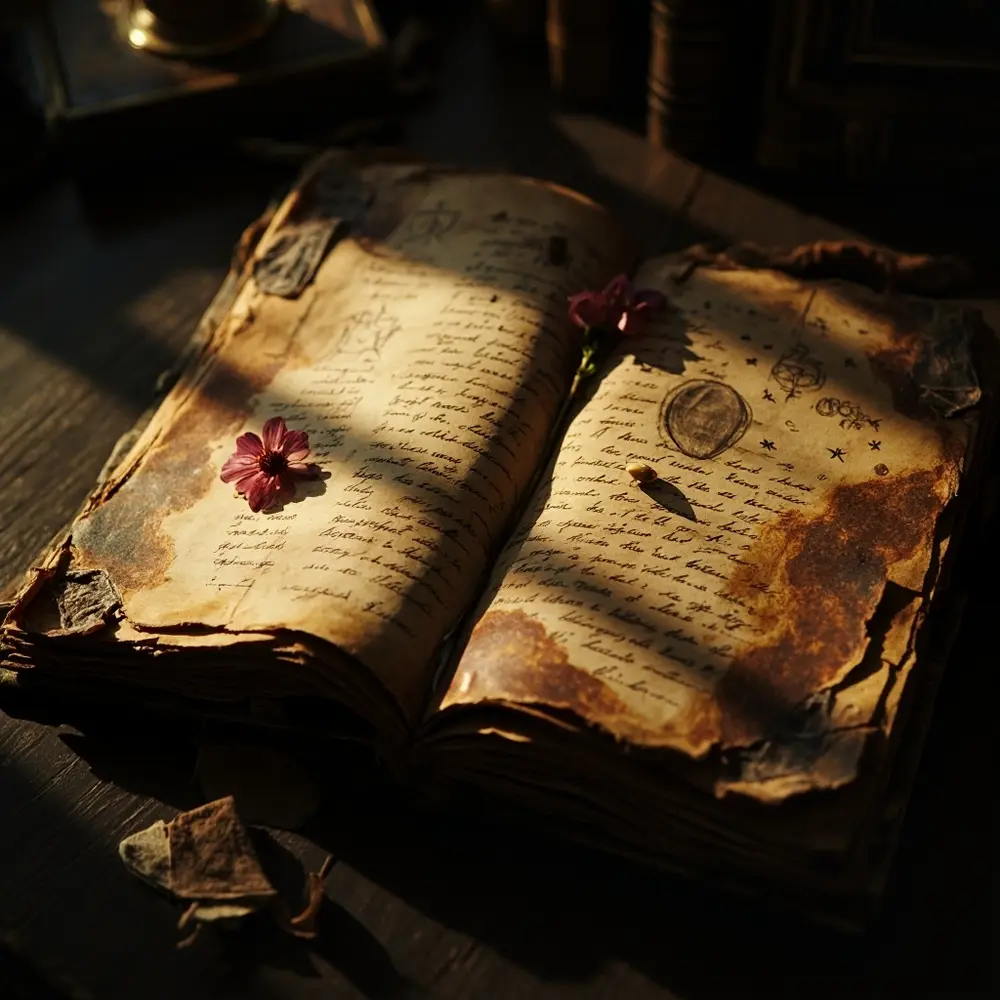
The Alchemist’s Secret: A Deep Dive into Creating an Authentic Spellbook 📖
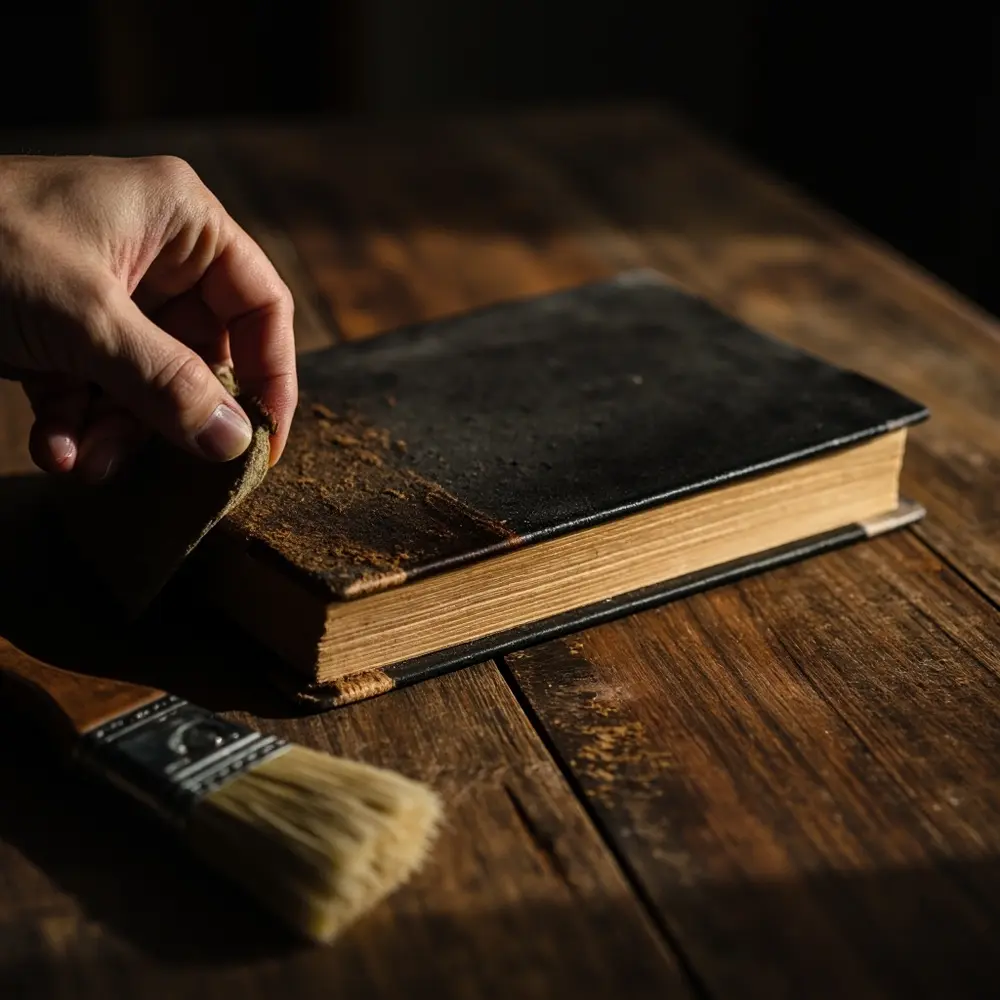
Okay, this is where we level up. A true witch’s lair needs a proper grimoire, not just a new journal from the store. This part is all about the aging techniques to turn a simple book into an ancient-looking artifact.
- Distressing the Cover:
Start with a plain, hardcover journal. First, I lightly sand the edges and corners with fine-grit sandpaper to make it look like it’s been handled for centuries.
Then, use the “dry brushing” technique. Dip the very tip of a dry paintbrush in black or brown paint, wipe most of it off on a paper towel, and then lightly “dust” the paint over the book’s cover. Focus on crevices and the spine. This creates a dusty look without thick, fake-looking paint.
- Aging the Pages:
Open the book. Using a sponge or a big brush, lightly paint the edges of the pages with your cooled coffee/tea mixture. You don’t need to soak every single page.

Let it dry completely, fanning the pages every so often so they don’t stick together. The pages will get a little wrinkly and warped, which is exactly what we want!
Important Note: This process takes time and patience. I learned the hard way that it’s much better to build up light layers of stain than to soak the pages all at once. Too much water will just ruin the book.
- Adding Ancient Content:
You don’t need to be a great artist! Use a fine-tipped marker to scribble some arcane-looking symbols or draw simple moons and stars. You can even copy down “spells” in a shaky, messy handwriting.
I also love to glue in a pressed flower or a leaf onto a page. To finish it off, I’ll even tear a corner off a page or two to really sell the idea that it’s been used for ages.
My Personal Tip: When I first started making these for clients, I tried to make the drawings and writing perfect. It looked terrible! The real magic happened when I let it be messy and imperfect. That’s what makes it look genuinely old and used.
Troubleshooting & Common Questions ❓
Q: My paint and Mod Podge mixture is peeling off the glass. What did I do wrong?
A: This is a common issue! It usually happens for two reasons. First, make sure the glass was 100% clean and free of oils before you started. I always wipe my bottles with rubbing alcohol first. Second, your paint mixture might have been too thick. It really needs to be a thin, watery wash, not a thick coat of paint.
Q: My paper labels ripped apart when I soaked them in coffee. How do I prevent this?
A: Standard printer paper is super thin and can fall apart easily when it gets wet. You can try using a slightly thicker paper, like 24lb or 32lb stock. Or, here’s a trick: instead of dunking the whole label, lay it flat and gently dab the coffee or tea onto it with a sponge or a teabag. This gives you way more control and is less harsh on the paper.
Q: Where can I find cool, free fonts for my labels?
A: Oh, this is a great question! I get fonts for my “Spooky Sharma” blog projects all the time from websites like DaFont.com and Google Fonts. Just search for categories like “Gothic,” “Medieval,” or “Script.” Some of my personal favorites to look for are “Blackwood Castle,” “Kingthings Spikeless,” and “Deutsch Gothic.”
Next Steps & Further Optimization ✨
You’ve totally mastered the art of magical decay! Now, how can you expand your witch’s lair?
- What to Do Next: Create a dedicated display shelf for your new props! I like to drape some dark-colored cheesecloth to look like “cobwebs,” scatter a few faux crow feathers, and use old, dark books as risers to create different heights for the bottles.
- Optimization Tips:
- Vary the “Potions”: Fill your bottles with different things for more visual interest. Use water with food coloring, add fine glitter for a “shimmering” potion, or drop in small objects like beads, dried herbs, or even tiny plastic skeletons.
- Add a “Specimen” Jar: This is one of my favorite tricks from my haunted house designs. Find a bigger jar and create a “specimen” by submerging a creepy-looking plastic toy (like a spider or an eyeball) in murky, colored water. It looks so cool!
- Advanced Applications: Try your new aging techniques on other props. You can distress some old keys, create an “ancient” scroll from a paper towel roll and your aged paper, or even build a custom wand from a fallen tree branch.
Conclusion (My Final Thoughts) 👻
Congratulations, alchemist! You have successfully turned a bunch of everyday materials into a collection of wonderfully creepy props that are packed with character and story.
By focusing on the subtle arts of aging and weathering, you’ve learned the secret to creating decor that doesn’t just sit there—it sparks the imagination. Your witch’s lair is now more authentic and immersive than ever before. You can use these skills for any themed project you dream up, from a pirate’s treasure chest to a mad scientist’s lab.
I’d absolutely love to see your magical creations! What kind of creepy potion did you decide to bottle first? Share your results and tell me all about it in the comments below!

