DIY Halloween Treat Boxes That Wow: Step-by-Step for Pinterest-Perfect Designs
✨ After countless hours covered in glitter and paper scraps during my seasonal DIY workshops, I’ve mastered the art of creating stunning DIY treat containers—testing, fixing fails, and discovering solutions that actually work.
😅 But I know the struggle: How do you make your boxes look as good as the ones on Pinterest? How do you get those crisp folds and make sure they don’t fall apart?
👑 That’s why in this post, I’ll show you exactly how to solve these challenges with tips I’ve tested myself. Stick with me, and you’ll learn how to create spooky gift boxes that wow your friends and family! 🎃
Tutorial At-a-Glance
Time Required: Approx. 1-2 hours (depending on design complexity)
Budget Level: Low-Cost to Moderate
Skill Level: Beginner to Intermediate Crafter
What You’ll Need for Your Spooky Treat Boxes 🎃
✅ Cardstock or craft paper (various Halloween colors/patterns like orange, black, purple, and spooky prints)
✅ Scissors or a craft knife
⚠️ Safety First: Always handle sharp tools with care. If you’re using a craft knife, work on a self-healing cutting mat. Adult supervision is a must for younger crafters!
✅ Ruler and pencil
✅ Craft glue or double-sided tape
👑 Nancy’s Pick: I always recommend a quick-drying, strong craft glue like Bearly Art Precision Craft Glue. It creates a super secure bond without warping the paper, which is key for a professional finish.
✅ Embellishments (stickers, glitter, googly eyes, ribbon, twine, small plastic spiders)
✅ Printable treat box templates (optional, but highly recommended for intricate designs)
Crafting Your Pinterest-Perfect Halloween Treat Boxes: Step-by-Step Guide 🧵
One of the most common questions I get from my Instagram community is, “Nancy, how do you make your DIY party favors look so professional?” I remember my first attempt at a craft fair years ago; my little ghost boxes were cute but a bit… wobbly. That’s when I perfected this step-by-step method to ensure every single box is sturdy and stunning. Let’s get crafting!
Step 1: Choose Your Design & Gather Templates
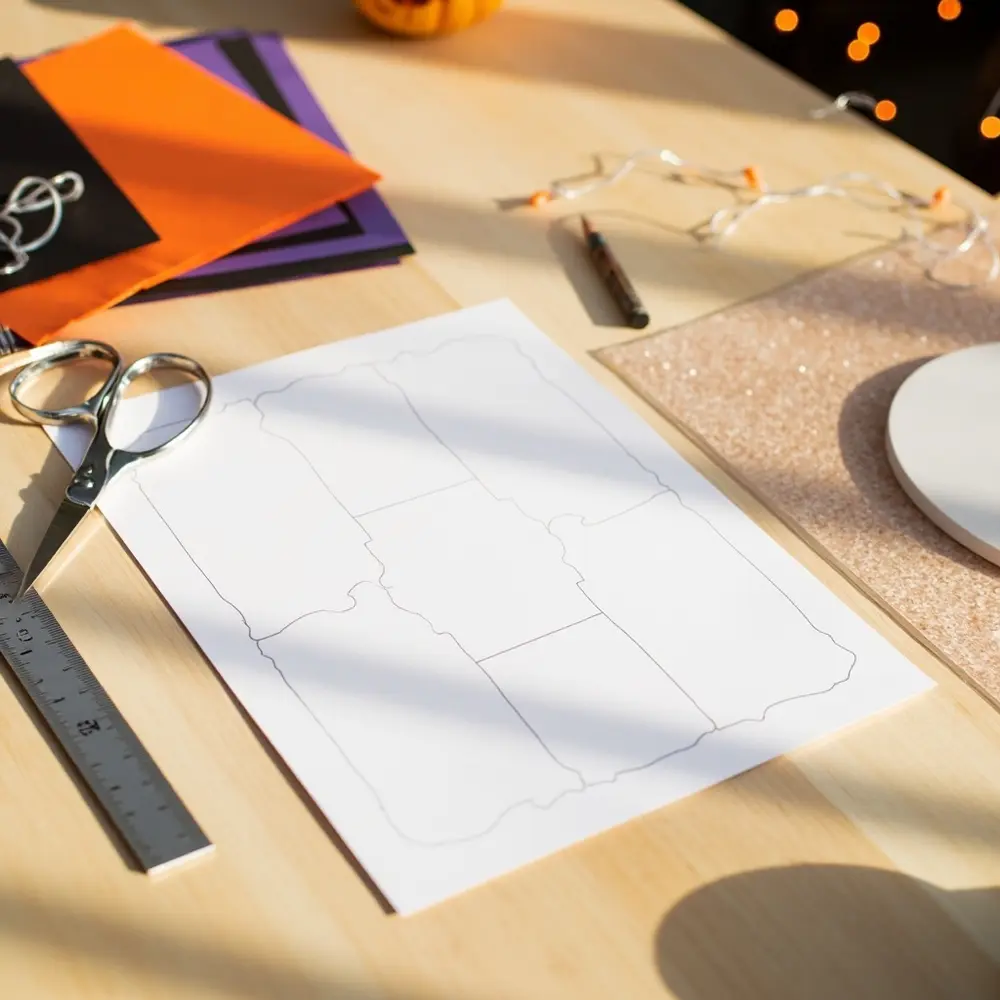
First, decide on your theme! Are you going for cute ghosts, spooky coffins, classic pumpkins, or maybe a haunted house? A quick search on Pinterest for “printable treat box templates” will give you tons of free options. Simply download and print your favorite designs directly onto your cardstock or onto plain paper to use as a stencil. For these easy Halloween crafts, starting with a good template is half the battle.
[image-1: A flat lay of various printed treat box templates, scissors, and different colored cardstock in orange, black, and purple.]
Step 2: Cut and Score Your Box Pieces
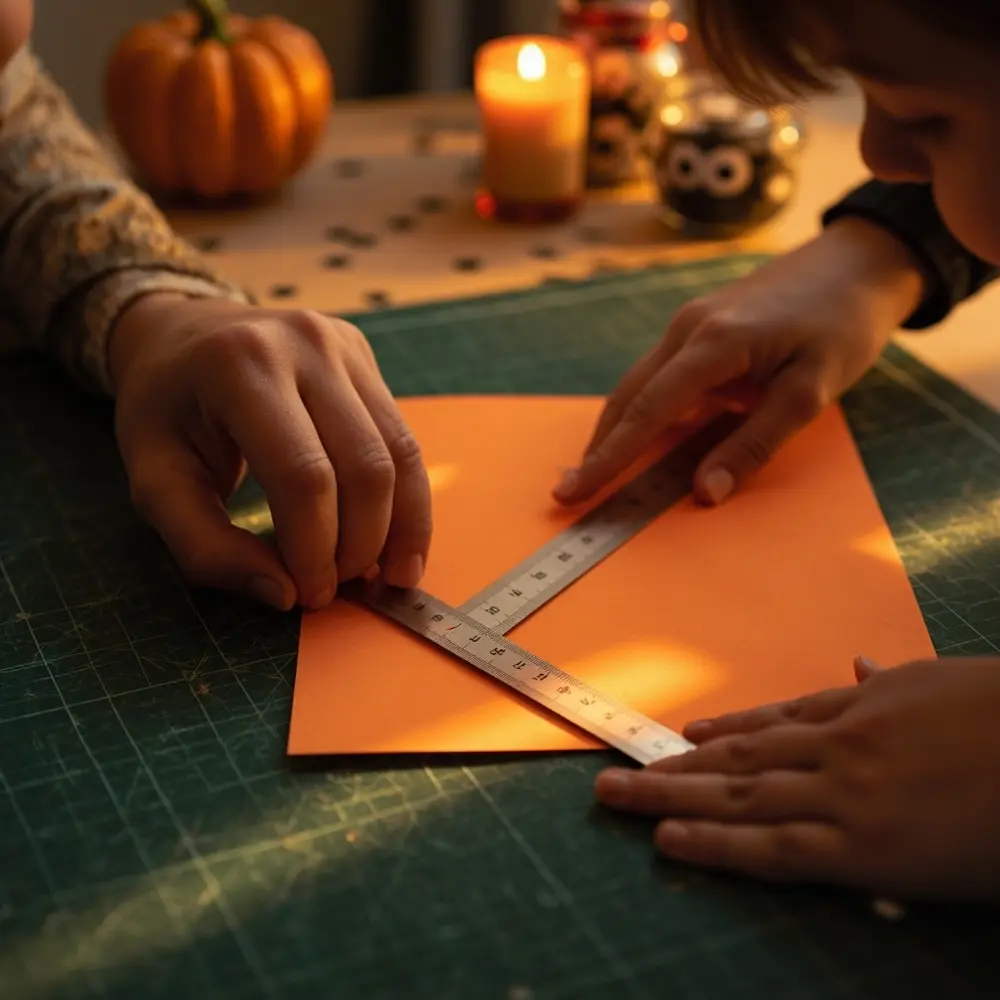
Carefully cut out your printed template along the solid lines. If you’re using a stencil, trace it onto your colored cardstock with a pencil and then cut it out. Now for the secret to sharp, professional-looking folds: scoring! Using a ruler as a guide, run a scoring tool (or the dull side of a butter knife) along all the dotted or dashed fold lines. This creates a crease in the paper that makes folding a breeze.
⚠️ Safety First: If you’re using a craft knife for precise cuts, always use a cutting mat to protect your work surface and cut away from your body.
[image-2: Close-up shot of hands carefully scoring a fold line on a piece of orange cardstock with a ruler and a scoring tool.]
Step 3: Assemble the Basic Box Structure
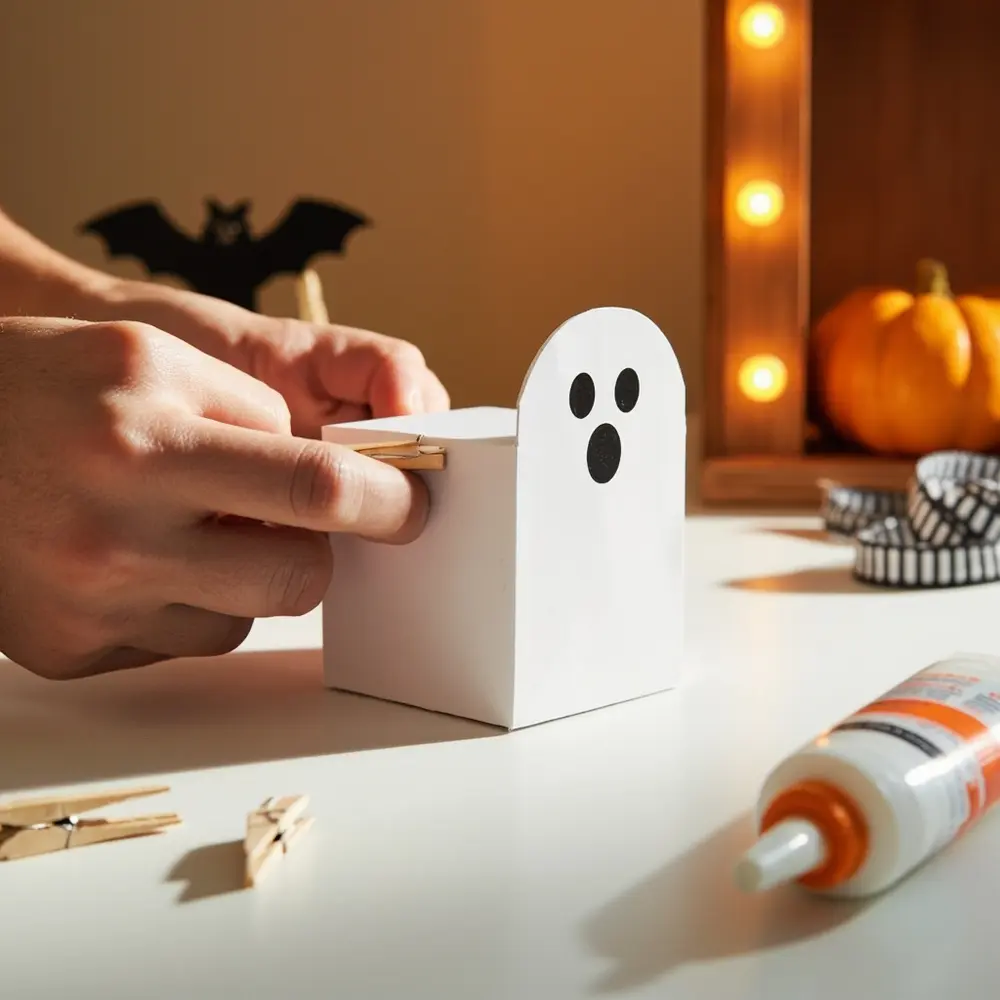
This is where your creation comes to life! Gently fold along all the scored lines, creasing them firmly. Apply a thin line of craft glue or a piece of double-sided tape to the designated tabs. Press the tabs firmly to the adjoining panels to form the 3D shape of your DIY treat containers.
💡 Pro-Tip: Use small clothespins or paper clips to hold the glued tabs together while they dry. This ensures a super strong bond and prevents the box from popping open later.
[image-3: A sequence of photos showing a ghost-shaped box being folded along scored lines and a tab being glued into place to form its basic 3D shape.]
Step 4: Decorate Your Treat Box with Spooky Flair
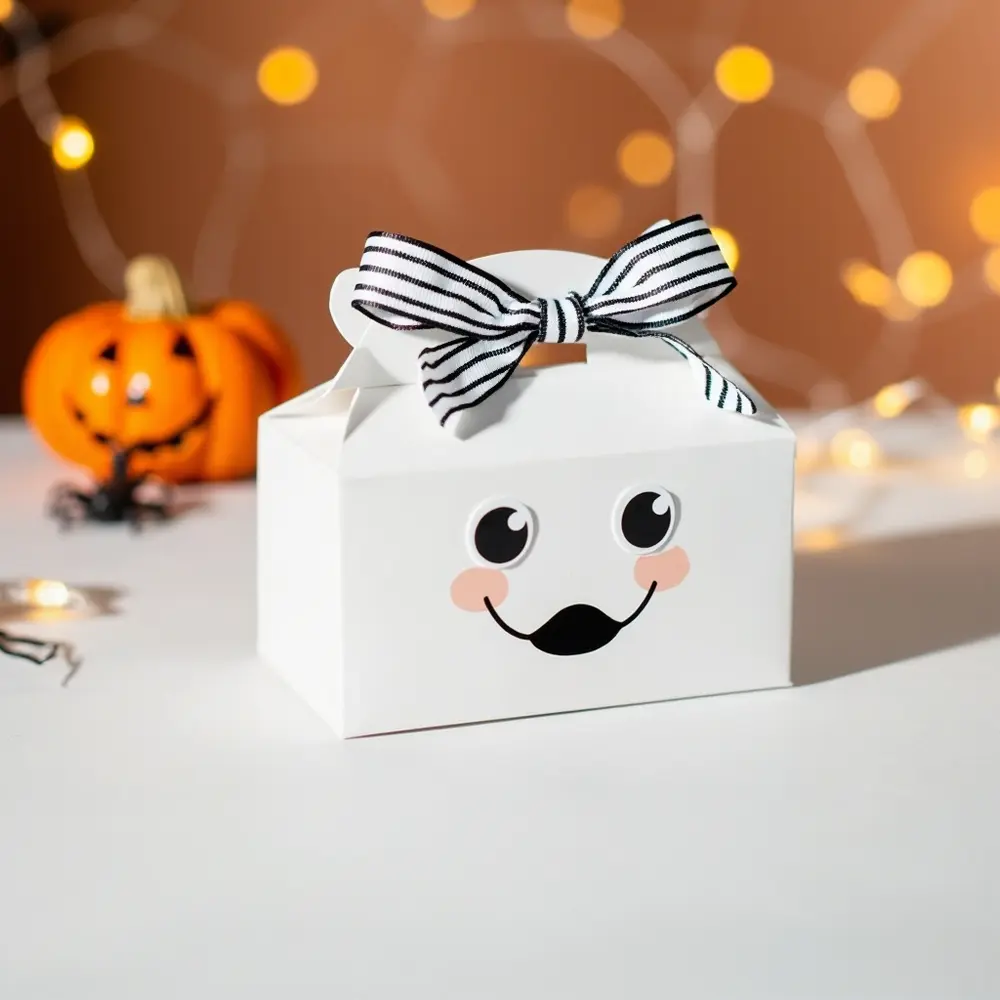
Now for the best part—decorating! This is your chance to let your creativity run wild. Add googly eyes and a drawn-on mouth to a white box to make a ghost. Glue a green paper stem to an orange box for a perfect pumpkin. You can also add glitter, spooky stickers, or tie a festive ribbon around your finished box. Layering different colors of paper can also add amazing dimension.
[image-4: A beautifully decorated, finished ghost treat box with big googly eyes, a hand-drawn “Boo!” speech bubble, and a black and white striped ribbon tied at the top.]
Multiple Designs to Inspire Your Halloween Haul 👻
After making hundreds of these for parties and events, I’ve found that having a few go-to designs makes everything easier. These are perfect for creating impressive Halloween party favors that look like you spent a fortune!
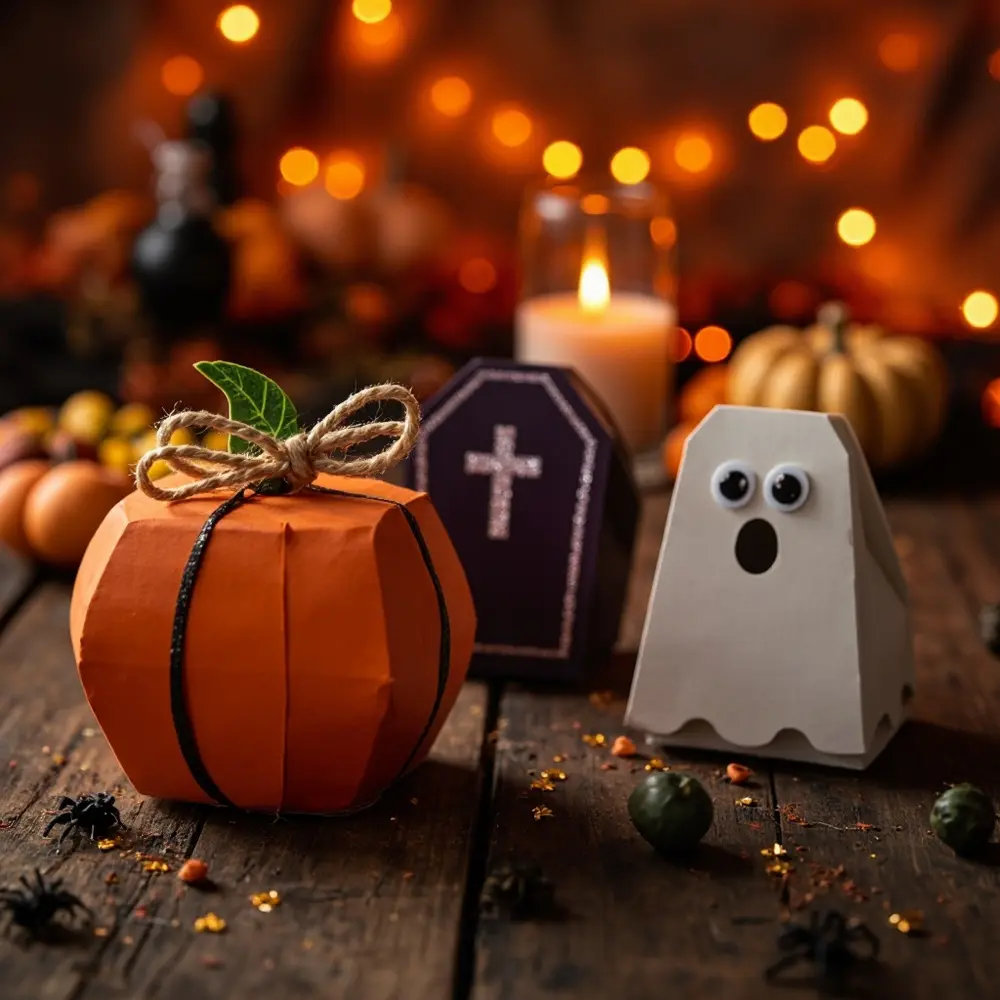
- Classic Pumpkin Box: Use orange cardstock and add a green paper twist for a stem and a curly vine made from green twine. Draw a cute or spooky jack-o’-lantern face with a black marker.
- Spooky Coffin Box: A black or dark purple coffin box is instantly dramatic. You can decorate it with a small silver cross made from glitter paper or a tiny plastic skeleton glued to the lid.
- Cute Ghost Box: This is one of the simplest and most adorable designs. Use a white box template, add two large googly eyes, and draw a simple “O” shape for a spooky mouth. Tie it with an orange ribbon for a pop of color.
[image-5: A collection of 3-4 different, beautifully crafted Halloween treat boxes—a pumpkin, a coffin, and a ghost—showcasing variety and creativity on a festive background.]
Halloween Treat Box FAQs 🤔
Let’s tackle some common questions I’ve heard over the years to make sure your treat box project is a total success.
Q1: What kind of treats are best for these DIY boxes?
Wrapped candies are your best friend! Think mini chocolate bars, lollipops, caramels, or small bags of gummies. This prevents any oils or moisture from seeping into the paper and keeps the treats fresh and clean.
Q2: How can I make these treat boxes more durable for transport?
The key is using high-quality, heavy cardstock (65 lb or higher is great). Also, using a strong craft glue instead of tape will make a huge difference in sturdiness. For extra security, you can add a small piece of clear tape to the bottom seam on the inside of the box.
Q3: Can I use these templates for larger or smaller boxes?
Absolutely! Most printer settings allow you to scale the print size up or down. To make a larger box, you might need to print the template on larger paper (like 11×17″) or use a “poster” print setting that splits the image across multiple pages that you can tape together before tracing.
Now you have all the secrets to creating the most amazing DIY Halloween treat boxes on the block! I can’t wait to see what spooky designs you come up with. Which treat box are you going to try first—the pumpkin, the coffin, or the ghost? Let me know in the comments below! 👻
