✨ From my years as a food stylist and party planner, I’ve learned one big secret: the most memorable treats are the ones that look as good as they taste. I’ve mastered creating healthy Halloween treats that get everyone excited, from toddlers to adults.
😅 But I know the struggle. How do you make something healthy that kids will actually reach for over candy? How do you create a Pinterest-worthy display without spending hours on complicated fruit carving?
👑 That’s why I’m sharing my step-by-step guide to this spooktacular fruit platter. Stick with me, and you’ll learn how to create a stunning, kid-friendly centerpiece that makes healthy eating fun and creates magical memories with your little monsters! 🎃
Tutorial At-a-Glance
Time Required: Approx. 45 minutes (including prep)
Budget Level: Low-Cost to Moderate
Skill Level: Beginner / Kid-Friendly
What You’ll Need for Your Spooktacular Fruit Platter 🎃
My go-to trick for a successful platter is having all your tools and ingredients ready before you start. It makes the whole process feel like a fun art project instead of a chore.
✅ Assorted fresh fruits (e.g., oranges, grapes, melon, berries, kiwi, pineapple)
✅ Small cookie cutters (for shapes like circles, triangles, or stars)
✅ Small paring knife or fruit carving tools (👑 Nancy’s Pick: I always recommend a set of kid-safe plastic fruit knives for little helpers. They have serrated edges that are perfect for soft fruits but are much safer for small hands, which is a huge win for encouraging participation!)
✅ Cutting board
✅ Large serving platter or tray
✅ Optional: Dip (e.g., yogurt, cream cheese, or chocolate hummus)
✅ Optional: Edible markers or mini chocolate chips (for extra face details)
Crafting Your Halloween Fruit Platter: A Step-by-Step Guide 🔪
A question I get all the time on my Instagram is, “How do you get your kids involved in party prep without a huge mess?” This fruit platter is my absolute favorite answer. It’s an interactive activity that lets them be creative and feel proud of what they made.
Step 1: Gather & Prep Your Fruits
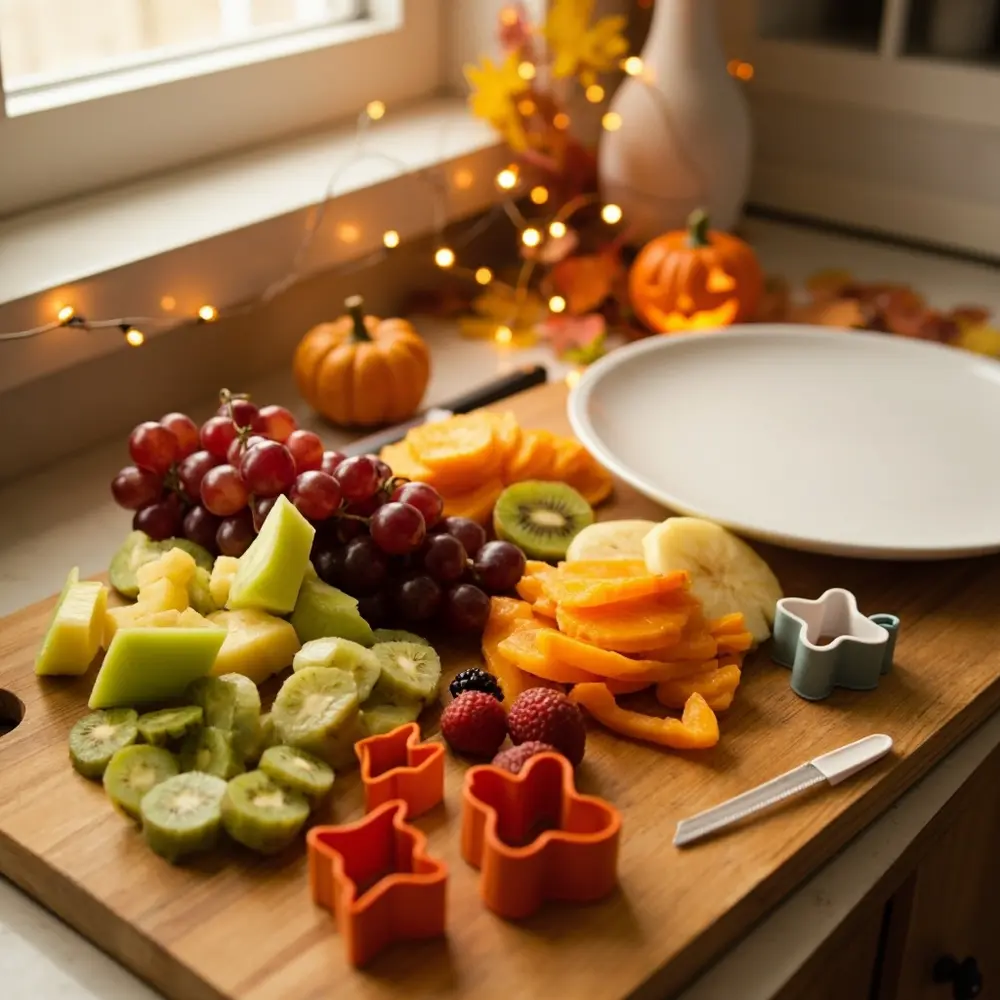
First things first, give all your fruits a good wash. Peel anything that needs it, like oranges, kiwis, and melon. The key to a visually stunning platter is variety, so think about a rainbow of colors and different textures. Slice your larger fruits like melon and pineapple, but leave smaller ones like grapes and berries whole. This contrast is what makes the platter pop.
image-1: A colorful array of washed and prepped fruits (some whole, some sliced) on a cutting board, with a large empty platter nearby.

Step 2: Create Your Jack-o’-Lantern Faces
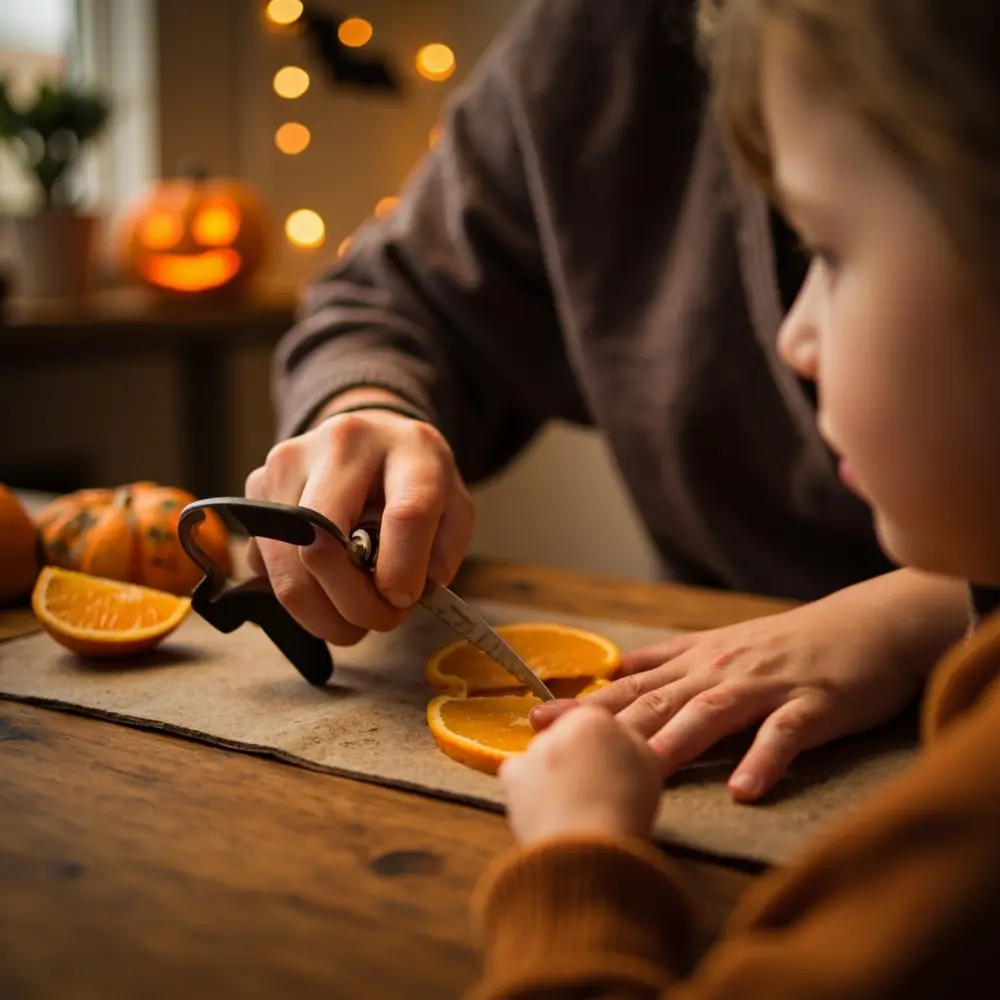
This is where the magic happens! Take thick, round slices of cantaloupe or peeled orange slices to serve as your pumpkin faces. Now, you can carefully use a small paring knife to cut out classic triangle eyes and a spooky smile. For the kids, this is the perfect time to bring out the small cookie cutters—they can press out circles, triangles, or even star shapes to make their own unique faces.
⚠️ Safety First: Always provide adult supervision when a sharp knife is being used. For a completely kid-led activity, stick to the cookie cutters and plastic knives—they work wonderfully and keep little fingers safe.
image-2: Close-up of hands (adult and child if possible) using a small knife or cookie cutter to create a jack-o’-lantern face on an orange slice.

Step 3: Arrange Your Platter Base
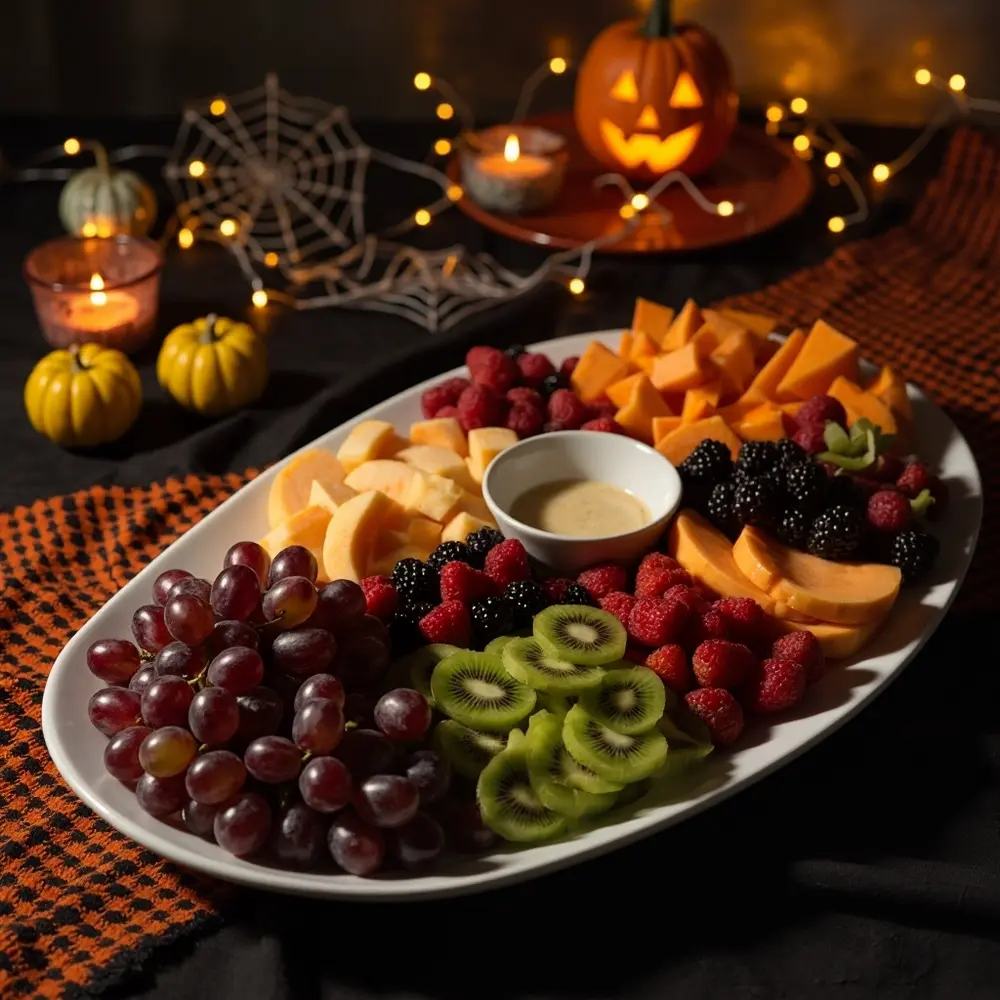
Now it’s time to build your canvas. Start arranging the bulk of your prepped fruit onto the platter. A mistake I often see is people just dumping fruit randomly. Instead, think like a food stylist! Create sections of color—a pile of dark purple grapes next to bright green kiwi slices, for example. This creates a beautiful foundation and makes the jack-o’-lanterns stand out even more.
💡 Pro-Tip: Place a small bowl in the center of your platter before you start arranging. You can fill it with a yummy dip later! This trick instantly gives your platter a professional, organized look. You can also arrange green or purple grapes in a spiral to create a spooky “spiderweb” base.
image-3: A partially arranged fruit platter with various fruits, leaving strategic spaces for the jack-o’-lantern faces.

Step 4: Place Your Jack-o’-Lanterns & Finishing Touches
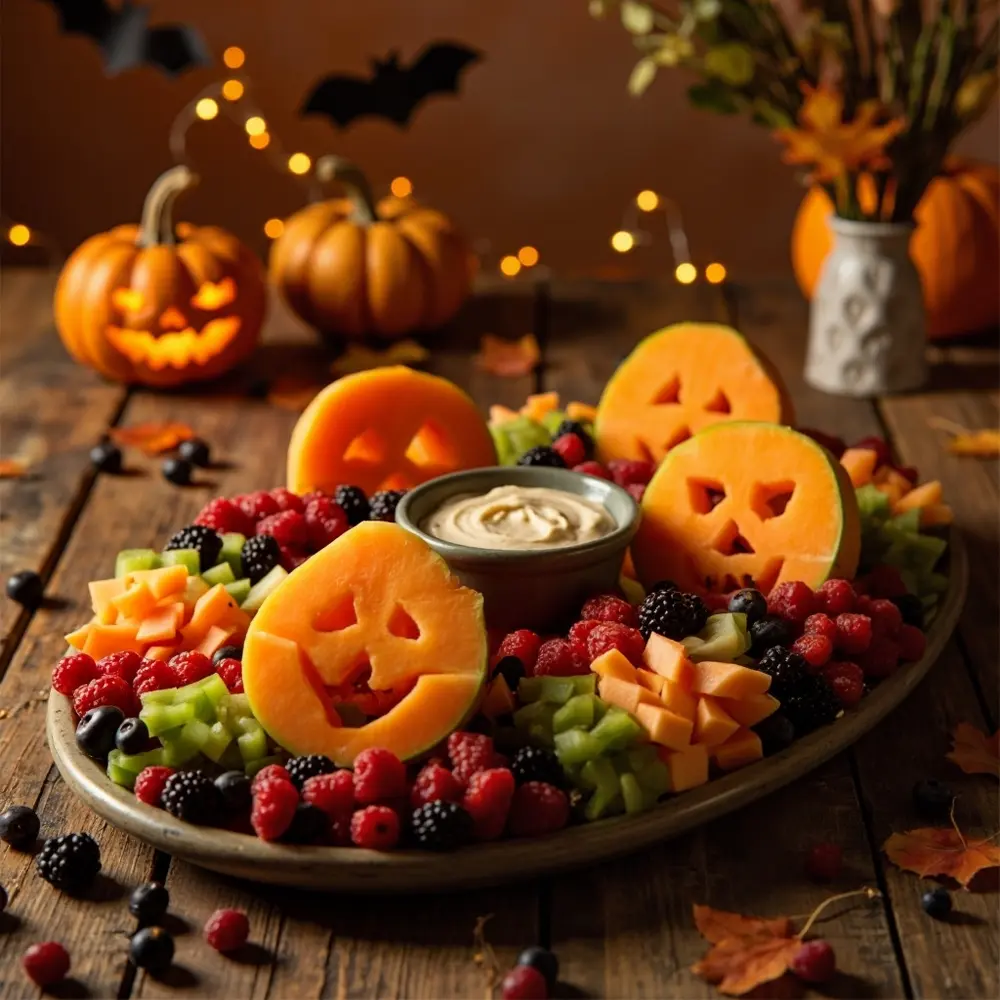
Carefully place your adorable jack-o’-lantern faces onto the platter, nestling them among the other fruits so they become the stars of the show. This is the final step that brings the whole Halloween theme to life. Add your bowl of dip if you’re using one, and sprinkle a few extra berries or small fruit pieces into any gaps. For an extra touch, you can use an edible marker to outline the eyes and mouths on your jack-o’-lanterns.
image-4: The completed, beautifully arranged Halloween fruit platter with the jack-o’-lantern faces prominently displayed, styled for a party.

Spooky Variations & Customizations 👻
After testing dozens of fun ideas over the years, these are a few of my family’s favorite additions to make your platter even more festive.
- “Monster Mouths” using apple slices, peanut butter, and mini marshmallows or sunflower seeds for teeth.
- “Ghost Bananas” made from half a banana dipped in melted white chocolate with mini chocolate chip eyes.
- “Spiderweb Dip” using a plain yogurt or cream cheese dip with chocolate syrup drizzled in a web pattern.
- “Witch’s Brew” fruit skewers with green grapes, kiwi, and honeydew melon.
Halloween Fruit Platter FAQs 🤔
Q1: How far in advance can I prepare my fruit platter to keep it fresh?
You can wash, peel, and chop heartier fruits like melon, grapes, and oranges up to 24 hours in advance. Store them in separate airtight containers in the fridge. However, I recommend slicing fruits that brown easily, like apples and bananas, right before you assemble the platter to keep them looking their best.
Q2: What are the best fruits to use to prevent browning, and how can I keep them looking vibrant?
Citrus fruits (oranges, grapefruit), melons (cantaloupe, honeydew), berries, and grapes are fantastic choices as they don’t brown. If you want to use apples, pears, or bananas, my secret weapon is a quick toss in a little bit of lemon juice or even pineapple juice. The acid prevents oxidation and keeps them looking fresh and vibrant for hours.
Q3: How can I make this platter even healthier or allergy-friendly for various dietary needs?
This platter is already a great healthy option! To accommodate allergies, swap peanut butter with sunflower seed butter for “monster mouths.” For dips, use a dairy-free yogurt (like coconut or almond-based) or a chocolate hummus. The beauty of a fruit platter is that it’s naturally gluten-free, dairy-free, and vegan, making it a perfect, inclusive treat for any party.
And there you have it—a healthy, adorable, and totally doable Halloween treat! This platter is proof that spooky snacks can be simple, fun to make, and good for you.
What other spooky fruit creations will you be making this year? Let me know in the comments below
