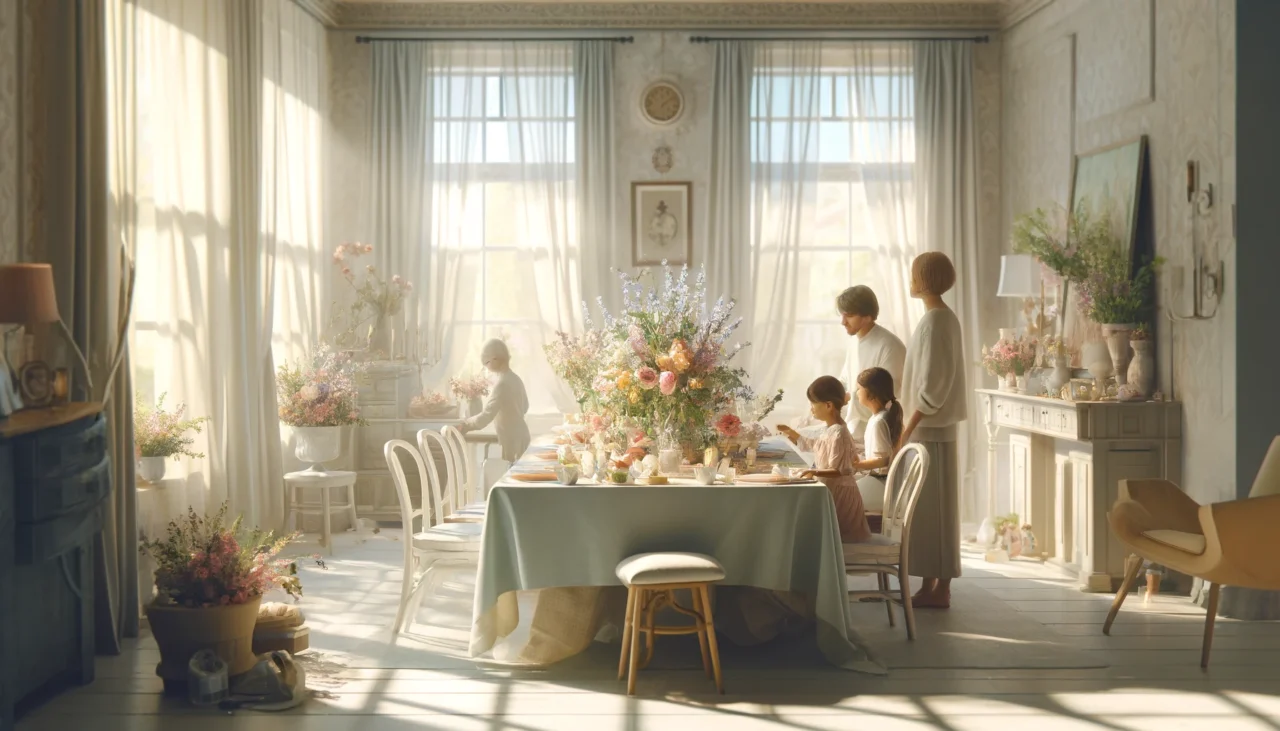
Do you want to make Mother’s Day super special this year? How about setting up a beautiful brunch table that you decorate yourself? It’s easier than you think!
In this post, I’ll share some fun and simple DIY ideas to decorate your brunch table for Mother’s Day. You’ll learn how to make handmade place cards, custom napkin rings, pretty floral centerpieces, and a lovely table runner.
So, let’s get creative and make this Mother’s Day unforgettable with your personal touch!
Why This Theme?
Mother’s Day is a time to show our moms how much we love and appreciate them. What better way to do that than with a brunch that looks as wonderful as it tastes?
Making your own decorations adds a personal touch that can make your mom feel extra special. Last year, I tried these ideas myself. I made every piece of decor with a bit of our family’s story.
Seeing my mom’s smile when she saw the table made everything worth it.
That’s why I think these DIY decor ideas are perfect for Mother’s Day. They’re not just beautiful, they also let us show our love in a unique way.

1. Handmade Place Cards
Handmade place cards are a sweet touch for any table setting, especially on Mother’s Day. They show your guests that you took extra time to make the day special. Each card can reflect the personality of the guest it’s made for, adding a personal charm to your brunch.
Materials Needed:
- Cardstock (choose different colors)
- Fine-tip markers or pens
- Decorative stickers (like flowers, hearts, or anything festive)
- Scissors
- Hole punch (optional)
- Ribbon or twine (optional)
Step-by-Step Instructions:
- Cut Your Cardstock: Start by cutting your cardstock into small rectangles. A good size for each card is about 4 inches wide by 2.5 inches high.
- Fold the Cards: Fold each rectangle in half so they can stand up on the table.
- Decorate with Names: Use the fine-tip markers to write each guest’s name on the front of the card. You can add a little flair by using calligraphy or colorful markers.
- Add Decorative Stickers: Choose stickers that match the theme of your brunch. Place a sticker or two on each card to make them festive and eye-catching.
- Punch Holes and Add Ribbon (Optional): If you want to make the place cards fancier, punch a hole at the top of each card and thread a small ribbon or piece of twine through it. Tie a bow for an extra pretty touch.
- Place Cards on the Table: Arrange the place cards at each setting around the table where each guest will sit.
2. Custom Napkin Rings
Are You Ready to Add a Sparkle to Your Table Settings?
Custom napkin rings are more than just functional; they are a chance to showcase your creativity and add a special touch to your table. By creating your own napkin rings, you can coordinate with your brunch theme and colors, making the table look more inviting and elegant.
Materials Needed:
- Ribbon (choose colors that match your decor)
- Beads (pick various sizes and colors for variety)
- Super glue or a hot glue gun
- Scissors
- Decorative elements (like small charms or artificial flowers)
Step-by-Step Instructions:
- Measure and Cut Ribbon: Cut lengths of ribbon about 6 inches long for each napkin ring.
- Thread Beads: If you’re using beads, thread them onto the ribbon. You can cover the entire length or just add a few beads for a simple touch. Arrange them as you like.
- Add Decorative Elements: Using super glue or a hot glue gun, attach your chosen decorative elements to the ribbon. This could be a small charm, a button, or a tiny artificial flower. Place it strategically to enhance the look.
- Glue Ends Together: Once your design is complete, glue the ends of the ribbon together to form a ring. Make sure it’s the right size to snugly fit around a napkin.
- Let it Dry: Allow the glue to dry completely, ensuring the beads and decorations are securely attached.
- Dress Your Napkins: Once dry, slide each ring onto a napkin and arrange them on your brunch table.
3. Floral Centerpieces
Ready to Bloom: How Can Floral Centerpieces Brighten Your Brunch Table?
Floral centerpieces are not just decorations; they are the heart of table decor, especially for a Mother’s Day brunch. These centerpieces pull together the theme of your gathering, adding color, life, and aroma to the setting.
Choosing a floral theme is perfect for Mother’s Day, as flowers symbolize love, care, and appreciation—all the things we feel for our moms.
Materials Needed:
- A selection of flowers (Consider mom’s favorites or seasonal blooms)
- A vase or decorative container
- Floral foam (if needed for your design)
- Scissors or gardening shears
- Water
Step-by-Step Instructions:
- Prepare the Vase: Start by placing a piece of floral foam in your vase if the design requires it. If not, just fill the vase about halfway with water.
- Trim Your Flowers: Trim the stems of your flowers at an angle so they can absorb water better. Make sure they are the right height for your vase; they should stand out but not overpower the table.
- Arrange the Base Flowers: Begin by arranging the larger flowers in the vase. These are your base flowers and will set the structure of your centerpiece.
- Add Filler Flowers: Next, add smaller, filler flowers to cover any gaps and add texture and color variety.
- Adjust for Symmetry: Look at your centerpiece from all angles. Make adjustments to ensure it looks balanced and full from every side.
- Final Touches: Add any special touches like tiny decorative sticks or a ribbon around the vase for that extra bit of charm.
4. Decorative Table Runner
Can a Table Runner Be the Showstopper at Your Brunch?
A table runner is more than just a strip of fabric; it’s a key element that ties your table decor together.
For Mother’s Day brunch, a decorative table runner can complement the overall theme beautifully, adding an extra layer of elegance and helping to highlight your other decorations like place cards, napkin rings, and floral centerpieces.
Materials Needed:
- Fabric (choose a color and pattern that matches your brunch theme)
- Scissors
- Sewing kit or fabric glue
- Measuring tape
- Iron (optional)
Step-by-Step Instructions:
- Measure Your Table: Start by measuring the length and width of your dining table. Your table runner should run the length of the table and hang over slightly on each end.
- Choose and Cut Fabric: Based on your measurements, cut your fabric to the desired length and width. A good rule of thumb is for the runner to be one third the width of your table.
- Hem the Edges: To give your table runner a finished look, hem the edges. You can sew a simple hem with a sewing kit or use fabric glue for a no-sew option. If sewing, fold the edges about half an inch, iron to keep them in place, and sew neatly.
- Decorate (Optional): If you want, add extra decorations to your runner, such as lace trim, fabric paints, or iron-on decals that complement your brunch theme.
- Place on Table: Once your table runner is ready and the glue or stitches are set, place it down the center of your table. Arrange it straight and smooth out any wrinkles.
Conclusion: Are You Ready to Make Mother’s Day Shine?
We’ve had fun exploring four easy DIY decor ideas for a Mother’s Day brunch: handmade place cards, custom napkin rings, floral centerpieces, and a decorative table runner.
Each of these projects adds a special touch to your table, making the day feel even more special. Together, they create a warm and welcoming atmosphere that shows just how much you care.
Try these projects and make them your own! You can change colors, add different designs, or use materials you already have at home. It’s all about making Mother’s Day memorable in your own way.
And I’d love to see what you come up with! Please share your DIY decor creations or tell us about your experiences.
Let’s inspire each other with our stories and celebrate Mother’s Day with creativity and joy!
Also Read Mothers day Brunch Ideas
- Make-Ahead Recipes – Night-before preparation for a relaxed morning.
- Budget-Friendly Brunch – Affordable, delightful recipes.
- Garden Party Brunch – Outdoor setting tips and springtime recipes.
- Global Brunch Ideas – International dishes for a worldly feast.
- Healthy Brunch – Nutritious, whole food-based options.
- Breakfast Desserts – Sweet treats for dessert-loving moms.
- Vegan Brunch Menu – Comprehensive plant-based meal options.
- Champagne Pairings – Elevate brunch with the right bubbly.
- DIY Brunch Gifts – Homemade gifts and personalized projects.
- Kid-Friendly Cooking – Safe, fun recipes and activities for kids.
Mother’s Day brunch décor ideas
- Floral Table Settings – Elegant decorations for brunch.
- Dining Room Transformation – Memorable setup tips.
- DIY Brunch Decor – Simple and elegant decorating ideas.
- Indoor Garden Party – Setup ideas for an indoor brunch.
- Mimosa Bar Setup – Creative ideas for a brunch drink station.
- Brunch Color Schemes – Choosing the perfect colors for decor.
- Photo Backdrop Creation – Beautiful setups for brunch photos.
- Dessert Table Styling – Making a memorable sweet station.
- Eco-Friendly Decor – Sustainable decorating ideas for brunch.
Mother’s Day brunch outfit
- Stylish Brunch Outfits – Chic and comfortable clothing ideas.
- Casual Brunch Outfit – Relaxed, fashionable ensembles.
- Outfits for Black Women – Vibrant and bold fashion choices.
- Spring Brunch Outfit – Seasonal trends with pastels and florals.
- Floral Dresses – A variety of flower-themed dresses.
- Summer Brunch Outfit – Warm-weather attire with sundresses and sandals.
- Plus-Size Outfits – Flattering and stylish options for plus-size women.
- Elegant Accessories – Tips on choosing jewelry and accessories.
- Mother-Daughter Twinning – Coordinating outfits for mothers and daughters.
- Budget-Friendly Look – Affordable outfit ideas and styling tips.


