DIY Halloween Treats: Fun & Easy Craft Projects Kids Will Love
✨ After countless hours covered in melted chocolate and edible glitter, I’ve mastered the art of easy Halloween treats kids can make—testing, fixing fails, and discovering solutions that actually work.
😅 But I know the struggle: How do you find no-bake Halloween snacks that are genuinely fun and not just another kitchen mess? I’ve spent hours figuring this out, sometimes with my own little goblins, and I’ve been there too.
👑 That’s why in this post, I’ll show you exactly how to make adorable Mummy Pretzel Rods with a step-by-step guide. Stick with me, and you’ll learn how to create spooky edible crafts while making magical memories with your loved ones! 🎃
Tutorial At-a-Glance
Time Required: Approx. 45 minutes (plus chilling time)
Budget Level: Low-Cost
Skill Level: Beginner / Kid-Friendly
What You’ll Need for Your Mummy Pretzel Rods 🎃
Here’s a simple list of everything you need for these kid-friendly Halloween recipes. My go-to trick is to have everything laid out before you call the kids in to help!
✅ Pretzel Rods (1 bag)
✅ White Candy Melts or White Chocolate Chips (12 oz bag) (👑 Nancy’s Pick: Opt for good quality candy melts for easier melting and a smoother finish, ensuring your mummies look perfectly spooky!)
✅ Edible Candy Eyes (small, various sizes)
✅ Parchment Paper
✅ Baking Sheet
✅ Microwave-safe Bowl
✅ Spoon or Fork
Crafting Spooky Mummy Pretzel Rods: Step-by-Step Guide 🧵
One of the things I love most about our Halloween community is hearing how you all create traditions together. Making these spooky edible crafts is one of my favorite ways to connect with family, turning a simple afternoon into a core memory. Let’s make some magic!
Step 1: Prepare Your Workspace & Melt the Chocolate
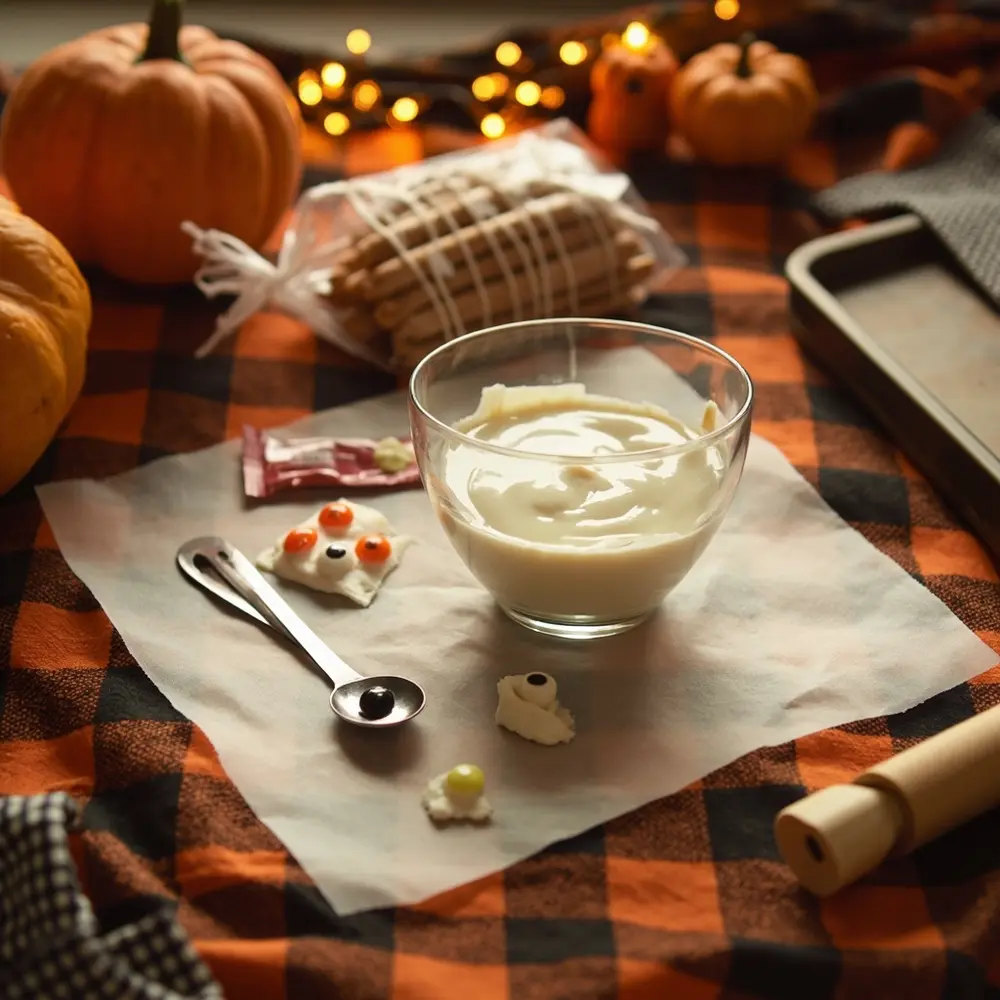
First things first, let’s get set up for success. Line a large baking sheet with parchment paper—this will prevent your mummies from sticking and make cleanup a breeze. Next, pour your white candy melts into a microwave-safe bowl. Heat them in 30-second intervals, stirring well after each one, until they are completely melted and smooth. A common mistake I see is overheating the chocolate, so be sure to stir thoroughly as the residual heat will continue melting the chips. An adult should always handle this part!
[image-1: All ingredients laid out on a festive Halloween tablecloth, with a bowl of perfectly melted white candy melts ready for dipping.]
Step 2: Dip and Coat Your Pretzel Rods
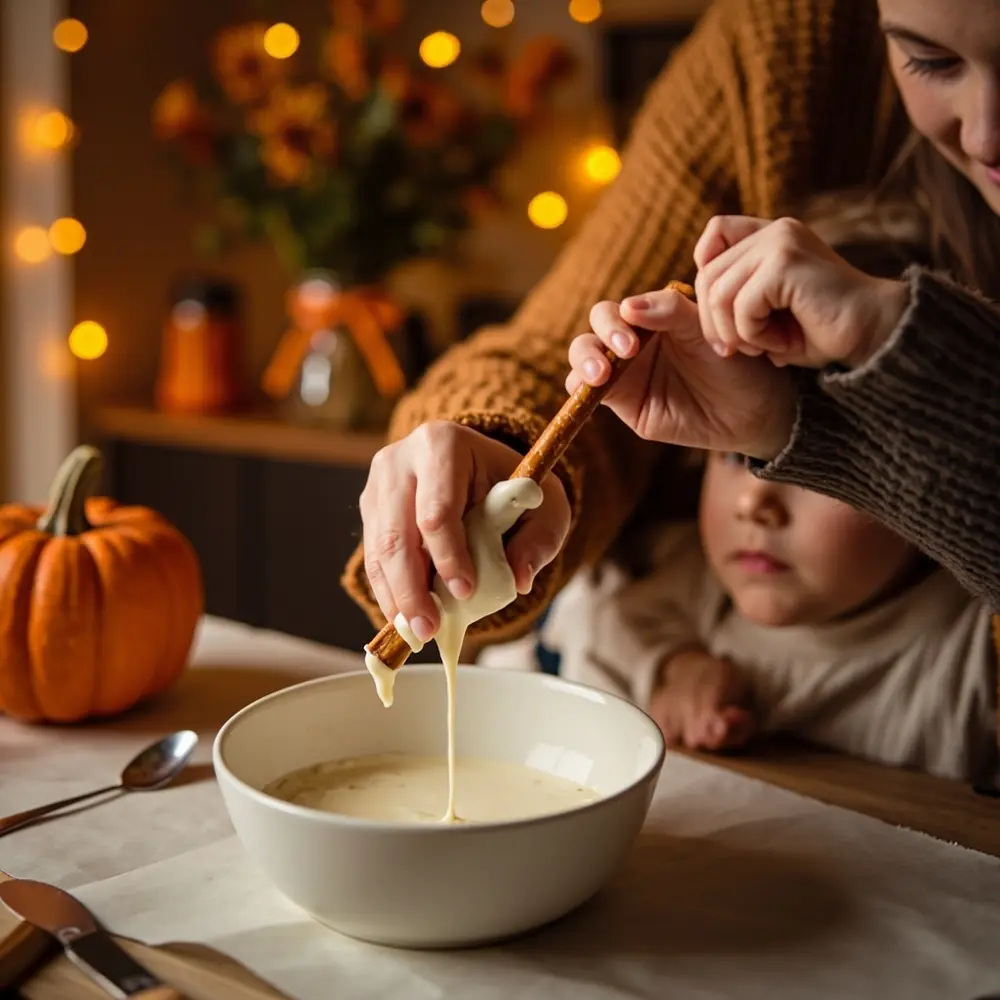
Now for the fun part! Hold a pretzel rod by one end and dip it into the melted white chocolate. Use a spoon to help coat about three-quarters of the rod, leaving a small handle at the end. Gently tap the pretzel rod against the side of the bowl to let any excess chocolate drip off. This helps create a smooth base layer. Lay the coated pretzel flat on your parchment-lined baking sheet.
⚠️ Safety First: The melted candy can be hot! Make sure an adult is supervising and helping little hands with the dipping process to avoid any burns.
[image-2: Hands of a child and an adult working together, dipping a pretzel rod into a bowl of melted white chocolate, with excess dripping off.]
Step 3: Add the Mummy “Bandages”
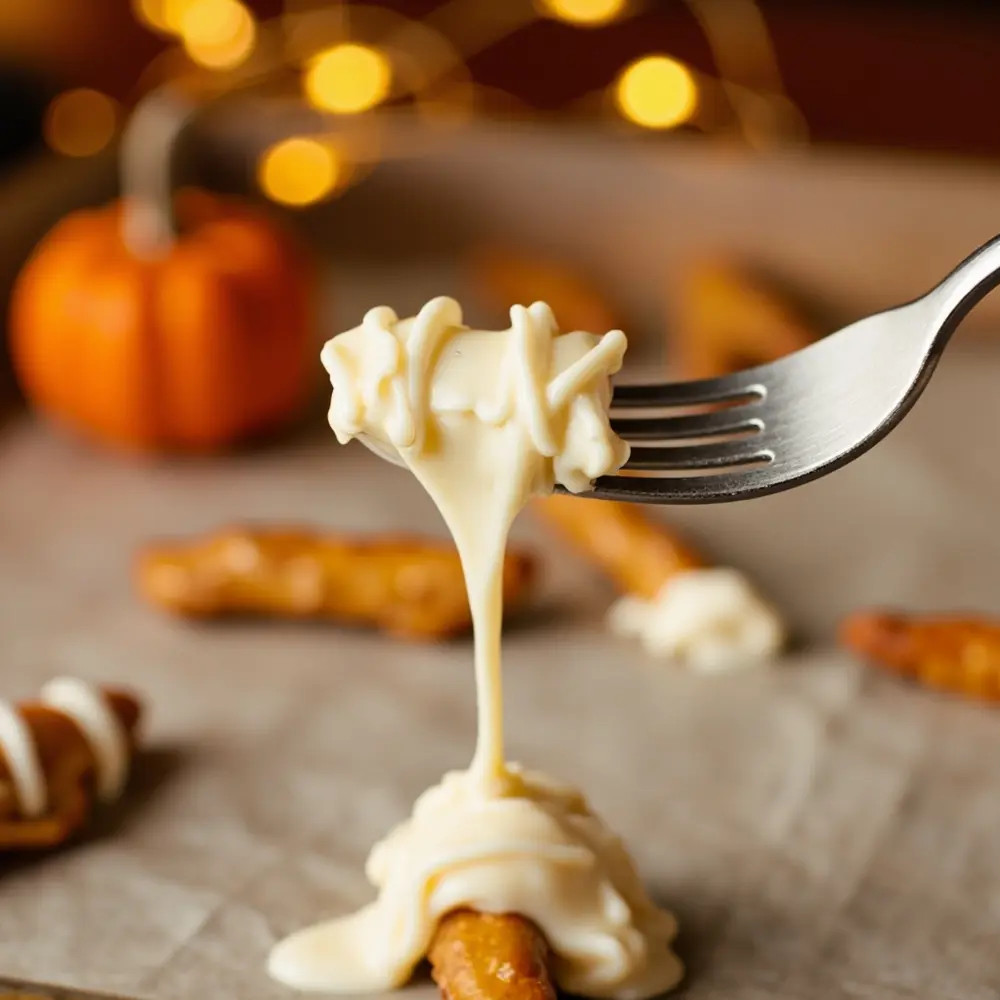
While the first coat is still wet, it’s time to create those iconic mummy bandages. Dip a spoon or fork into the remaining melted chocolate and drizzle it back and forth over the coated pretzel rod. Don’t worry about being perfect—the messier the bandages, the spookier the mummy! Just be sure to leave a small, smooth space near the top where the eyes will go.
💡 Pro-Tip: For extra neat bandages, you can let the first coat set for about 5 minutes before drizzling the second layer. This creates more definition and a layered look!
[image-3: Close-up of a fork drizzling thin lines of white chocolate over a partially set pretzel rod to create mummy bandages.]
Step 4: Give Your Mummies Eyes!
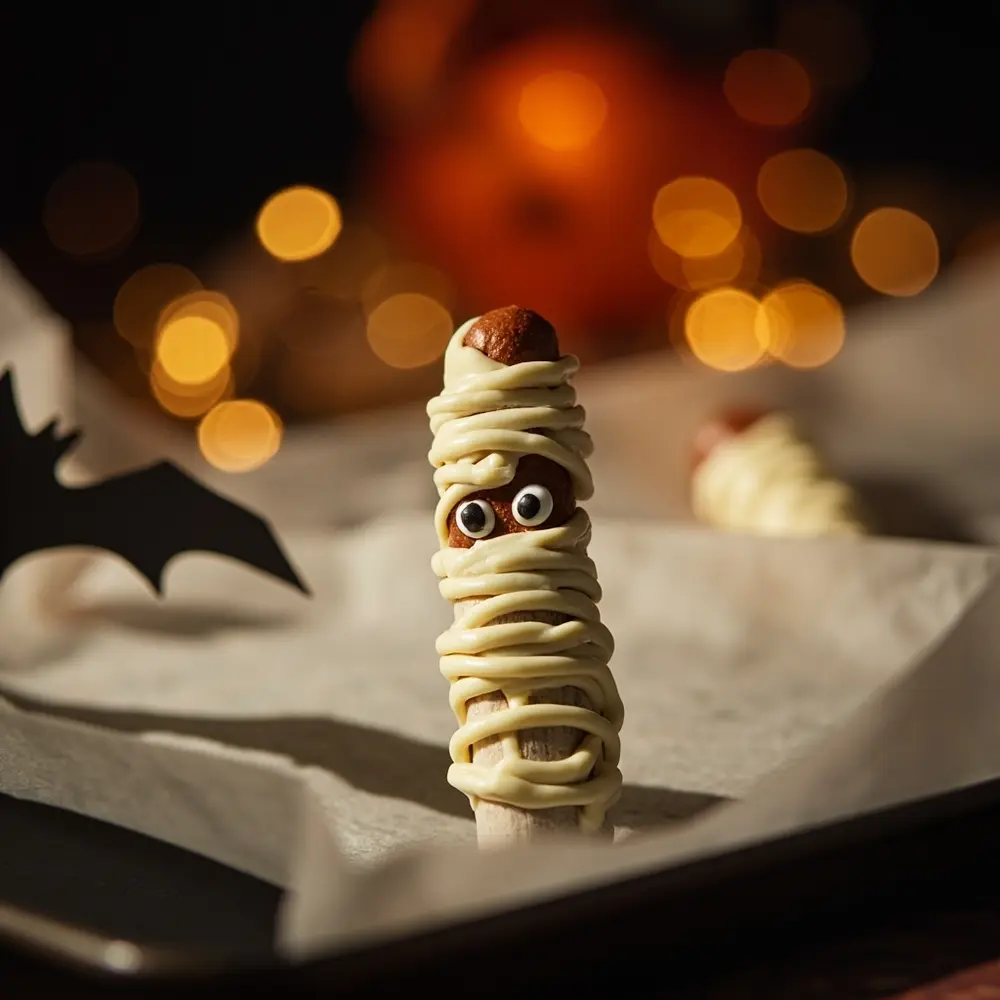
Immediately after you’ve drizzled the bandages, and while the chocolate is still wet, it’s time to bring your mummies to life! Carefully place two edible candy eyes onto the smooth space you left for them. Gently press them into the chocolate so they stick. Repeat this process for all your pretzel rods. This is the step where their little personalities really start to shine through!
[image-4: A close-up of a nearly finished mummy pretzel rod with two candy eyes just placed, looking cute and spooky before the chocolate has fully set.]
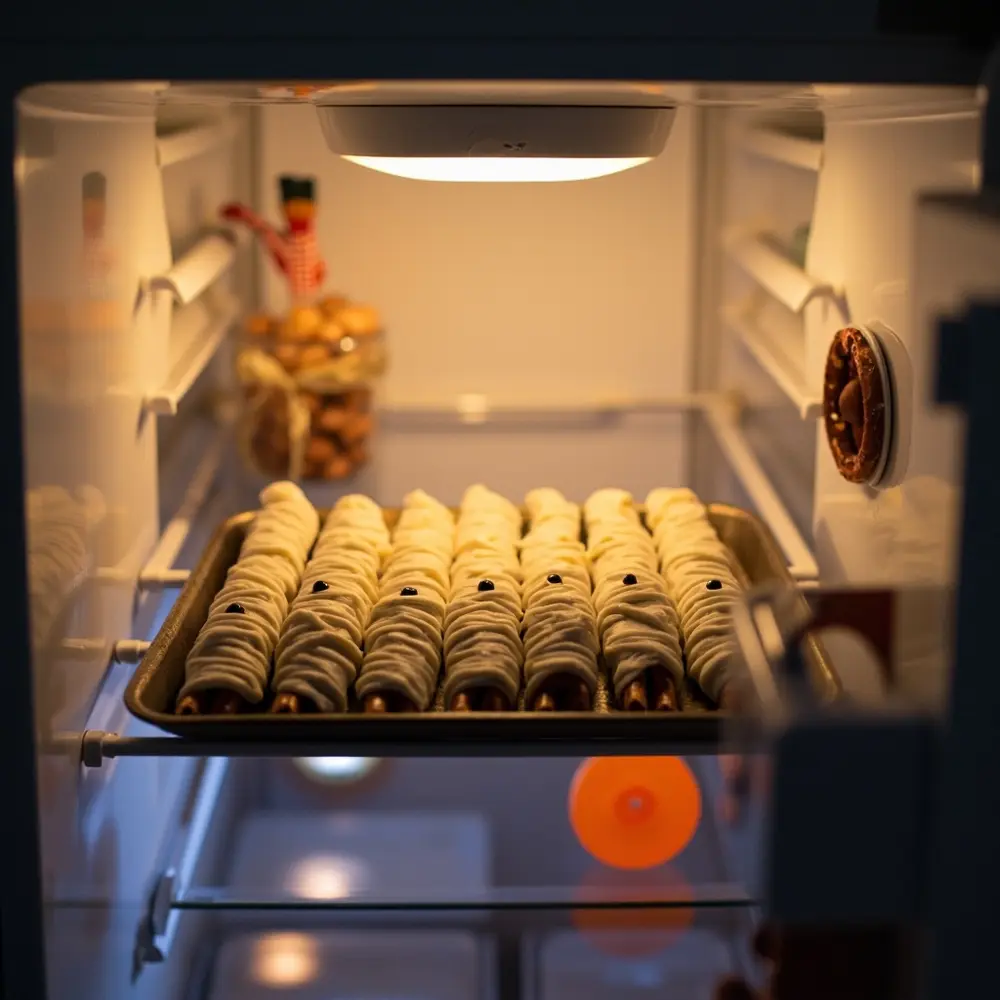
Step 5: Chill and Set
Once all your mummy pretzel rods are decorated, carefully place the baking sheet in the refrigerator. Let them chill for about 10-15 minutes, or until the white chocolate is completely firm to the touch. This step is crucial for getting that clean, crisp finish that makes them look so professional.
[image-5: A baking sheet full of finished mummy pretzel rods, neatly lined up and chilling inside a refrigerator.]
Spooky Serving & Storage Tips 🎨
As a Culinary Creator, I believe the presentation is half the fun! After testing dozens of display ideas, I’ve found a few that really make these treats pop.
- Creative Display: My go-to trick for a ‘wow’ factor is to arrange your mummy pretzels upright in a tall jar or glass. You can also create a spooky “graveyard” by filling a shallow dish with crushed Oreo cookies and standing the pretzels up in the “dirt.”
- Gift Giving: These make fantastic party favors! Wrap individual pretzels in clear treat bags and tie them with a festive orange or black ribbon. It’s a simple touch that looks amazing.
- Storage: Store your finished mummies in an airtight container at room temperature for up to a week. If your home is on the warmer side, it’s best to keep them in the refrigerator to prevent melting.
Variations & Customizations 👻
Once you’ve mastered the mummy, the possibilities for other Halloween treats DIY step-by-step are endless! Here are a few ideas I love:
- Monster Pretzel Rods: Use different colored candy melts (ghoulish green, pumpkin orange, monstrous purple) and add a variety of sprinkles or other edible decorations to create a whole crew of monster-themed treats.
- Spiderweb Cookies: Instead of pretzels, use round sugar cookies. Coat them in white or orange icing, then use black icing to draw concentric circles. Gently drag a toothpick from the center outwards to create a perfect spiderweb effect.
- Ghostly Banana Pops: For a slightly healthier option, dip banana halves in melted white chocolate, add two mini chocolate chips for eyes, and place them on a parchment-lined sheet to freeze. A perfectly spooky and simple treat!
DIY Halloween Treats FAQs 🤔
Q1: My candy melts are too thick to drizzle. What should I do?
This is a super common issue! If your melted candy is too thick, my secret weapon is to stir in a tiny bit (about 1/2 teaspoon) of coconut oil or vegetable shortening. It will thin it out to the perfect consistency for drizzling smooth, even bandages.
Q2: How can I prevent my pretzel rods from breaking when dipping?
The key is to be gentle. Hold the pretzel rod closer to the middle for better support, rather than right at the end. Instead of scraping the bottom of the bowl, use a spoon to help coat it. This reduces the pressure on the pretzel and prevents those frustrating snaps.
Q3: Can I use regular chocolate instead of candy melts?
You absolutely can, but there’s a catch. Regular chocolate (like chocolate chips) needs to be “tempered” to set up hard and shiny at room temperature. Candy melts are designed to set perfectly without any extra steps, which is why I always recommend them for easy, no-fuss, kid-friendly Halloween recipes.
And there you have it—perfectly spooky and delicious Mummy Pretzel Rods that are as fun to make as they are to eat! These kid-friendly Halloween recipes are all about creating joy and a little bit of kitchen magic.
What other spooky treats are you and your family making this year? Let me know in the comments below! 🎃
