– How to Transform 5 Common Dollar Store Items into Amazing Decor
Tired of seeing the same generic Halloween decorations in stores year after year? It feels like you have to spend a fortune to get anything cool. 🎃
Imagine turning a simple shopping trip into a creative treasure hunt. A hunt that results in a stunning, custom-made spooky display for your home that nobody else has. The real magic of Halloween crafting isn’t about the money; it’s about seeing the hidden potential in everyday items. 👻
This year, I’m taking you with me to raid the dollar store. We’ll unearth five common items and transform them into jaw-dropping decor. I promise, even if you think you’re “not creative,” this step-by-step guide will help you craft five unique pieces that will have everyone asking, “Where did you get that?” ✨
- Difficulty Level 🦴: Beginner
- Time to Complete ⏳: Approx. 15-30 minutes per craft
- Estimated Cost 💰: Under $15 for all 5 key items
- Prerequisites 🧠: None! Just a love for all things spooky!
Prerequisites: Your Halloween Crafting Arsenal 🧰
Before we start conjuring up our spooky decor, you’ll need to gather your materials. Think of this as two parts. The first is your “Treasure Map”—the list of five key items to hunt for at your local dollar store. The second is your “Crafter’s Toolkit,” which includes basic supplies you probably already have.
The 5 Dollar Store Treasures (Shopping List):
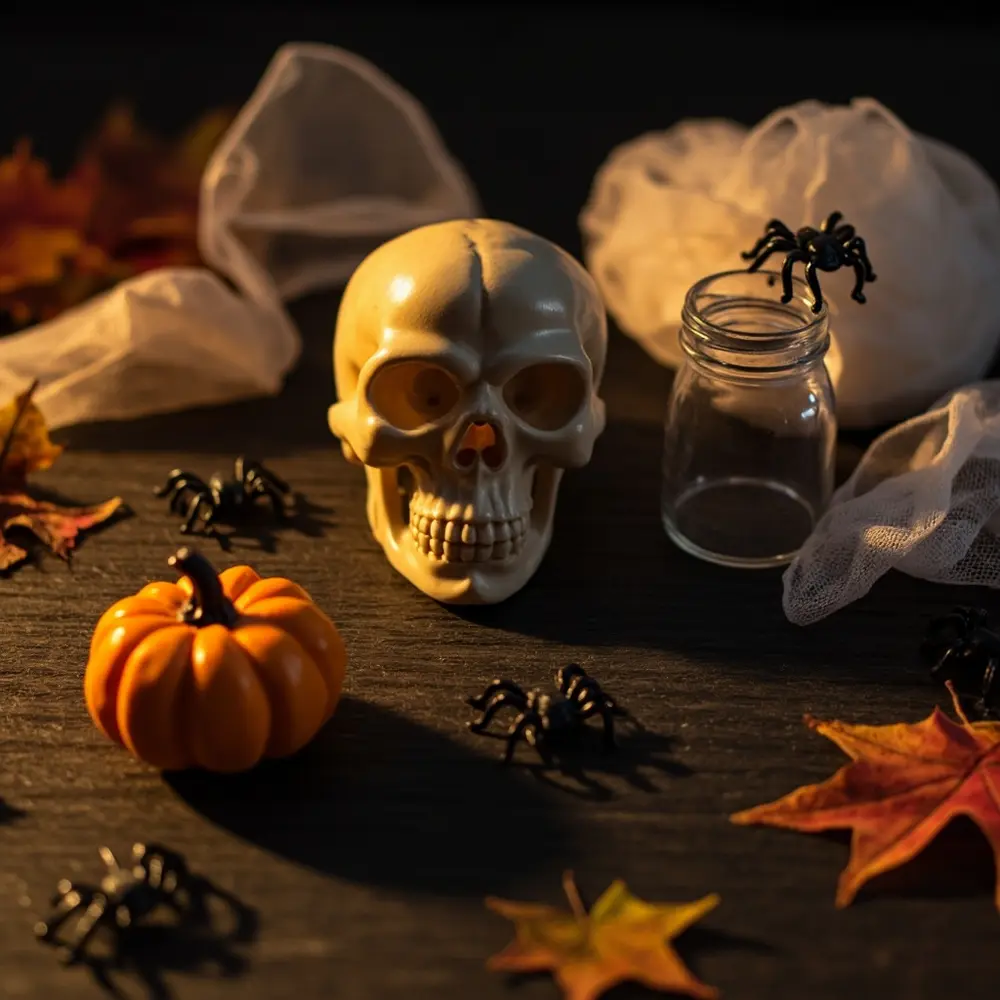
- Plastic Skulls: Look for the hollow, lightweight kind. They are perfect for altering.
- Small Foam Pumpkins: The classic, bright orange foam pumpkins are our perfect canvas for a makeover.
- Simple Glass Vases or Jars: Any plain glass jar or even a simple votive candle holder will work wonders.
- Bag of Plastic Spiders: A Halloween classic for a reason! The more, the merrier.
- White Cheesecloth or Medical Gauze: You can usually find this in the kitchen or first-aid aisles.
General Crafter’s Toolkit:

- Hot Glue Gun & Glue Sticks
- Acrylic Craft Paint (Black, White, and a Metallic like Gold or Silver)
- Paintbrushes (a few different sizes)
- Scissors
- [Optional] Mod Podge (Matte Finish)
- [Optional] Flameless, battery-operated tea lights
![- How to Transform 5 Common Dollar Store Items into Amazing Decor 3 [Optional] Flameless, battery-operated tea lights](https://kaveesh.com/wp-content/uploads/2025/08/project-1-plastic-skull-with-flameless-tea-light.webp)
The 5-Project Transformation Tutorial 🛠️
Now for the really fun part! We’re going to take each of our five dollar store treasures and give them a completely new, spooky life. Just follow each project step-by-step.
Project 1 – From Plastic Skull to Eerie Candle Holder
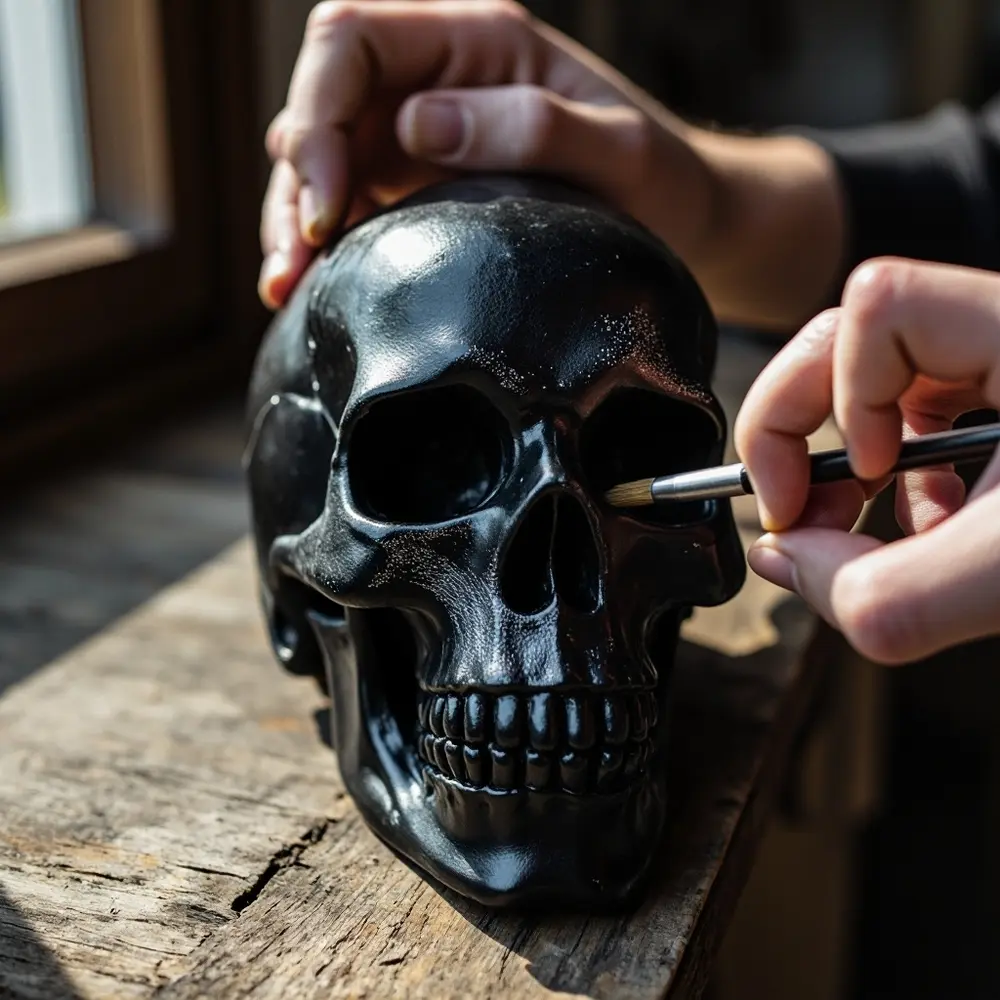
Our objective here is to create a moody, gothic-style candle holder from a cheap plastic skull.
- Make sure your plastic skull is clean and dry.
- Paint the entire skull with black acrylic paint. Let it dry completely. For a cool, aged look, you can dry-brush some white or silver paint over the raised areas like the brow and cheekbones.
- If your skull is sealed at the top, carefully use scissors or a craft knife to cut a hole wide enough to fit a flameless tea light.
- Place the flameless candle inside and watch it flicker!
⚠️ Warning: For safety, you must NEVER use a real flame candle with this craft. The plastic is flammable and will melt. Only use battery-operated LED candles for a safe and spooky glow.
Project 2 – From Foam Pumpkin to Chic Centerpiece
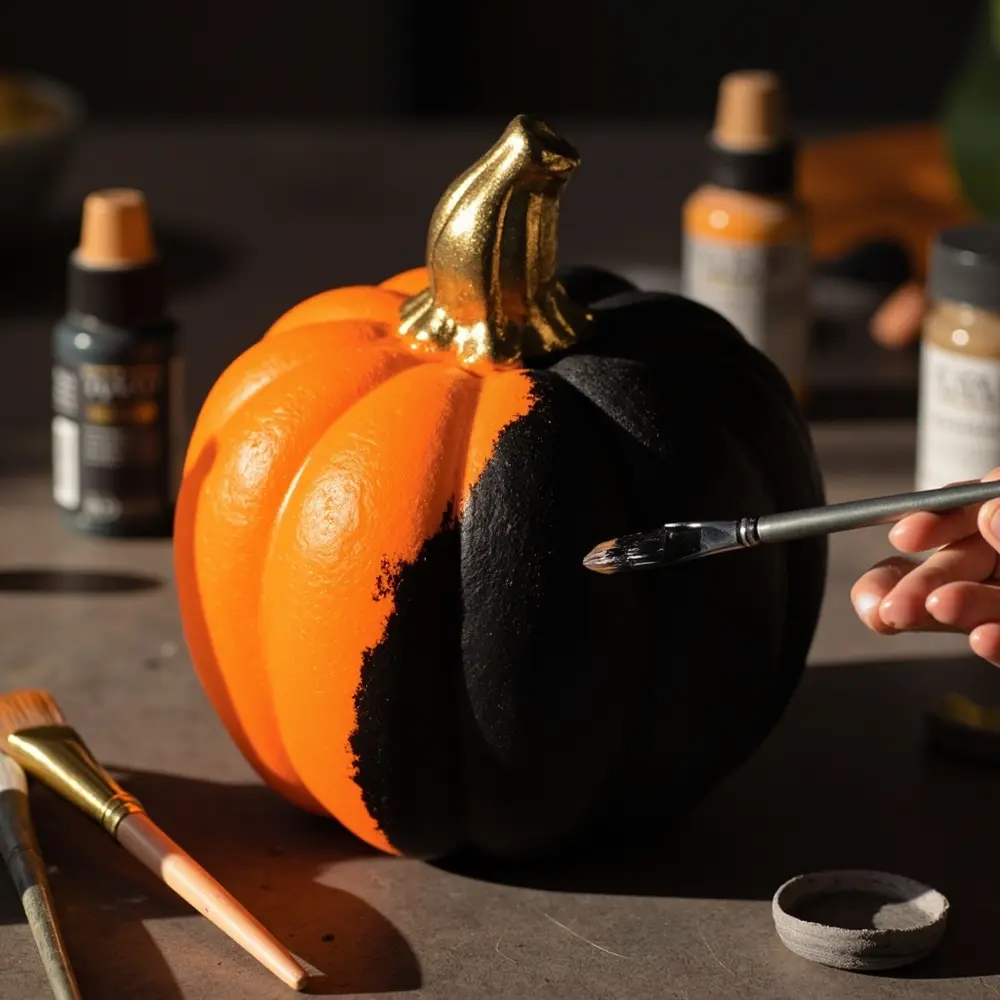
Here, we’ll elevate a standard orange foam pumpkin into a piece of chic, modern Halloween decor.
- Apply two coats of white or black paint to the entire body of the pumpkin. Make sure you let it dry completely between coats.
- Using your metallic paint, carefully paint the stem gold or silver. This little touch makes it look so much more expensive.
- For an extra touch, you can paint elegant patterns like stripes or polka dots. Honestly, I think it looks amazing just as a solid, modern color.
Project 3 – From Glass Jar to Mummified Votive
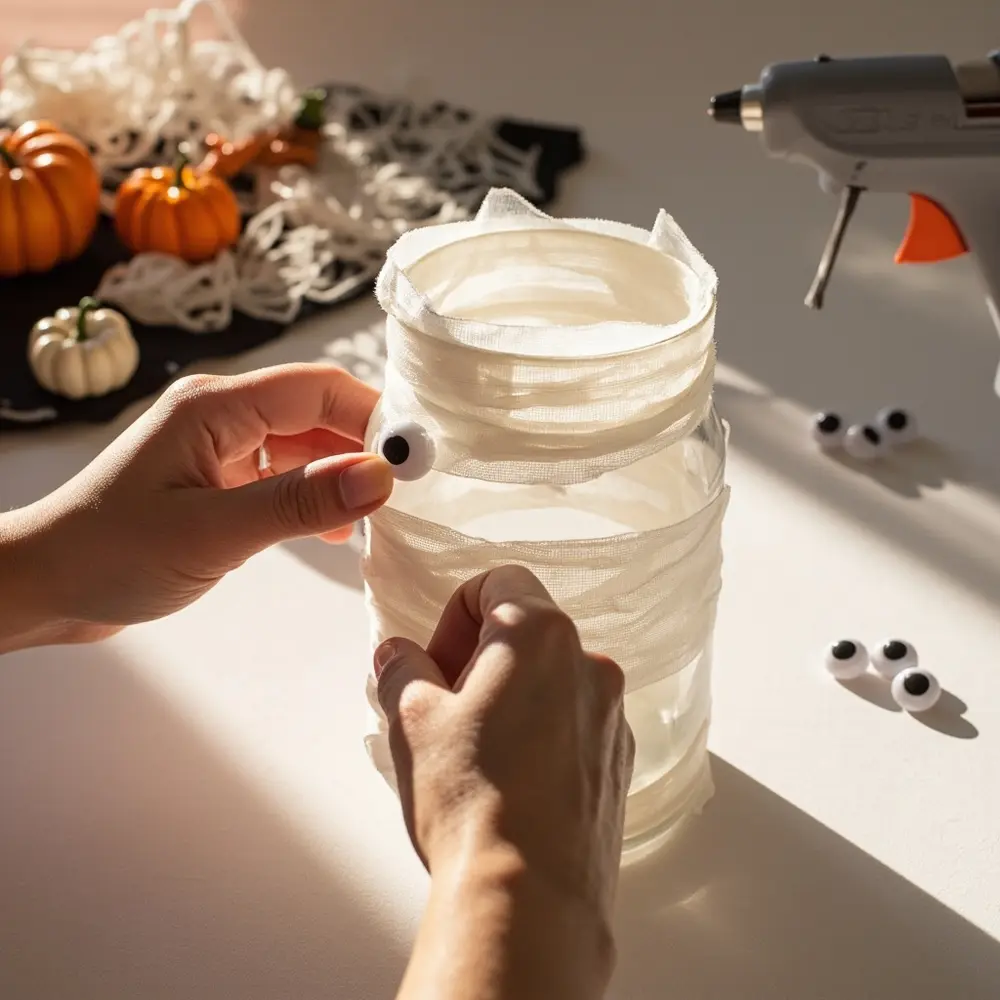
Let’s wrap a plain glass jar in gauze to create a spooky, glowing mummy friend.
- Cut your cheesecloth or gauze into long strips, about 1-2 inches wide.
- Apply a thin layer of Mod Podge (or just some dabs of hot glue) to the jar.
- Begin wrapping the strips around the jar randomly. Overlap them to create a mummy-like texture. Remember, messy is better here!
- Secure the end with another dab of glue.
- Glue a pair of googly eyes (another great dollar store find!) onto the front to give it some personality.
- Place a flameless tea light inside to make your mummy glow from within.
Project 4 – From Plastic Spiders to Creepy Specimen Jars
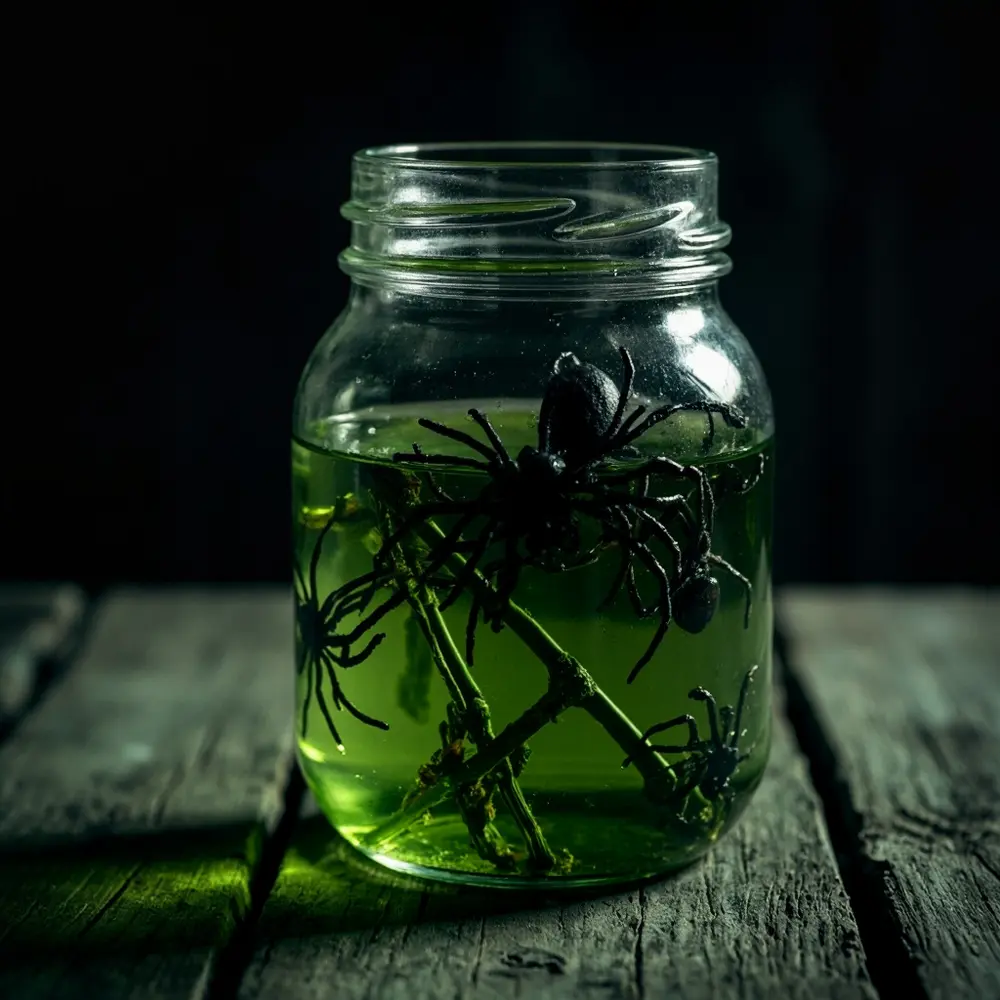
This project creates a “mad scientist’s” specimen jar using our plastic spiders and a simple glass vase.
- Select a few of your most interesting-looking plastic spiders.
- Place them inside your clean glass jar or vase. For extra creepiness, I like to add some small twigs or dried moss from my yard.
- Fill the jar with water.
- [Optional] Add one or two drops of green or yellow food coloring to the water. This gives it a murky, preserved look that is perfectly unsettling.
- Screw on the lid or just leave it open as a creepy vase.
Important Note: If you have curious pets or small children at home, please be sure to glue the lid shut to prevent any accidental spills or messes.
Project 5 – Create a Sinister Spider Web Frame
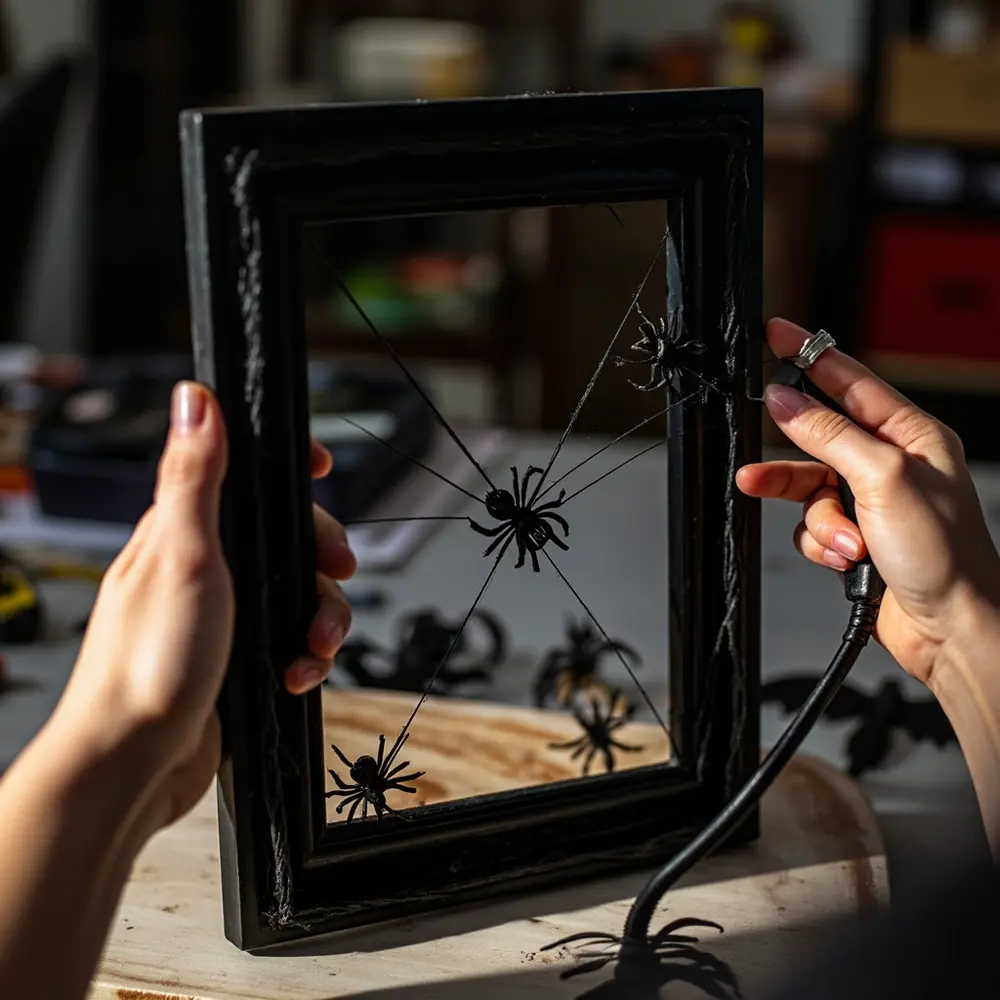
For this last one, we’ll use our plastic spiders and a bonus dollar store item—a cheap picture frame—to make a hanging spider web decoration.
- Find a simple dollar store picture frame and remove the glass and backing. You can discard these or save them for another project.
- Paint the empty frame black and let it dry.
- Create the “spokes” of the web by stretching pieces of twine across the frame. Secure them tightly on the back with your hot glue gun.
- Weave the web by starting from the center and spiraling outwards with another piece of twine. Add a tiny dot of glue where it crosses each “spoke” to hold it in place.
- Finally, glue a few of your plastic spiders onto the finished web!
Your Dollar Store Treasure Map: What to Look For & Why 🗺️
This section is super important because the key to dollar store crafting is knowing what to buy. I chose these five items because they are incredibly versatile and almost always in stock. Here’s what makes them treasures.
My Personal Tip: When I first launched my “Spooky Sharma” blog, I was on a tiny budget. I learned that the best DIYs come from seeing an item’s potential, not its current state. Look for good shapes and simple surfaces you can transform!
- Plastic & Foam: Items like the skulls and pumpkins are perfect canvases. They are lightweight and take paint really well. When you’re in the store, look for items with interesting shapes but simple surfaces. You are the artist, so you want a blank slate!
- Glassware: The dollar store is a goldmine for simple glass jars, vases, and candle holders. Ignore any cheesy printed designs on them—you’re looking for a good shape. You can always paint over or cover up the original design.
- “Fillers” & “Textures”: This is the secret to elevating your cheap Halloween decorations. Bags of plastic bugs, spiders, skeletons, or eyeballs are essential. Likewise, materials like cheesecloth, twine, or even Spanish moss add the texture that makes a piece look finished and professional.
Troubleshooting & Common Questions ❓
Even simple projects can have a hiccup or two. Here are answers to some common questions I get asked.
My paint is scratching off the plastic skull. What did I do wrong?
Don’t worry, this is a common issue! Plastic can be very slick. For the best results, you can lightly scuff the surface with fine-grit sandpaper before painting. Another pro trick is to apply a coat of spray-on primer first. This gives the acrylic paint something to grip onto.
Can I use real candles in the mummified jars or skull holders?
I would strongly advise against it. The hot glue and cheesecloth on the mummy jar can be a fire hazard. The plastic skull will definitely melt and could release nasty fumes. Please stick to battery-operated LED candles for a safe and worry-free glow.
My dollar store was out of cheesecloth. What can I use instead?
No problem at all! You can get a very similar effect by cutting up an old white t-shirt into strips. You can also use medical gauze rolls from the first-aid section or even toilet paper applied with watered-down white glue for a cool paper-mâché effect.
Next Steps & Further Optimization ✨
You did it! You should now have a collection of five awesome and unique Halloween decorations. Here’s how to take it to the next level.
What to Do Next: Arrange your five creations together to create a spooky vignette on a shelf or mantelpiece. Place the chic pumpkins and skull candle holder together, with the mummified votive glowing beside them and the creepy specimen jar nearby. It creates a full, cohesive look!
Optimization Tips:
- Add Some Sparkle: Give any of your projects a “glam-o-ween” twist by adding black or silver glitter while the paint or Mod Podge is still wet.
- Age Them Up: Brew some strong black tea or coffee, let it cool, and use a paintbrush to “stain” your mummified jar. This gives it a grimy, ancient look I just love.
- Incorporate Lights: Weave a string of orange or purple battery-powered fairy lights around your new decor display to tie it all together.
Conclusion (My Final Thoughts) 👻
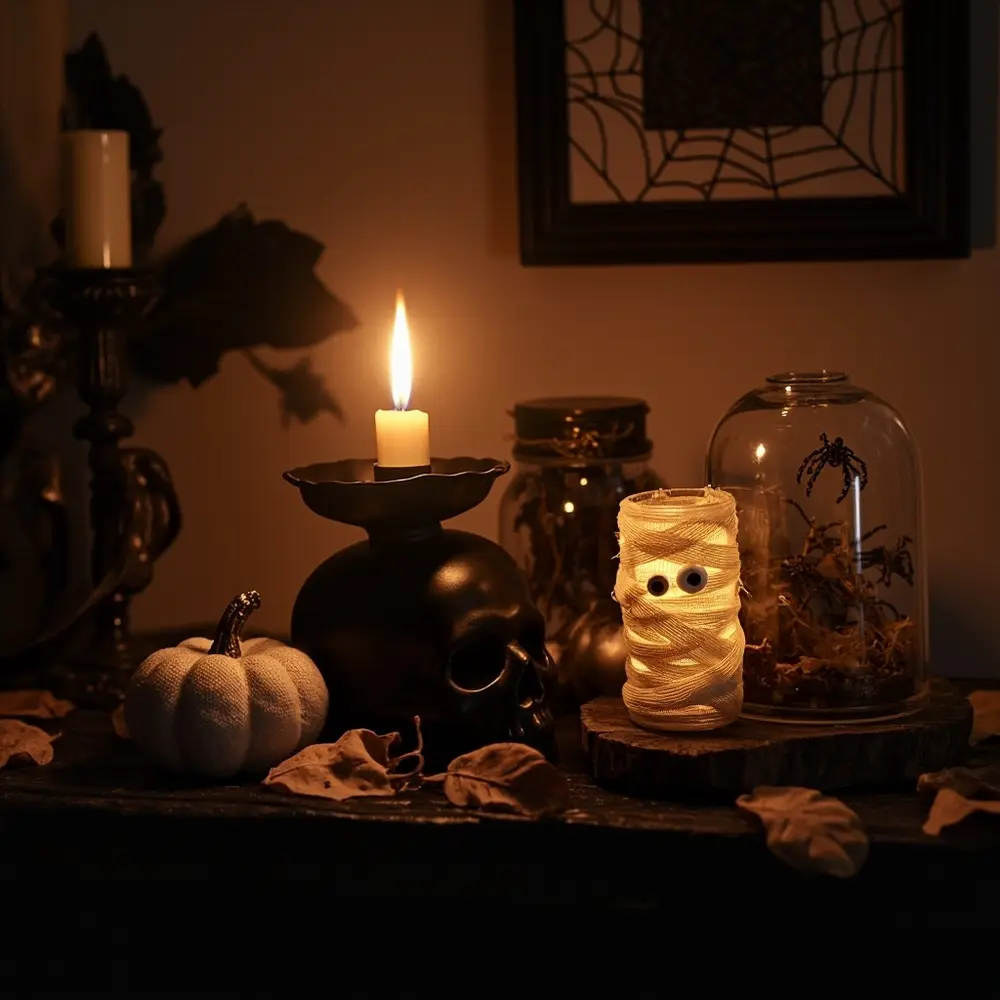
Congratulations on becoming a dollar store decor master! You didn’t just make a few crafts. You took some of the most overlooked items and, with a little creativity, transformed them into a stylish and spooky collection that is uniquely yours.
You’ve proven that amazing Halloween decor isn’t about the price tag, but the imagination behind it. Hopefully, this little treasure hunt has inspired you to look at your local dollar store in a whole new light. You now have a fantastic set of decorations to enjoy and the skills to dream up even more projects.
Which of the five projects was your favorite to make? Let me know in the comments below!
