How to Choose Family-Friendly Halloween Decor That’s Fun, Not Frightening
Are you dreaming of a Halloween filled with giggles and gasps of delight, not screams of terror? For parents of young kids, navigating a holiday that often glorifies the ghoulish can be a real challenge. You want to create a fun Halloween atmosphere, but finding decorations that are more sweet than spooky feels like searching for a friendly ghost in a haunted house.
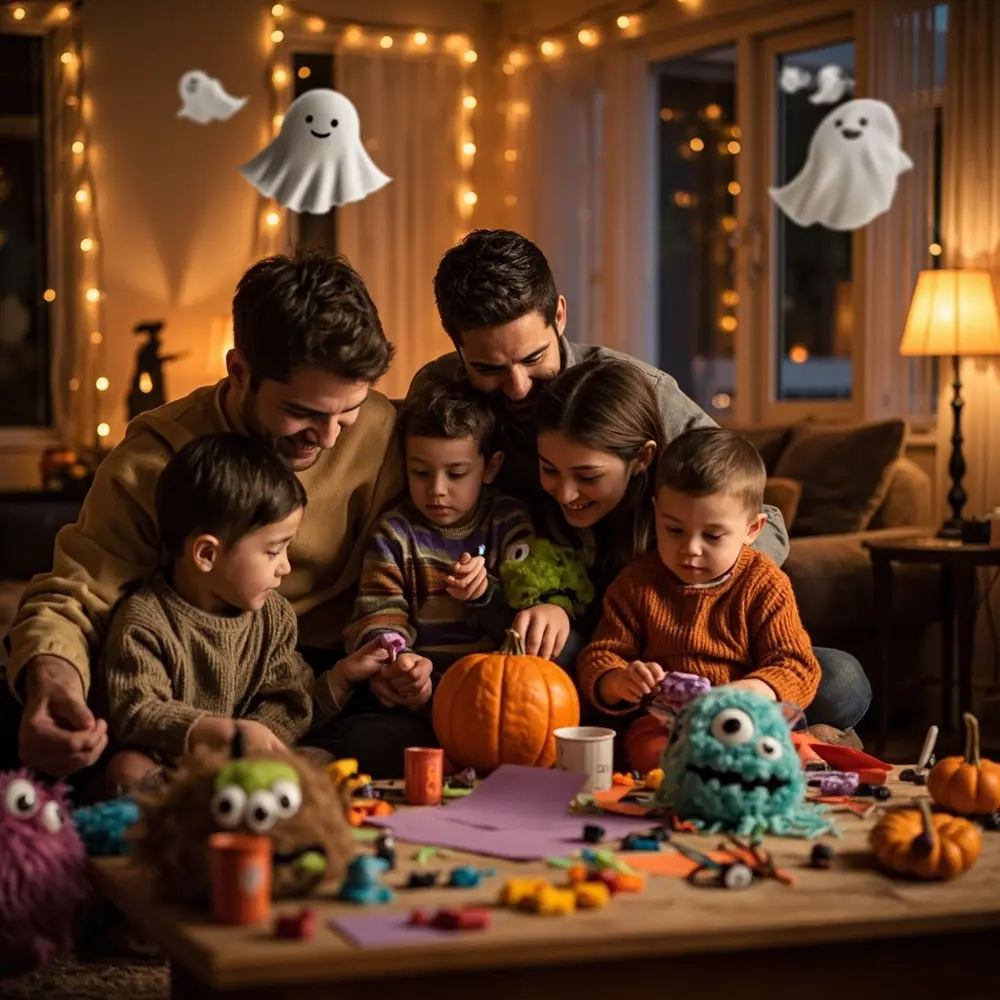
As someone who teaches a pumpkin decorating workshop for local kids every year, I’ve completely mastered the art of “cute-spooky.” I know exactly how to dial up the fun without causing any bedtime fears. In this tutorial, I’ll share my complete, step-by-step process for transforming your home into a kid-approved Halloween wonderland that your whole family will absolutely love.
- Difficulty Level 🦴: Easy / Beginner
- Time to Complete ⏳: 1-2 hours for planning; decorating time will vary.
- Estimated Cost 💰: Varies based on DIY vs. store-bought.
- Prerequisites 🧠: A love for celebrating and making kids smile!
Prerequisites: What You’ll Need Before You Start 📋
Before we dive into creating our cute-spooky masterpiece, a little prep work will make the whole process smooth and fun. This isn’t about having a perfect plan, but gathering a few key things now will make the decorating journey so much easier.
Requirements Checklist:
- A General Budget: Decide on a rough amount you’re comfortable spending. This helps you choose between awesome DIY projects and cool store-bought items.
- Measuring Tape: To measure doorways, mantels, or windows for garlands or any larger decor pieces.
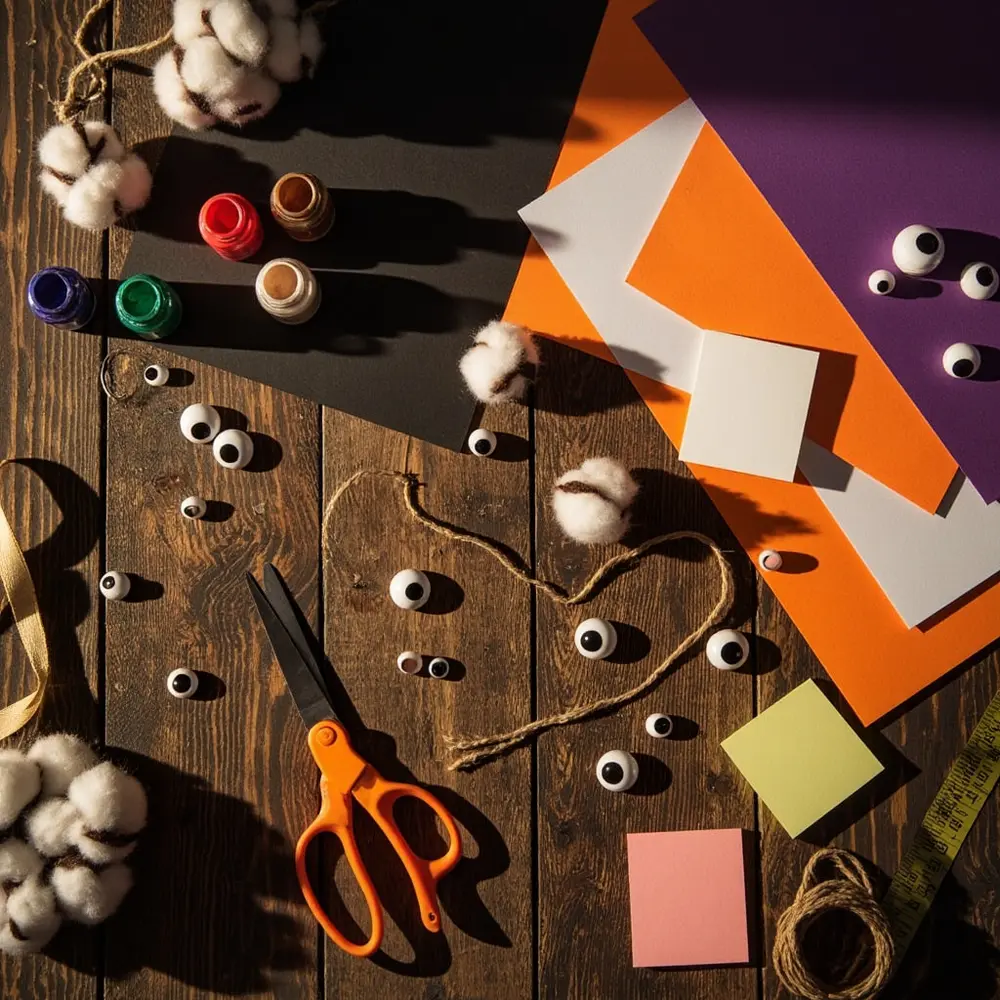
- Basic Craft Supplies (Optional, for DIY): I always have construction paper (black, orange, white, purple), non-toxic paint, googly eyes, cotton balls, string, and child-safe scissors on hand.
- Inspiration Board (Optional): A physical corkboard or a digital one on Pinterest is great for saving ideas you love.
Initial Setup:
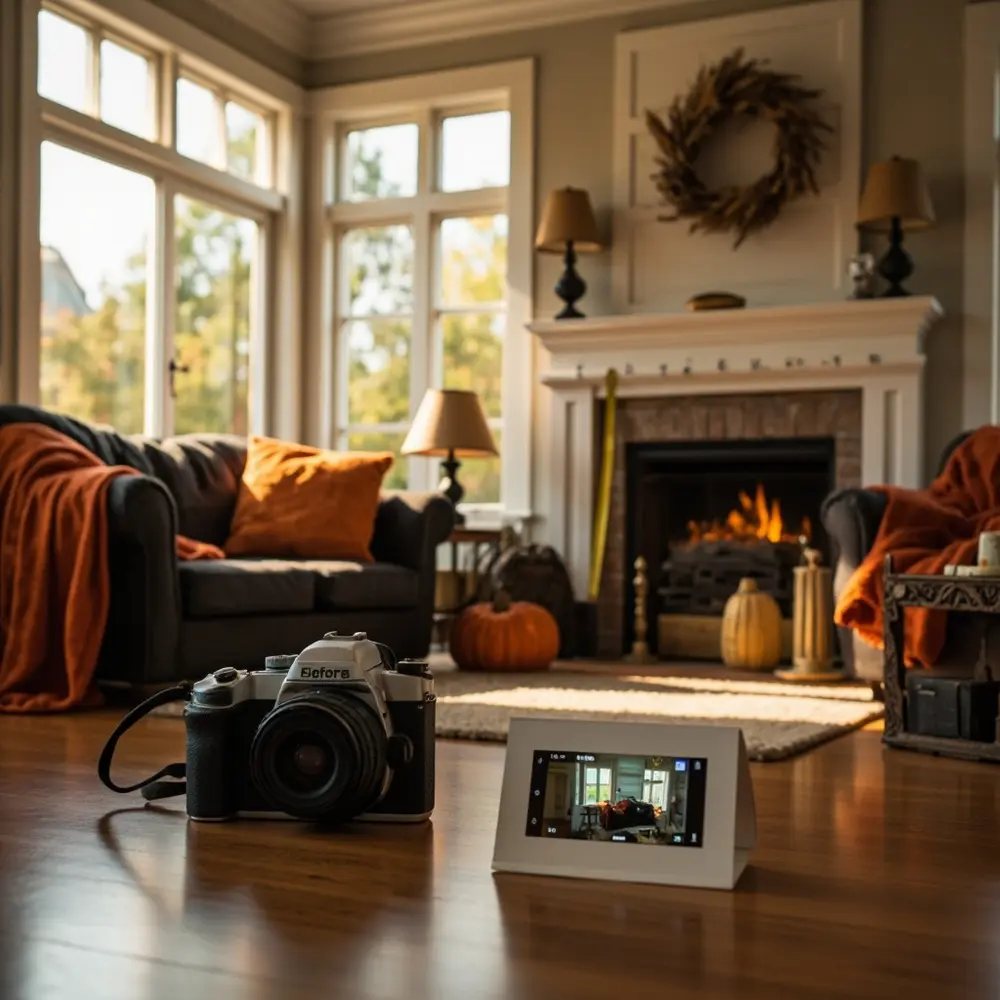
- Take “Before” Photos: Snap a few quick pictures of the rooms you plan to decorate, like your front porch or living room. This really helps you visualize where everything will go.
- Clear the Decks: Do a quick declutter of the surfaces you want to decorate, like the mantelpiece, a console table, or bookshelves. A clean slate is a creative canvas!
Step-by-Step Tutorial 🛠️
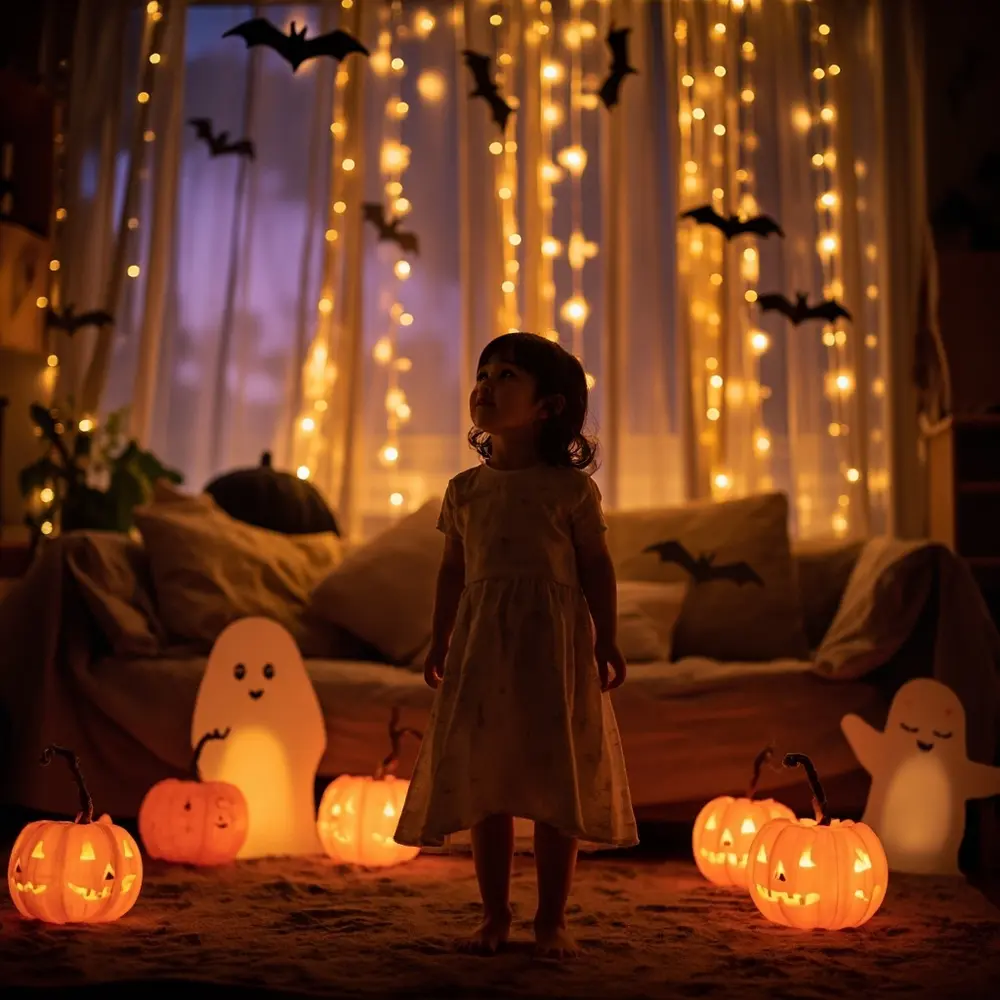
Step 1 – Define Your “Cute-Spooky” Vibe 🎨
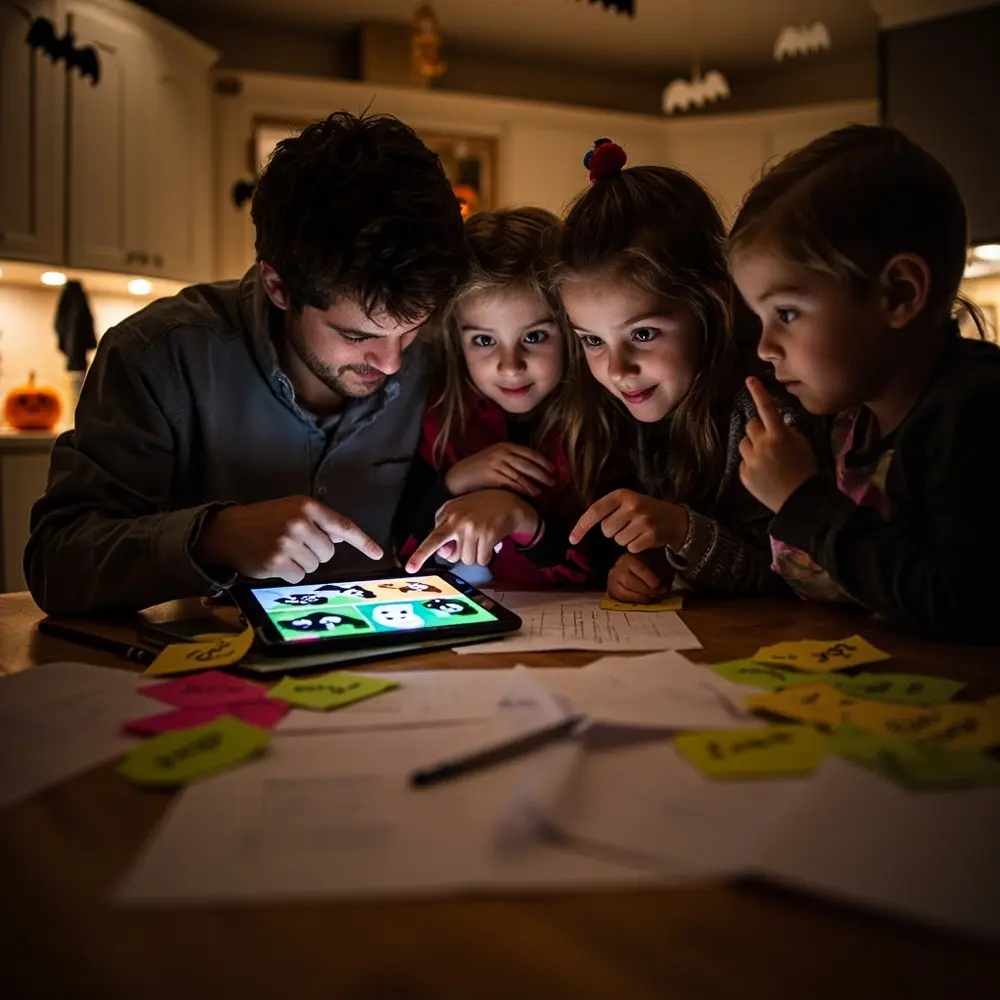
Your first and most important step is to choose a central, kid-friendly theme. This will guide all your decorating choices and create a fun, cohesive look instead of a random jumble of stuff.
- Sit down with your kids (if they’re old enough) and ask them what they love about Halloween. Is it pumpkins, friendly ghosts, silly monsters, or black cats? Their excitement is your best guide.
- Use their answers to choose a simple theme. I always tell parents in my workshops to focus on adjectives like “silly,” “goofy,” “friendly,” “sparkly,” or “enchanted.”
- Some of my favorite kid-approved themes are: Goofy Ghosts, Silly Monster Mash, Enchanted Pumpkin Patch, or Friendly Black Cats & Bats.
- Write down your chosen theme! Put it on a sticky note and stick it to your computer or fridge to keep it top of mind.
Important Note: Keeping the theme simple is the key to success. You don’t need a complex backstory, just a guiding concept. This prevents you from buying a random assortment of items that don’t quite work together.
Step 2 – Conduct a “Friendly Decor” Audit & Shopping Plan 🛍️
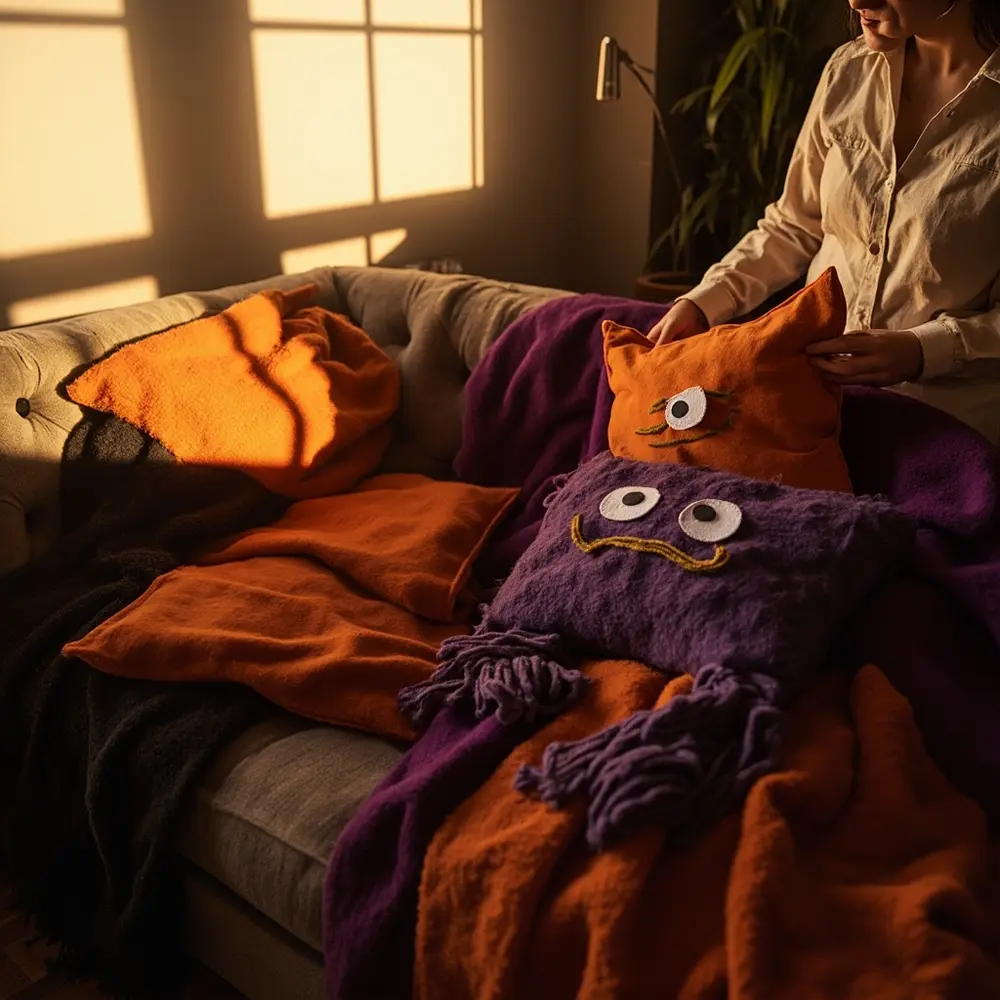
Next, it’s time to shop your own home for items you can repurpose! This saves money and makes the process more creative. Then, you’ll make a smart shopping list for only what you truly need.
- Look for items in your chosen color palette (e.g., orange, black, purple, lime green). This could be throw blankets, pillows, or vases that you already own.
- Identify everyday items you can temporarily “Halloween-ify.” A plain white sheet can become a floating ghost; a simple lamp can have paper bats taped to the shade for a cool silhouette effect.
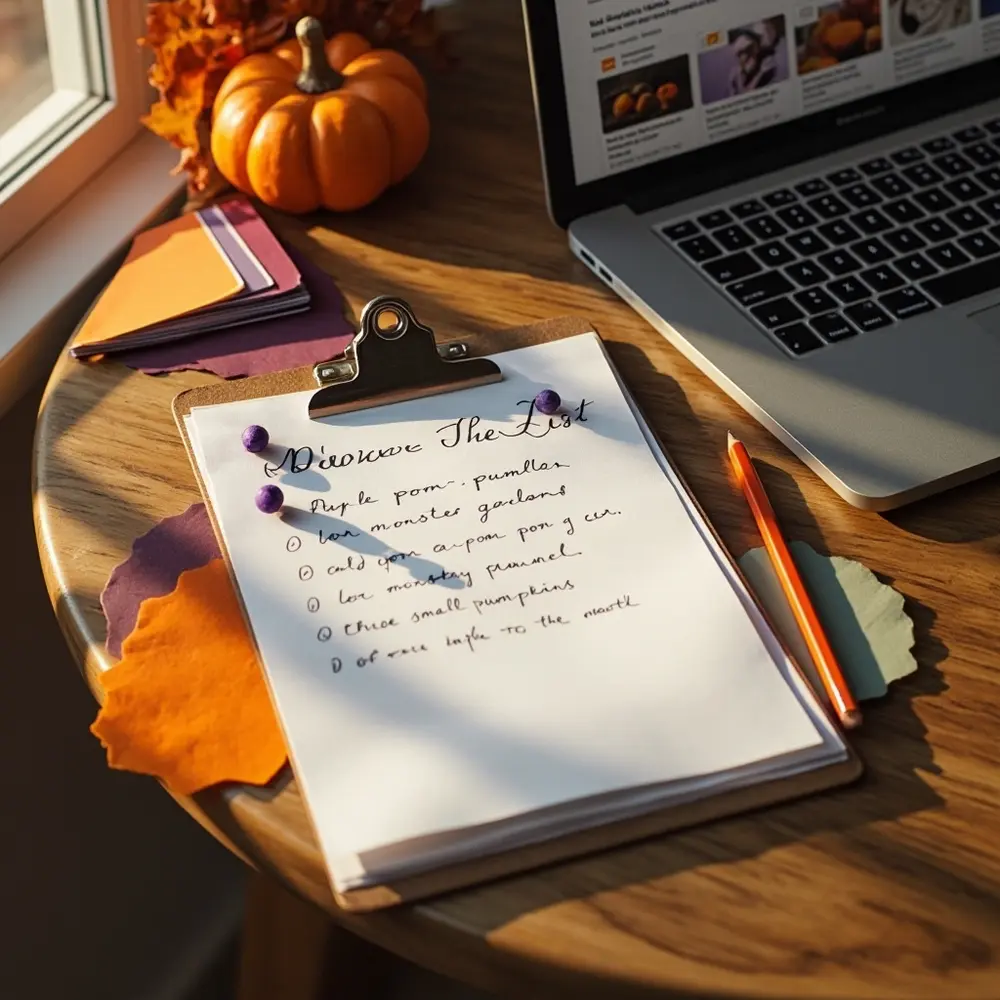
- Make a specific shopping list based on your theme and what you still need. Instead of writing “Halloween stuff,” write down exactly what you’re looking for, like “purple pom-poms for monster garland” or “three small pumpkins for the mantel.” This keeps you focused and on budget.
Step 3 – Create One Simple DIY Centerpiece ✨
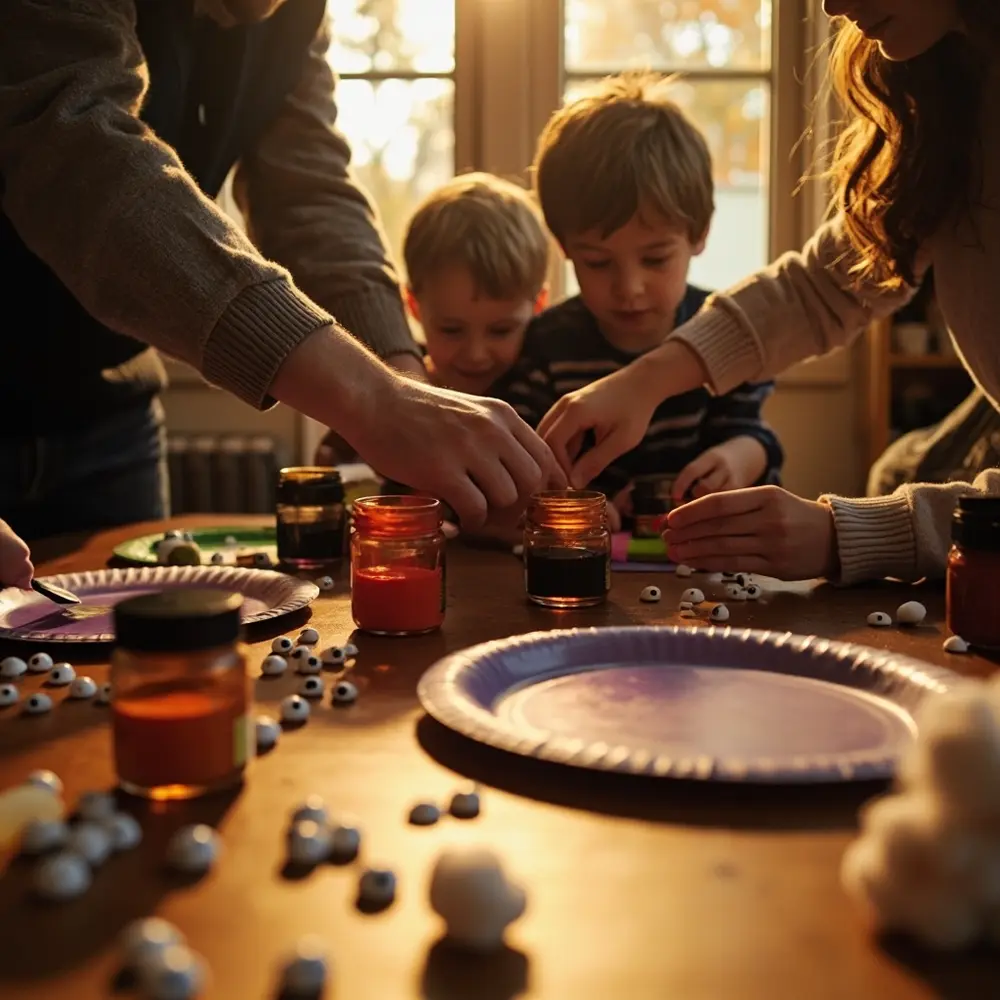
Now for the fun part! Creating one high-impact, low-cost decoration makes the space feel personal and is the perfect way to get your kids involved in the magic.
- Choose one easy project that fits your theme. For a “Goofy Ghost” theme, make cheesecloth ghosts. For a “Monster Mash” theme, you can’t go wrong with a paper plate monster garland.
- Gather your supplies.
- Follow a simple tutorial (I’ve got some ideas for you below!). This is a fantastic weekend activity to do with the kids. Their proud faces are the best decoration of all.
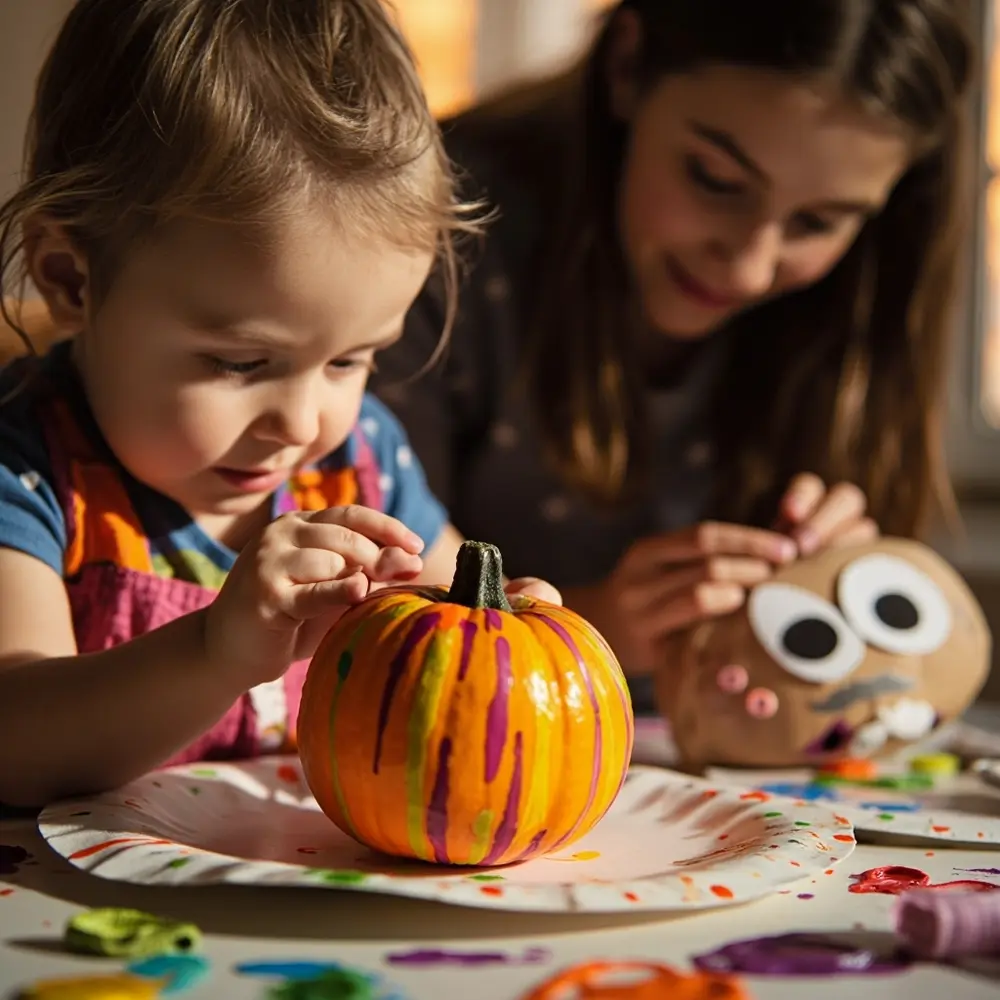
My Personal Tip: From my experience running kids’ workshops, the best projects are the ones where they can’t mess up. Painting pumpkins is my go-to. There’s no “wrong” way to paint a pumpkin with silly stripes or polka dots, and letting them stick on googly eyes is always a huge hit.
⚠️ Warning: When crafting with kids, always use non-toxic materials. Make sure you provide age-appropriate supervision, especially with scissors. Hot glue guns should always be for adult use only.
Step 4 – Test Your Fright-Factor 🔦
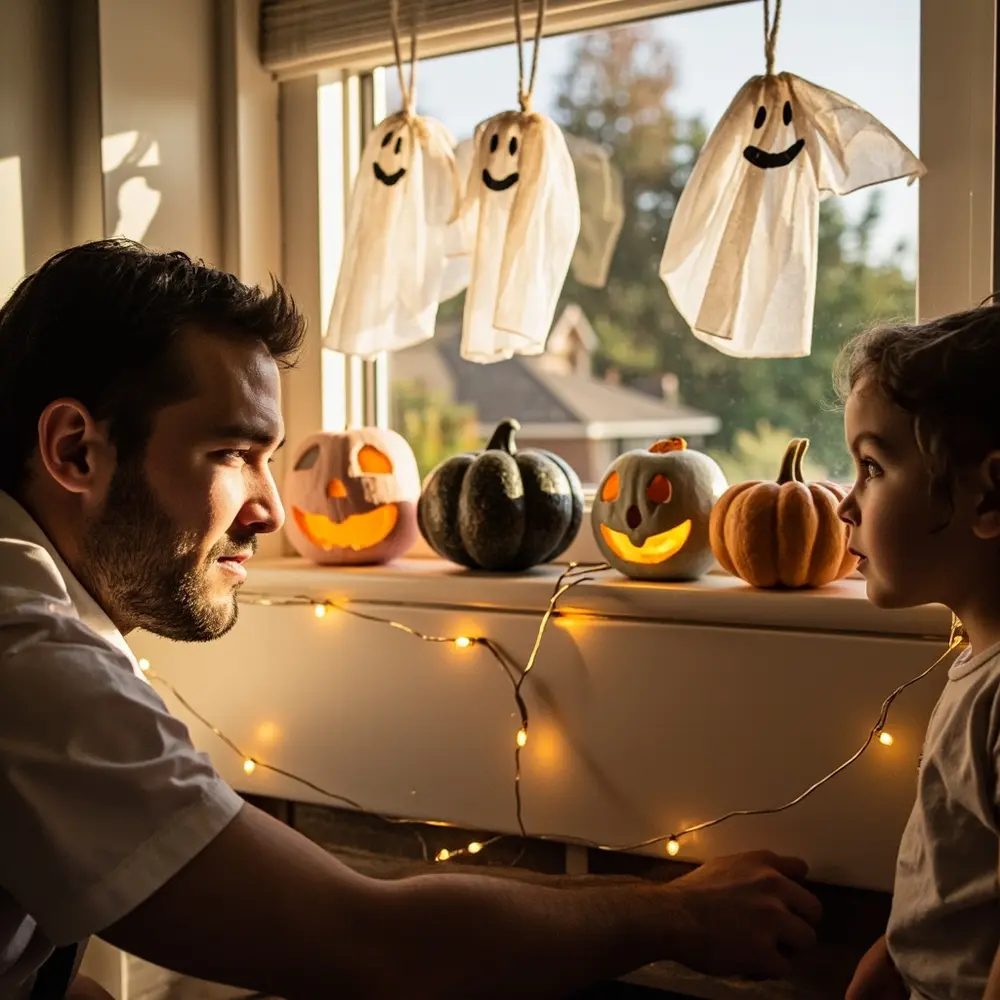
This is my final check to make sure everything hits the “fun” mark and is comfortable for even the youngest family member. What looks friendly in the daytime can sometimes be spooky at night.
- Once everything is set up, do a walkthrough during the day and again after dark. Get down low and try to see the decor from your child’s perspective.
- Pay close attention to shadows. I once made a friendly-looking cutout that cast a very scary shadow at night. If you see something spooky, just adjust the lighting or move the decoration.
- Finally, do the “big reveal” with your kids and watch their reactions. Their genuine delight is the ultimate sign you’ve nailed it!
The expected result is a festive, happy space that makes your kids excited for the holiday, with zero signs of fear or anxiety.
Your Safe-Haven of Cute-Spooky Decor Ideas 💖
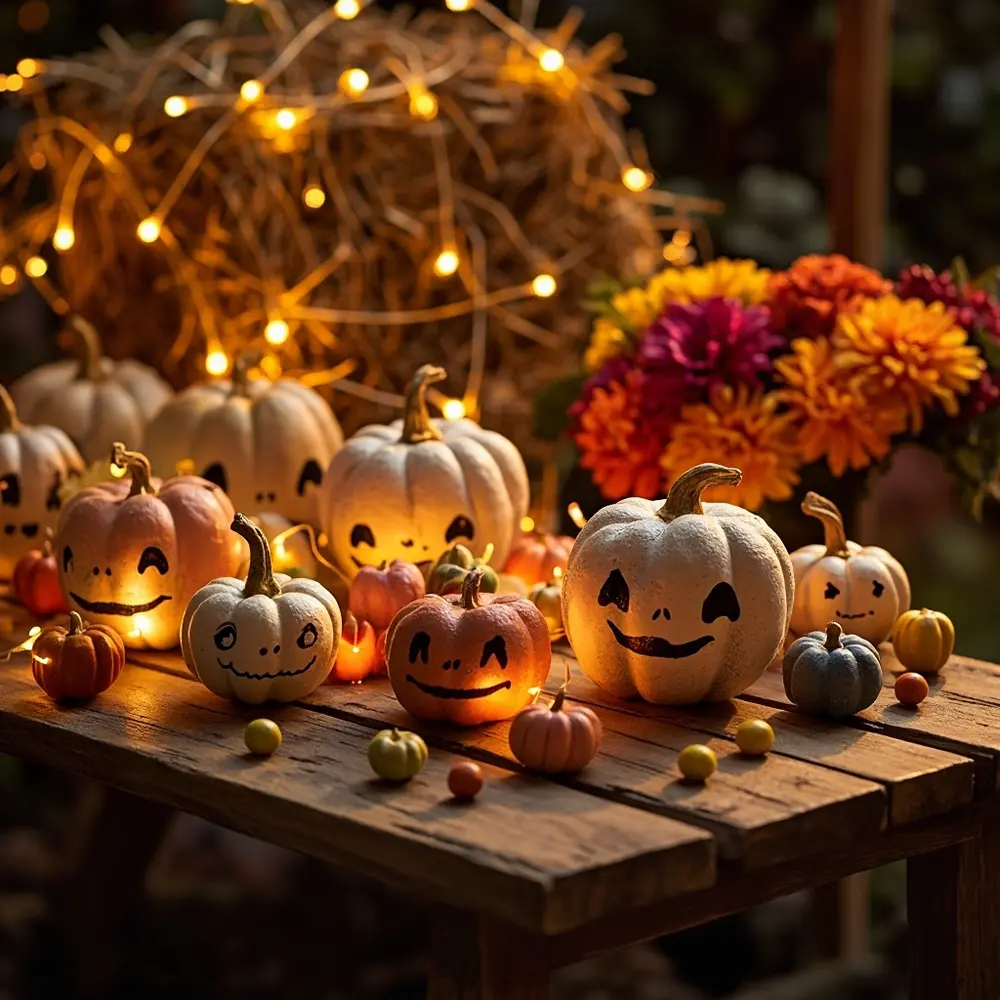
This is often the biggest challenge for parents: finding concrete ideas that aren’t scary. Forget sifting through horror-filled search results. Here is my curated list of exclusively fun, not frightening, themes and elements to get you started.
Theme 1: The Enchanted Pumpkin Patch 🎃
The core idea here is to focus on pumpkins of all shapes and sizes. Think less “scary jack-o’-lantern” and more “magical gourd family.” It’s a classic for a reason!
- Paint pumpkins in pastel colors or cover them in glitter. No carving required!
- Decorate pumpkins with silly painted faces instead of spooky ones. Think wide eyes and goofy smiles.
- Use small gourds and twinkling fairy lights to create a magical centerpiece for your table.
- Add small hay bales (if decorating a porch) and colorful mums to complete the cozy harvest look.
Theme 2: Goofy Ghosts & Friendly Bats 👻
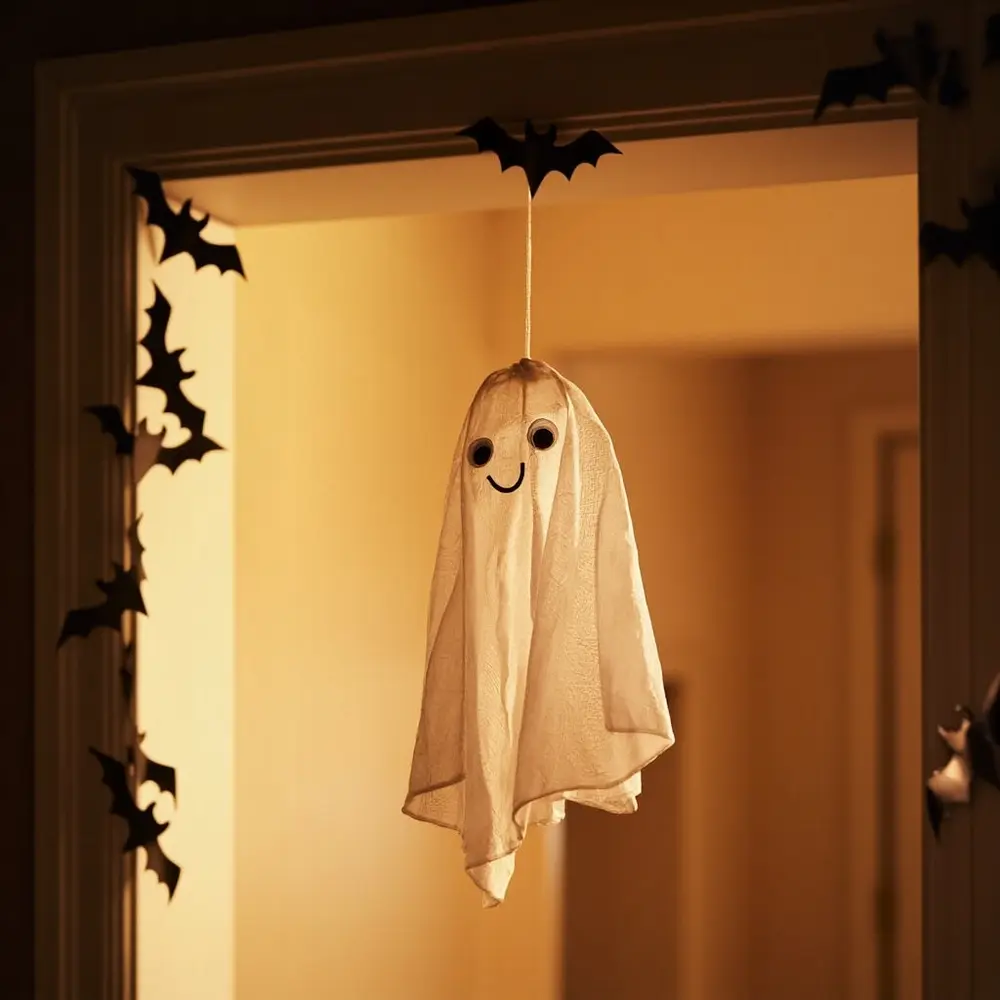
For this theme, the rules are simple: all ghosts must be smiling, and all bats are cartoonish. Nothing should have red eyes or sharp fangs. The vibe is 100% friendly.
- Cheesecloth Ghosts: Drape cheesecloth over a balloon that’s sitting on a bottle. Spray it with liquid starch, let it dry completely, pop the balloon, and draw on a smiley face with a black marker. They look amazing!
- Paper Bats: Cut out simple bat shapes from black paper and use a piece of rolled tape to stick them in a flowing pattern up a wall or across a doorway.
- Floating Friends: Hang your goofy ghosts from the ceiling or in a doorway using clear fishing line for a cool floating effect.
Important Note: Use soft, white, or warm-colored lighting. A single colored bulb (like red or green) can instantly make even the friendliest ghost look menacing to a small child. Stick with string lights or your normal lamps.
Troubleshooting & FAQs ❓
How do I balance scary decor for an older child with a toddler’s needs?
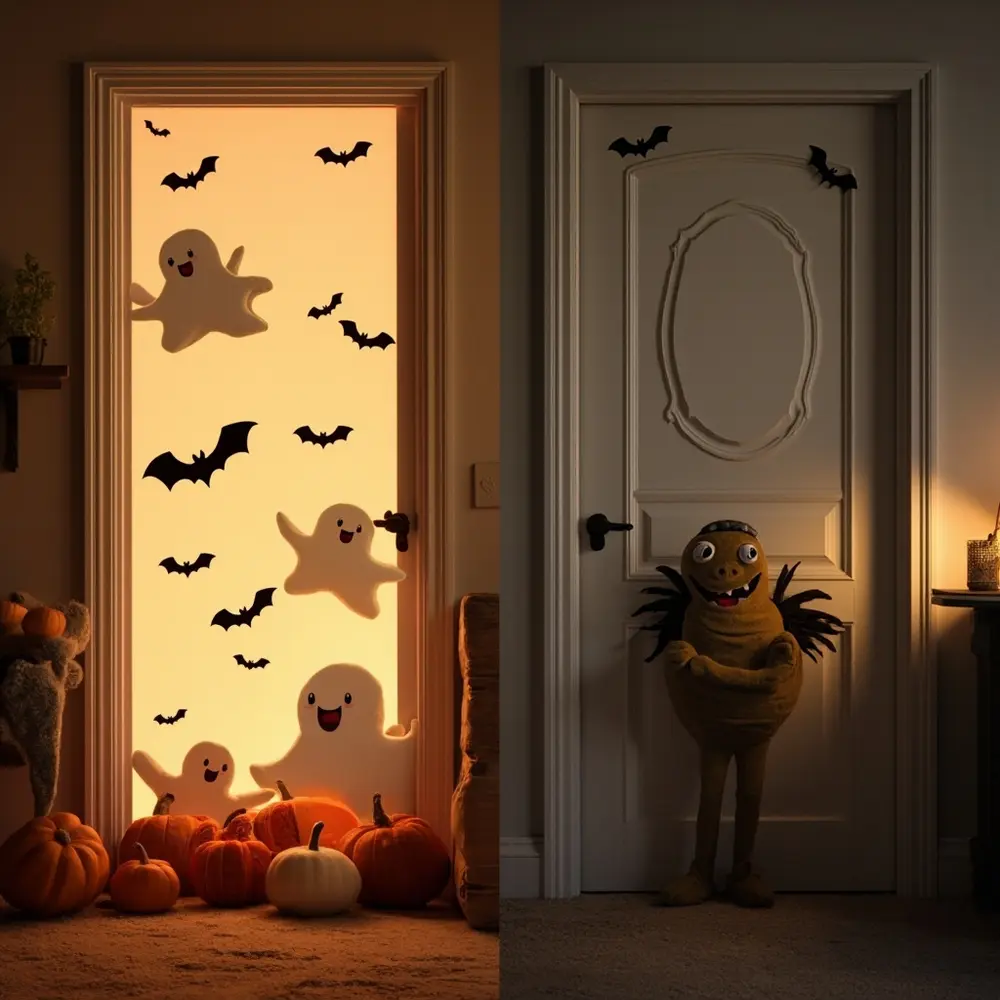
This is a super common question! The best solution is to designate a “scary zone.” Allow your older child to decorate their own bedroom door or a small corner of their room with scarier items. Make it clear that the main family areas, like the living room and front porch, will remain fun and friendly for everyone. This gives them ownership while keeping the shared spaces comfortable for the little one.
Where can I buy affordable, family-friendly Halloween decor?
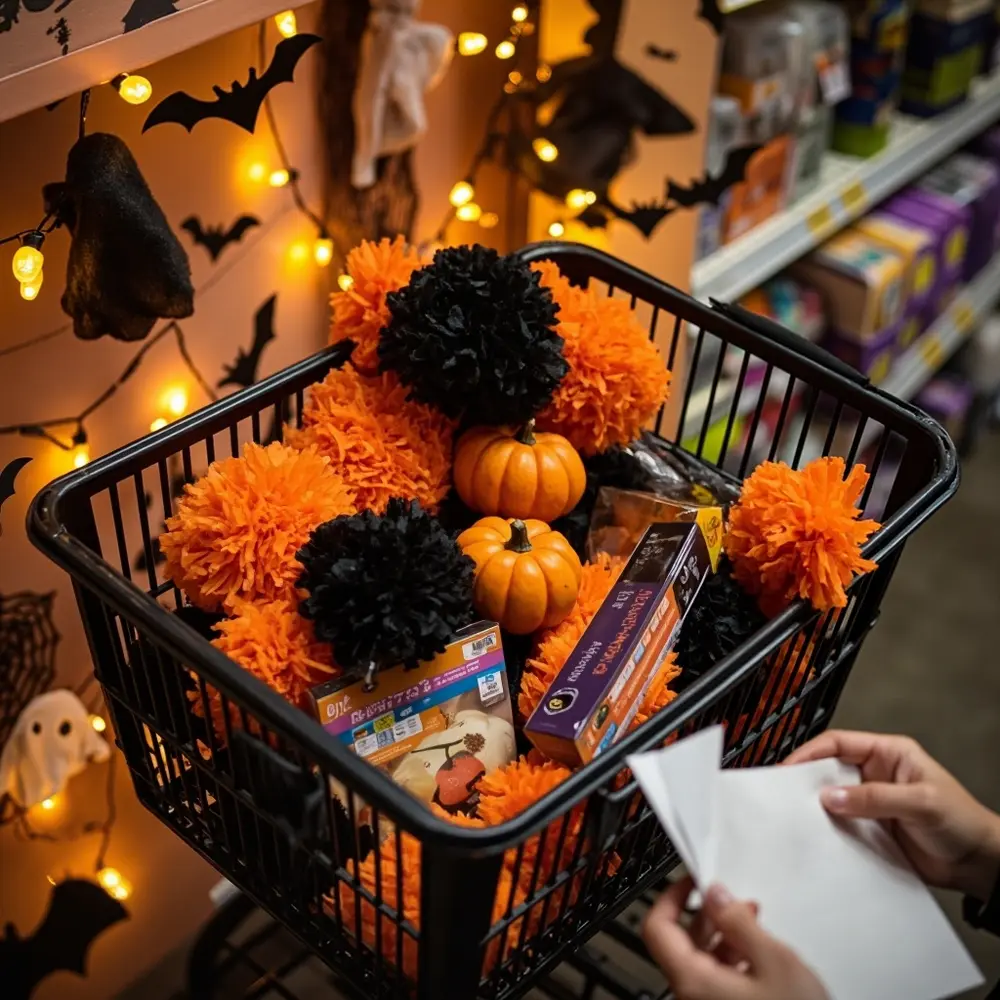
I’ve found some of my best stuff at Target’s Bullseye’s Playground (the dollar spot), HomeGoods, and craft stores like Michaels or JOANN. My secret weapon? I always check the post-holiday clearance sales in early November to stock up for next year at a huge discount.
I’m not crafty! Are there any no-skill-required DIY ideas?
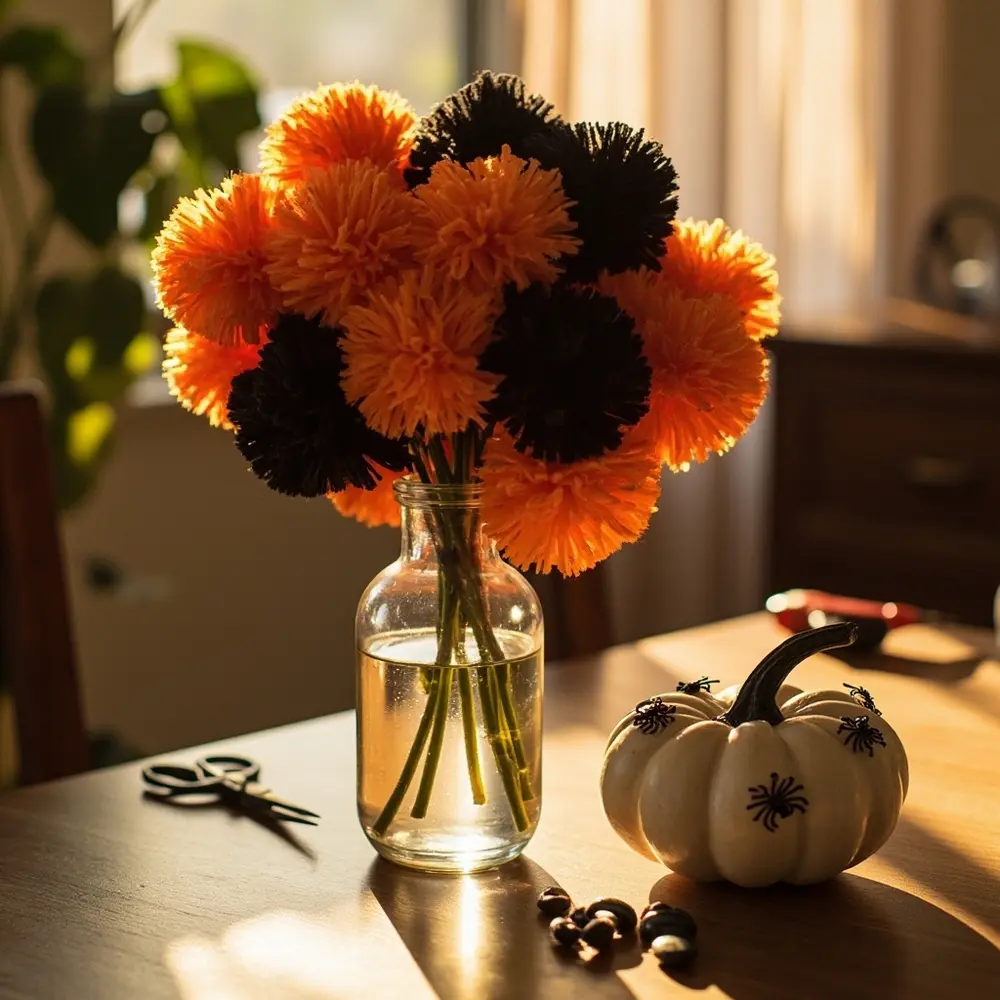
Absolutely! The easiest “DIY” is simply curating a color palette. Fill a clear vase with orange and black pom-poms or candy corn. Done! Another idea I love is to buy a bag of those plastic spider rings (the non-realistic kind), cut off the ring part, and have your kids stick them all over a fake white pumpkin with glue dots. It’s more assembly than crafting, and kids love it.
Next Steps & Further Optimization 🚀
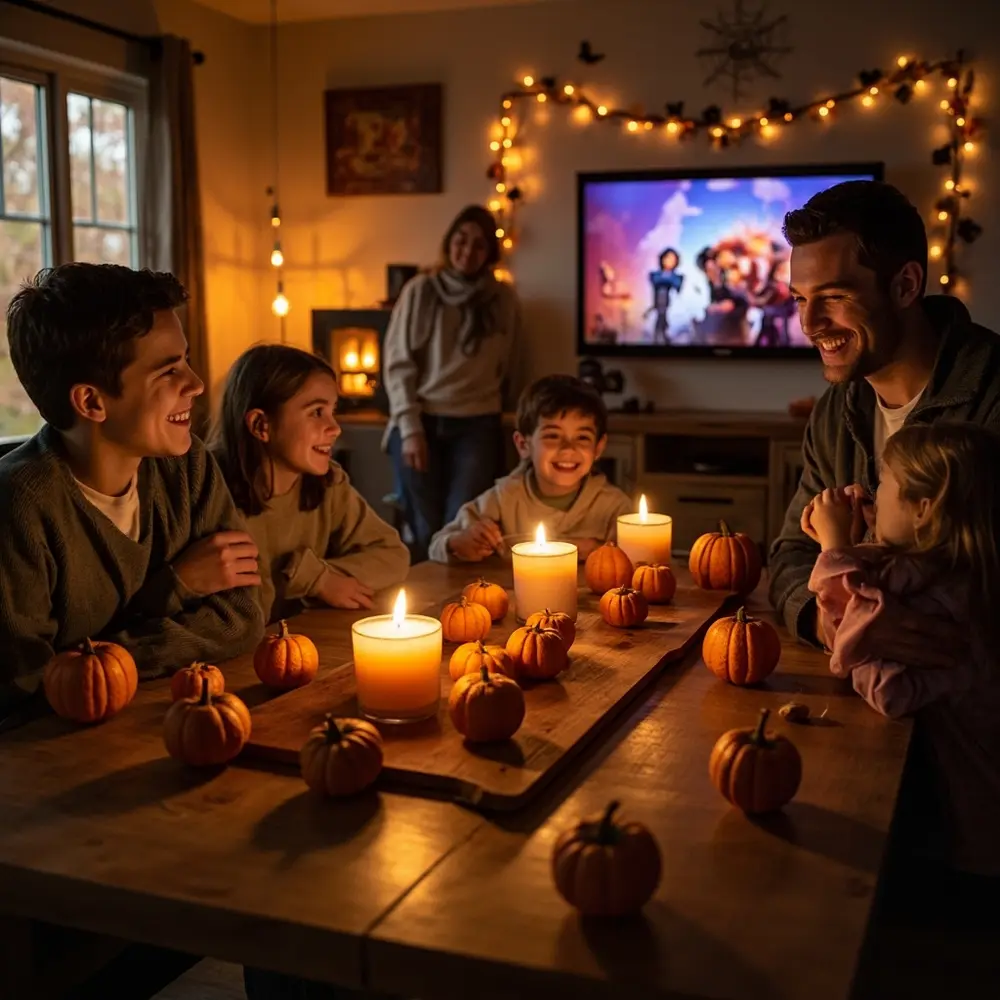
You’ve successfully created a fun and festive Halloween home! Here’s how you can build on that amazing success.
- What to Do Next: Plan a “Halloween Decor Reveal” party for your family! Make some simple themed snacks (like clementines with a little celery stick piece in top to look like pumpkins) and put on a fun Halloween movie to celebrate your new atmosphere.
- Optimization Tips: Engage the other senses! Add a fall-scented candle (like apple cinnamon or pumpkin spice) or create a playlist of fun, kid-friendly Halloween songs (“Monster Mash,” “Purple People Eater”) to have playing softly in the background.
My Personal Tip: When I planned a ‘Haunted Masquerade’ for a client, the biggest hit wasn’t a decoration, but the atmosphere. A simple soundtrack and a good scent make a space feel truly immersive and magical. Don’t skip these easy additions!
- Advanced Applications: Feeling confident? Next year, try creating a fully themed front porch display that tells a little story, like “The Monsters’ Tea Party” or “The Witches’ Sweet Shop.”
Conclusion (My Final Thoughts) 👻
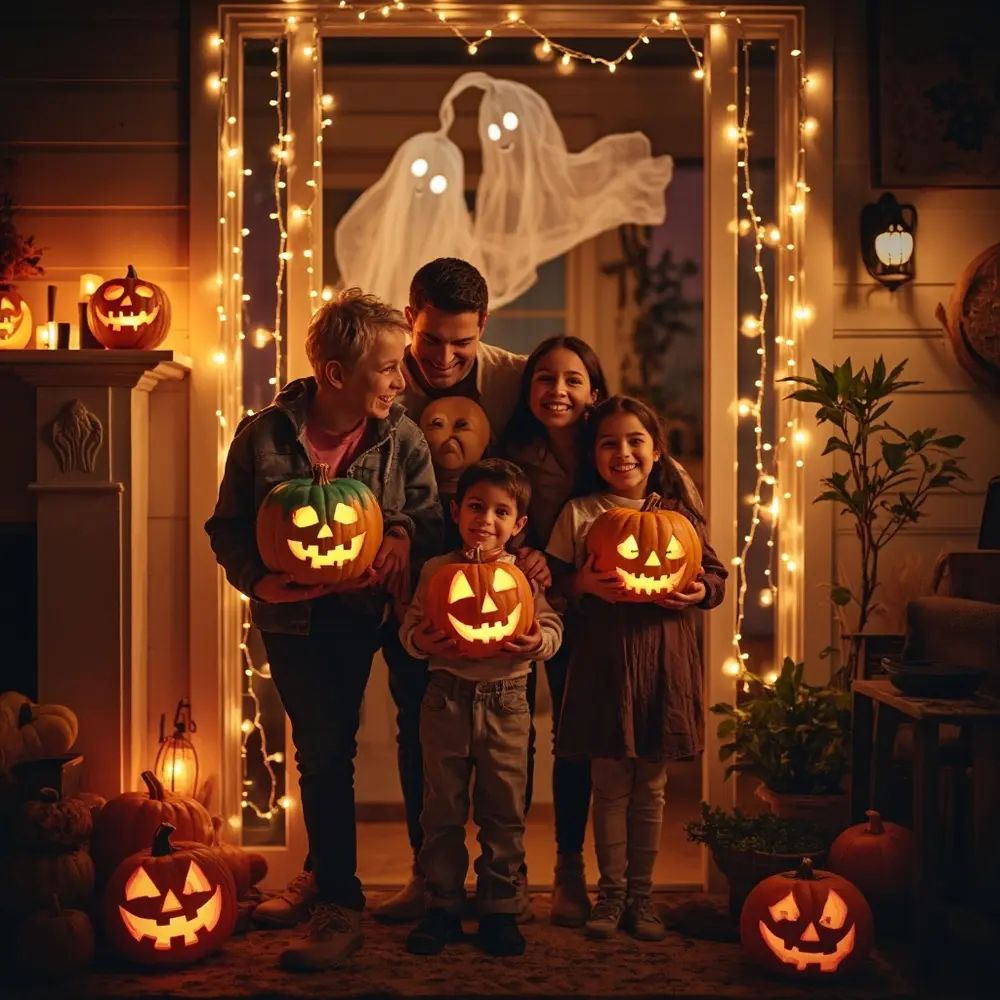
Congratulations! You’ve learned how to thoughtfully curate and create a Halloween environment that prioritizes fun, celebration, and family joy over frights and fears. By choosing a kid-friendly theme and focusing on a “cute-spooky” vibe, you’ve built a space where magical memories can be made.
This skill isn’t just about decorating; it’s about shaping your family’s holiday traditions to fit your values and your children’s unique personalities. You now have a repeatable process you can use every year to create a Halloween that is wonderfully and uniquely yours. I’d love to see what you created!
What was your family’s favorite part of the new decorations?
