Recipe: How to Bake and Decorate Spooky Halloween Cupcakes
It’s that time of year again, ghouls and goblins! The air is getting crisp, the leaves are turning, and my pumpkin spice coffee intake is officially off the charts. 🍂
You want to bring some spooky magic into your kitchen but feel a little intimidated by those perfectly decorated treats you see online. You’re worried it’s too complicated, too messy, or just won’t turn out right, leaving you with a baking nightmare instead of a delightful dream. 👻
But what if I told you that you could create a batch of show-stopping, ghoulishly good cupcakes that will have every monster at your party howling for more? I’m Roshan Sharma, your friendly neighborhood Halloween fanatic, and I’m here to show you exactly how to do it. Let’s turn your kitchen into a spooky creation station and make some delicious memories! 🎉
Activity At-a-Glance
- Best For: Halloween parties, family baking day, trick-or-treat night dessert 👨👩👧👦
- Time Required: Approx. 2-3 hours (including baking and decorating) ⏳
- Budget Level: Moderate 💰
- Spookiness Level: Medium 🎃
What You’ll Need for Your Spooky Cupcakes 📋
Here’s the spellbook—I mean, shopping list—for our creepy confections. I’ve broken it down so you can easily see what you need for each part of the process.
For the Classic Vanilla Cupcakes:
- 1 ½ cups all-purpose flour 🥣
- 1 ½ tsp baking powder
- ¼ tsp salt
- ½ cup unsalted butter, softened
- 1 cup granulated sugar
- 2 large eggs, room temperature 🥚
- 1 tsp vanilla extract
- ½ cup milk
For the Spooky Buttercream Frosting:
- 1 cup unsalted butter, softened
- 3-4 cups powdered sugar
- 1-2 tbsp milk or heavy cream
- 1 tsp vanilla extract
- Pinch of salt
- Black, orange, and green gel food coloring 🎨
For the Spooky Decorations:
- Candy eyeballs 👀
- Chocolate sprinkles or jimmies
- Black licorice laces
- Small marshmallows
- Meltable white and dark chocolate wafers
- Oreos or other chocolate sandwich cookies 🍪
- Piping bags and assorted tips (round and star tips are great!)
- Offset spatula
Preparation & Setup: Creating the Spooky Scene
Before we conjure our cupcakes, let’s set the stage! A little prep goes a long way. Start by gathering and measuring all your ingredients—this is what the pros call mise en place, and it makes everything run so much smoother. Preheat your oven to 350°F (175°C) and line your cupcake tins.
To really get in the mood, I always put on a spooky Halloween playlist. Nothing says “baking magic” like mixing batter to the “Monster Mash”! 🎶
Pro Tip 💡: Make your baking station part of the fun! I throw a cheap cobweb tablecloth over my counter and put out a mini jack-o’-lantern. It’s a simple touch that makes the whole experience feel more festive.
Image-1: A clean and organized kitchen counter with all the cupcake and frosting ingredients measured into separate bowls. A jack-o’-lantern sits in the corner for a festive touch.
How to Lead the Spooky Cupcake Activity: Step-by-Step 🚀
Step 1: Gathering Ingredients & Prepping for Baking
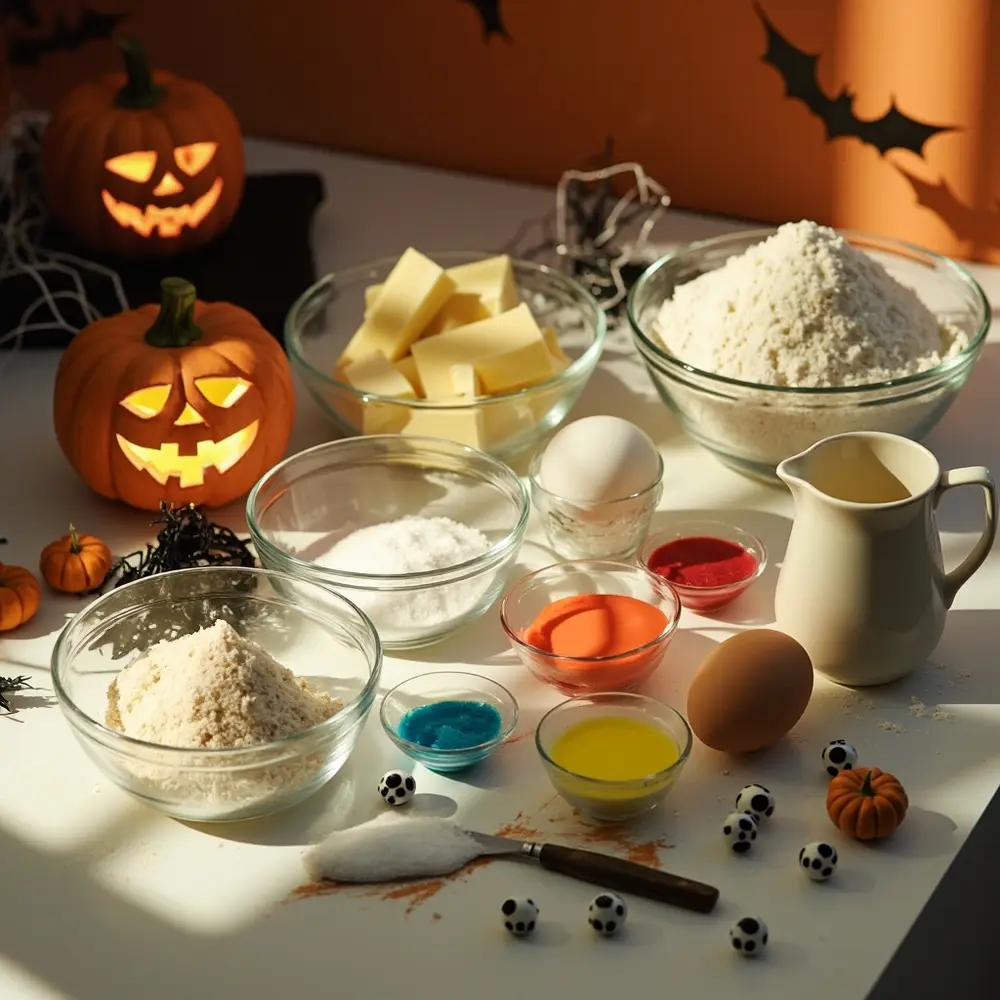
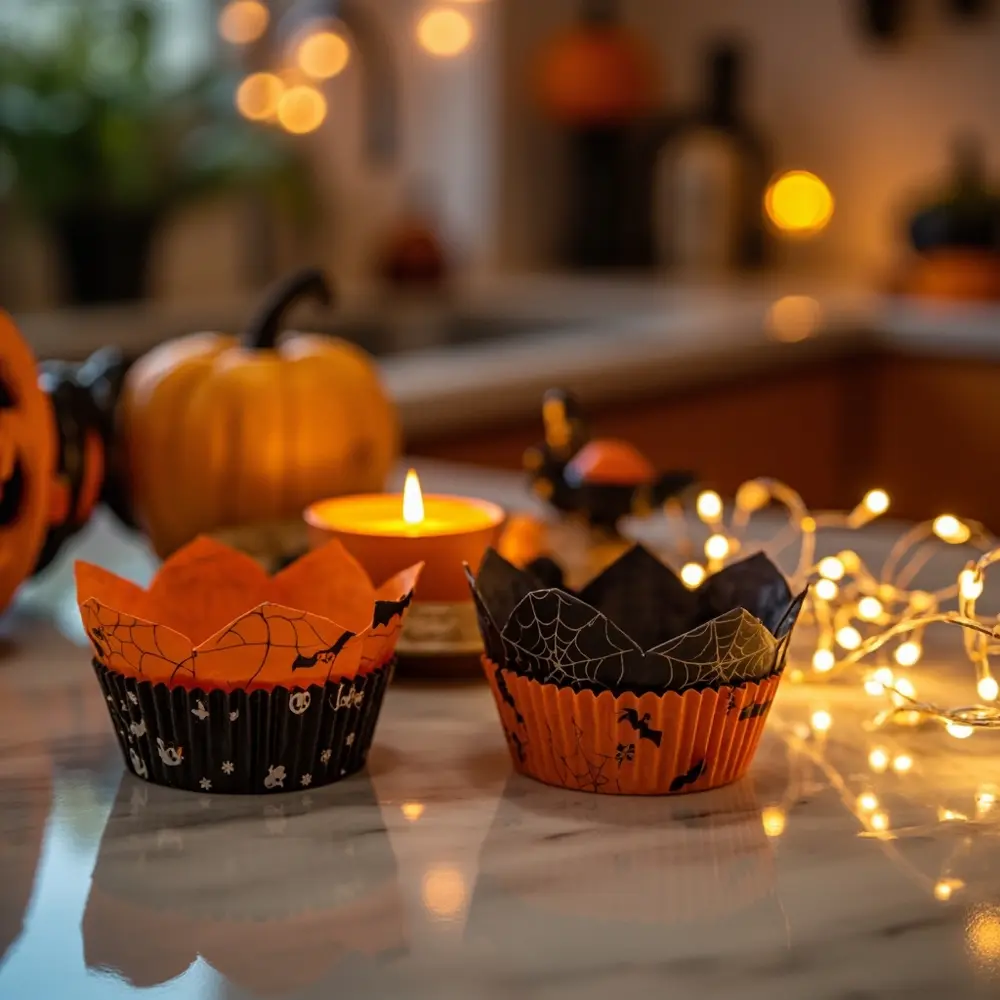
Alright, let’s get this party started! You’ve got all your ingredients measured and ready to go from the prep stage. Your cupcake tins are lined with festive Halloween paper liners, and your oven is preheated and waiting. Double-check that your butter and eggs are at room temperature—this is my secret for a perfectly fluffy cupcake every time!
Image-2: A close-up shot of two cupcake tins lined with orange and black paper liners, ready to be filled.
Step 2: Mixing the Batter & Baking Your Cupcakes
Now for the fun part! In a large bowl, use a hand mixer or stand mixer to cream the softened butter and sugar together until light and fluffy. Beat in the eggs one at a time, followed by the vanilla extract. In a separate bowl, whisk together the flour, baking powder, and salt.
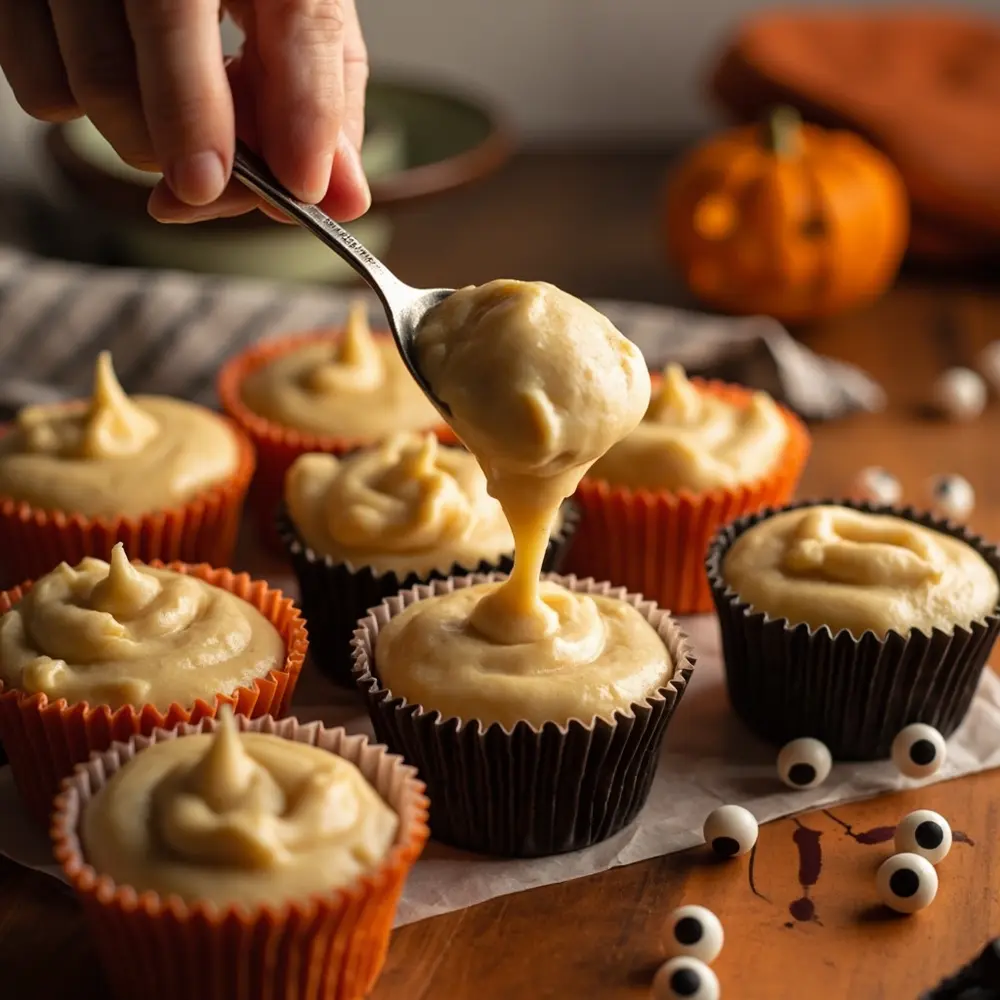
Alternate adding the dry ingredients and the milk to the butter mixture, beginning and ending with the dry ingredients. Mix until just combined—don’t overdo it! Fill your cupcake liners about two-thirds full. Bake for 18-22 minutes, or until a toothpick inserted into the center comes out clean.
CAUTION ⚠️: Ovens are super hot! Please make sure an adult is handling the hot cupcake tins, especially when there are little ghouls helping out in the kitchen.
Image-3: A photo showing cupcake batter being scooped into the lined muffin tin. The batter fills each liner about two-thirds of the way.
Step 3: Cooling Cupcakes & Preparing Spooky Frosting
Once your cupcakes are baked, let them cool in the tin for a few minutes before transferring them to a wire rack to cool completely. This is a crucial step! Frosting warm cupcakes leads to a melty, spooky mess, and not the good kind.
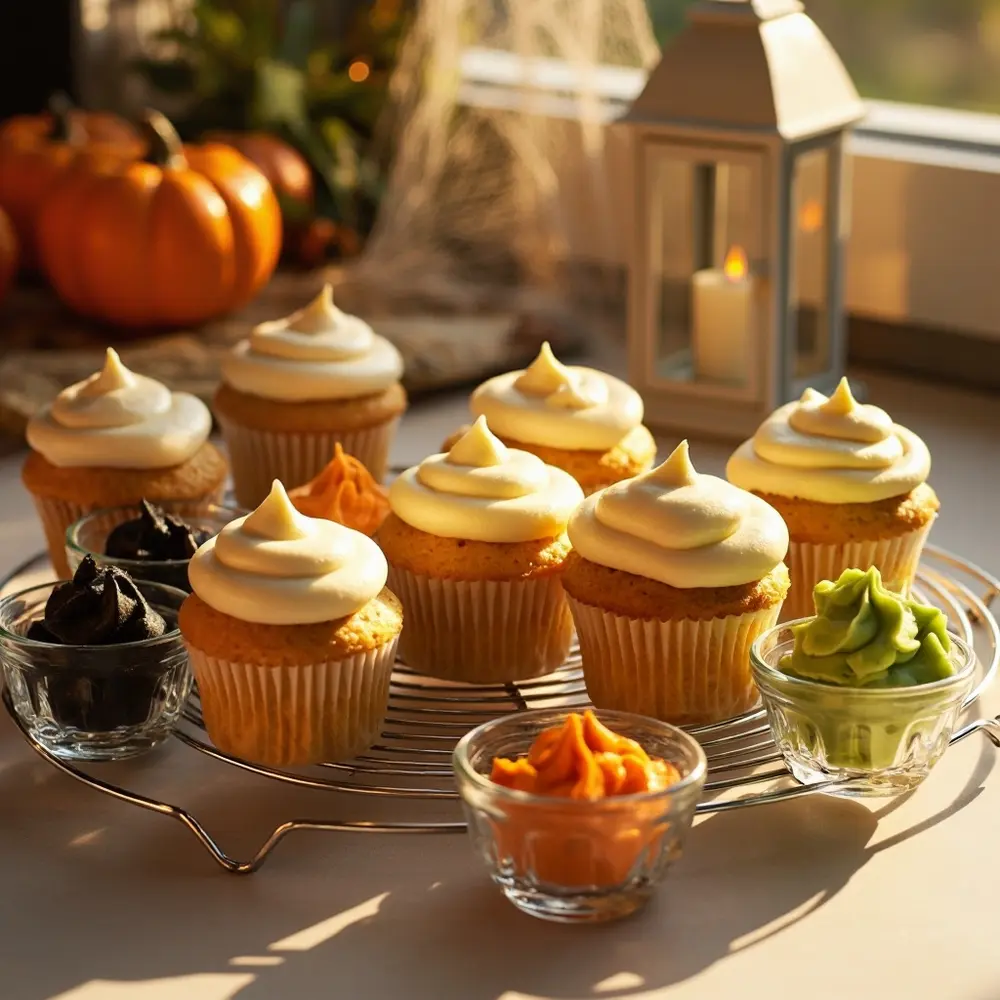
While they cool, whip up your buttercream. Beat the softened butter until creamy. Gradually add the powdered sugar, alternating with the milk, until you reach a smooth, spreadable consistency. Mix in the vanilla and a pinch of salt. Divide the frosting into separate bowls and add your gel food coloring. I love making a deep black, a vibrant monster green, and a classic pumpkin orange!
Image-4: Freshly baked cupcakes are shown cooling on a wire rack. Next to them are three small bowls containing black, orange, and green frosting.
Step 4: Applying the Base Frosting
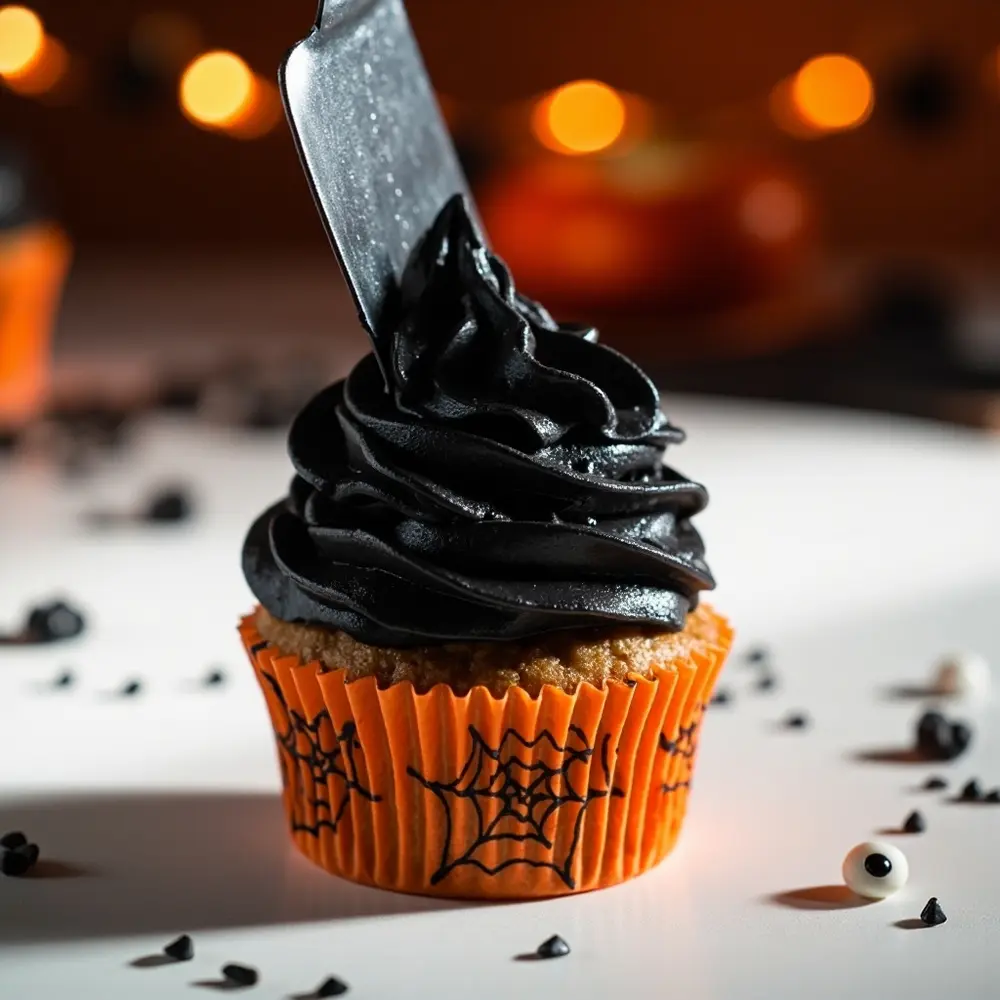
With your cupcakes cool and your frosting colored, it’s time to lay the foundation. For a smooth, graveyard-dirt look, use an offset spatula to spread a layer of black or orange frosting evenly over the top. If you want a more classic, puffy cloud look for a ghost, use a piping bag with a large round tip to swirl a mound of white frosting on top.
Image-5: A close-up, side-angle shot of a hand using an offset spatula to apply smooth black frosting onto a cupcake.
Step 5: Adding Spooky Decorations
Let your inner monster artist loose! This is where the real magic happens. There are no rules, only spooky creativity.
Here are a few of my favorite ideas that my niece and I make every year:
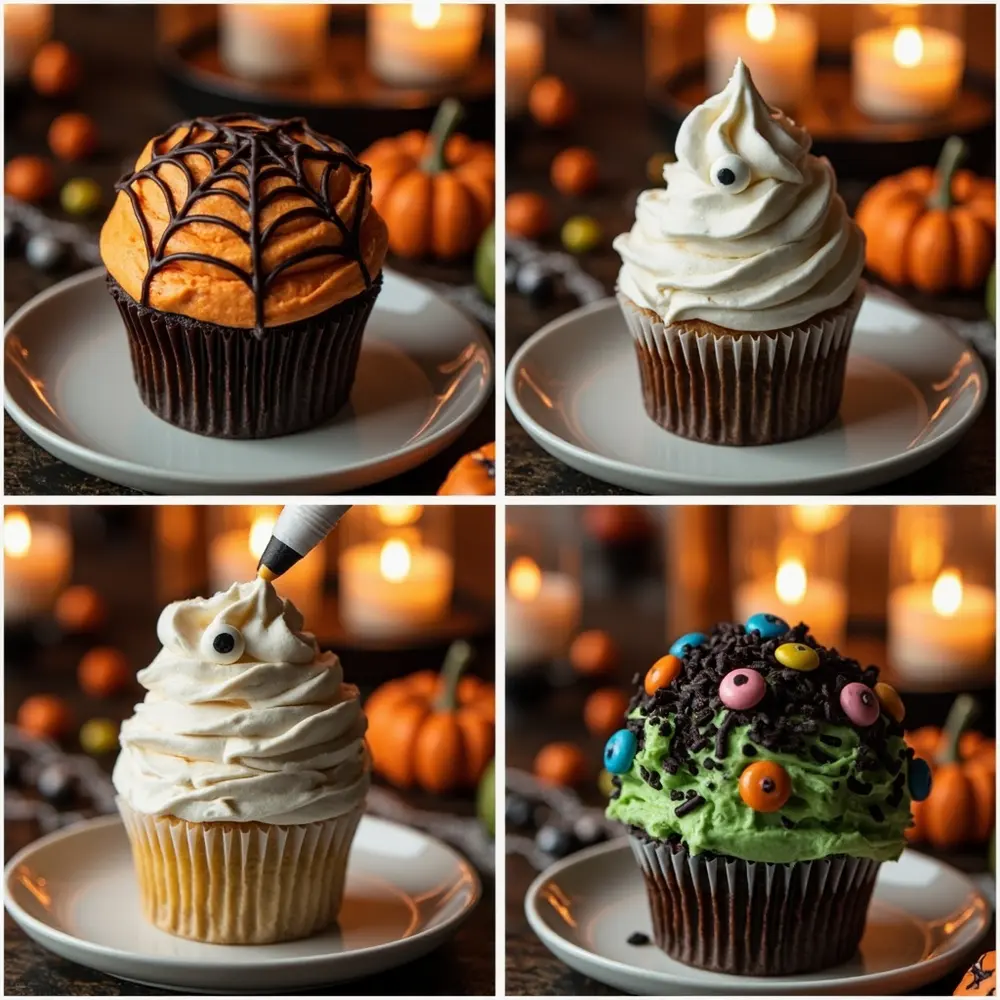
- Spiderwebs 🕸️: Frost a cupcake with orange frosting. Use melted dark chocolate in a piping bag with a tiny tip (or a Ziploc bag with the corner snipped) to draw a spiral. Drag a toothpick from the center outwards to create the web effect.
- Simple Ghosts 👻: Use a large round piping tip to pipe a tall swirl of white frosting. Gently press two candy eyeballs into the “head” of your ghost. So easy and so cute!
- Mummy Wraps 🤕: Frost a cupcake with a thin layer of black frosting. Fill a piping bag with white frosting fitted with a flat “ribbon” tip. Pipe strips back and forth across the cupcake, leaving a small gap to stick two candy eyeballs.
- Monster Mash 👹: Frost a cupcake with green frosting. Use the back of a spoon to make it look a little wild and messy. Top with a variety of candy eyeballs and some fun sprinkles.
Image-6: A photo collage showcasing four different decorating techniques: a spiderweb being drawn with a toothpick, candy eyes being placed on a ghost, white frosting strips being piped for a mummy, and sprinkles being added to a green monster.
Step 6: The Finishing Frights & Presentation
The final touches! Add a sprinkle of edible glitter for some ghoulish glam or toss on some bat-shaped sprinkles. Once all your cupcakes are decorated, arrange them on a spooky platter or a tiered stand. I once used a black cake stand and surrounded it with fake cobwebs and plastic spiders—my party guests loved it!
Image-7: A beautifully arranged platter filled with a variety of finished Halloween cupcakes—ghosts, mummies, spiders, and monsters are all visible.
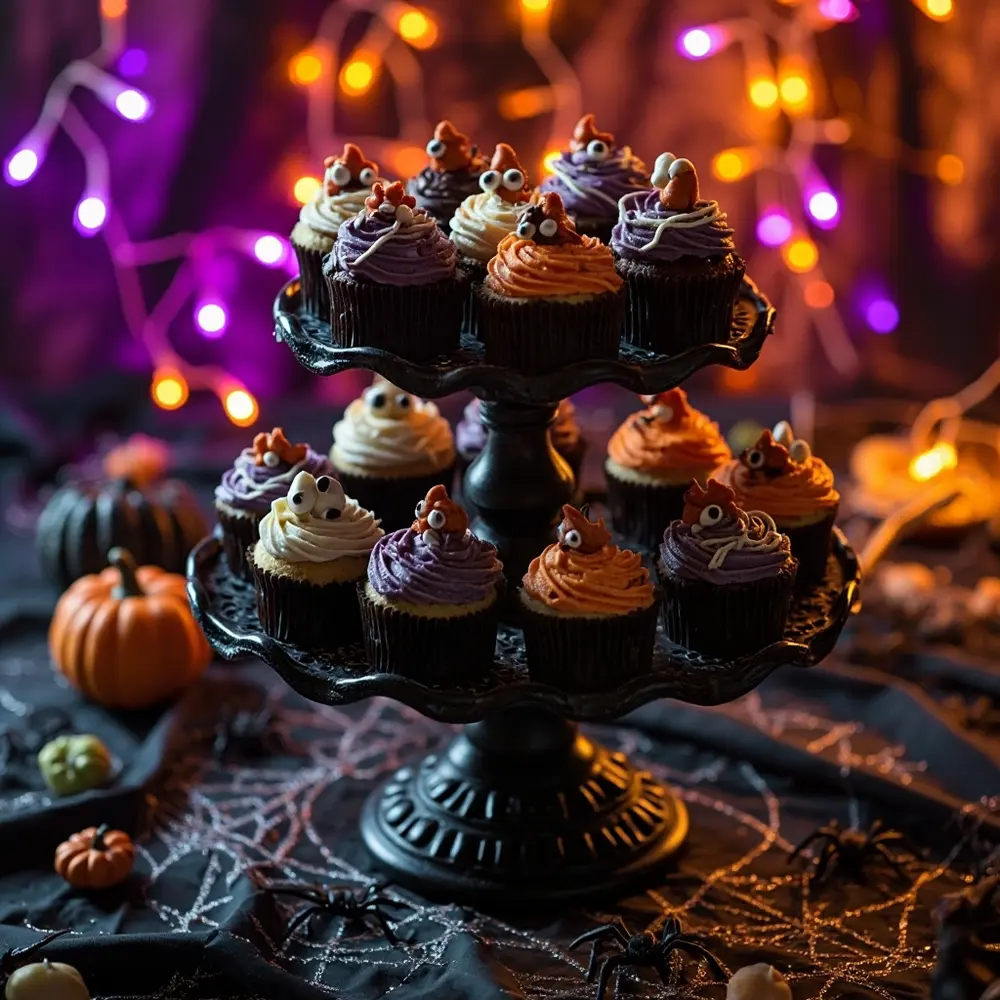
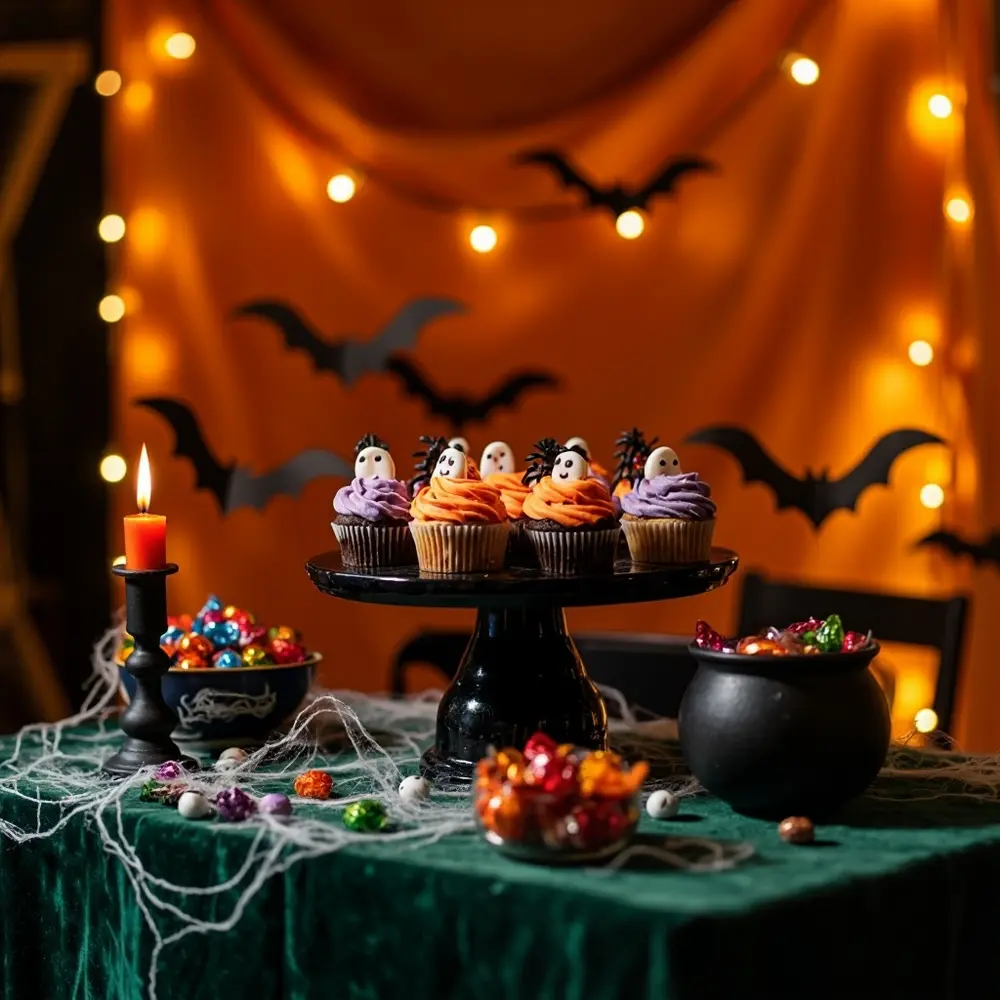
Image-8: A wider shot of the cupcake platter on a Halloween-themed table, surrounded by other decorations like a small cauldron filled with candy.
Troubleshooting Common Cupcake Calamities
Even expert Halloween fanatics like me have baking mishaps! Don’t let a little trouble scare you away. Here’s how to fix some common problems.
- My cupcakes sank in the middle! This often happens from opening the oven door too early or from over-mixing the batter. The good news? It’s the perfect crater to fill with extra frosting or some spooky gummy worms!
- My cupcakes are dry. This is usually due to over-baking. Next time, start checking for doneness a couple of minutes early. For this batch, you can poke a few holes with a toothpick and brush a little simple syrup over the top before frosting to add moisture.
- The frosting is melting! Your cupcakes were likely still a little warm when you frosted them. Pop them in the fridge for 15-20 minutes to help the frosting set up.
- My cupcake liners are peeling away. This is often caused by moisture. Make sure to move your cupcakes to a wire rack to cool as soon as you can handle the tin.
Variations & Customizations to Haunt Your House
Want to put your own spin on this spooky bake? I love it! Here are some ideas:
- Flavor Twists: Swap the vanilla extract for almond or lemon. Add a cup of mini chocolate chips to the batter or fill the baked cupcakes with raspberry jam for a “bloody” surprise! 🩸
- For Little Ghouls: Keep it simple! Give the kids cupcakes frosted with a base color and set out bowls of sprinkles, candy corn, and candy eyes. Let them create their own little monsters.
- For Advanced Bakers: Try making a two-toned frosting swirl in your piping bag. You can also create intricate toppers out of fondant, like tiny pumpkins or witch hats.
- Theme Twist 🧪: Go for a “Mad Scientist’s Lab!” Use bright green frosting and top it with Pop Rocks for a “fizzing” effect. Add gummy worms as escaping experiments and use a red gel to create bubbling beaker designs.
Halloween Activity FAQs ❓
Q1: How do I make sure my cupcakes are moist?
The key to moist cupcakes is not to over-mix your batter and definitely not to over-bake them! Using room-temperature ingredients like eggs and butter also helps create a tender crumb.
Q2: What are the easiest spooky decorations for beginners?
The absolute easiest are the monster cupcakes! A swirl of colorful frosting, a sprinkle of jimmies, and a few candy eyeballs are all you need. The ghost cupcakes are a close second and always a huge hit!
Q3: Can I bake the cupcakes ahead of time?
Yes, you can! You can bake the cupcakes up to two days in advance. Store them in an airtight container at room temperature. I recommend frosting them the day you plan to serve them for the best freshness and appearance.
Your Spooktacular Creations Await!
There you have it—your complete guide to baking and decorating the most ghoulishly delightful cupcakes on the block. I’ve been running Halloween baking workshops for kids for years, and I can tell you, the best part is seeing the proud look on someone’s face when they hold up their very own spooky creation. It’s not just about making a dessert; it’s about making a memory, getting a little messy, and embracing the fun, creative spirit of Halloween.
So get your aprons on, turn up the spooky tunes, and have a blast bringing these little monsters to life. I can’t wait to see what you create!
Share your masterpieces on social media and tag them with #SpookySharmaSweets so I can see your frightfully fantastic work! What’s your favorite Halloween candy to decorate with? Let me know in the comments! 🎃
