10+ Creative DIY Halloween Treat Holders for Spooky Fun
✨ After countless hours covered in glitter and glue during my seasonal DIY workshops, I’ve mastered the art of creating adorable Halloween crafts—testing, fixing fails, and discovering solutions that actually work.
😅 But I know the struggle: How do you make treat holders that are cute, cheap, and don’t fall apart? Are there any easy Halloween crafts for kids that won’t end in a huge mess? I’ve spent years figuring this out, and I’ve been there too.
👑 That’s why in this post, I’ll show you exactly how to solve these challenges with tips I’ve tested myself. Stick with me, and you’ll learn how to create adorable and sturdy DIY Halloween treat holders while creating magical memories with your loved ones! 🎃
Tutorial At-a-Glance
Time Required: Approx. 1-2 hours (depending on number of holders made)
Budget Level: Low-Cost
Skill Level: Beginner-Intermediate
What You’ll Need for Your Spooky Treat Holders 🎃
My go-to trick for a successful craft session is having everything laid out before you start. After testing dozens of materials, these are the ones that give the best results for these spooky treat bags and boxes.
✅ Cardstock (👑 Nancy’s Pick: I always recommend a 65-80lb weight cardstock. It’s the sweet spot—sturdy enough to hold its shape and treats, but still easy for little hands to fold and cut.)
✅ Scissors or Craft Knife
✅ Craft Glue or Hot Glue Gun (with adult supervision)
✅ Markers, Paint, or Decorative Pens
✅ Embellishments (googly eyes, glitter, pipe cleaners, stickers, yarn)
✅ Printable Templates (link to a hypothetical resource for readers)
Crafting Your Creative Halloween Treat Holders: Step-by-Step Guide ✂️
A question I get all the time from my online community is how to make crafting a fun family activity instead of a stressful one. One of my favorite memories is making a whole village of monster boxes with my nieces. We put on a spooky movie, laid out all the supplies, and just let our creativity run wild. The goal isn’t perfection; it’s about making something fun together! Let’s dive into some easy ideas.
Idea 1: The Friendly Ghost Pouch

This is one of the simplest Halloween candy holders craft ideas, perfect for younger kids.
- 1. Fold a piece of white cardstock in half.
- 2. Draw a simple, wavy ghost shape, making sure the folded edge is on one of the sides.
- 3. Cut out the shape, keeping the fold intact. You should have two ghost shapes connected at the side.
- 4. Apply glue along the bottom and the open side edge, leaving the top open to create a pouch. Press the edges together firmly.
- 5. Once the glue is dry, use a black marker to draw on some friendly eyes and a spooky “O” for a mouth.
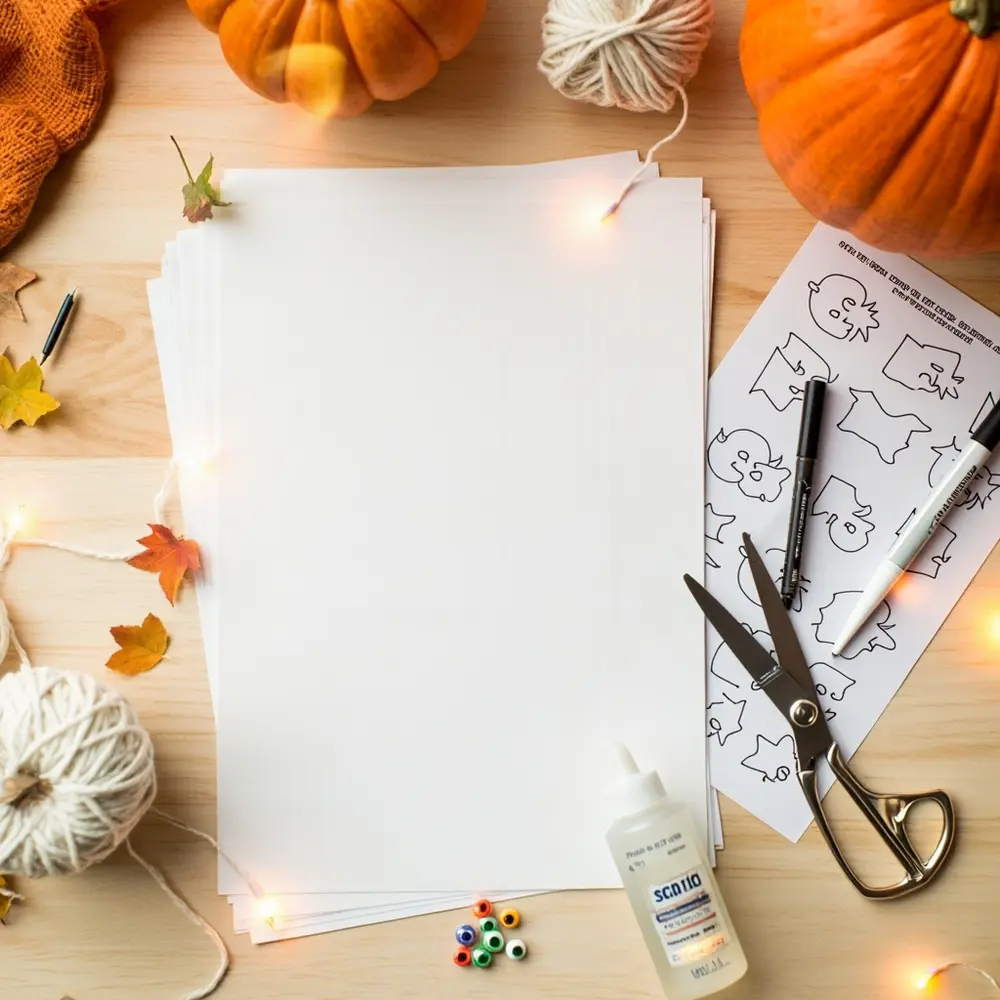
image-1: All materials for the ghost pouch (white cardstock, scissors, glue, black marker) laid out neatly.
Idea 2: Monster Mouth Boxes
These DIY Halloween treat boxes are always a huge hit because you can make each one totally unique.
- 1. Start with a simple cube or rectangular box template (you can find one in our printable pack below!). Cut it out and assemble it, but leave the top open for now.
- 2. On one of the front-facing sides, draw a wide, jagged mouth shape.
- 3. Carefully cut out the mouth.
⚠️ Safety First: Using a craft knife will give you the most precise cuts for the monster’s mouth, but this step is for adults only. For younger crafters, an adult can pre-cut the mouths, or they can draw the mouth on with a marker instead.
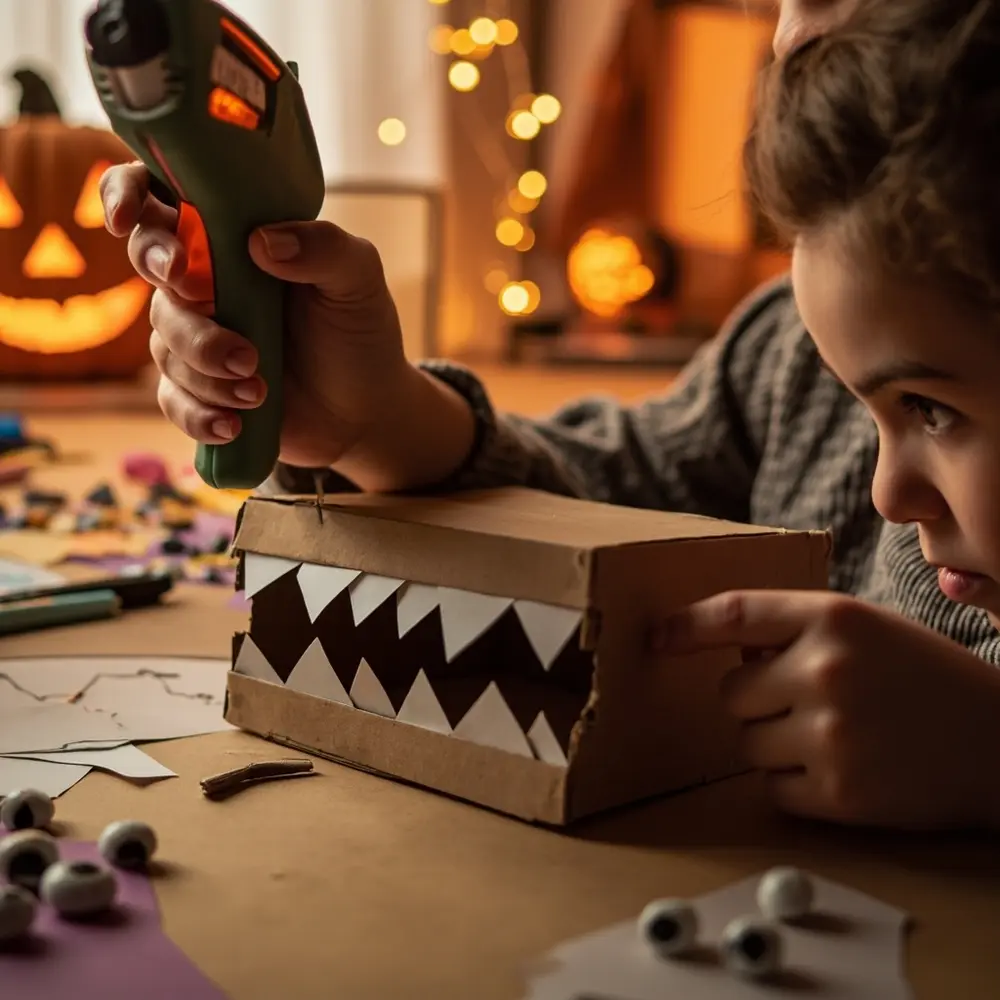
- 4. Cut a strip of white paper into small, pointy triangles for teeth. Glue them along the inside edge of the mouth.
- 5. Finish your monster by gluing on one, two, or even five googly eyes!
image-2: Close-up shot of hands assembling a monster mouth box, showing the teeth being glued into place.

Idea 3: Pumpkin Patch Cones
These are so charming and look fantastic grouped together like a little pumpkin patch.
- 1. Take a square piece of orange cardstock.
- 2. Roll it into a cone shape and secure the edge with glue or a piece of tape on the inside.
- 3. Trim the top edge so it’s even all the way around.
- 4. Cut a few leaf shapes from green paper and a small rectangular stem from brown paper. Glue them to the top of the cone.
- 5. Use a brown or black marker to draw vertical lines down the cone to give it that classic pumpkin texture.
💡 Pro-Tip: The easiest way to make a perfect cone is to draw a quarter circle on your square piece of cardstock before cutting. Use a compass or trace around a plate to get a clean curve. When you cut it out and roll it up, it will form a flawless cone every time!
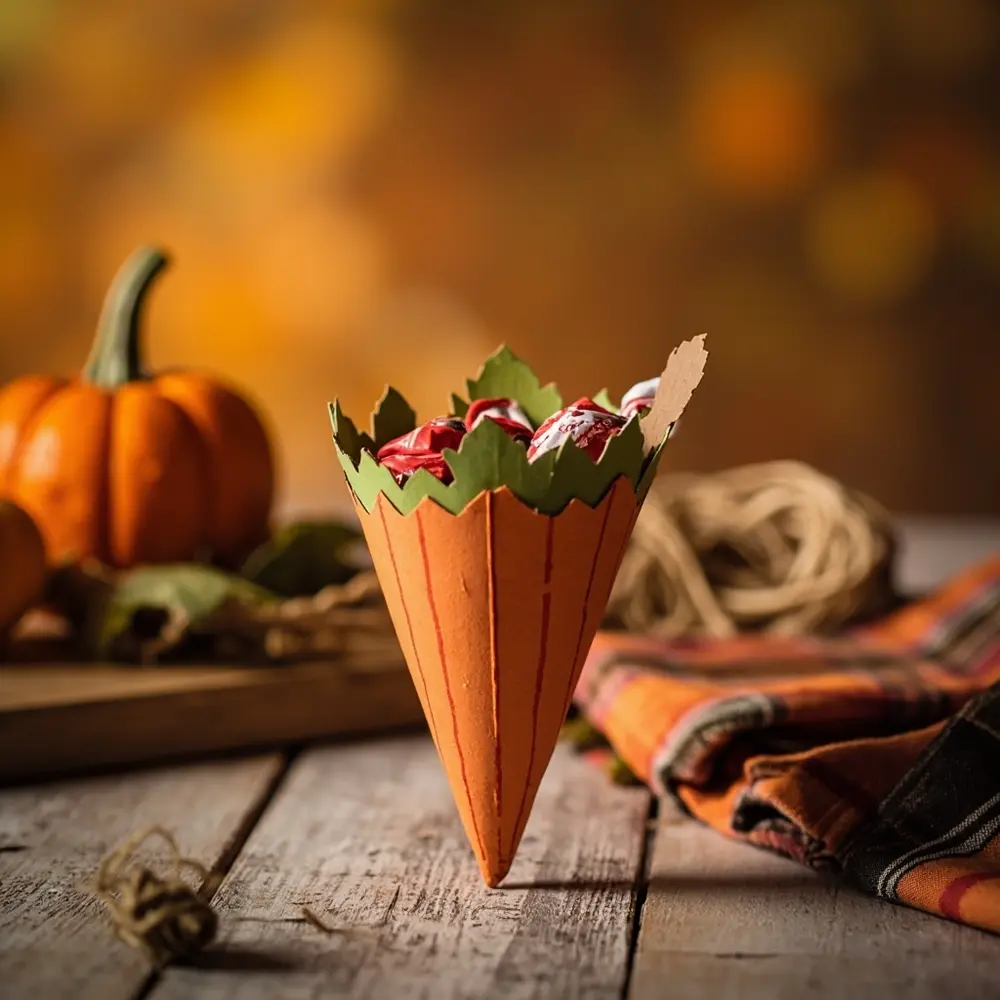
image-3: A finished pumpkin cone treat holder, perhaps with a small wrapped candy peeking out.

Idea 4: Spider Web Envelopes
This is a super quick and spooky way to hand out smaller treats or gift cards.
- 1. Using black or dark purple cardstock, fold a simple square or rectangular envelope. You can find easy-to-follow diagrams online or use our printable template.
- 2. Secure the bottom and side flaps with a dab of glue.
- 3. With a white gel pen or marker, draw a spider web design on the front of the envelope. Start with a few lines crossing in the center, then connect them with curved lines.
- 4. For a final creepy-crawly touch, glue a small plastic spider ring or sticker right in the middle of the web.
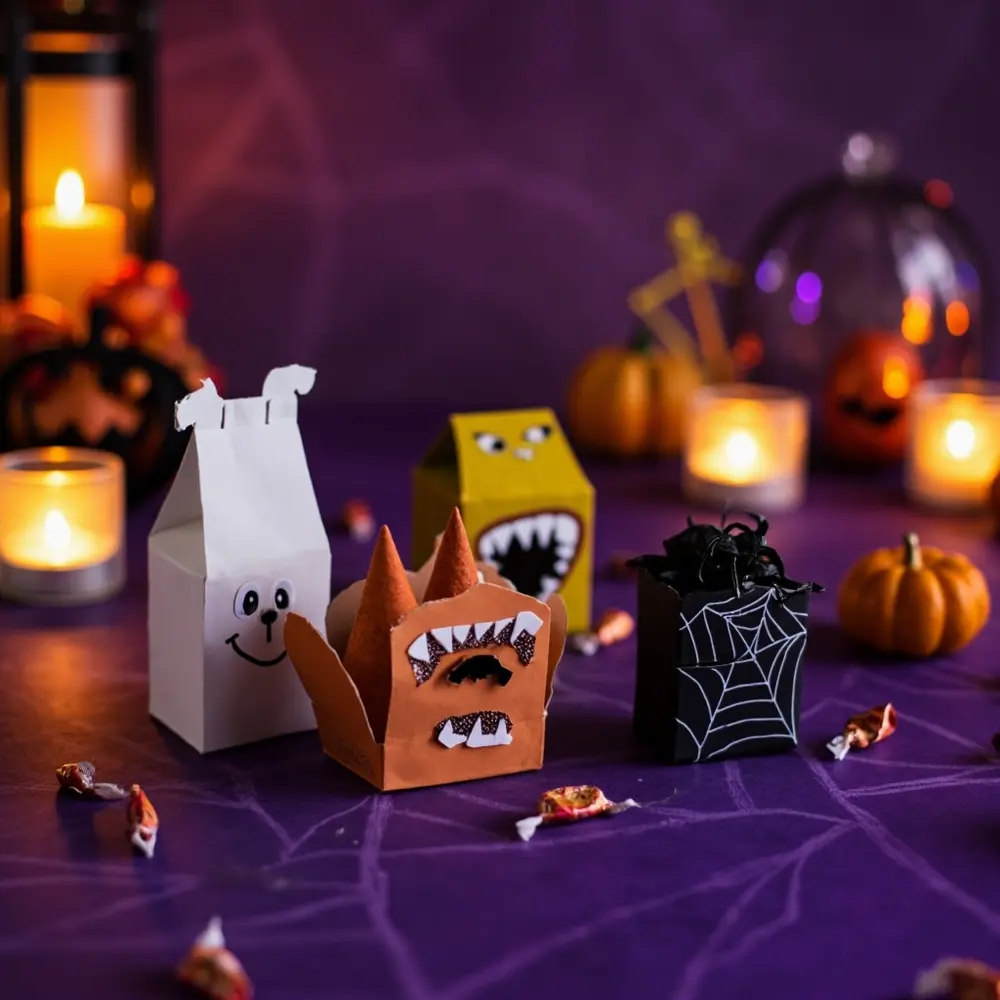
image-4: A collection of various finished treat holders (ghost, monster, pumpkin, spider web) arranged attractively on a Halloween-themed background.

Printable Templates for Easy Crafting 📄
From my experience hosting crafting workshops, I know that having a good template can make all the difference. It takes the guesswork out of getting the shapes right and ensures your DIY Halloween treat boxes fold together perfectly.
Download our free printable Halloween treat holders here to make these crafts even easier!
Variations & Customizations 👻
A mistake I always see is people thinking they have to follow a tutorial exactly. The best part of DIY is making it your own! Here are a few ideas to get your creativity flowing:
- Different Themes: Adapt these basic shapes to create witches’ hats (a cone with a flat circle brim), black cats (a pouch with pointy ears), mummies (wrap a box in white paper strips), or even Frankenstein’s monster holders.
- Recycled Materials: Don’t be afraid to use what you have! Incorporate toilet paper rolls for mummy or monster tubes, or use flattened cereal boxes for larger, sturdier treat containers.
- Adding Handles: Make your holders easier to carry. Just punch two holes near the top of your boxes or pouches and thread some festive yarn or ribbon through to create a simple handle.
Halloween Treat Holder FAQs 🤔
Q1: What kind of treats work best in these DIY holders without making them soggy or falling out?
Wrapped candies are your best friend here! Think small chocolate bars, lollipops, hard candies, or small bags of gummies. Non-food items like stickers, temporary tattoos, or small spider rings are also perfect and eliminate any worry about mess.
Q2: How can I make these treat holders more durable so they last beyond one Halloween night?
The key is using the right materials. Start with the 65-80lb cardstock I recommended. For boxes, you can add a layer of clear packing tape to the inside bottom for extra reinforcement. Using a strong craft glue or a hot glue gun (with supervision!) instead of a glue stick will also make a huge difference in how well they hold together.
Q3: Are there any food-safe alternatives to cardstock if I want to place unwrapped treats directly inside?
Absolutely! If you’re planning to fill them with something like popcorn or candy corn, I recommend lining the inside of your cardstock holder with food-safe parchment paper or wax paper. Just cut a piece to size and place it inside before you add the treats. This creates a protective barrier and keeps everything safe to eat.
Now you have a whole collection of creative, inexpensive, and family-friendly ideas for your Halloween treats! These little holders add such a personal and magical touch to any party or trick-or-treating adventure.
Which one of these spooky treat bags are you most excited to make? Let me know in the comments below
