Easy Jack-o’-Lantern Oranges: A Healthy & Fun Halloween Snack Tutorial
✨ From my years as a food stylist and recipe developer, I’ve learned that the most magical and memorable Halloween treats are often the simplest ones, especially when you’re making them with little helpers.
😅 But I know the struggle. How do you make healthy Halloween snacks that kids actually get excited about? It can feel impossible to compete with all the candy and store-bought goodies.
👑 That’s why in this post, I’ll show you my foolproof method for these adorable orange jack-o-lanterns. Stick with me, and you’ll learn how to create a fun, DIY Halloween food that’s as healthy as it is cute! 🎃
Tutorial At-a-Glance
Time Required: Approx. 15-20 minutes
Budget Level: Low-Cost
Skill Level: Beginner / Kid-Friendly
What You’ll Need for Your Jack-o’-Lantern Oranges 🎃
My go-to trick for making any recipe feel special is starting with great, simple ingredients. You don’t need much to bring these spooky citrus friends to life!
✅ Oranges (navel or Valencia work best for their size and peel thickness)
✅ Small, sharp paring knife (👑 Nancy’s Pick: I always recommend a ceramic paring knife for precision and ease of cleaning, especially when working with fruit. Remember, this tool is for adult use only!)
✅ Small spoon or melon baller
✅ Cutting board
✅ Optional: Assorted fresh fruit for filling (e.g., berries, grapes, melon balls, kiwi)
Carving Your Spooky Citrus: Step-by-Step Guide 🔪
A question I get all the time on my Instagram is how to make kid-friendly activities safe and fun. My number one rule is simple: preparation and supervision are everything.
⚠️ Safety First: This is the most important step! All cutting and carving with the paring knife should be done by an adult or with very close adult supervision for older, responsible kids. Keep little hands busy with scooping and filling!
Step 1: Prepare Your Oranges
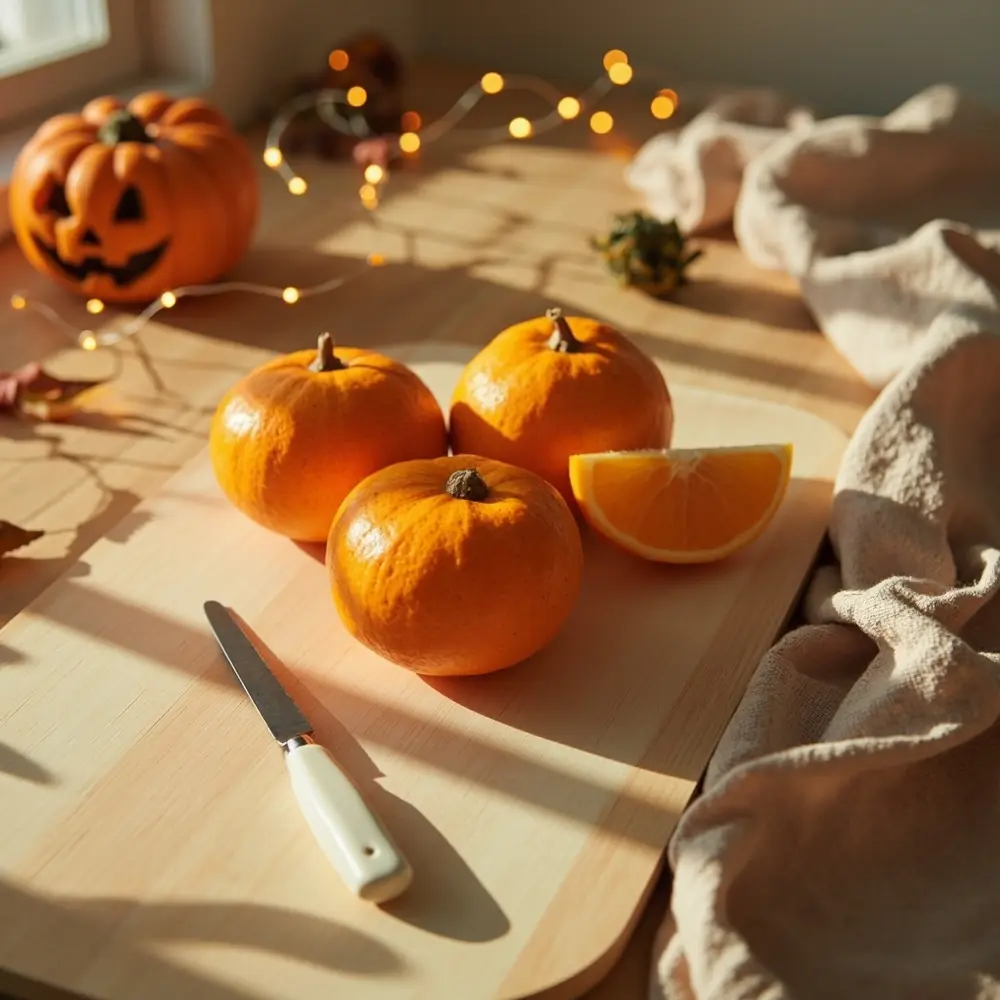
First things first, give your oranges a good wash under cool water and dry them thoroughly. A clean, dry surface makes the orange peel much easier and safer to handle and carve.
[image-1: Clean oranges, a ceramic paring knife, a small spoon, and a cutting board laid out neatly on a kitchen counter.]

Step 2: Slice and Scoop
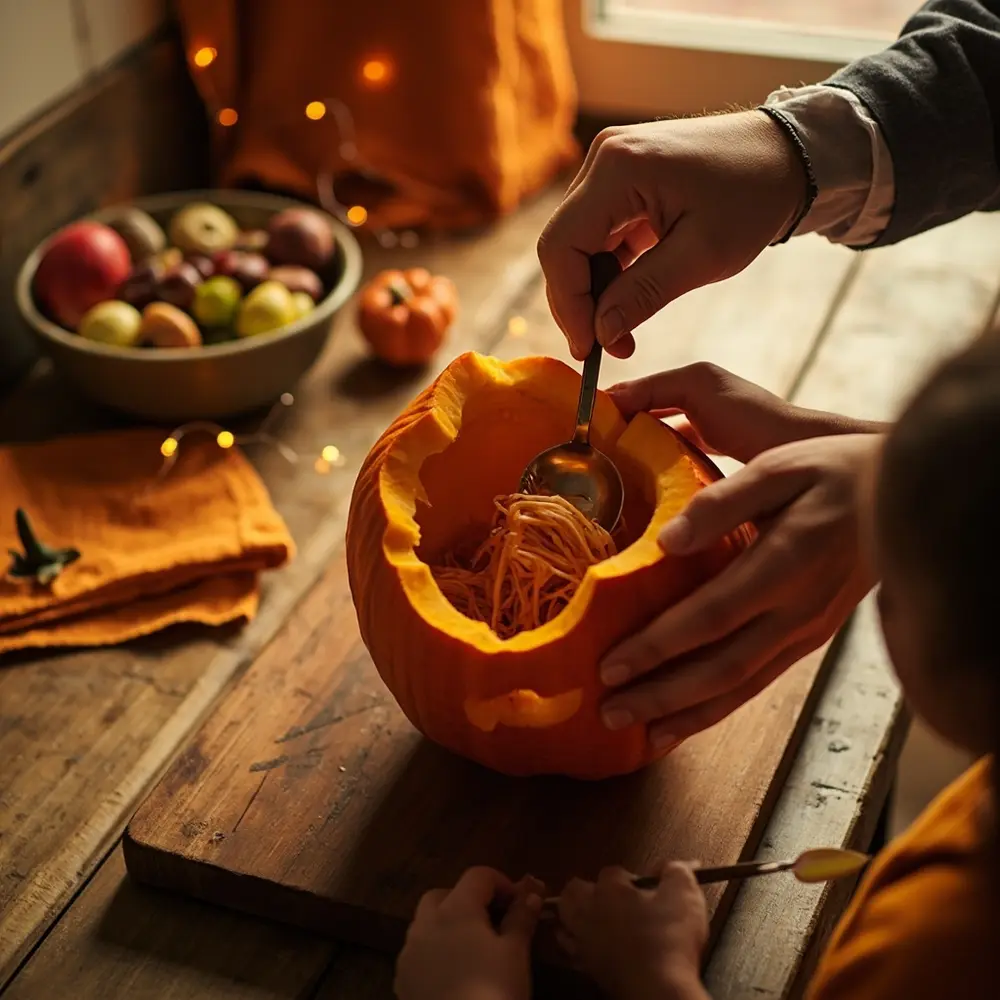
Carefully slice off the top of each orange, about 1/4 to 1/2 inch down from the stem. This little piece will be your jack-o’-lantern’s “lid,” so set it aside. Next, use a small spoon or a melon baller to gently trace around the inside edge of the orange rind and scoop out the pulp. Work slowly to avoid piercing the peel. You can save the delicious pulp for a snack or for making fresh juice!
[image-2: A pair of hands carefully using a small spoon to scoop out orange pulp from a partially hollowed-out orange.]

Step 3: Carve the Face
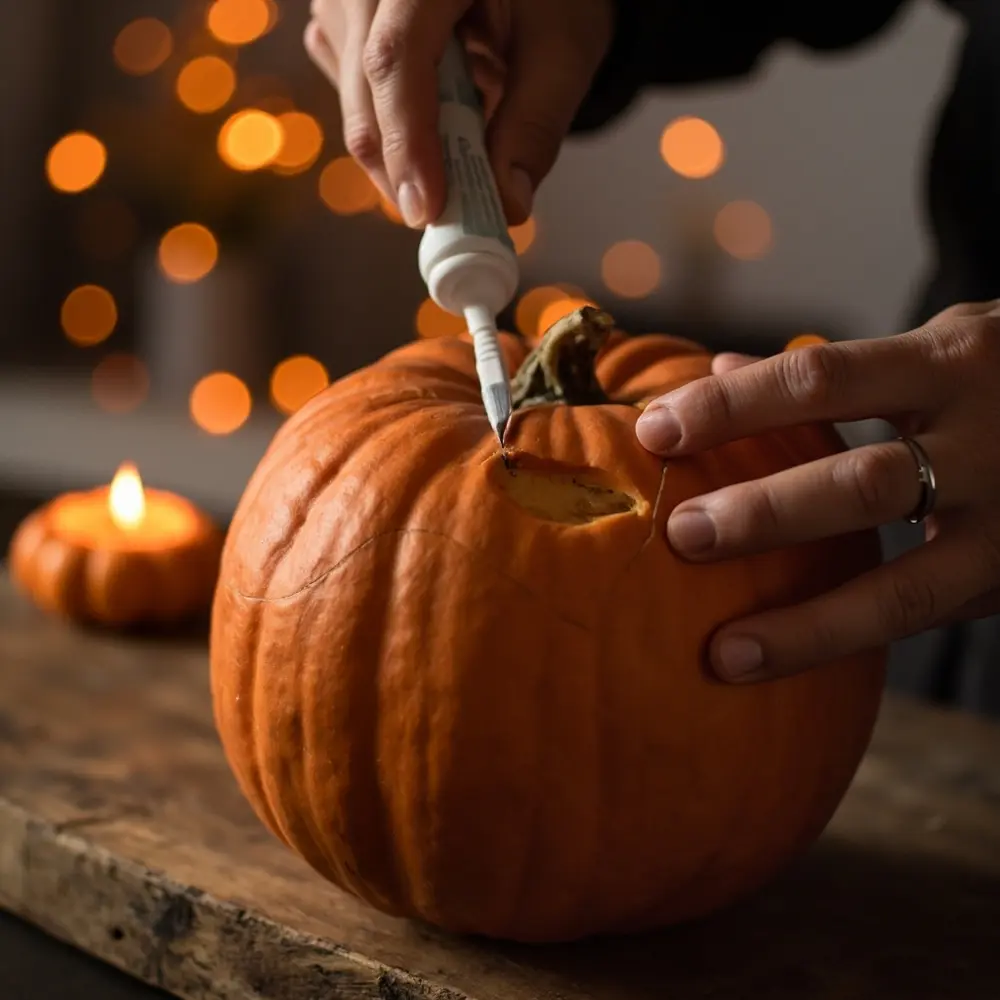
Now for the fun part! Using the tip of your paring knife, carefully cut out a simple jack-o’-lantern face. I find that classic triangle eyes and a jagged little mouth are the easiest and look super cute. Don’t worry about making it perfect—each one will have its own unique personality!
💡 Pro-Tip: Use a dry-erase marker to draw your face design on the orange peel first. If you make a mistake, it wipes right off! Once you’re happy with the design, you can carefully cut along the lines for a much cleaner and more confident result.
[image-3: A close-up shot of hands using a paring knife to carve a triangular eye into an orange peel, with a faint dry-erase marker outline visible.]

Step 4: Fill with Fruity Goodness
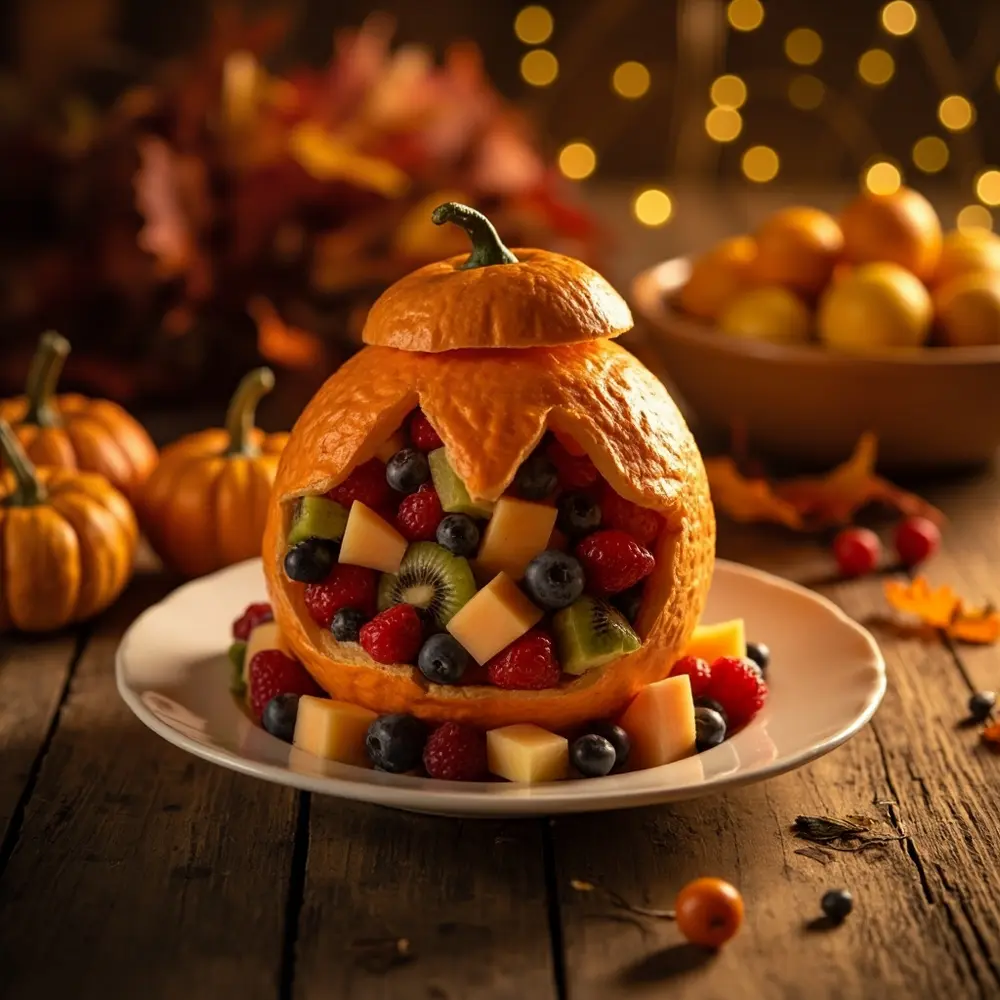
Once your spooky faces are carved, it’s time to fill them up. This is the perfect step for kids to take over! Fill your hollowed-out jack-o’-lantern oranges with a colorful assortment of fresh fruit. I love mixing berries, melon balls, and chopped kiwi to get a variety of colors and textures that really pop against the orange peel. Place the “lid” back on top, either straight or slightly askew for a playful look.
[image-4: A finished jack-o’-lantern orange, filled to the brim with colorful fresh berries and melon, with its orange “lid” placed slightly askew on top.]

Variations & Customizations 👻
After testing dozens of fillings for parties over the years, I’ve found a few creative twists that are always a huge hit. These easy Halloween treats are so versatile!
- Sweet & Savory Fillings: Instead of just fruit, consider filling with a mix of yogurt and granola for a healthy breakfast treat, or even a small scoop of a healthy chicken salad for a unique party appetizer.
- Cookie Cutter Faces: For younger children or those less confident with a knife, use small, sharp-edged Halloween-themed cookie cutters (like bats or ghosts) to press shapes firmly into the orange peel. An adult can then carefully trace and cut them out.
- Citrus Medley: Don’t stop at oranges! Experiment with other citrus fruits like mandarins (for adorable, bite-sized versions) or grapefruits (for larger, more dramatic displays) to create a varied and vibrant “patch.”
Jack-o’-Lantern Orange FAQs 🤔
Here are the answers to a few common questions I see in my community about making these healthy Halloween snacks.
Q1: How far in advance can I make these jack-o’-lantern oranges without them drying out or spoiling?
For the best results, I recommend assembling them the day you plan to serve them, especially once they’re filled with fruit. However, you can absolutely do the prep work ahead of time! You can hollow out and carve the oranges up to 24 hours in advance. Just store the empty, carved shells and their lids in an airtight container in the refrigerator.
Q2: What’s the best way to keep the carved orange faces from browning or shriveling before serving?
Citrus is pretty resilient, but the cut edges can dry out over time. My secret is to lightly rub a bit of lemon or lime juice over the carved areas. The citric acid helps preserve the peel and keep it looking fresh. Storing them in the fridge until you’re ready to serve also works wonders.
Q3: Can I use frozen fruit for the filling, or is fresh fruit always better for this recipe?
Fresh fruit is definitely the winner here. As frozen fruit thaws, it releases a lot of water and becomes quite soft and mushy, which can make your jack-o’-lanterns soggy. Stick with fresh, firm fruits for the best texture, flavor, and visual appeal.
Now you have the secret to the cutest, healthiest Halloween treat on the block! These little orange jack-o-lanterns are perfect for school parties, spooky movie nights, or just a fun afternoon activity.
What other fun fruits will you be adding to your jack-o’-lantern patch? Let me know in the comments below! 🎃
